

let’s hang out
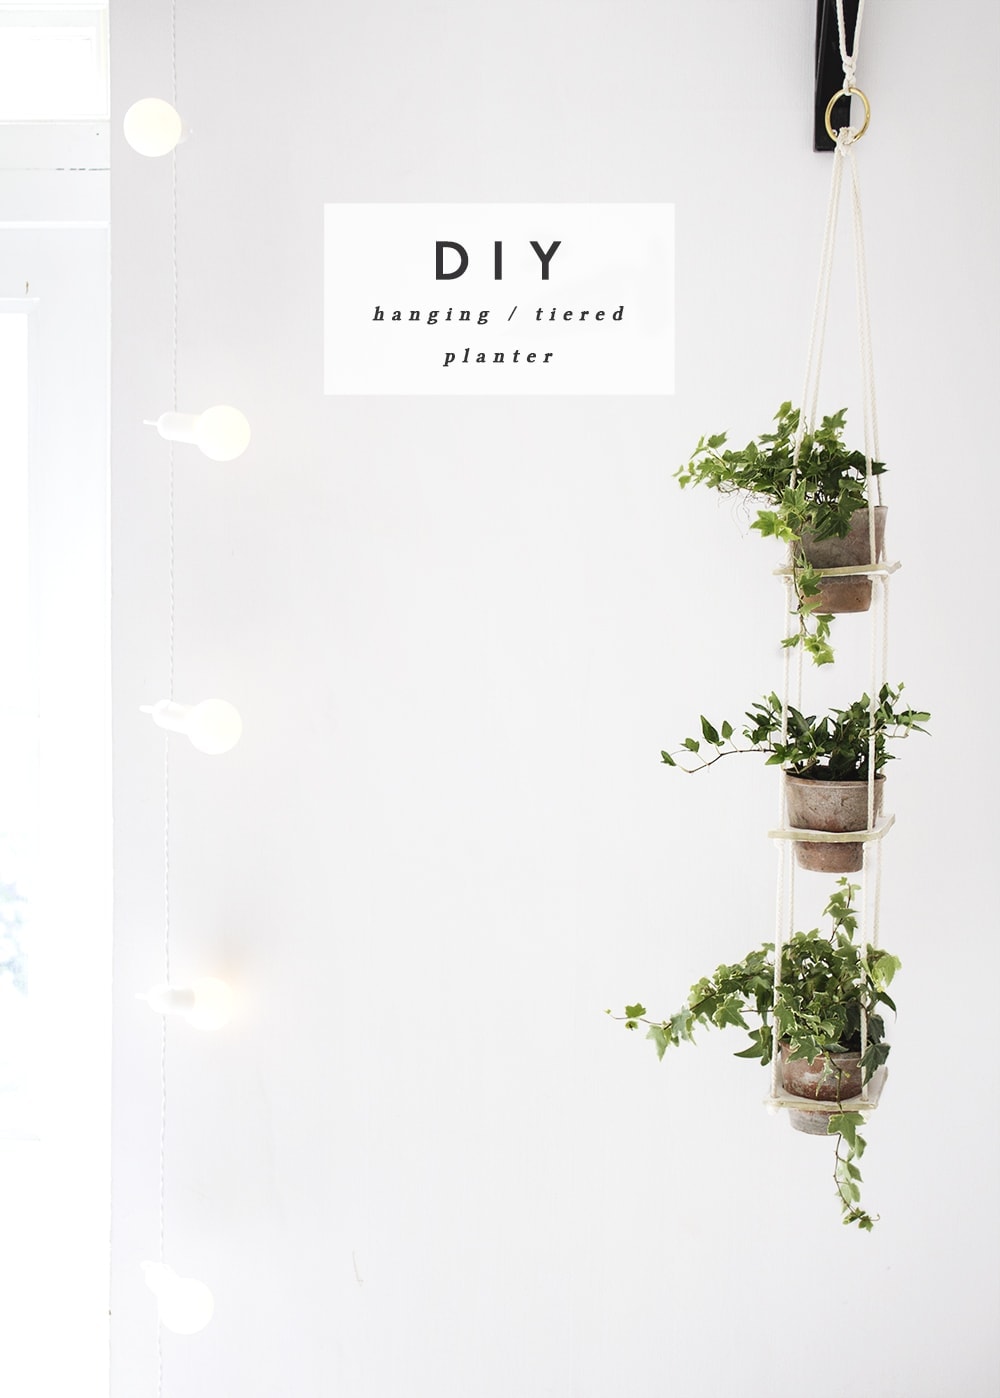
This idea has been bubbling away for a while now but it’s been put to the side on a number of occasions. Everyone loves a hanging planter right? I’ve made and owned various such hanging delights around the house but really wanted to create a tiered version so I could hang three plants at a time. You could actually go wild and add even more tiers but I decided to give start of with three. This baby now sits pride of place in our bedroom replacing our previous planter friend. It had to make way for this superior good looking number…poor thing.
You can use whatever pots you want but I fancied some warn and weathered terracotta ones. You can buy them like this from Ebay or rough some plain terracotta ones up yourself. I picked ivy to fill the pots because I love the way it hangs down and frames the whole thing. Who would have thought I used to have a real dislike for ivy, when I now have three staring at me when I wake up and another nestled in our bathroom.
You’ll need…
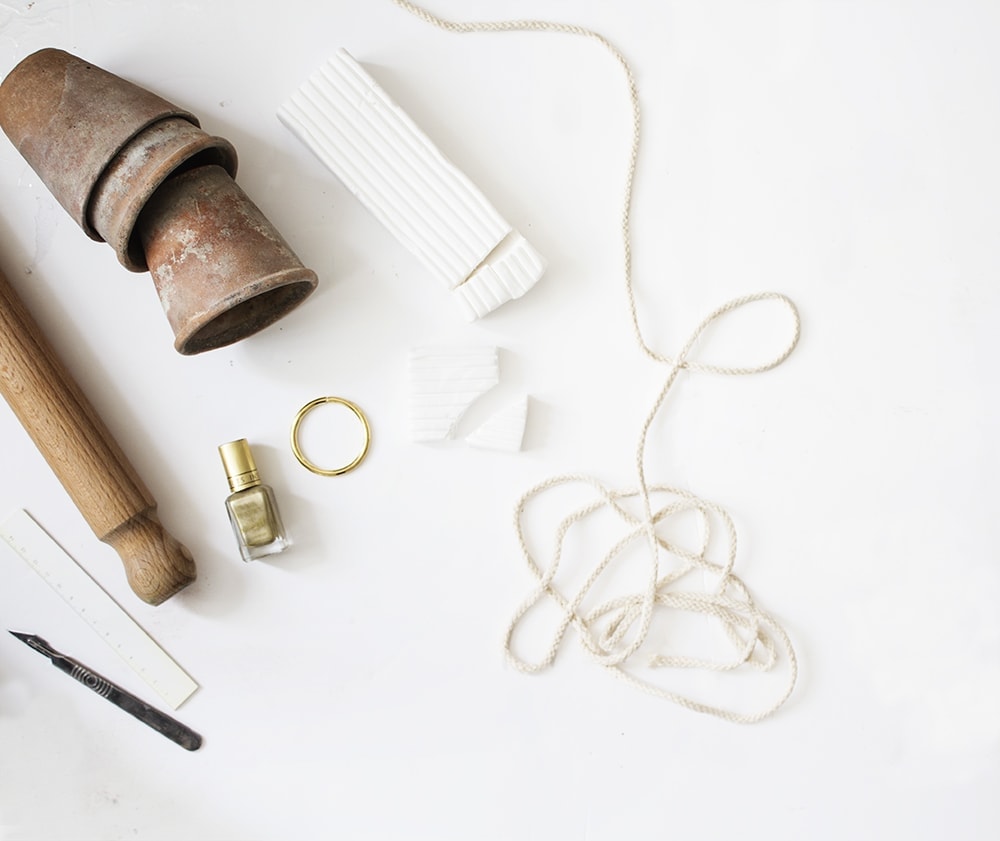
- Flower pots and plants to fit
- 4mm cotton rope x 5 metres
- Gold nail polish
- 350g bar white soft polymer clay ( I used Fimo )
- Scalpel
- Ruler
- Rolling pin
- Pen / pencil
- Gold O ring ( I used 49mm )
To make…
- Preheat your oven to the recommended temperature on the clay instructions.
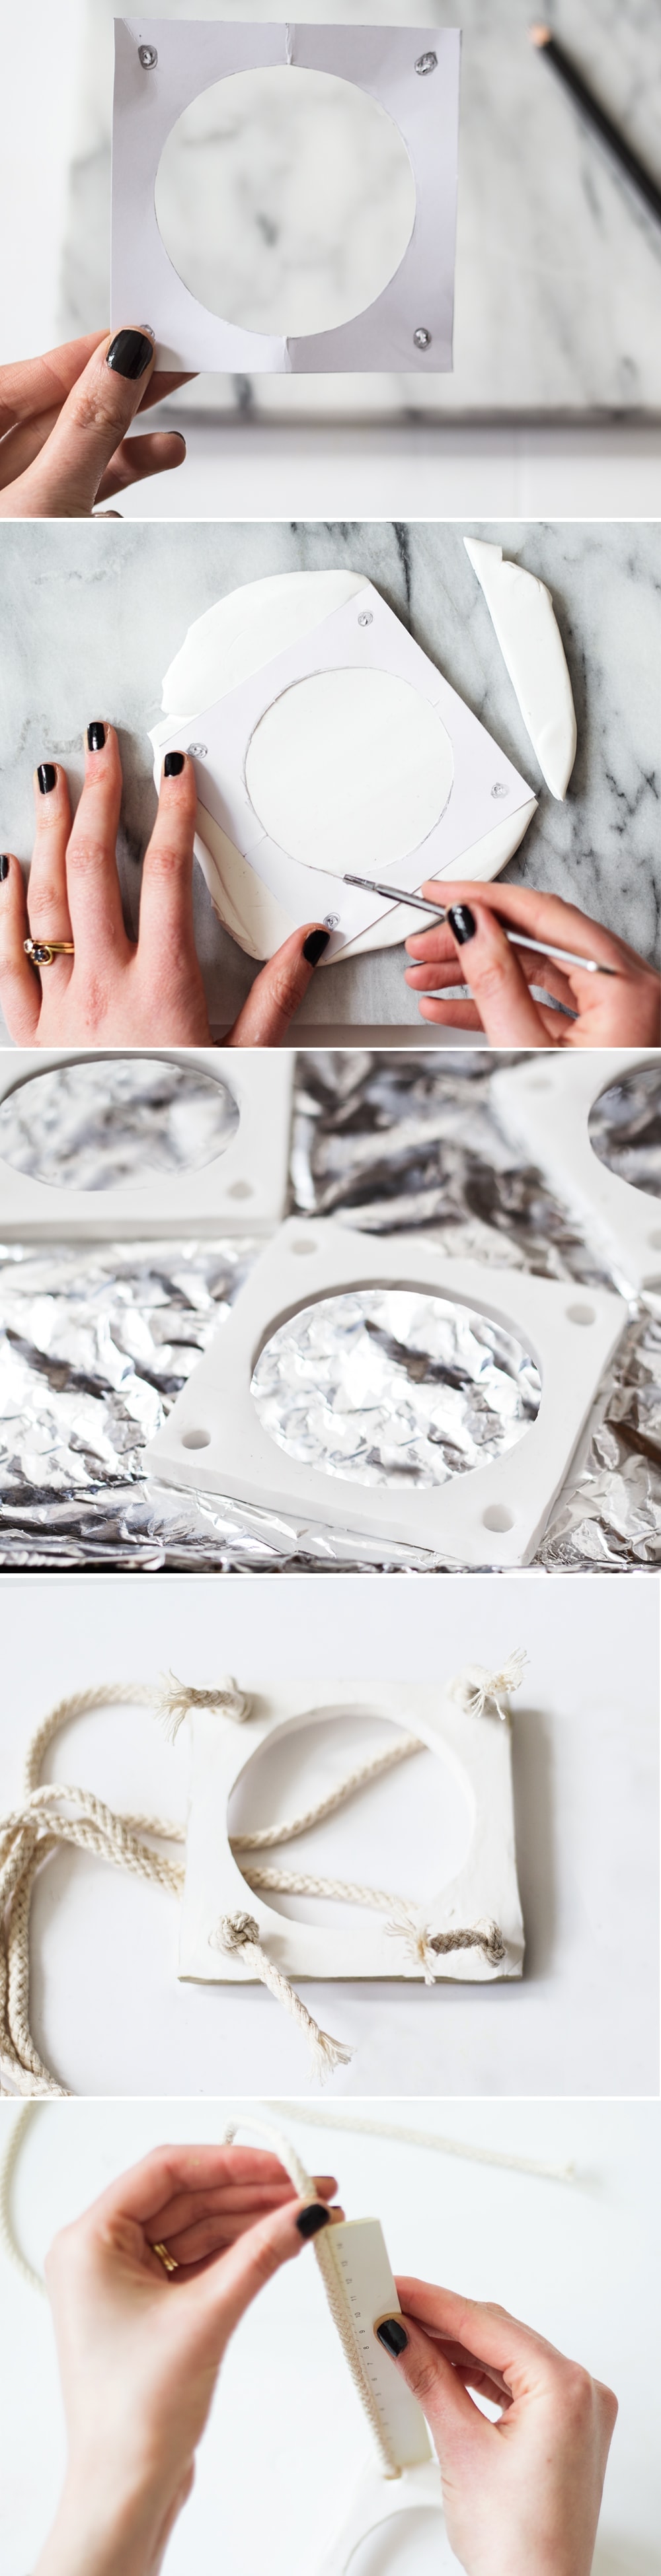
- First, make a template for the base that each plant pot will sit in. Draw a square onto some card (mine were 10 x 10cm). Then cut a hole that will allow your plant pots to nestle in at least some of the way down their bases. Use your ruler to measure in from each corner to mark where the holes will be and poke your pencil through to create holes in the card.
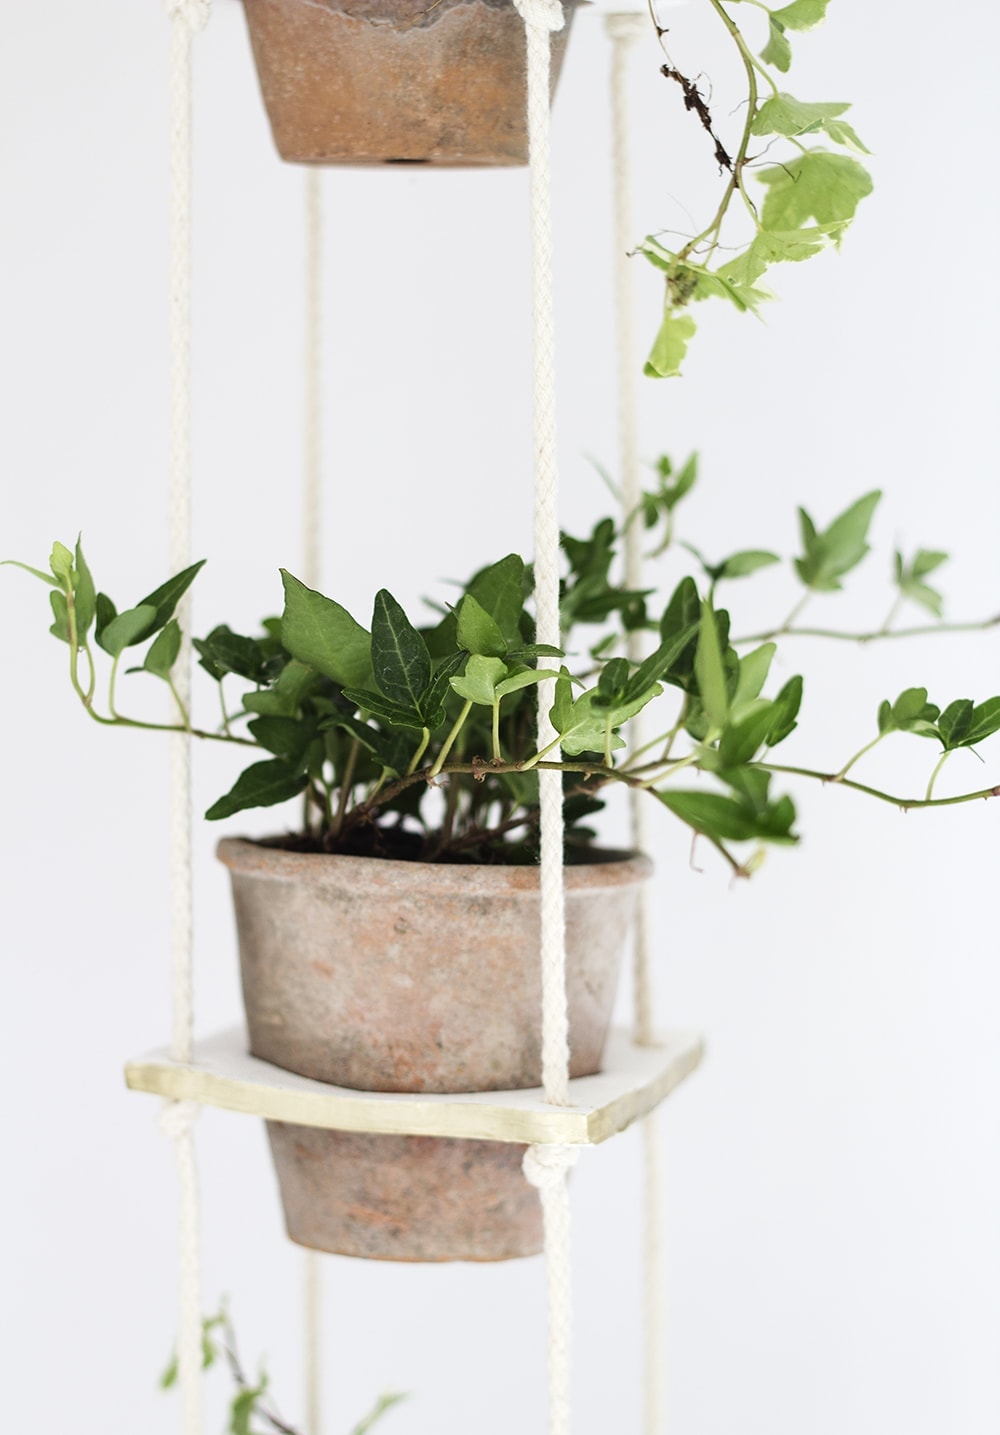
- Divide the fimo into three blocks and roll each one out with a rolling pin one at a time to about 1cm thick. I would do this onto grease proof paper or I used foil which is less ideal but that way it’s easily moveable onto the baking tray.
- Place your stencil on top and cut around using the scalpel. Try and use the tip of the blade so you don’t pull it out of shape. Push a pencil / pen through the corner holes making sure you really wiggle it around to make holes that are big enough to fit the rope through. You should end up with three of these sections to use on each level of your planter.
- Place them all on a baking tray and bake for the time your clay instructions recommend.
- When baked and cooled you can now paint the metallic gold nail polish around the edge to give it a nice finish. You could use another colour if you’d prefer. Leave to dry.
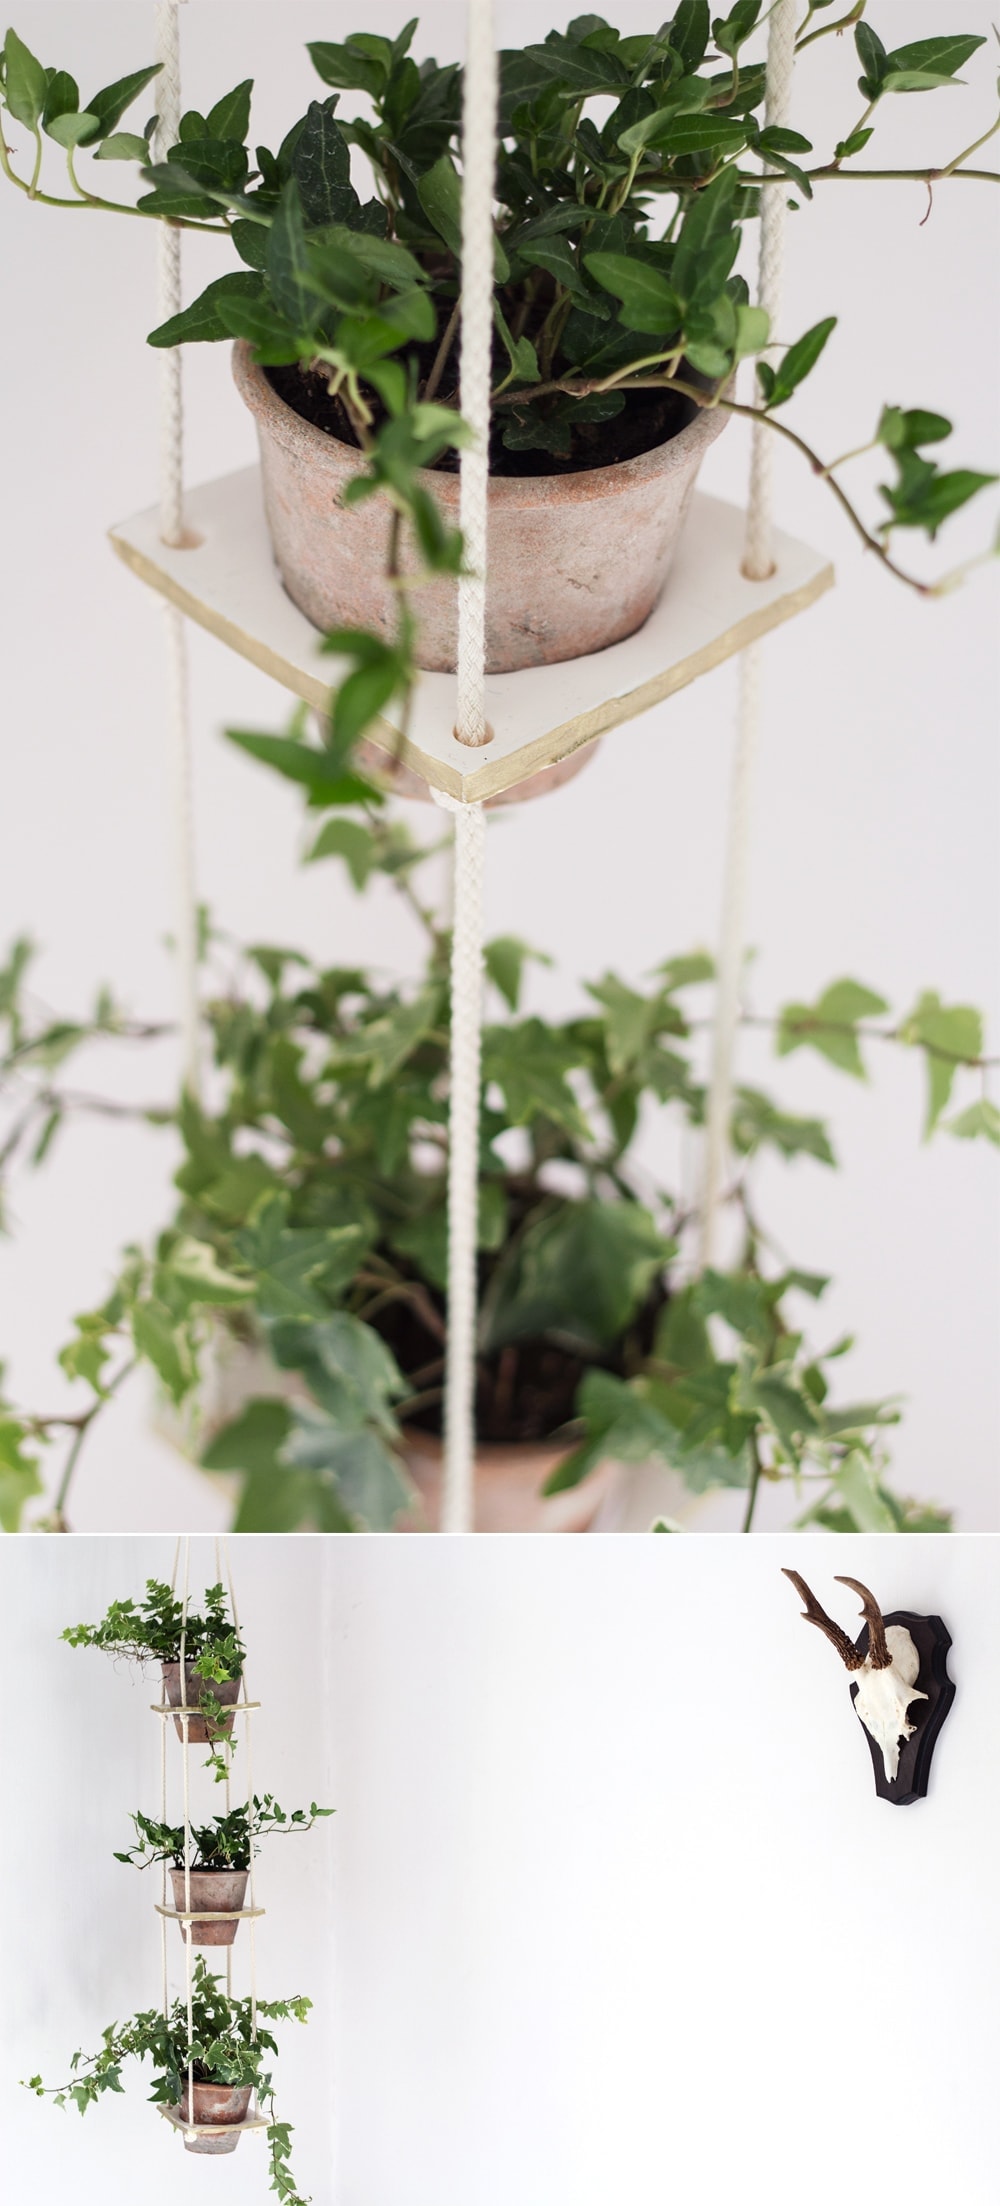
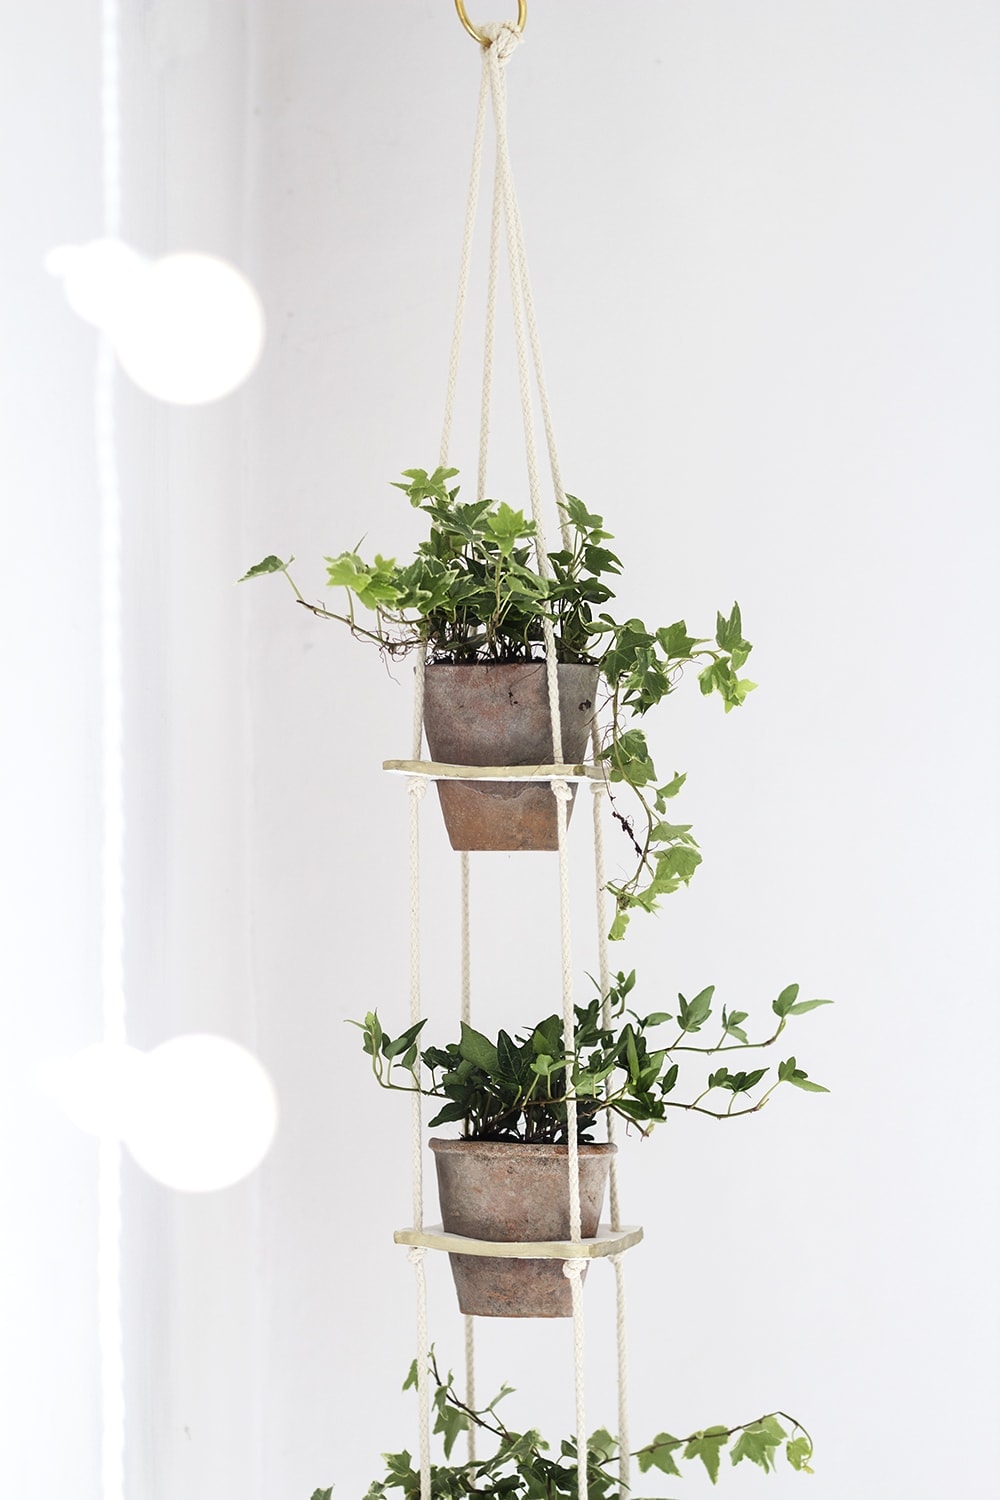
- Now you can start threading the whole thing together. Divide the rope into 4 even lengths and thread through each hole on one of the fimo sections. Tie each rope end into a double knot and trim the ends. This is your bottom piece and the knots should be on the bottom of the construction.
- With your ruler, find a suitable length to tie your next set of knots (mine were 24cm apart). Make sure there’s enough space between the next plant pot and the bottom so that they won’t interfere. When you have that length make sure you measure the same distance up on each of the four lengths of rope and tie knots. Single knots should be fine here.
- Thread these through the holes of the next fimo section so that it sits on top of the knots. It may be helpful to keep lifting the whole thing up to see how even it is. You want all the knots on the same level so the fimo section is flat.
- Repeat this with the final fimo section and then pull the remaining rope into a point and tie tightly around the gold O ring in a double knot. Make sure all four lengths of rope are pulled in evenly so it’s not lopsided. Trim and then I tied another little length of rope around the top of the O ring to create a loop to hang the whole thing but you could use the O ring itself.
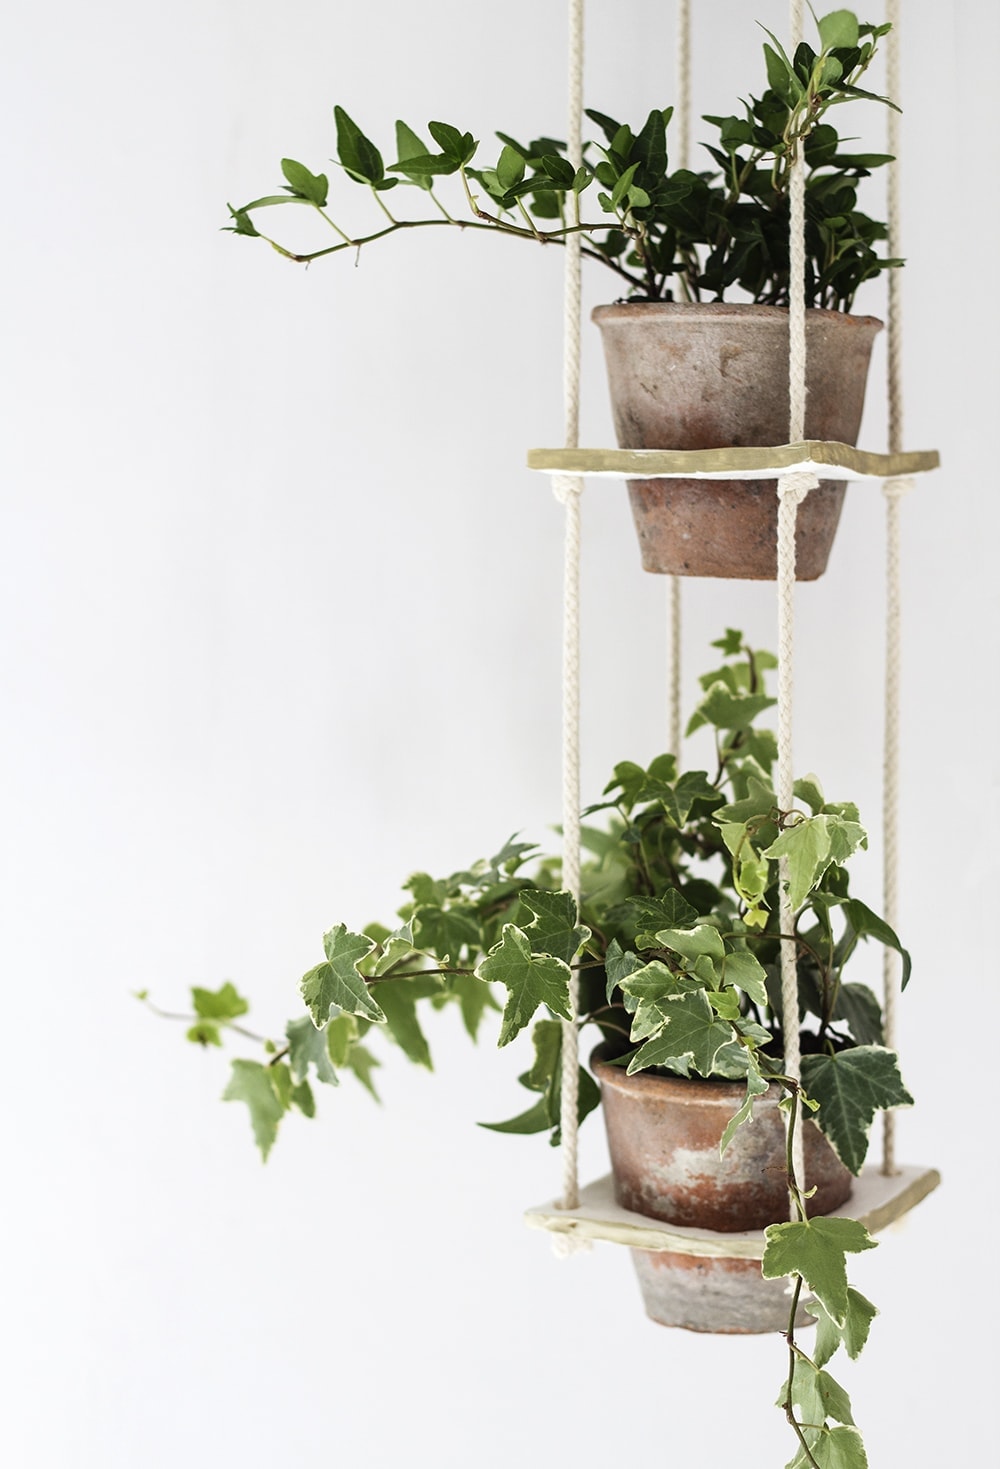
- Transfer your plants into their pots and sit each of the three in their holes. If the knots aren’t totally even you can wiggle them up and down a little. Find a place to hang your creation!
You’ll end up with something that looks like this! I’m really enjoying how it’s brightening up that corner of our room. The suggested fimo amount I gave is also a little generous so you may have some left over for another project depending on how big your sections are.
Give it a whirl!
You might also like


Meet The Lovely Drawer

Hi, I’m Teri and welcome to my own creative corner of the internet. I blog about interiors, DIY projects, design inspiration and my general life so stick around have a read and say hi.
In the shop
 Quick ViewSelect options
Orchard Days
£20.00 – £25.00
 Quick ViewSelect options
Personalised Cuddly Bunny
£30.00 – £35.00
Work with Me
The Lovely Drawer is an award winning blog with a loyal audience that has grown over the years. I love working with brands small and large on exciting collaborations that can bring products alive in my own signature aesthetic.