

summer style
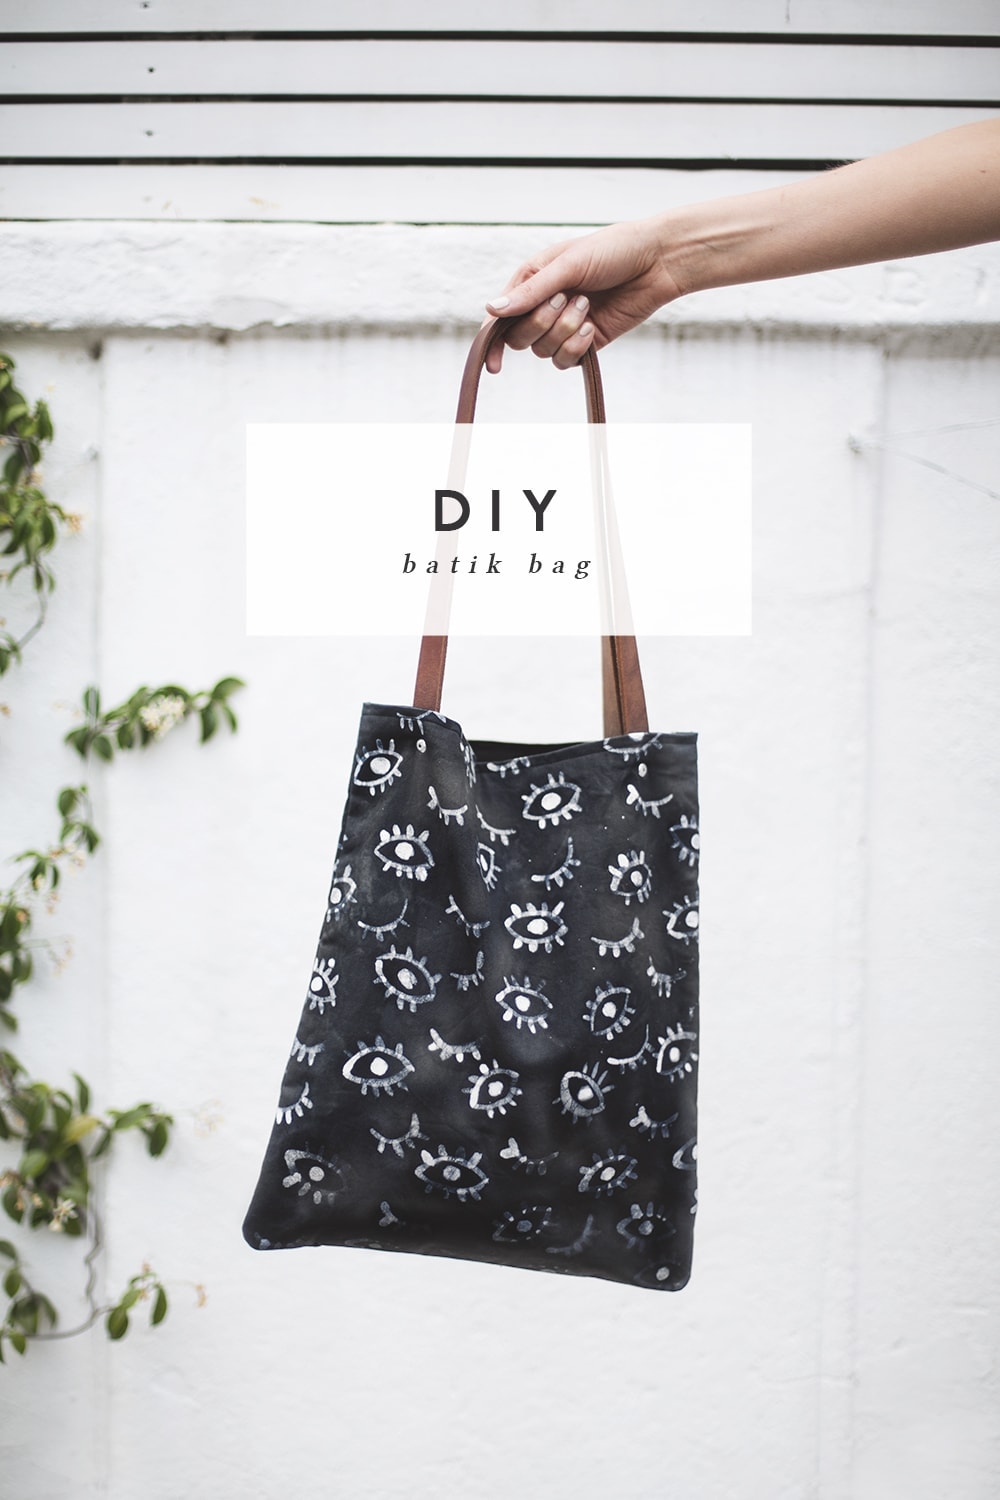
Hello! Right about now I’ll be boarding a plane to get my melt on in Egypt, land of the Pharaohs but I thought I’d bid you bye bye with this DIY Summer bag tutorial. It’s tucked away in the suitcase as we speak.
My last venture into batik was way back in secondary school art, when I created a somewhat ugly and over colourful ‘under the sea’ cushion cover. I wish I still had it so I could give you some contrast. Anyway, I thought I’d try and create a simple and versatile pattern that would translate into and everyday bag for all you eager crafters out there to get making. It does involve sewing but a tote style bag is about the easiest thing you could possible see so stick with me.

You’ll need…
- White cotton fabric
- Black cotton fabric for lining
- Black hand dye
- Salt
- Wax flakes
- Paintbrush
- Leather strap
- Leather punch
- Rivet machine
- Rivets
- Sewing machine
- Black sewing machine thread
- scissors
- Rubber gloves
- Iron
- Paper
To make…
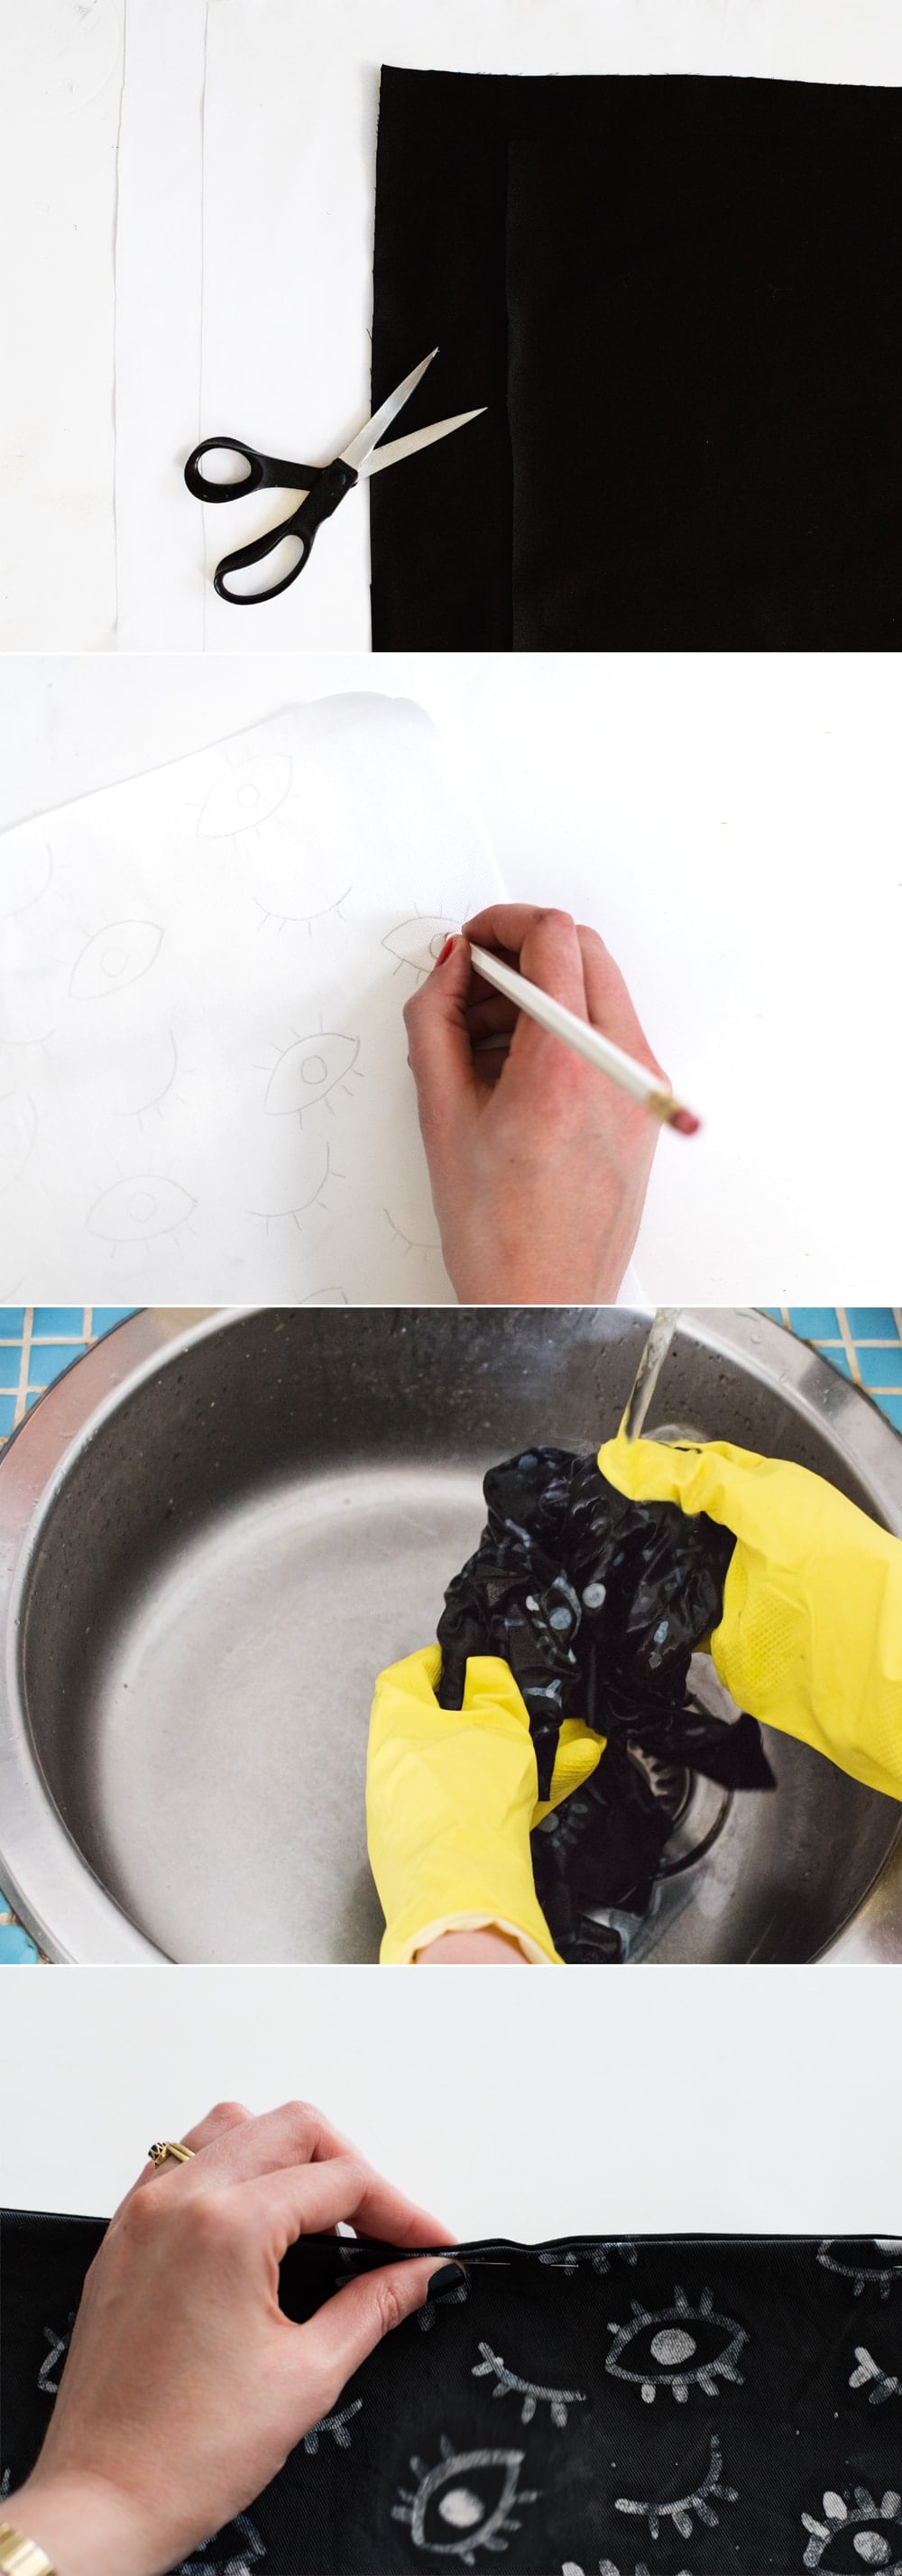
- Cut two rectangles from the white cotton to the size you want your bag, leaving a couple of centimetres extra for seam allowance. Do the same with the black lining fabric too.
- Then take a pencil and mark out the eye shapes lightly. These shapes are nice and simple to recreate.
- Heat your wax on a low heat in a saucepan. Keep it very low throughout. Brush the wax over your design being careful not to drop wax as you go. There is something nice about not being too neat however.
- Then leave to dry and rinse the wax pan out before it dries to the sides.
- Now follow the instructions on your hand dye packet to mix the colour. It will likely include salt and you can do this stage in a bucket or pan. Then carefully stir your white fabric into the dye and allow to sit for the recommended time. Then rinse thoroughly and leave to dry completely.
- Iron over the wax using a sheet of paper in between the iron and the fabric. The wax should stick to the paper and come away.
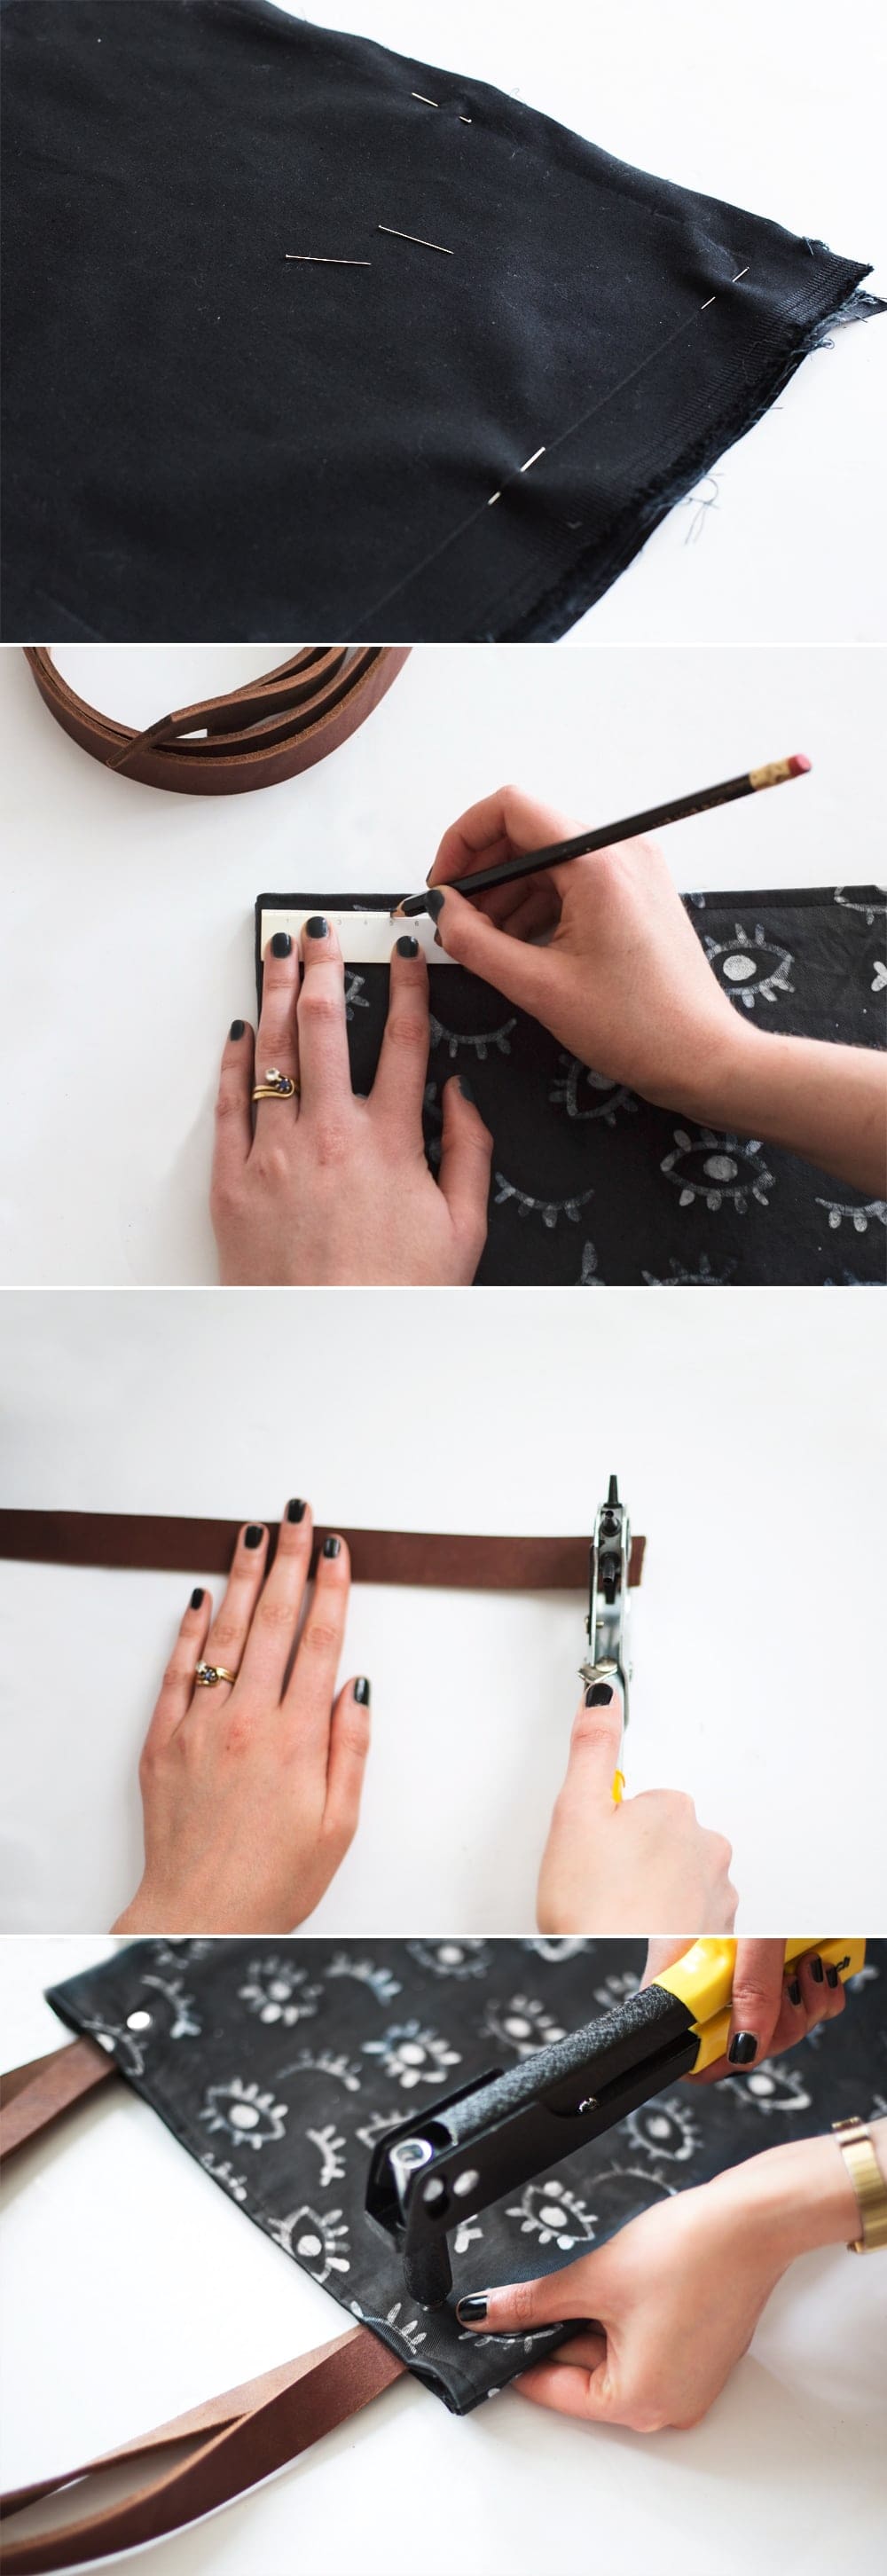
- Iron a fold of 1cm at the top of the lining and patterned fabric. The patterned fabric fold must be going inwards. Pin together for both sides of the bag (fabric to lining) and the sew with a straight stitch across the top.
- Then pin both fabric pieces together inside out (lining facing outwards) and see around the outside leaving about a cm of fabric at the edge. It works better to sew rounded corners rather than sharp points.
- Turn the bag inside out and mark an even amount away from each edge to show where you want your handles.
- Cut the leather in two and then work out what length you want them. You can now use the leather punch to punch holes through the ends of each strap as well as the fabric using your pencil marks as a guide.
- Find four rivets that match the size of your holes and use the rivet machine to secure the straps to the bag.
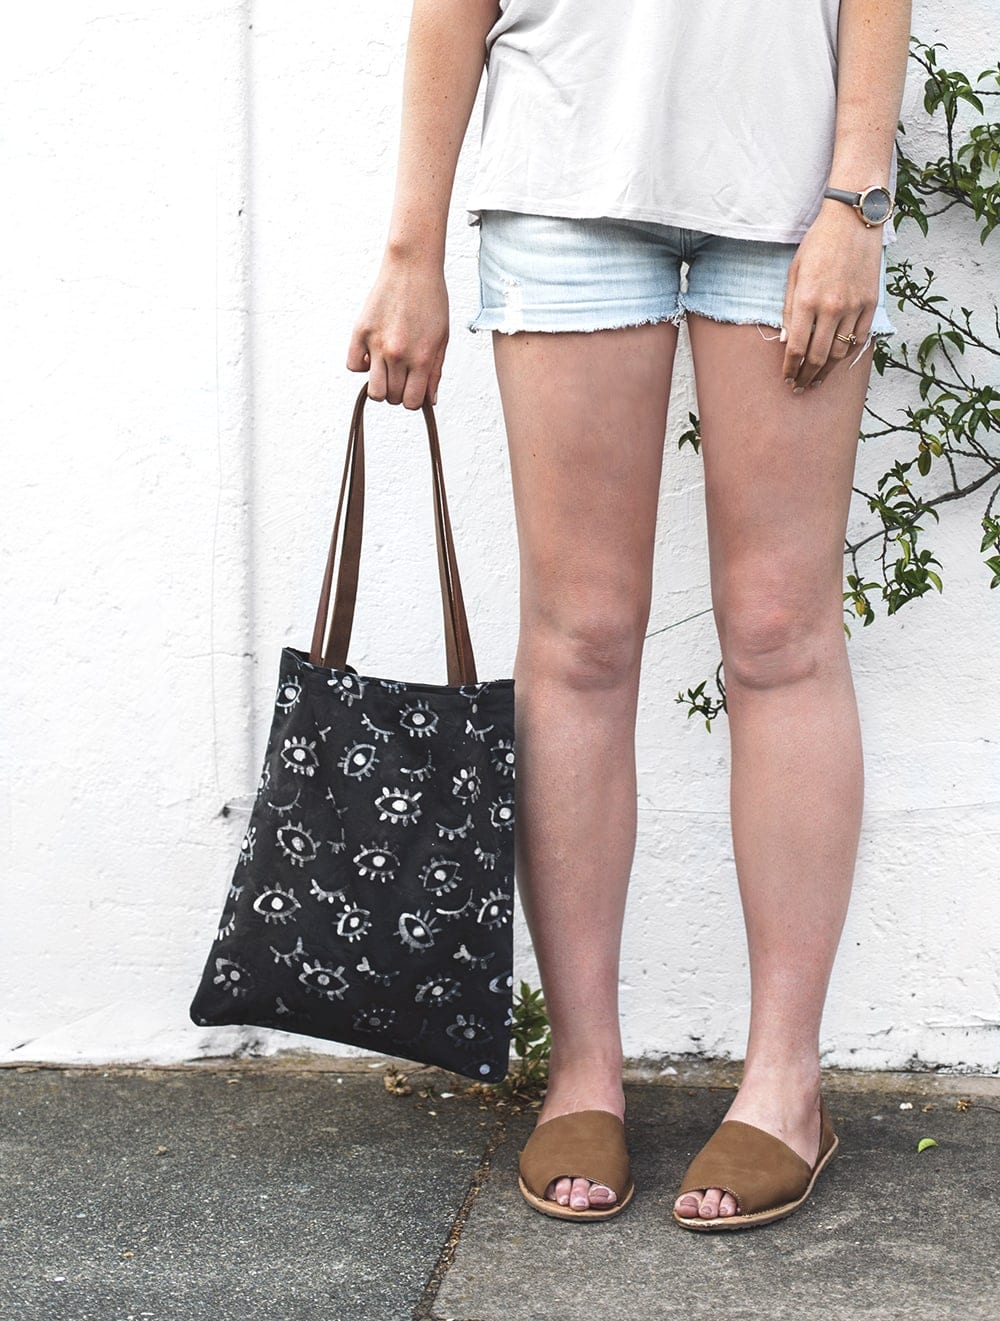
Now you can use your bag in the big wide world. It’s pretty durable with those leather straps too. I love that even though it’s patterned it still goes with lots of outfits, something that often holds me back from buying patterned goodies.
Give it a go! It looks a lot harder than it is! I’ll catch up with you again later this week folks.
You might also like


Meet The Lovely Drawer

Hi, I’m Teri and welcome to my own creative corner of the internet. I blog about interiors, DIY projects, design inspiration and my general life so stick around have a read and say hi.
In the shop
 Quick ViewSelect options
Orchard Days
£20.00 – £25.00
 Quick ViewSelect options
Chicory
£20.00 – £25.00
Work with Me
The Lovely Drawer is an award winning blog with a loyal audience that has grown over the years. I love working with brands small and large on exciting collaborations that can bring products alive in my own signature aesthetic.