

Welcome To My Workspace
Our studio workspace is without doubt the most revolutionary addition to our lives since moving. Ever since I quite my job and started my business full time I’ve been working from the dining room table. I’m sure there are many out there that can empathise with this newbie struggle, although when I was doing it I felt like I was the only one who didn’t have a lovely designated workspace, or even just a desk!! In our old teeny or shall we say ‘cosy’ flat, we had to make the choice between a dining table or a desk for me. There honestly wasn’t room for both and with us really valuing having people into our home for meals, it wasn’t really a choice.
People used to ask ‘how do you do it?’ And, ‘surely you want to rent a co-working space or desk somewhere?’ When you’re starting out the truth is you just have to accept that ‘it is what it is’ and get on with it. I didn’t have the spare pennies to rent a space somewhere, for a while I wasn’t even making money! Particularly as there aren’t many of those places as options around where I live, which would mean paying to commute there each day as well…I’d just happily waved goodbye to commuting!
In all honesty the set up was fine for quite a while and I started out by strategically working it so that I didn’t have to hold much stock. The dining table gave me enough room to spread out even though it really was squished into the space itself. There was good natural light for photos and I just had to accept that styling a shot would probably involve moving most of the stuff including furniture out of the dining room and leave the house temporarily looking like carnage. After a while I would quite often go and work in local cafes just to get a breather from home and a change of scenery if I felt cramped. At the end of the day I’d make sure I cleared the table before I finished but as you can imagine, work/life separation was hard. The dining room was only an alcove away from our open plan kitchen/ living room. Trying to relax on the sofa in the evening sometimes felt like I was still at the office, still in work mode.
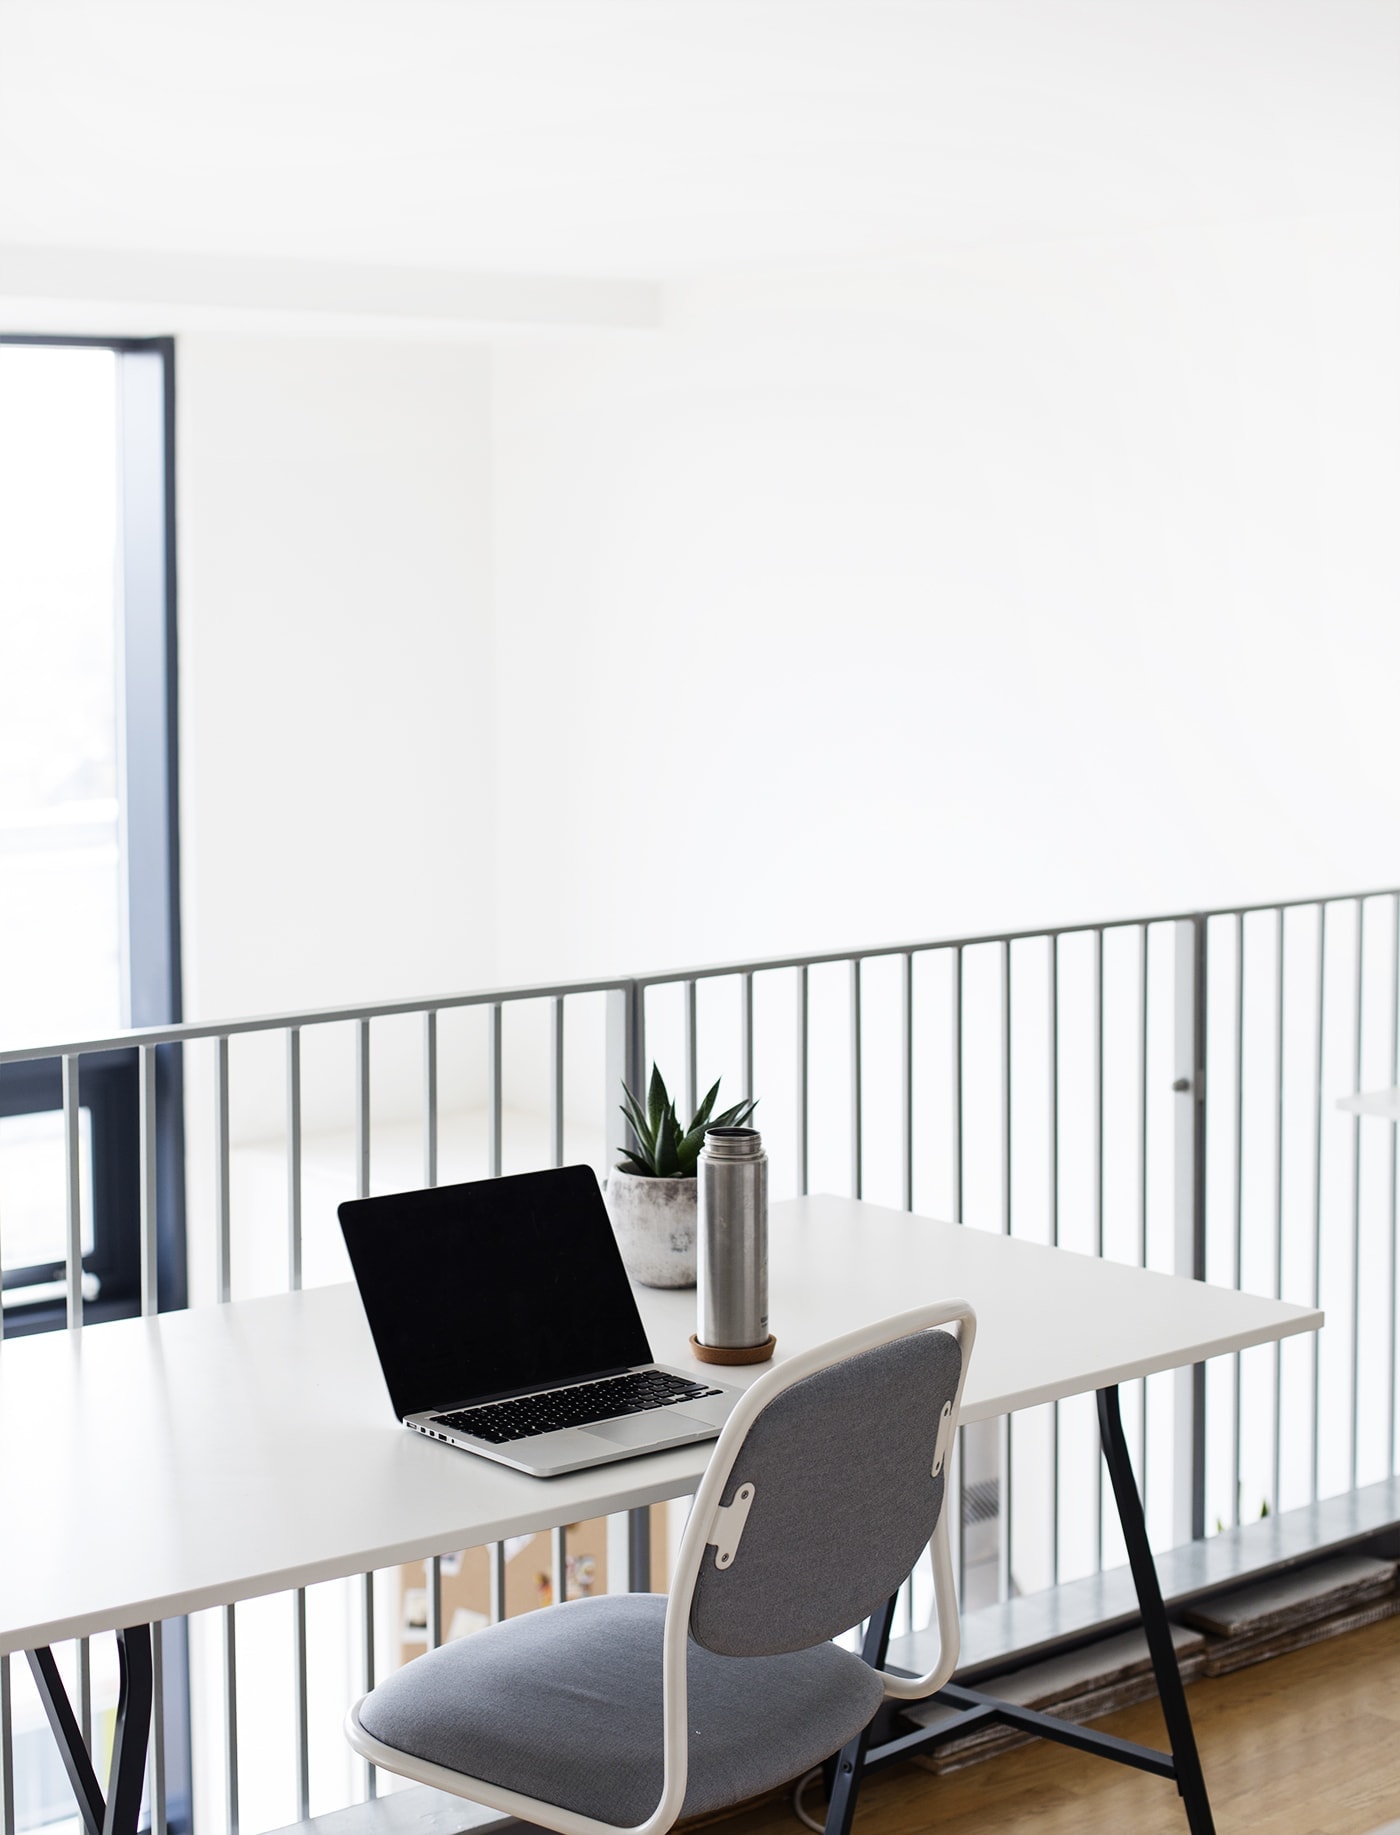
As things progressed I had a lot more product to house, along with packaging materials, craft supplies and styling props. Cupboards were rammed and I had boxes and tube rolls stuffed into every available space, under sofas or the bed. It was chaos and a sort of ‘open at your peril’ situation, where you could quite easily be initiating an avalanche! When Nick was told that his job was changing to working from home, it only took 2 days before we were already saying it was impossible! You may be thinking that’s quite intense for a couple but I actually love it when Nick works from home. That’s not the issue, but the limited space and storage was unbearable, particularly when Nick needs two screens to do his job! On day two I was searching property sites for a new place to rent. Our current place immediately stood out and as soon as we saw it and saw the huge mezzanine area upstairs we knew it would be the perfect office space for both us and plenty of room for an extra desk for an intern too!
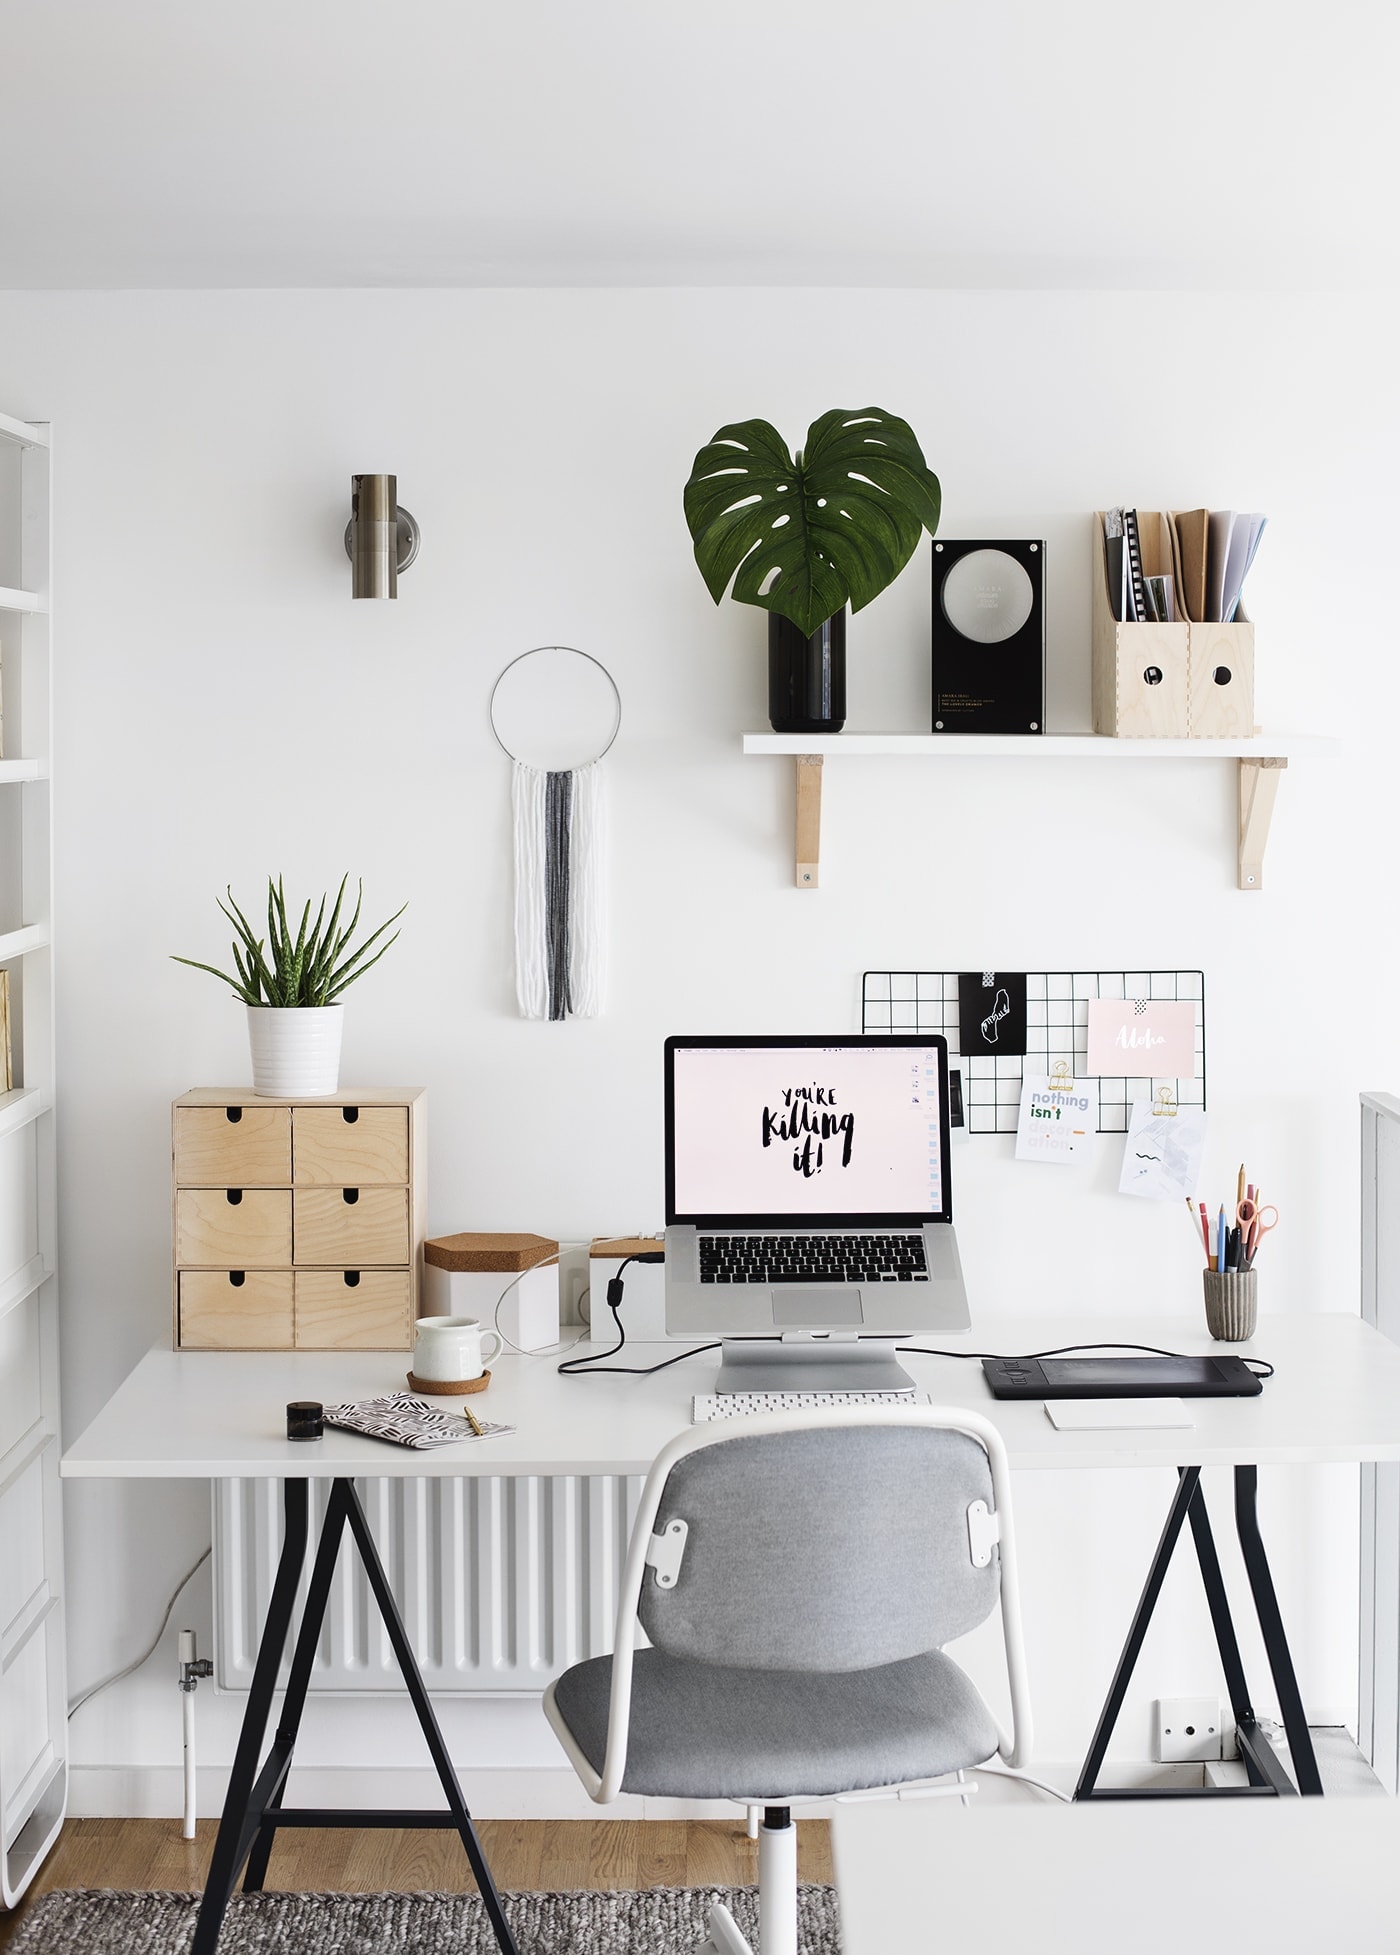
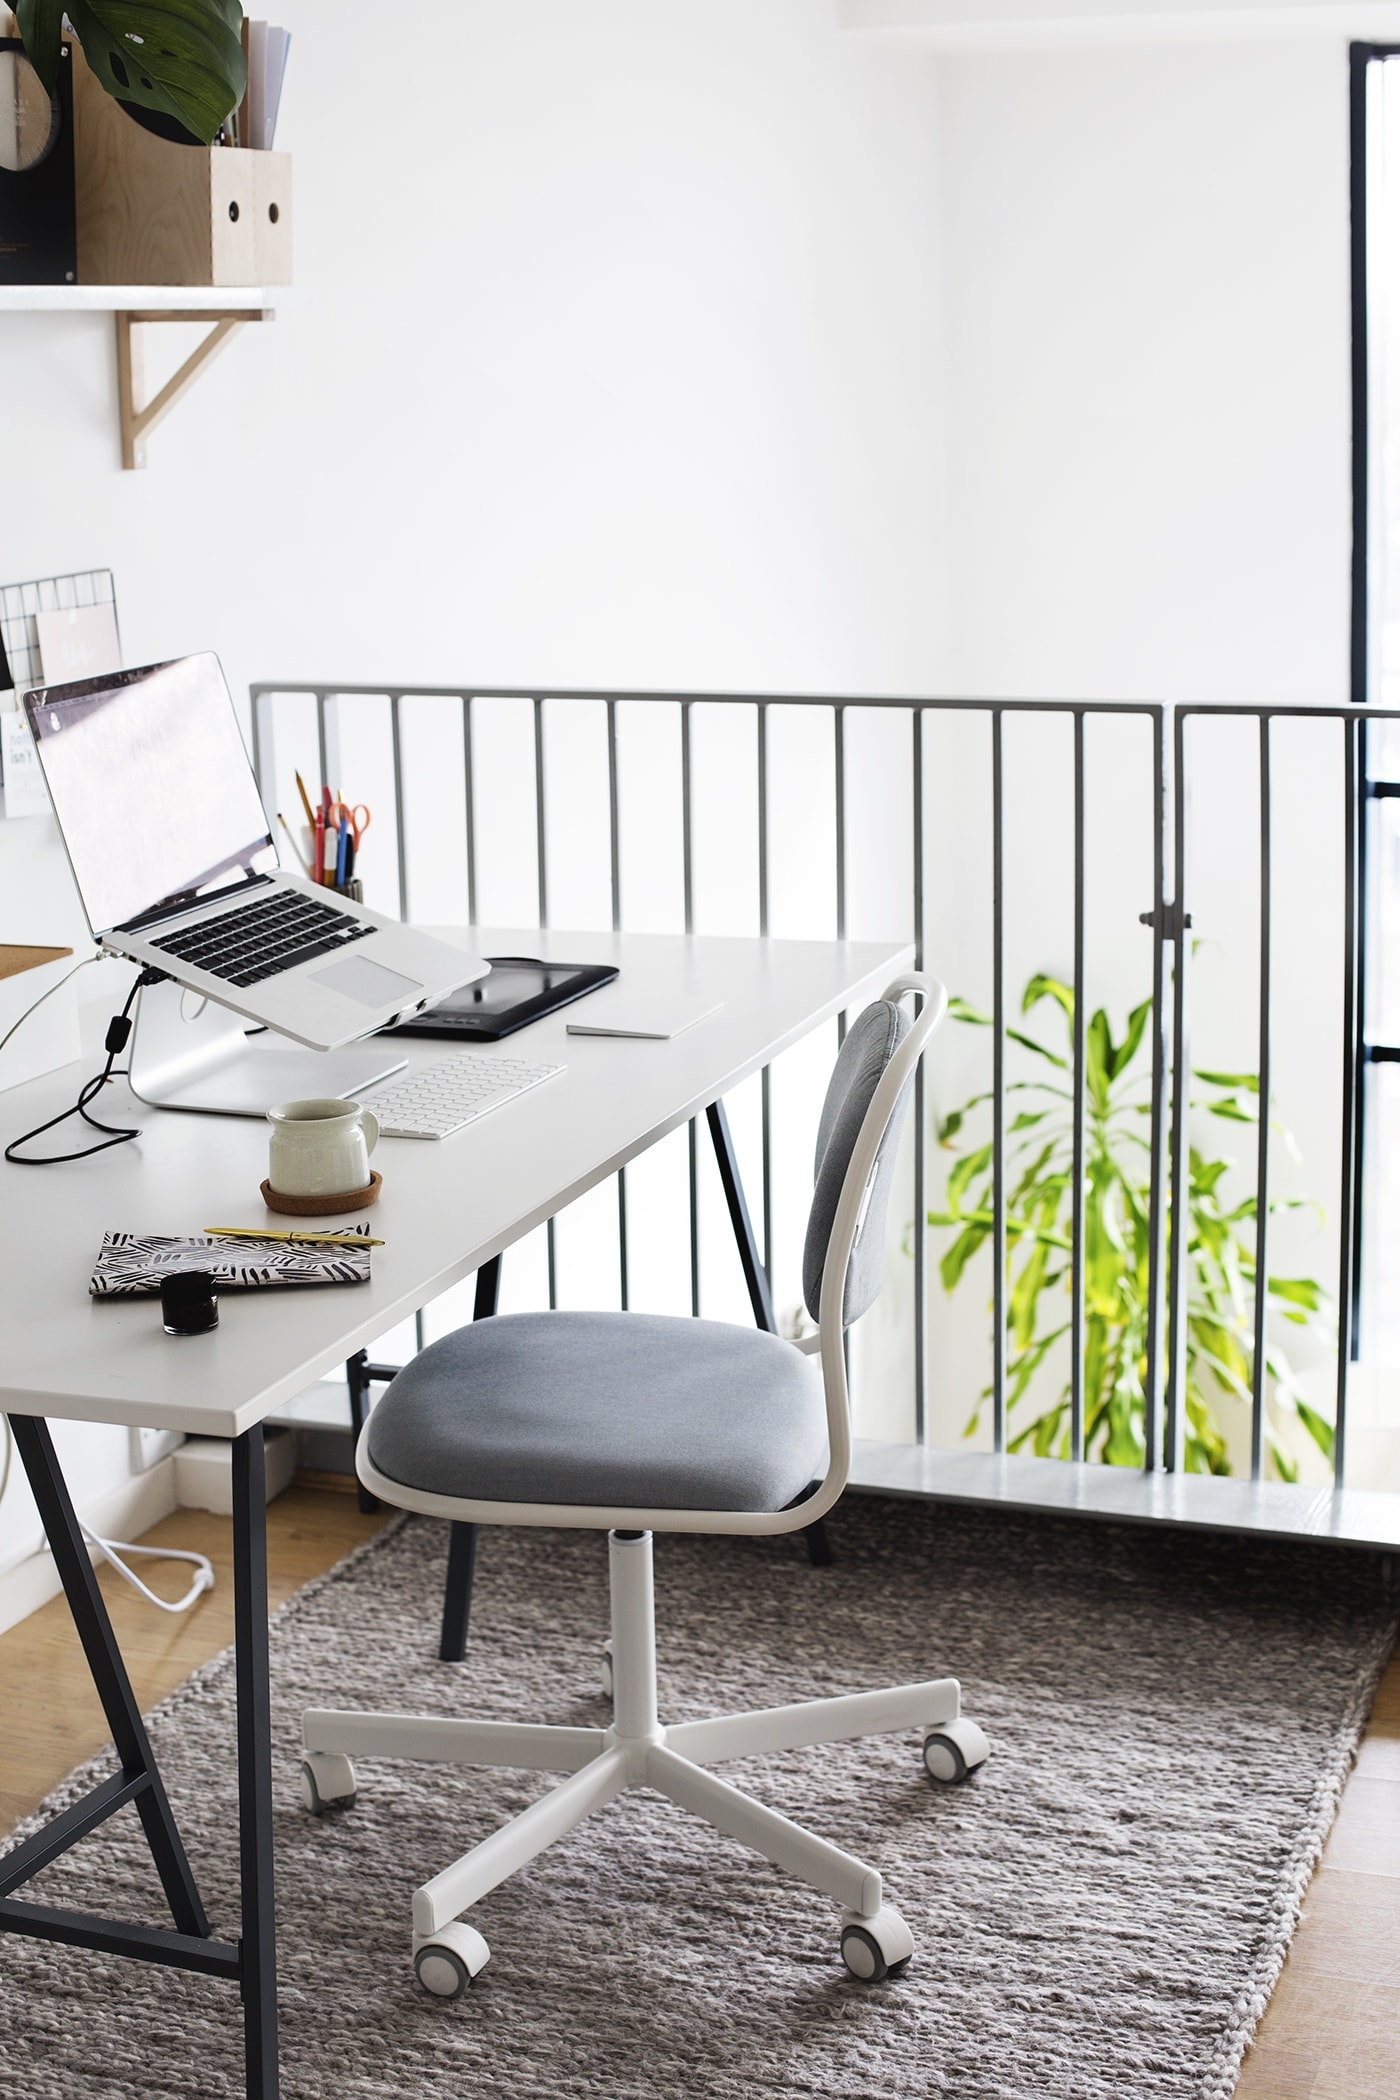
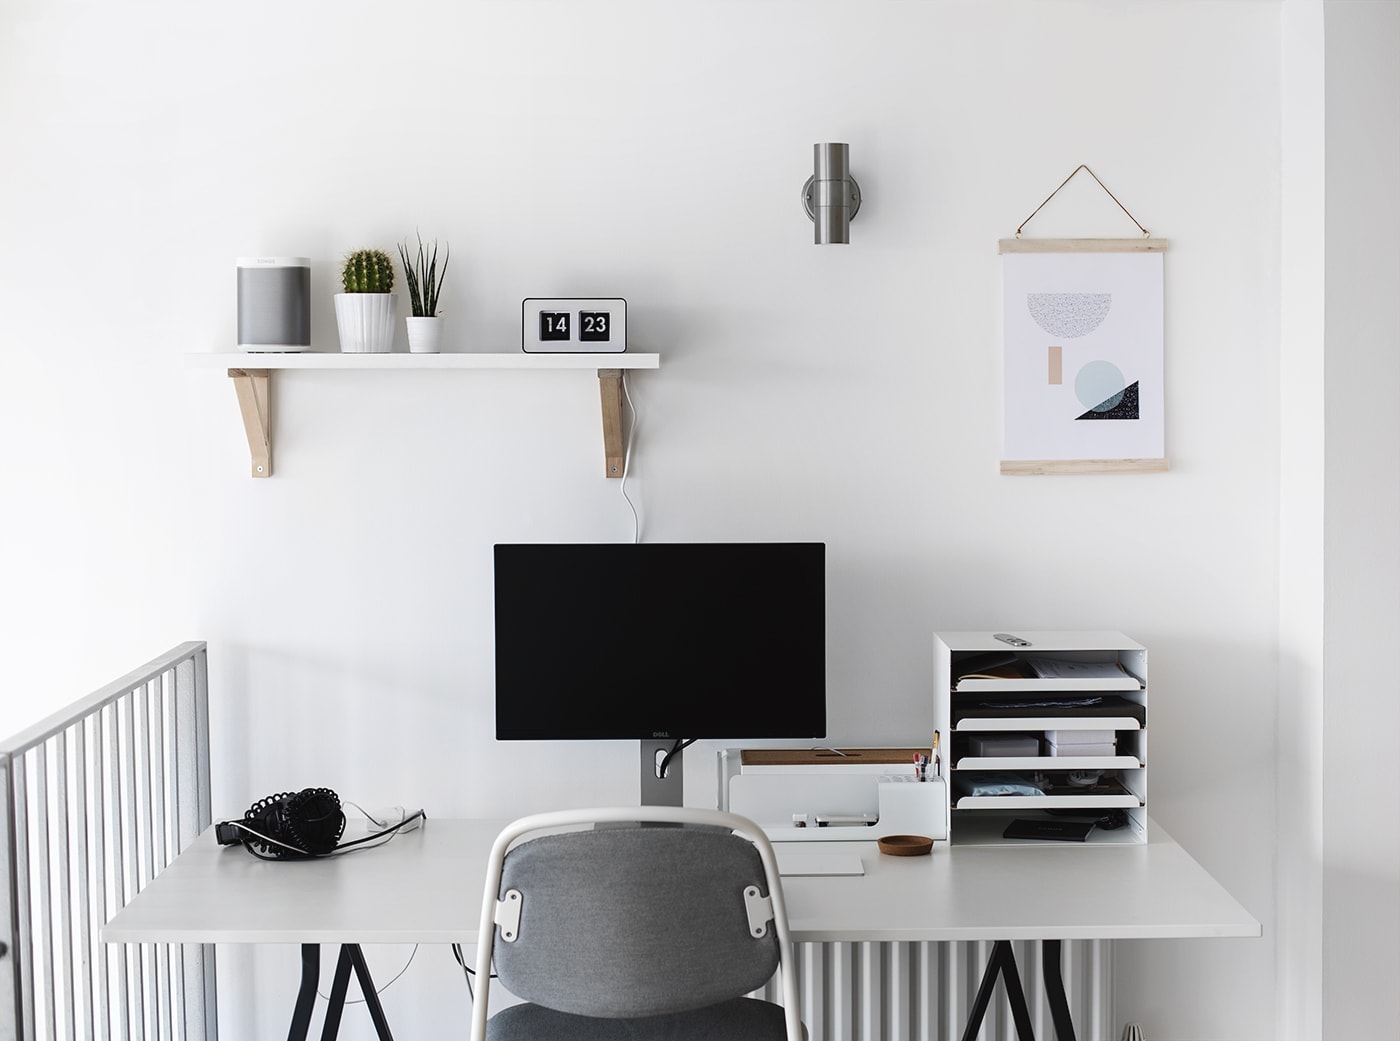
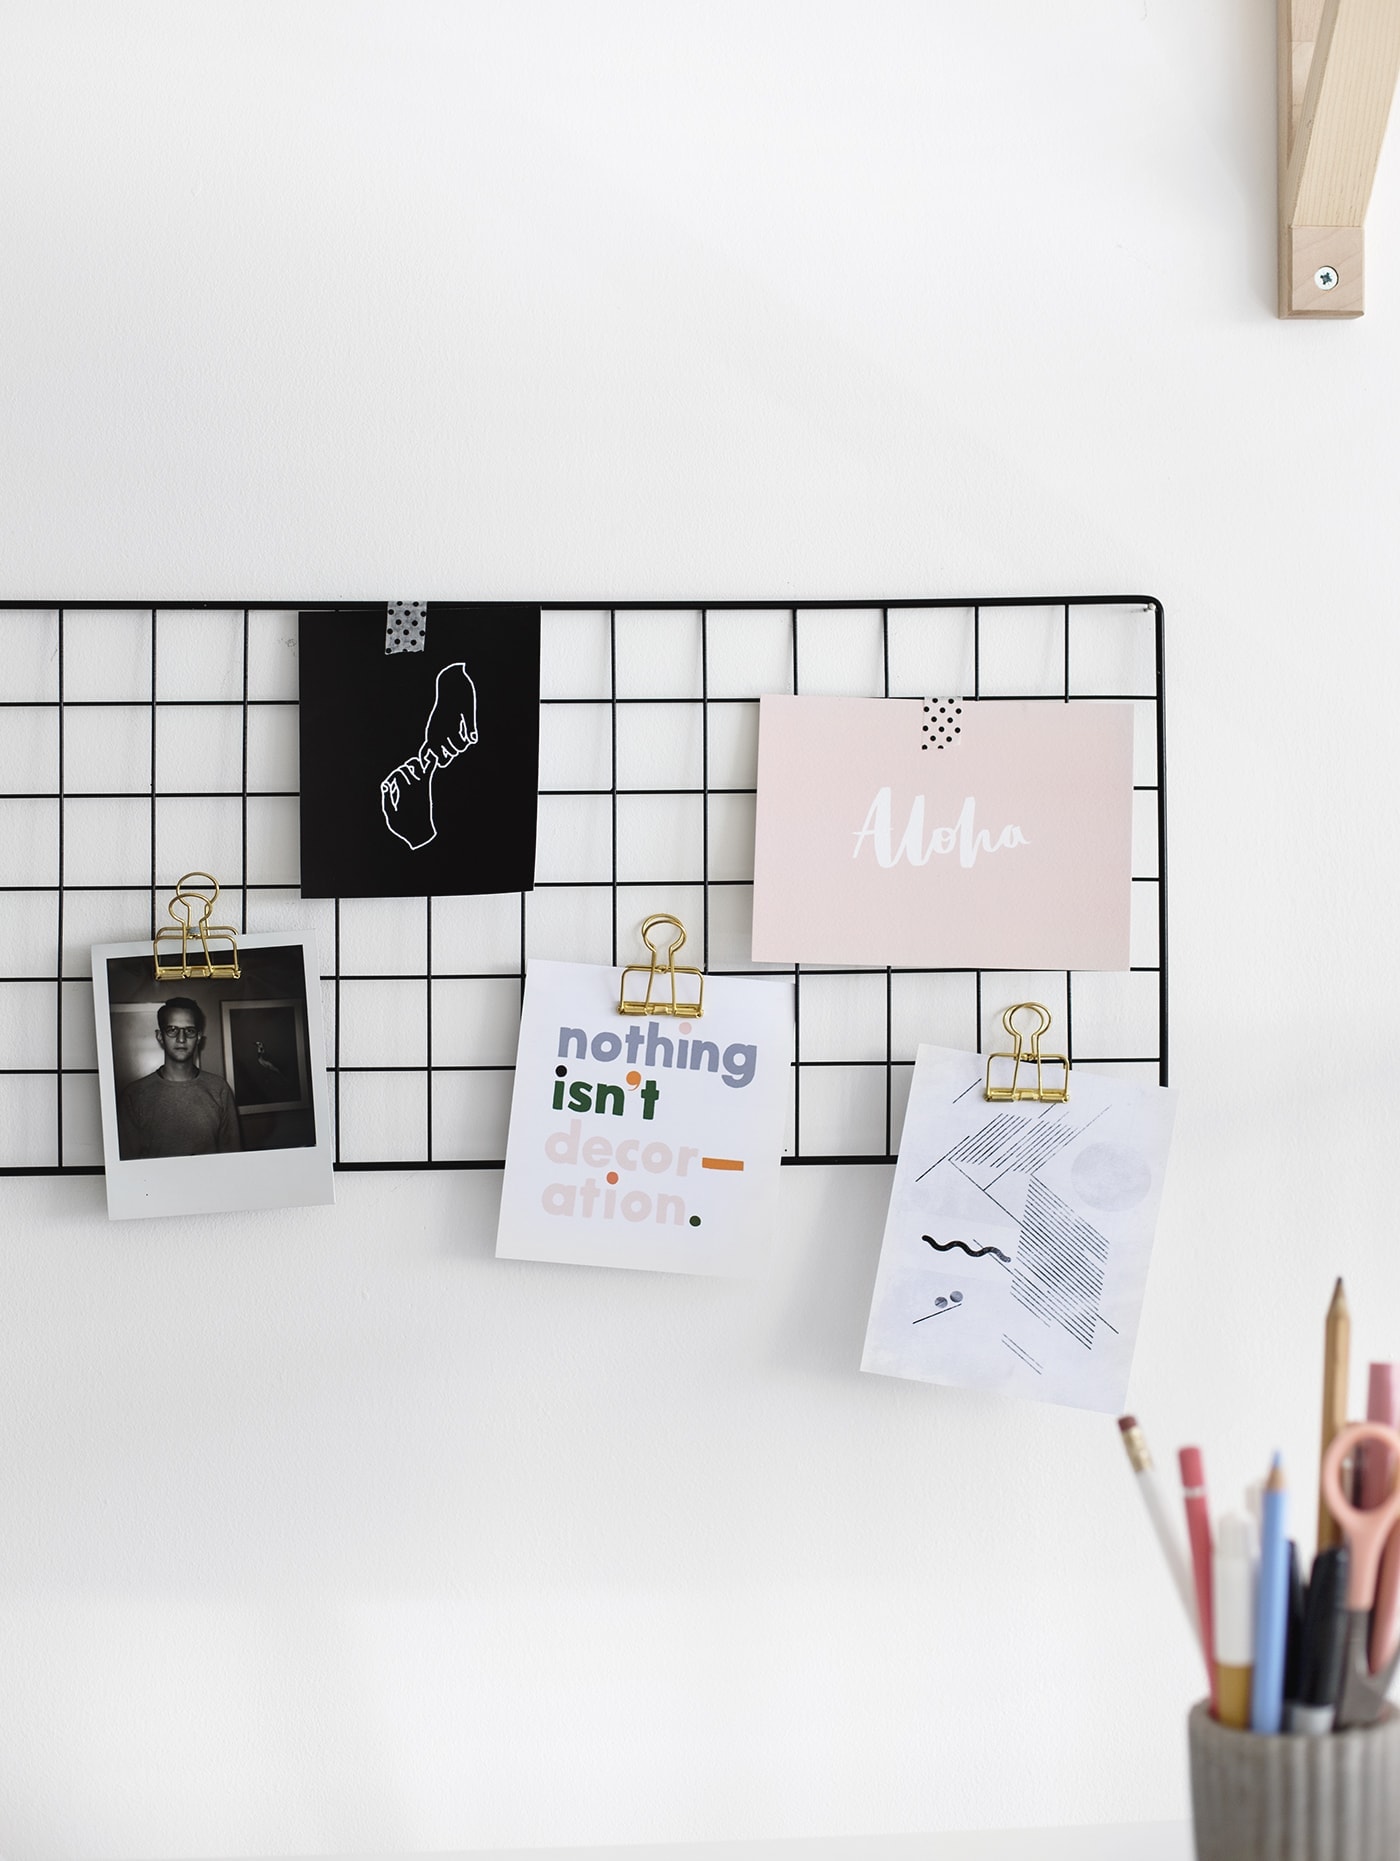
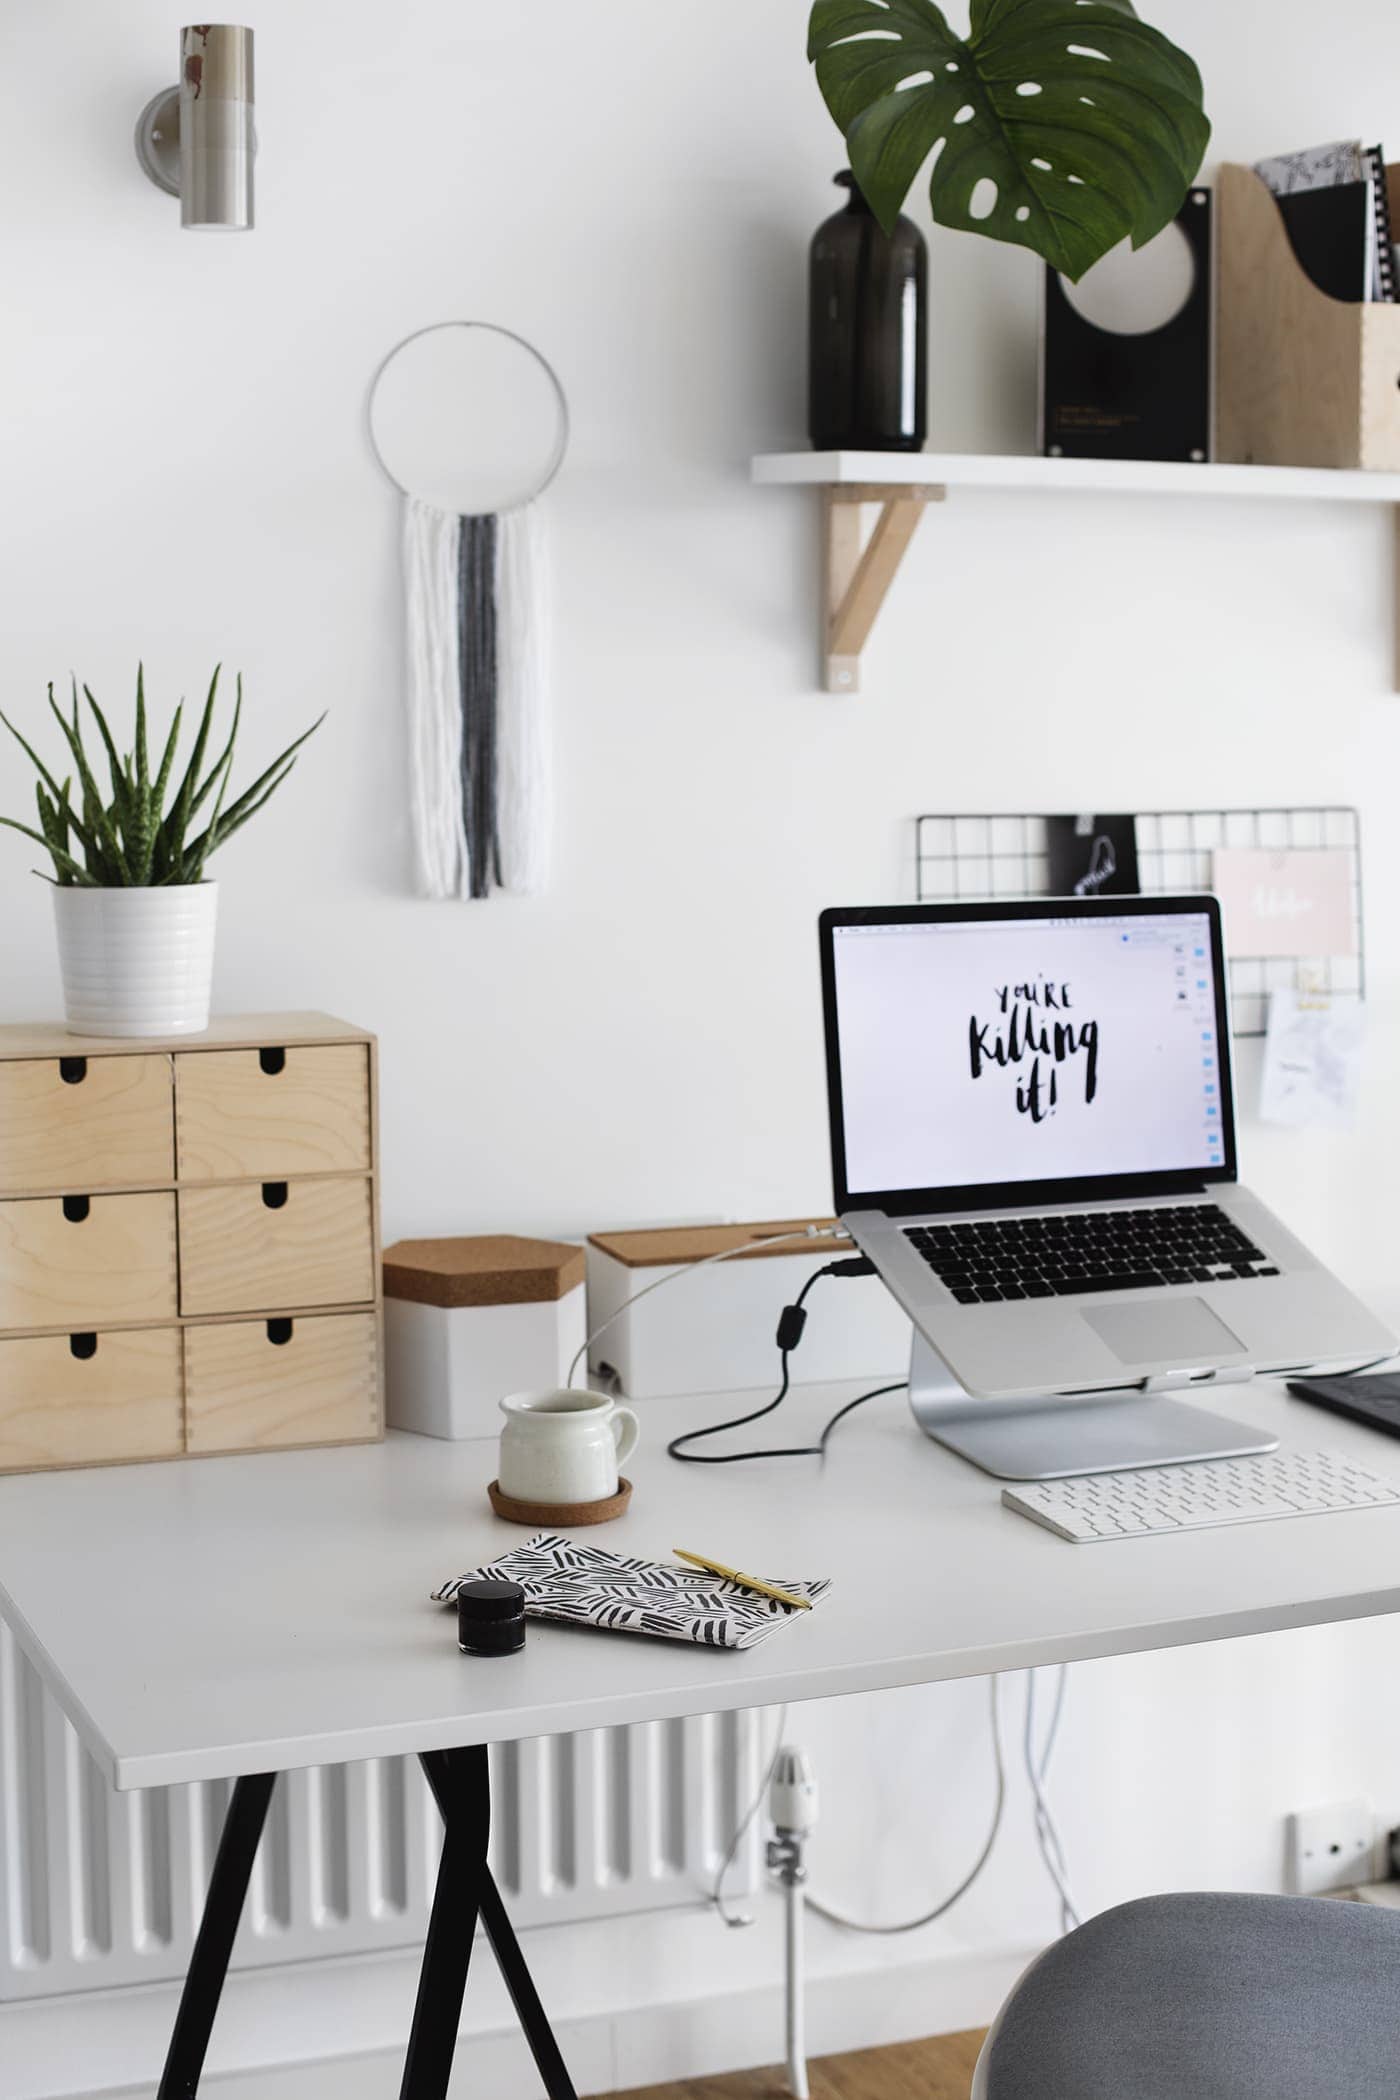
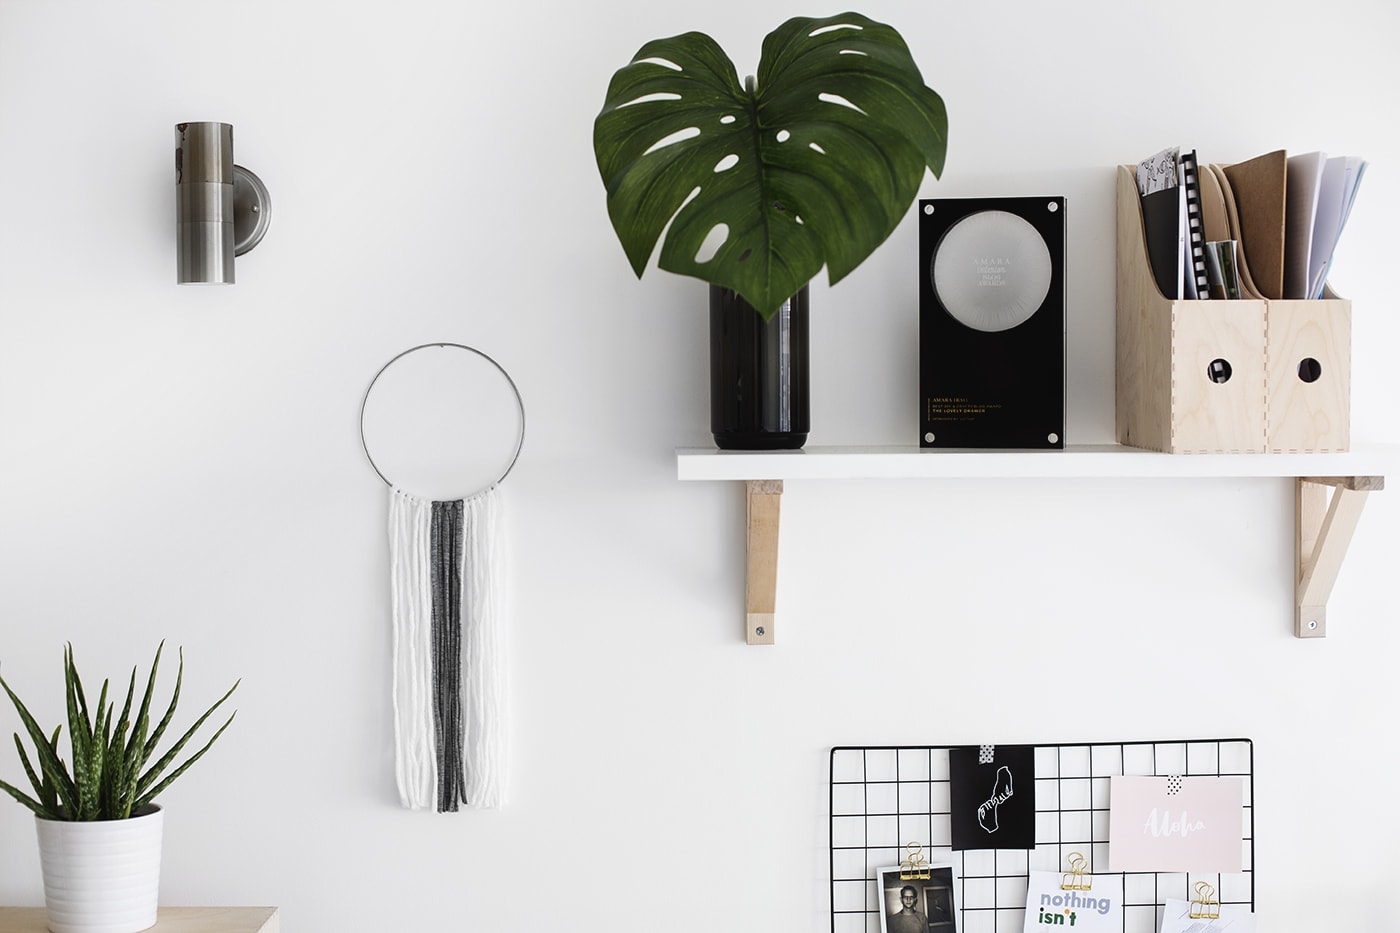
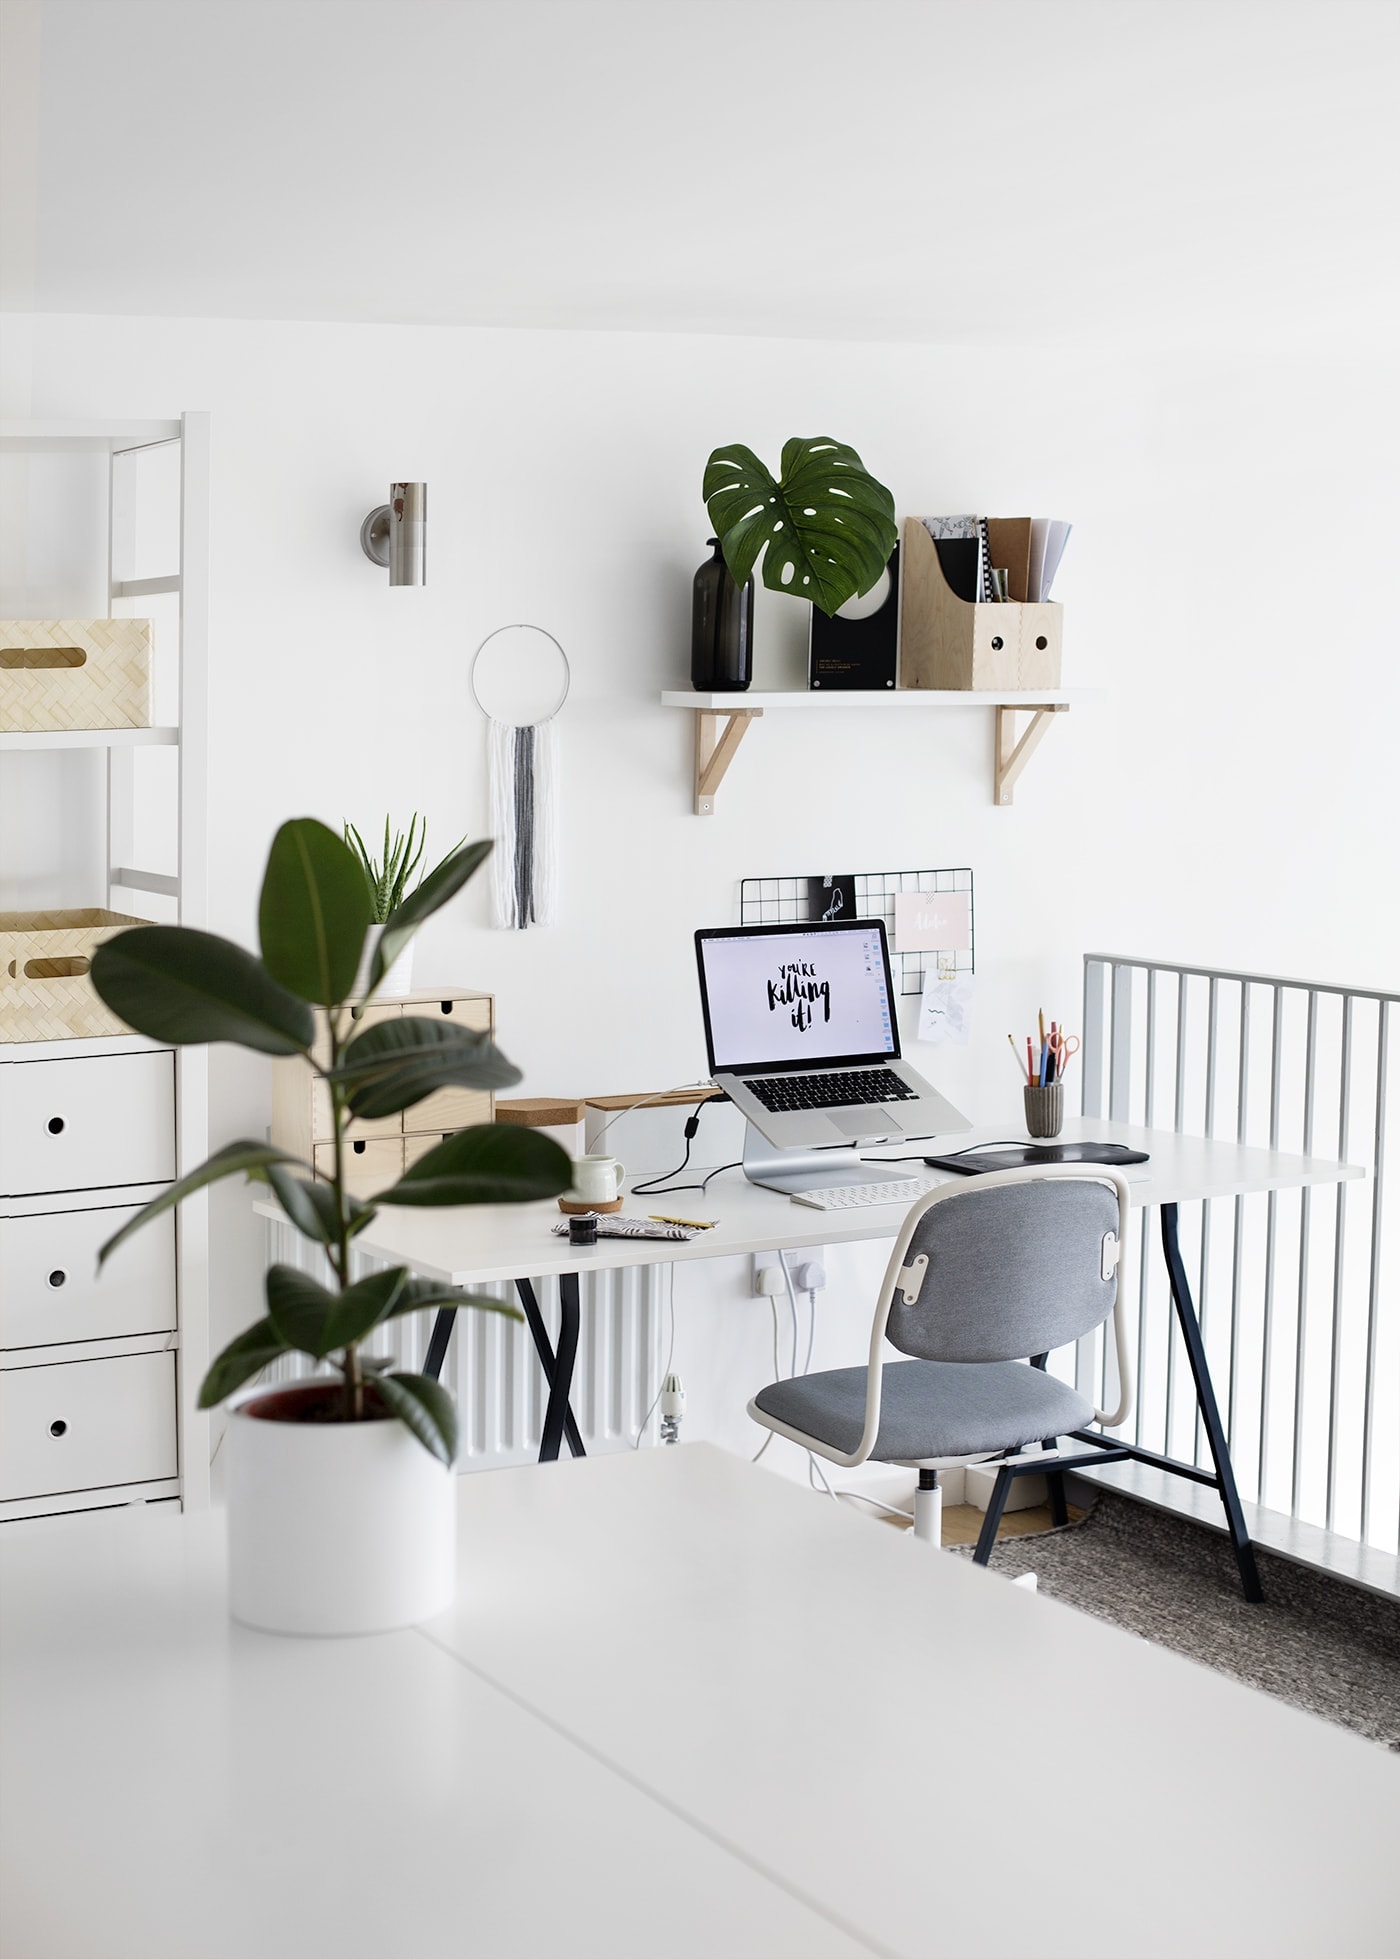
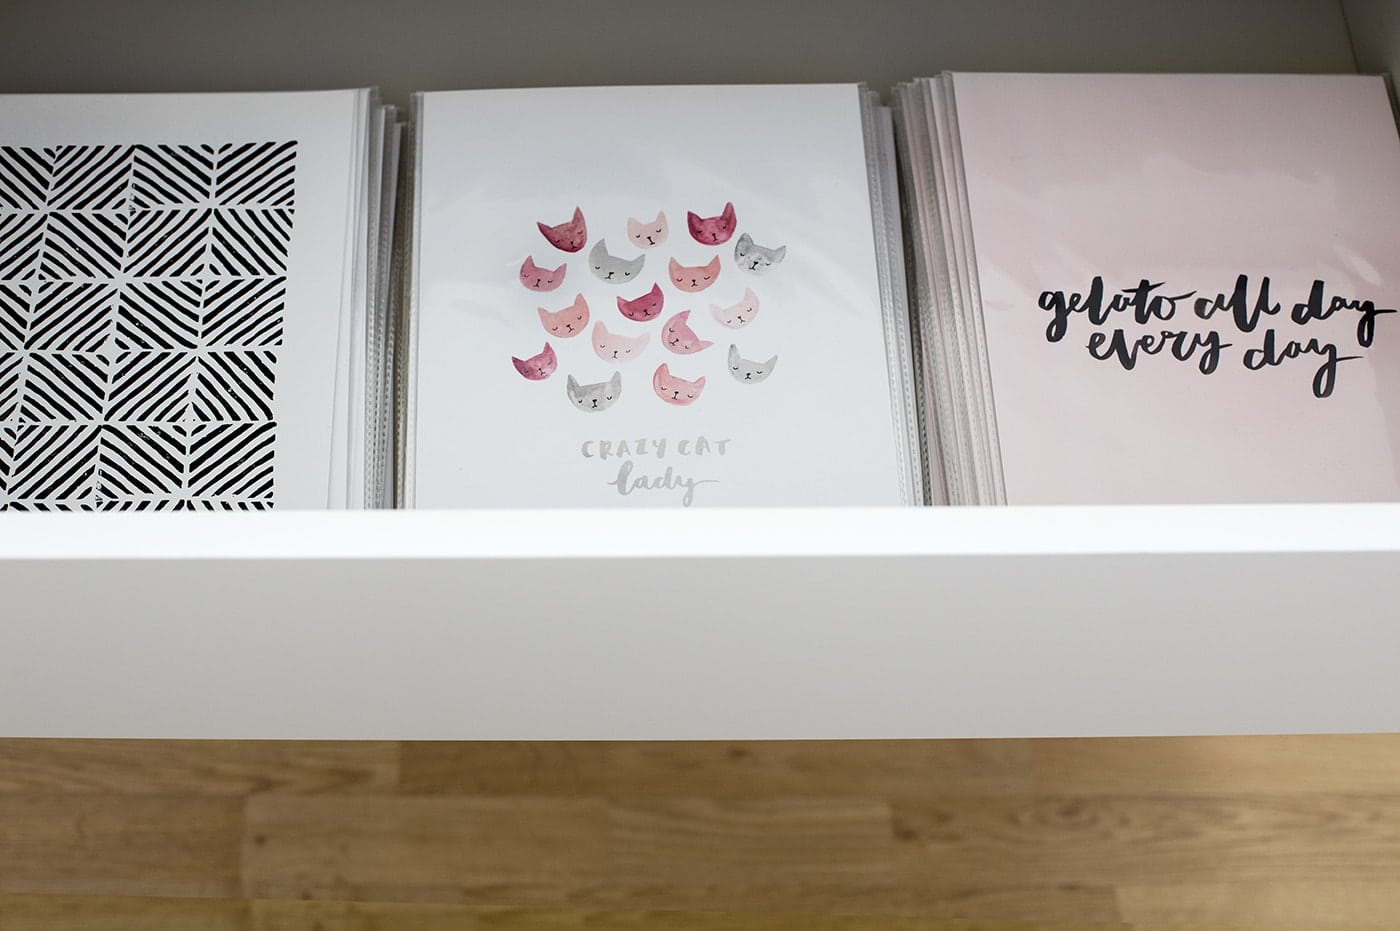
 open storage unit | set of drawers | desk tops | desk legs | desk chairs | grey rug | letter tray | cable organiser | wooden filing | office clock | mesh notice board ( I spray painted it black) | monochrome zig zag print (smaller versions)

When we first moved into our flat the most frustrating part was waiting to have the time to tackle our workspace. The mezzanine floor was essentially the dumping ground for all our boxes and random things we didn’t have a home for yet. Meanwhile we didn’t even have a dining room table yet. In fact it didn’t arrive for over two weeks so we were both working on the sofas, getting cricked necks peering at or laptops and baking in the direct sunlight that streamed in courtesy of the floor to ceiling windows. It was less then ideal. Finally Christmas break came and there was time to kit out our office.
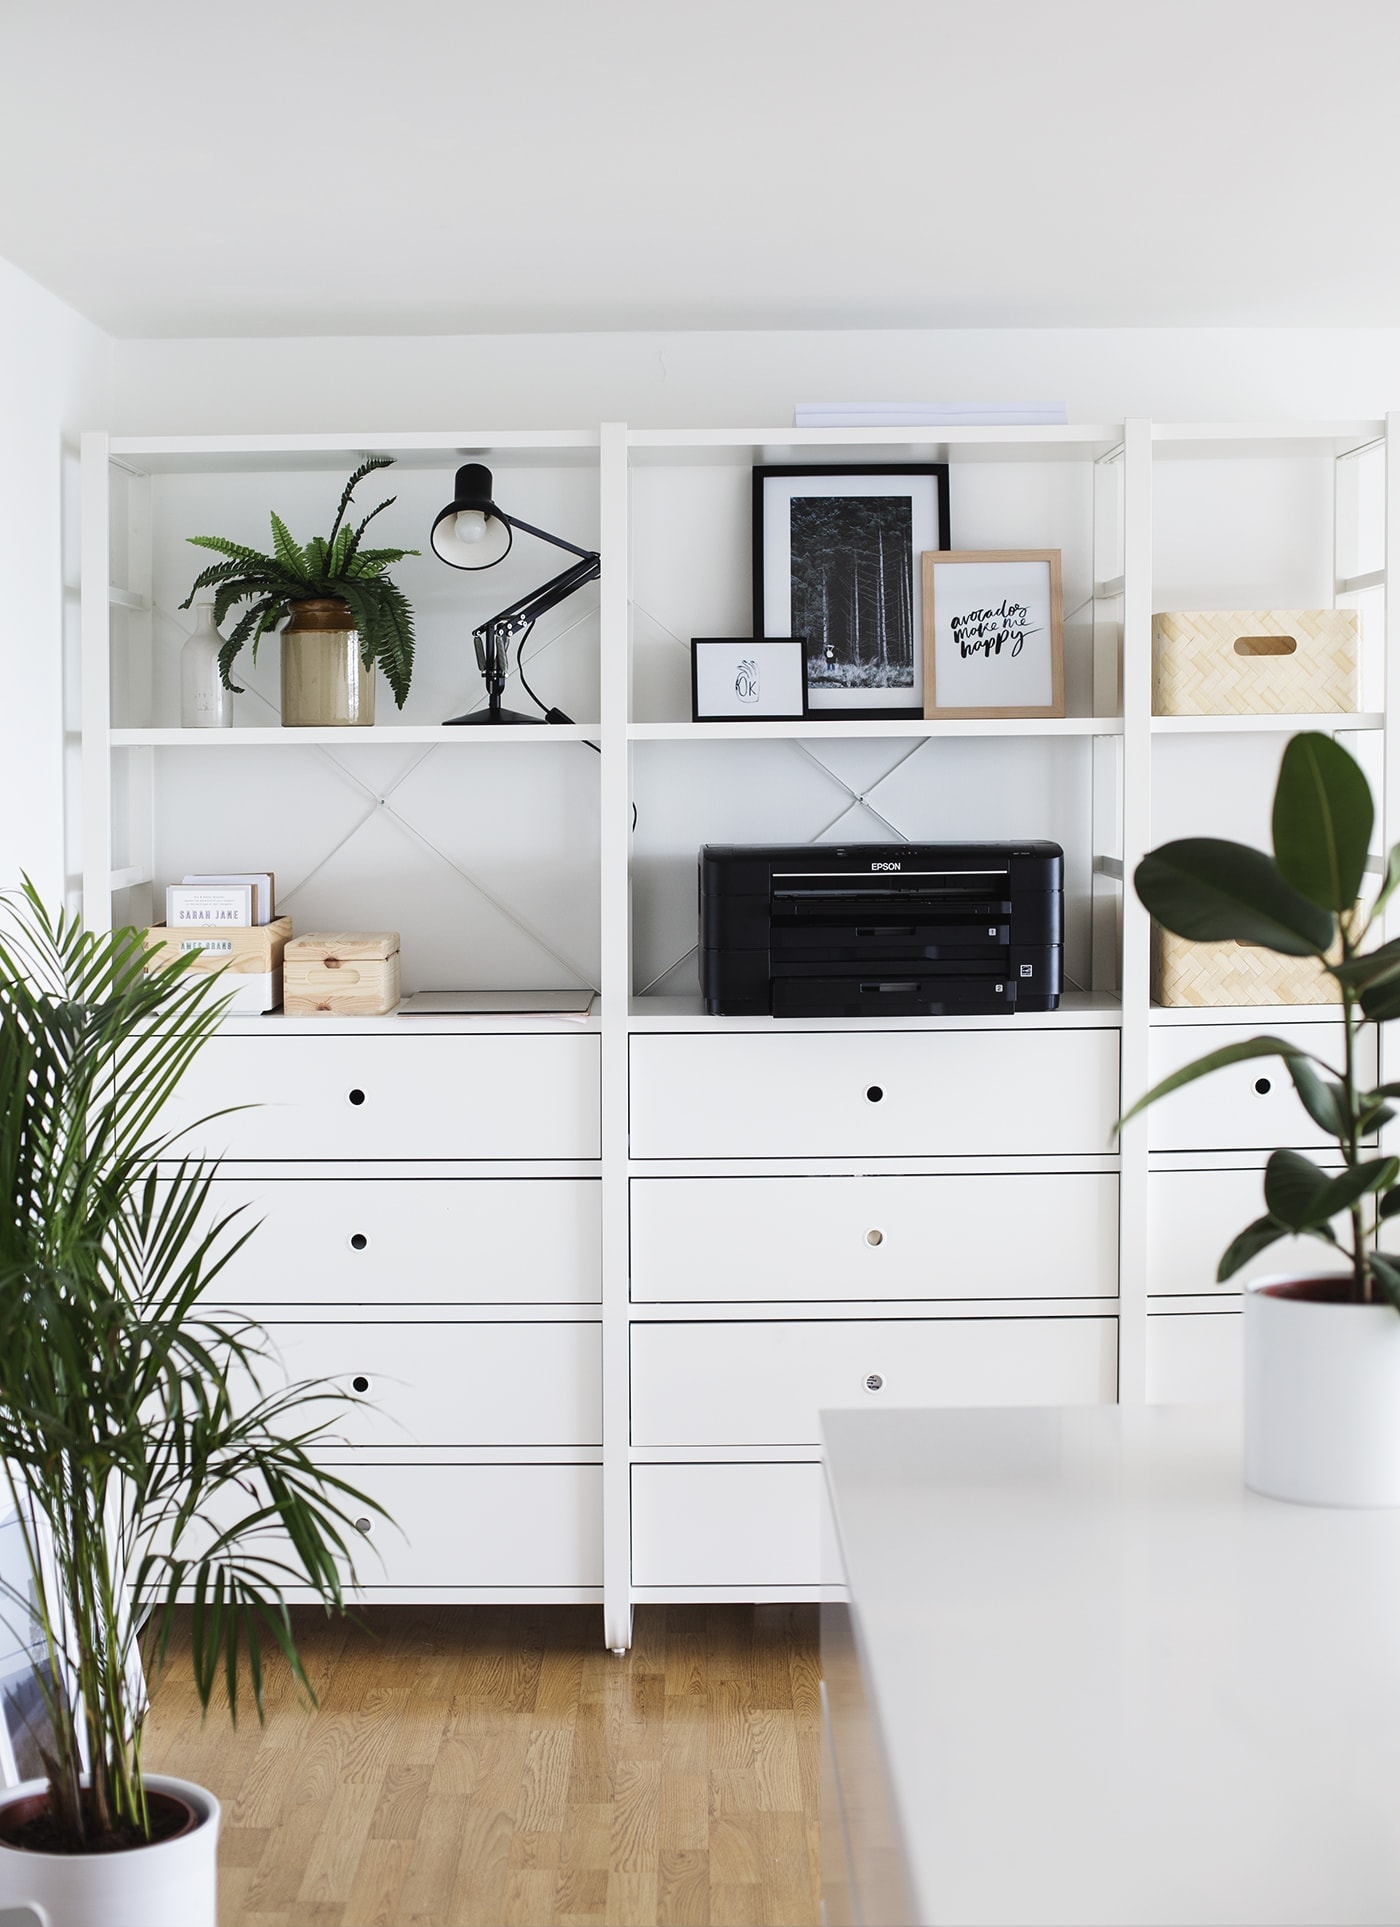
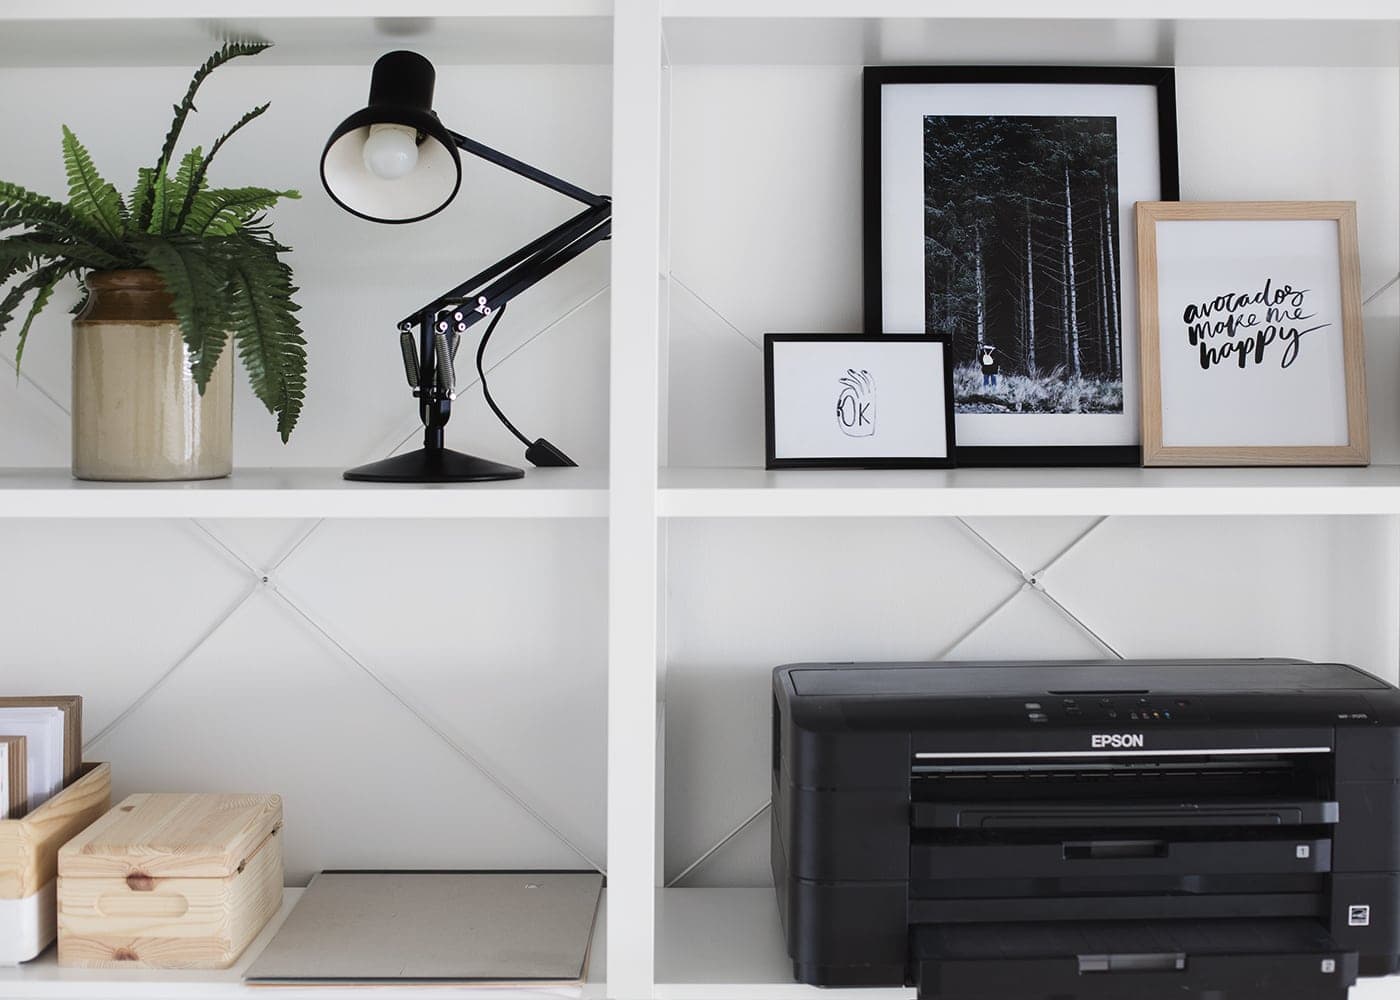
Suddenly space wasn’t an issue and we could opt for the largest desks, huge plan chests in the centre of the room and shelving units big enough to house my printer. Nick is the sensible one when it comes to this sort of thing and so he made a to scale drawing of the space so we could plan how each item would fit. Even despite that we had quite the saga! Our large wall shelving system turned out to be the most painful process in comedic proportions.
First off with all the extensive measuring of the floor plan we hadn’t taken into consideration the height of the room. The ceiling isn’t as high up there and as we propped the supporting metal strips against the wall we quickly realised each was roughly 5cm to tall! Cue a journey of discovery in Homebase where I was advised to buy an angle grinder, blades and goggles, returning home with a pile of lethal weapons only to see Nick’s face drop in horror. After canvasing general opinion on the safety of angle grinders (not wholly positive) and a friend even attempting to use it for us and chickening out, we swiftly returned the beast and found a place down the road that actually cut metal professionally. We carted 6 long metal legs down the road like the chuckle brothers and paid more than we would have liked for such a simple job. When Nick finally got to making them we realised that there were quite a few bits missing. As it was a kind of mix ‘n’ match set, the instructions in store hadn’t really made things very clear and for some reason the staff couldn’t help us plan this particular storage model. Off we went on our second trip to Ikea in just over a week to get what turned out to be an enormous pile of missing boxes. I was just treating myself to an evening bath when I heard Nick cry out in blazing rage from the mezzanine. It turned out that we had all matching drawers and inserts but now we realised the original metal rods that we had cut were actually the ones for the shallower storage version! We’d planned everything around having the extra drawer and shelving space but we could hardly return our now cut metal rods, particularly after spending so much to get them to fit! We had to swallow the news and arrange with them to come and collect all the wider parts we had and do a straight swap with the shallow versions. At this stage we couldn’t face yet another trip to Ikea, much as I love the place.
I still don’t think Nick has recovered from that epic tale of woes and annoyingly A4 paper only fits in horizontally and my printer kind of pokes over the edge a little but at least it’s done and functioning. So be aware folks….the Elvarli storage unit is a minefield that takes some navigating. Nick should probably rent out his experienced knowledge to potential buyers, this side of the drama. We also had to remove our landlords old box, bed base in order to build the shelving which was traumatic in itself. After countless attempts at positioning it at every angle we could think of and consequently scuffing the staircase wall from top to bottom, we ascertained that there was no way it would fit down! Nick’s suggestion was pushing it off the mezzanine railing and lowering down to me, ready with open arms in the downstairs space. I was convinced that was how I was going to die as it came towards me; heavy, solid sold and predominantly metal. What a naff death that would have been, ‘crushed by a bed base’. I’m happy to say it worked but it really did feel like every possible obstacle was in our way, and we weren’t even renovating the place or doing any serious DIY to boot.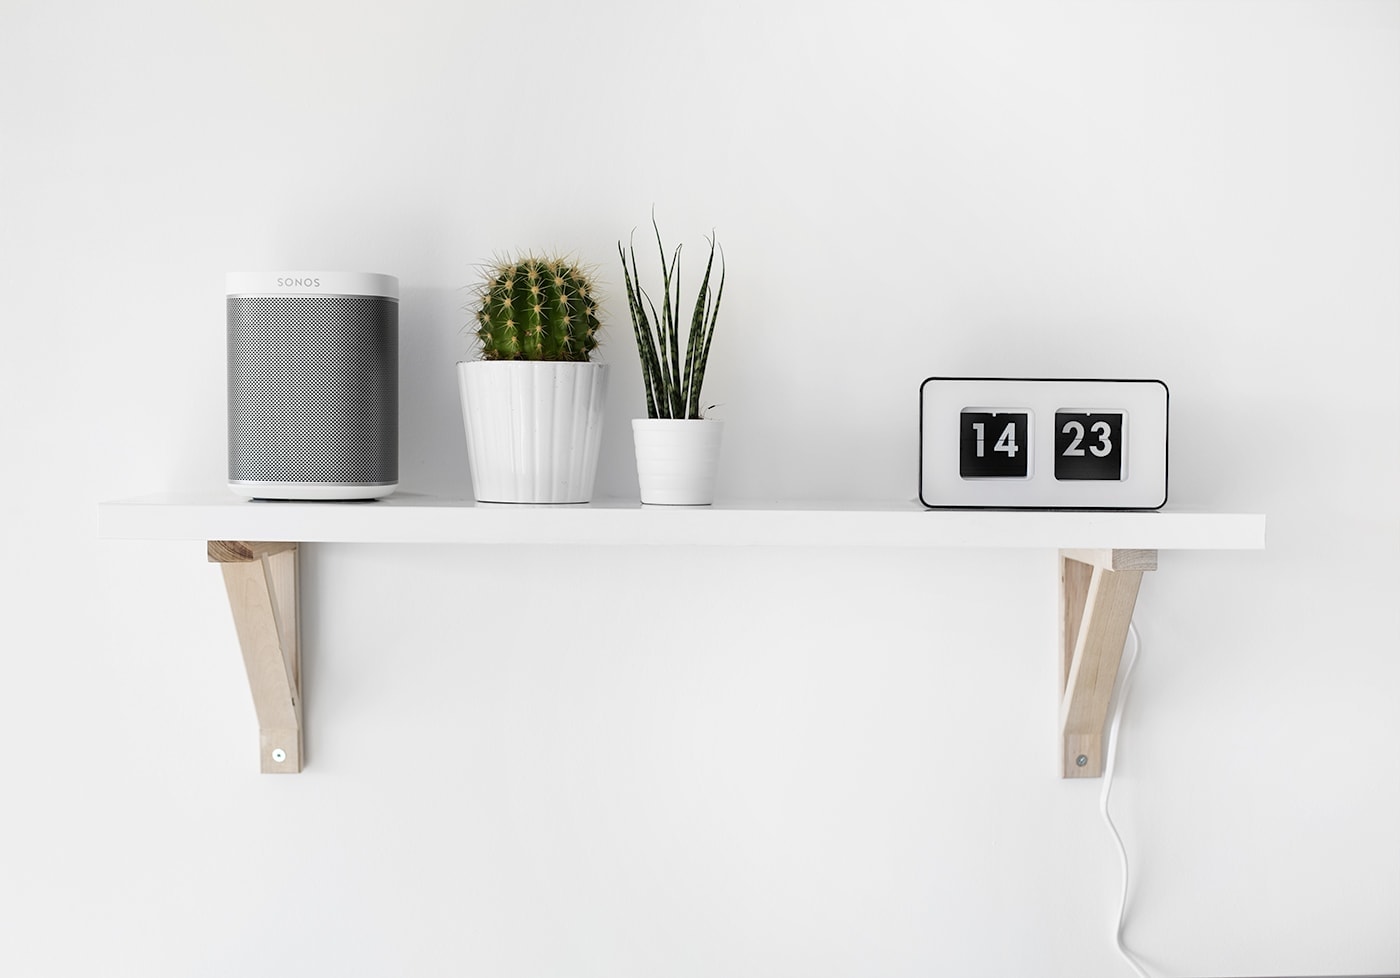
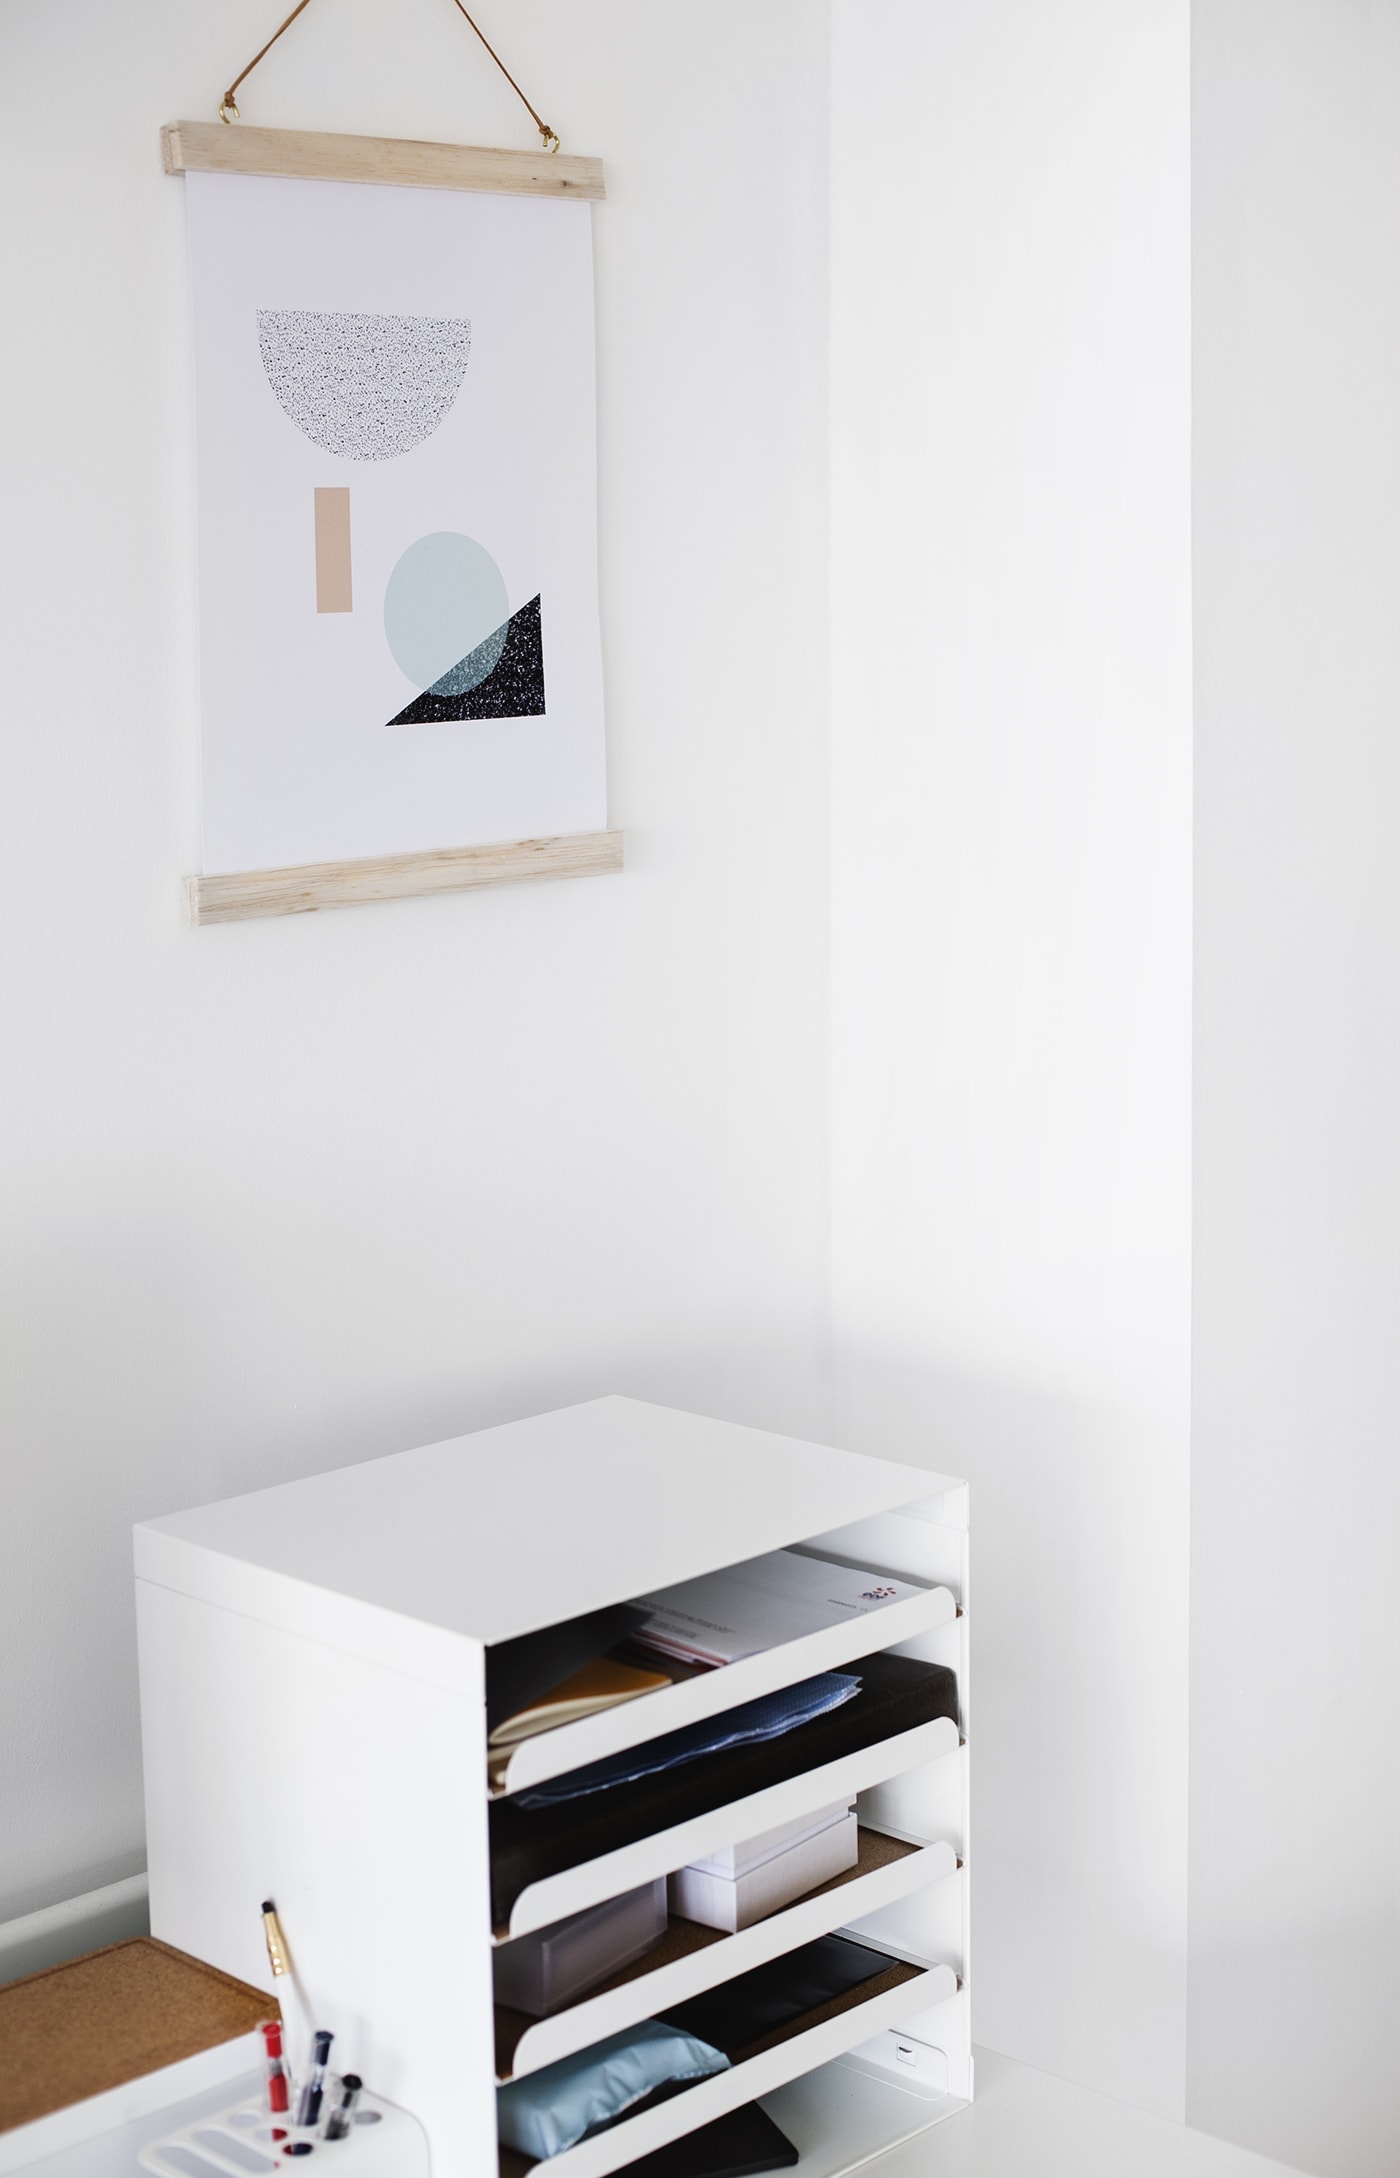
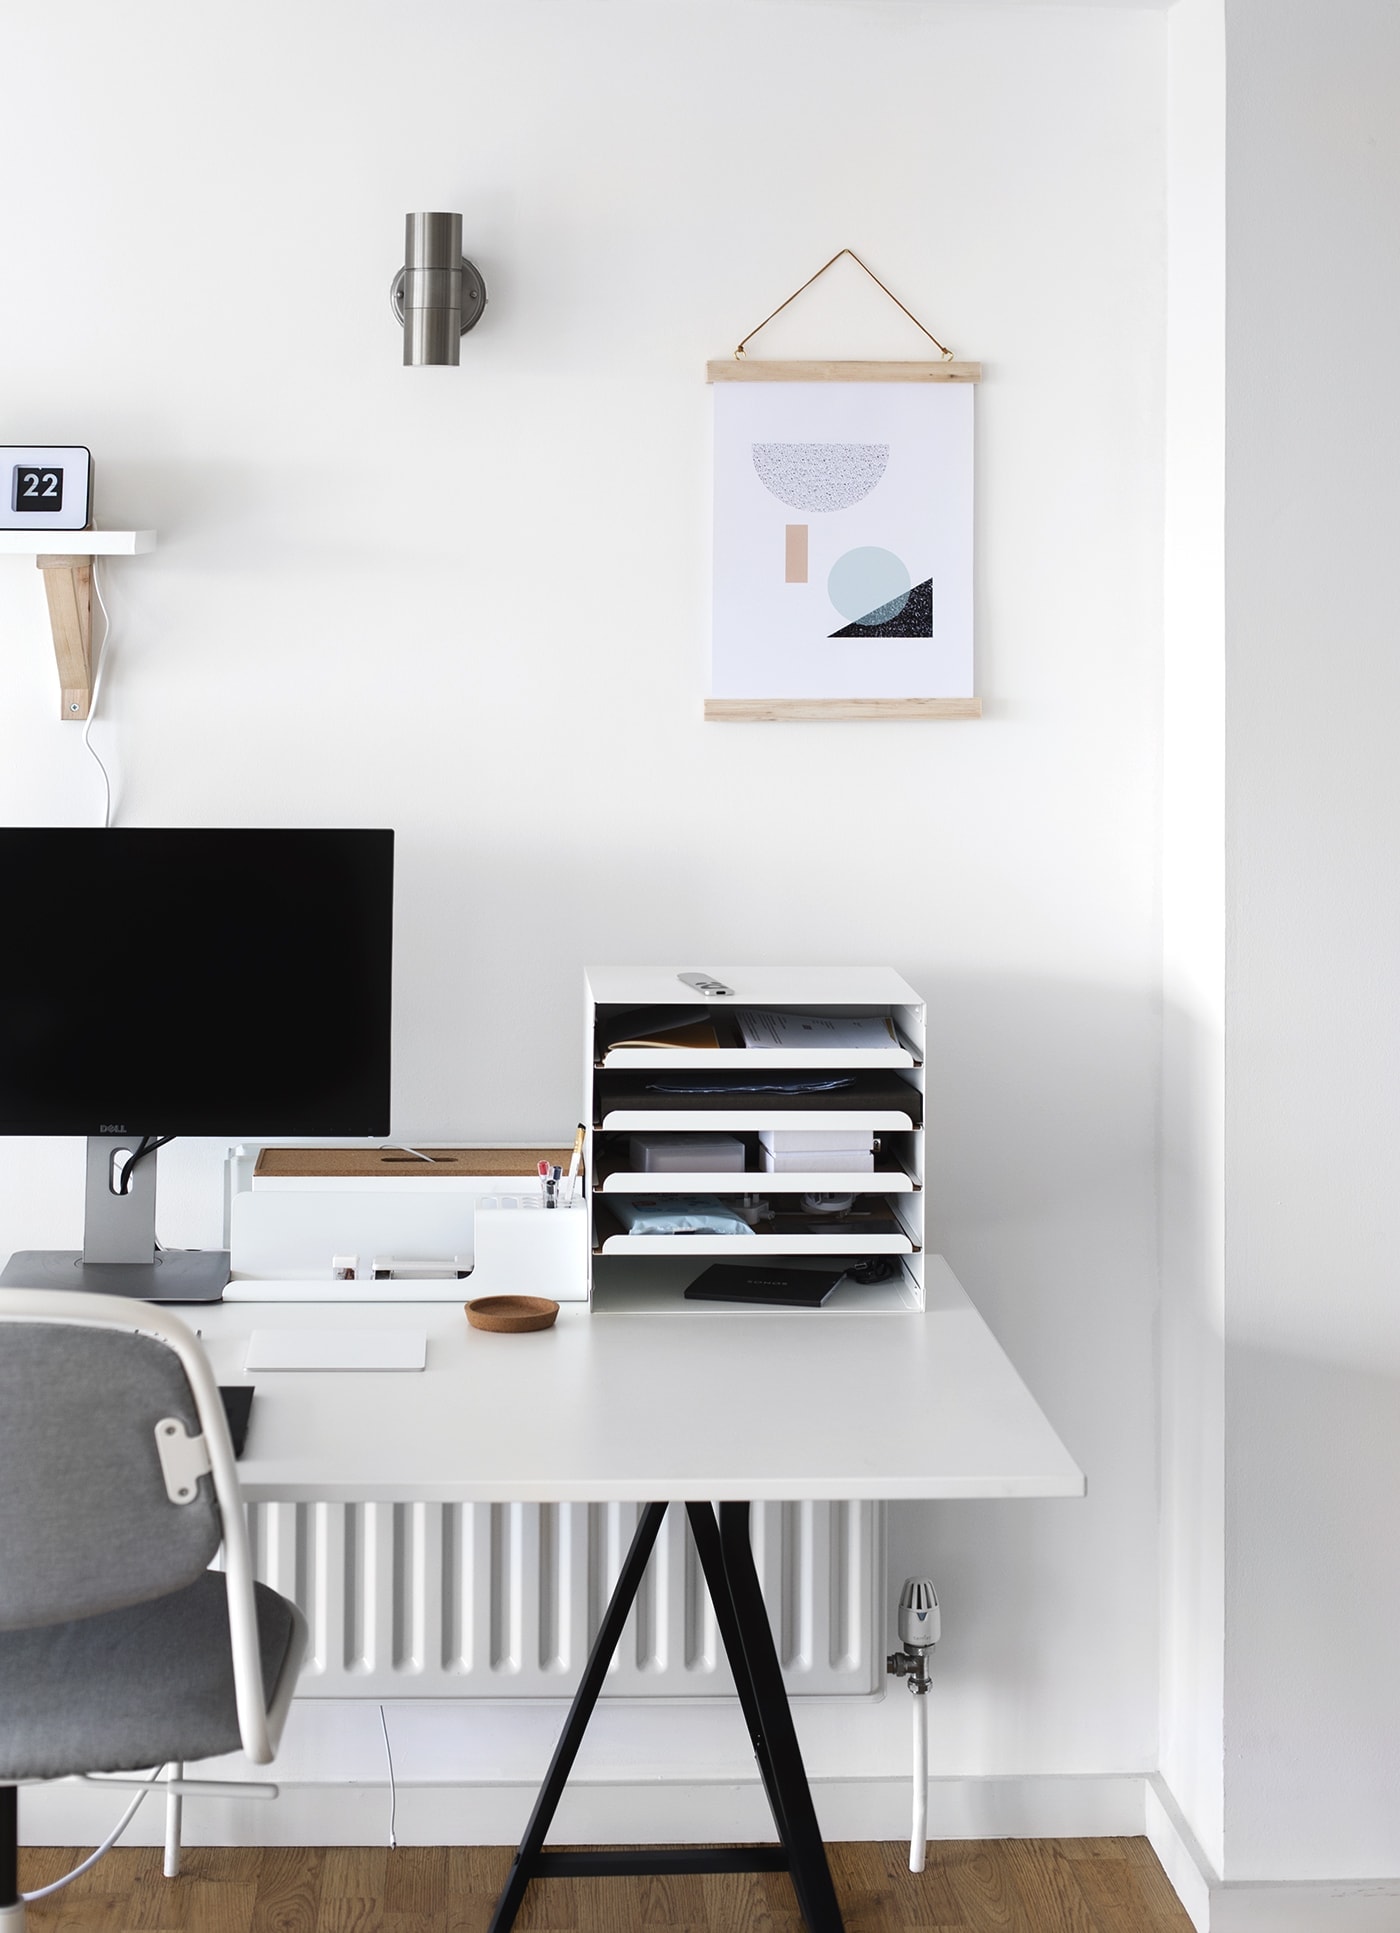
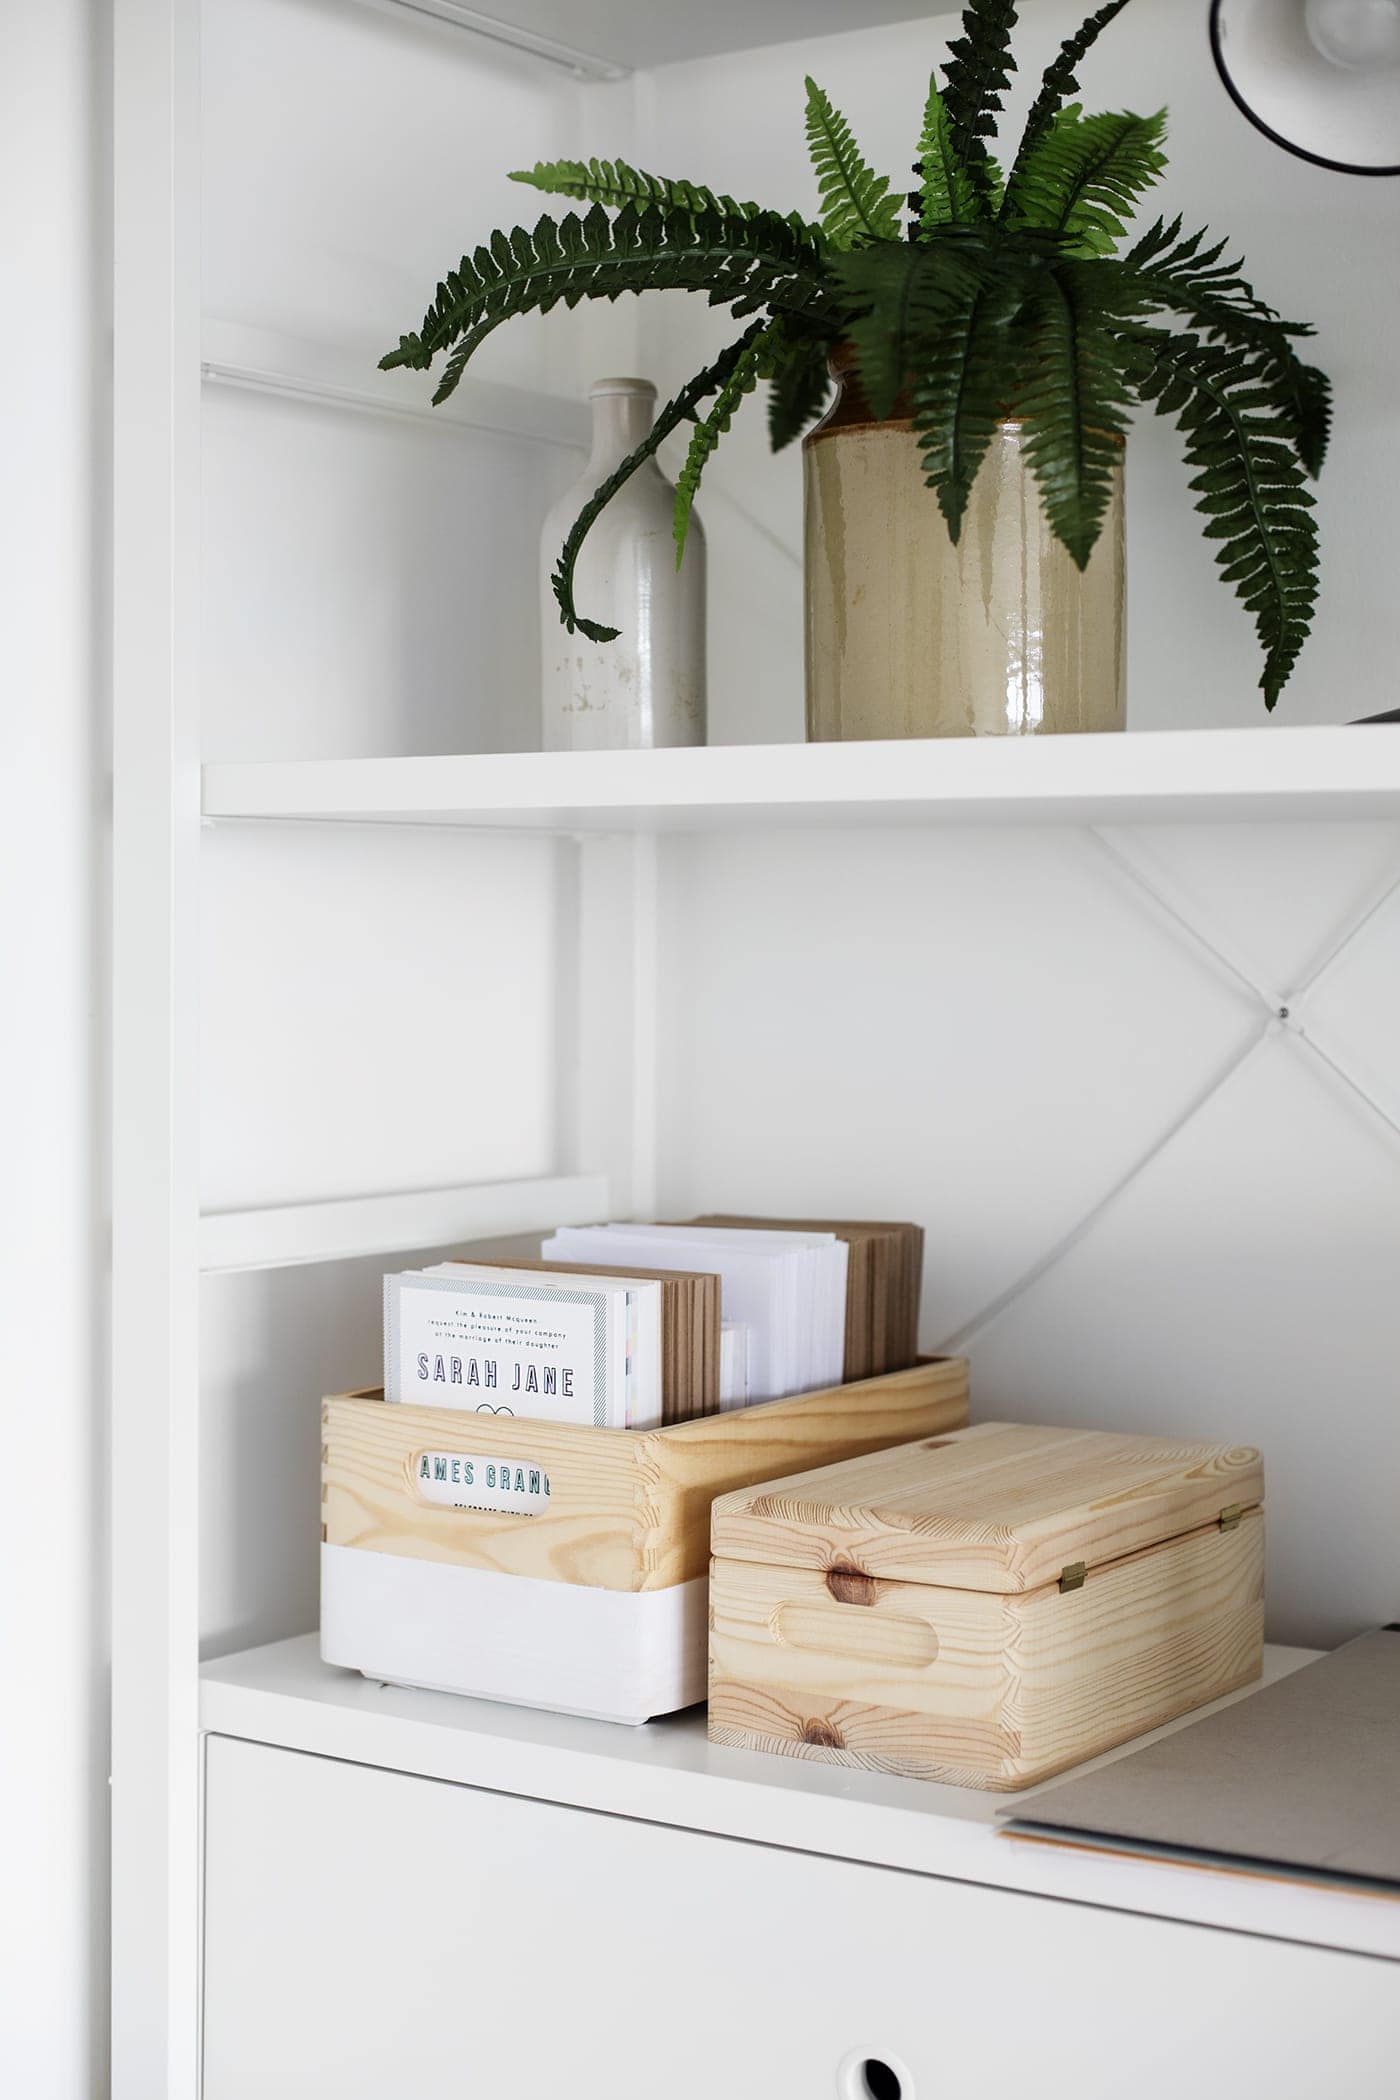
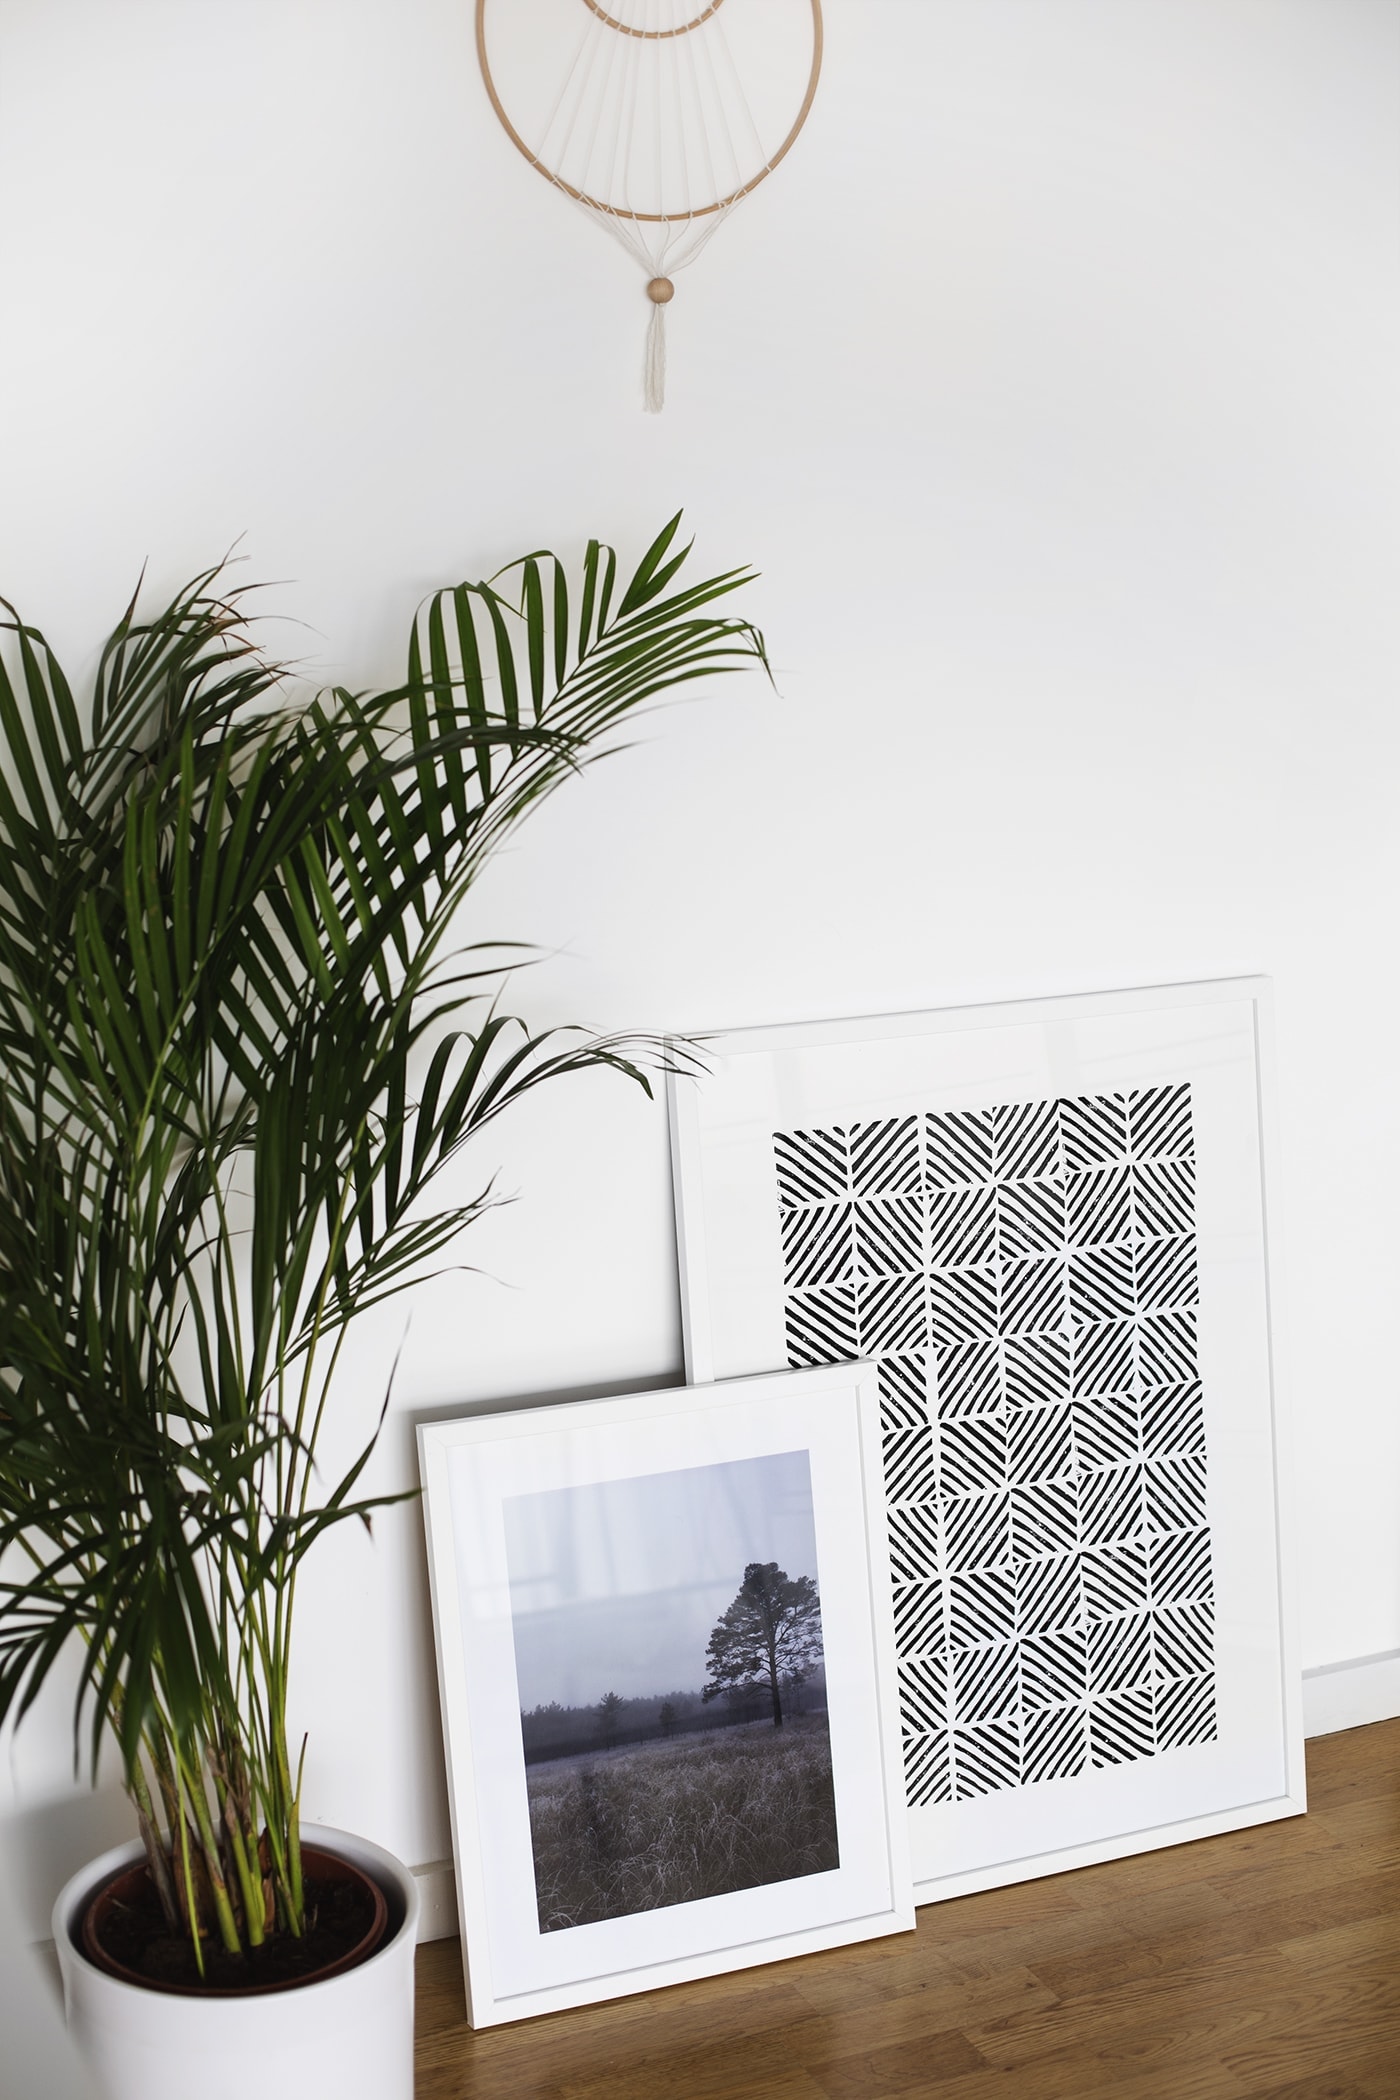
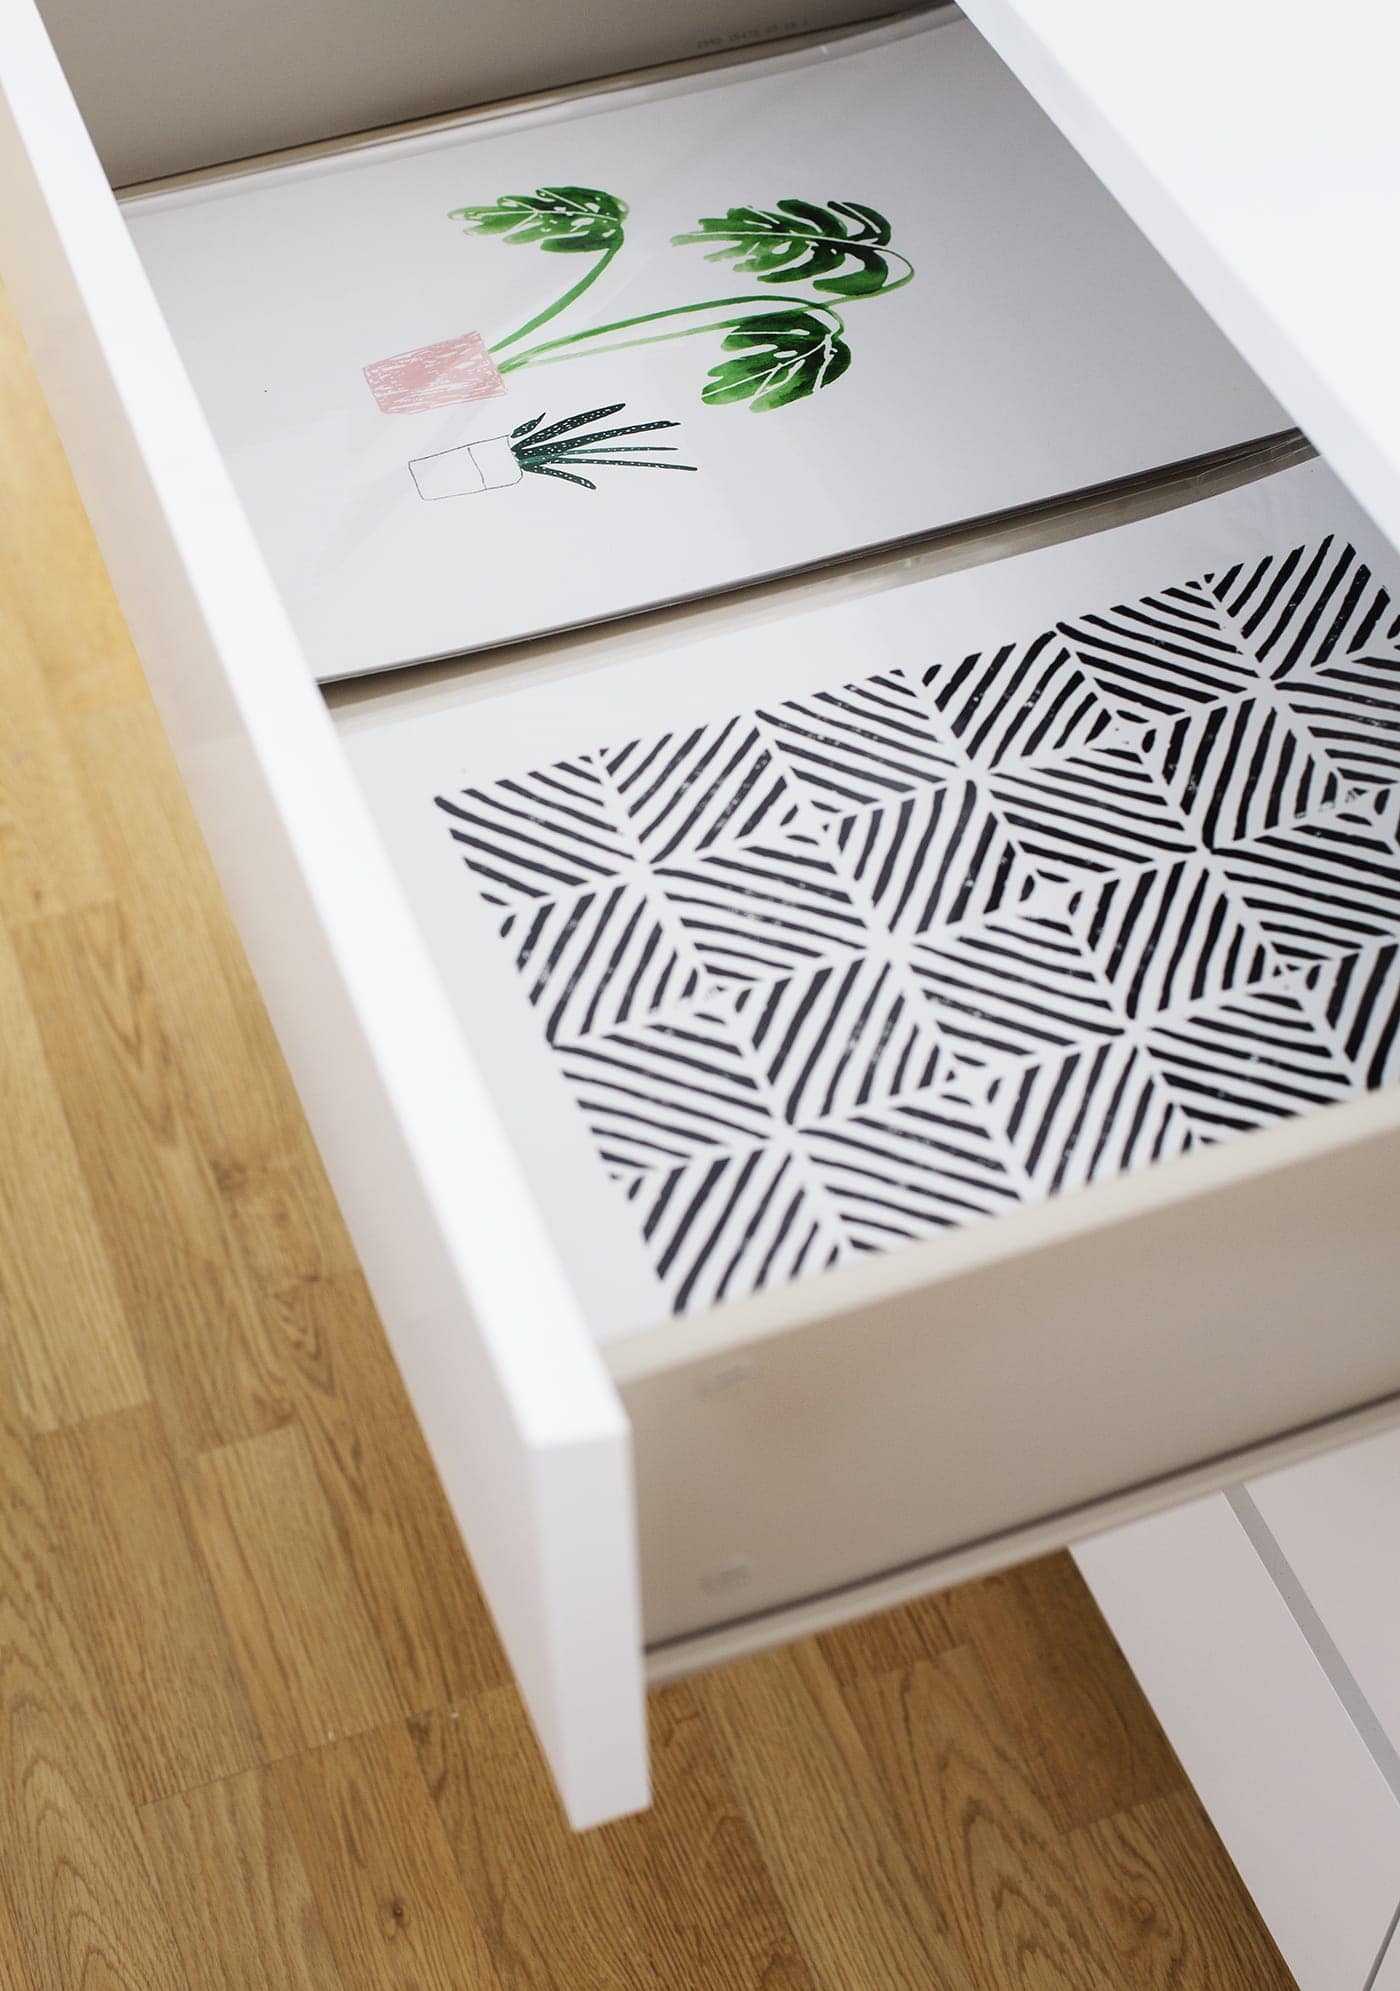
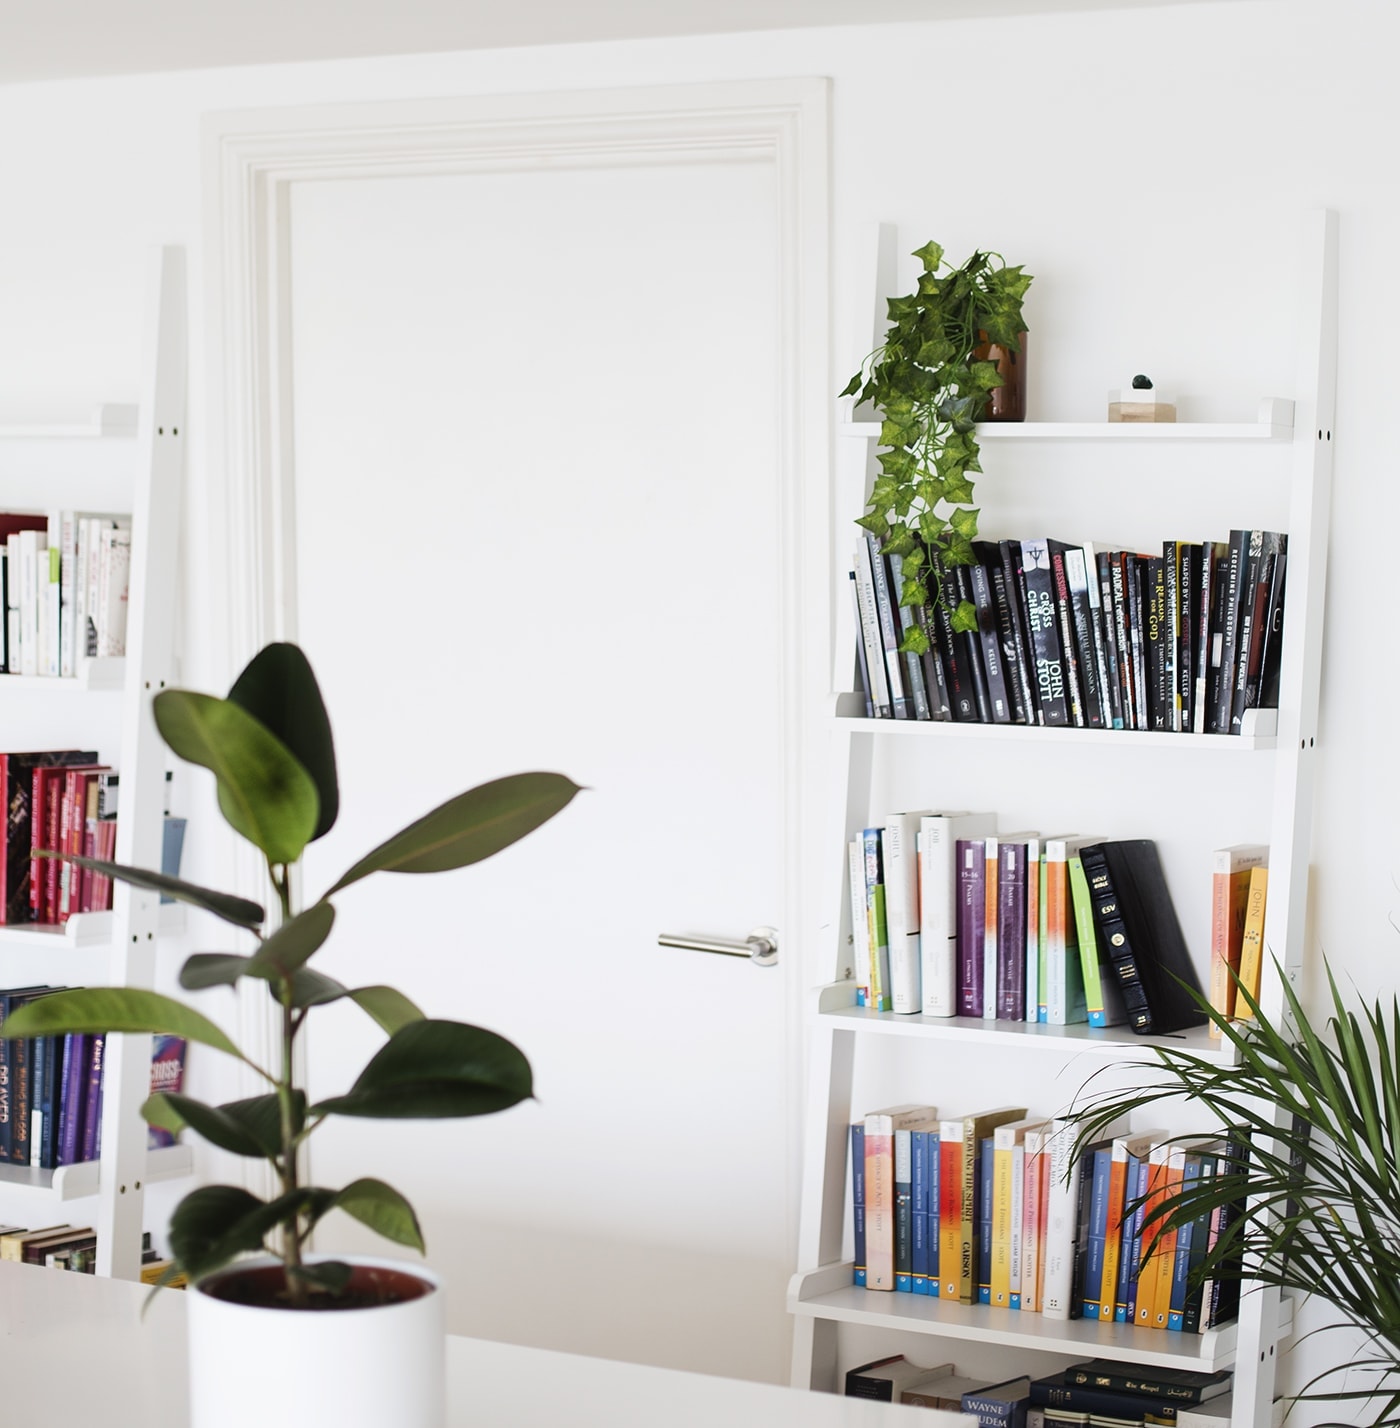
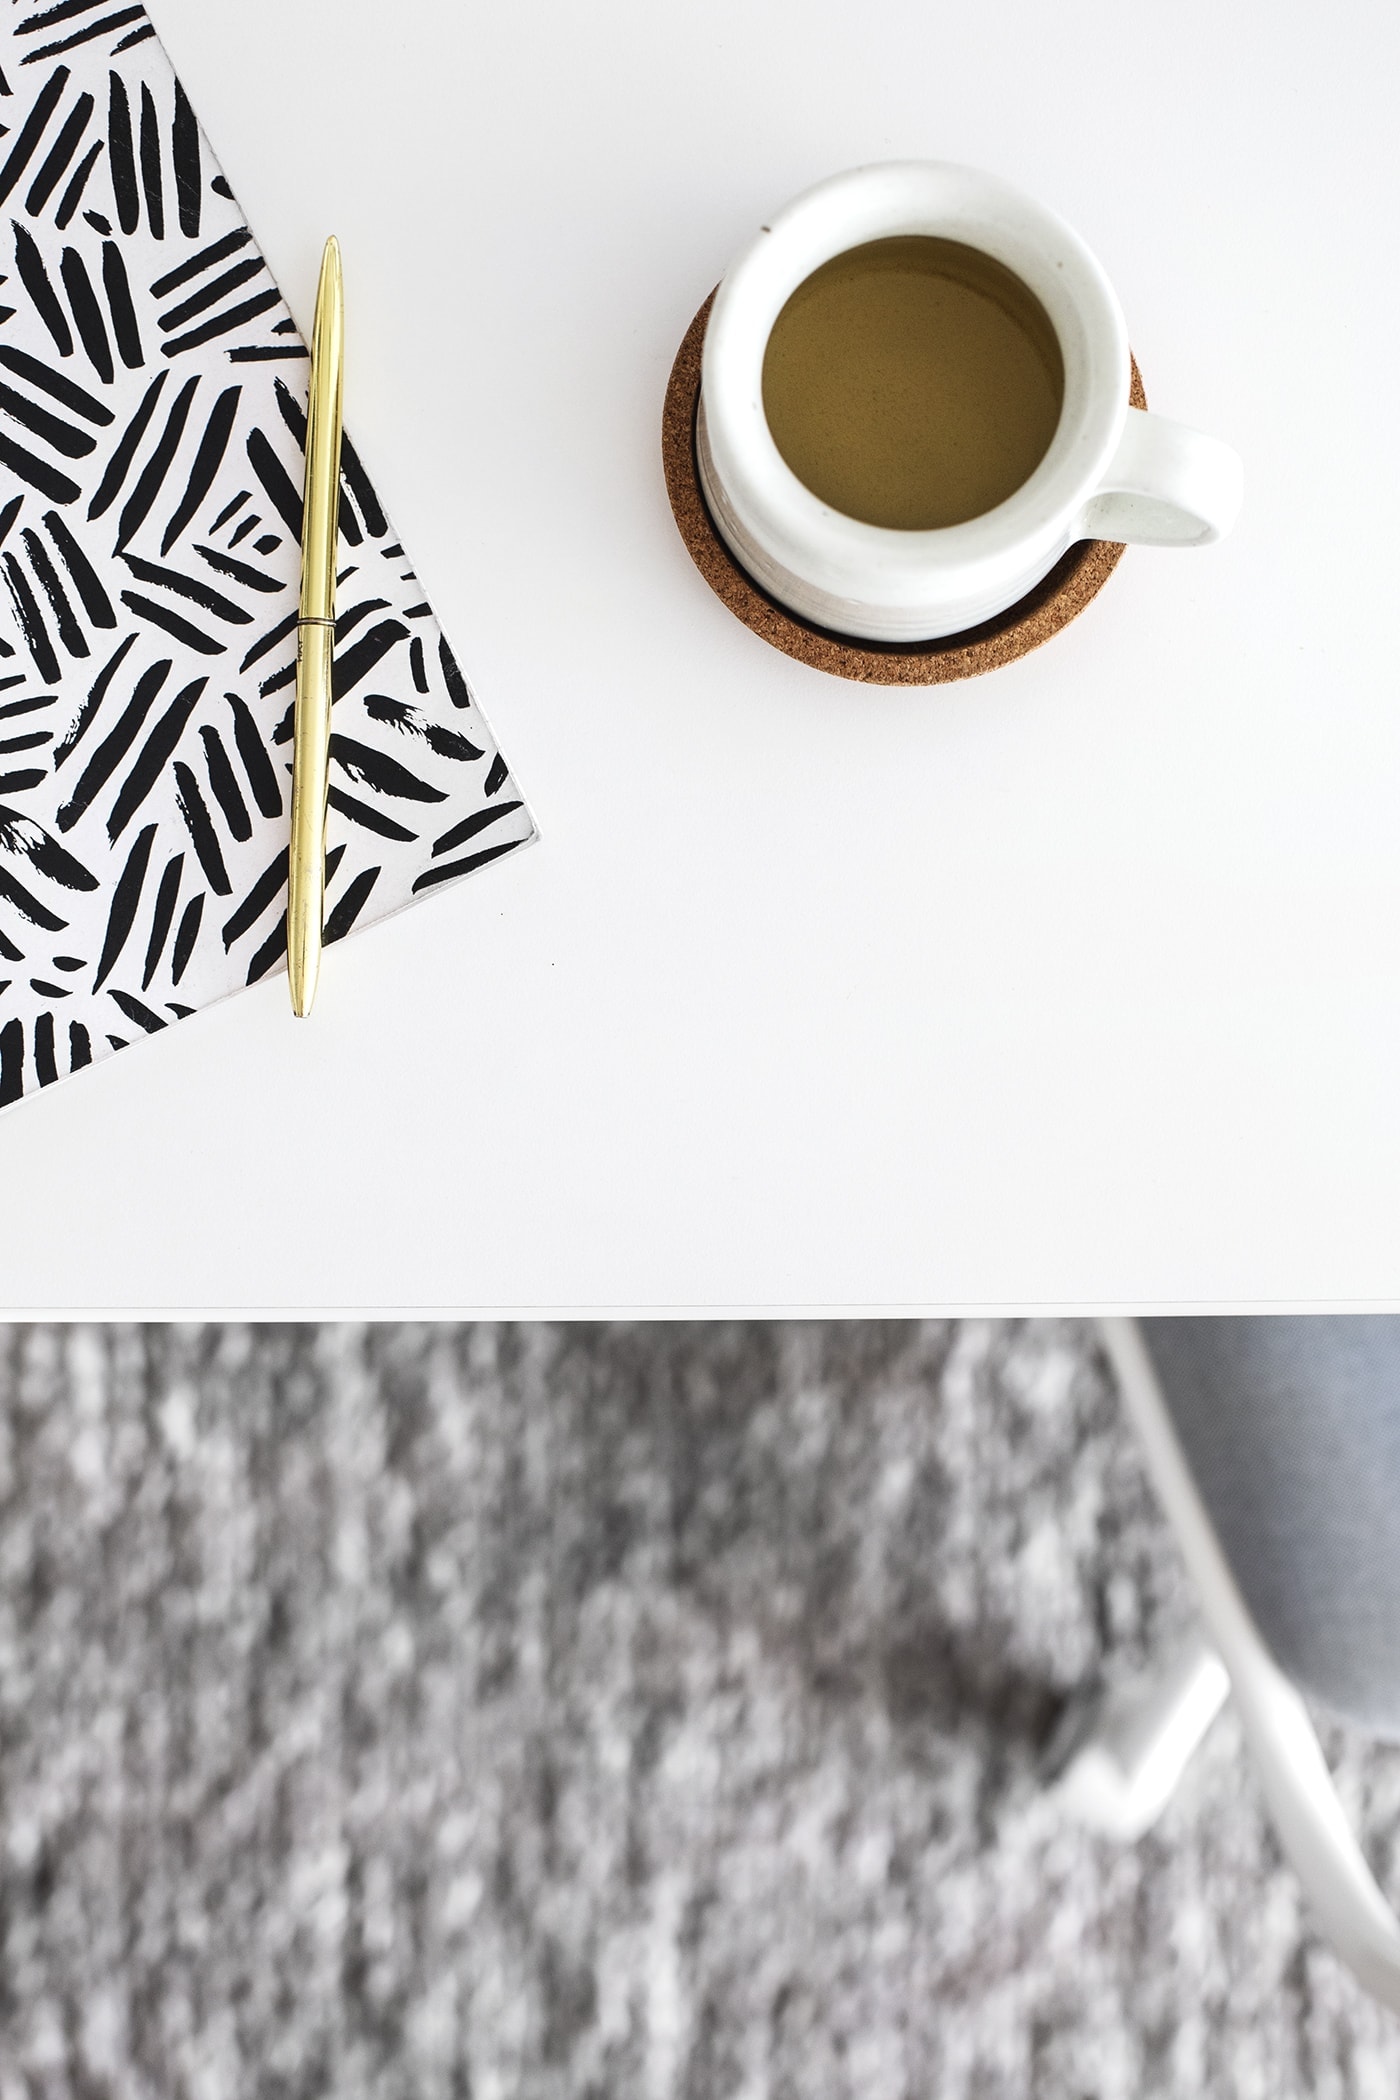
It was so exciting to see the office space come together and putting my product and materials away in their new homes was such a treat. Adding finishing touches was also obviously a lot of fun. I made sure there was plenty of greenery to brighten up the place and then emptied some of our old frames so that I could fill them with new artwork. Nearly every piece of art, including the wall hangings I added to the walls are my own but the photo above of the misty scene actually belongs to Heather from Growing Spaces. I saw it on her instagram, said it was exactly what I was looking for to put in a frame and she sent the original to me! It’s so beautiful! You can also find the tutorial for my cork lid storage box, right here. It now sits proudly on my desk.
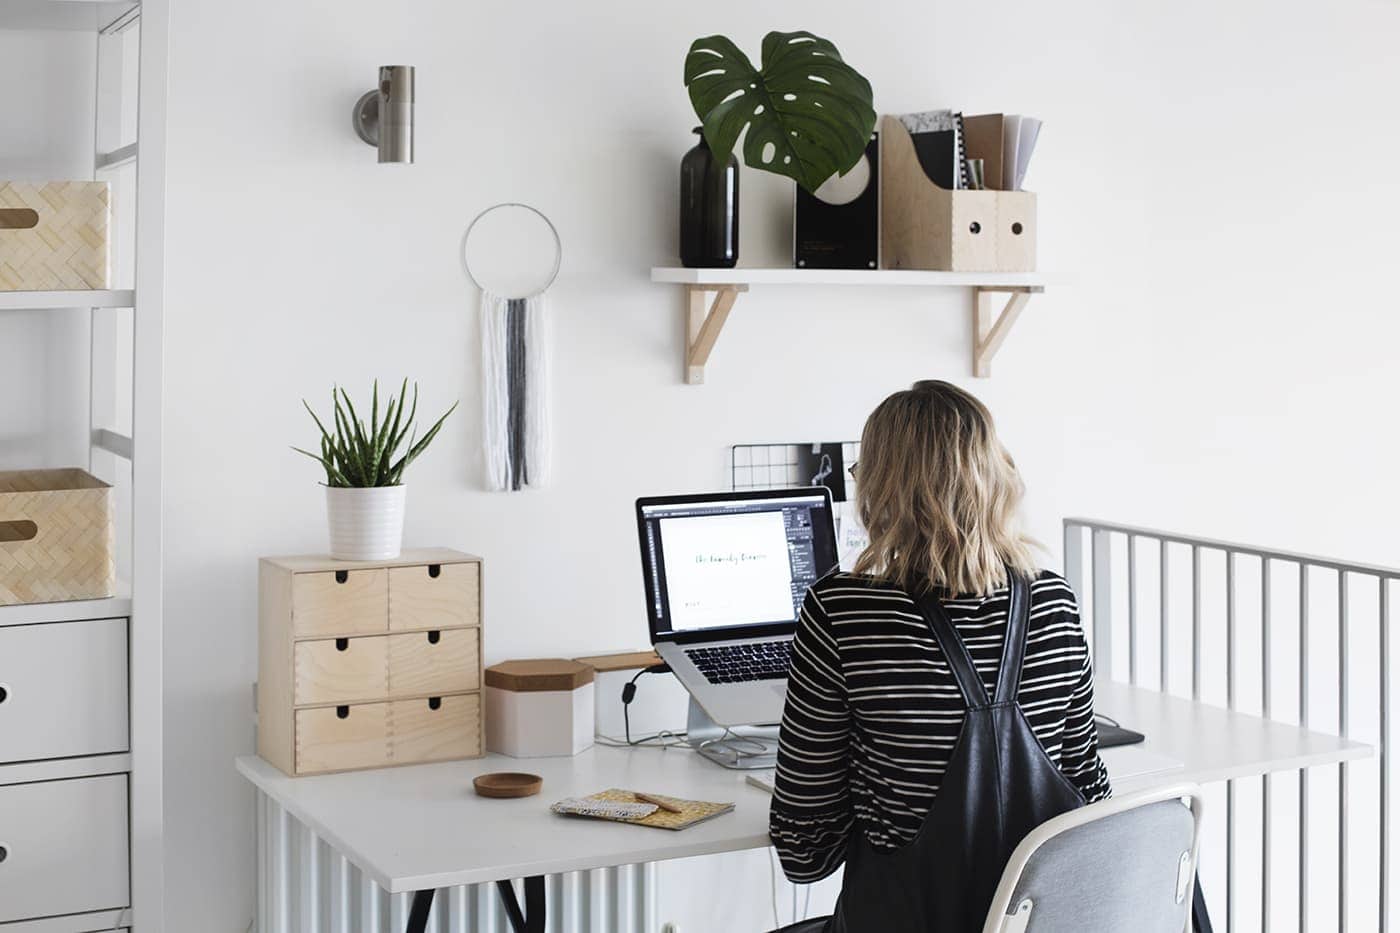
All in all I’m so happy with the outcome and still can’t believe I have such a bright, spacious studio and I’m no longer tripping over boxes to find my materials. I love the separation that comes at the end of the day when I finish work and go downstairs. It’s only a floor away but it makes all the difference psychologically I can tell you. Hooray!!!


You might also like


Meet The Lovely Drawer

Hi, I’m Teri and welcome to my own creative corner of the internet. I blog about interiors, DIY projects, design inspiration and my general life so stick around have a read and say hi.
In the shop

 Quick ViewSelect options
Terrace 1
£20.00 – £25.00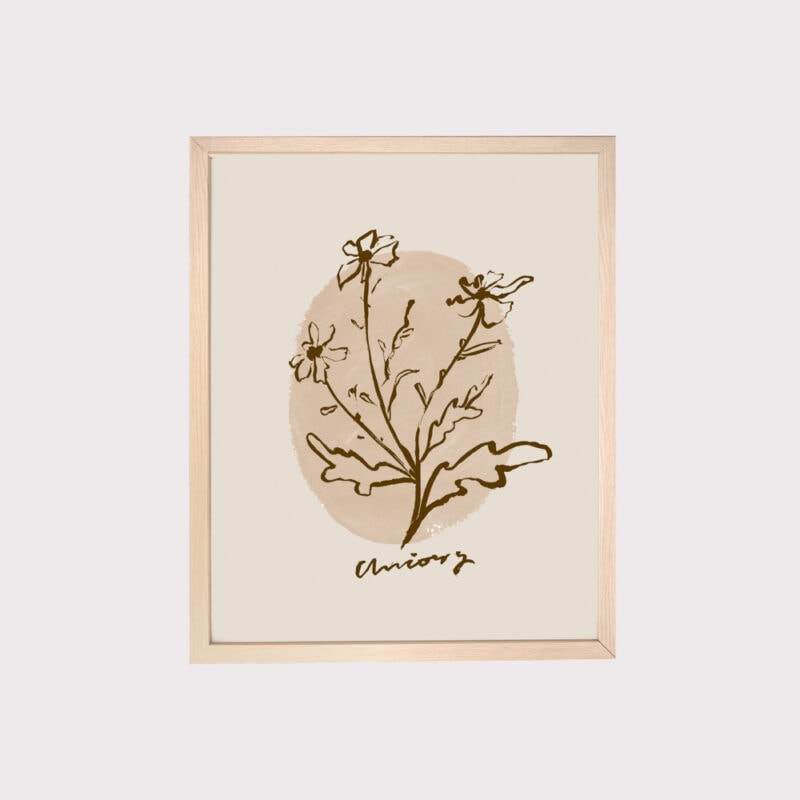
 Quick ViewSelect options
Chicory
£20.00 – £25.00
Work with Me
The Lovely Drawer is an award winning blog with a loyal audience that has grown over the years. I love working with brands small and large on exciting collaborations that can bring products alive in my own signature aesthetic.