

Workspace Goals
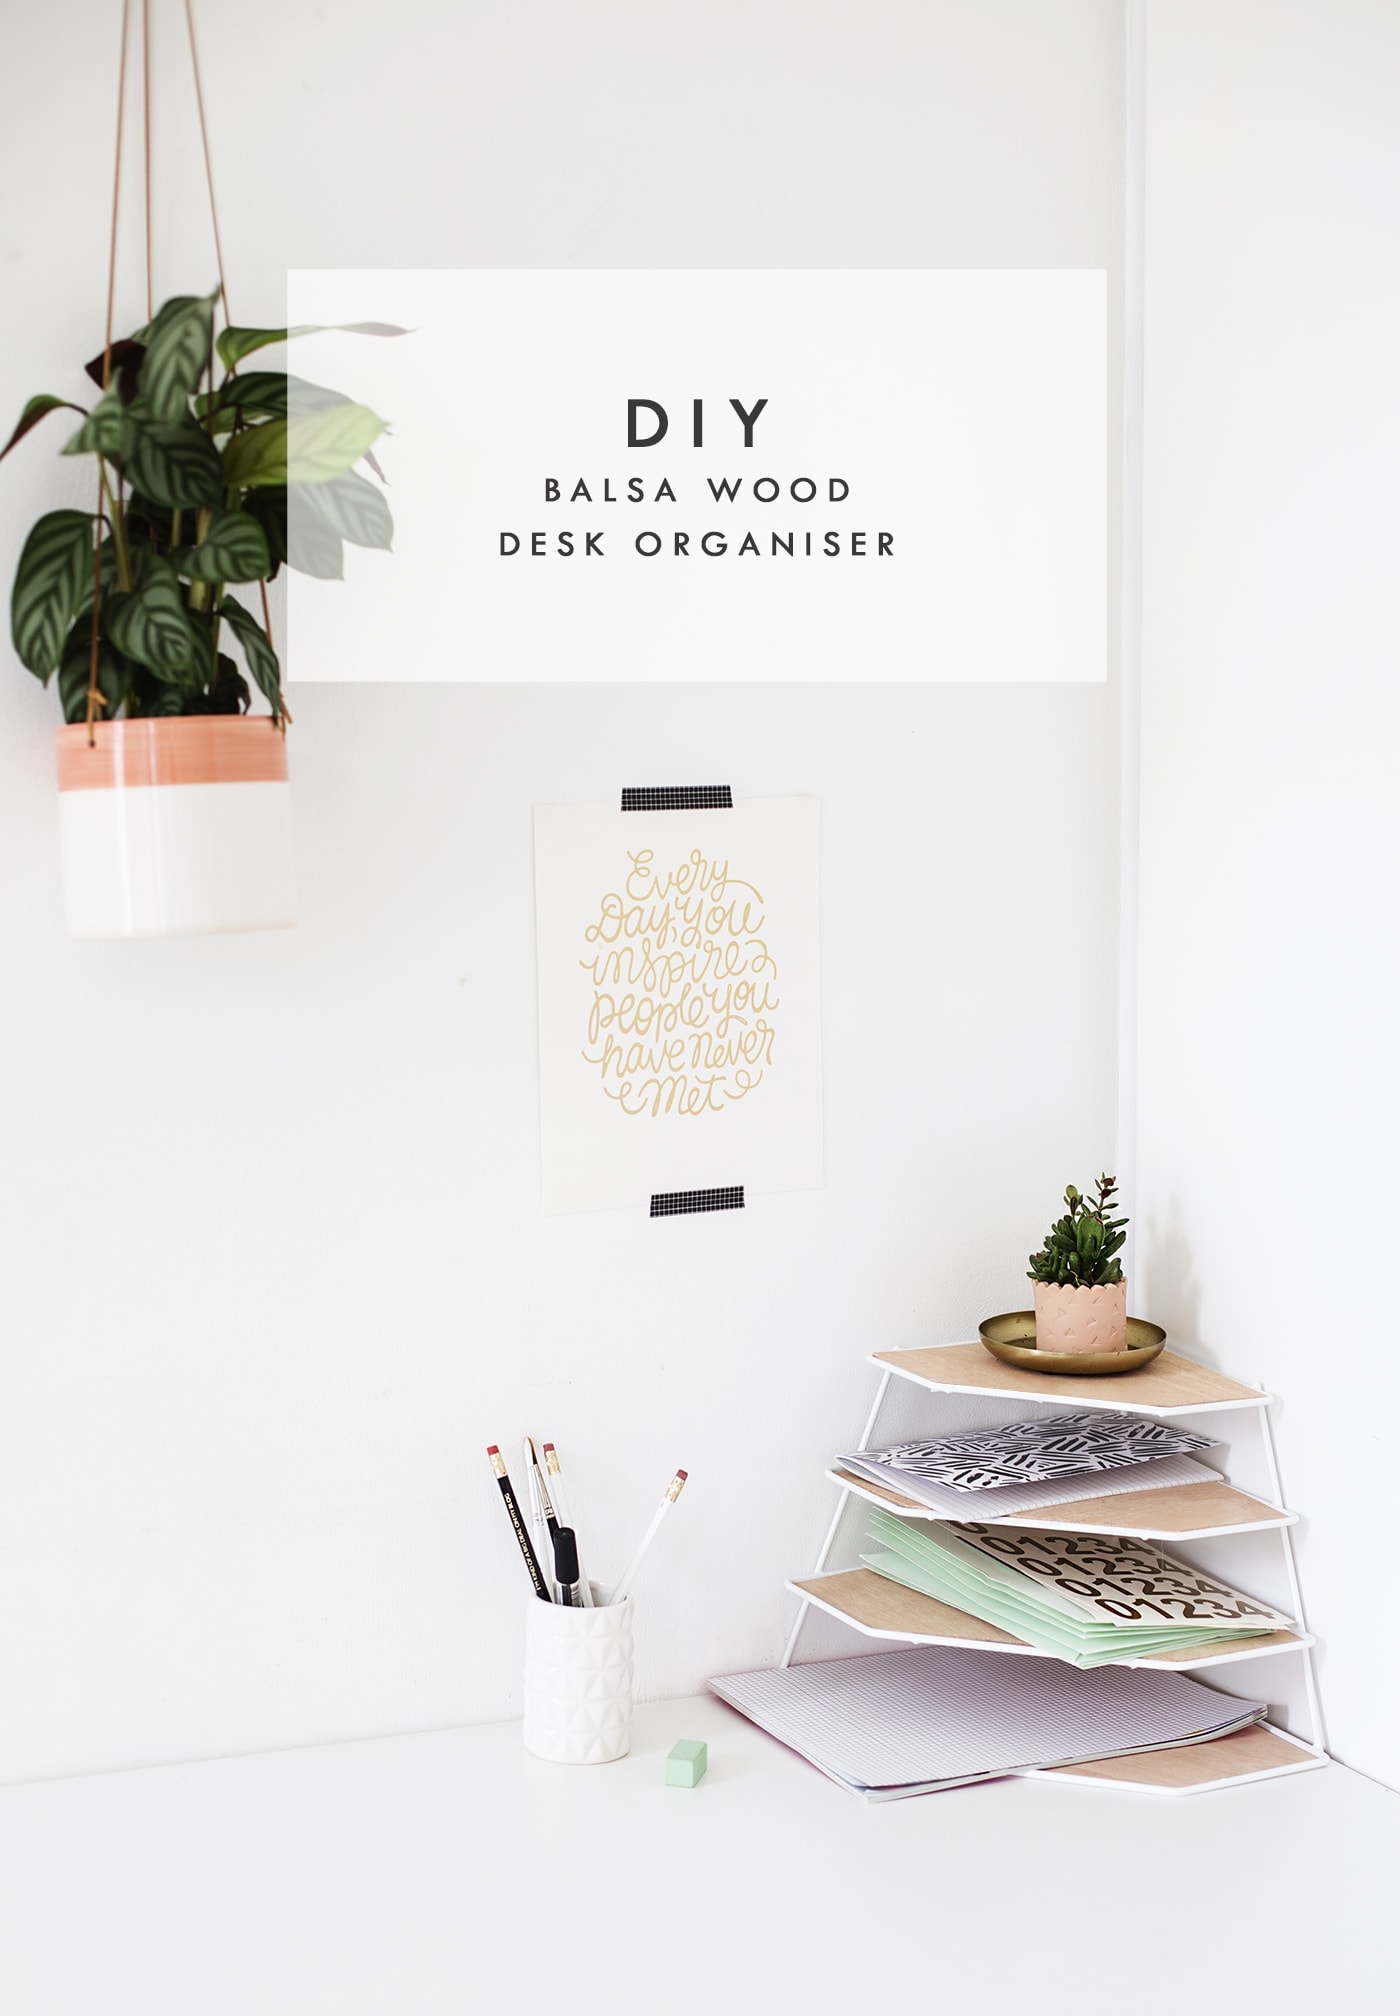

I’ve noticed that recently a lot of my DIY projects seem to be veering towards organisation. Perhaps it’s an conscious attempt to stop things spiralling into chaos or perhaps I’m developing more of an appreciation for things being ordered.
I have one of those ‘odd and ends’ shops near me. The kind that sells everything from tools to candles to crockery to bubble machines and everything in between. I always seem to go in looking for something completely random and walk out with something even more obscure. Last time I spied a wire dish drying rack which sounds incredibly dull but with my relentless ‘DIY hat’ on, thought it would be perfect for storing notes and papers for my desk. Cue the balsa wood and you’re smugly laughing your way to a desk that’s spick and span.
I’ve included some online sources for the wire rack but if you have any eclectic looking shops near you that have a kitchen section, do have a little look. I picked up mine for just £6.00. If you find one that’s not the colour you’re after then never fear, just add a step before you start the tutorial. Find a spray paint in the right colour and spray all over the wire base. I would go for a gloss spray paint as it gives a nice finish and often takes better in my experience.


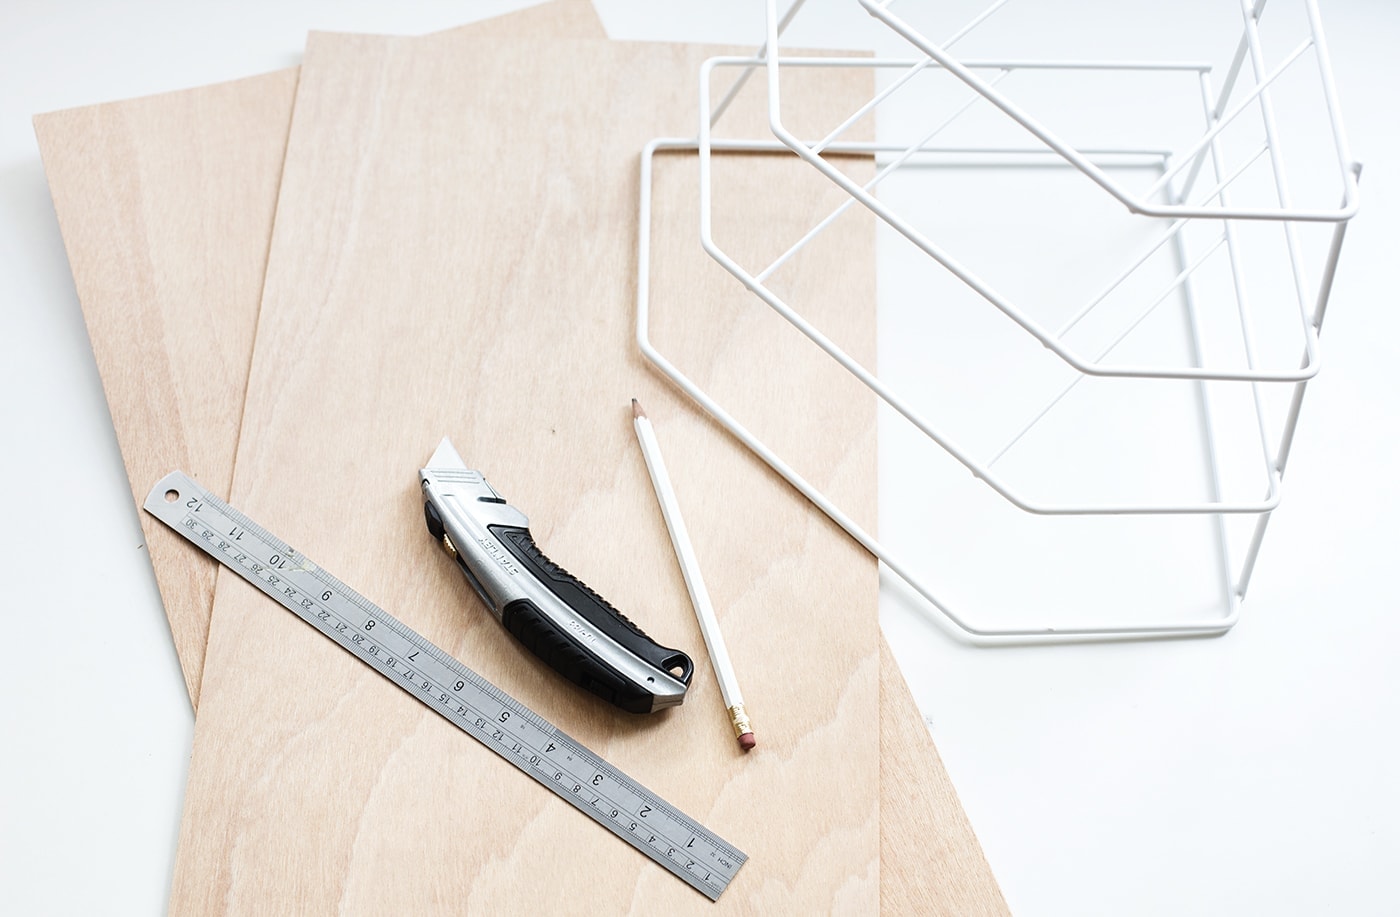
Materials:
- Wire dish rack like this one or this one
- 2mm balsa wood sheets
- Stanley knife with new blade
- Pencil
- Ruler
- Paper
- Glue gun
- Duct tape (optional)
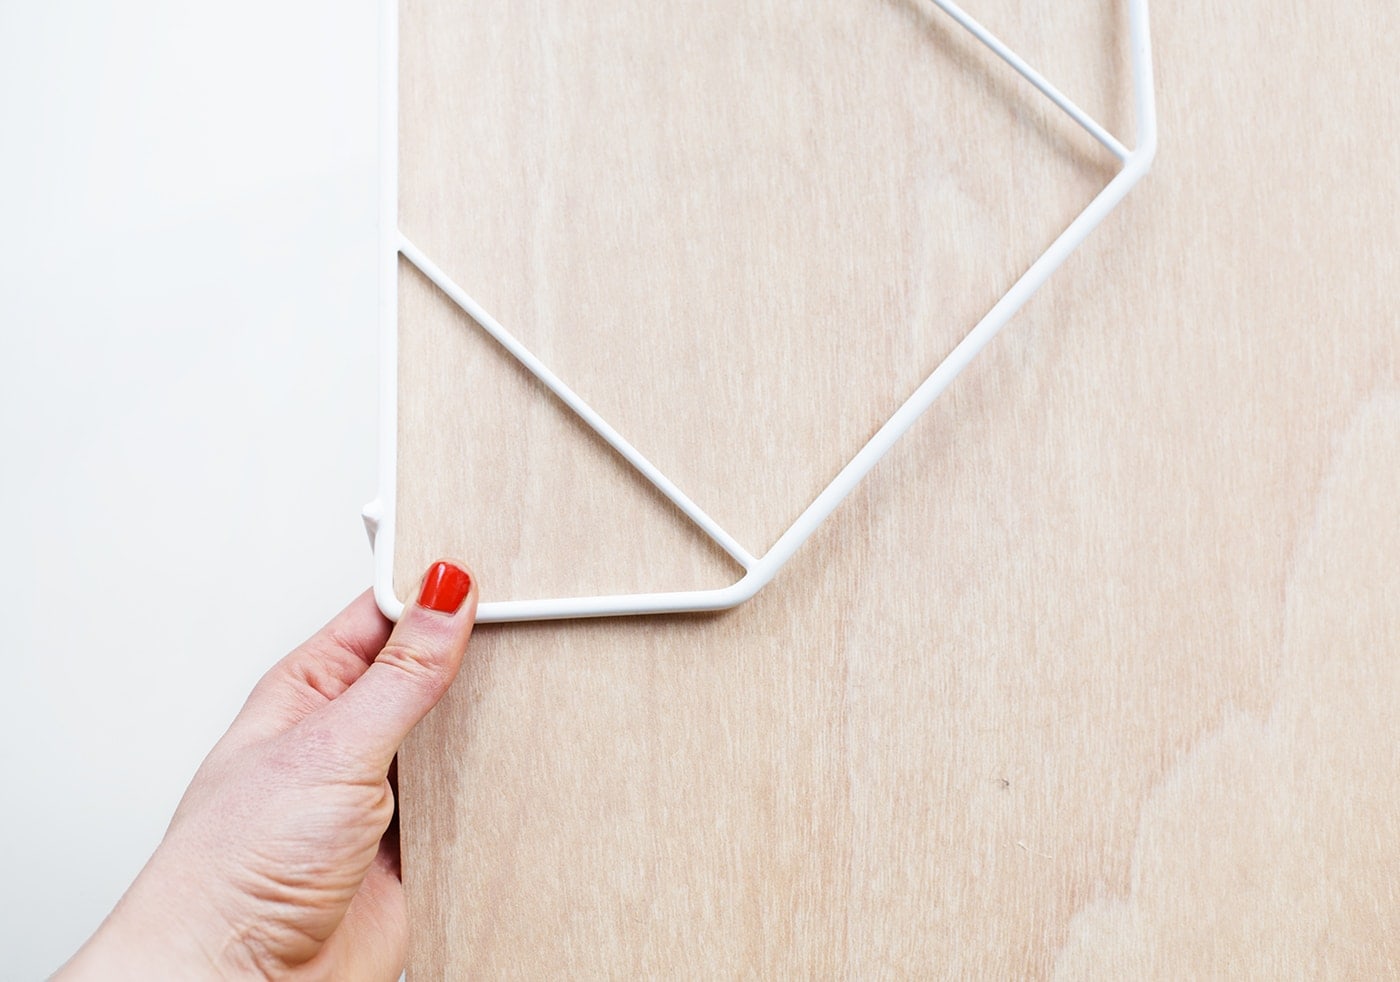
Start by placing the balsa wood sheets underneath each wire section so you can draw around the outside to get the shape.

Measure the wire width so you can measure that value in all the way around the pen line on the balsa wood. Alternatively you can use some some paper or card underneath to draw onto and create a template and then draw around that onto the wood.
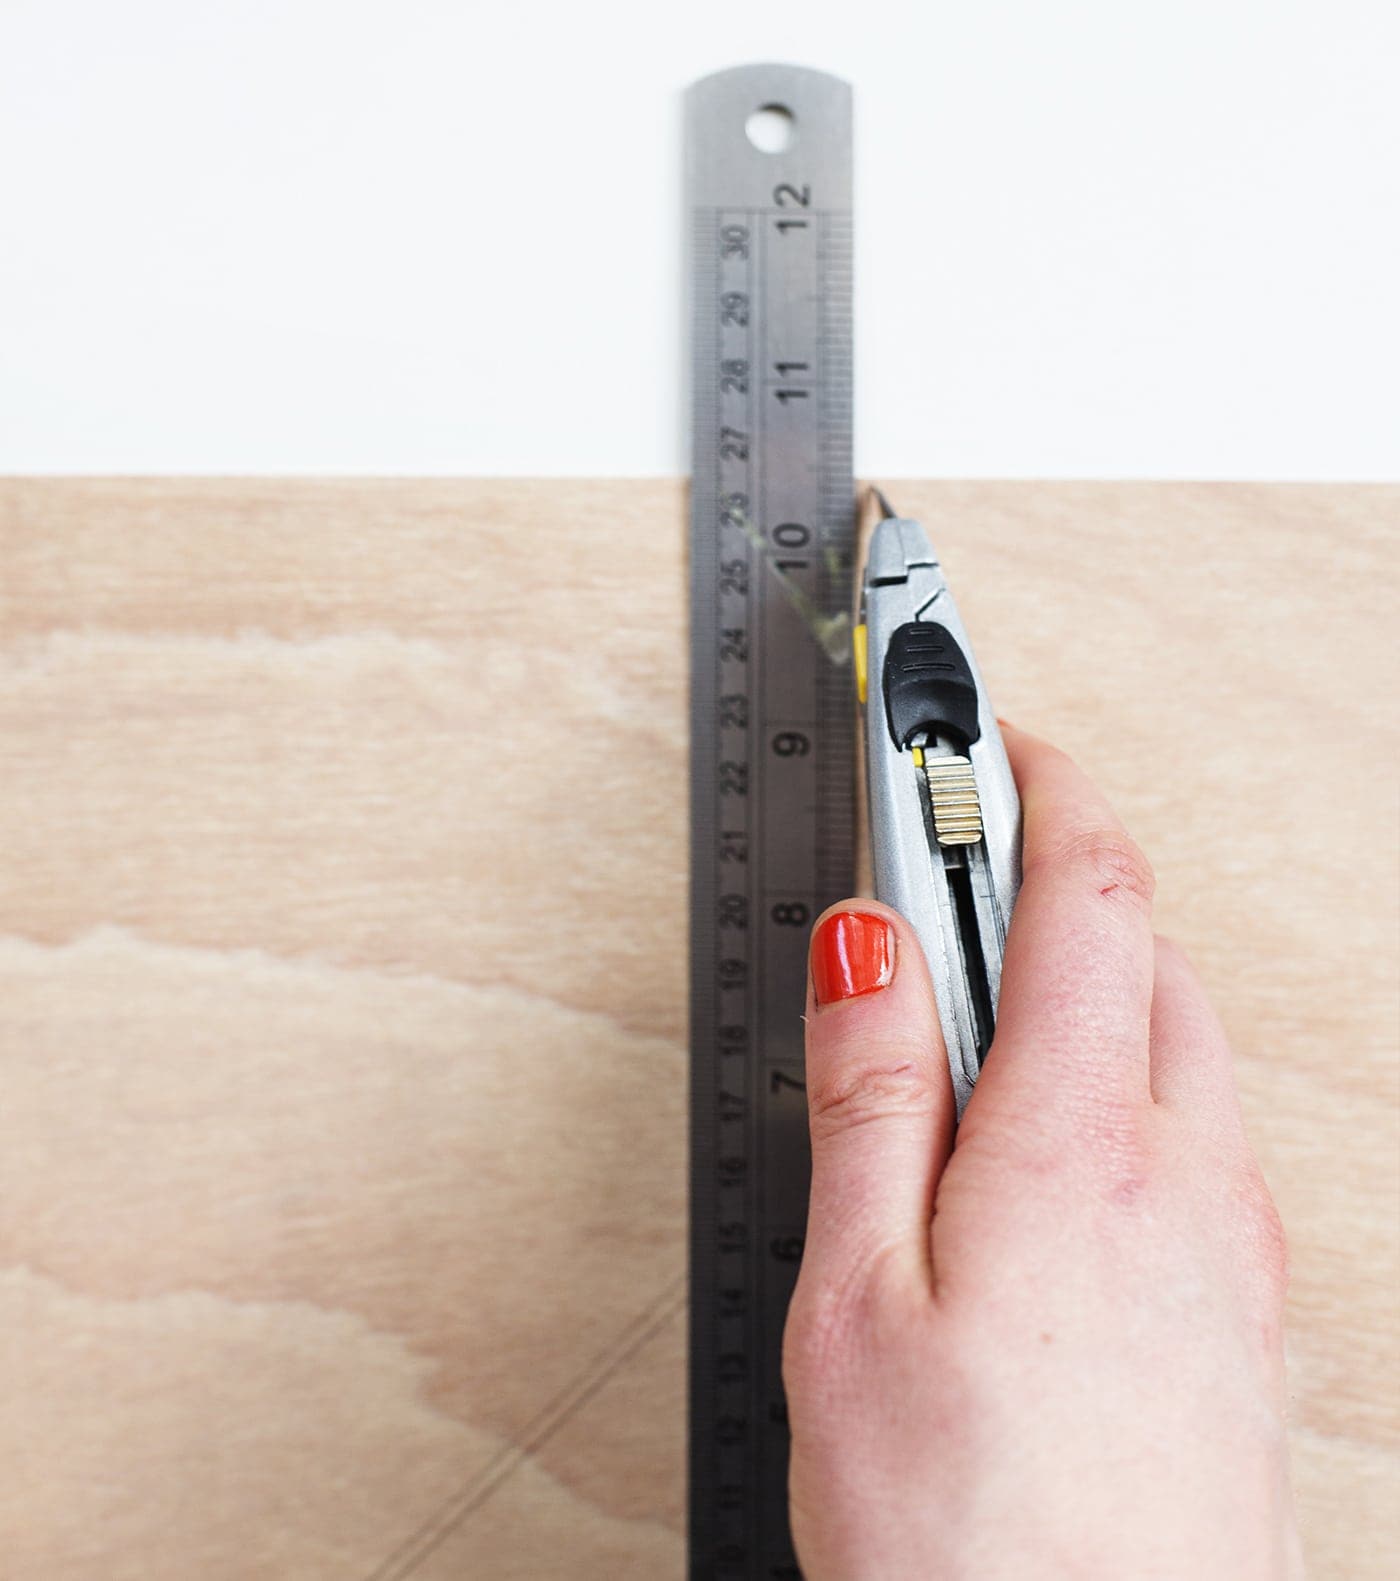
Once you have your markings on the wood, line the ruler up with the pencil lines, steadying with your hand (unlike the photo which was taken one handed…danger!) Carefully trace the Stanley knife down your inner pencil lines, putting a good amount of pressure on the wood. You may need to follow these lines a few times to part the wood.
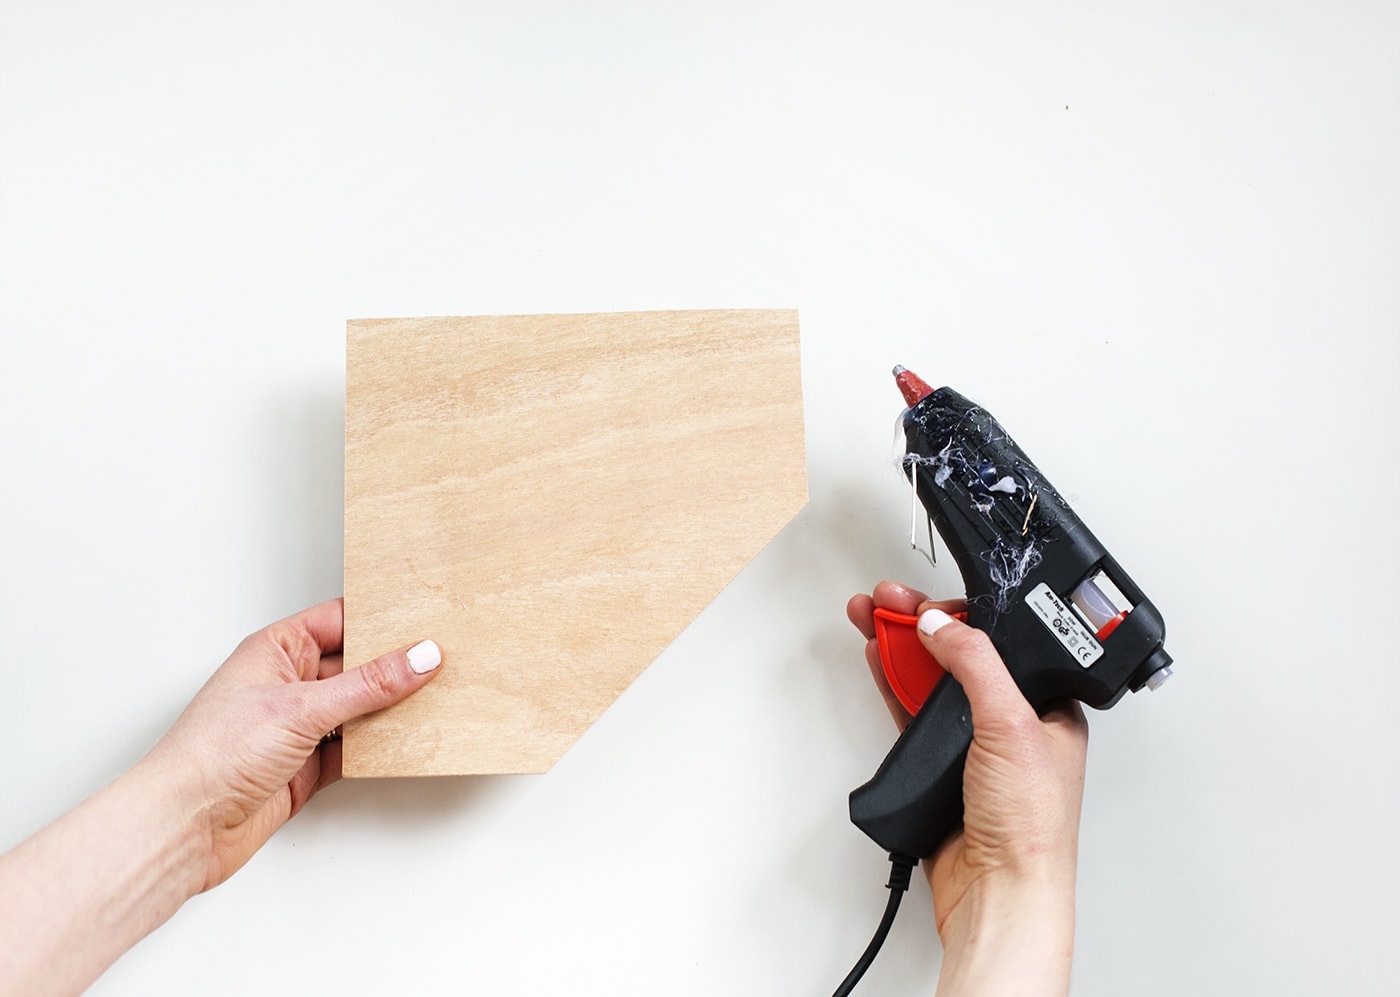
Do this for each section of the wire rack and check that they all fit as they should, resting within the wire outer frame. Heat up the glue gun to get sticking.
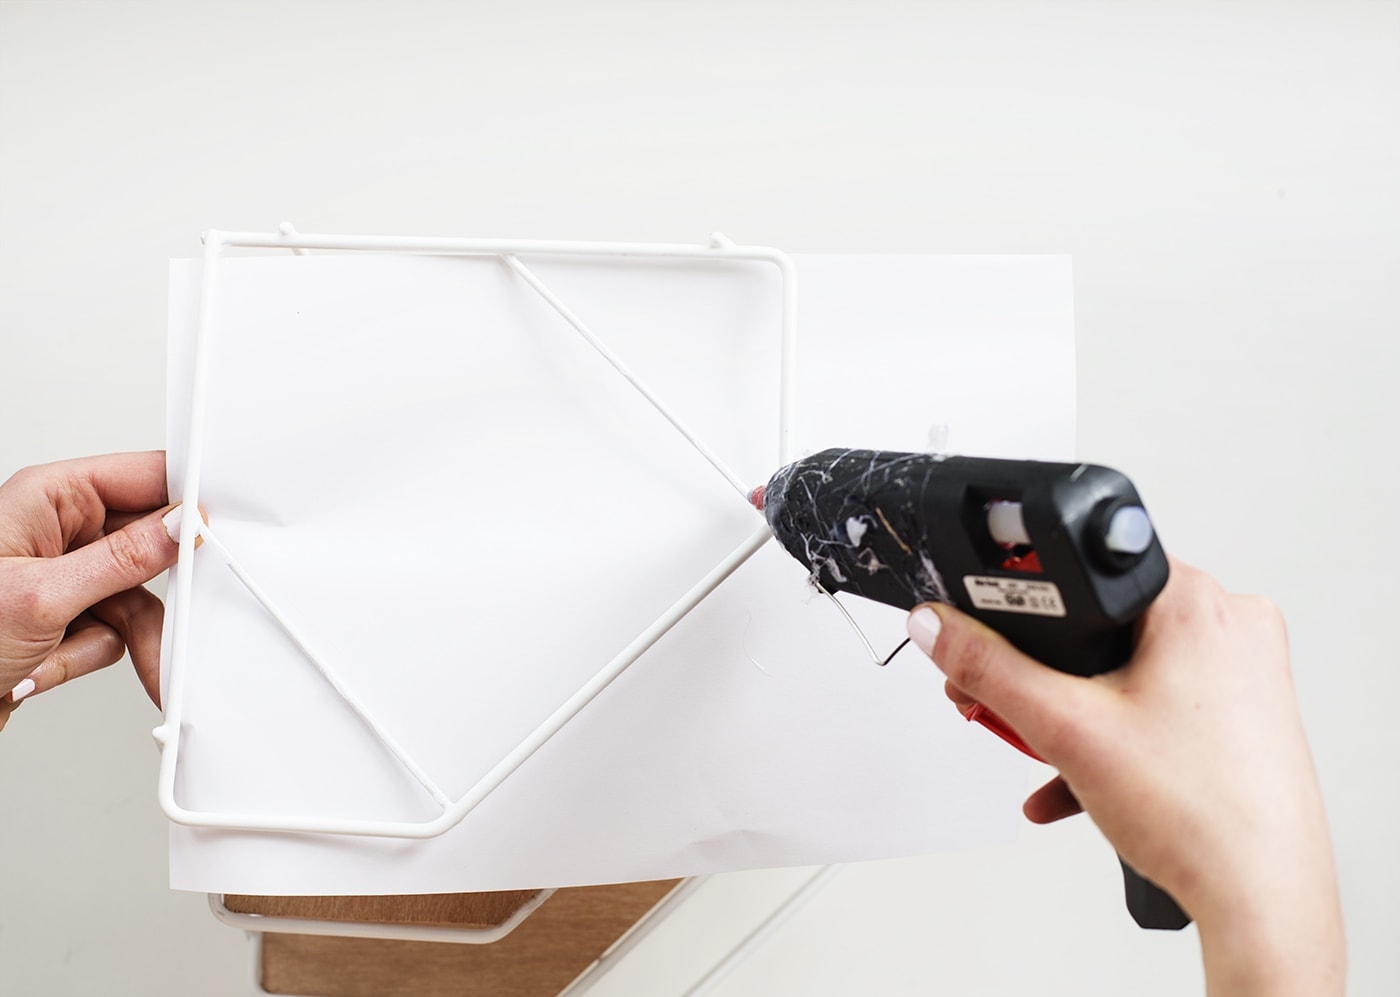 Use paper underneath each section to stop any spills and trace along the inside of the shape and then along the top of the supports in the middle. Be as quick as you can, before the glue dries and place the correct balsa section on top, pressing firmly for about 2o seconds. Repeat this for each part. For extra support I turned the frame over once dried and added a few strips of duct tap over the middle supports. This may not be necessary for you but either way, no one will see it when it’s the correct way round.
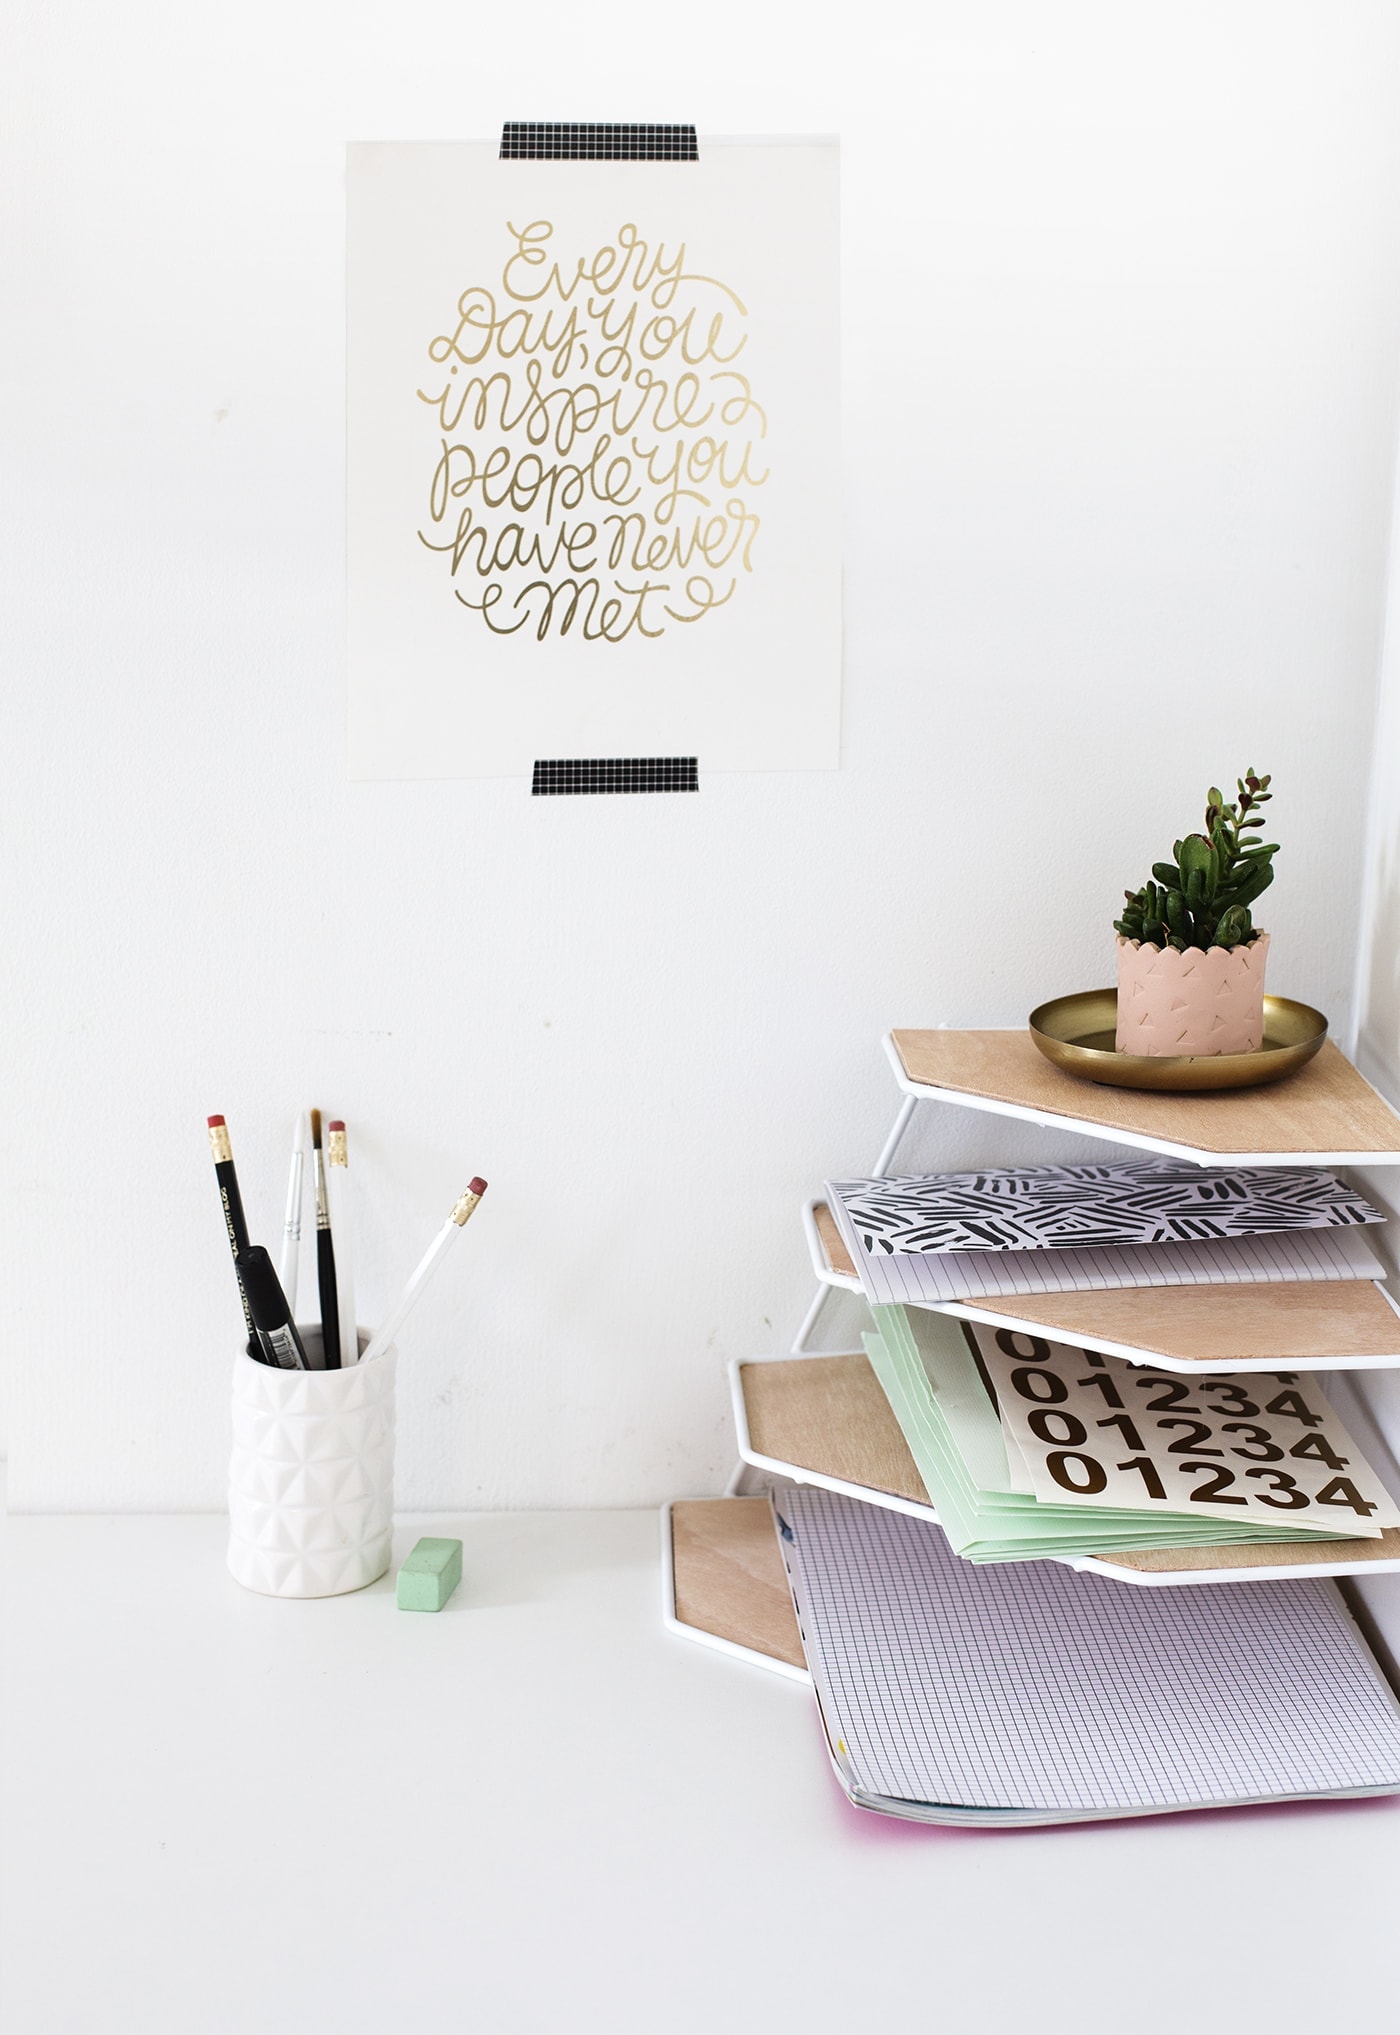

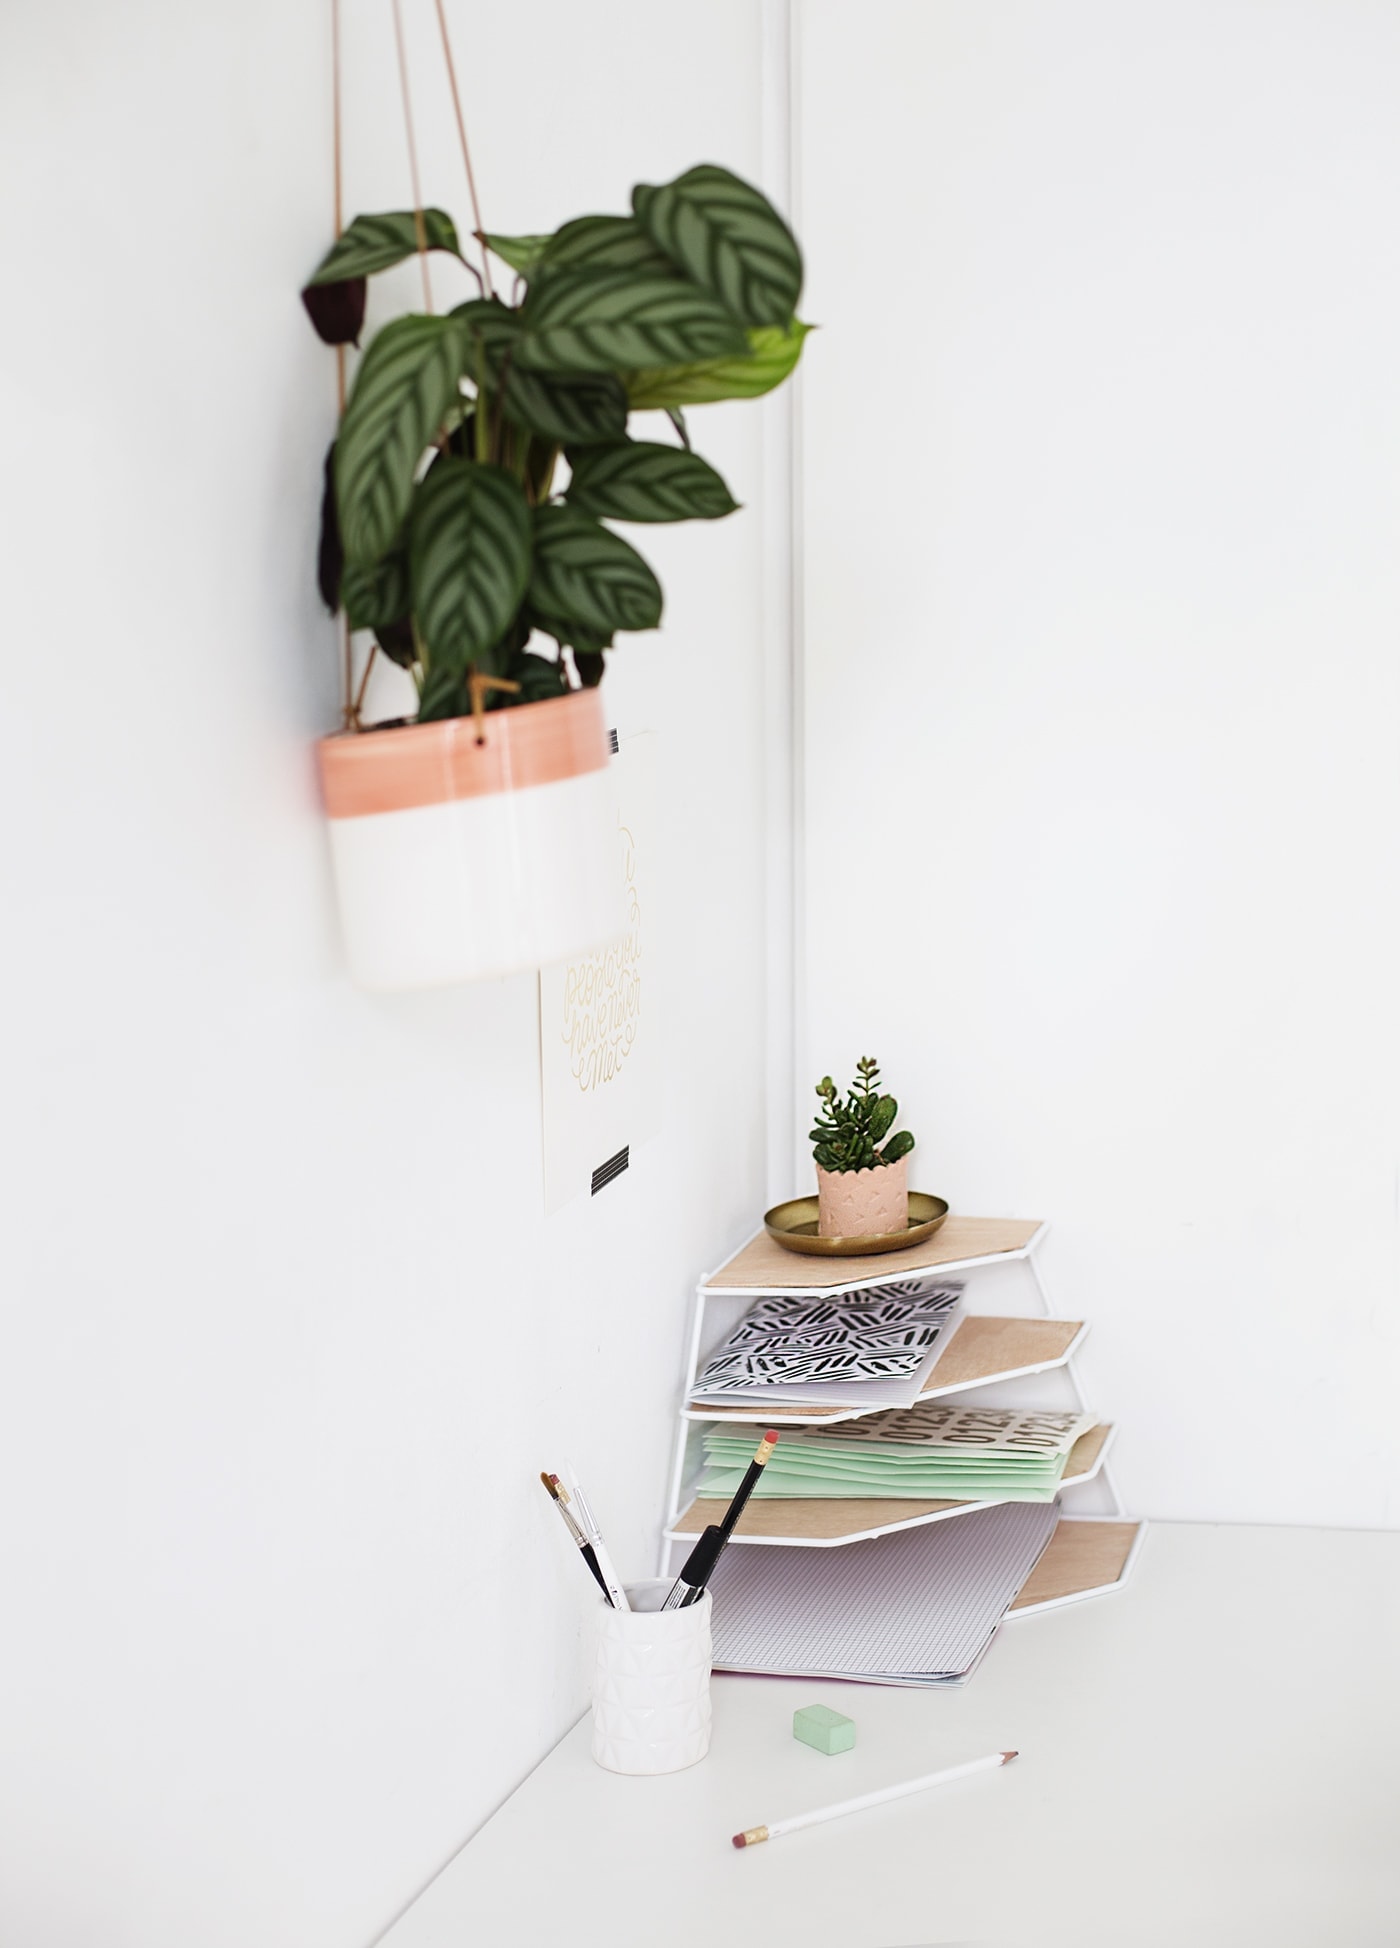
Have fun, having a go! I’m excited to finally have somewhere to store all my random scraps of paper and drawings. At least I can give the illusion of being organised! It certainly looks better than the loose piles of paper that generally mount up in the corner.
You might also like


Meet The Lovely Drawer

Hi, I’m Teri and welcome to my own creative corner of the internet. I blog about interiors, DIY projects, design inspiration and my general life so stick around have a read and say hi.
In the shop

 Quick ViewSelect options
Terrace 1
£20.00 – £25.00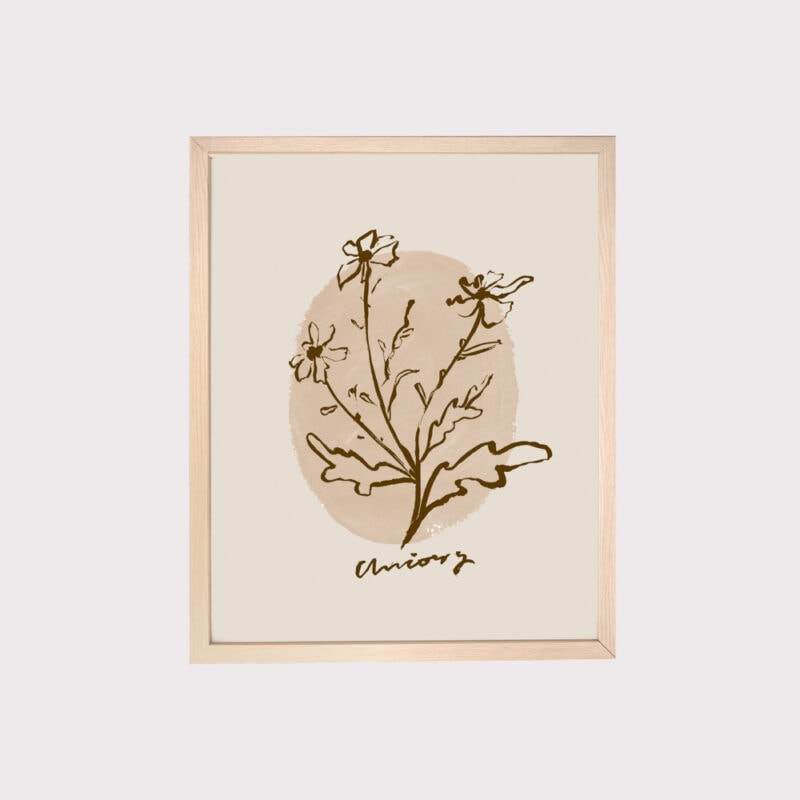
 Quick ViewSelect options
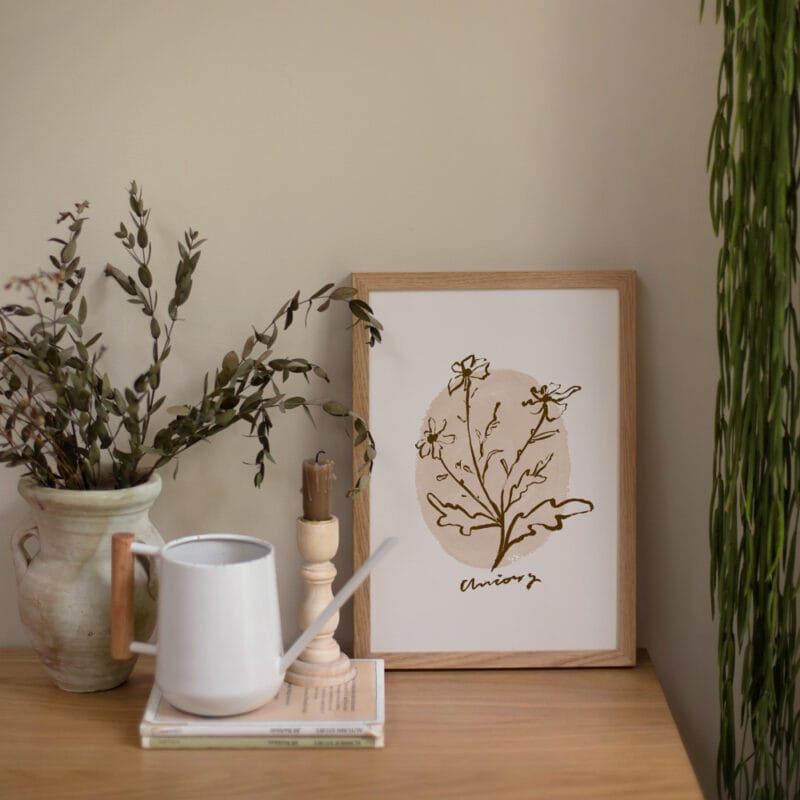
Chicory
£20.00 – £25.00
Work with Me
The Lovely Drawer is an award winning blog with a loyal audience that has grown over the years. I love working with brands small and large on exciting collaborations that can bring products alive in my own signature aesthetic.