
you’re a gem
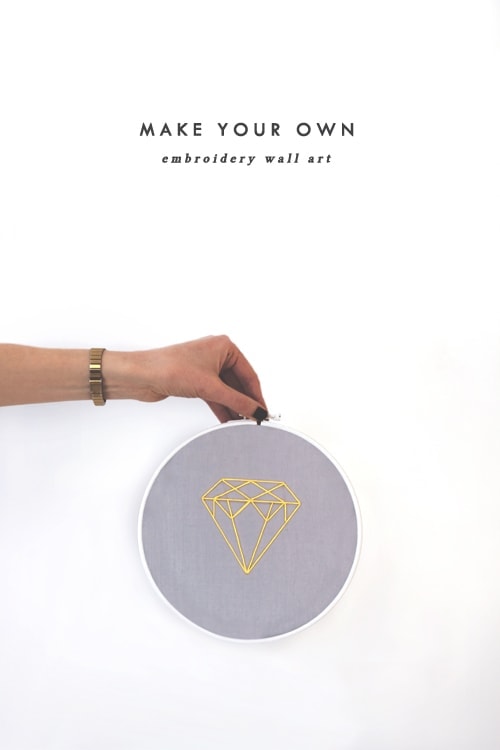
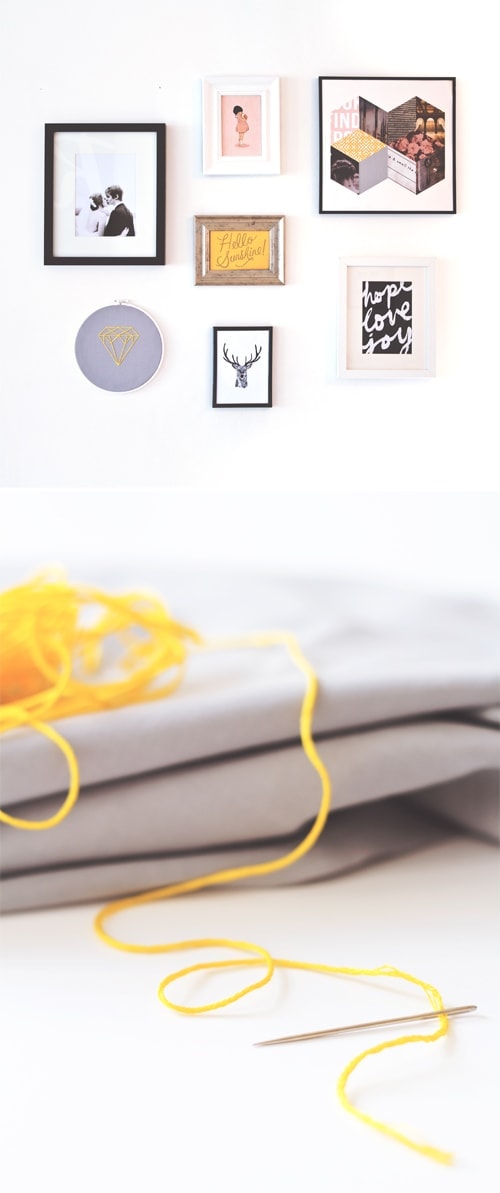
I decided to use my extended Christmas break to do a few DIY projects around the house. You know, the kind you’ve been meaning to do for about a year but life’s priorities take over and prettifying your house moves right to the bottom of the pile (and rightfully so). Anyway I’d been staring at this wall for a while, longing for it to be filled with lovely pictures. Today I’m showing you how to make one of the simple DIY additions to this space. The project title reads ’embroidery’ but I use that word loosely as it conjures up the idea of time consuming, precision work when this is actually a total doddle.
You will need…
- The downloadable gem template and paper to print
- Embroidery hoop (8 or 6 inch diameter)
- White spray paint for wood or you can use white paint for wood
- Washi tape
- Square of cotton fabric (less than 1/4 metre)
- Embroidery thread in your chosen colour
- Embroidery needle (thick enough to take your embroidery thread)
- Scissors
- Pencil
- All-purpose glue and a paint brush

To make…
- Separate the two wooden circles. I would advise spray painting your frame as it’s quicker and you get more even coverage but as I had some white paint to hand I used that instead. Use some tape to cover the metal screw section that opens the frame to protect it from the paint.
- Spray both sections on one side and leave to dry face up on some paper. Then spray the other sides and when dry remove the tape.
- Download the gem template and print off. There are two different templates depending on what size hoop you are using. I used an 8 inch hoop.
- Lay your fabric square over the paper and mark each point with a pencil dot. If you are using a heavier weight fabric which makes it hard to see through, poke through the paper with your pencil to mark the points.
- Then get your gem shape central in the hoop and sandwich between the two wooden circles. Tighten the metal screw to make sure the fabric is taught.
- Thread your needle and start joining up the points. Make sure you knot the thread when you start and finish and pull tight. Don’t worry about what the back looks like as no one will see if you follow the lines of the shape.
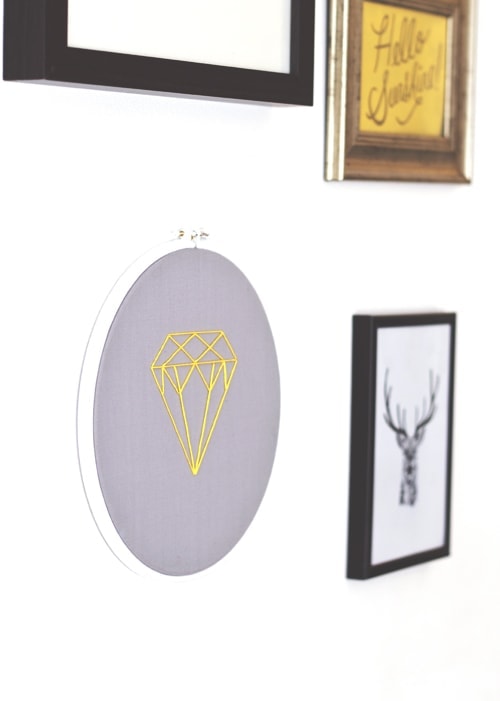
- Then trim the excess fabric around the hoop leaving about 1 inch of fabric. You can then paint some of the all purpose glue around the wooden circle at the back, using your paintbrush. Stick down the extra inch of fabric so that it can no longer be seen from the front (pull tight).
- Now you can hang your art on the wall.
You might also like


Meet The Lovely Drawer

Hi, I’m Teri and welcome to my own creative corner of the internet. I blog about interiors, DIY projects, design inspiration and my general life so stick around have a read and say hi.
In the shop
 Quick ViewSelect options
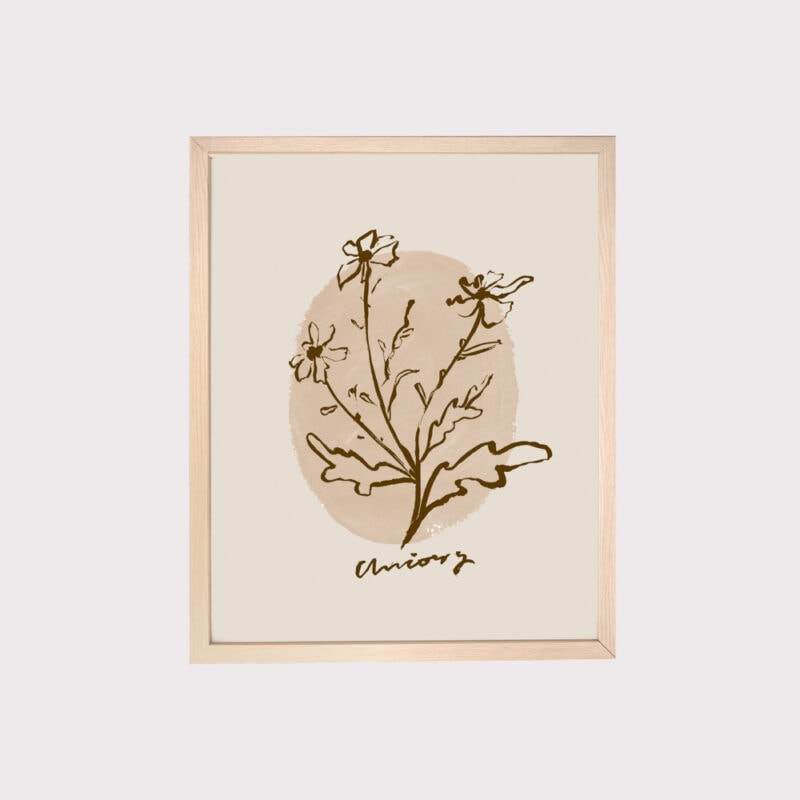
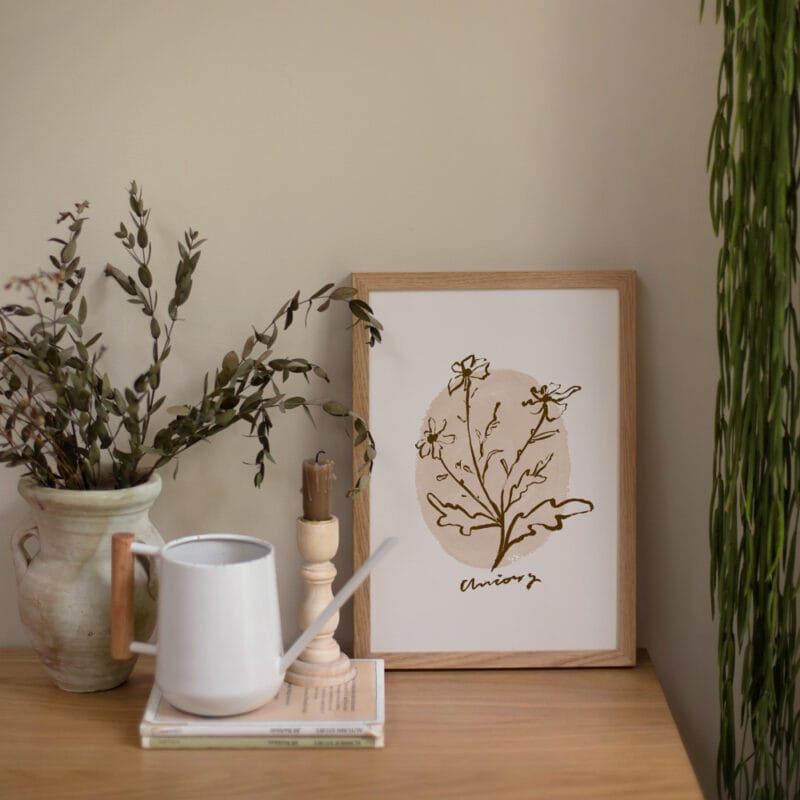
Chicory
£20.00 – £25.00
 Quick ViewSelect options
Personalised Cuddly Bunny
£30.00 – £35.00
Work with Me
The Lovely Drawer is an award winning blog with a loyal audience that has grown over the years. I love working with brands small and large on exciting collaborations that can bring products alive in my own signature aesthetic.