It has to be said that a DIY post takes a lot of thought and pre-planning. They’re definitely the most labour intensive of all the posts I work on and yet one of the most rewarding. It’s a great feeling to dream up something, then find it actually works and then see other people recreating it for themselves! I still love trying new techniques and thinking up creative solutions but over time you definitely become much more familiar with the kinds of things that work and the kinds of projects your audience love to make. Don’t get me wrong I have had my share of projects that have fallen flat on their face and just don’t work or look anything but Pinterest worthy (my side table with varnish that bled and legs that didn’t stick comes to mind) but all things considered more often than not I can make it work in the end.
I’ve put together some tips to help craft the perfect DIY post from start to finish to take you through the whole process. Hopefully if you’re already doing these posts or fancy having a go then this will lend a helping hand.

get brainstorming
Ideas can usually come to me at any point during a day although seem to flow most freely when I’m walking or swimming. That probably sounds bizarre but I’ve dreamt up a good number of the DIY posts you see on here, simply doing lengths. Learn what situations spark ideas for you as I’m sure they will be different for everyone. Don’t skim through DIY boards on Pinterest as you’ll only end up repeating the same old content. Instead, have a browse online at some shops or for a little outing to have a scout in person. If time isn’t on your side then flick through some home or fashion magazines. Any image or product could set an idea in motion, whether that’s a colour palette you love, an interesting product you want to create or a trend you fancy incorporating into an existing idea. Alternatively you could have a rummage around your home for any bits and pieces you no longer use. Re-purposing everyday household objects is always really satisfying and makes a project instantly more feasible for your audience to recreate. When you come up with the ideas consider if you would genuinely use, wear or have this in your home? Is this the kind of item you’d actually go out and buy? Some DIY projects are cute and clever but most people wouldn’t actually want or need them. You want to make something that leaves people thinking, ‘Wow, I want one of those! I can’t believe I can make it myself!’.
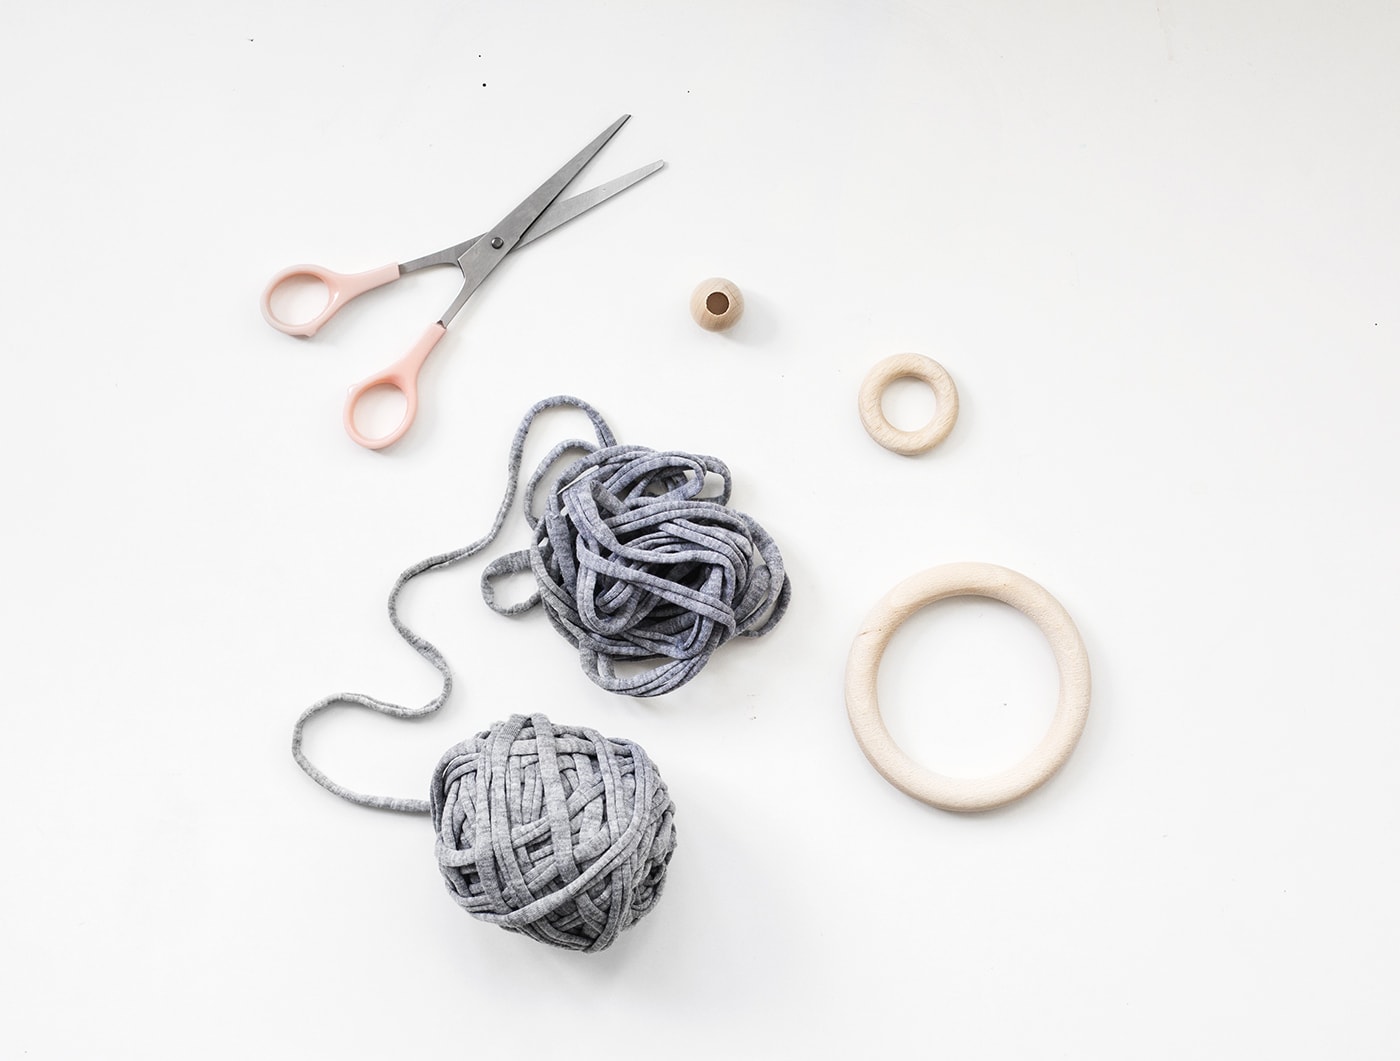
order supplies
I usually do this on eBay or Amazon. You can find pretty much everything in these two places as well as finding the best price. Make sure you fully read descriptions for sizes and if you’re on eBay you could even message the seller if you’re worried it might not be quite the right colour or effect you’re looking for. I always try and make my projects as reasonable as possible. If they starting adding up to big bucks then there comes a point where it would just be easier for your audience to go out and buy the end product from a shop. Make sure you keep a track of the product links so you can refer people back to them in your post and make their search a little easier.
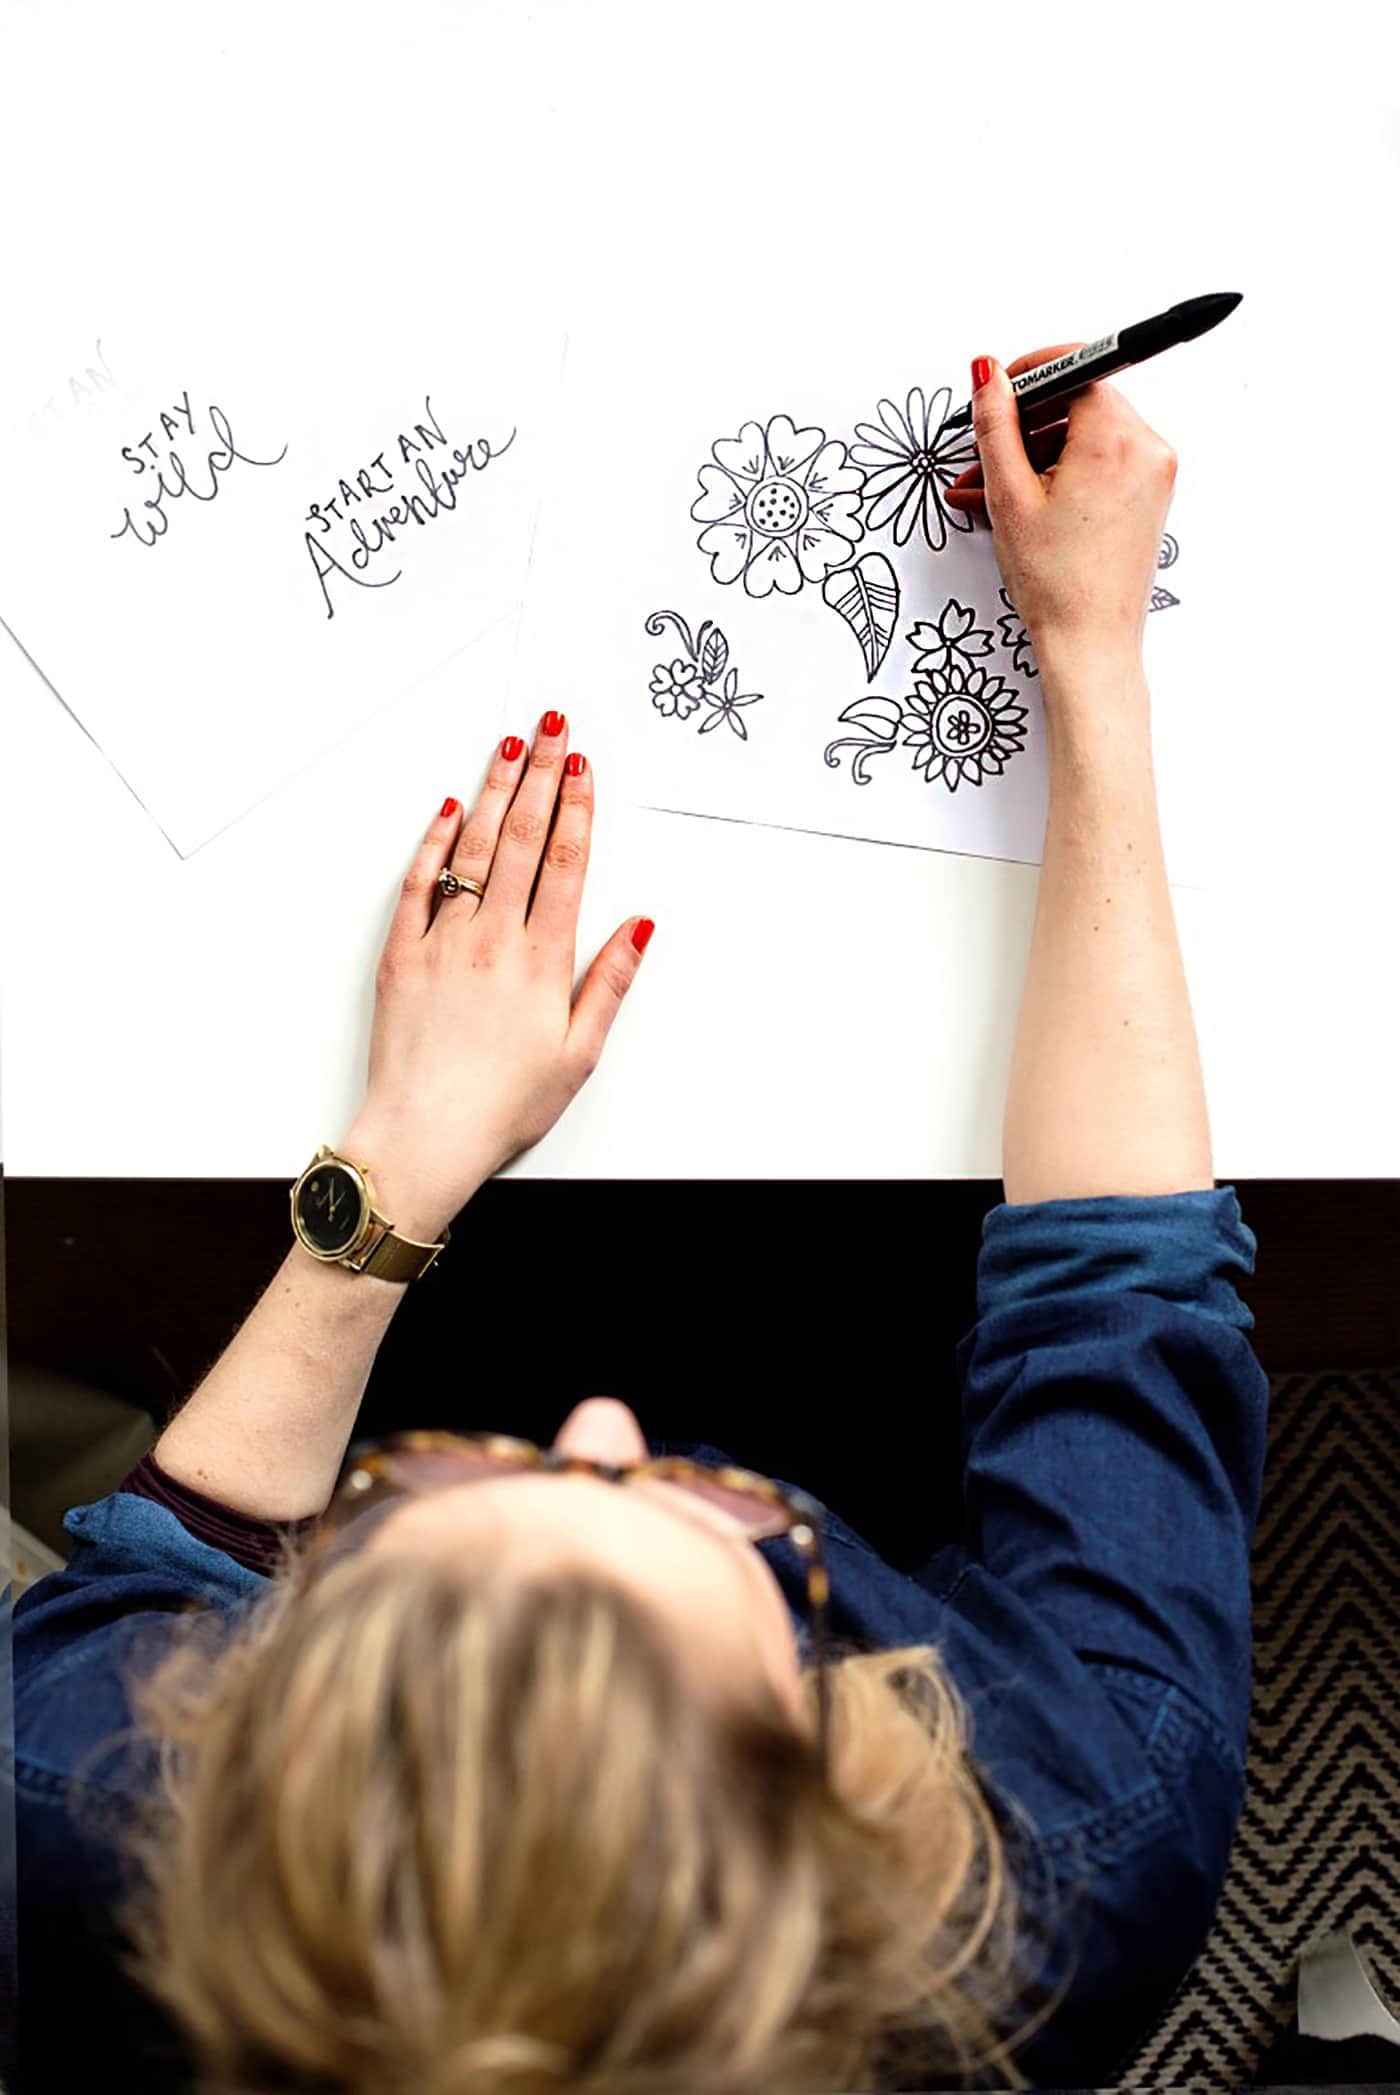
document your stages
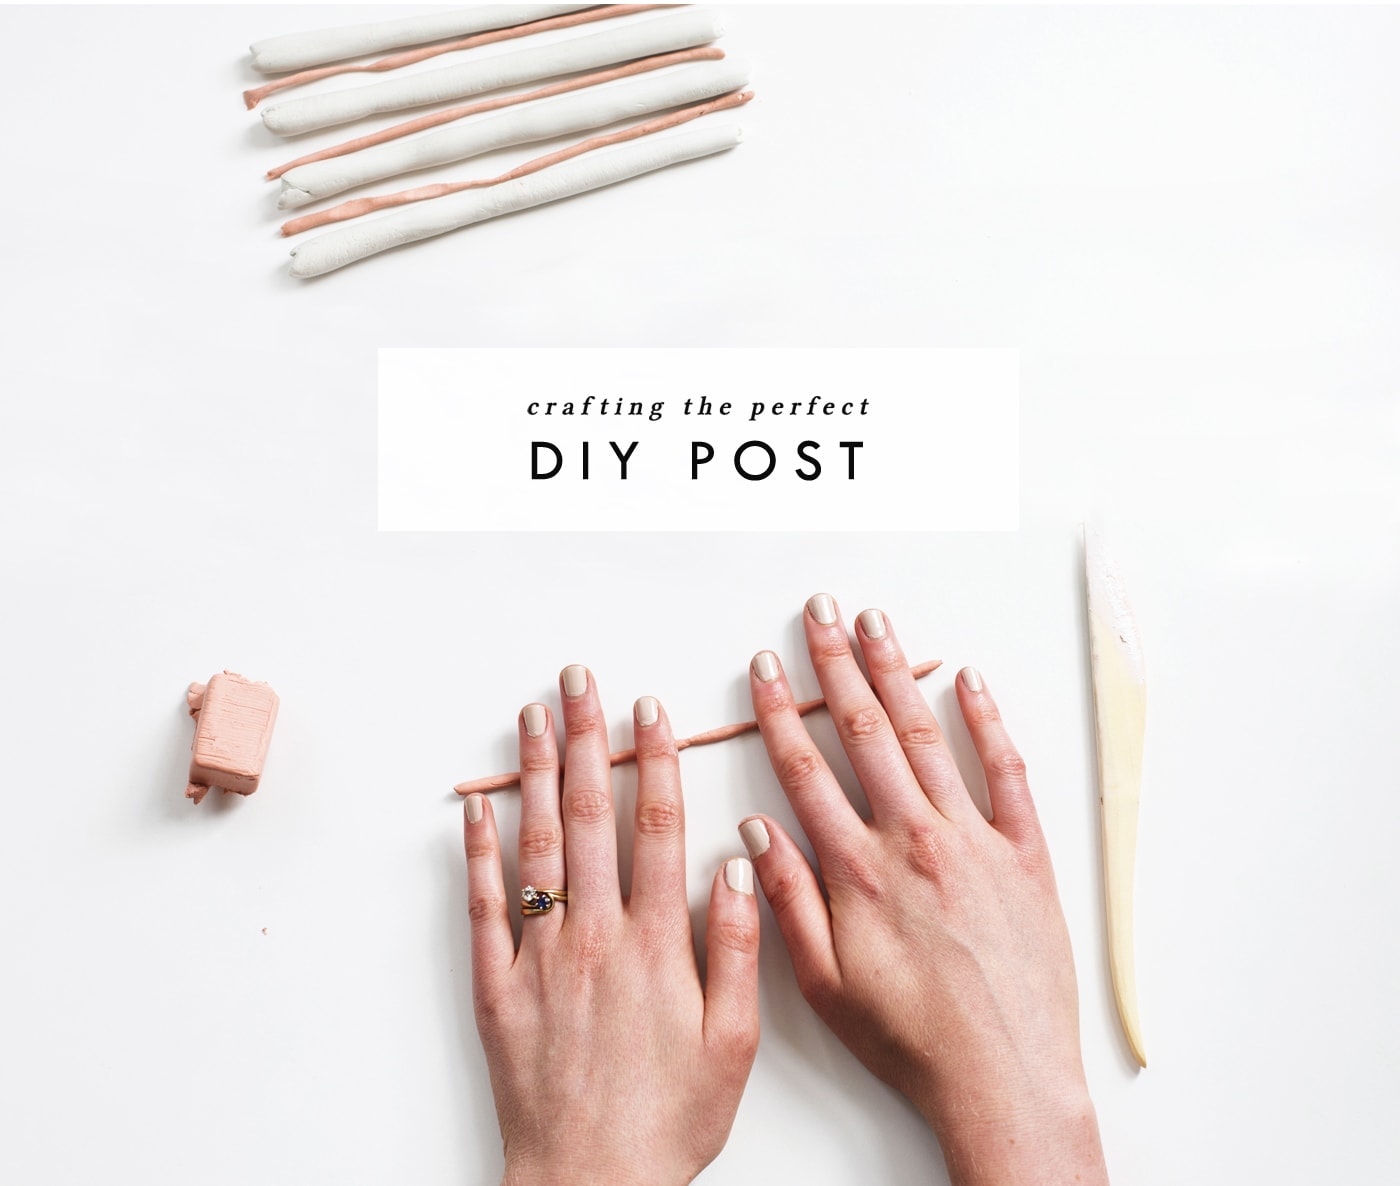
Sometimes I resent having to stop to photograph each stage as I get over excited and just want to plough on through to the finalé. It’s particularly awkward when you have to wait for things to dry in between and then evening closes in and all you want is to carry on but your camera says ‘no’. Getting the right light is really important. Summer gives you an abundance of light hours but in winter you may have to select your window carefully. Natural light is always the best option for this kind of photography, never artificial light! Turn all those light bulbs off as they’ll leave your shots with an ugly orange glow and nasty shadows. Don’t use direct sunlight but a well-lit room with diffused light is perfect. You may want to use white board or coloured cards to lay under your materials / items to give a clean background and continuity throughout the shots. The most comprehensive shots are usually from above with a good view of your hands in action. I often use my husband for these shots but when he’s not around I have to think more carefully. A great idea would be to invest in a tripod with an arm to help out. Make sure you focus on the important details that you’re pointing to in the step. I would photograph between 6 and 12 different steps depending on how
complicated the project is.
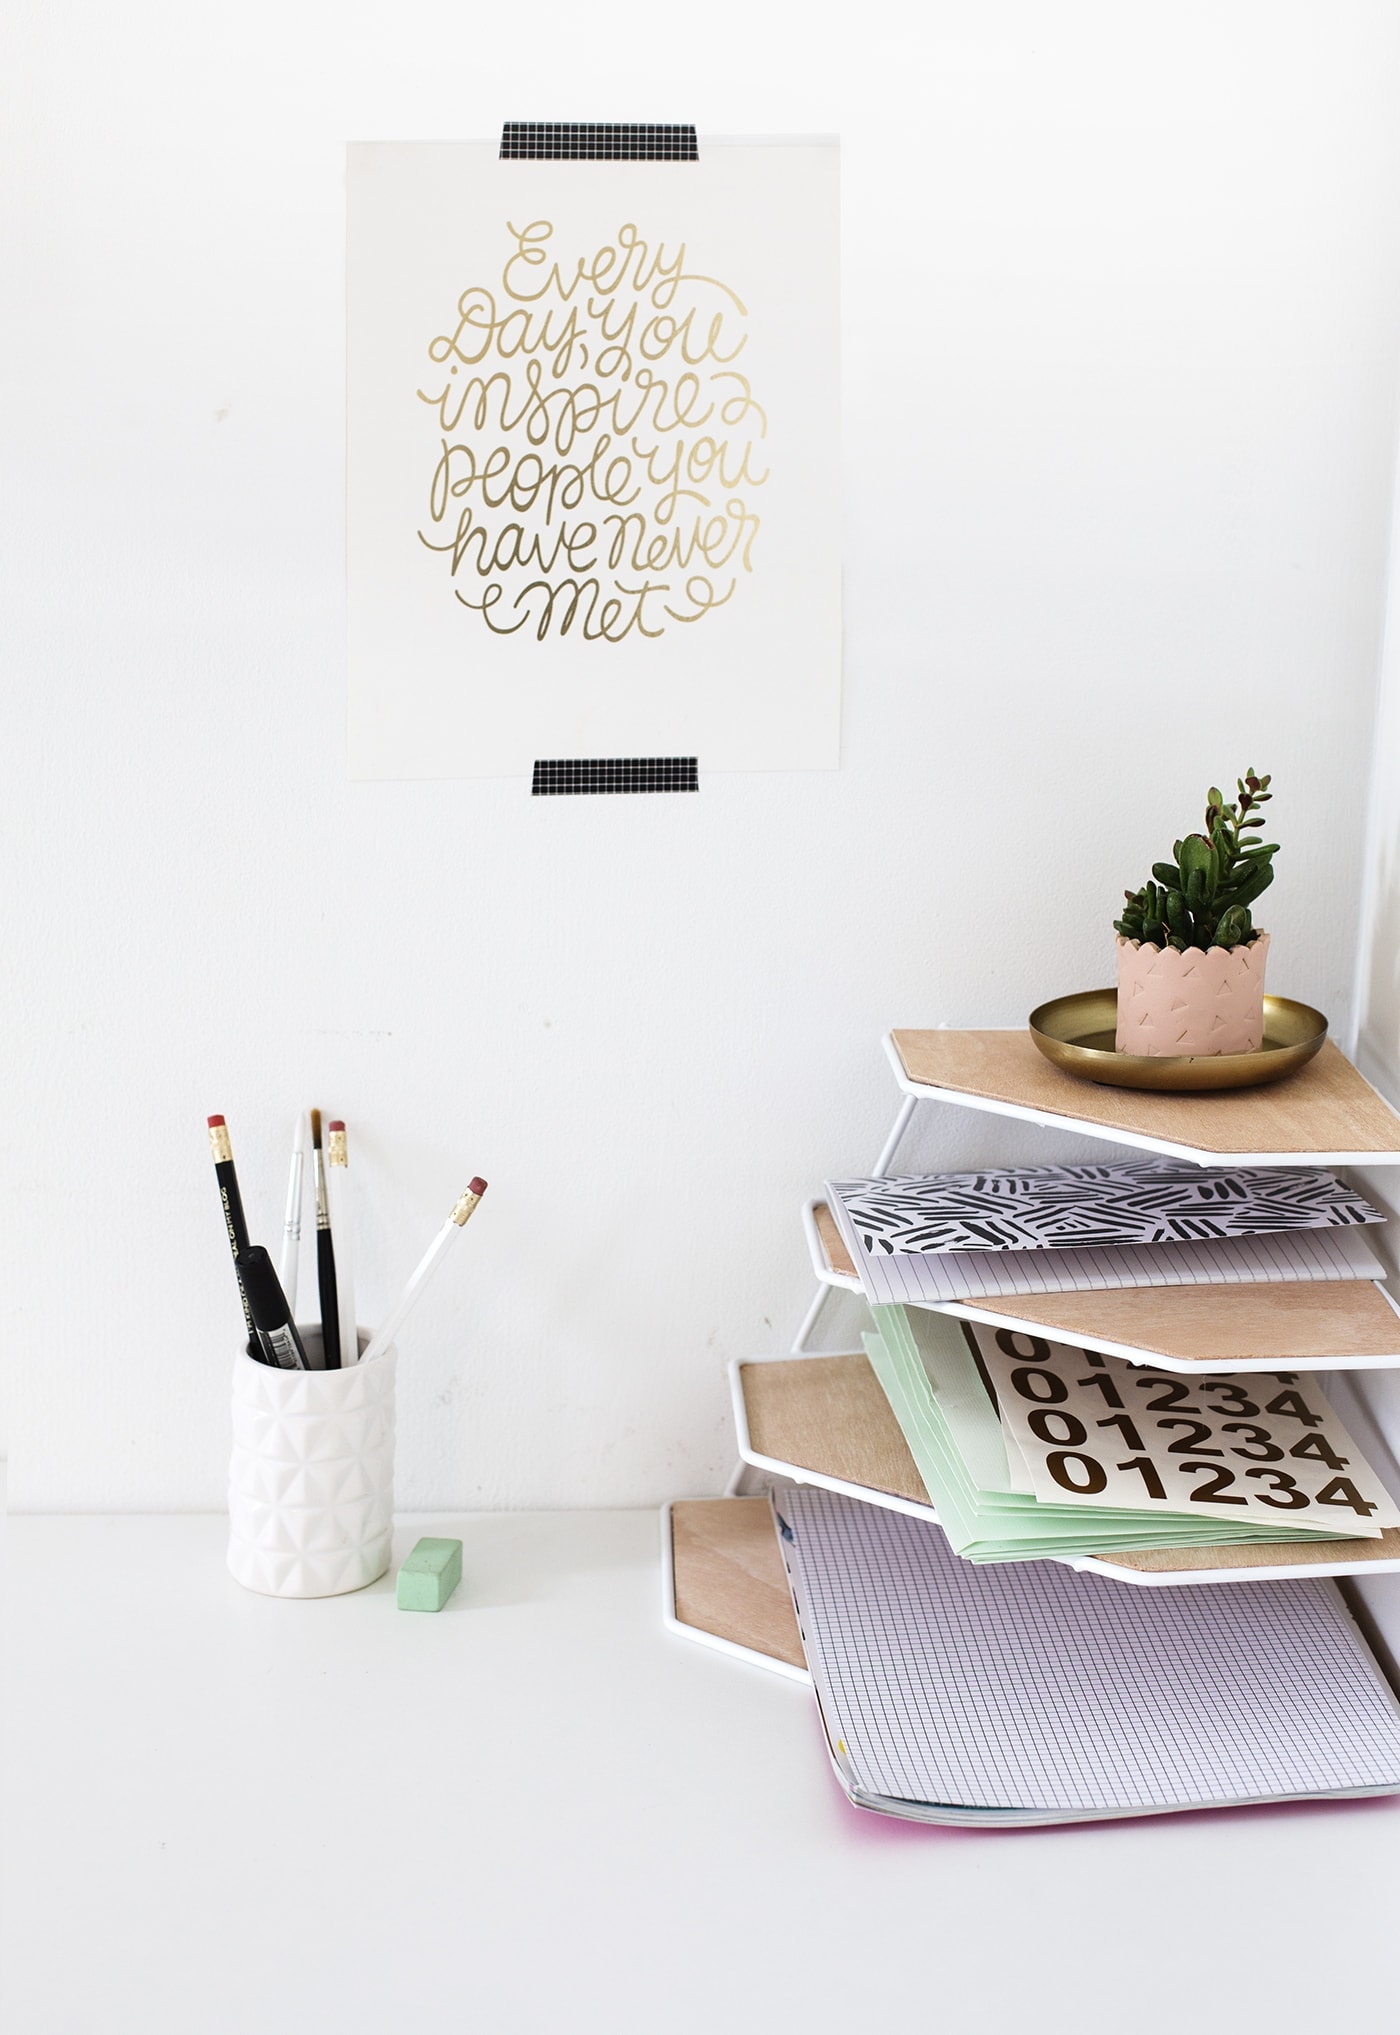
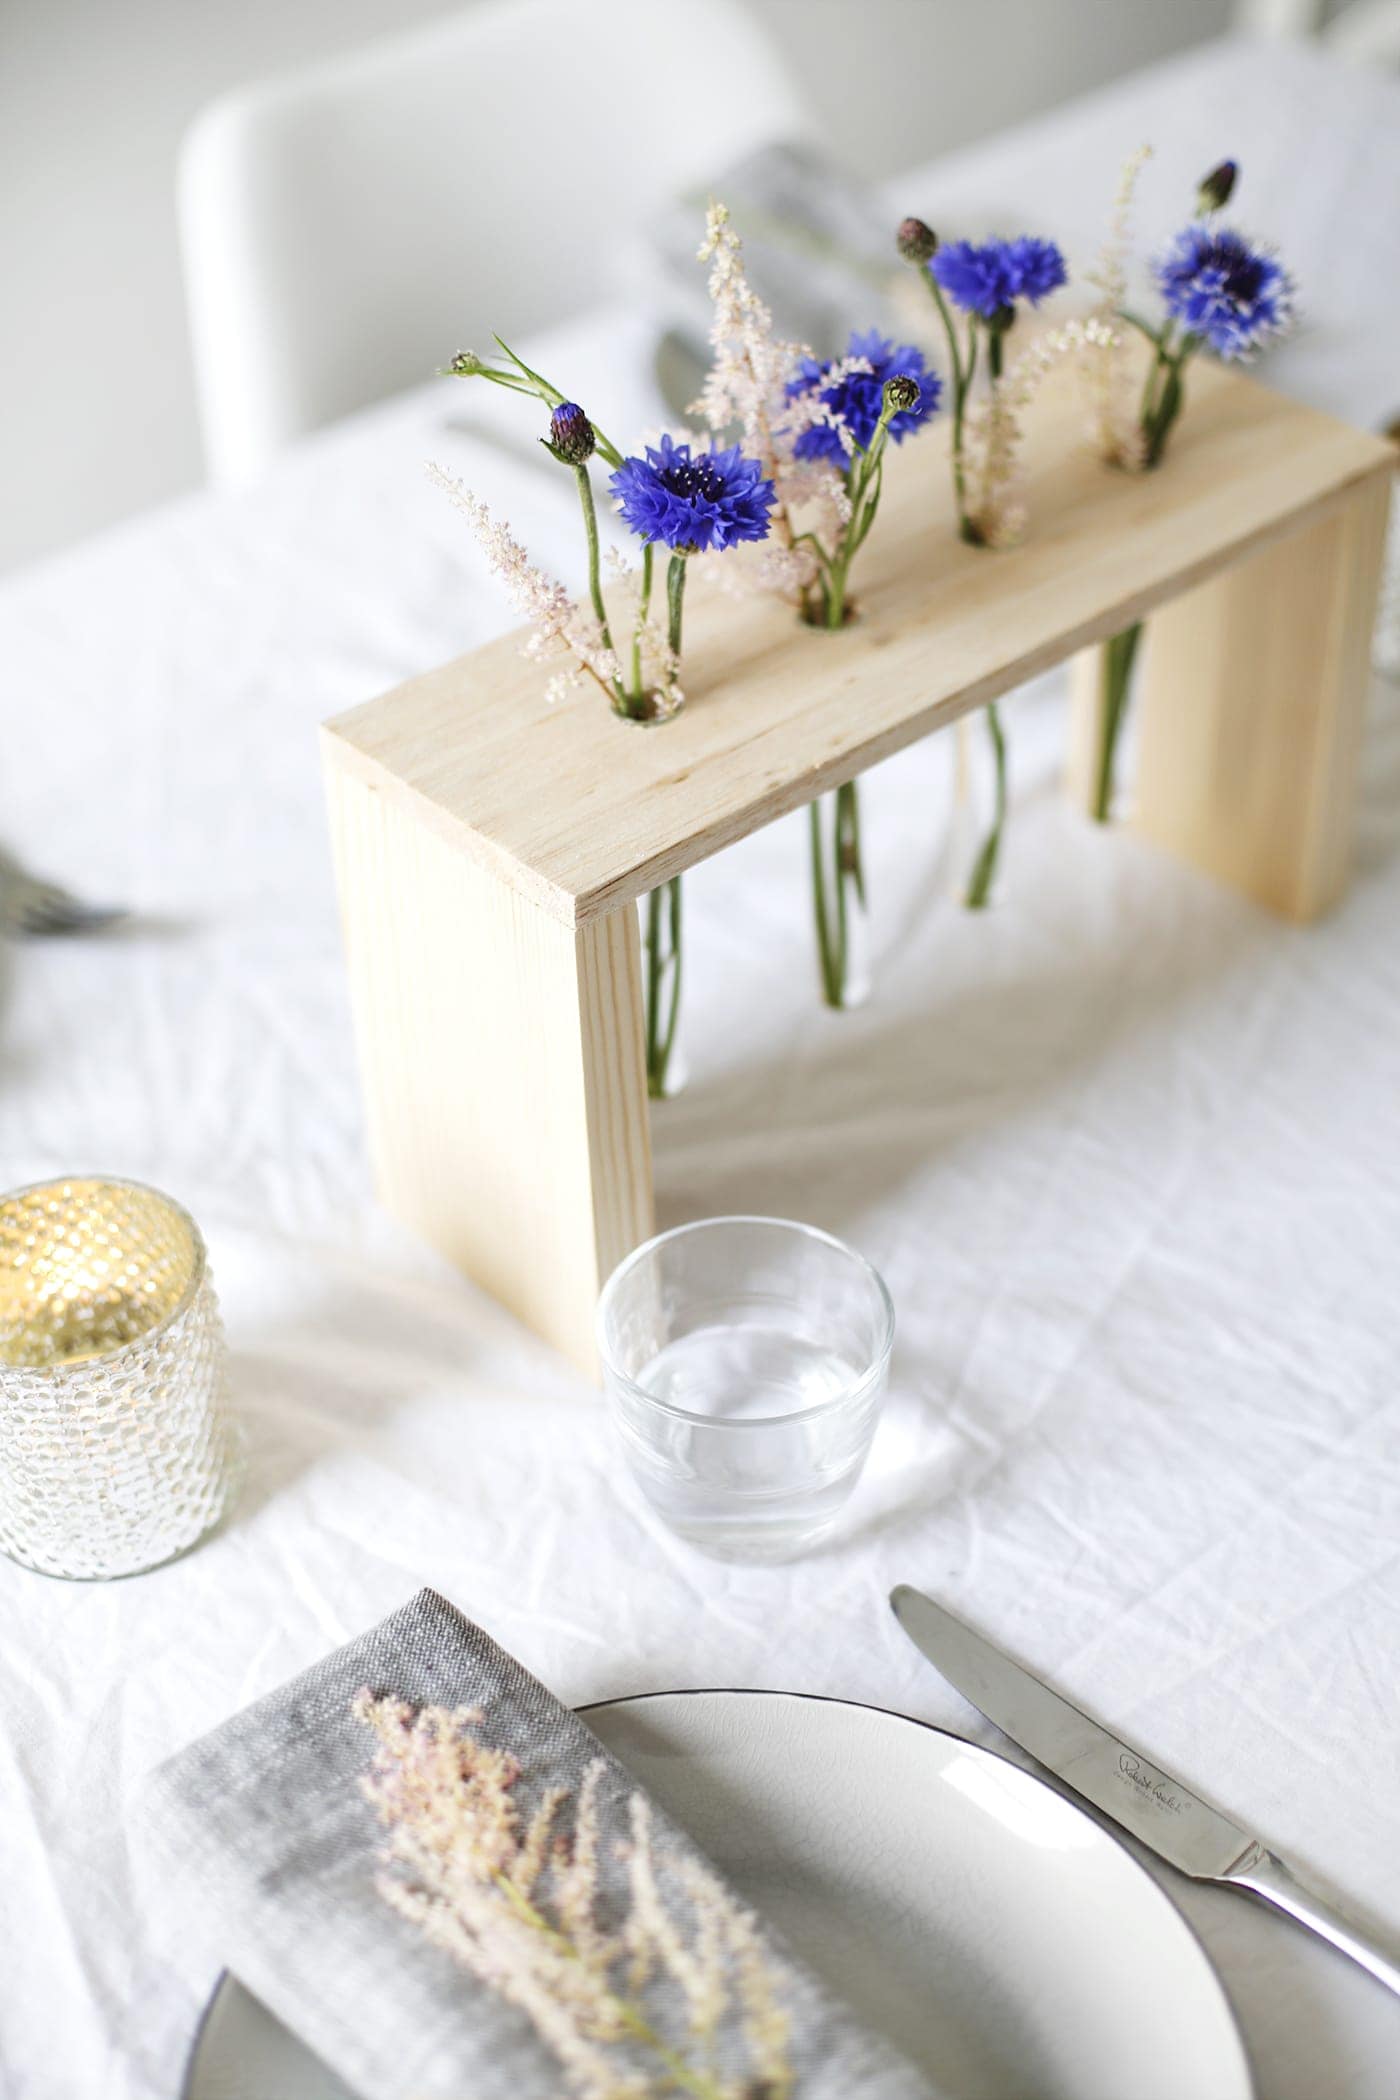
style & shoot your creation
This is the really fun part! Have a little think on how you want to style your product. Sometimes the best way to see what works is to actually have a play in front of the camera. You might have a mental image that looks awesome but it doesn’t end up translating well into a photograph. Often my approach is to keep it simple in order to draw the most attention to the product. Styled objects should just be supporting the final outcome rather than fighting for the attention. Think about composition and try to take a range of shots from different angles and you can play around with depth by adding objects in the foreground and background. With a low depth of field you can just focus on your DIY and the rest will be out of focus, adding context and interest. Make sure the majority of the frames you take are portrait as this will help the post to gain more attention on Pinterest.
give people the ‘know how’
Writing the instructions is probably my least favourite part but it’s definitely the most important for helping people recreate the DIY item themselves. Match each step with an image to give clarity and think through how you’re wording the steps. I often come back and re-read it a day later to make sure it all makes sense and isn’t too wordy. Introduce the project with a lead in paragraph that explains why you love this DIY and what gap it fills in your own home or wardrobe and end with a paragraph to wrap up. Perhaps leave people with some extra ideas on how to create other variations or ways it could be used or styled. The reader basically needs to know why they ‘have’ to make your DIY project!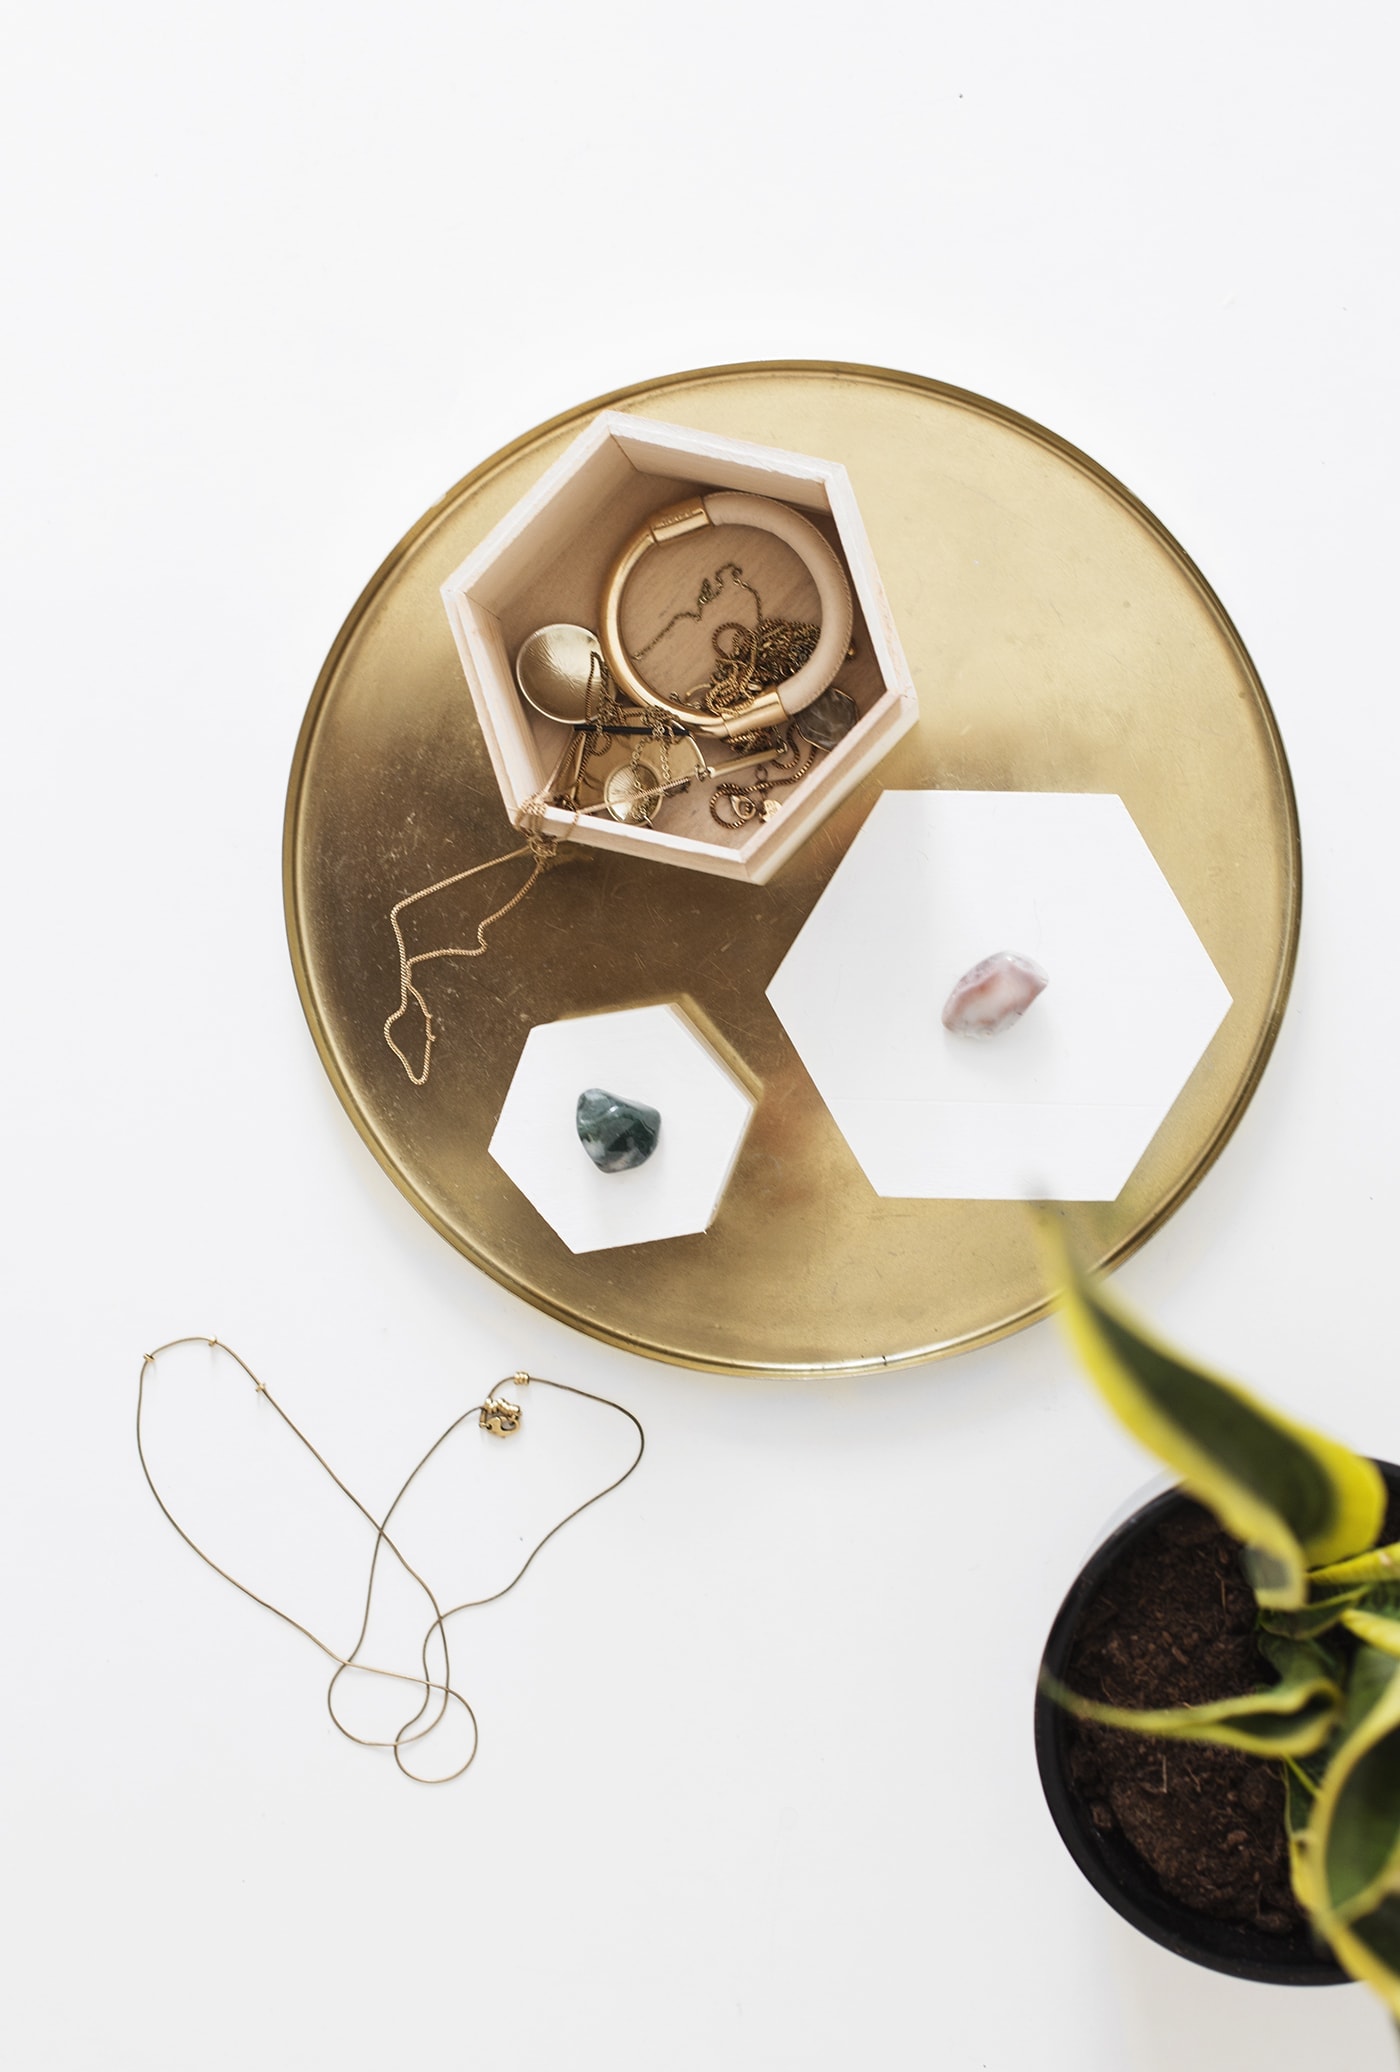
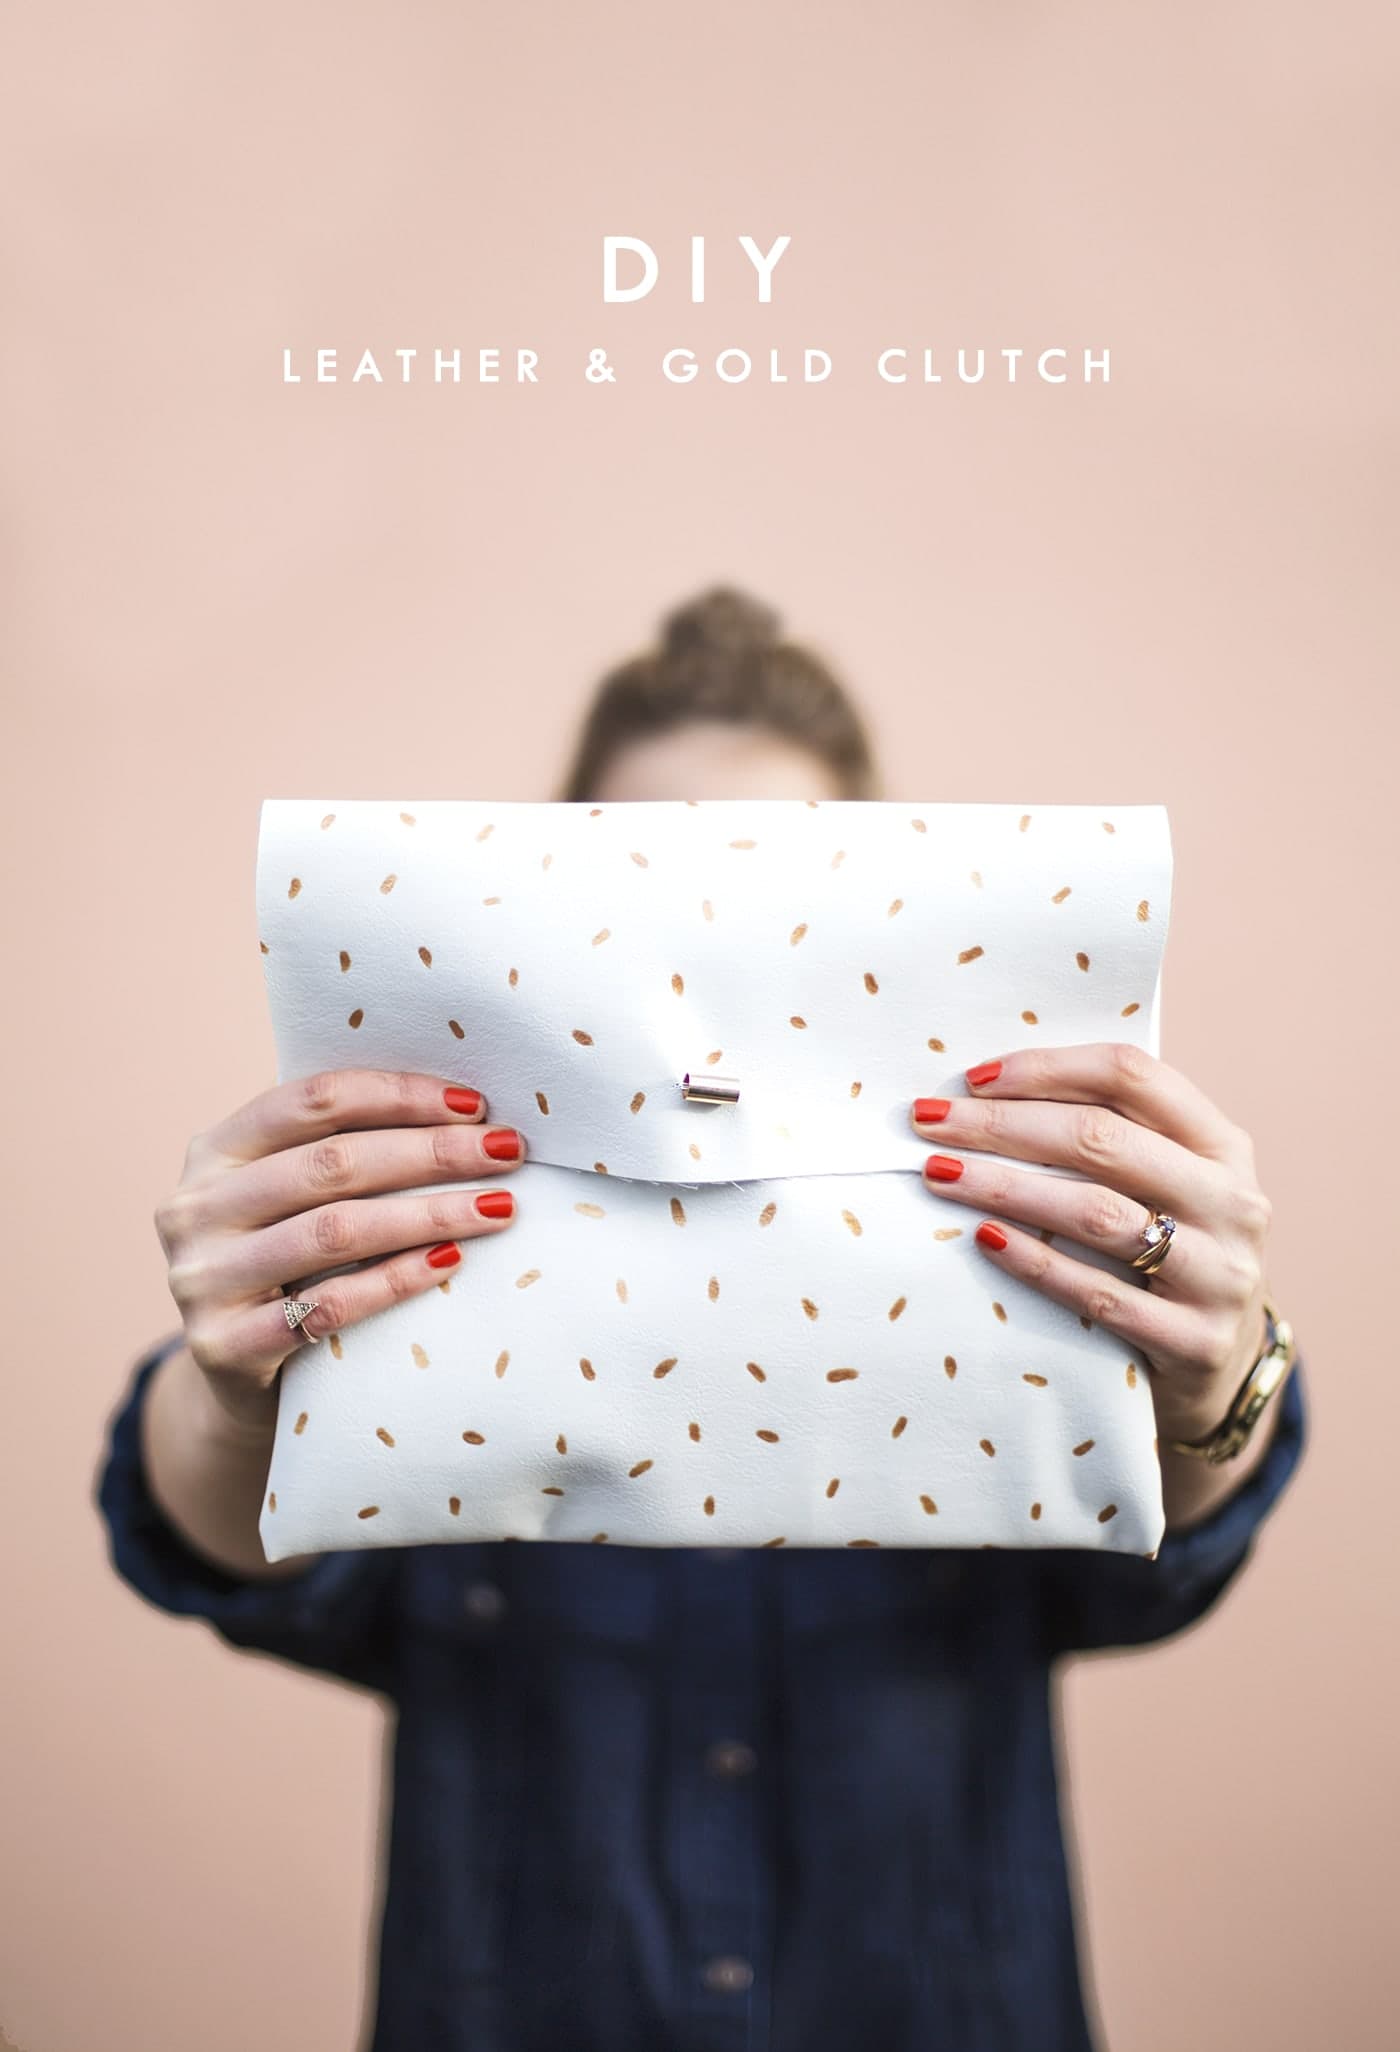
promote your post
People love a good ‘how to’ post so it’s an easy sell. All you need to do is get the word out there. Pinterest is particularly good for DIY post sharing and as I said before, start by sharing a portrait image as this will work better on the feed. It’s also handy to include an image that has a text layer on top, telling people what it is they can make so people can immediately see it’s something they can make.. This is more likely to wet people’s appetites and therefore click through. You can also link back to old DIY tutorials in future blog posts and do seasonal round ups so you make your DIY content go further and it may well be totally fresh for new readers. Consider submitting your projects to other craft platforms like Craft Gawker to get more eyeballs on your work. When people share your projects on Facebook, Twitter or Instagram, be sure to thank them for taking the time to do that and share or retweet where you can.
So there you have it, my top tips for creating a DIY post from start to finish. They’re always my favourite posts to do and seem to be some of your favourite to read and pin too. If you’re a budding DIY blogger then keep on creating and refining your posts and you’ll see the improvements over time for sure and will get more confident with your ideas which should mean they become more and more original. If you have any questions I haven’t answered then just leave them in the comments and I’ll try and answer them for you.


 Quick ViewSelect options
 Quick ViewSelect options