

The Easiest Way To Say “I Made This”
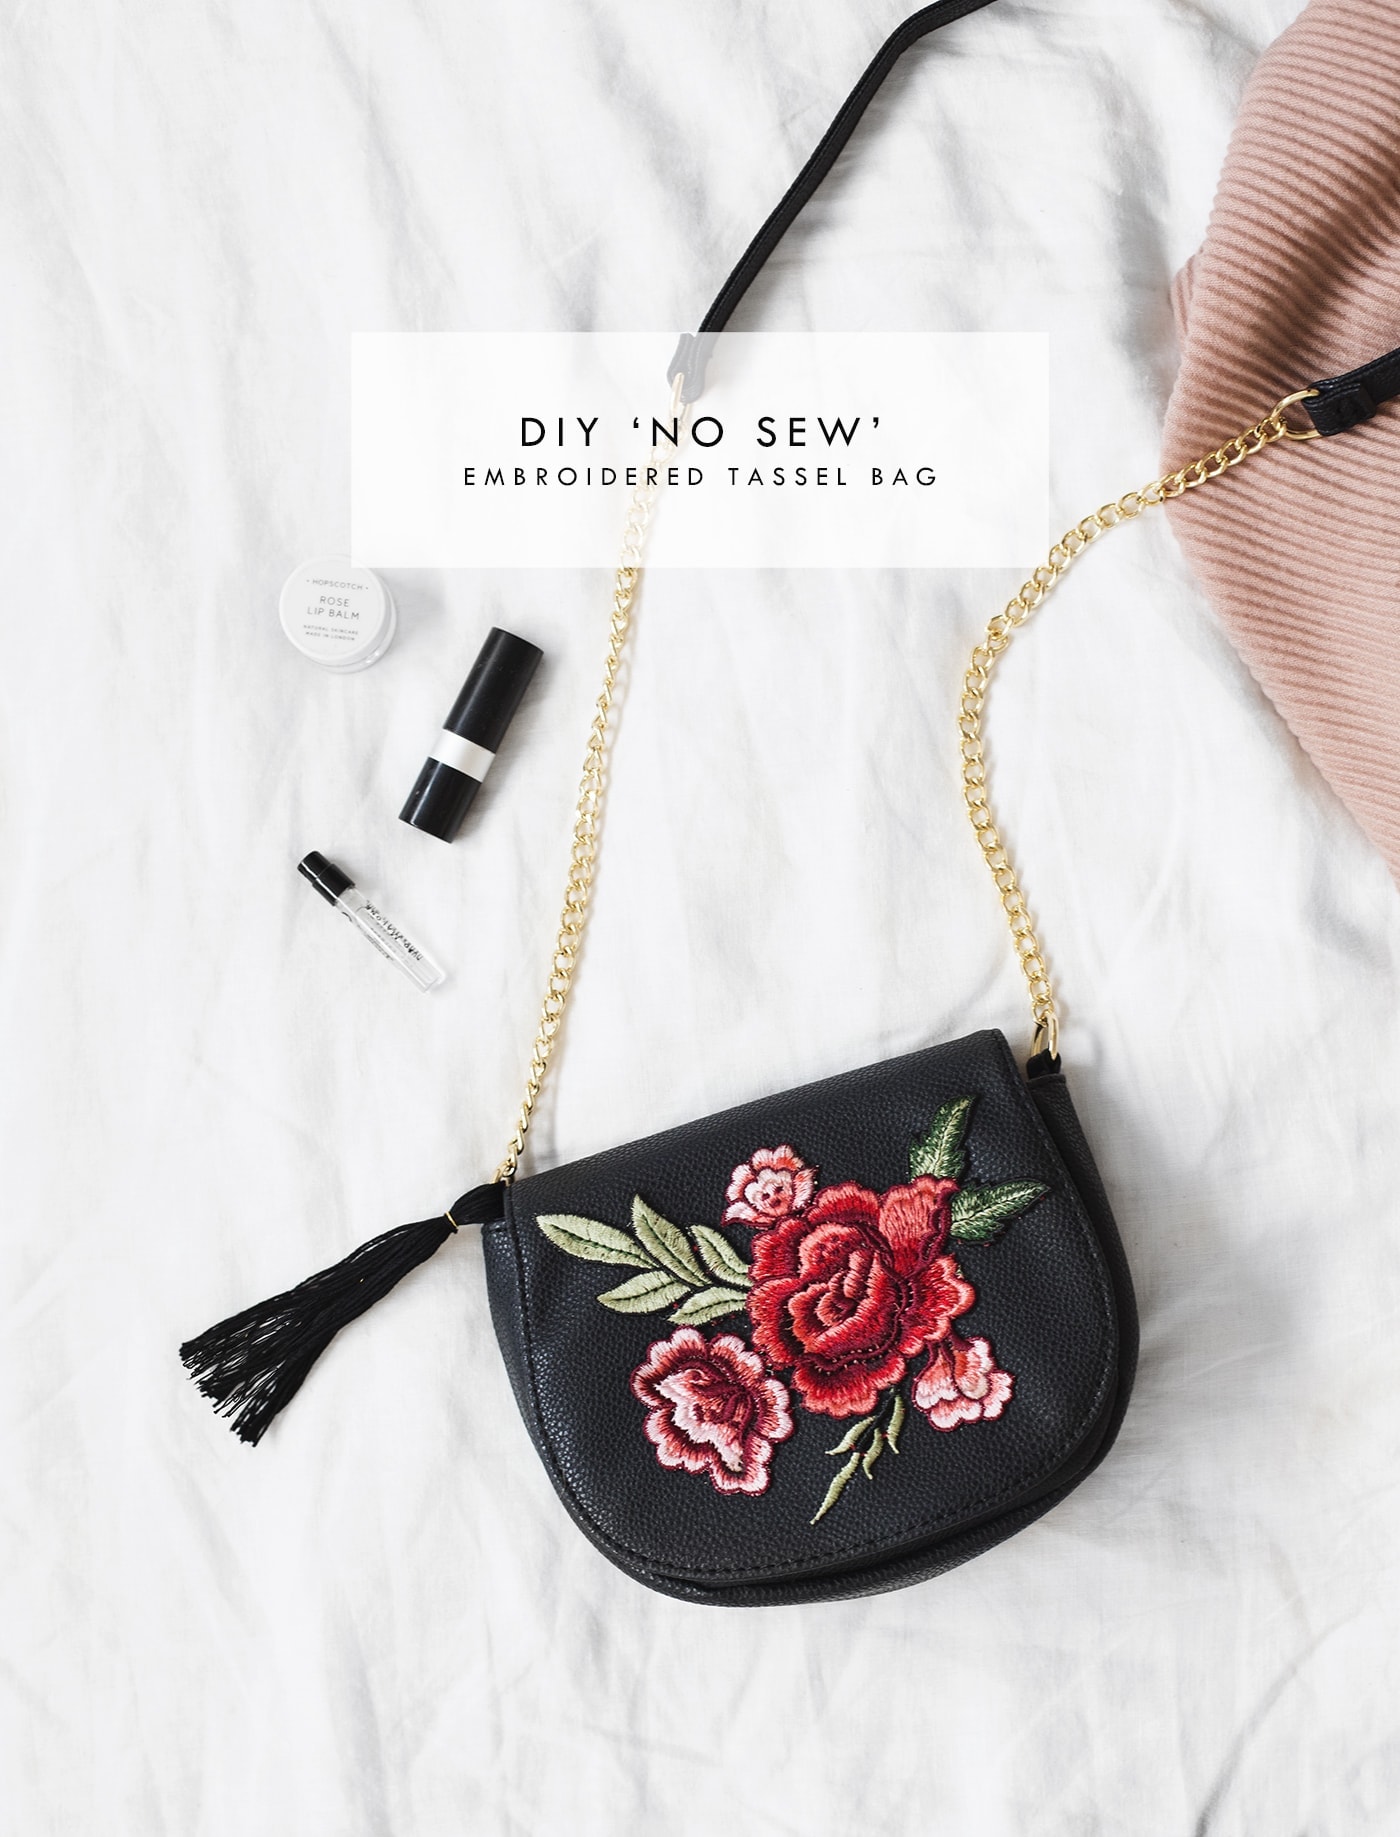
 I’ve been dreaming up an embroidery DIY for a while now but in all honesty I really haven’t got the time to stitch a beautifully intricate motif. I wish I did but that isn’t my reality right now and I’m sure lots of you are in the same boat. I decided to cheat a little and create the same pretty effect but with no sewing at all. Sound tempting?…step right this way.
Unless you’re living in a hole you may have noticed that the embroidery trend has been gathering steam and whether it’s boots, shirts, dresses or bags I want them all. Stitch over my whole wardrobe please! I’ve also been wanting a new cross body bag for a while and found this lovely plain one from Matalan and it was a total bargain! I think it looks a lot more luxe than it really is and gave me the perfect base to work my ‘no sew’ embroidery magic.


Materials
- Plain black bag like this one
- Embroidered applique motifs
- Strong fabric glue
- Scissors
- Pliers
- Black embroidery thread
- Gold plated jewellery jump ring

Start by placing the applique motif onto the front side of your bag and see what parts you want to include as it undoubtedly won’t all fit on unless you’ve chosen a bigger bag.
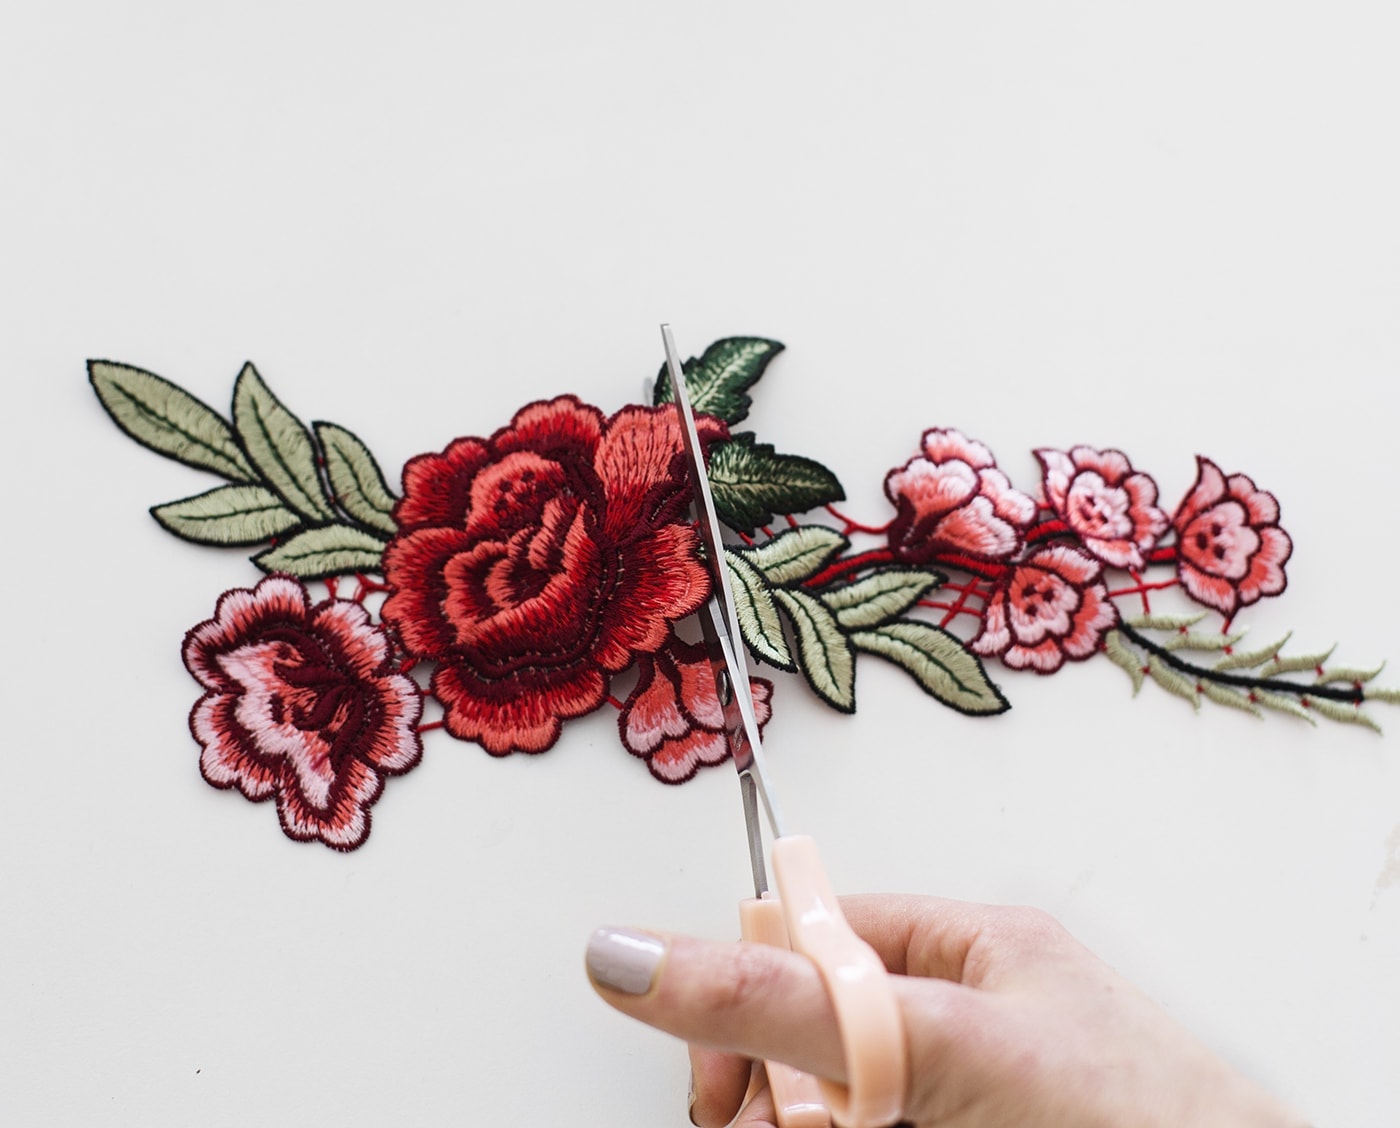 I wanted to make sure I included the main rose and so snipped some of the leaves and smaller buds off to make it fit. I kept these extras and repositioned them to fit the bag dimensions. At this stage you can also cut any joining threads like the ones you see here in red.
 Now glue the back of the motifs, spreading the glue evenly. Glue the backs of any separate pieces you want to add too.
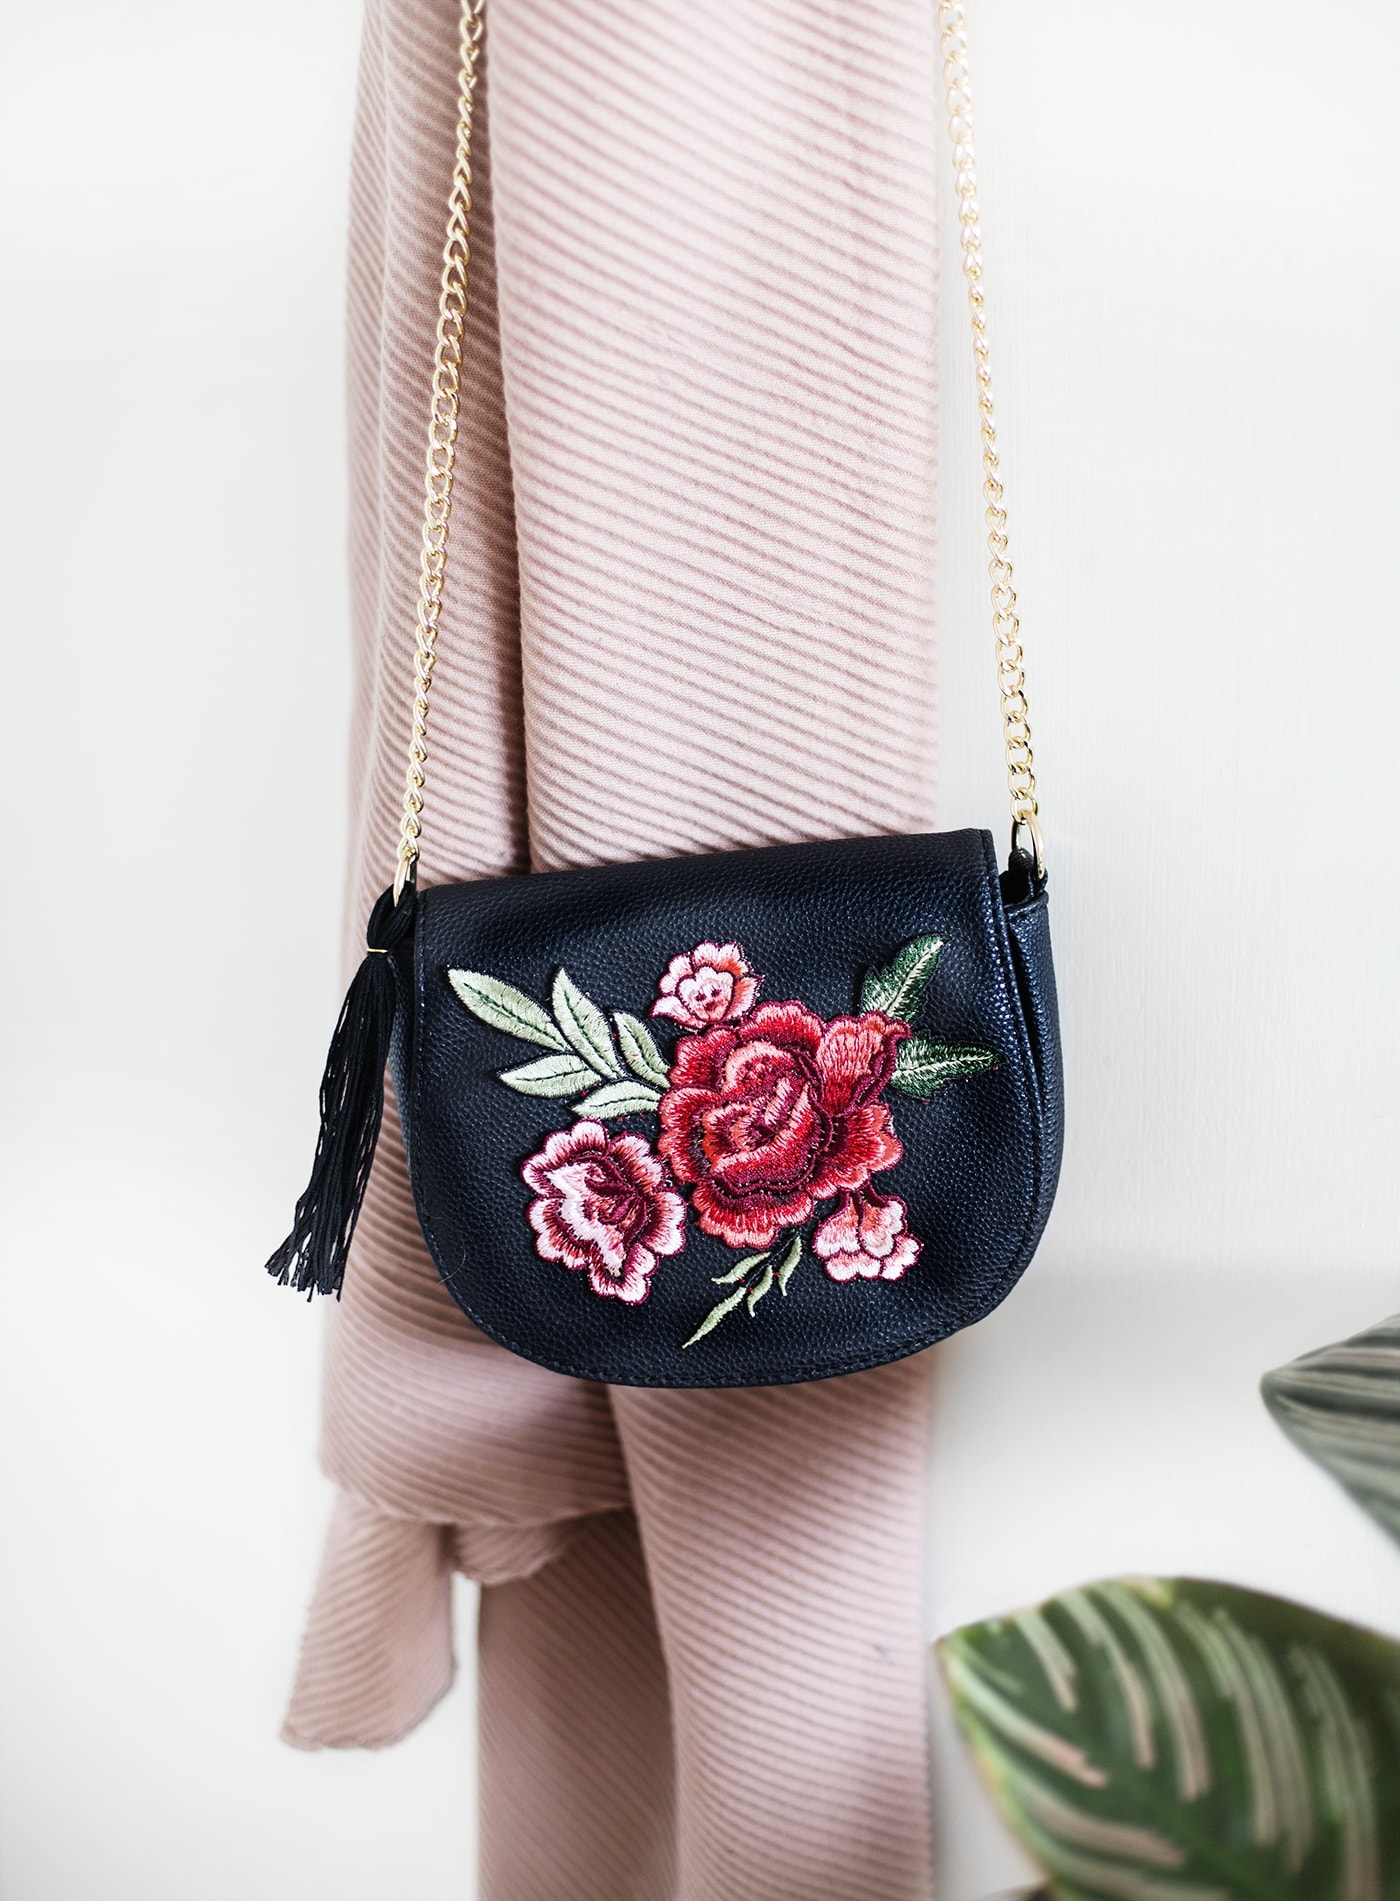
 Stick the motif onto your bag, pressing down. Add any of the other foliage you’ve cut out too, to make your final design. I left a heavy book on top while it all dried just to make sure the pieces stayed flush. Leave for about an hour.
 Meanwhile take one full embroidery thread reel and whilst it’s still folded over, cut the end to the length you would like your tassel.
 Opening it out but keeping the threads together, feed this through one of the large links at the side of your bag and tie with an extra piece of embroidery thread. I tied a double knot to keep it secure.
 Open up the jump ring with the pliers and clasp this over your tie on the tassel. Then use the pliers to close the gap, back to a ring shape. Trim any excess thread from the tie.
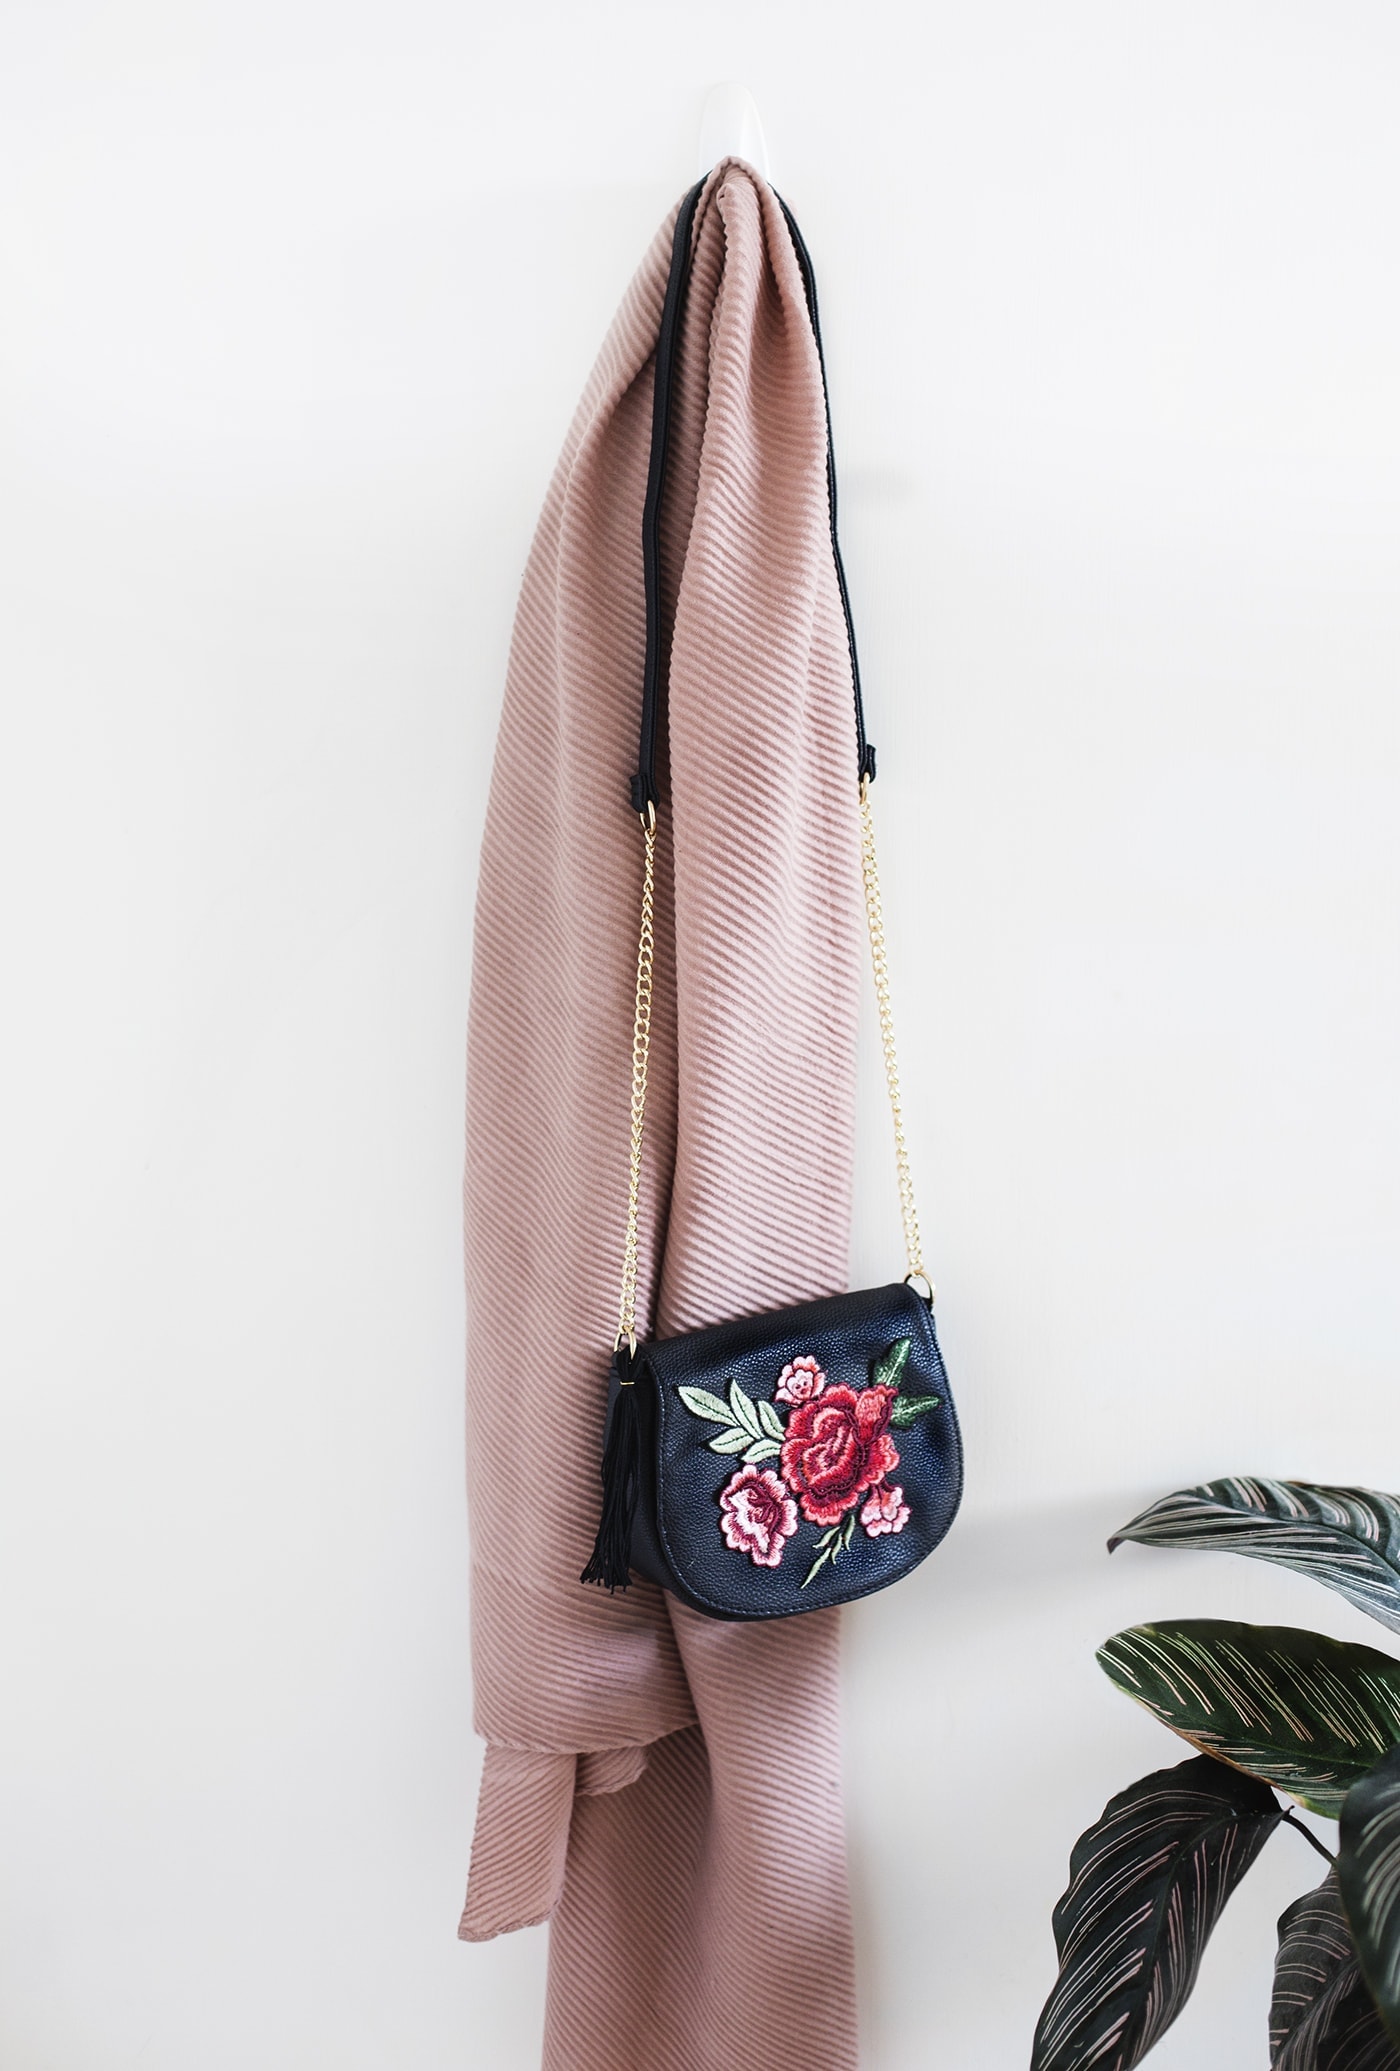
And there you have it ladies and gents! The loosest way to be able to say, ‘yeah I totally made this embroidery tassel bag.’ I’ve seen so many in the shops for a whole whack more money than it takes to make this one and you can have a lot of fun exploring the different motifs you can buy!
You might also like


Meet The Lovely Drawer

Hi, I’m Teri and welcome to my own creative corner of the internet. I blog about interiors, DIY projects, design inspiration and my general life so stick around have a read and say hi.
In the shop

 Quick ViewSelect options
Terrace 1
£20.00 – £25.00
 Quick ViewSelect options
Personalised Cuddly Bunny
£30.00 – £35.00
Work with Me
The Lovely Drawer is an award winning blog with a loyal audience that has grown over the years. I love working with brands small and large on exciting collaborations that can bring products alive in my own signature aesthetic.