bathroom tidy up
 It’s pretty unusual that I ever stray into my bathroom on this blog, in fact I’m not sure I ever have. Having said that, I figured that, like us you may also have a whole lot of toiletries from face wash,to moisturisers, to exfoliators, to lotions and potions, mouthwash to make up. Just to put to rest any doubt, the make up is mine, not my husband’s! All of these goodies get shoved into our bathroom cabinet, that very conveniently came with the room but now it’s getting to the point where there ain’t no room at the Inn. When you get to the stage where a number of items fall out into the sink every time the cabinet door opens, you know something has to be done!
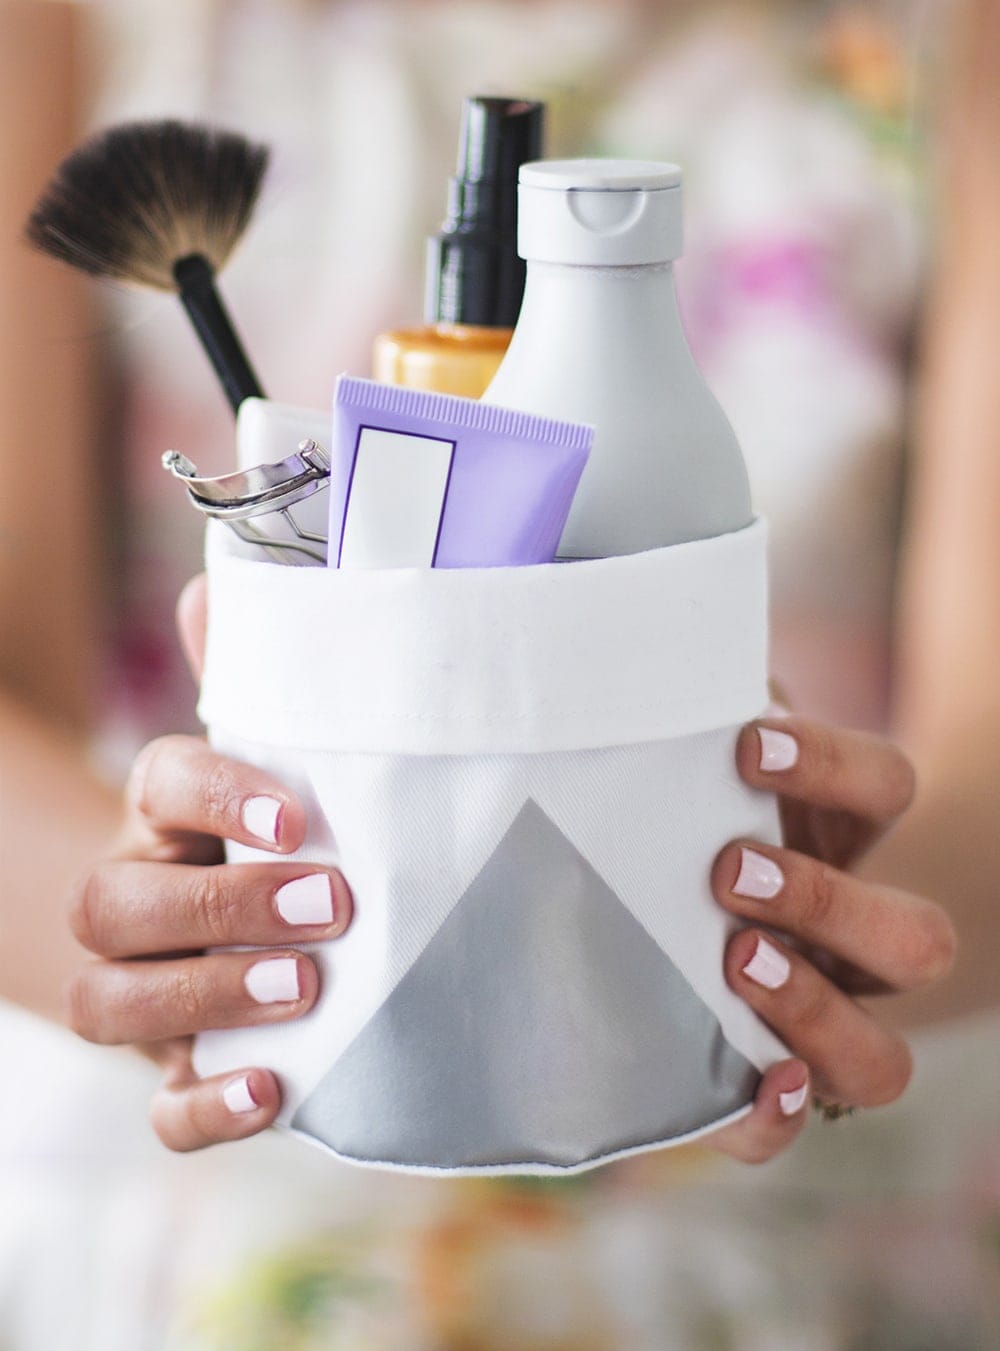
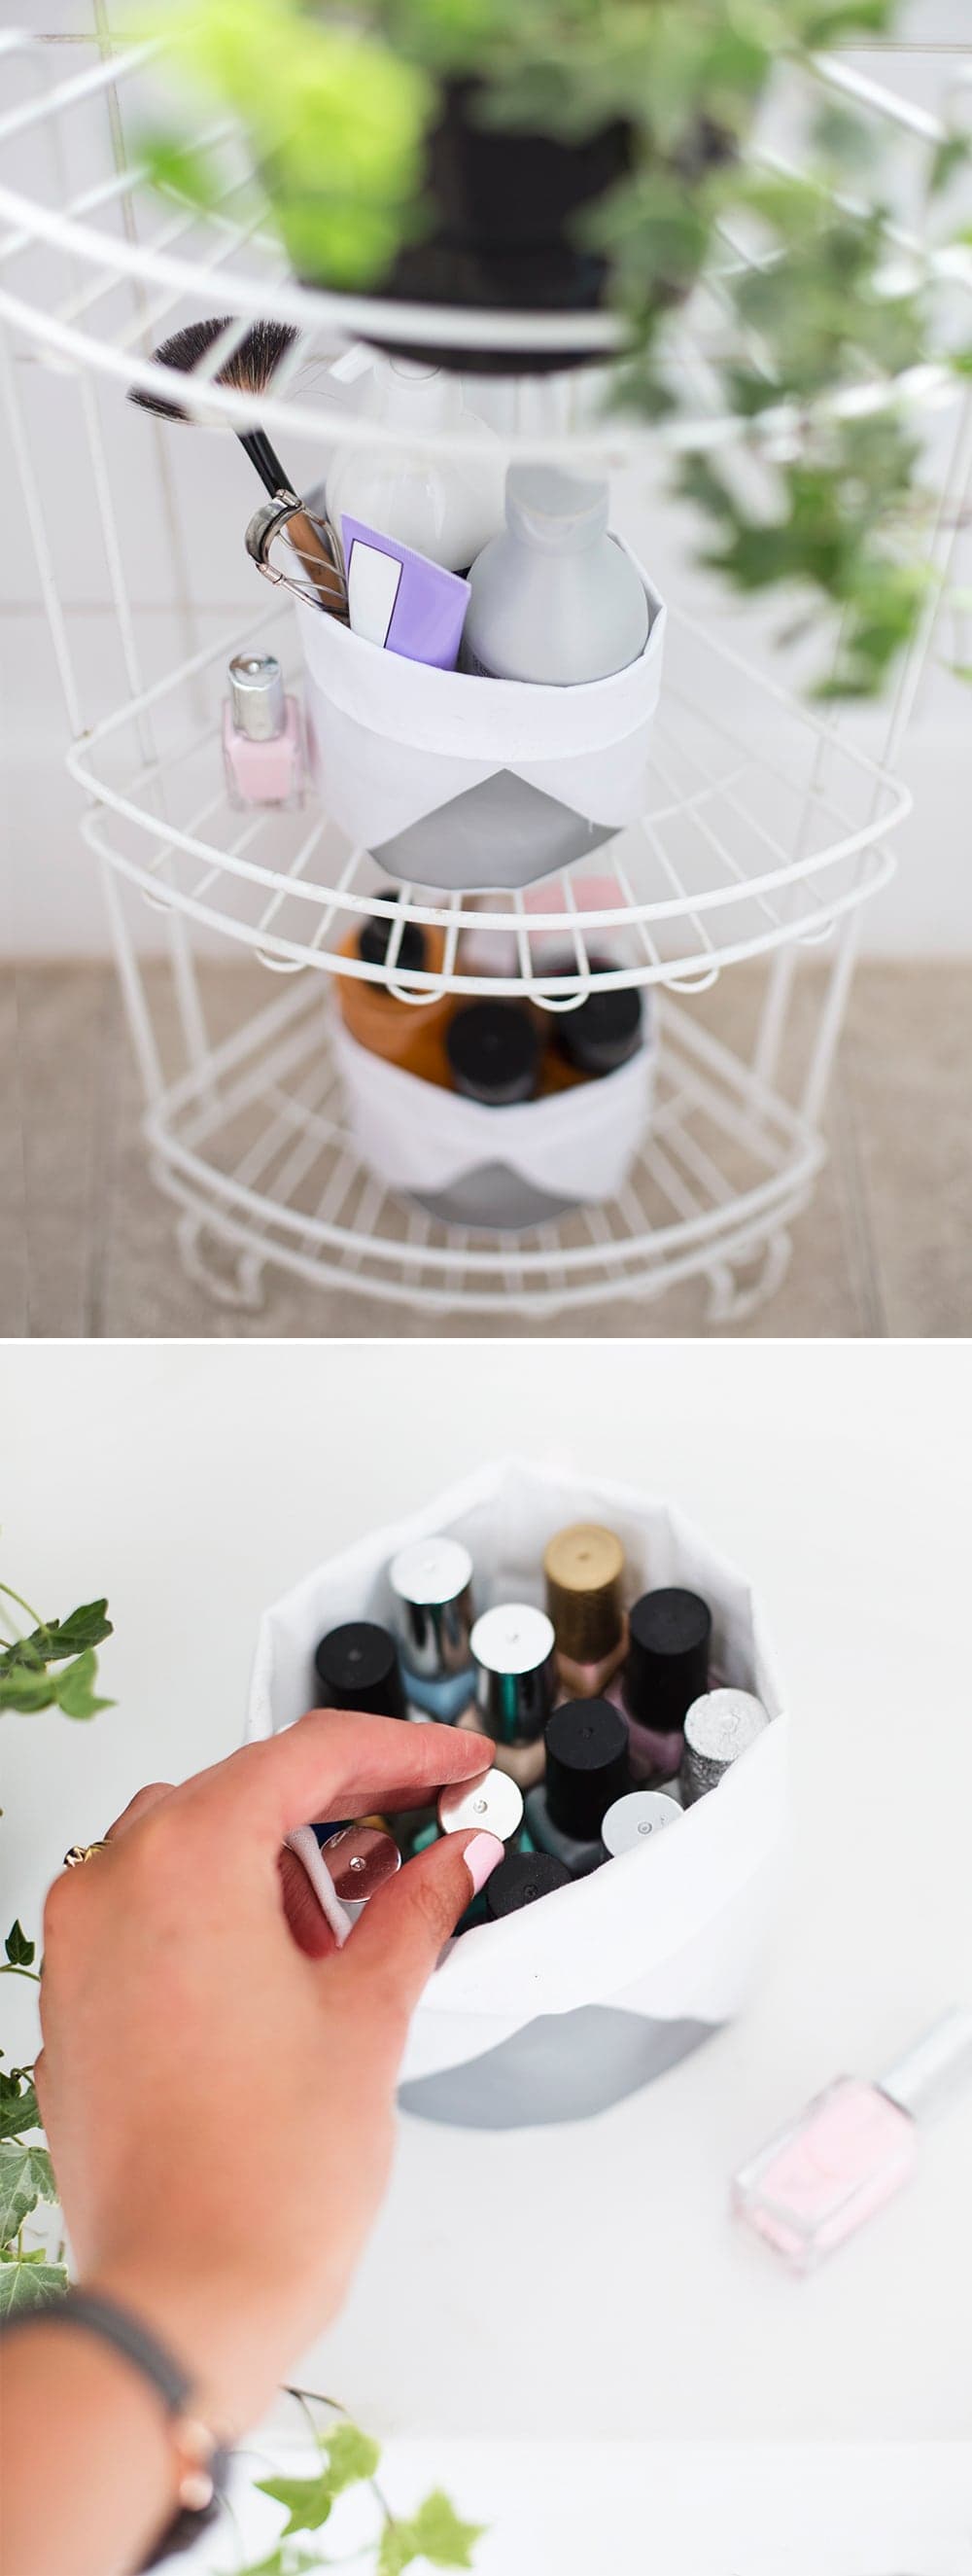
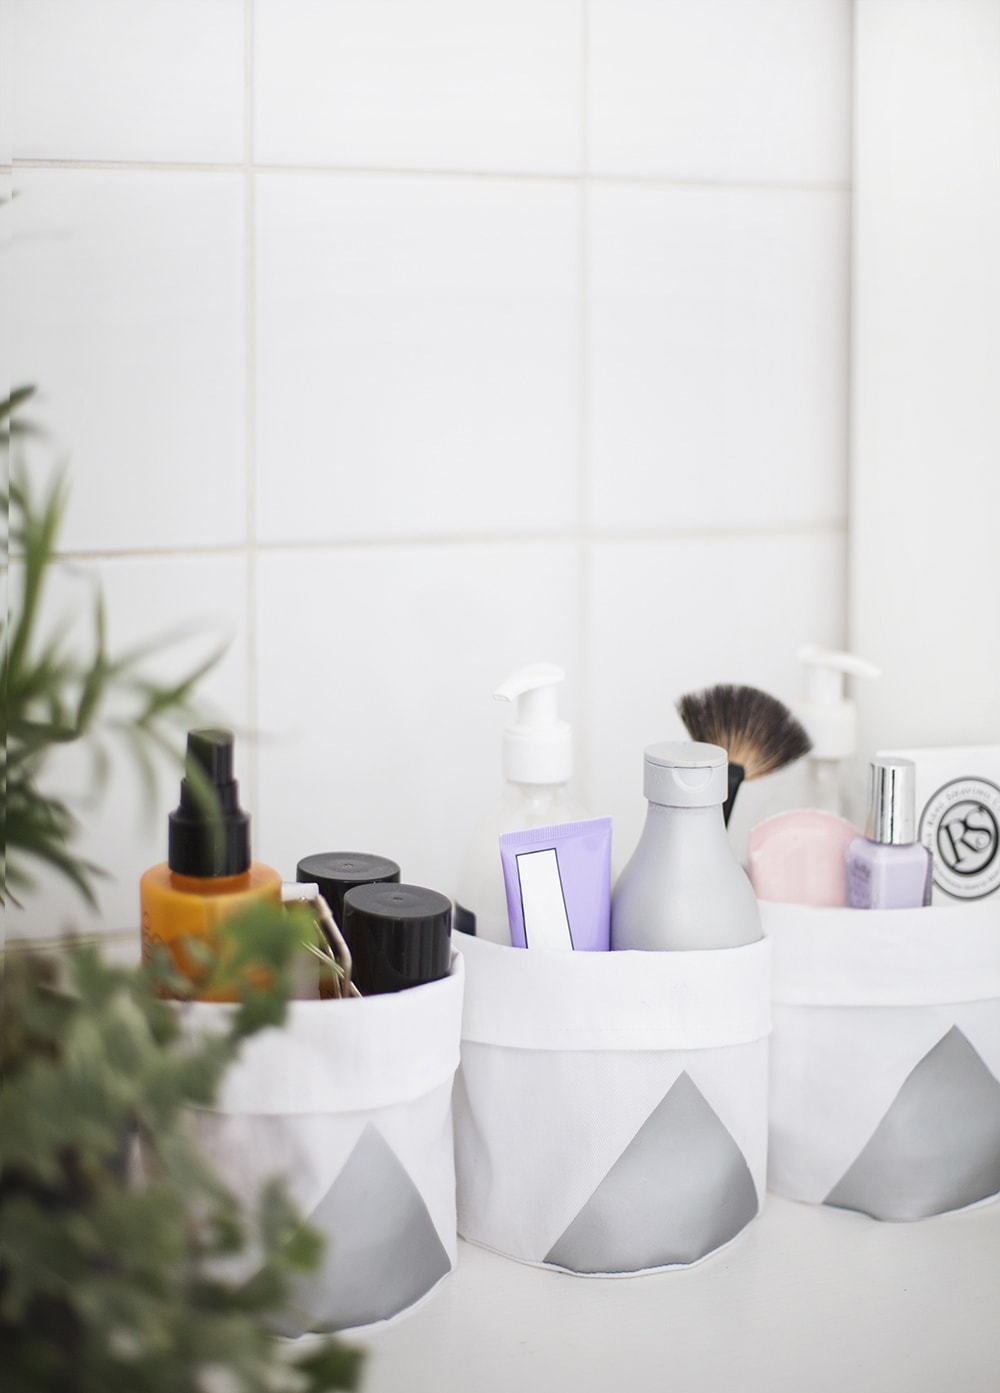
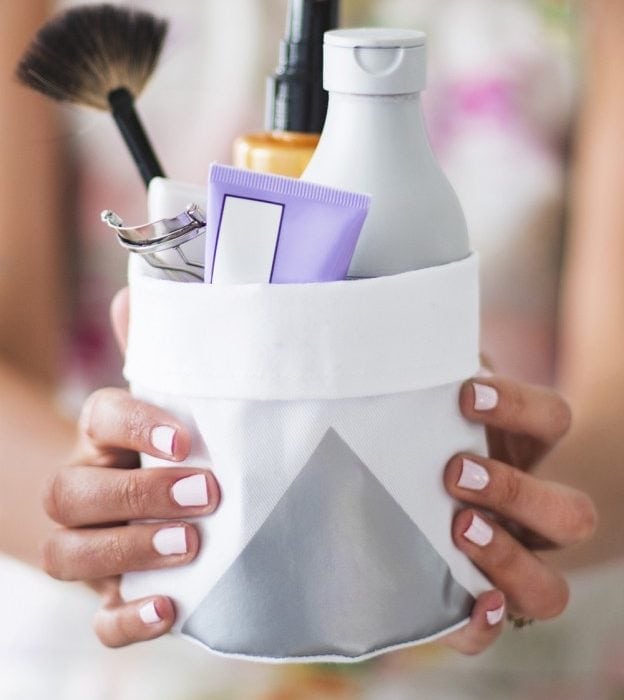
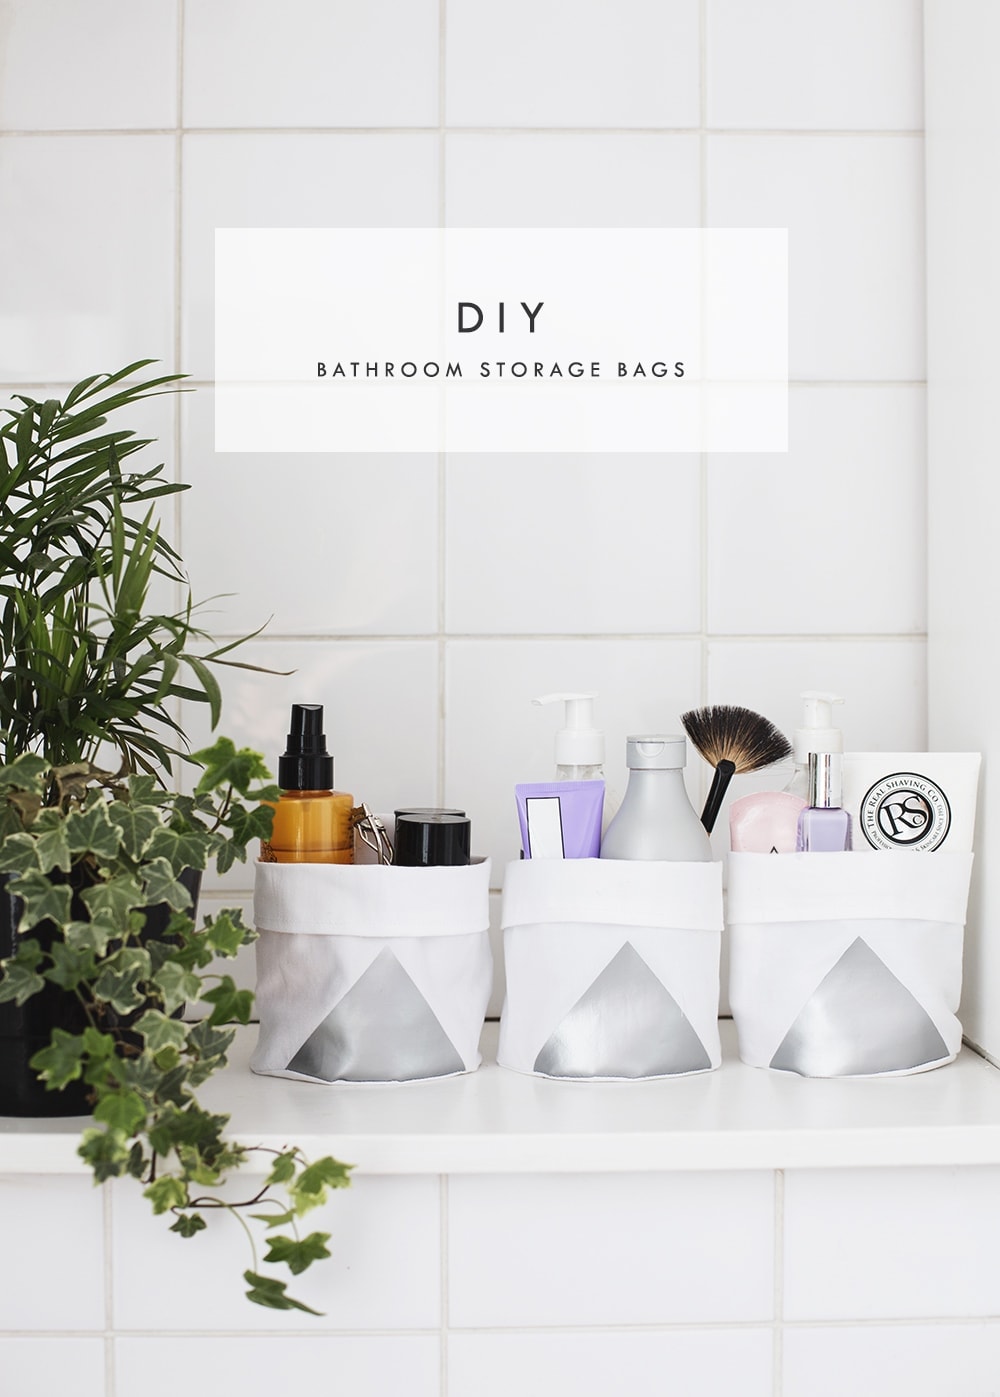
 With that in mind I wanted to create some storage bags to house all the extra bits and bobs whilst keeping them relatively organised and pretty. It’s all to easy to buy unattractive storage but when somethings functional and adds something to the aesthetic of a room, I’d say that’s a double win!
- Thick white cotton
- metallic silver-iron on vinyl
- sewing machine
- white machine thread
- scissors
- iron
- all purpose glue
- cork sheet or really thick card
- tape measure
- compass
- Cut the thick cotton material into rectangles, considering how big you want your bucket bags to eventually be. Leave extra in the height and width for seam allowance and the turnover at the top.
- Fold over about a centimetres worth along one of your larger edges and iron flat.
- Cut triangles from the silver vinyl and place on the side with the ironed lip at the top. Make sure it’s central and then press with the iron for a minute on a high heat with some cotton or cloth in between the iron and the vinyl for protection.
- Then peel the top plastic coating away and you’ll be left with the metallic silver shape stuck to the cotton fabric.
- Now sew the iron flap down with a straight machine stitch, creating a neat edge.
- Then making sure your using the fabric inside out (silver vinyl facing inwards) create a tube by sewing the two shorter edges together with a straight machine stitch.
- Using a tape measure trace around the circumference of the unfinished edge and then divide that measurement by 3.18 to get the diameter. Set your compass to this measurement and pencil a circle onto the cork / thick card and cut out.
- Add about a half inch to the circumfrance for seam allowance and set your compass to the new measurement. Draw a circle onto the remaining white cotton fabric to use for the bucket bag’s base.
- Match the fabric circle up with the bottom end and on the sewing machine, start stitching the two together (on the wrong side again), following the curve around until you’ve closed it all. You may need to lift the foot every so often as you go to make sure the fabric doesn’t ruck up.
- Turn the whole thing inside out so the silver vinyl is now on the right side and fold over the top. Slot the cork / thick card base in the bottom to make the bag sturdier and then you can fill with all the goodies you want to organise.
Now that wasn’t too hard was it? Once you know how to make this shape on a sewing machine you could even get creative making bigger versions for material and paper scraps. I hope this goes some way towards a tidier bathroom for all of you cereal hoarders out there. Mine sure looks a lot less chaotic! Go forth and have fun creating hundreds of bucket bags for all your many supplies!
You might also like
Meet The Lovely Drawer

Hi, I’m Teri and welcome to my own creative corner of the internet. I blog about interiors, DIY projects, design inspiration and my general life so stick around have a read and say hi.
In the shop
 Quick ViewSelect options
Orchard Days
£20.00 – £25.00
 Quick ViewSelect options
Chicory
£20.00 – £25.00
Work with Me
The Lovely Drawer is an award winning blog with a loyal audience that has grown over the years. I love working with brands small and large on exciting collaborations that can bring products alive in my own signature aesthetic.
