

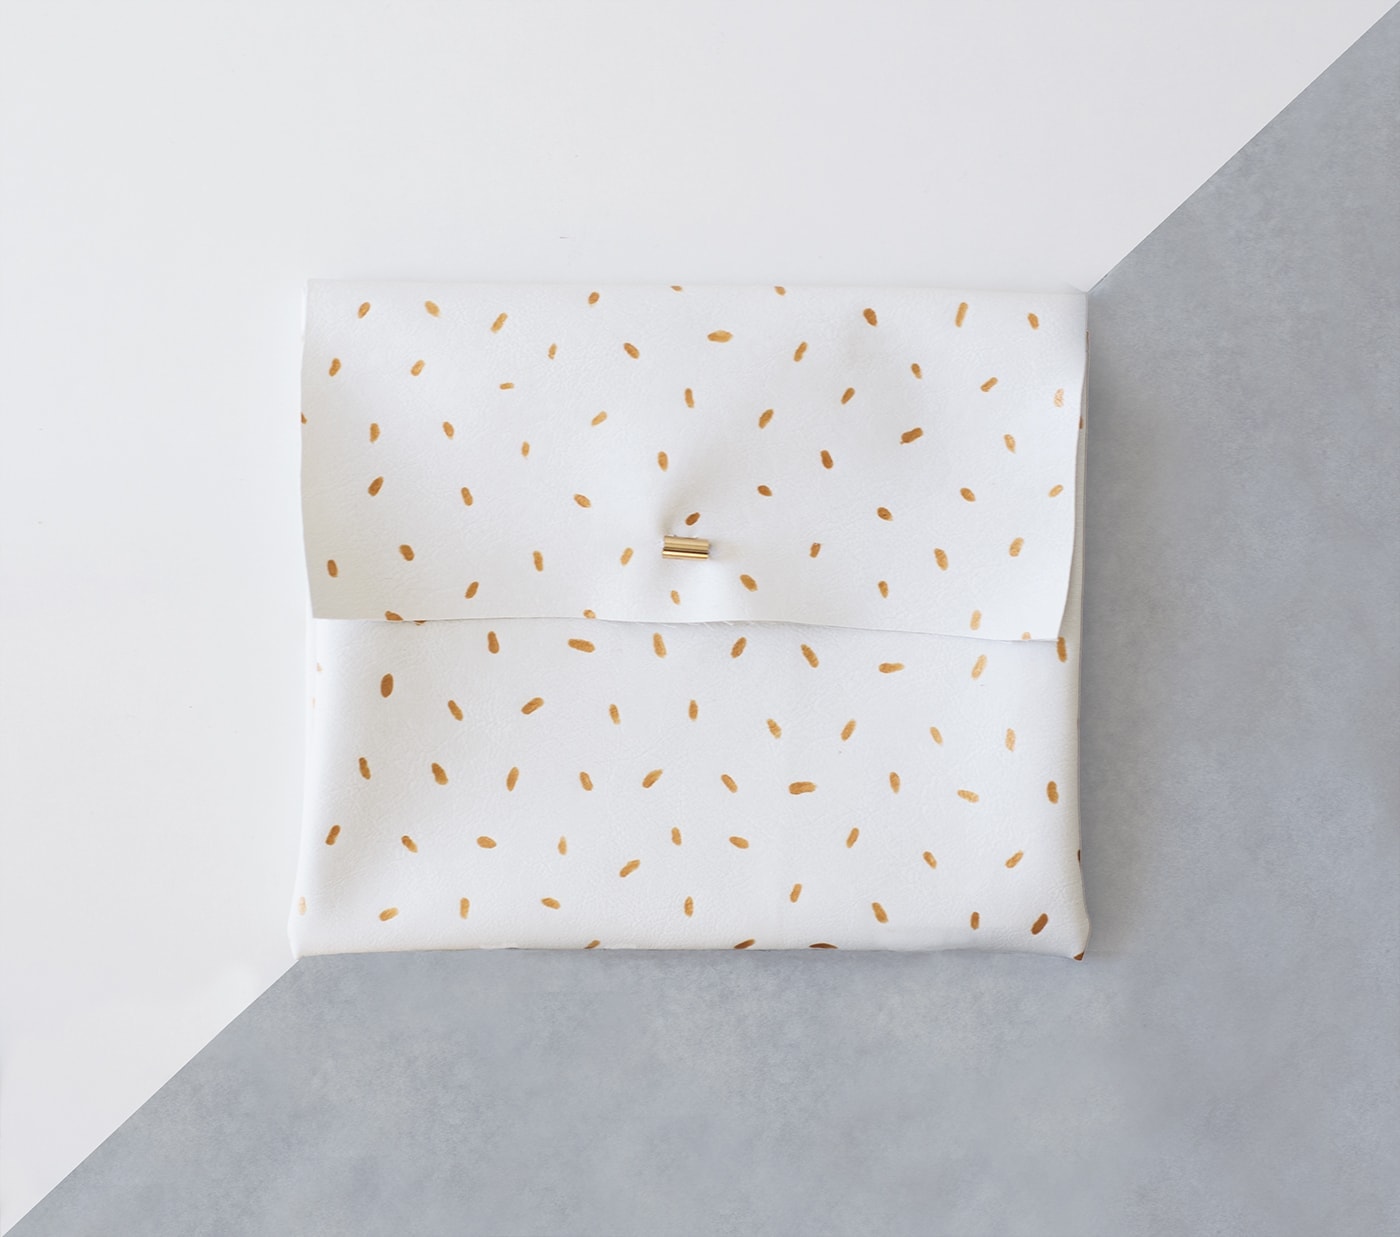
Clutch onto Something Pretty
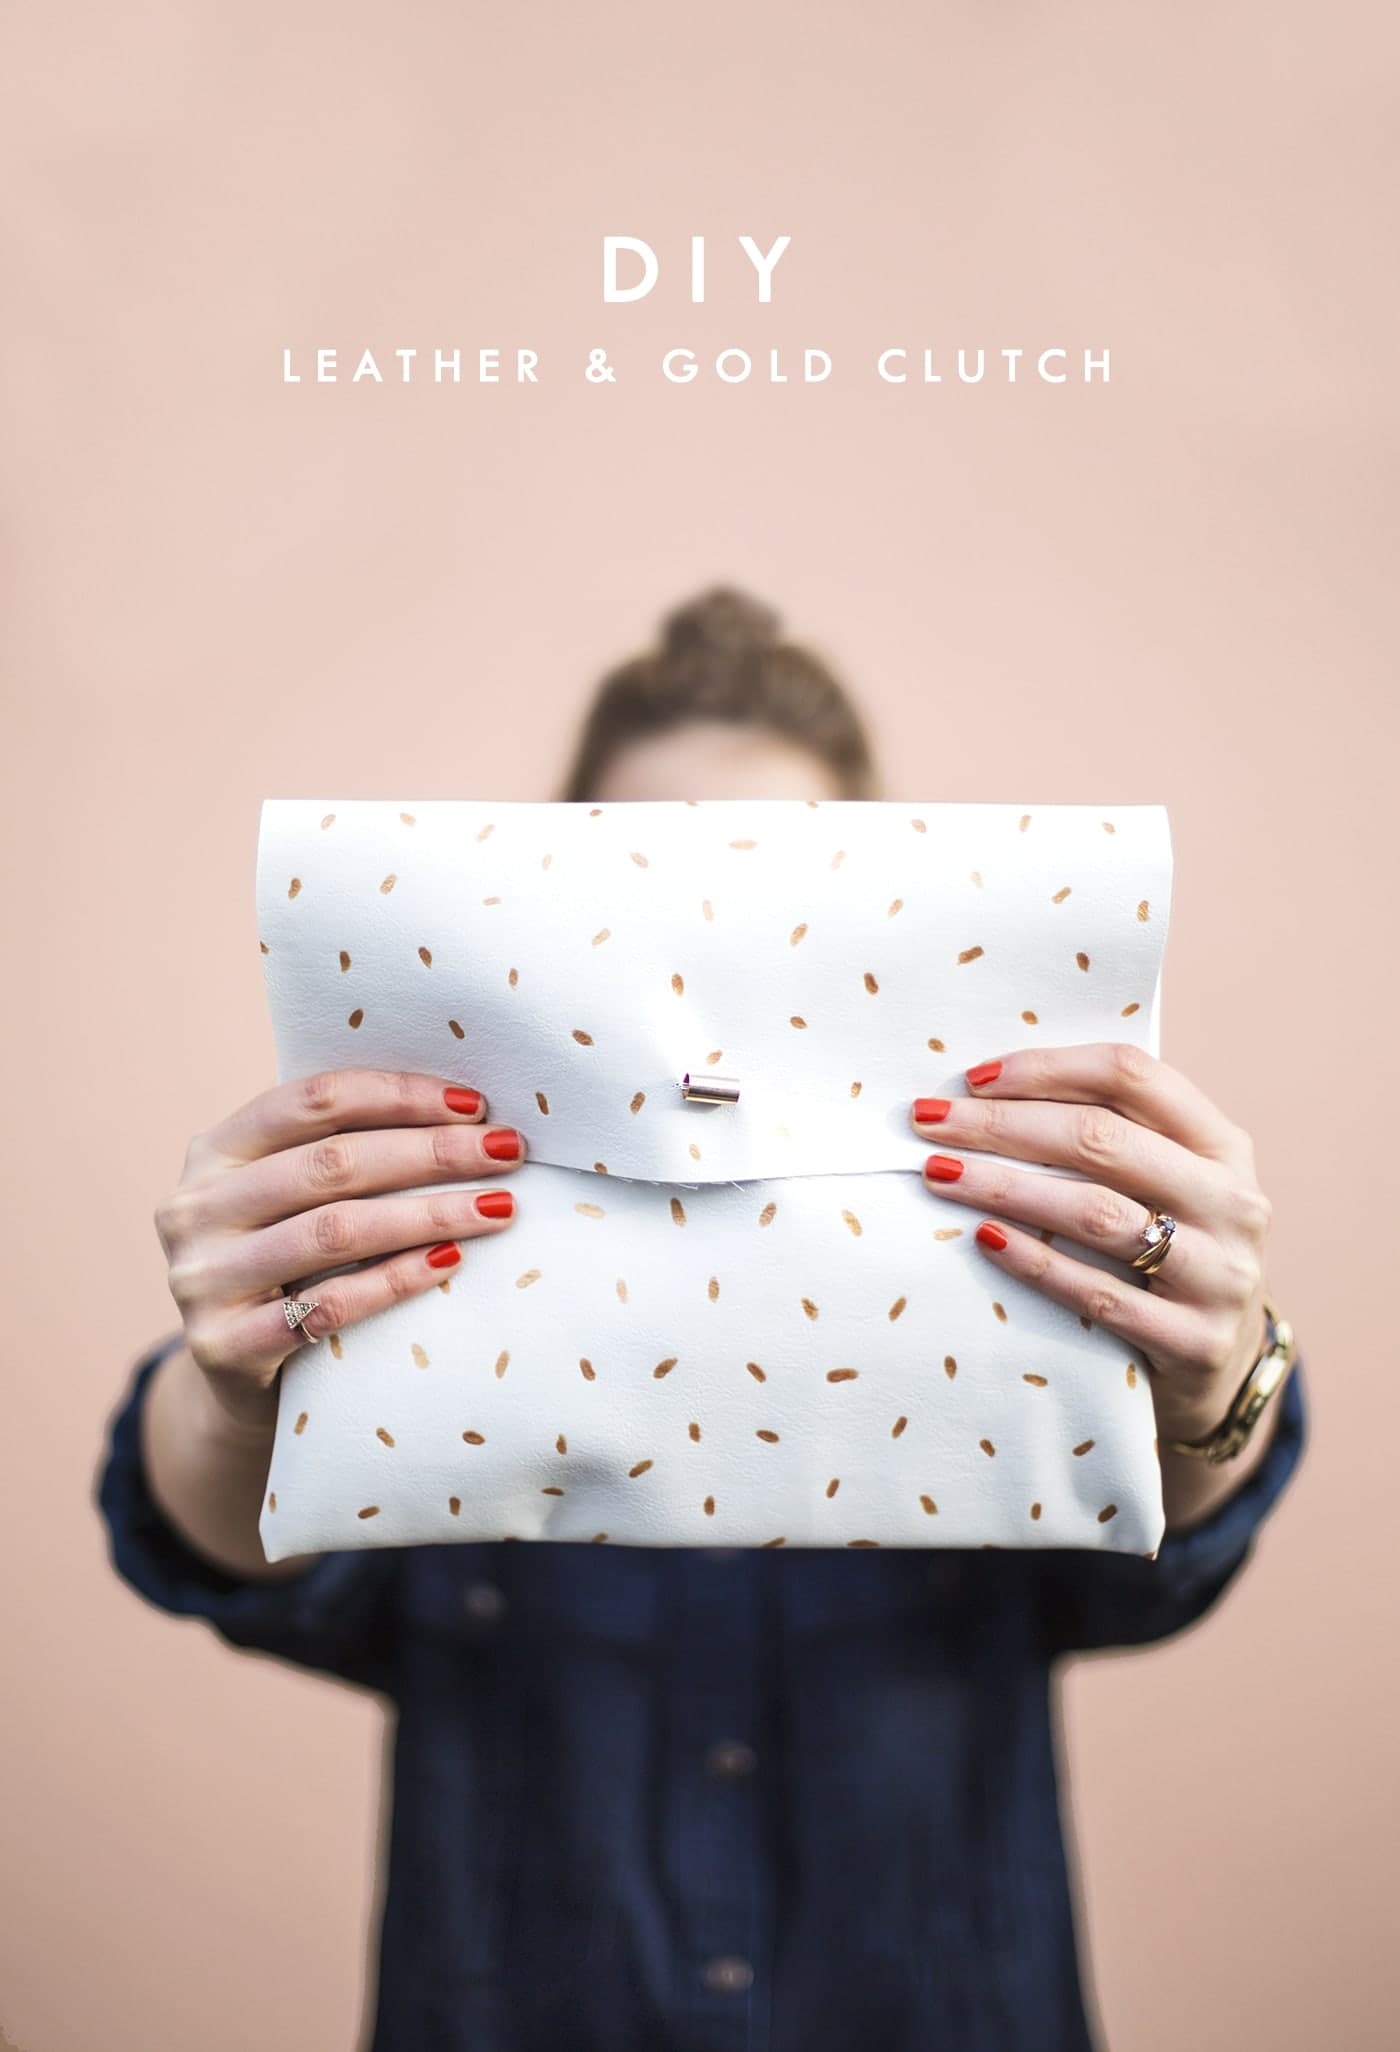
Well looky here, this is rather a girly post for you all this fine Tuesday. When I discovered metallic gold leather paint…well…it had me at ‘hello’ that’s all I can say. But what to make? I went digging around to find the leftover white leather from a previous DIY project and was all smiles to find there was enough left to fashion a clutch bag. All mine have died a death in one way or another over the years.
This tutorial does involve a bit of sewing but as ever you won’t need to do anything complex with a needle and the great thing about using leather is it doesn’t fray like most materials which makes it even more effortless. I love the transformation as you paint the gold leather paint on and watch it dry (not solidly, I do have a life). At first I was very disappointed at the orangey pearlised effect it seemed to give but as it dries you see it change colour and become metallic. Genius! And there I was all ready to abandon the DIY!
You’ll need…
- A sheet of white leather, real or faux
- Gold metallic leather paint
- Paintbrush
- Ruler
- Scissors
- White cotton
- Needle
- Magnetic bag clasp fastener
- Gold tube bead or similar
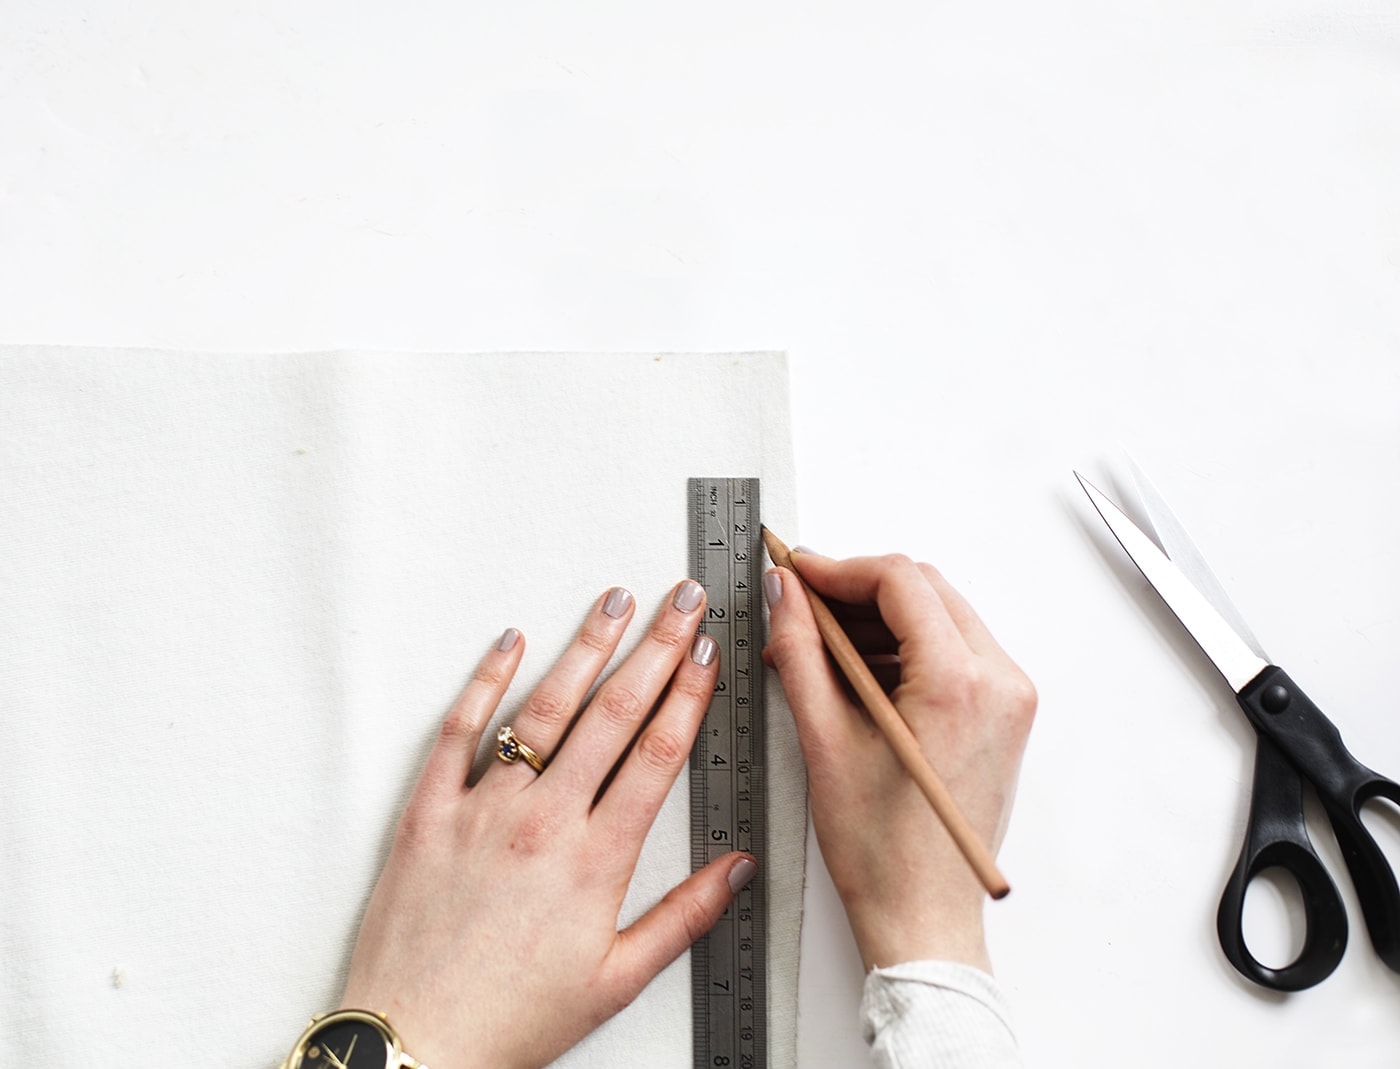
Cut out a rectangle from your leather to suit the size clutch you want to make. Remember you’ll need almost triple the front rectangle size to accommodate for the back and the flap to fasten as well as adding on a seam allowance of about 1cm all the way around the edge.

Once you’ve drawn out the shape for your bag, cut it out, keeping your edges neat and even.
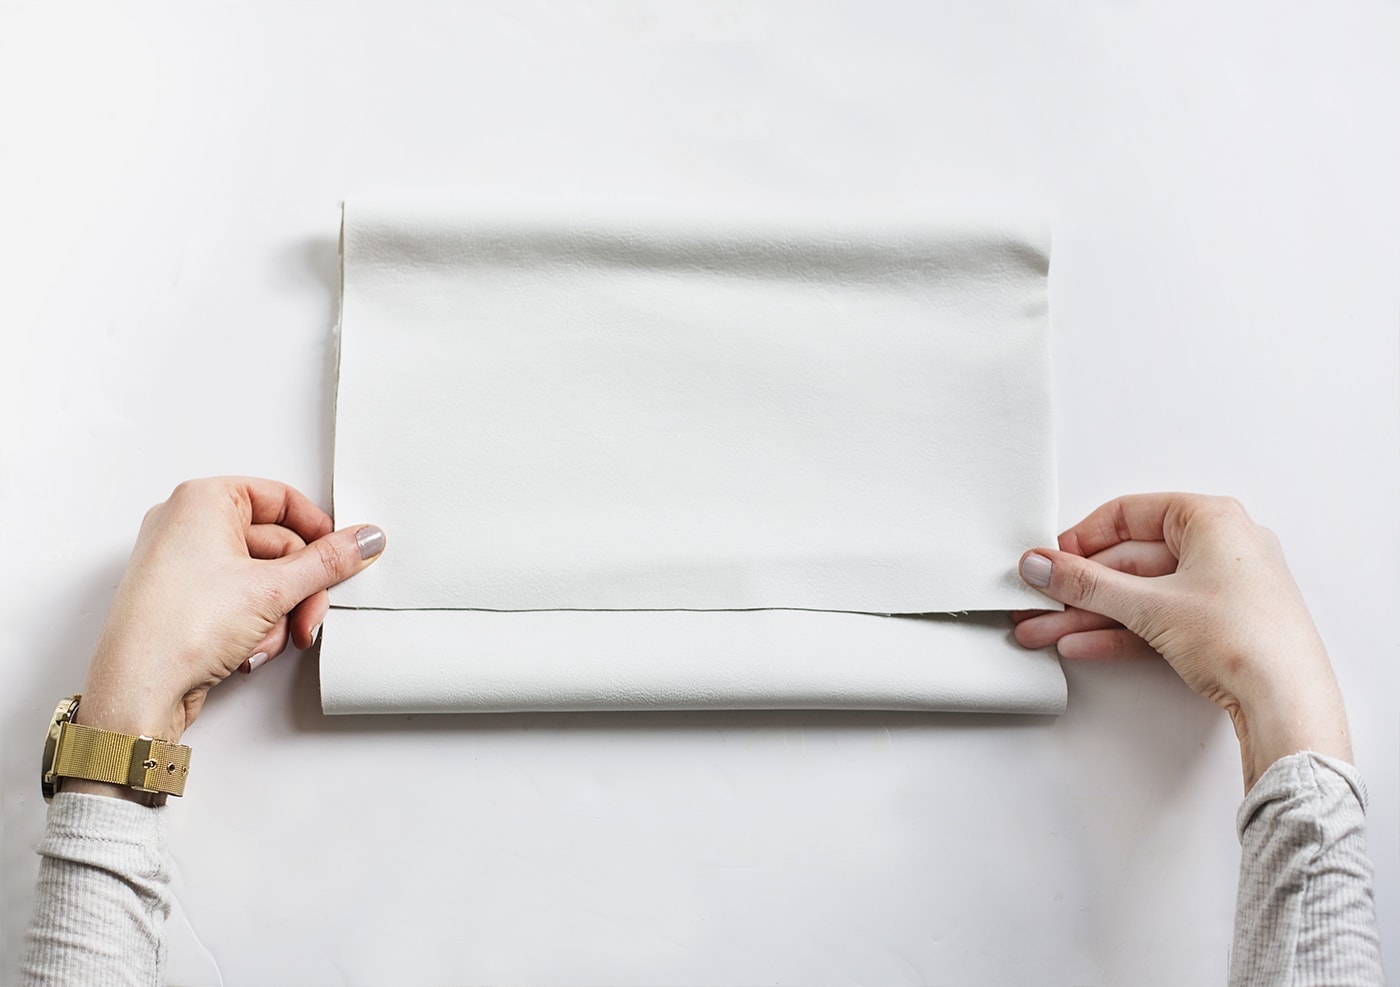
Fold the material over and then again to see how the bag will look.
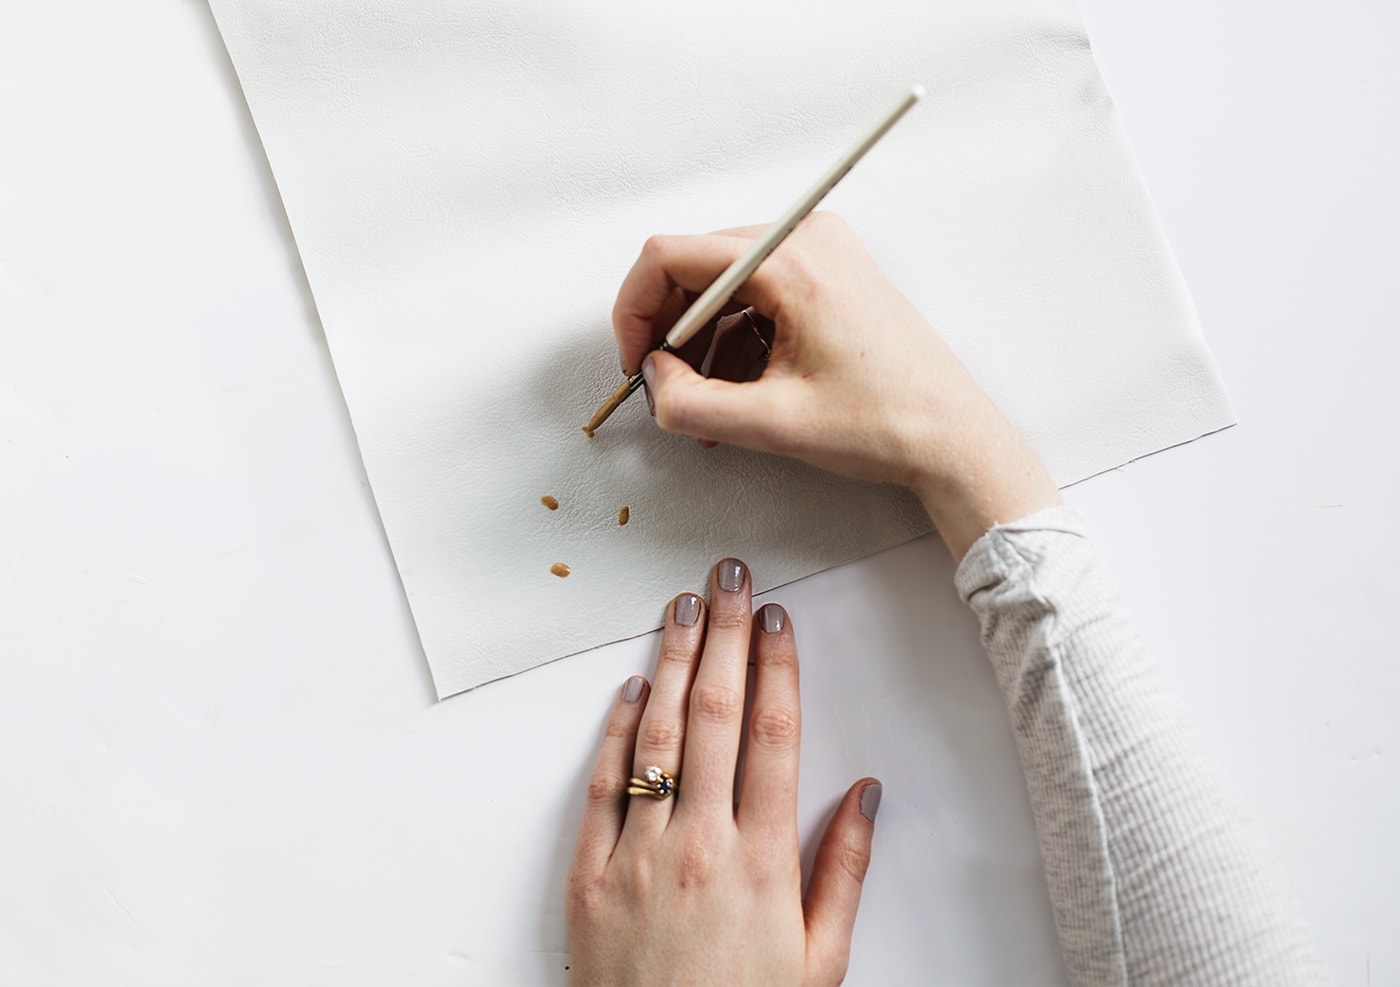
Now you have the leather section all cut to size, paint on small dashes with the gold leather paint. Alternate the way each dash faces and spread in a roughly even fashion over the whole piece of leather. Load your brush with a decent amount of the paint to get a solid colour without making it too gloopy.
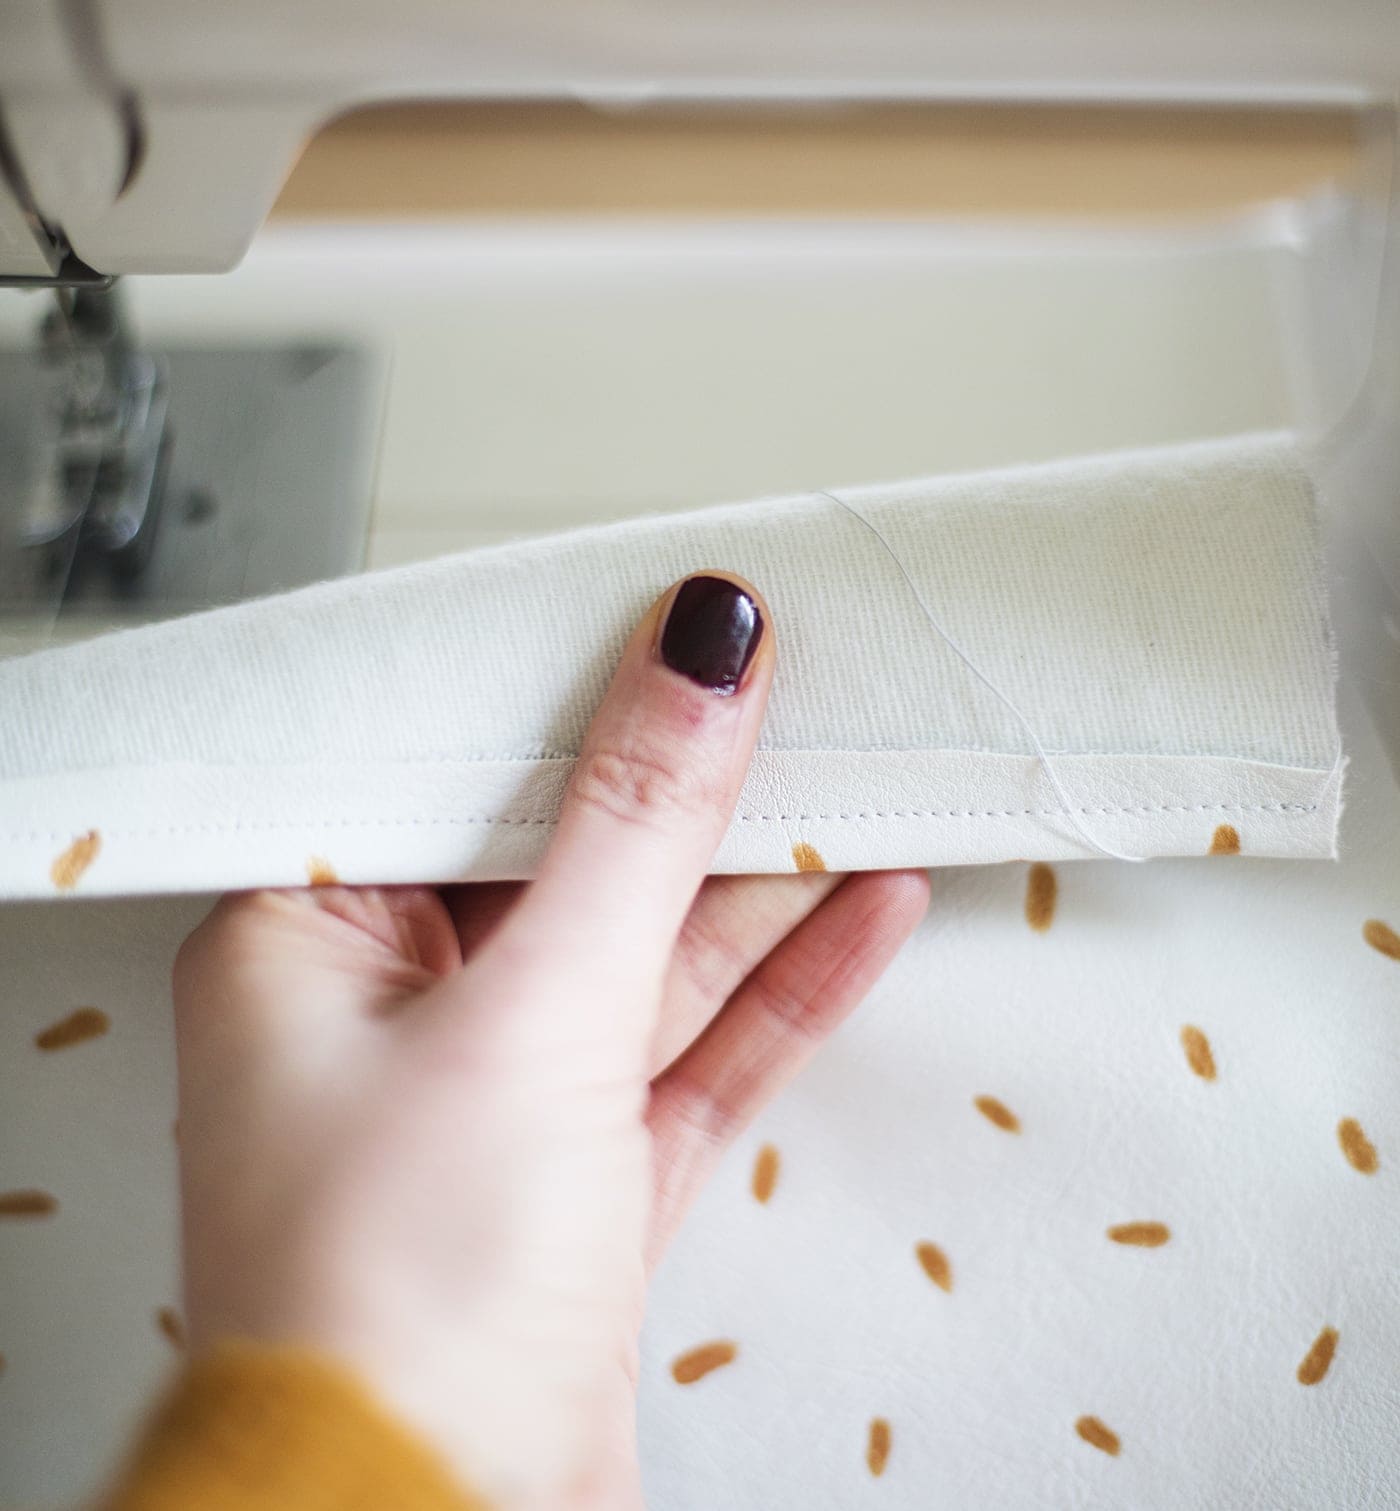
Fold over one of your shorter edges and use a sewing machine loaded with white thread to stitch a neat edge which will eventually end up inside your bag. Just use a simple straight stitch, finishing off at the beginning and end. Then fold over your bag in the the same way as you practised before, but inside out. Sew up both sides about 1cm in, to meet the side you’ve just hemmed, forming your bag shape.
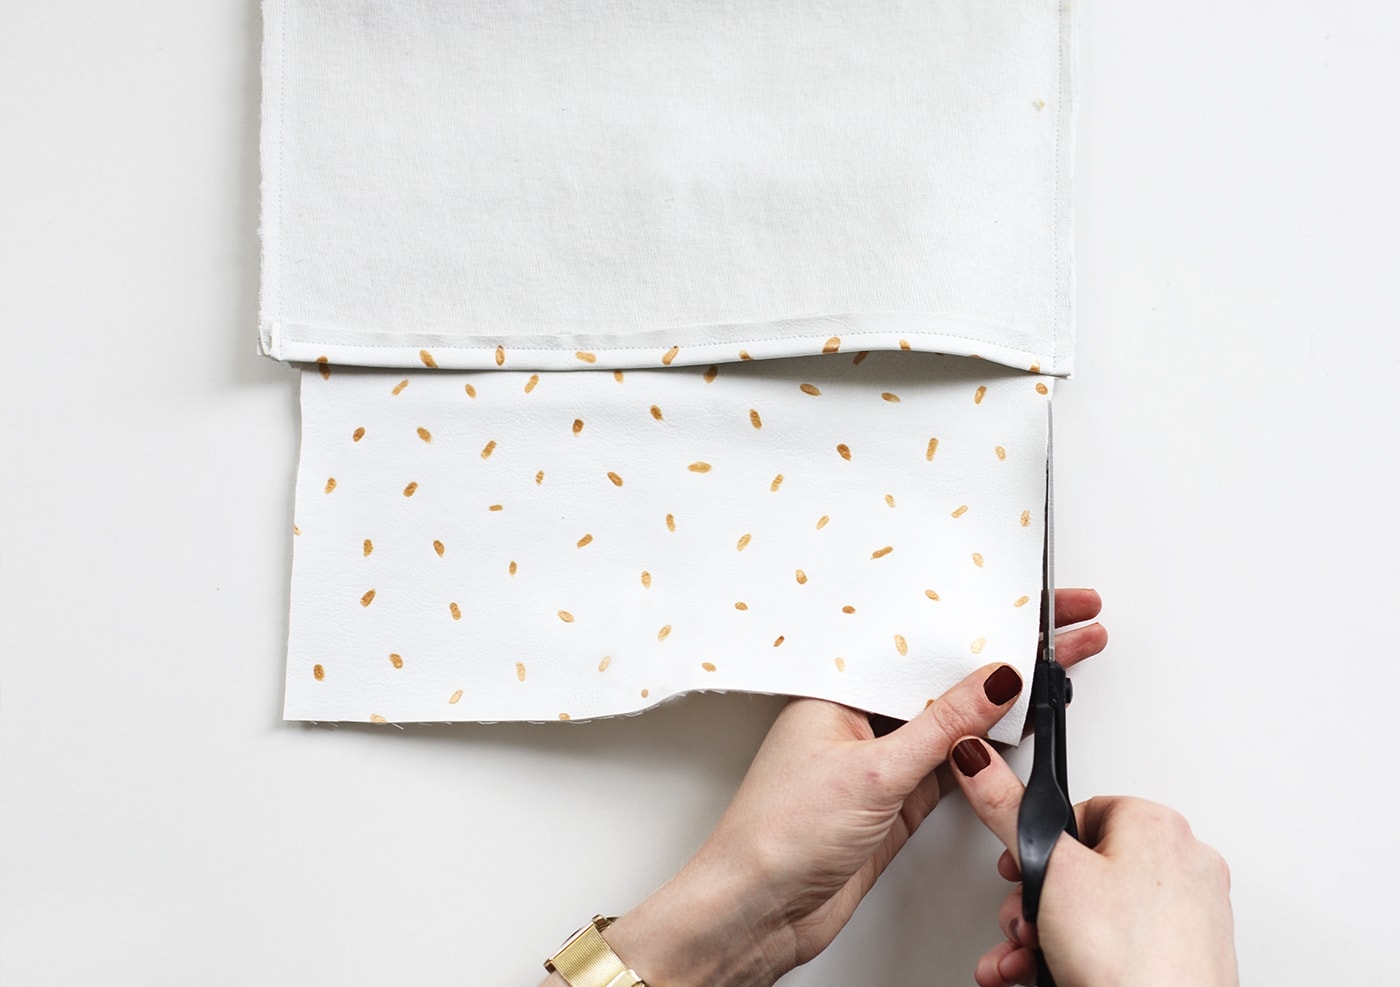
There will now be some over hang on the flap from using the seam allowance, so trim on both sides to match where the seams lie. This should mean the flap will sit inline with the overall shape when you’re finished.
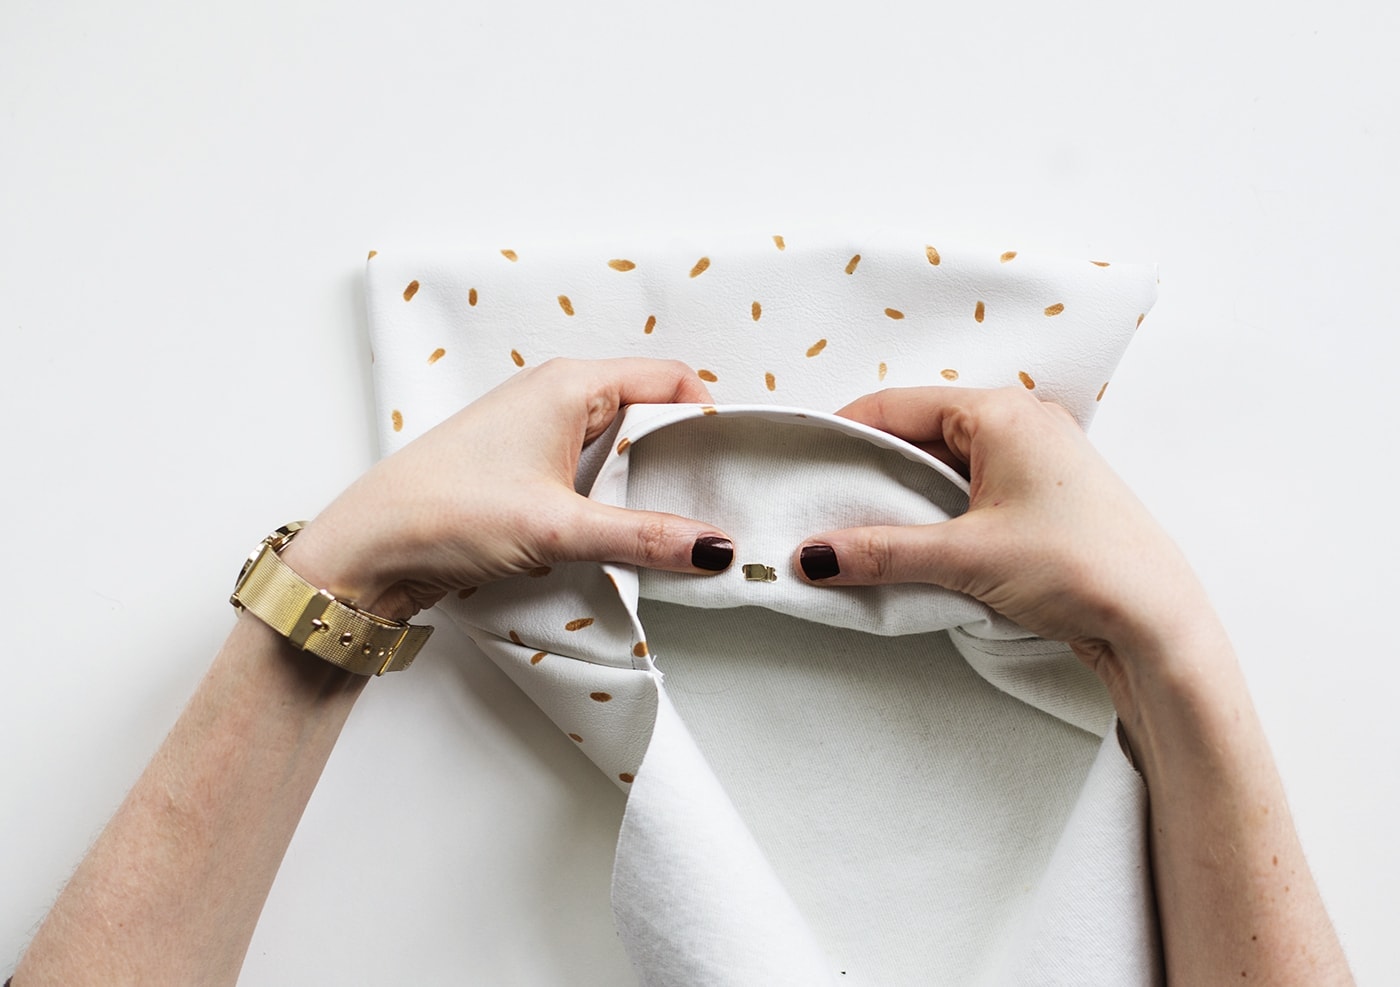
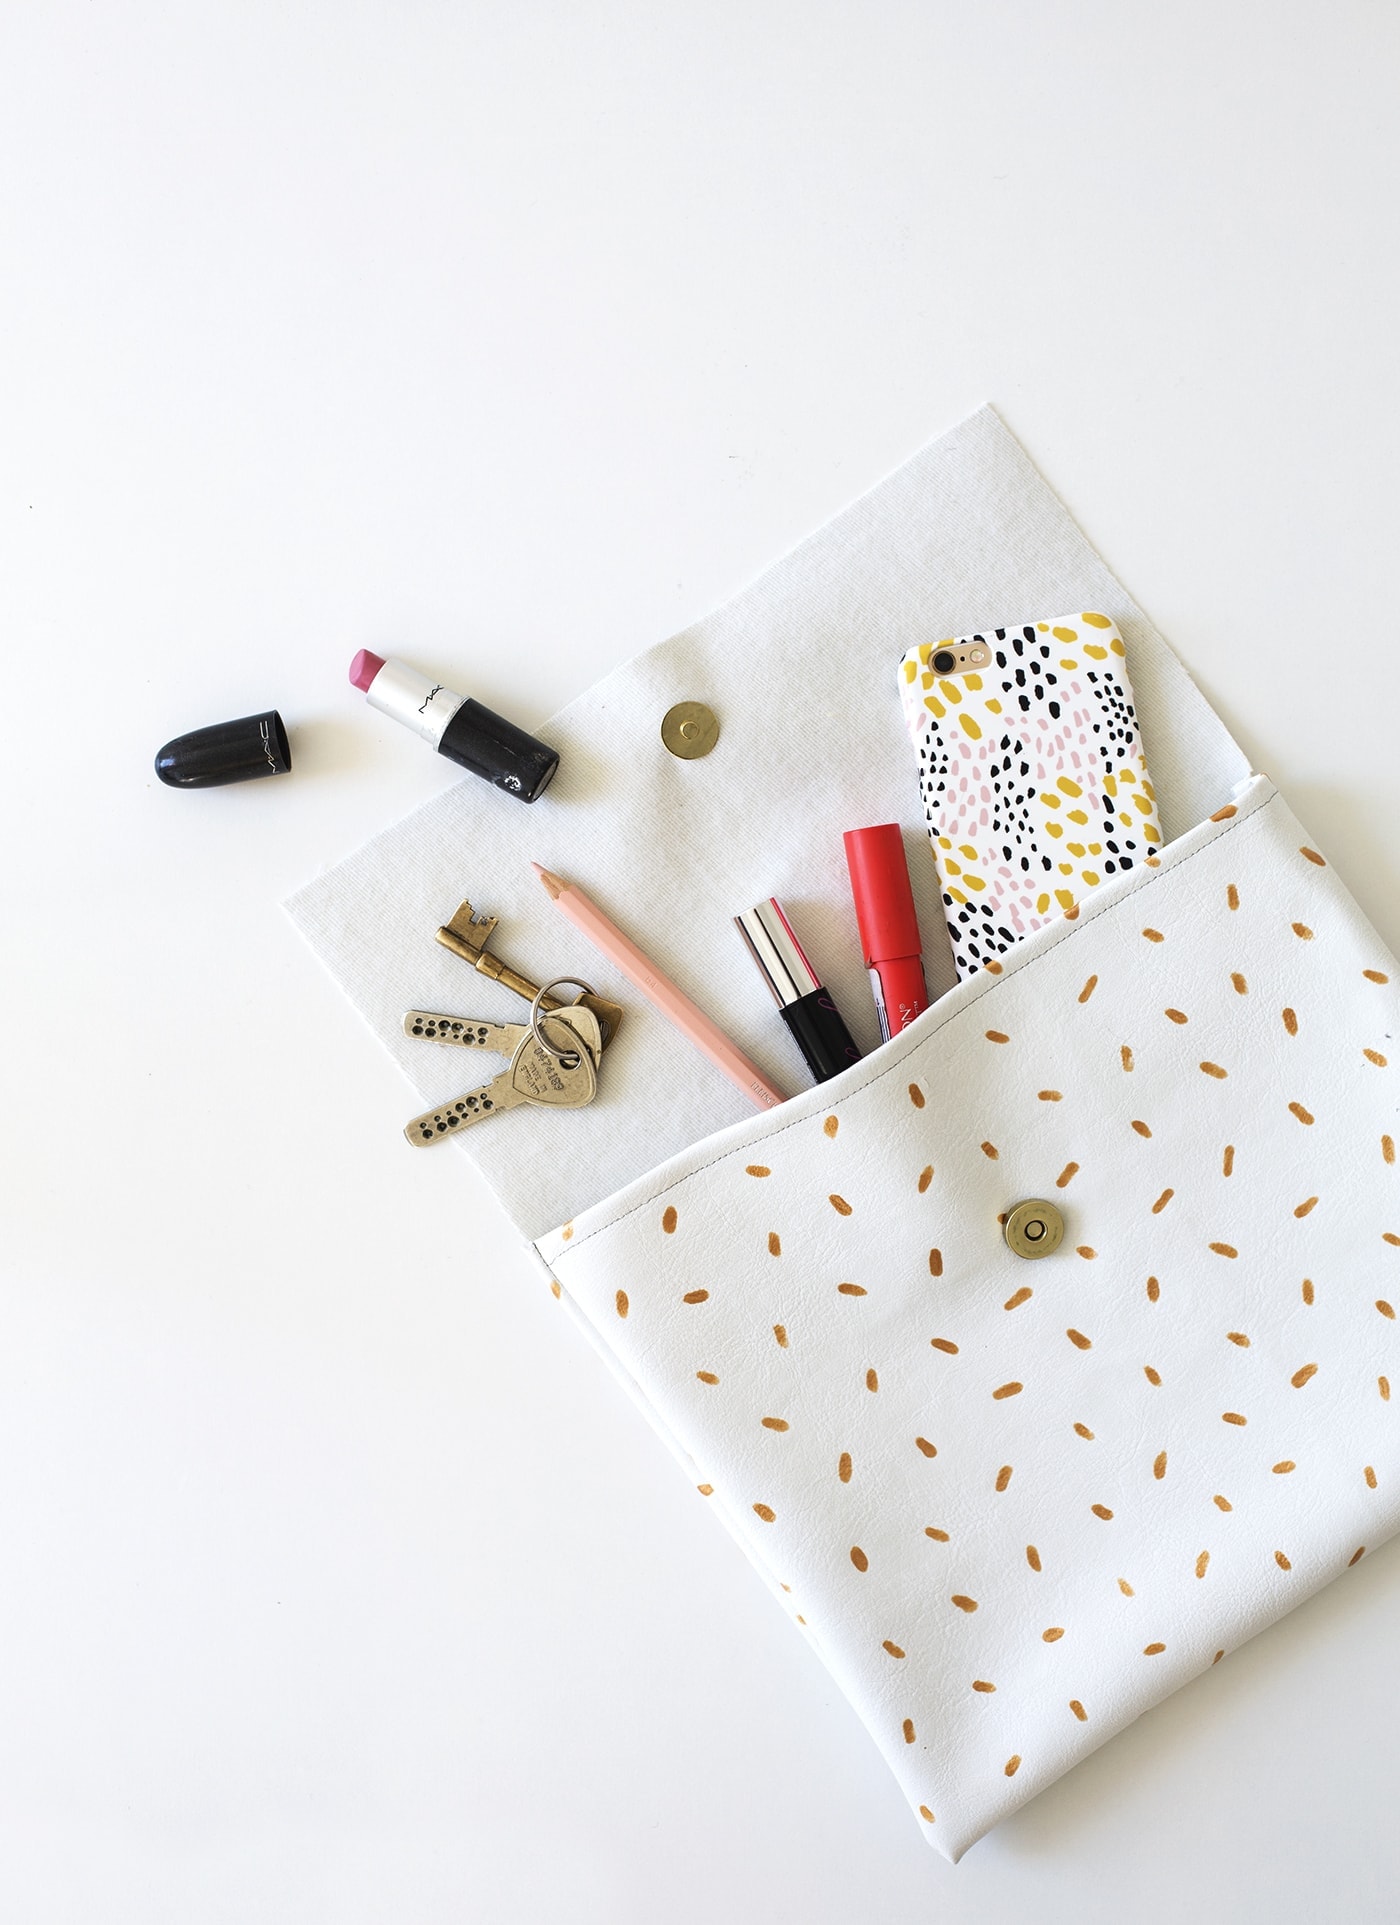
Turn the bag the right way round to check it all works as it should. Decide where you want the bag to fastening and mark with a pencil a marker on the flap that corresponds with another marker on the inside. Pierce two holes with the scissors, side by side over either marker. Then press the fastener prongs through. Fold the metal prongs over one another to fix either section of the clasp.
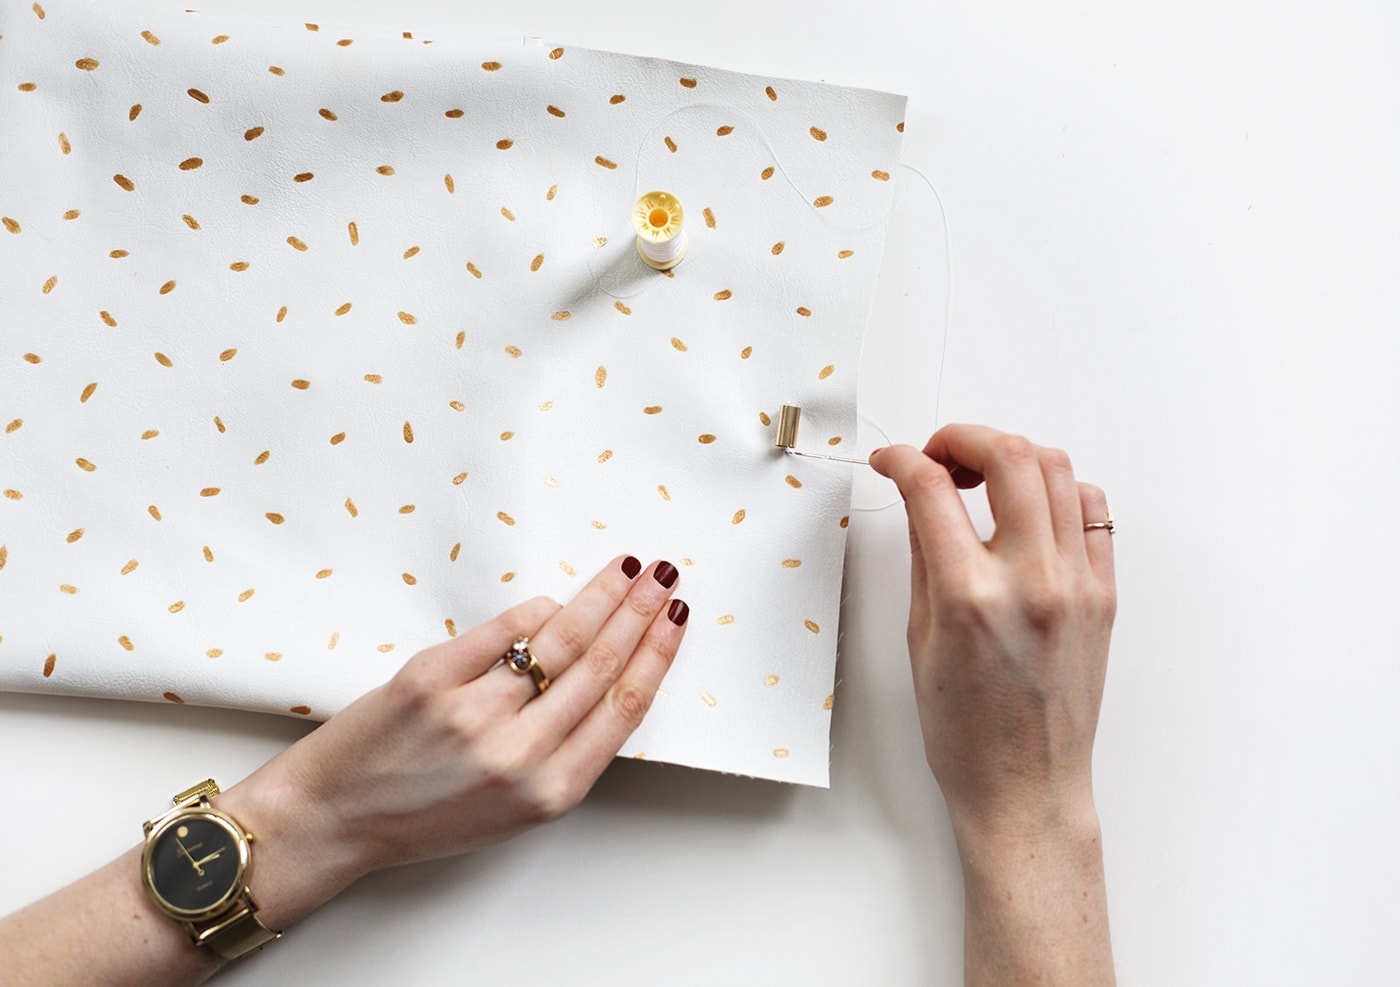
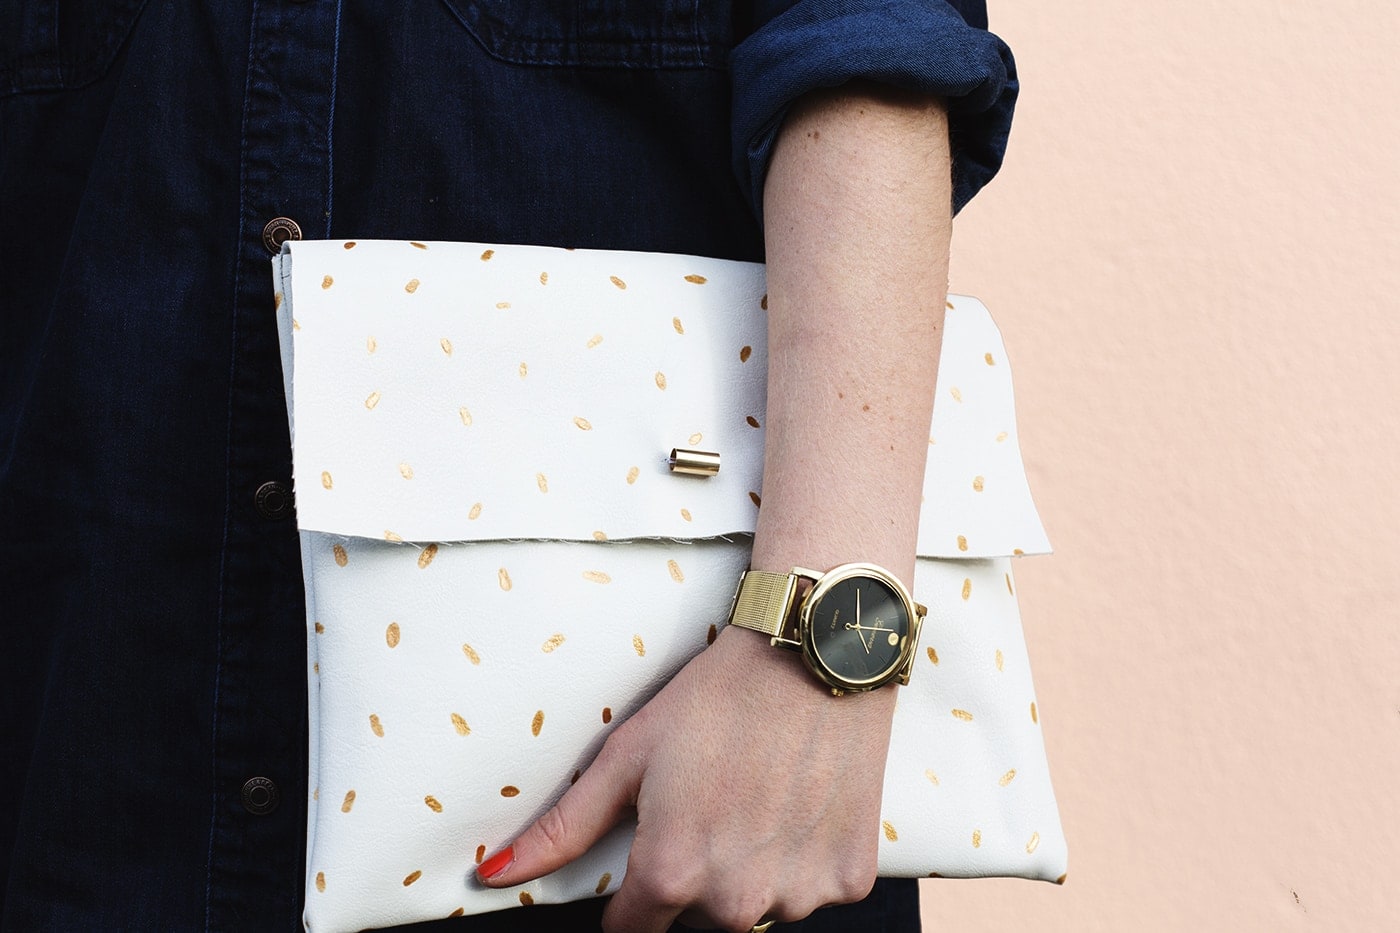
Finish the front off with a gold tube bead to cover the fastening. Simply stitch this on firmly by passing the thread through the tube and to the back, finishing off with a double knot.
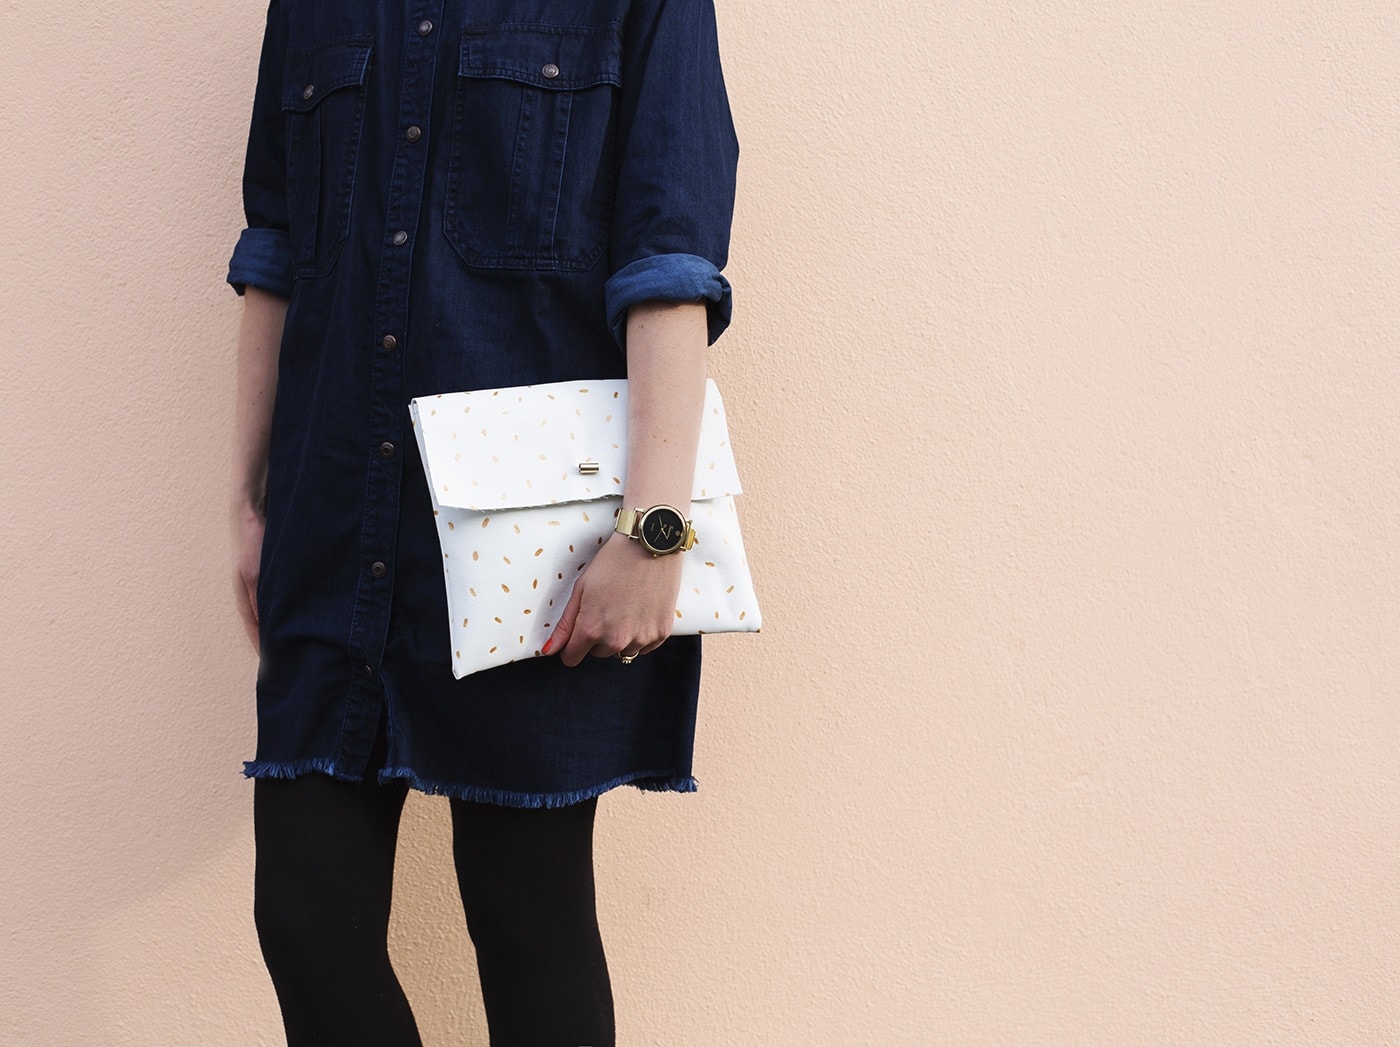
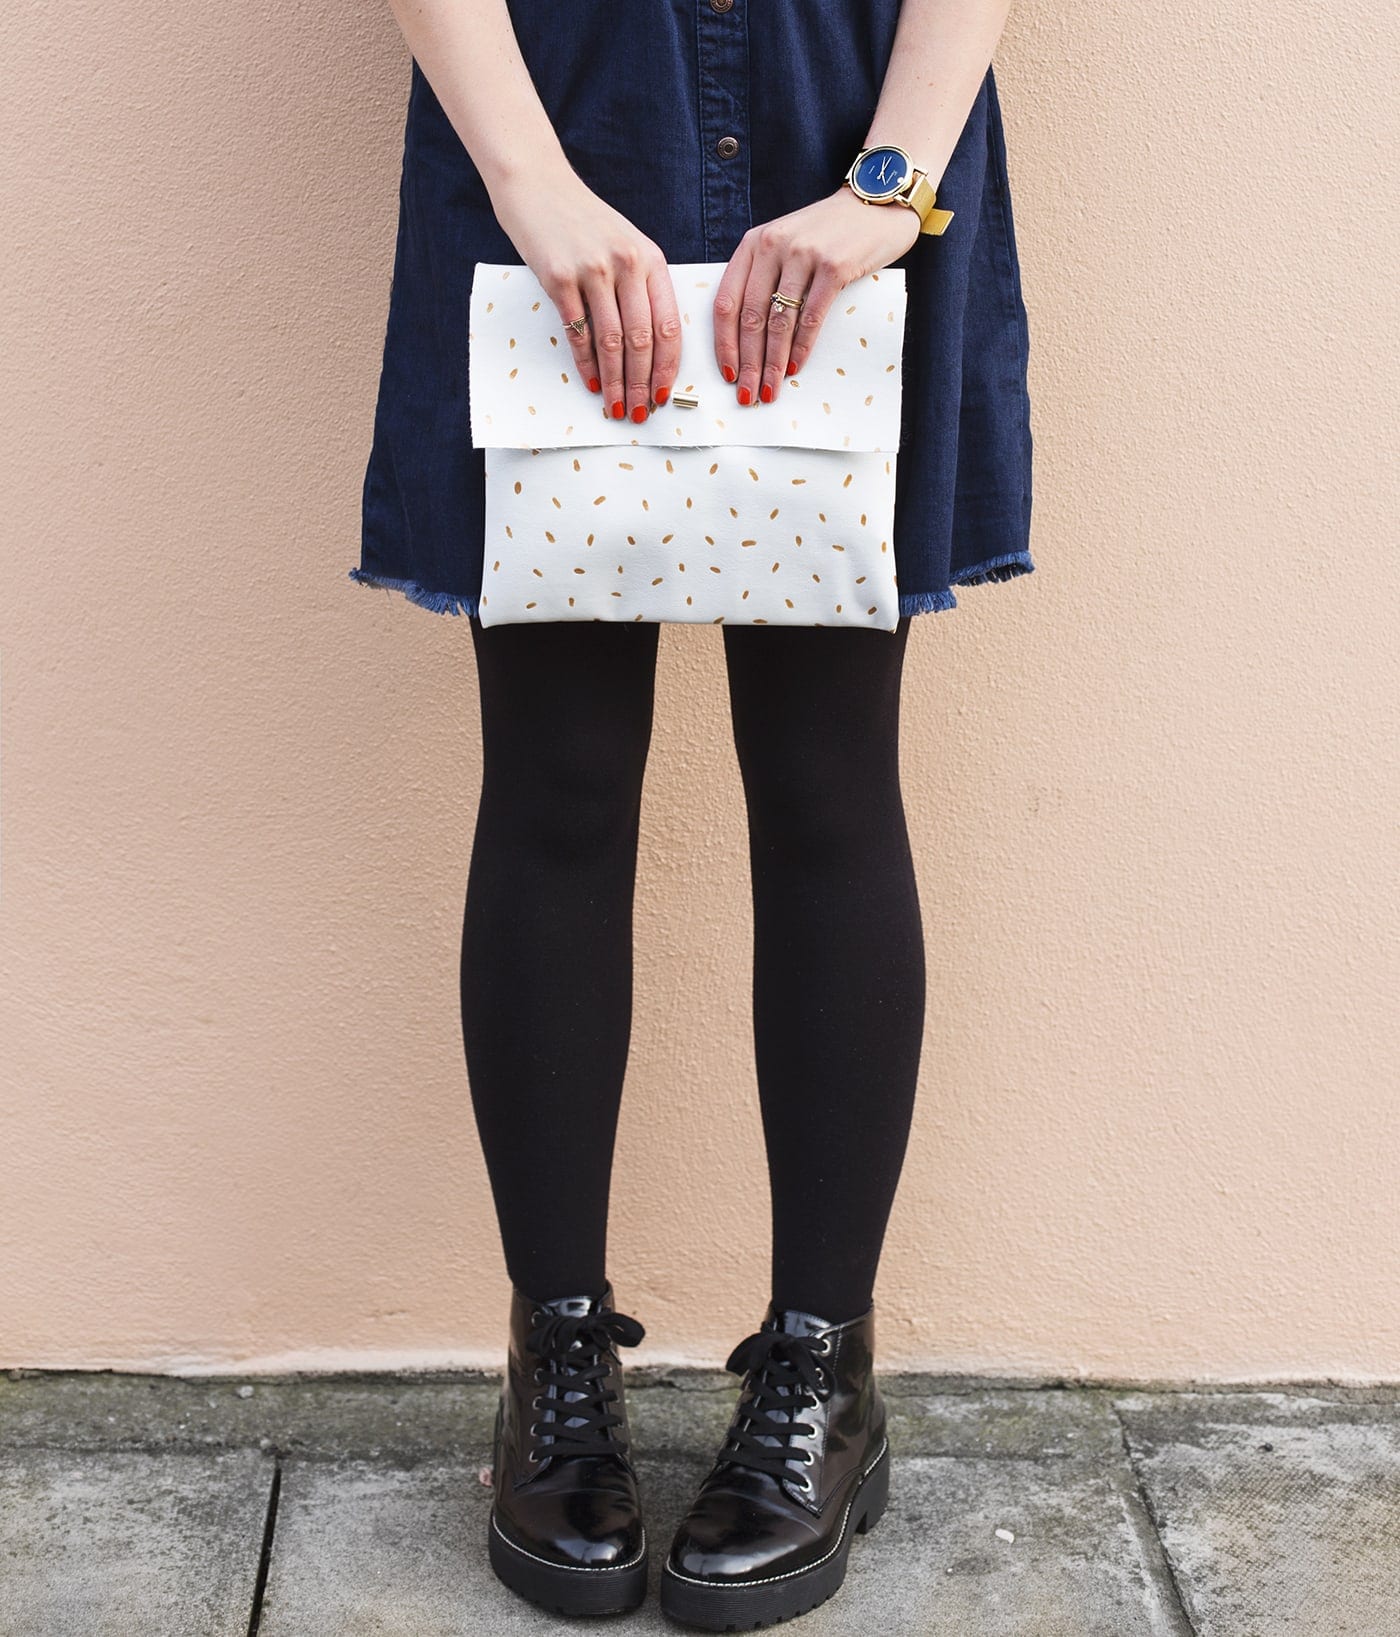
You’re done! Say hello to your new patterned accessory. You can dress it up or keep it casual like I did. My husband’s probably groaning as I make space for another bag in our room. What’s a girl to do eh?
You might also like


Meet The Lovely Drawer

Hi, I’m Teri and welcome to my own creative corner of the internet. I blog about interiors, DIY projects, design inspiration and my general life so stick around have a read and say hi.
In the shop
 Quick ViewSelect options
Orchard Days
£20.00 – £25.00
 Quick ViewSelect options
Personalised Cuddly Bunny
£30.00 – £35.00
Work with Me
The Lovely Drawer is an award winning blog with a loyal audience that has grown over the years. I love working with brands small and large on exciting collaborations that can bring products alive in my own signature aesthetic.