

DIY Botanical Adventures
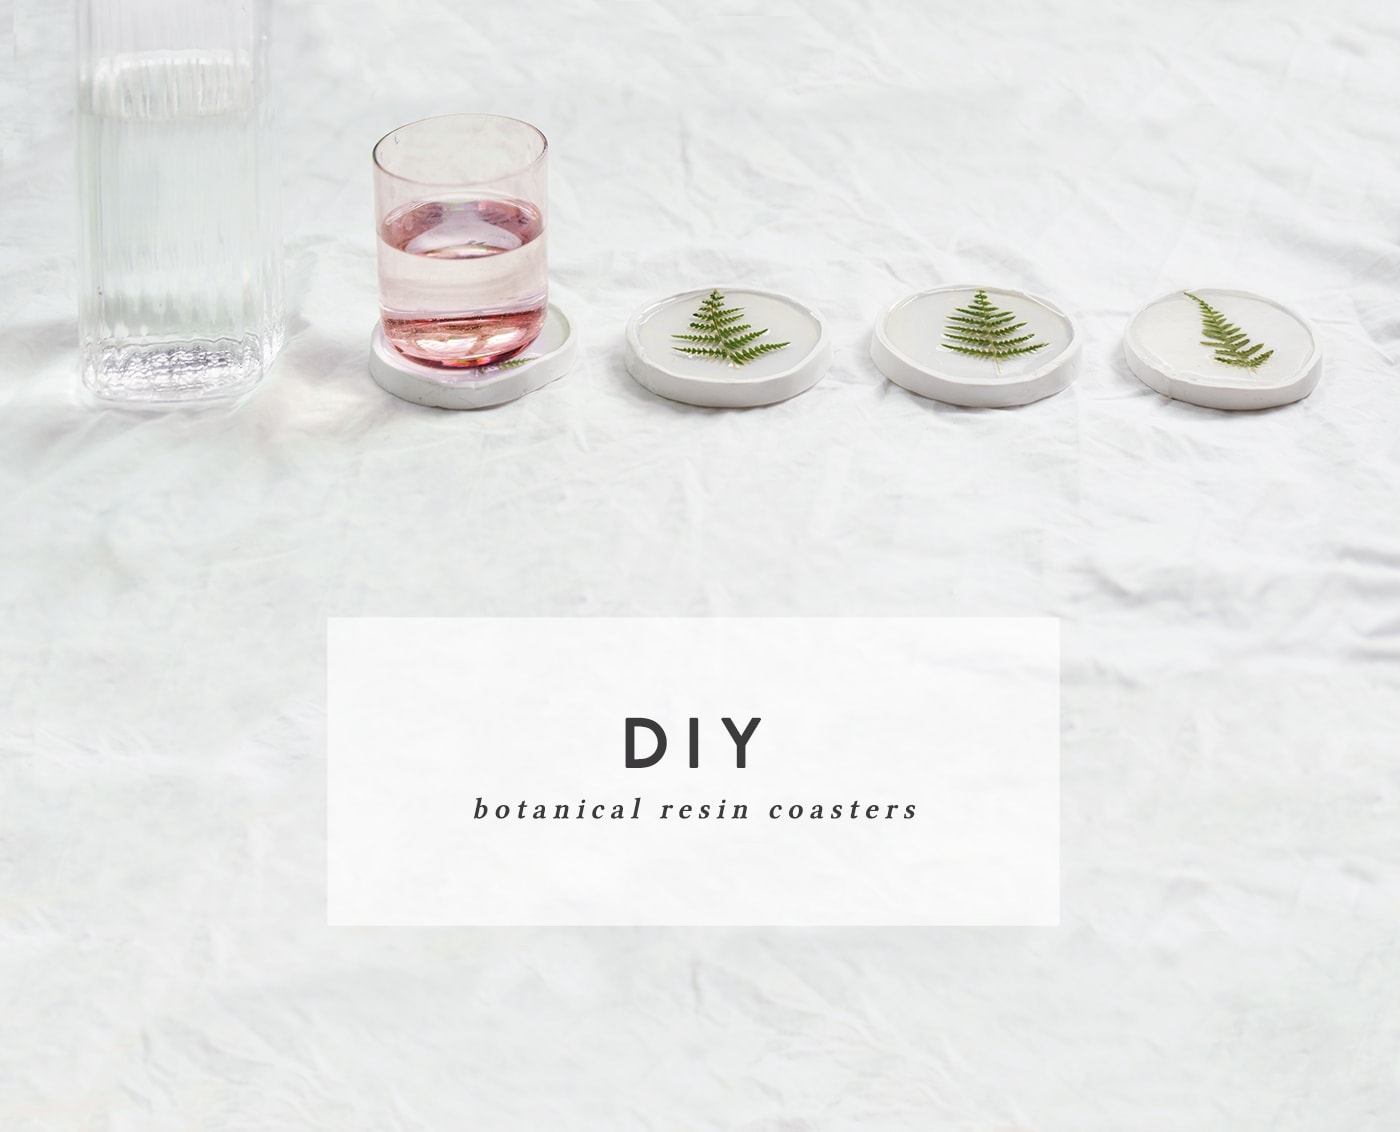
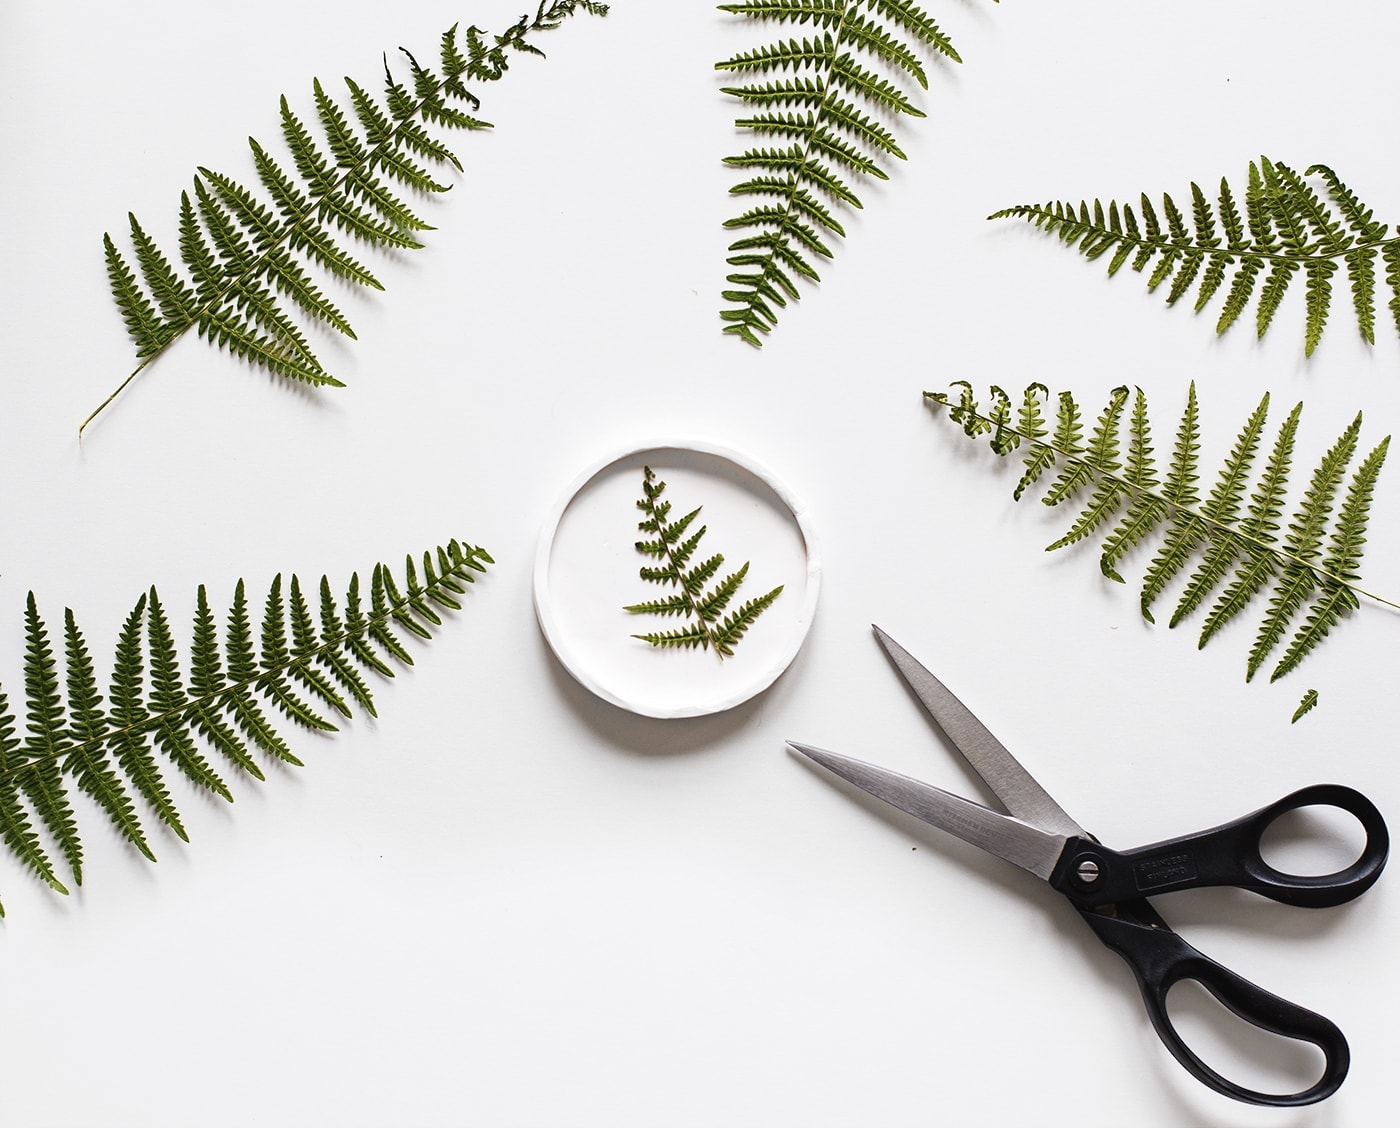
Let’s liven up Monday with a DIY for your home shall we? If you read my blog regularly you may remember I did a post on the botanical trend back in Autumn. I had been out foraging for greenery which is less unusual than I’d like to admit and found some fern leaves. I took them home a rekindled the art of flower pressing with the help of my husband’s brick size books of theology. Sad to say that’s the most use I’ve personally had out of them but they certainly did the trick. Then the story goes, I totally forgot about them until one day my memory jolted and proclaimed, ‘I must make coasters’. A revolutionary statement if ever you heard one. It bothered me slightly that I was a DIY blogger and had never used resin in a single project I’d executed. I was intrigued by the stuff and settled in this as the perfect project to flex some new DIY muscles.
These clay based coasters use the clear resin to lock away the pressed ferns for all eternity and provide a lovely smooth service for you to plonk your drinks on. Slightly dismayed at the solvent scented aroma of resin, I was worried about my it’s compatibility with my clumsiness. I’m glad to say it all went smoothly with no furniture, flooring or body part damaged.
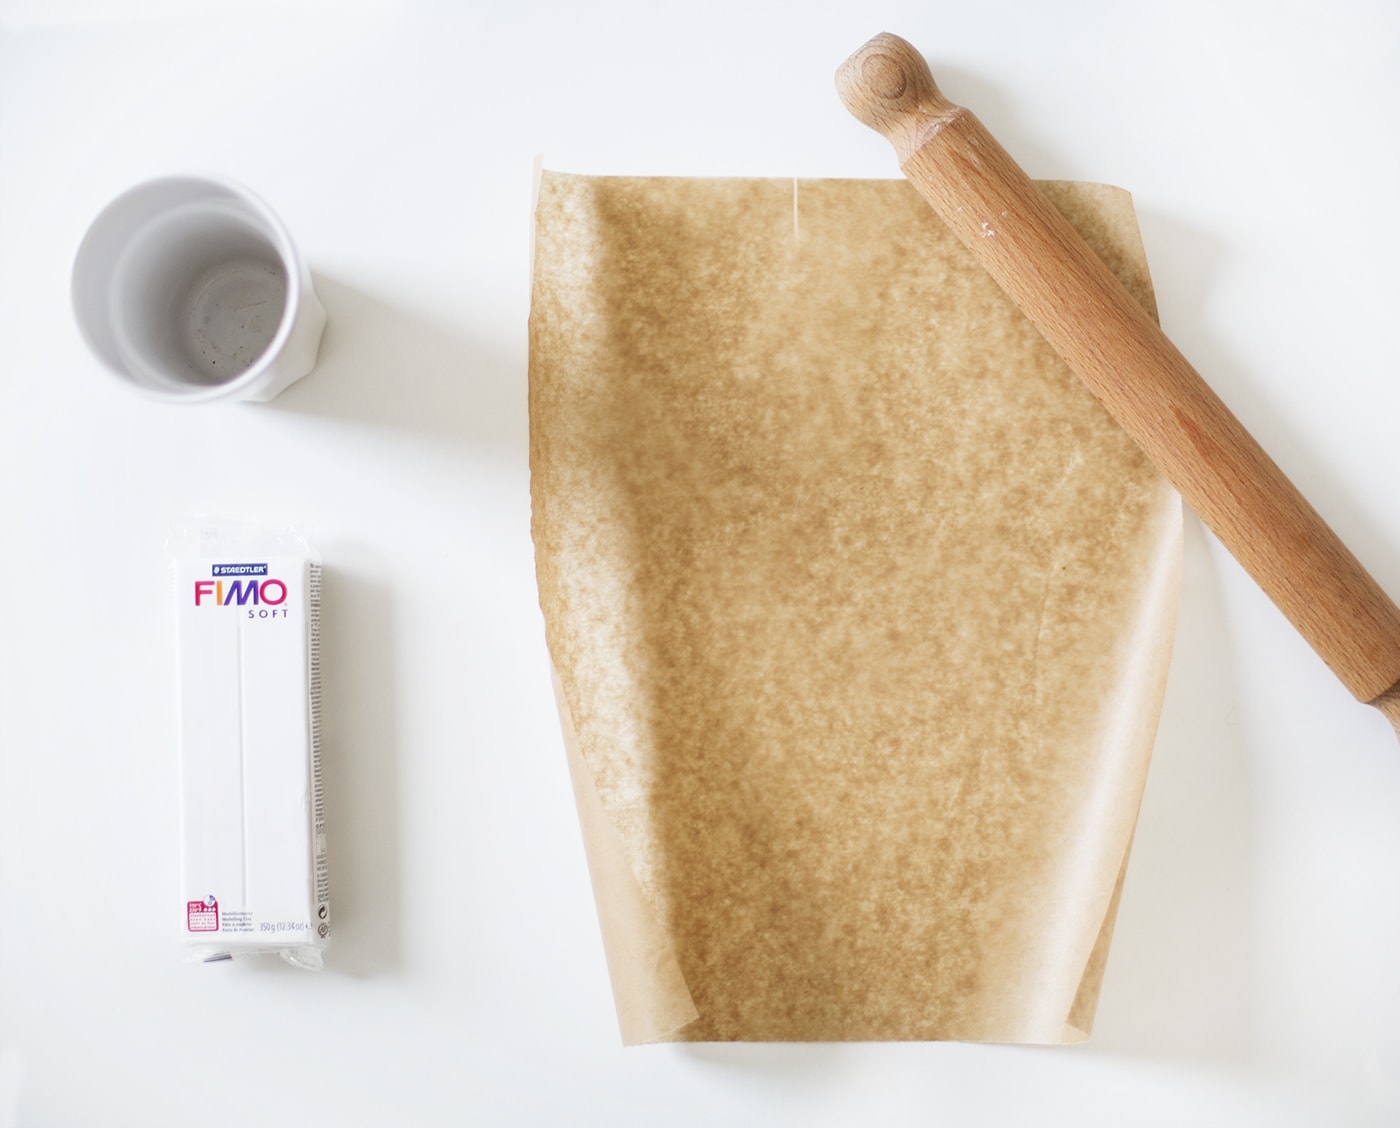
Materials
- Pressed leaves
- 350g block of white polymer clay
- Crystal resin kit
- Rolling pin
- Grease proof paper
- Glass / cup
- Scalpel
- Baking tray
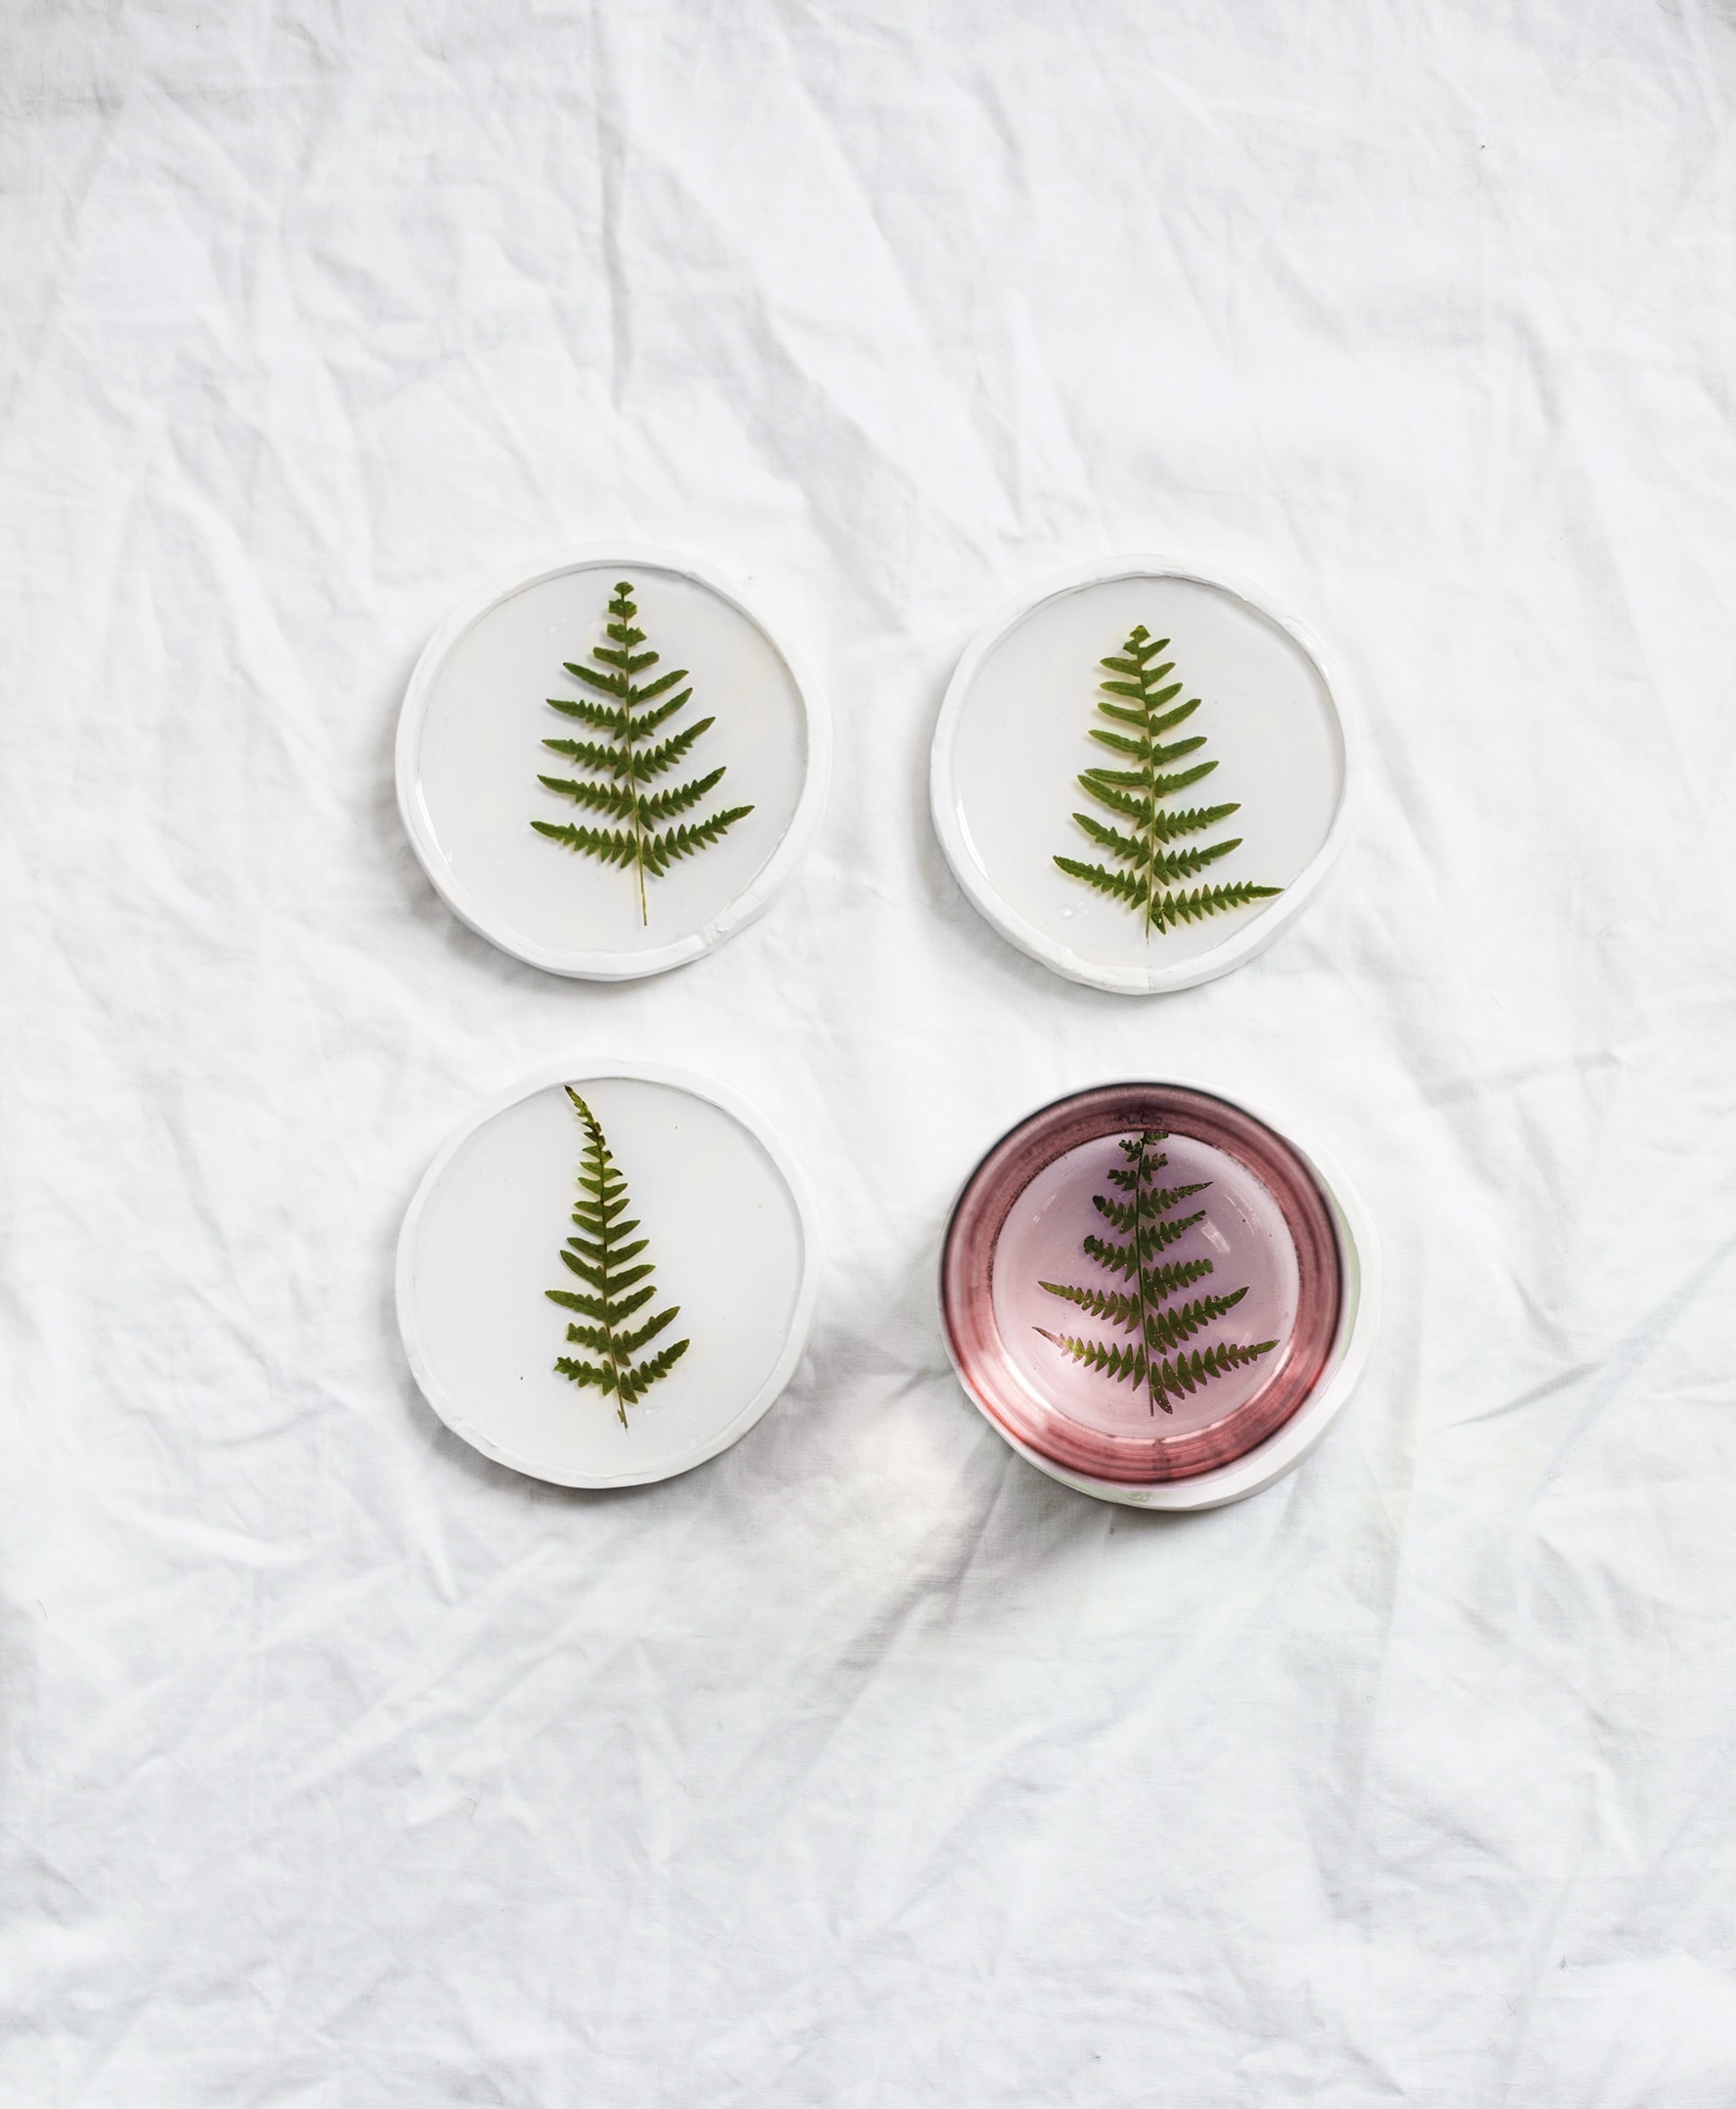
I used this block to make 4 coasters to give you a rough idea and my coasters ended up being about 9cm in diameter. I used the wider end of milkshake glass to get my circular shape.
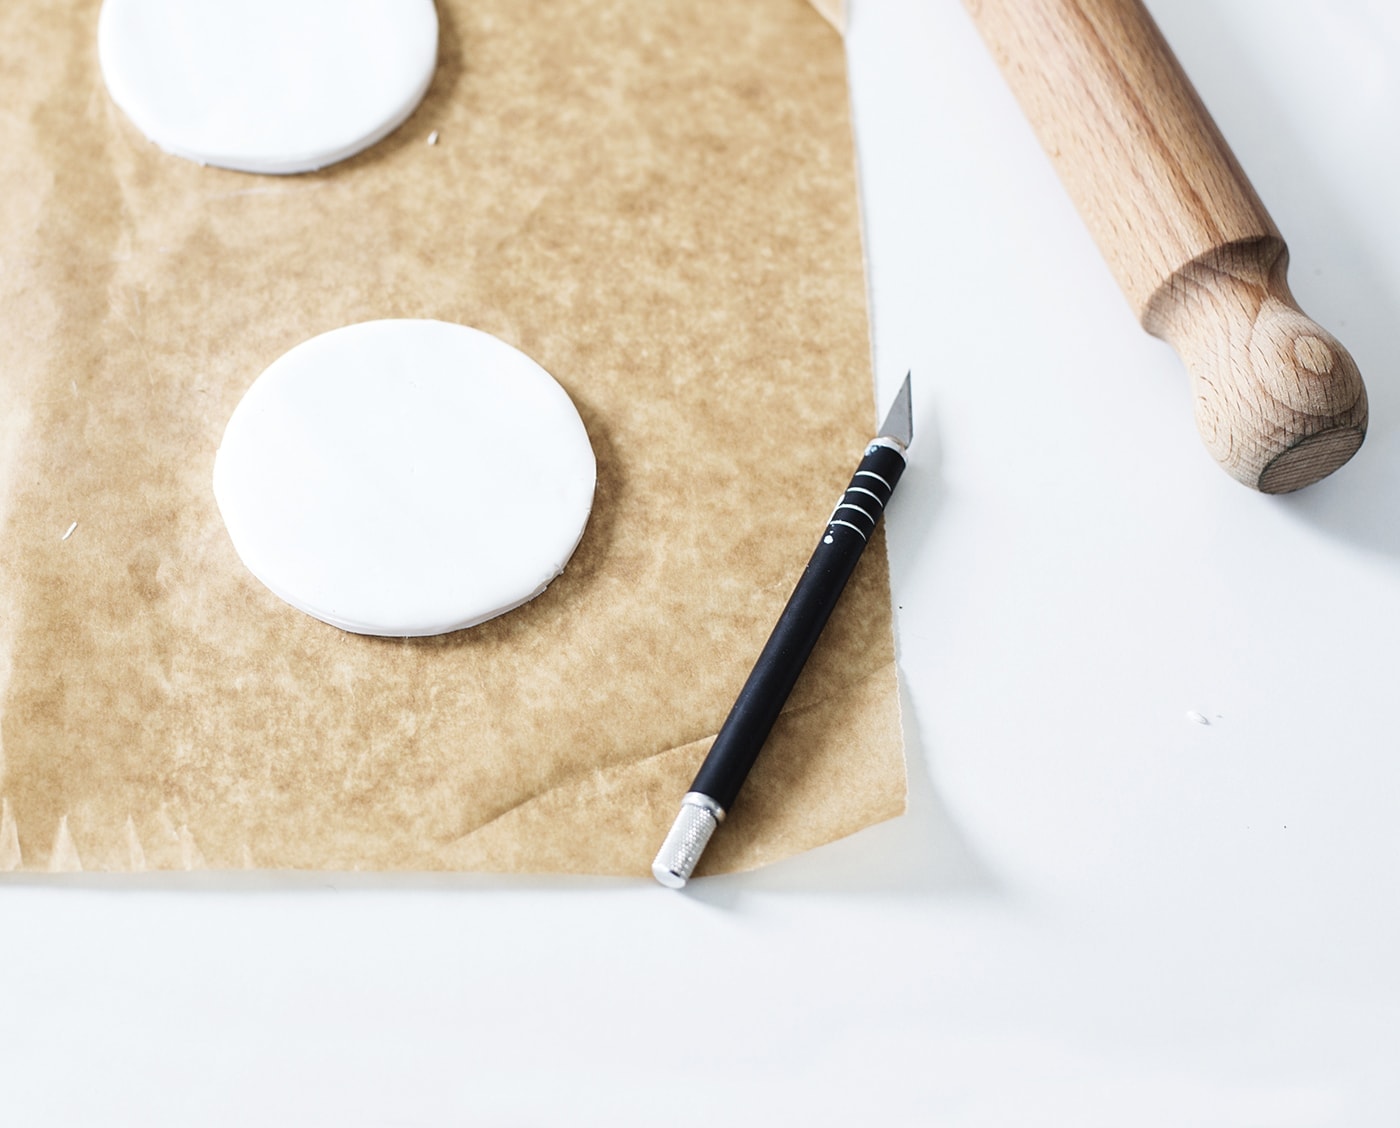
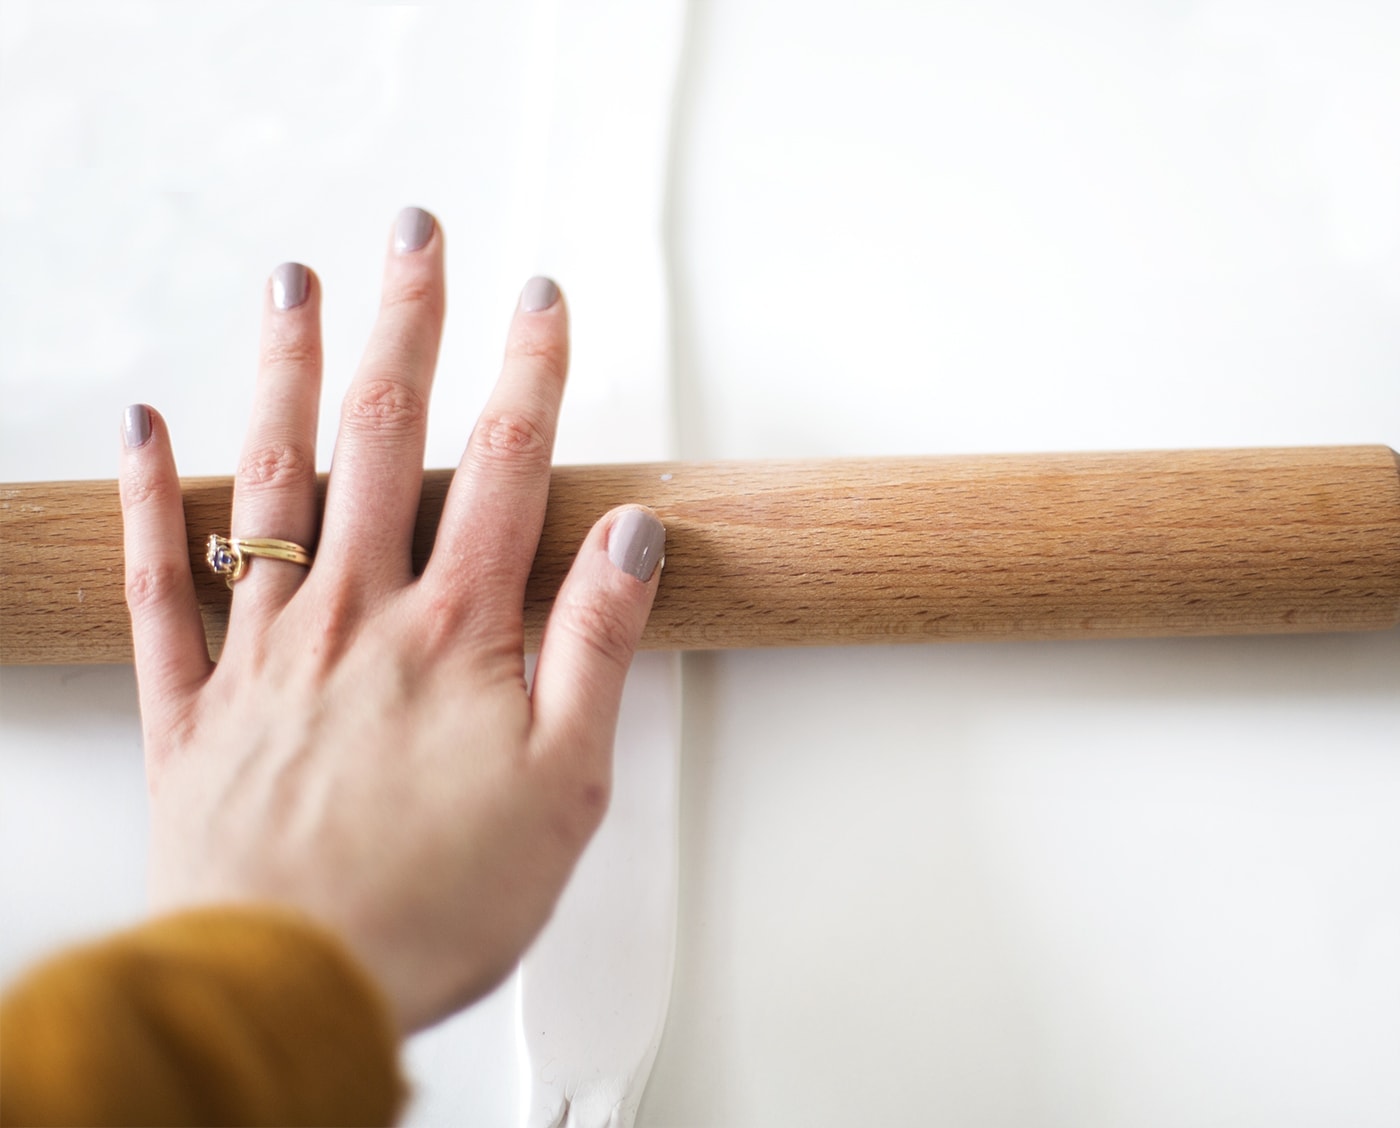
Preheat the oven to the recommended temperature on the back of the clay packet. Split the clay into quarters and then roll each section in to soften them up and create four balls. Then on the greaseproof paper, roll each one out with a rolling pin roughly a quarter to half a centimetre thick. Place your glass on top (gently) and cut round the circle with a scalpel. The greaseproof paper means you can easily move the shapes onto a tray eventually, without warping your nicely cut circle
Now collect all the off cuts into a ball. Mould together and then roll into a sausage shape. Then flatten with the rolling in to a thickness of half a centimetre. Cut 1cm wide strips from the clay.
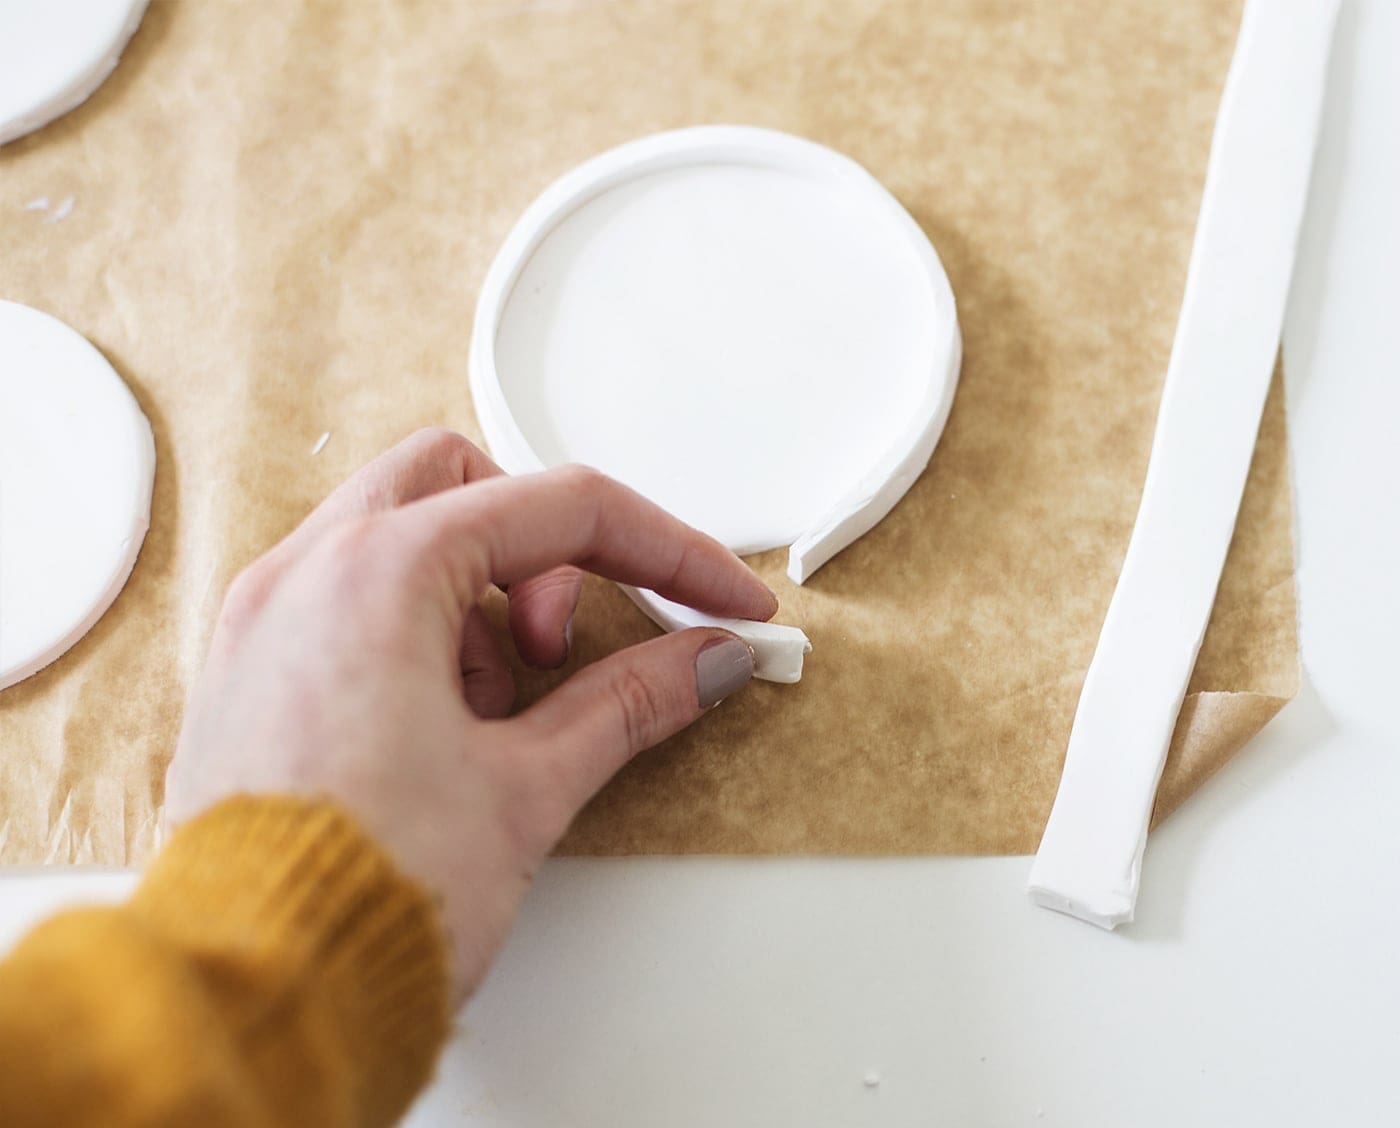
Now wrap these strips around each of the four coasters, gently pushing it to join the circle shape the whole way round. You can use your finger to smooth it out. Cut the length so that it can fit together with the starting edge. Push in place and just use your nail to embed a few horizontal lines across the join on the inside and outside. Smooth these over with your finger. Place all the coasters on a baking tray and bake for 30 mins.
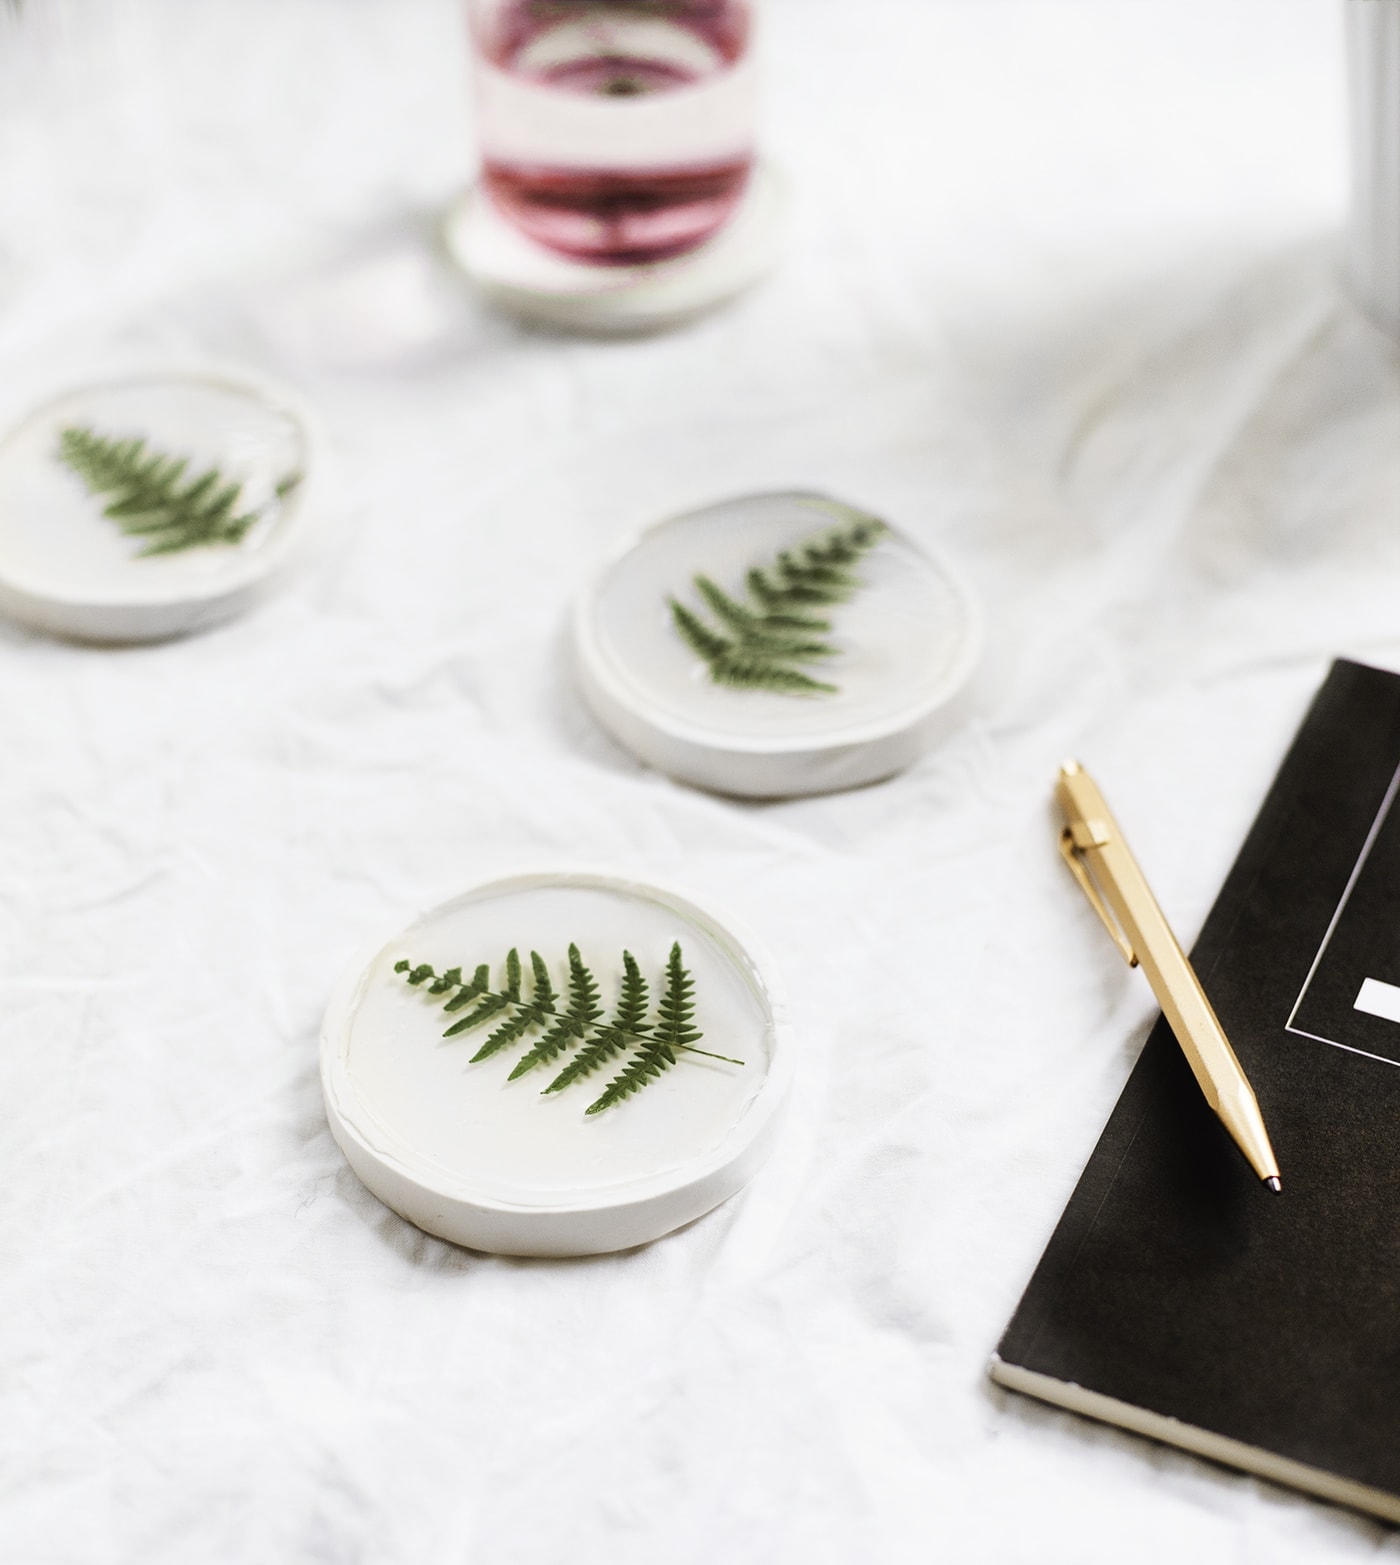
Once cooled cut your plants to fit the inside of your coasters and trim any stray leaves. Place the coasters on a tray for easy movement or out of the way where they can eventually be left over night.
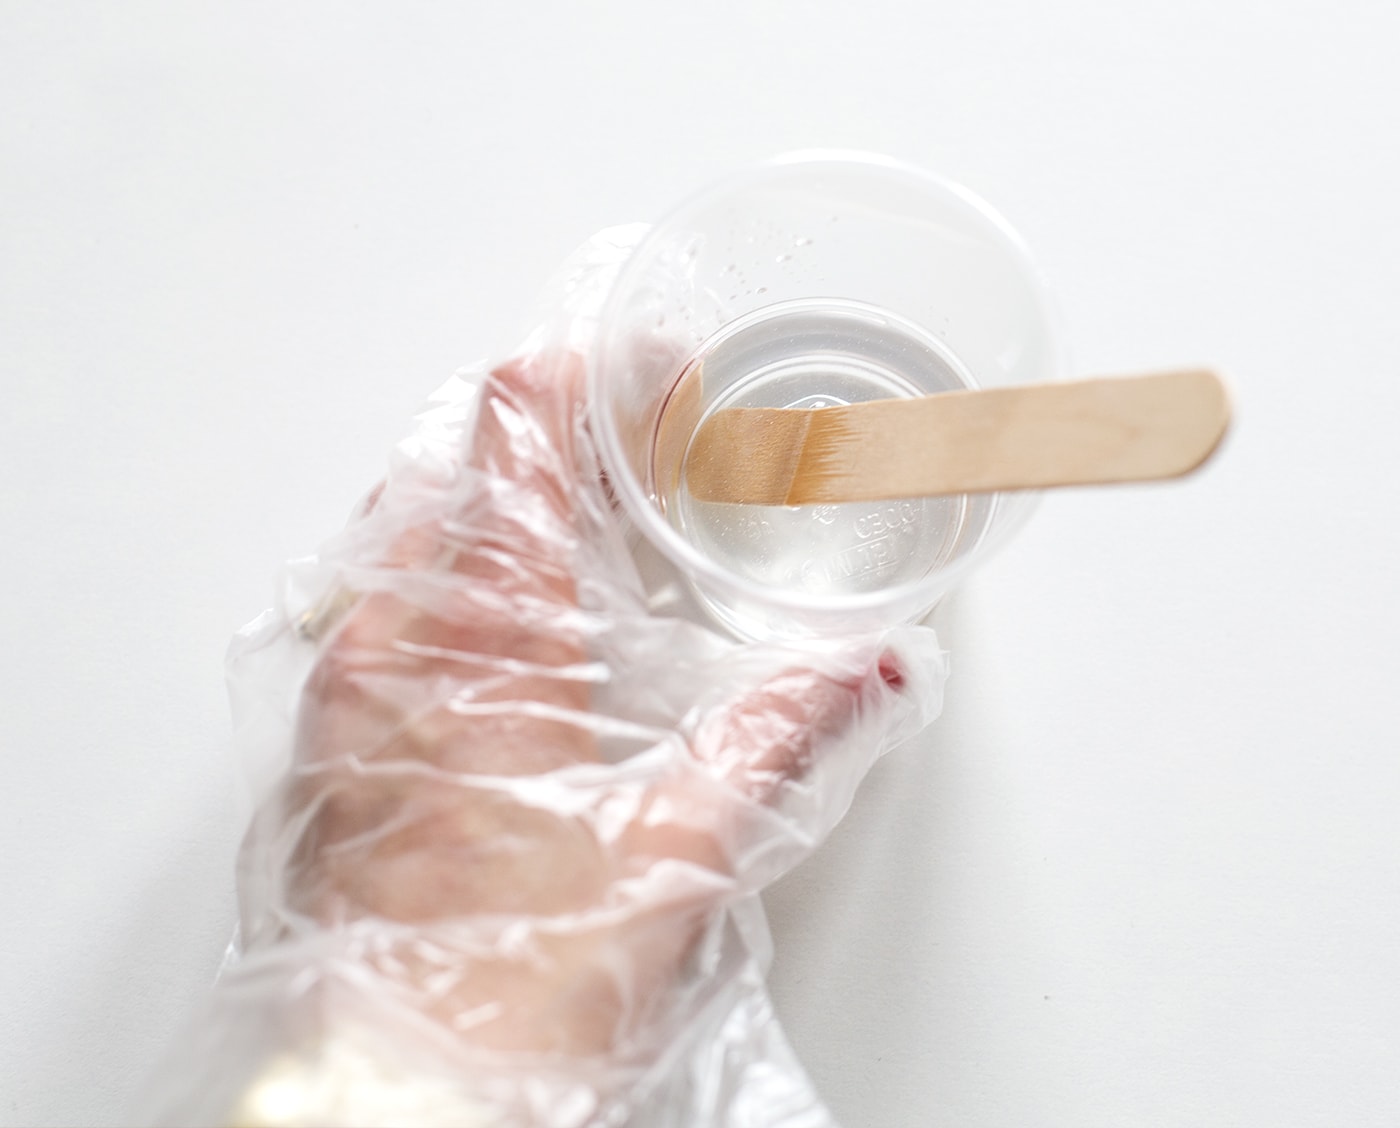
Now it’s time to mix the resin. Follow the instructions on the inside of your kit but remember to put your gloves on and put some protection down to avoid any unhappy spillages. The ratio of hardener to resin is 1:2 so to get the desired amount I poured 0.5 measures of hardener to 1 measure of resin for the first stage. Make sure you start with the hardener and then move into the resin. Use the wooden spatula to mix the solution gently to totally combine and get rid of air bubbles but if you stir too vigorously you can actually create more air bubbles.
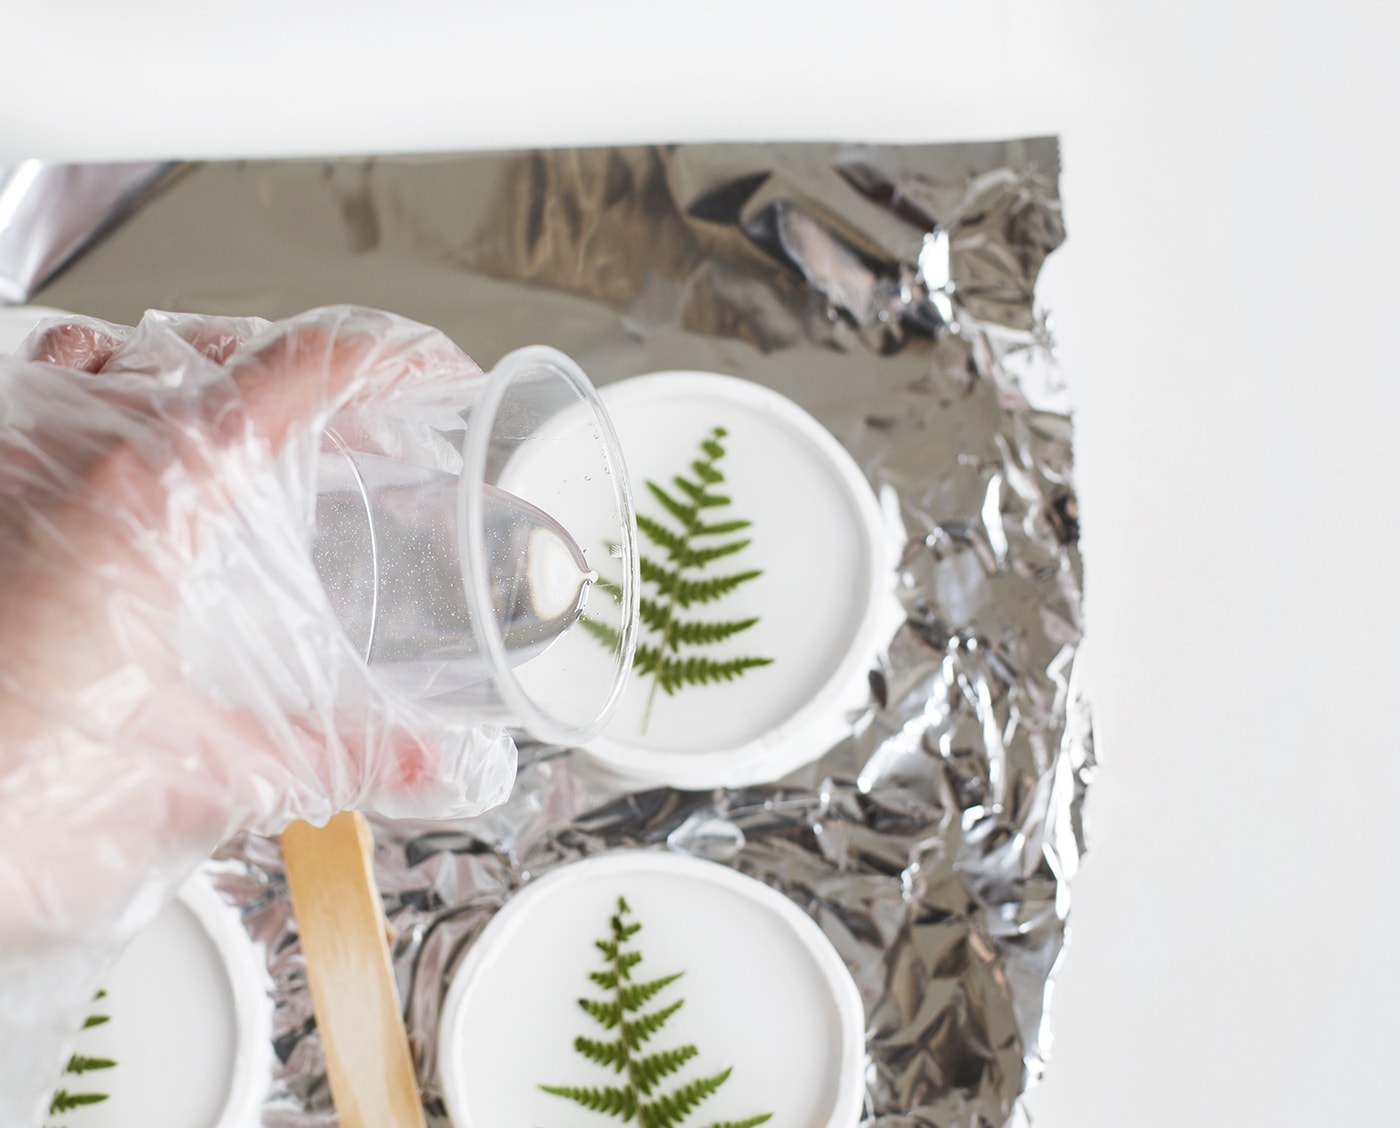
Transfer to another clean and dry plastic cup and mix again to make sure everything is combined. Then pour into the coaster bottom, on top of the fern leaves so there’s a thin layer covering the bottom of each. The ferns will inevitably want to come to the surface which doesn’t matter too much as this is the first stage. Leave to dry for about 6 hours. It won’t be fully dry but it will be enough to keep the plant rooted to the bottom. Then mix 1 measure of hardener to 2 measures of resin, following the same process as before. Pour this new batch of resin into the coaster basins to fill each one up almost to the top. Leave to dry for 24 hours until they’re rock solid.
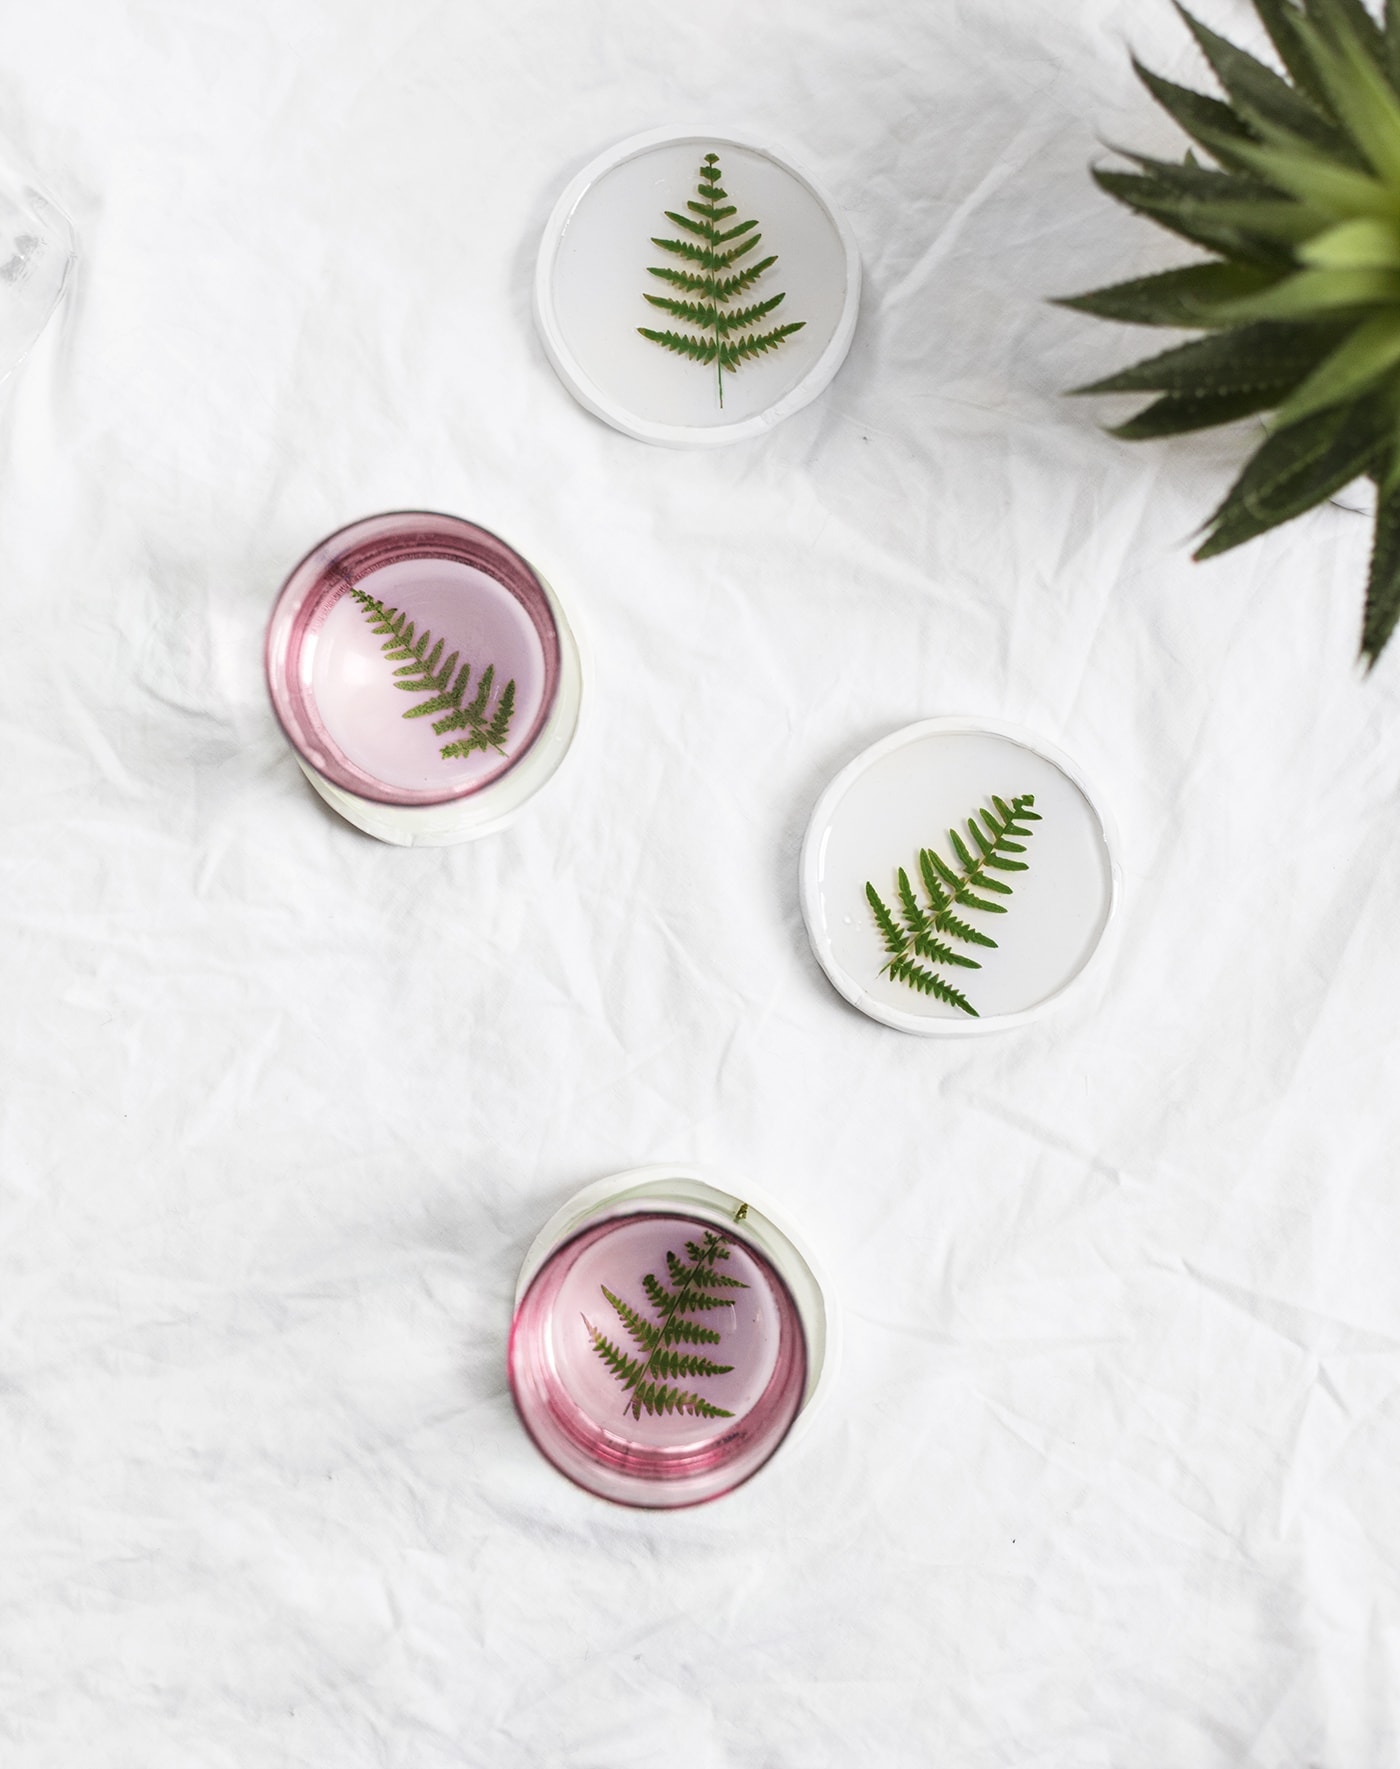
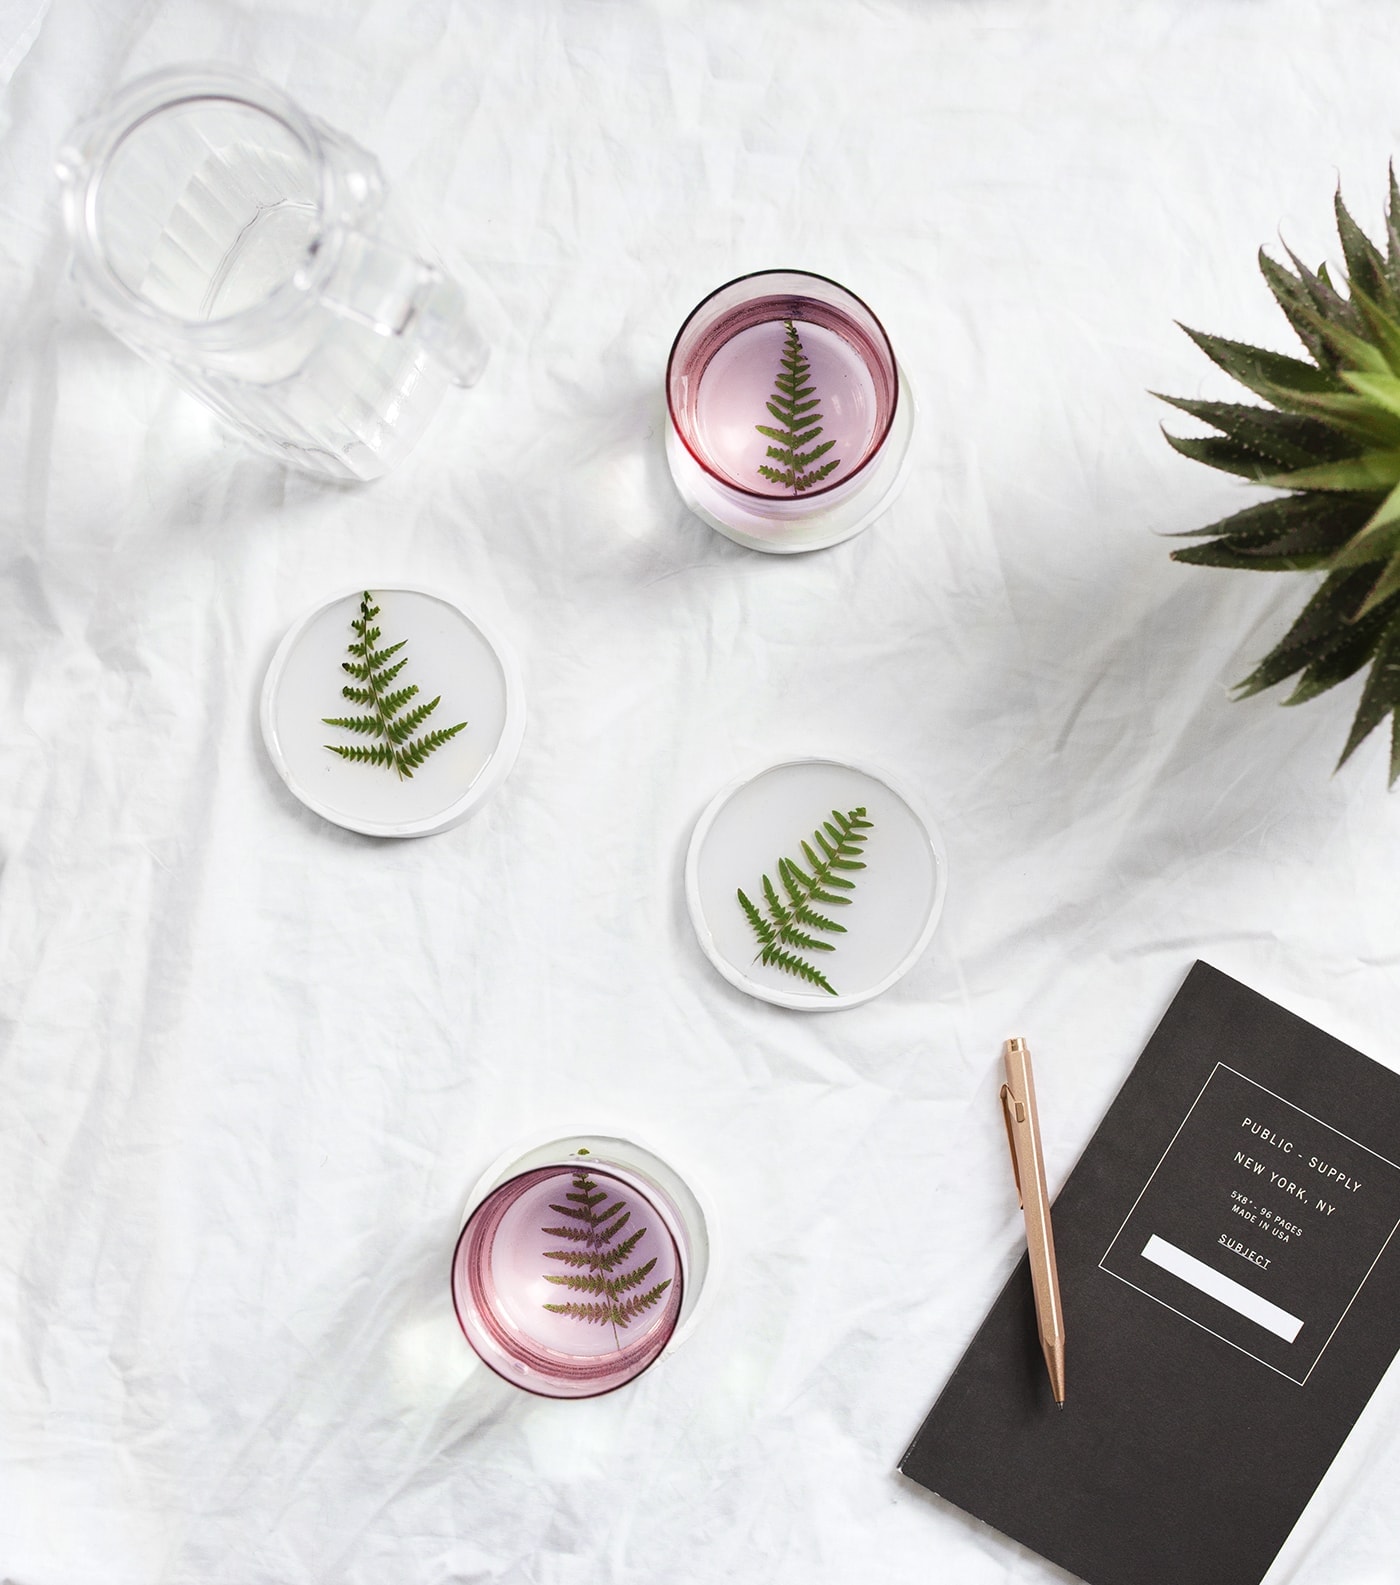
Now put them to good use! I’m so glad I finally got to use my pressed leaves and take a little piece of one season to cement in my home for seasons to come. On a slightly weirder note, I can’t stop stroking these coasters. They’re just so darn smooth it’s addictive, like running your finger along your shiny nail polish top coat….anyone? Just me?
You might also like


Meet The Lovely Drawer

Hi, I’m Teri and welcome to my own creative corner of the internet. I blog about interiors, DIY projects, design inspiration and my general life so stick around have a read and say hi.
In the shop
 Quick ViewSelect options
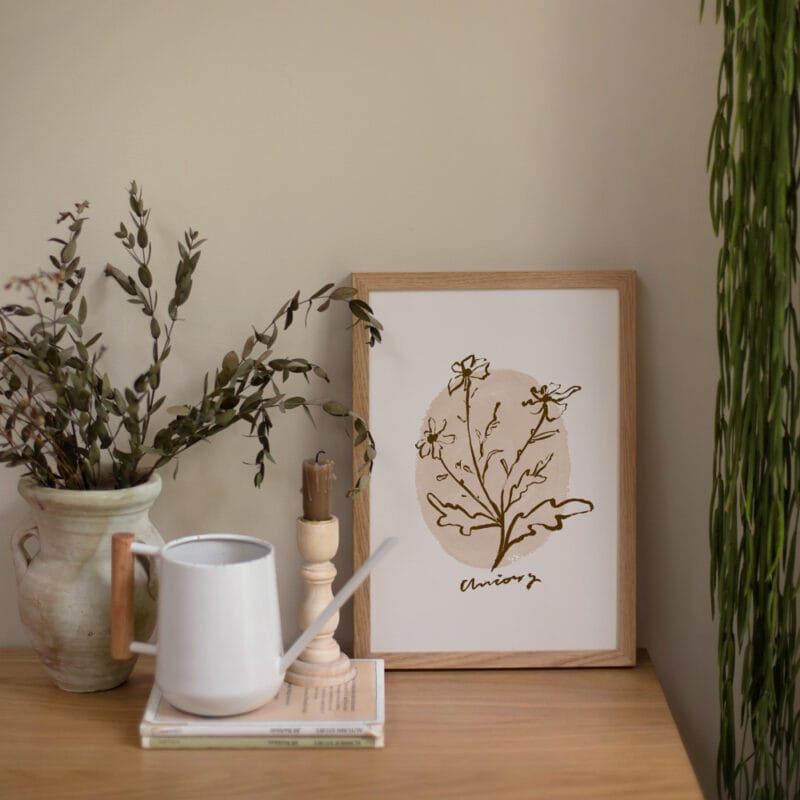
Chicory
£20.00 – £25.00
 Quick ViewSelect options
Personalised Cuddly Bunny
£30.00 – £35.00
Work with Me
The Lovely Drawer is an award winning blog with a loyal audience that has grown over the years. I love working with brands small and large on exciting collaborations that can bring products alive in my own signature aesthetic.