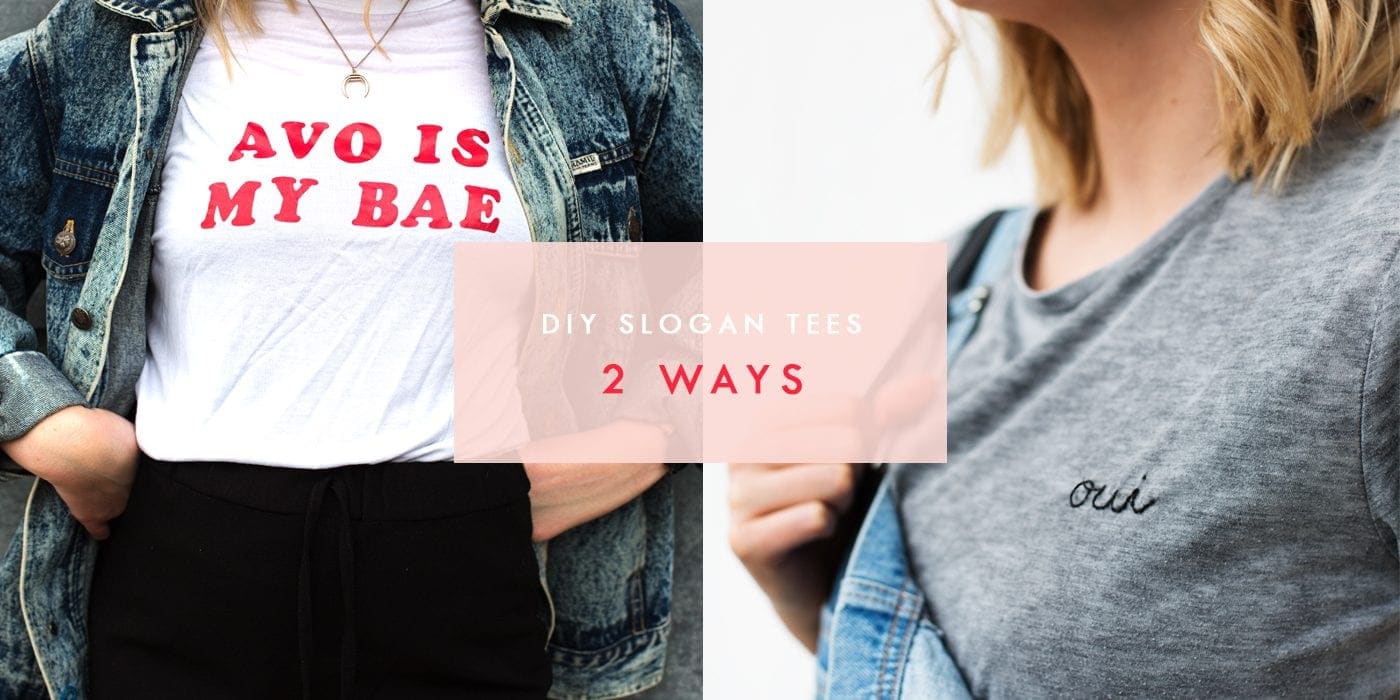
Let Your T-Shirt Do The Talking
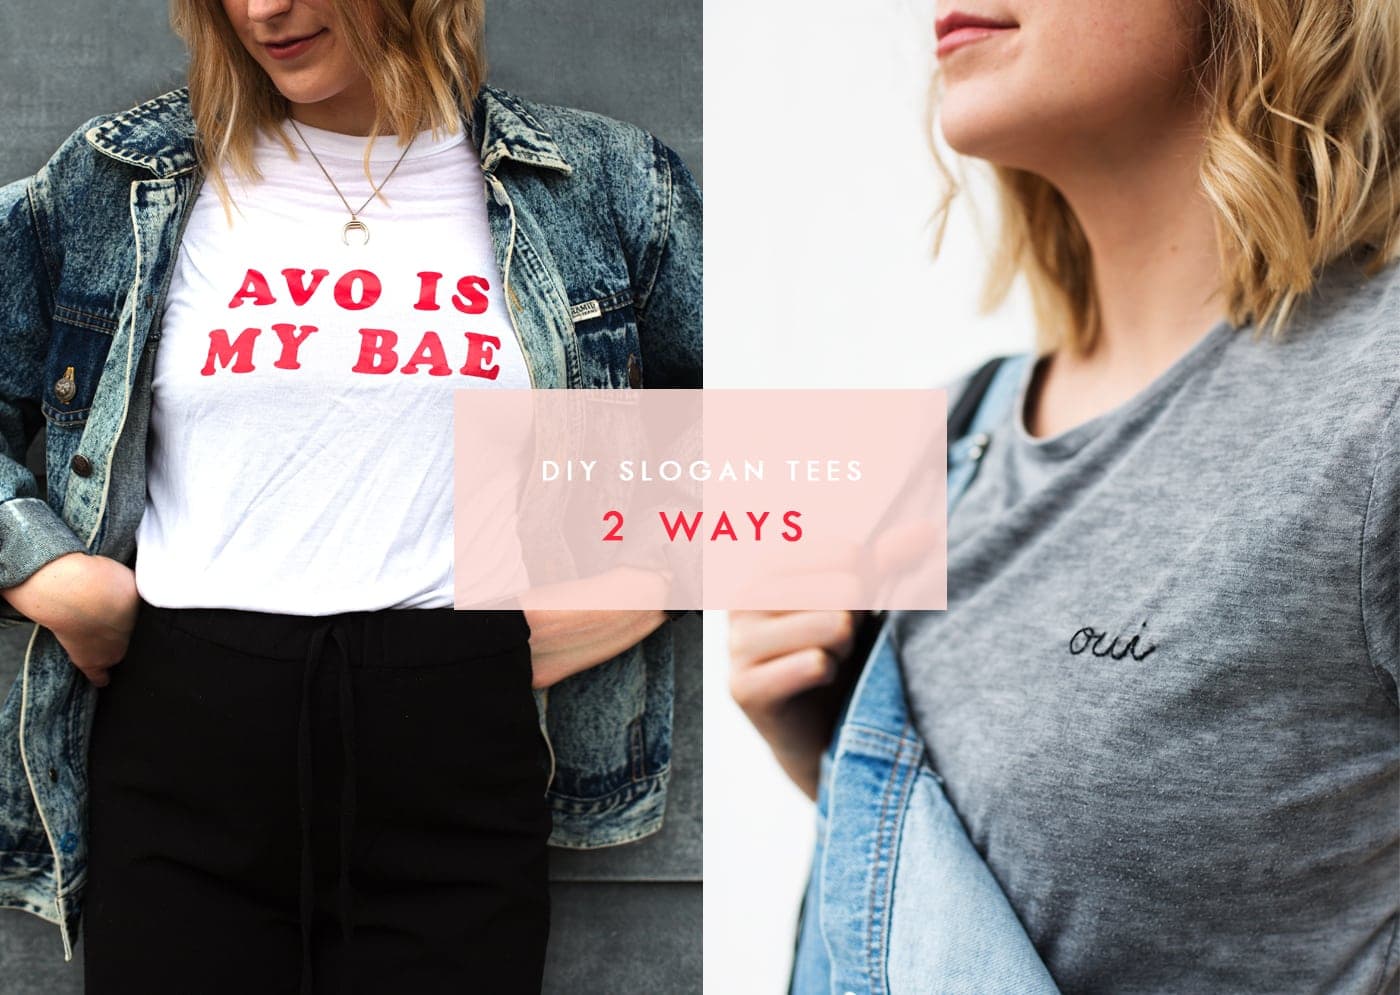
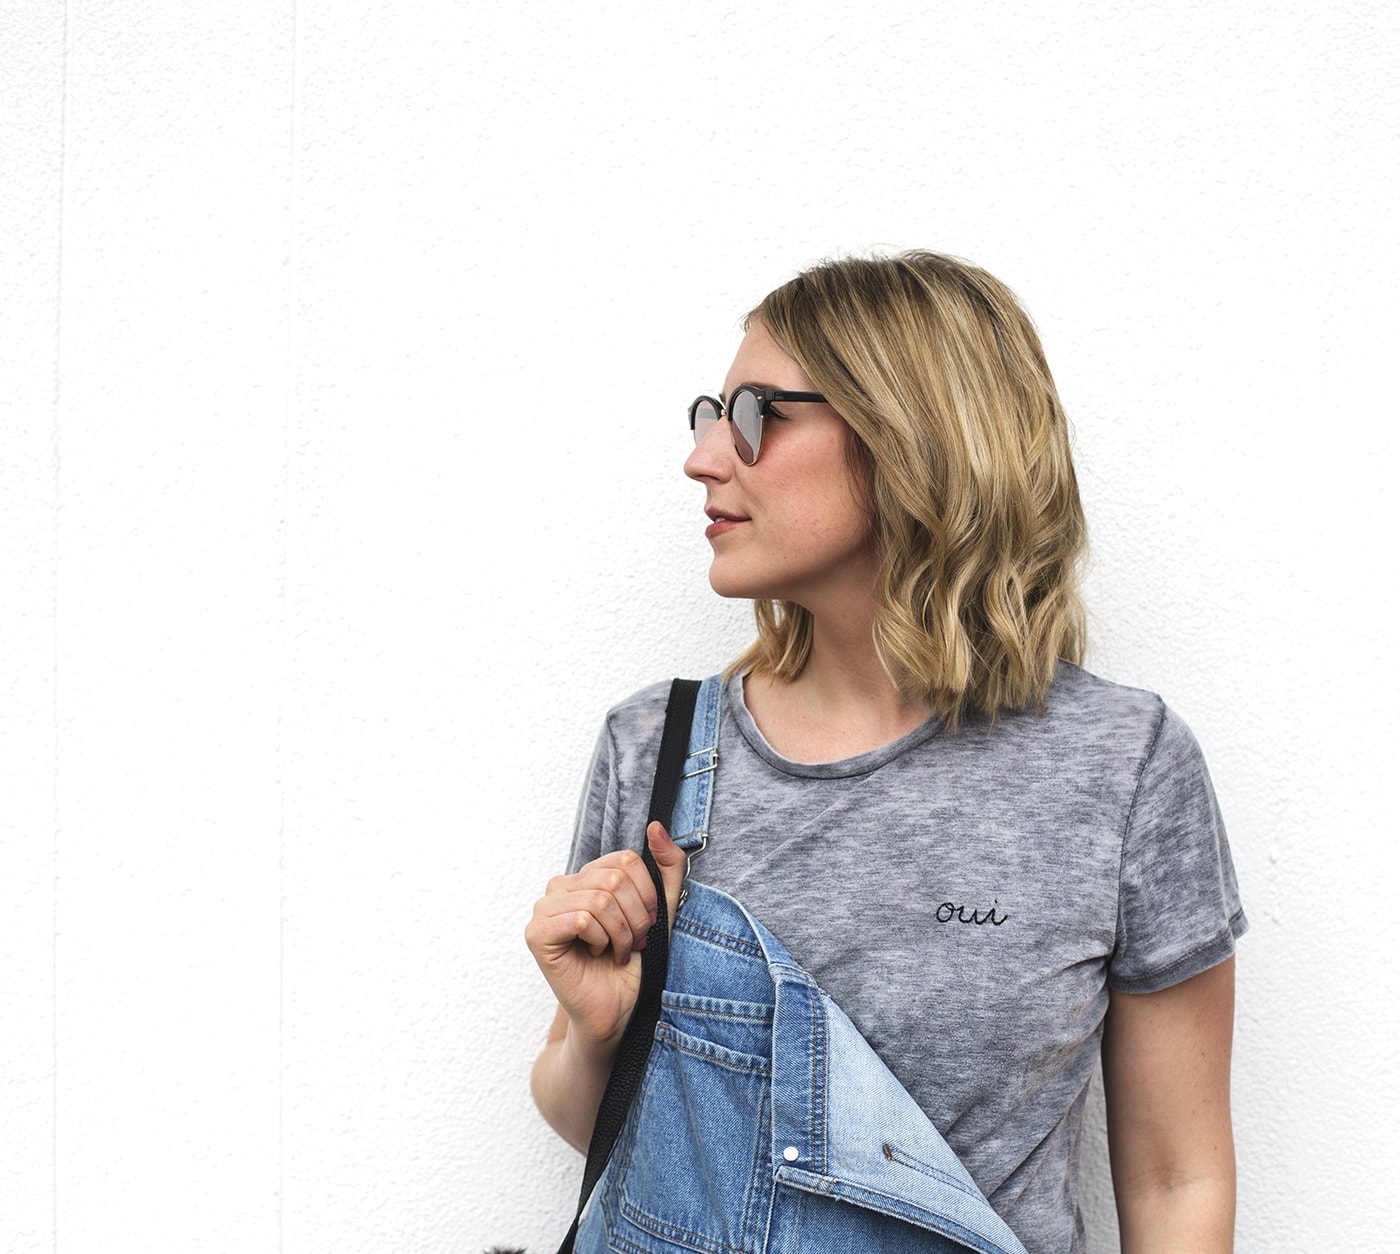
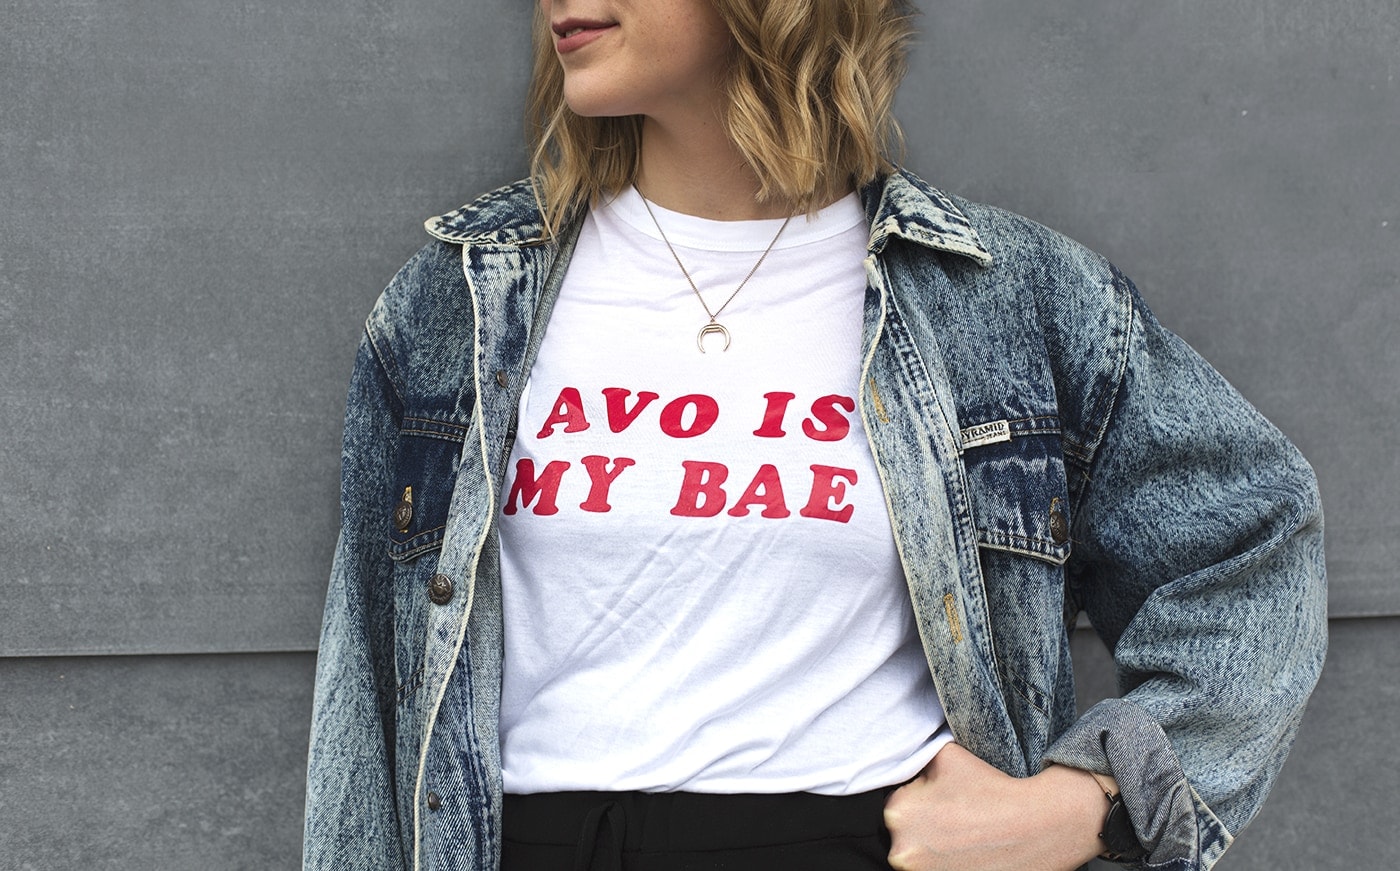
I feel like I say this a lot but I really have been sat on this DIY for a while! I thought it up in January, made it in March and am now posting it in May! How did that happen? There I was, starting to wonder if slogan tees would be totally old hat by the time I got this out there into the blogosphere. Ironically both of these ideas are stupidly simple to make and take barely any time at all!
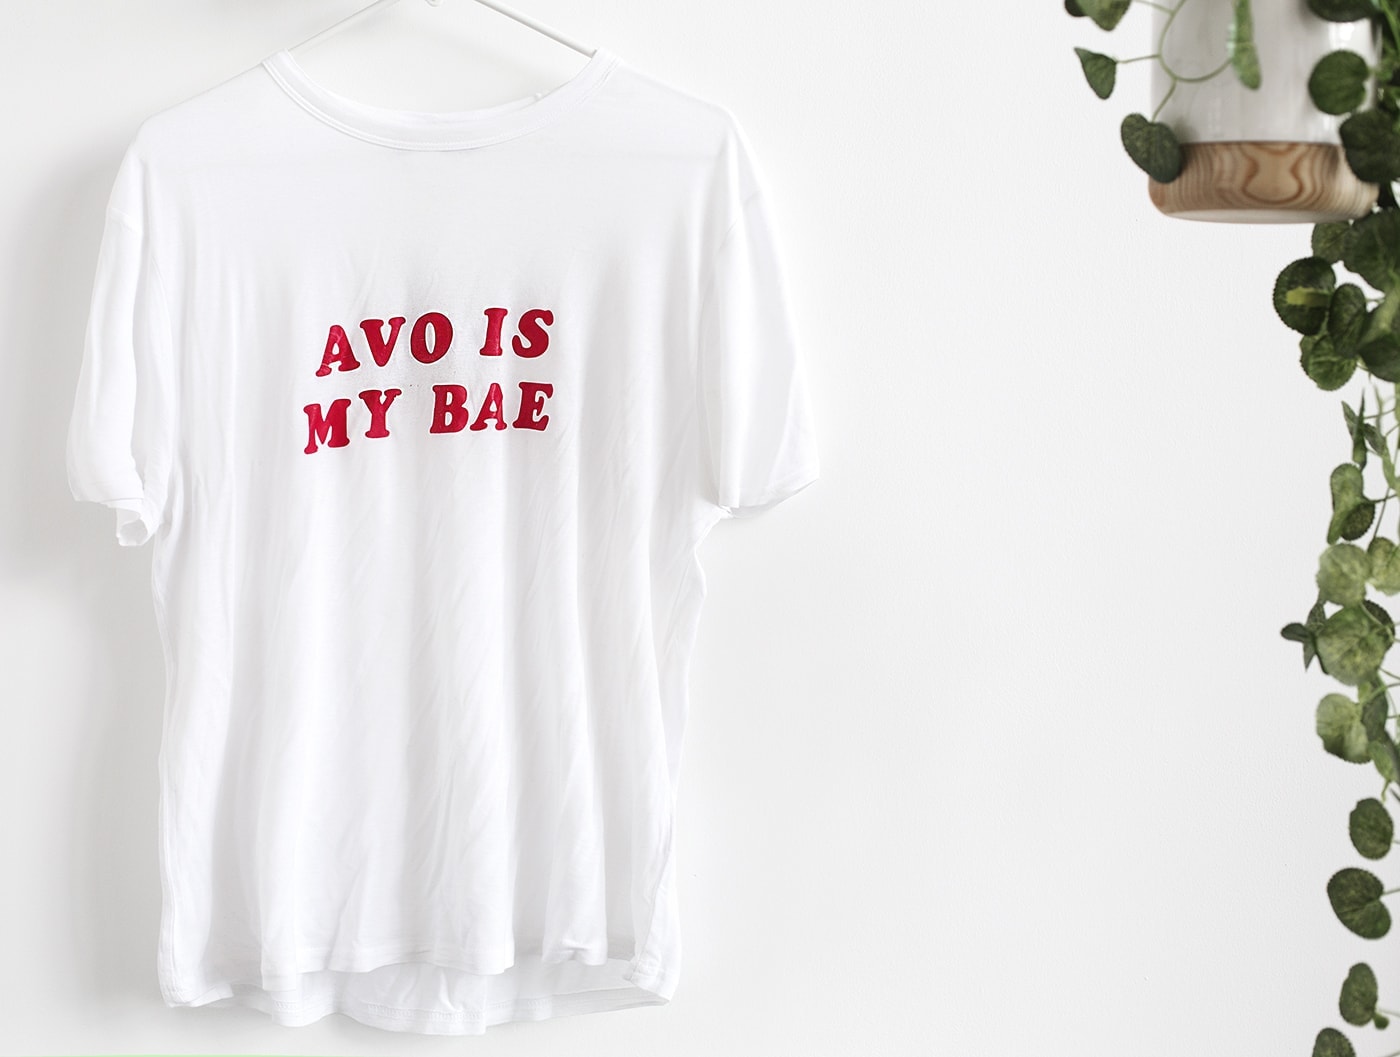
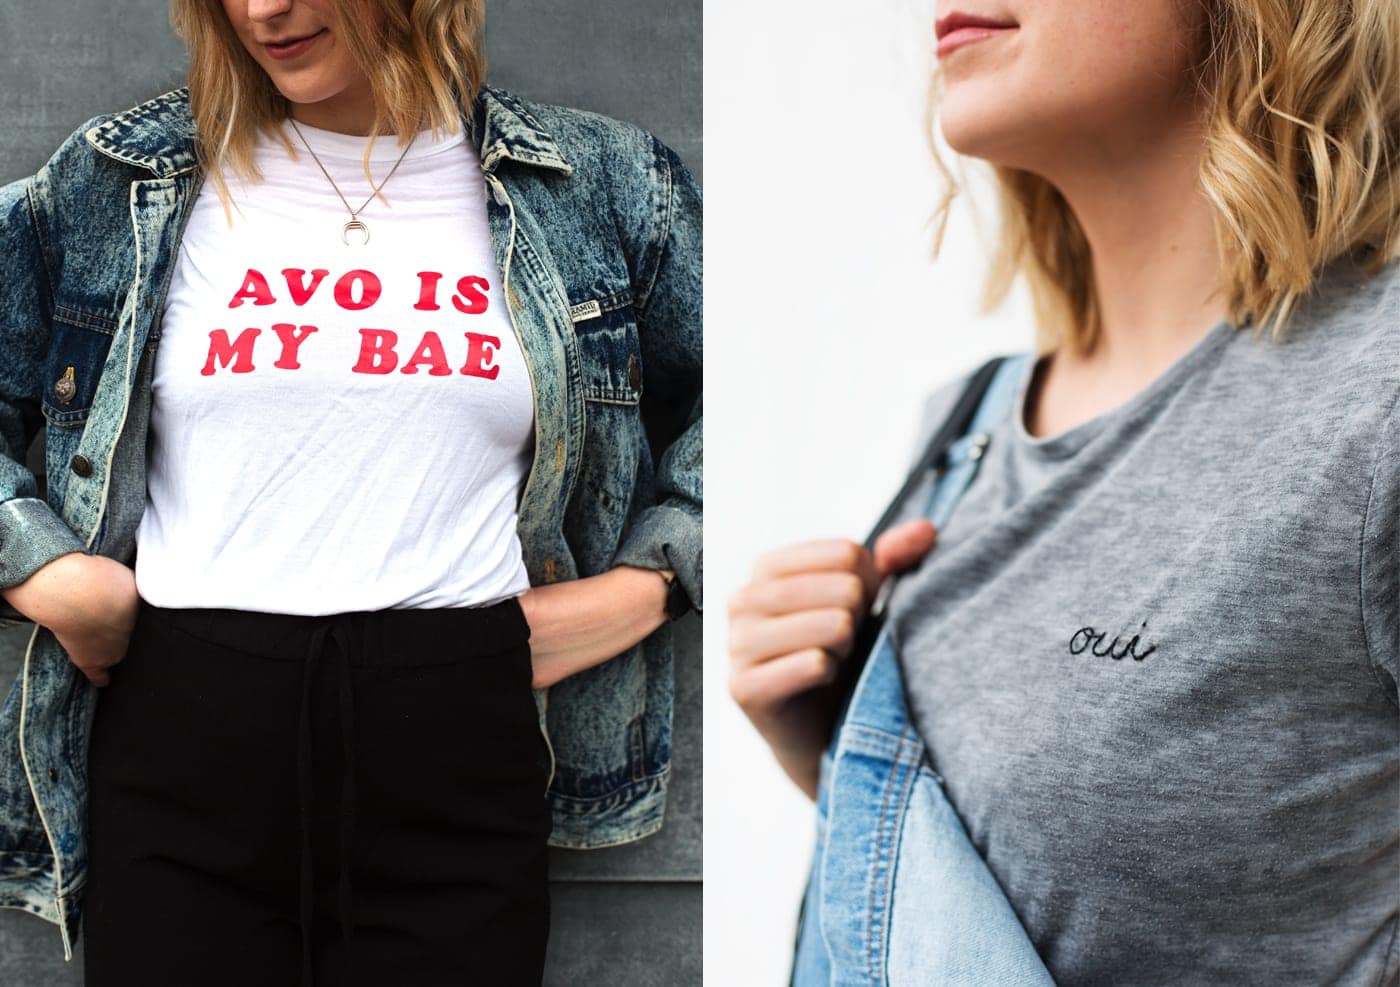
I never used to like my T-shirts to say anything, perhaps a hangover from my uni days when nu-rave phrases lined every tee in a rainbow of neon (shudder) but I’ve really come round to them of late, particularly the red on white look! These tops are an easy way of making a plain outfit a little bit more interesting, especially if you’re like me and don’t wear much pattern or colour! I’m not making any political statements with mine but I like that you can get a bit silly, although lets be honest avocados are a serious and wonderful matter.
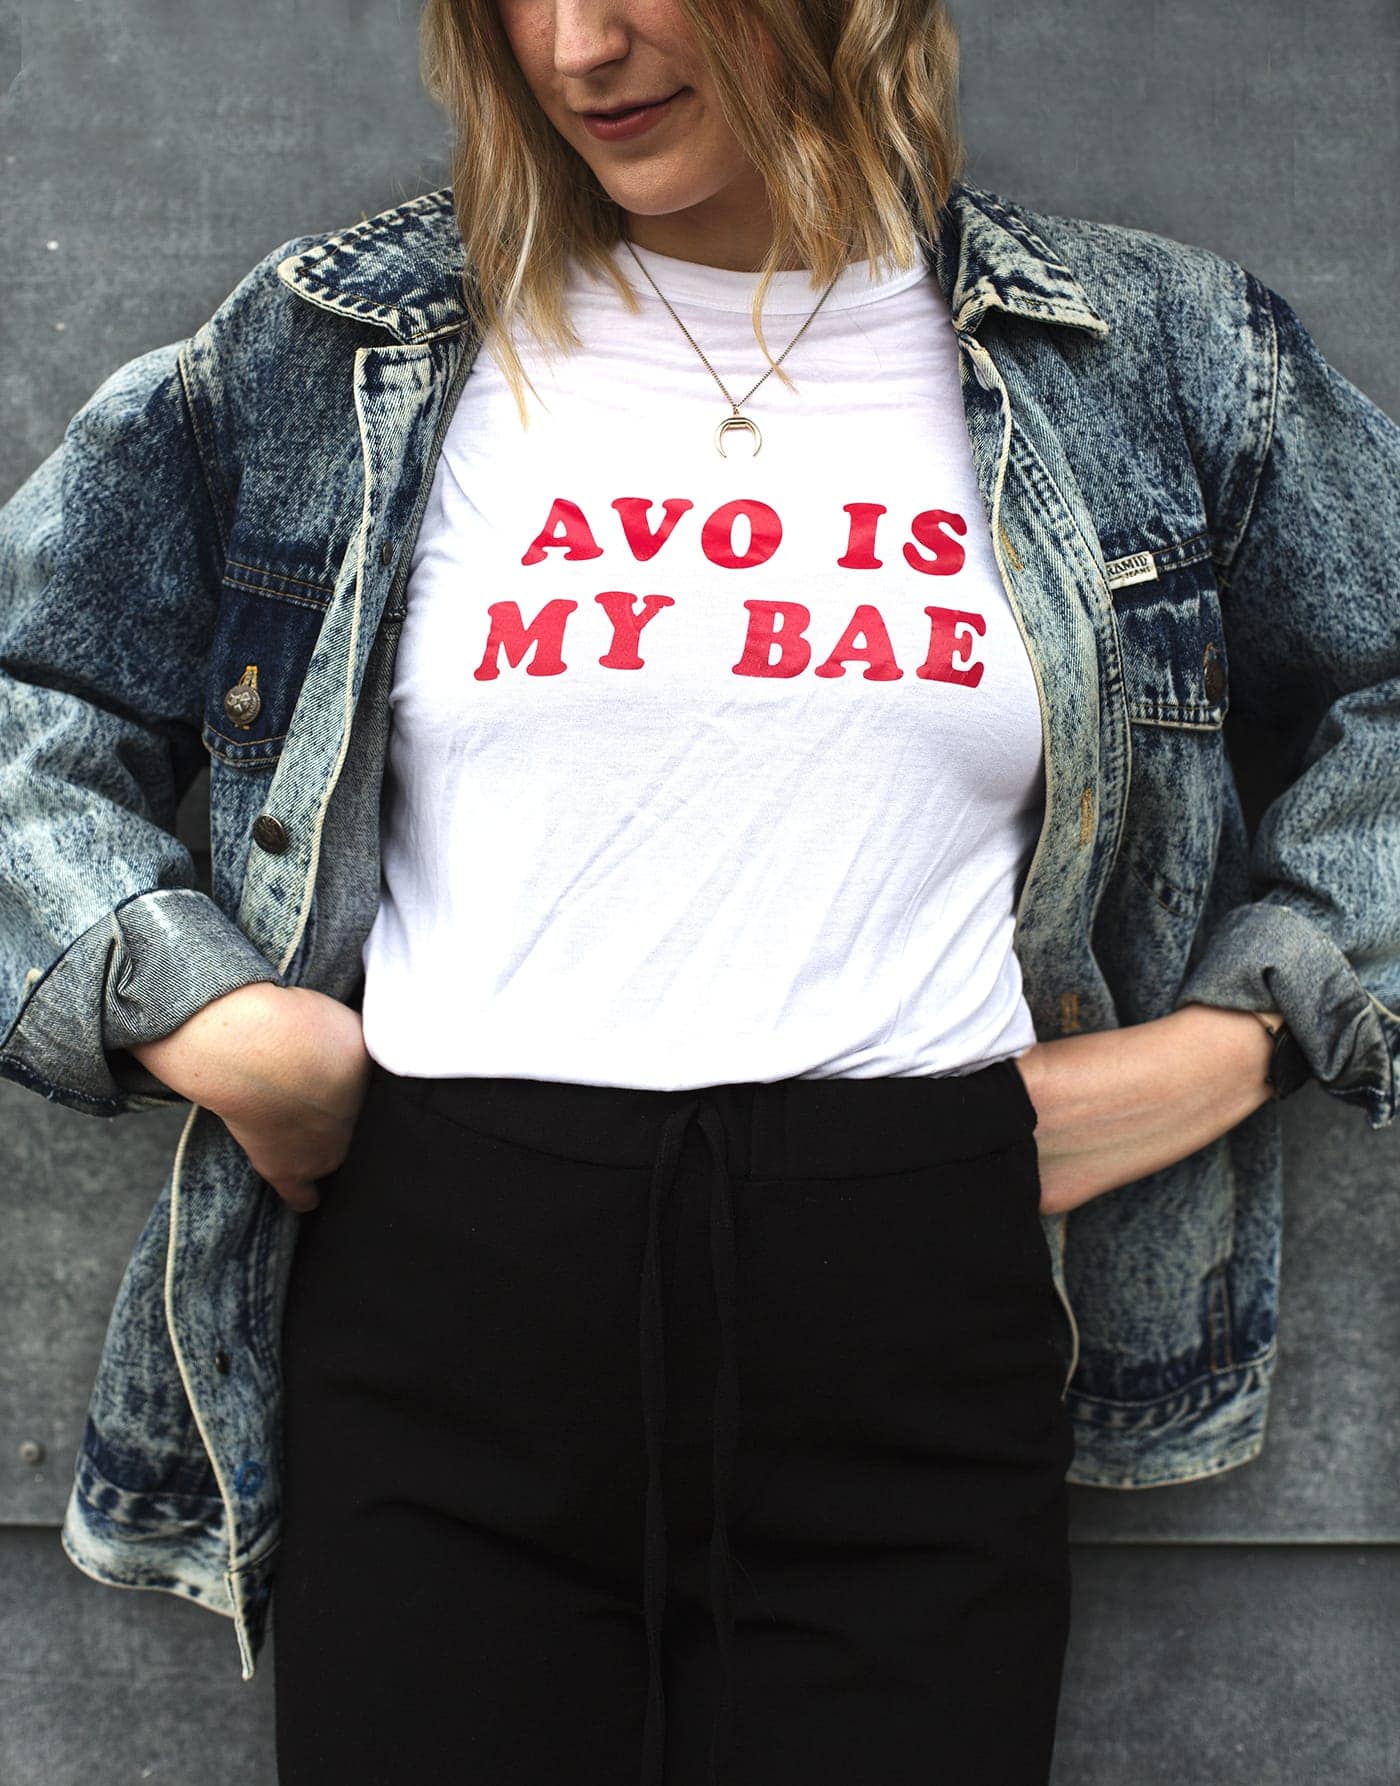
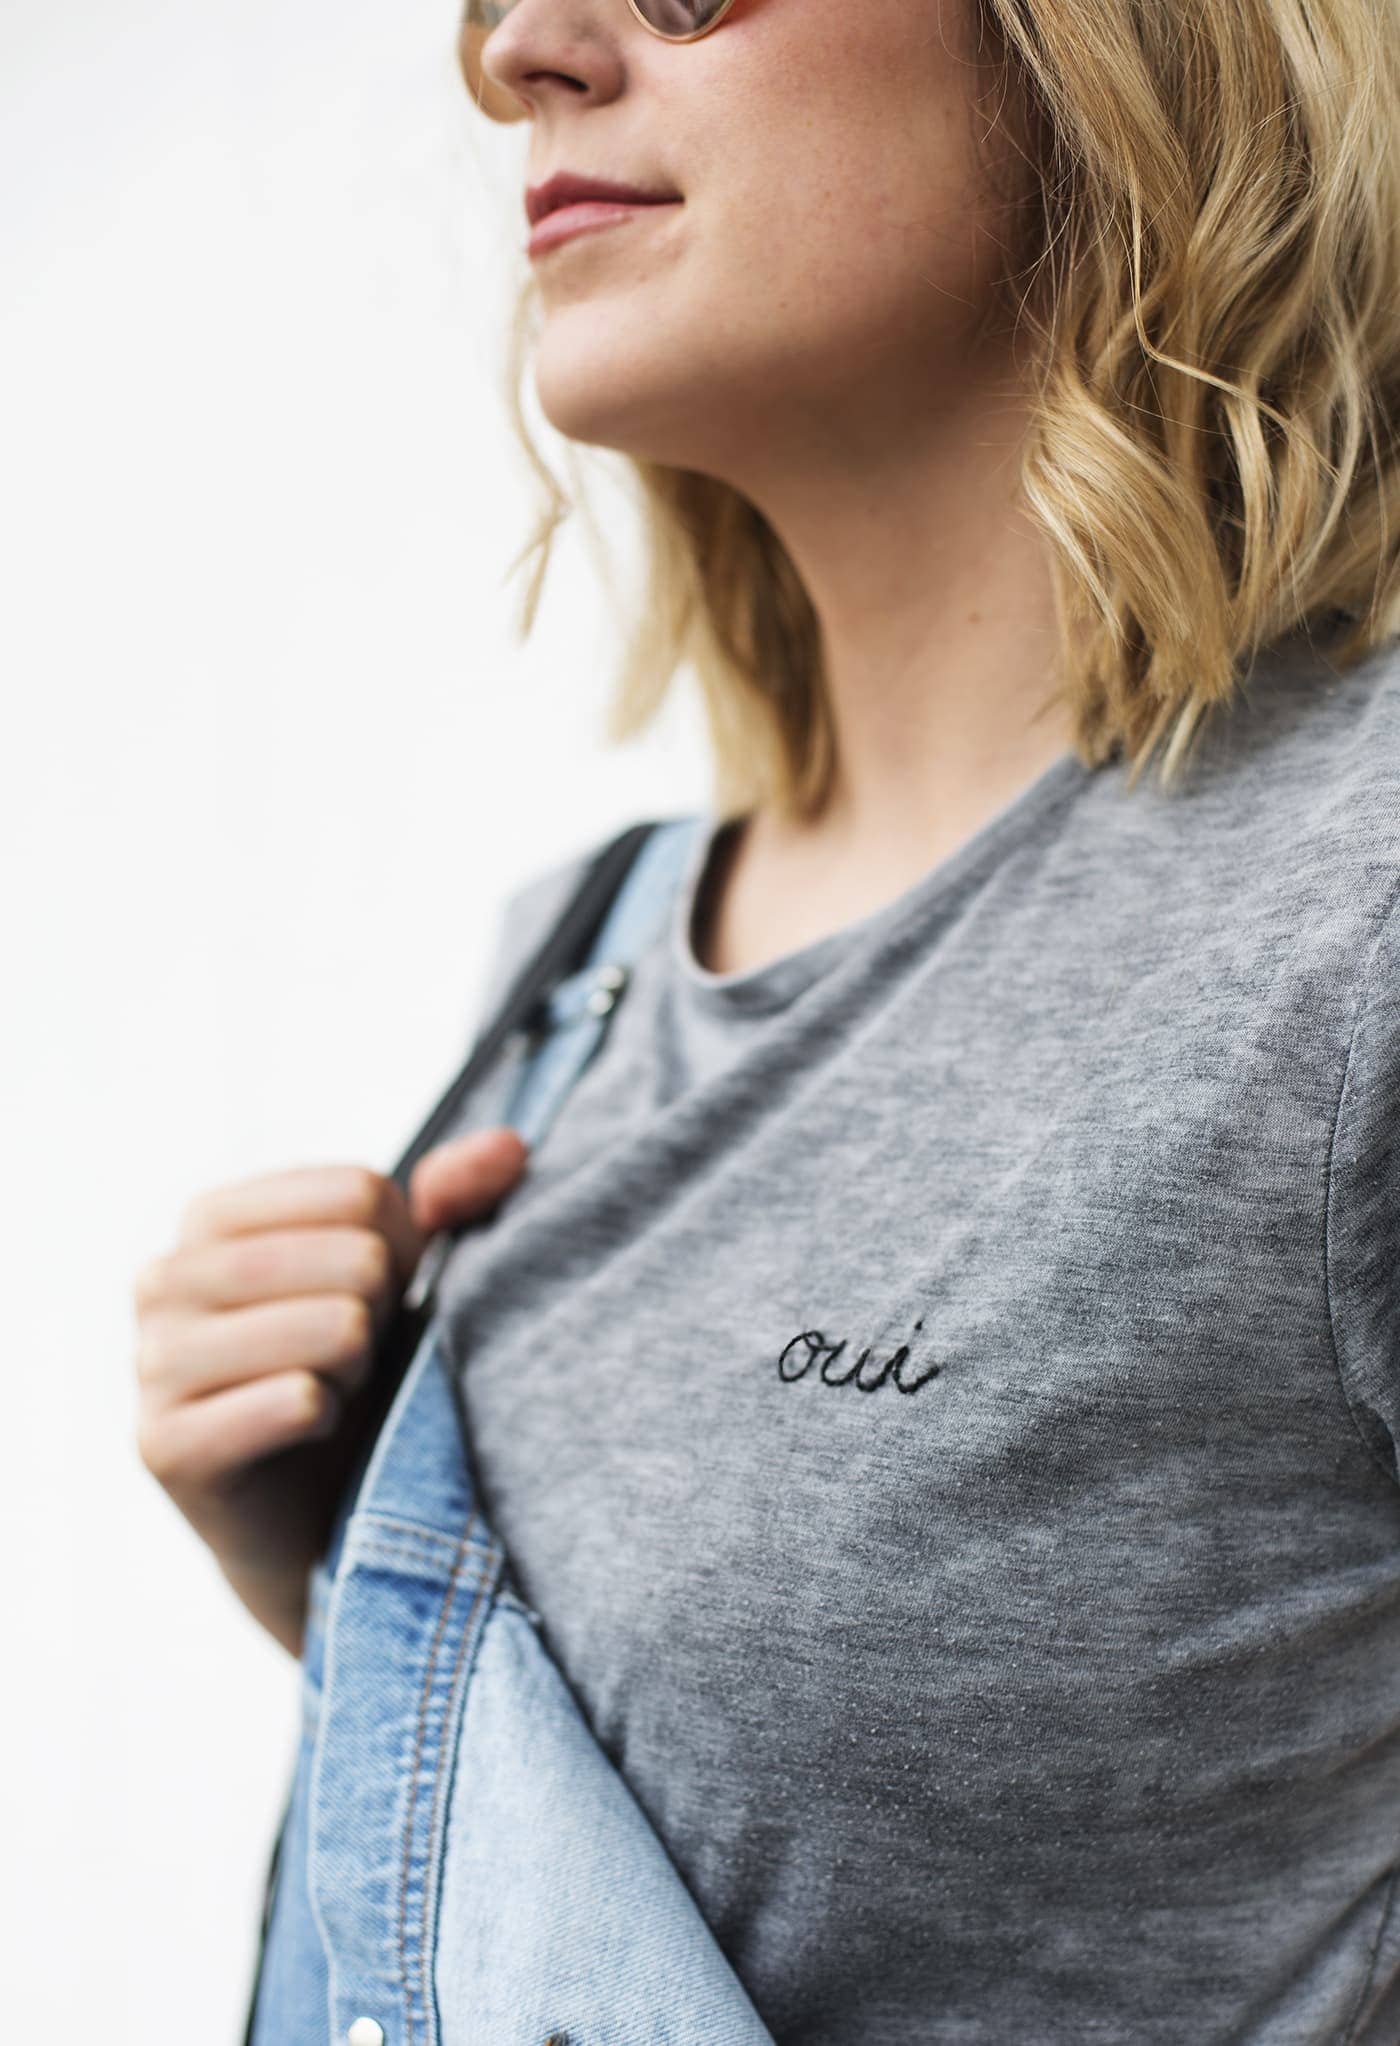
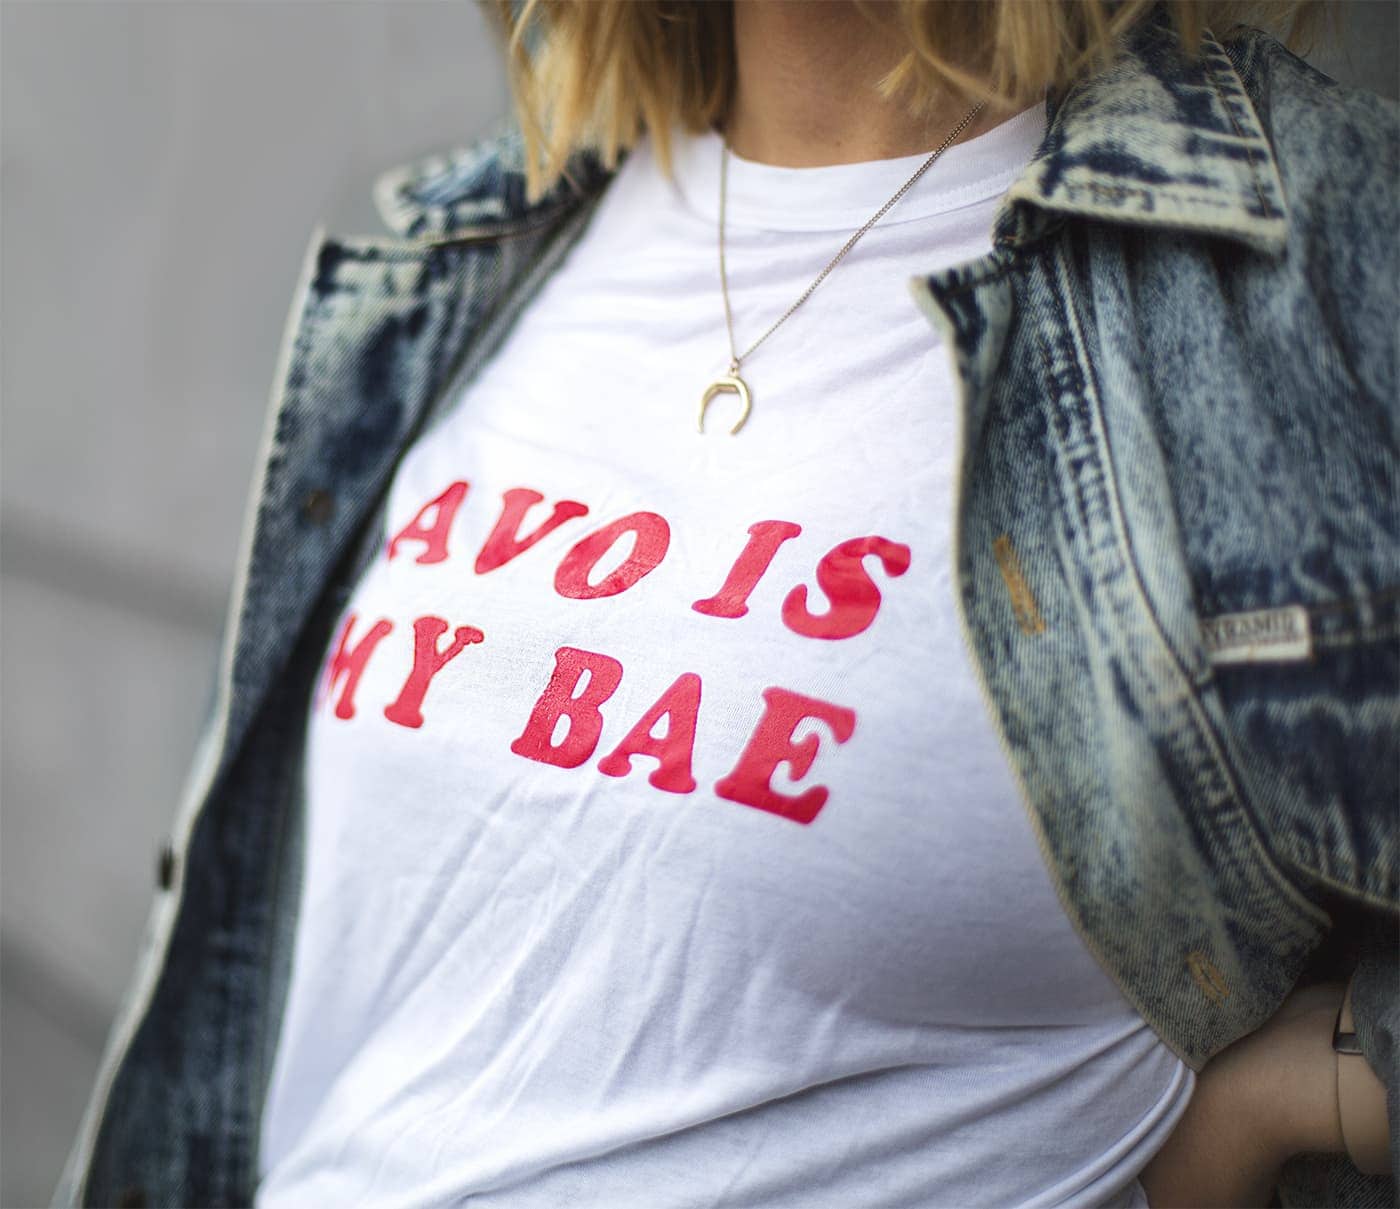
DIY Red Transfer Slogan Tee

Materials:
- Plain white T-shirt
- Red iron on alphabet
- Scissors
- Iron
- Ruler might be helpful
- Paper x 2
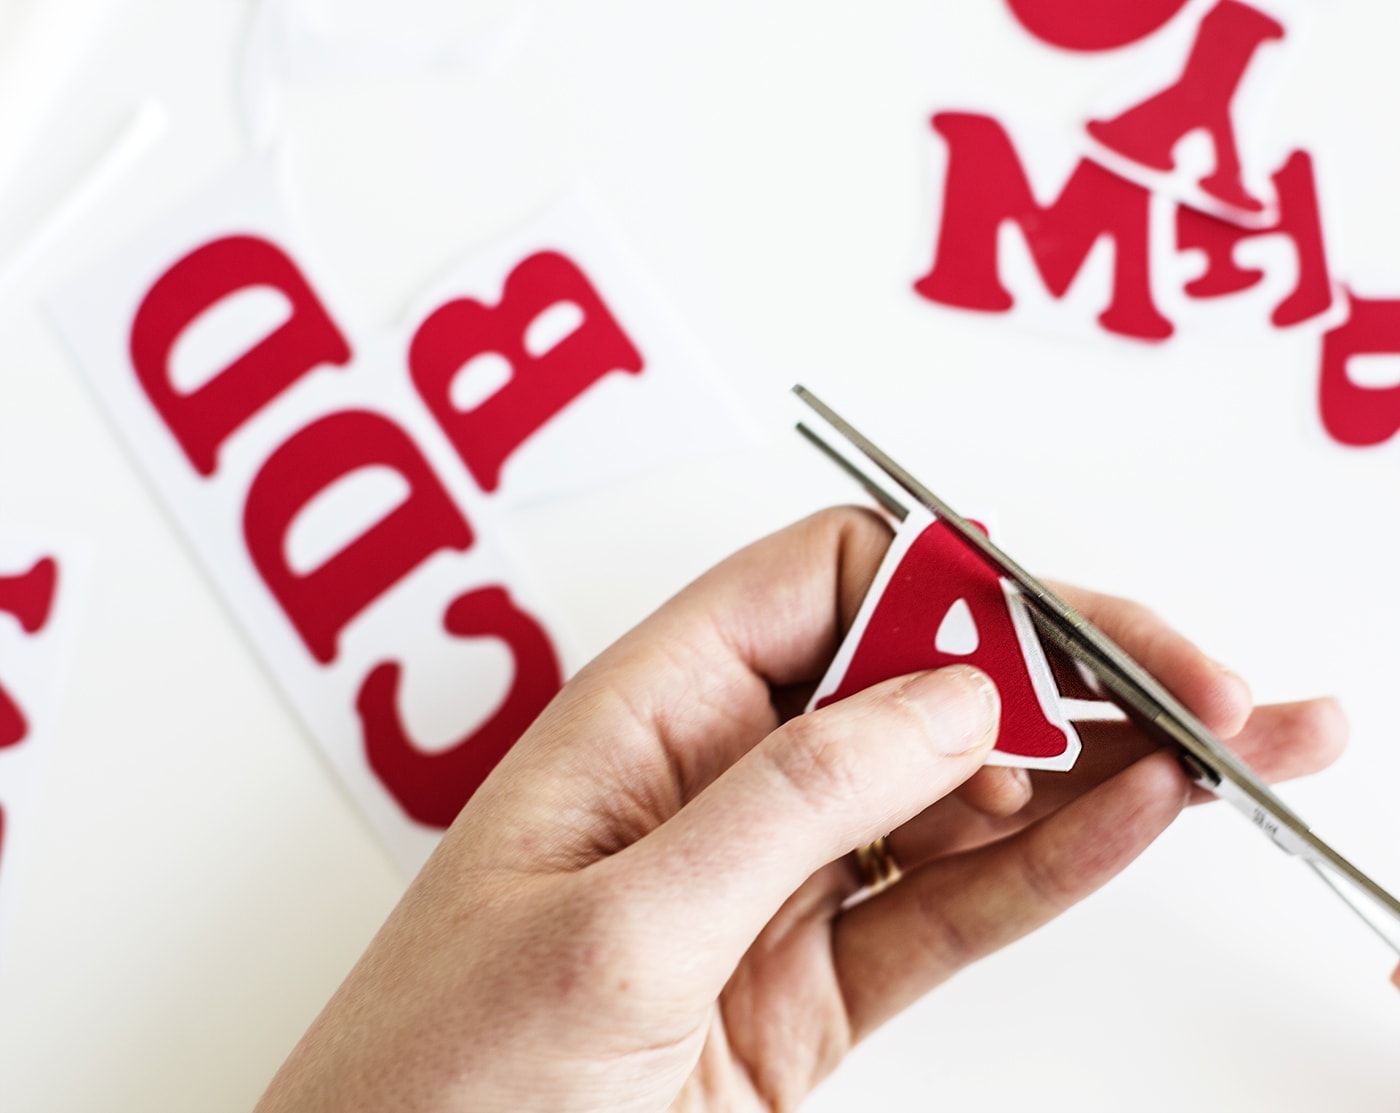
Start by cutting out the letters you need to make your phrase. Be careful to check you’ll have enough of each letter in a pack before ordering. Cut roughly around the outline so you can visualise the placement better but don’t cut right up to the colour transfer.
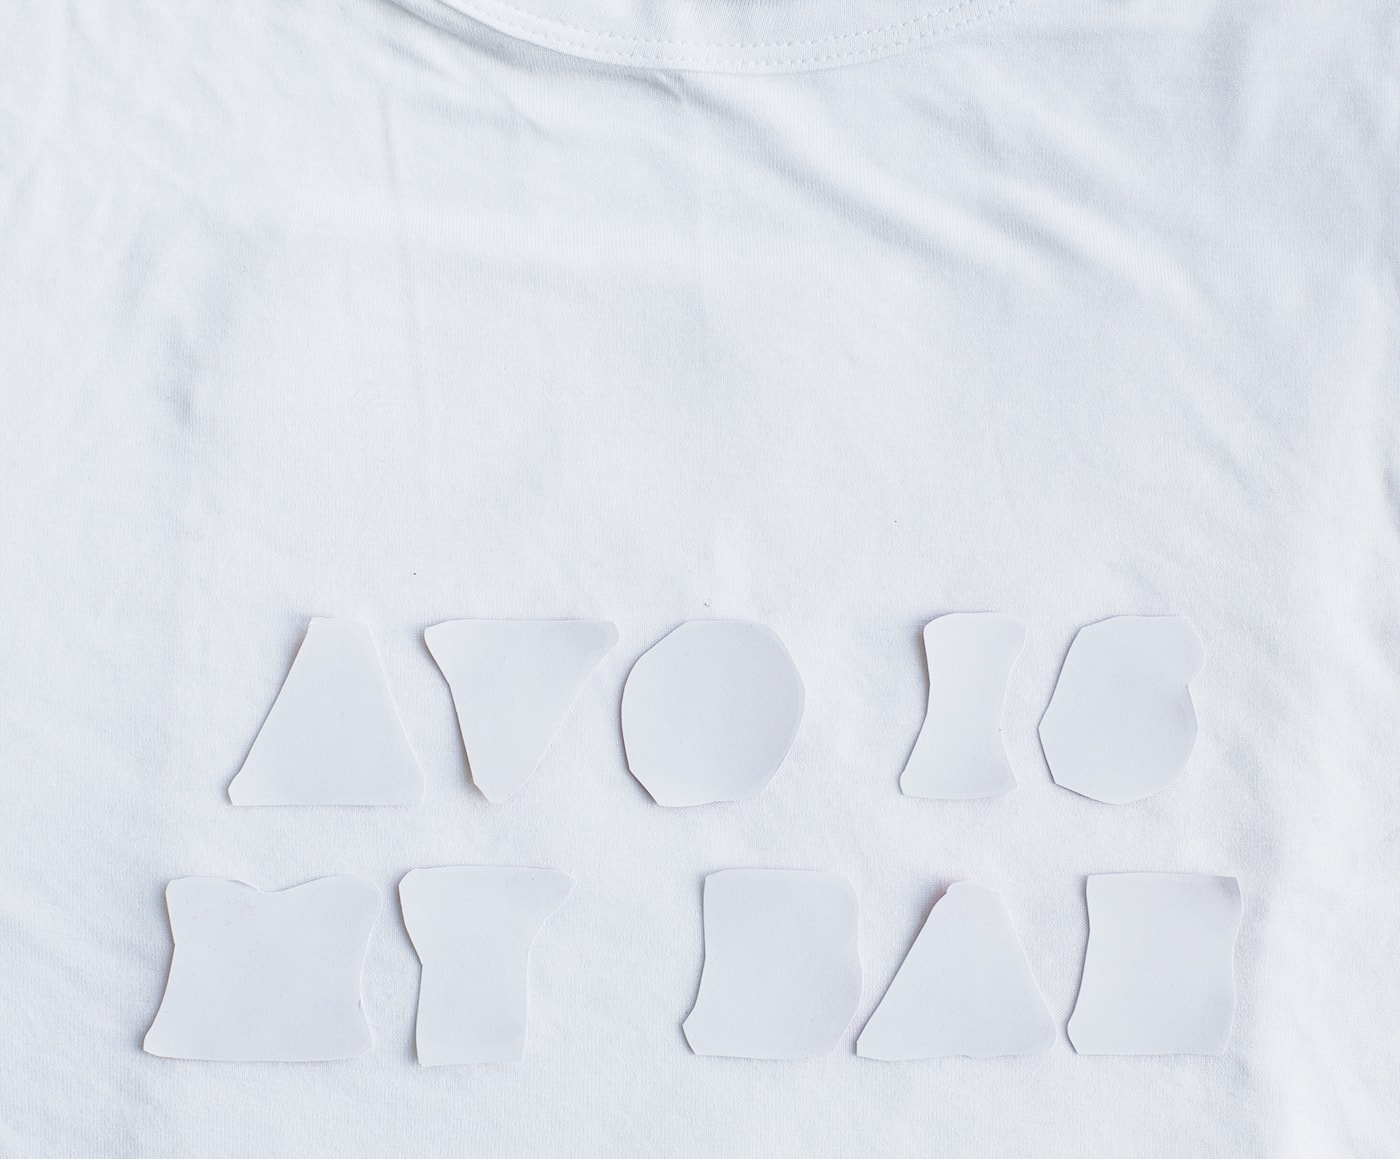
Take one of the pieces of paper and lay this flat inside the T-shirt to protect the other side. Lay your letters out as you want them trying to get the spacing relatively even. This is where a ruler may come in handy to measure in from the edge of the T-shirt or to find the half way point from the neck. These all help to get things looking symmetrical.
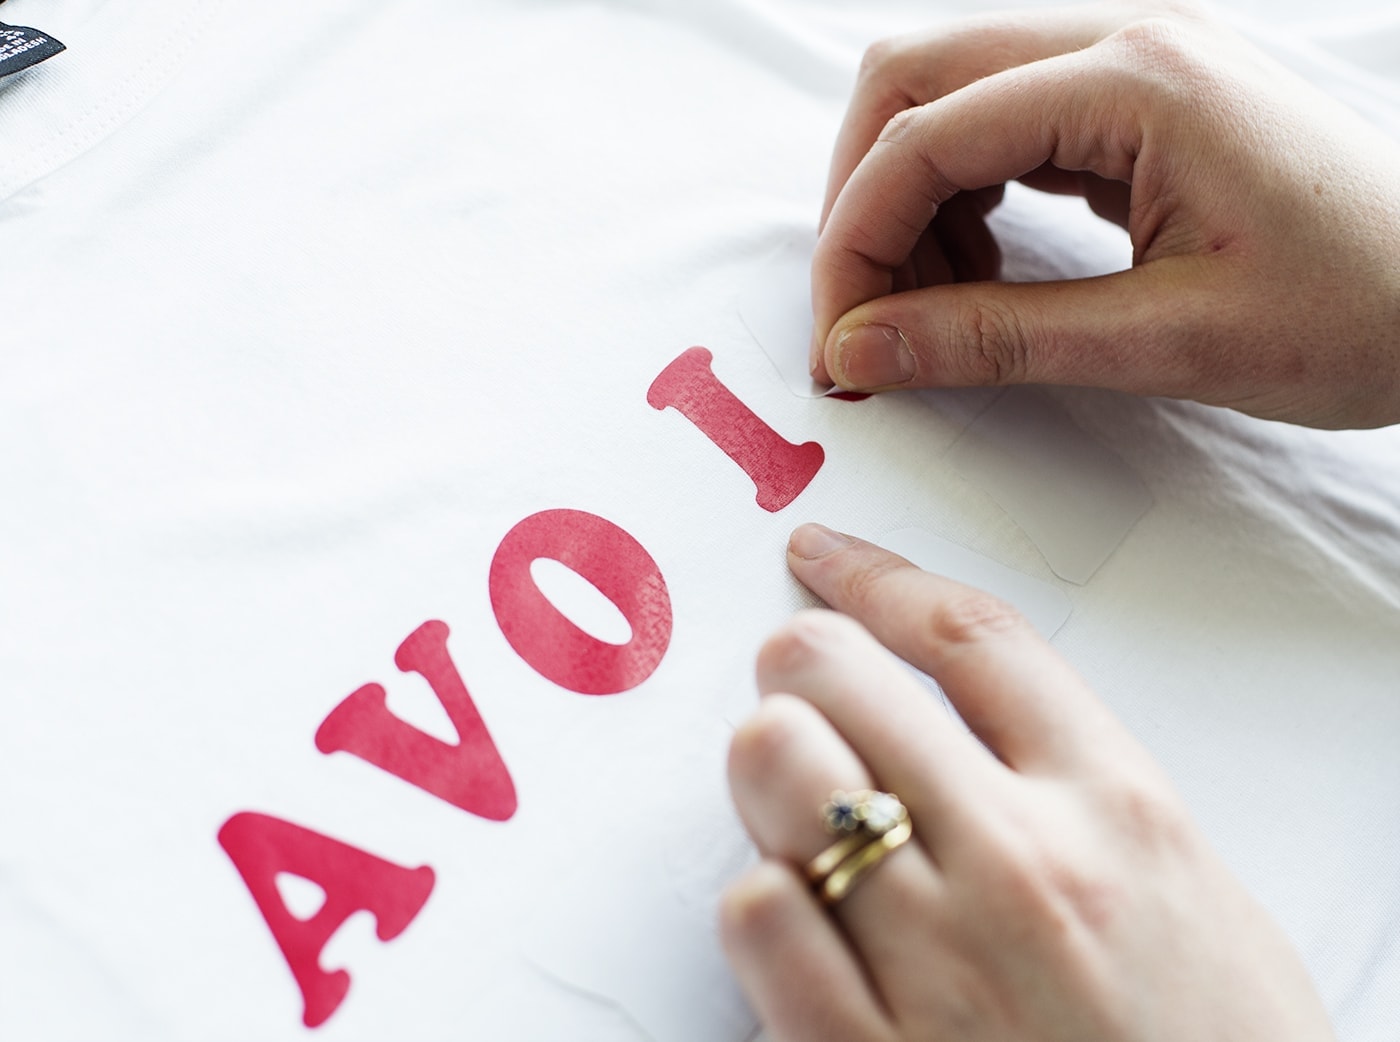
Now heat your iron and on a high heat press down with another piece of plain paper between the iron and the transfers. Leave on for 30 seconds and make sure all of the text has been pressed with the heat, even if you need to do it in stages. Leave until the letters have cooled completely and then gently peel off the backing to reveal the letters. If the backing feels hard to get away then don’t use force, just apply more heat with the paper in between, making sure not to heat up any of the letters that no longer have backing paper attached.
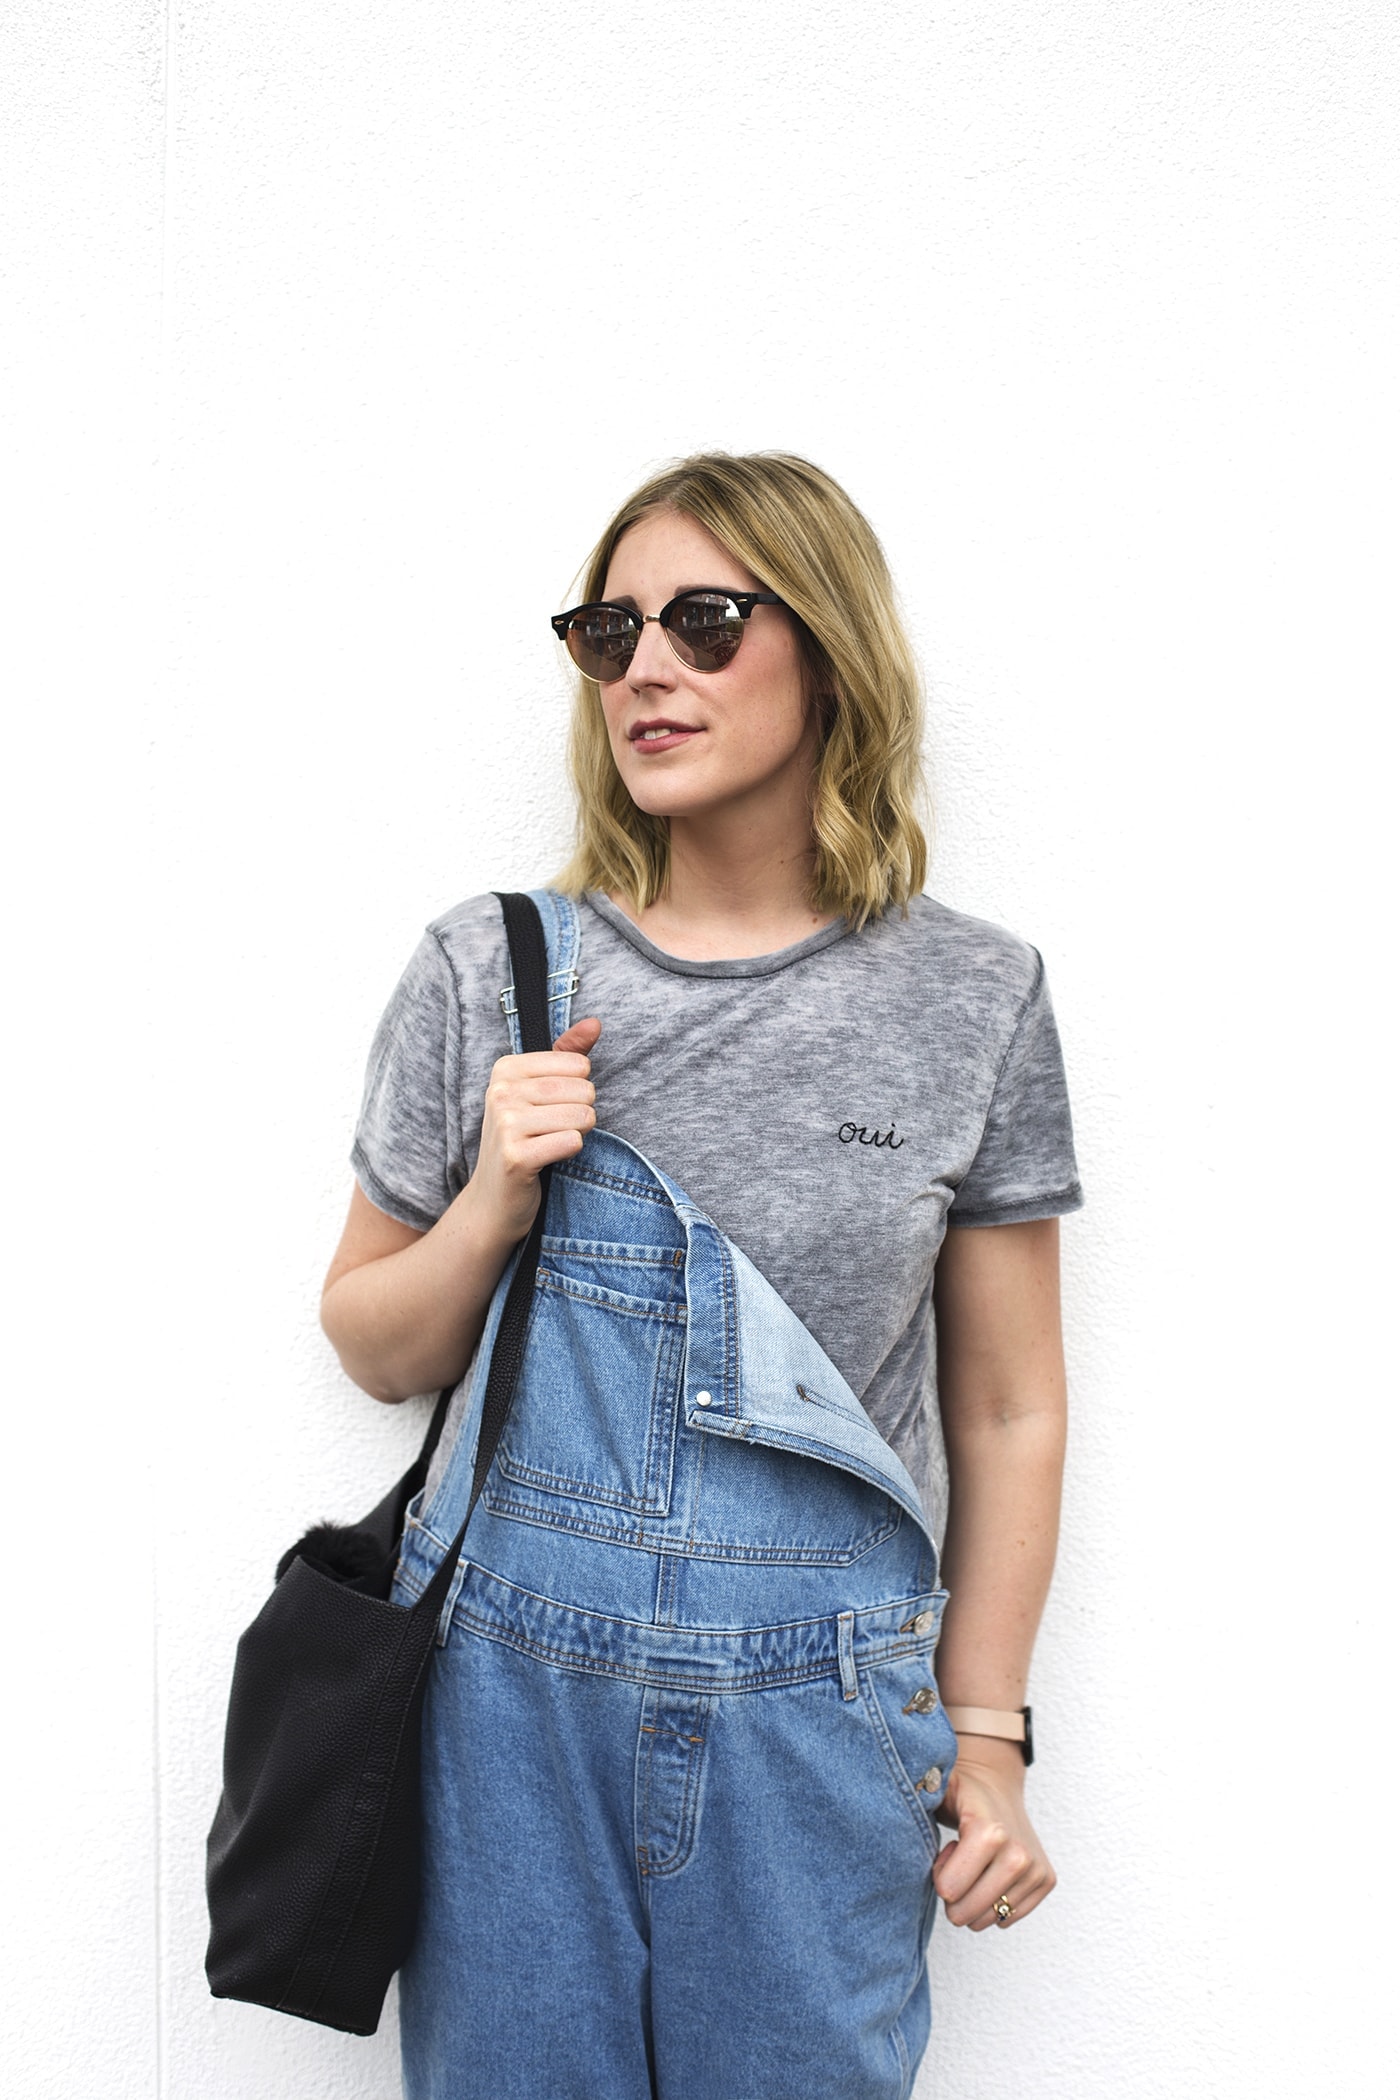
DIY Personalised Embroidered
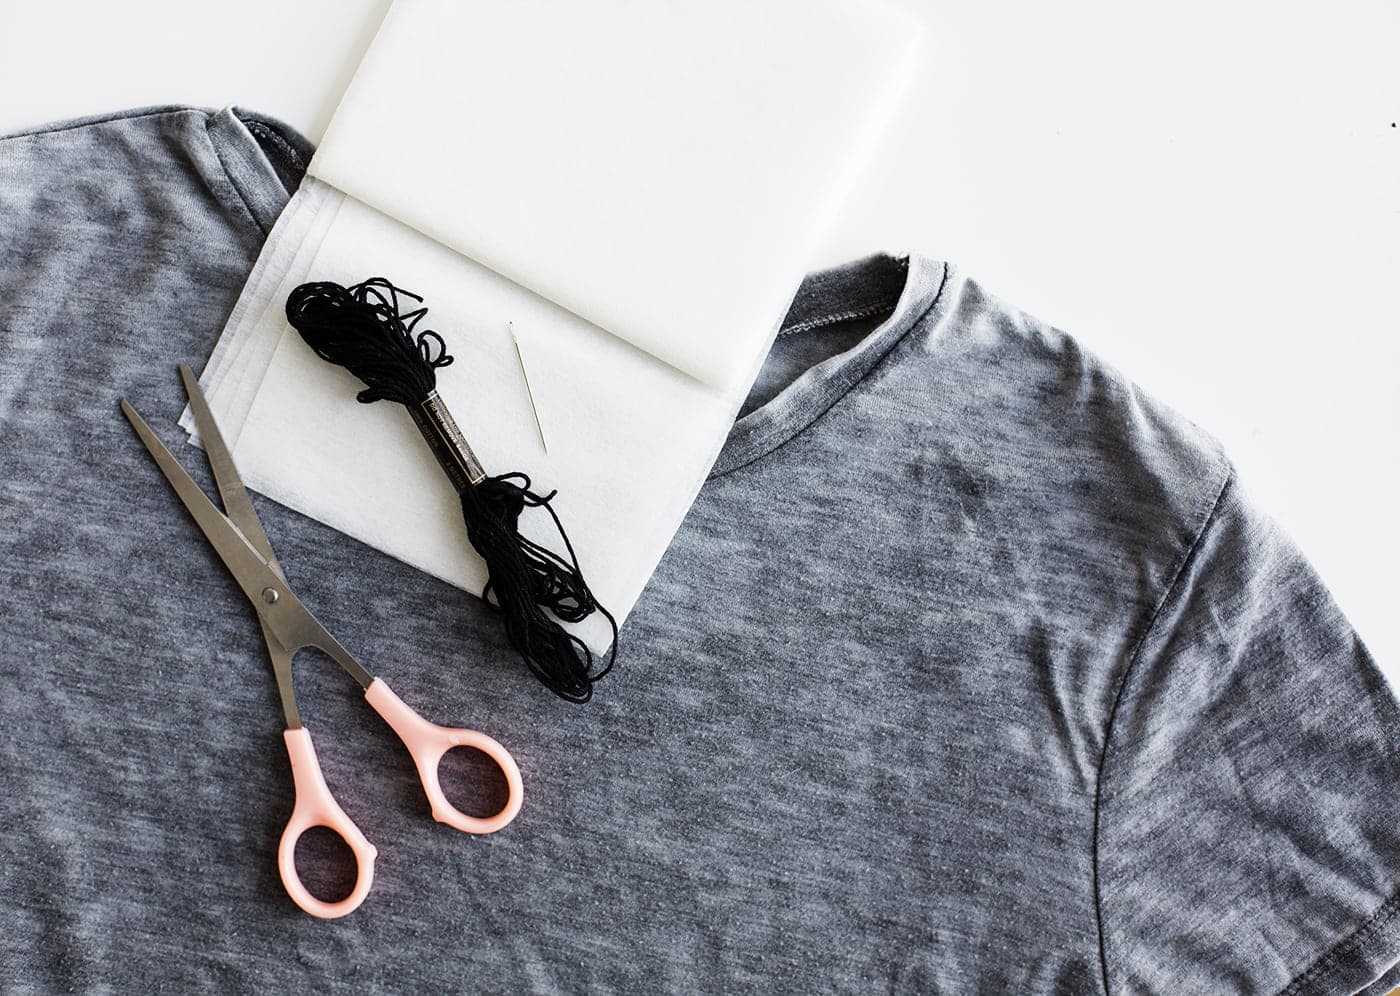
Materials:
- Coloured T-shirt
- Embroidery thread
- Needle
- Scissors
- Iron-on-vilene / interfacing square
- Iron
- Pencil
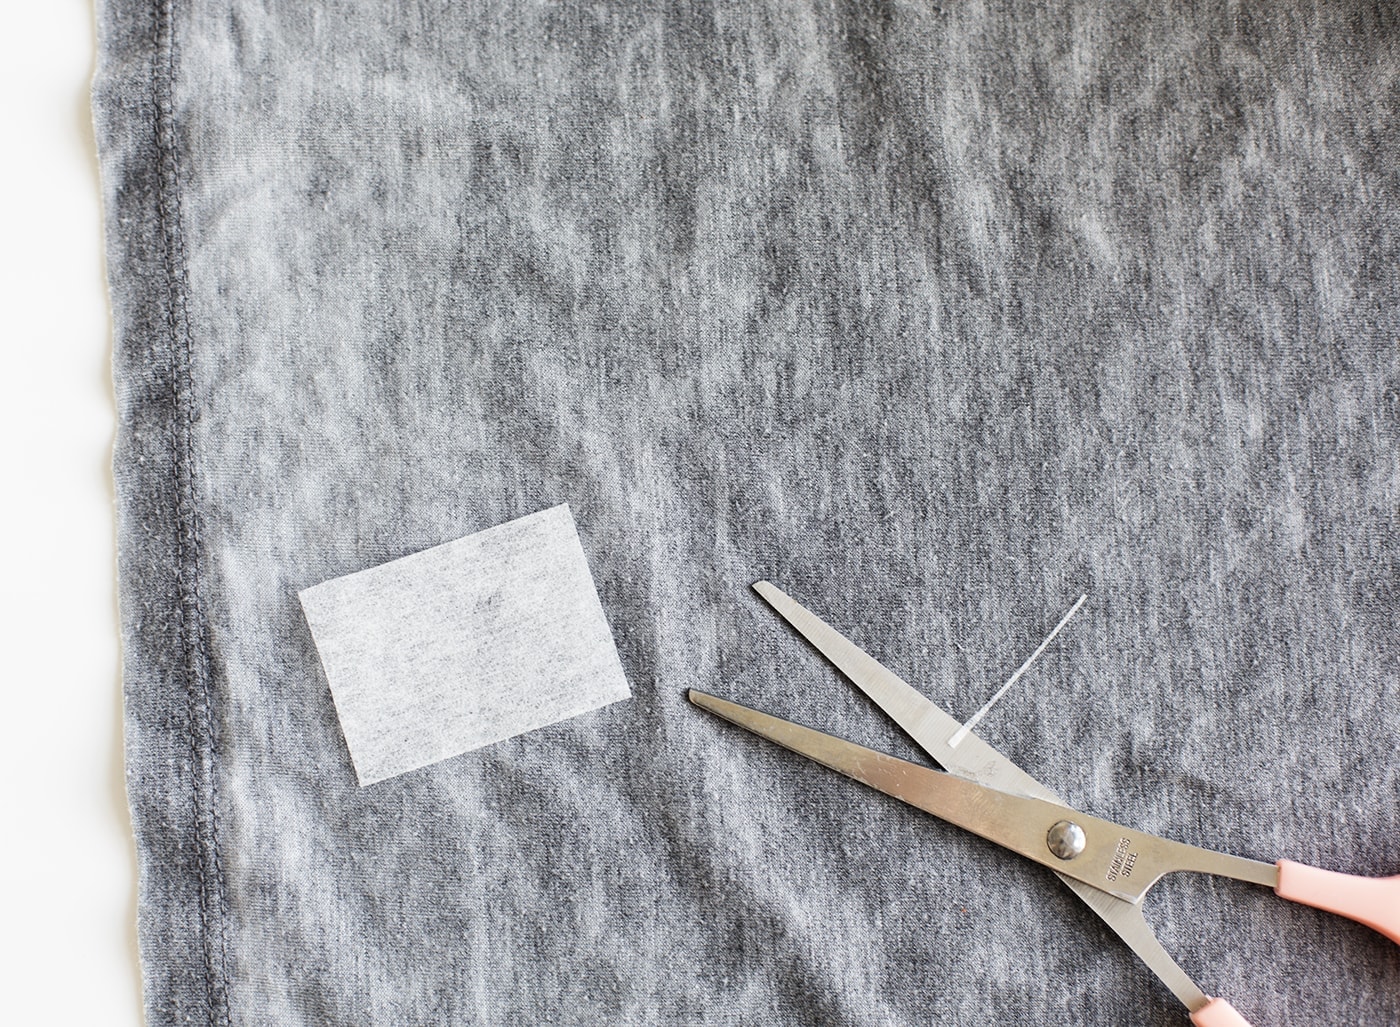
Decide which side you’d like your embroidered word or phrase, cut a small square of the iron-on-vilene, around the size you’d need for your word or phrase.
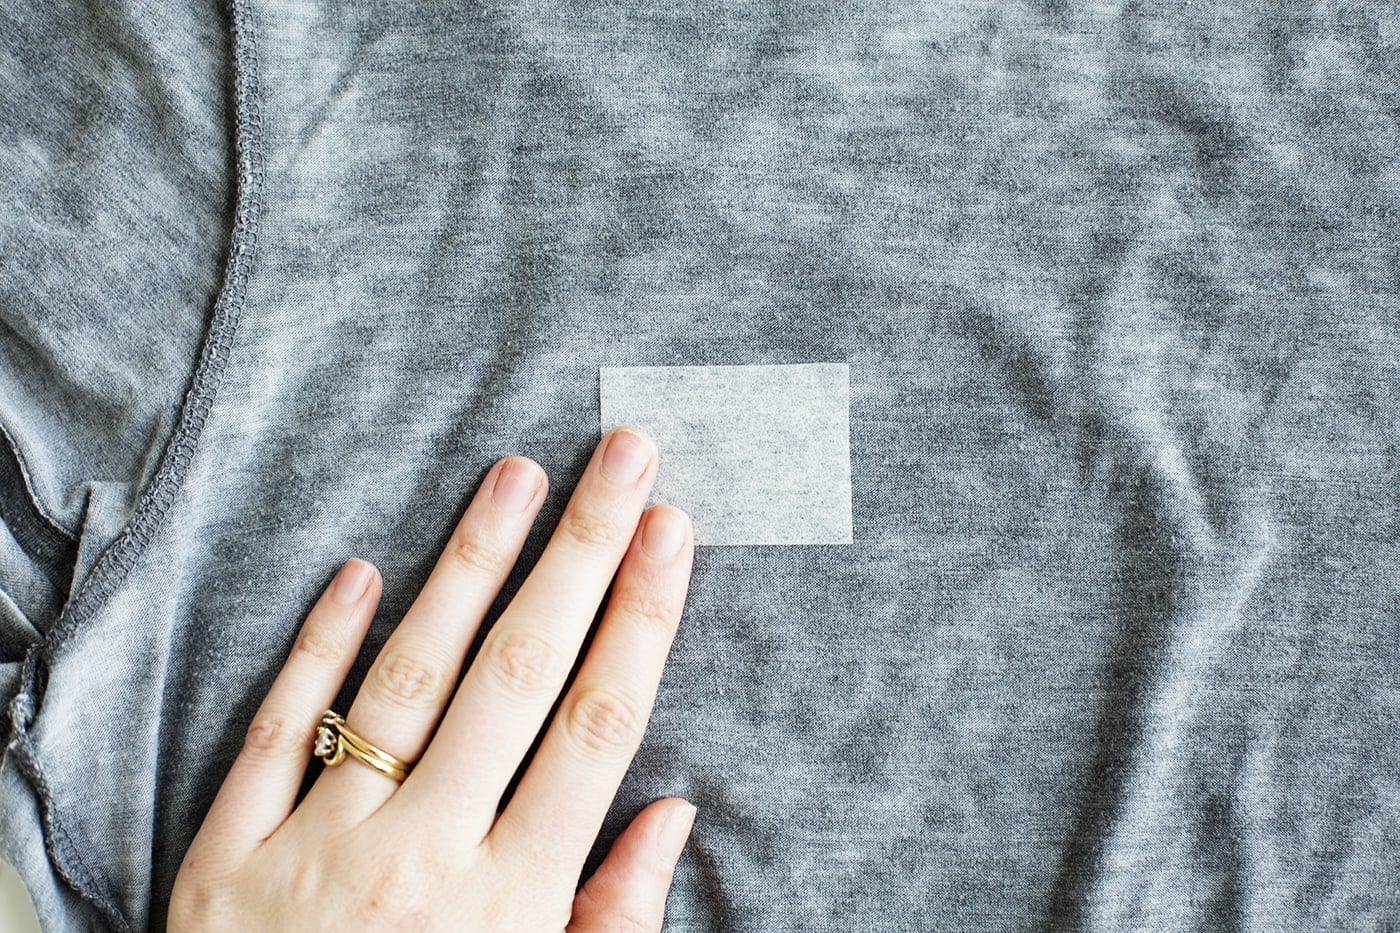
Turn the T-shirt is inside out and find the spot where you want the text to be, remembering it will be the opposite side when the T-shirt is no longer inside out. Make sure the vilene is placed the right way round too. You can tell by holding it up to the light and you’ll see one side has a series of slightly shiny dots, where as the other is matt. The shinier side is the one with glue so the matt side should be facing upwards.
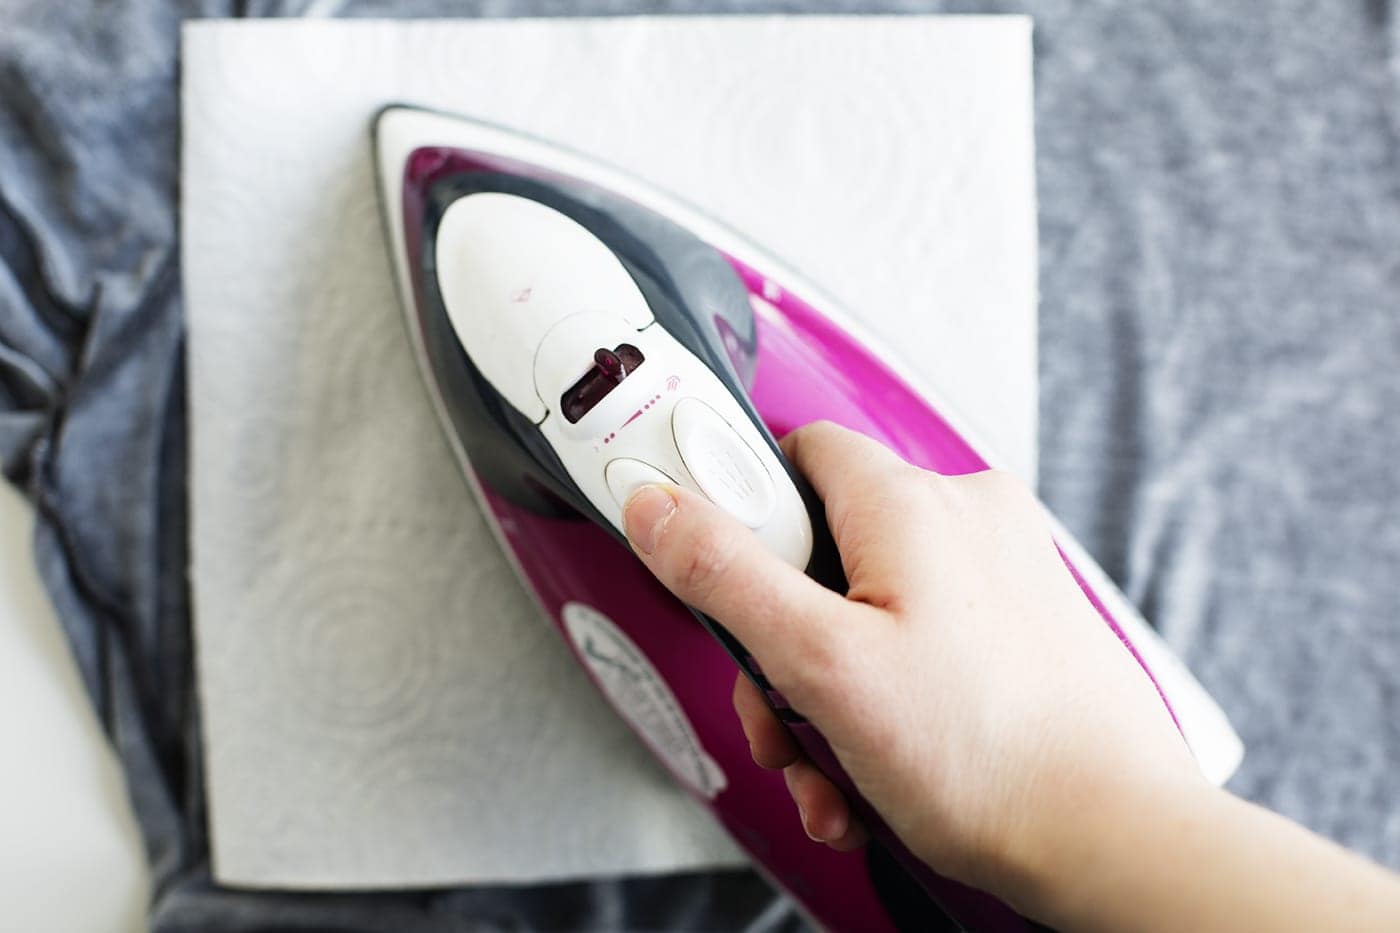
Heat your iron to a high heat and iron on to your chosen spot. You can even use some kitchen roll to be extra cautious.
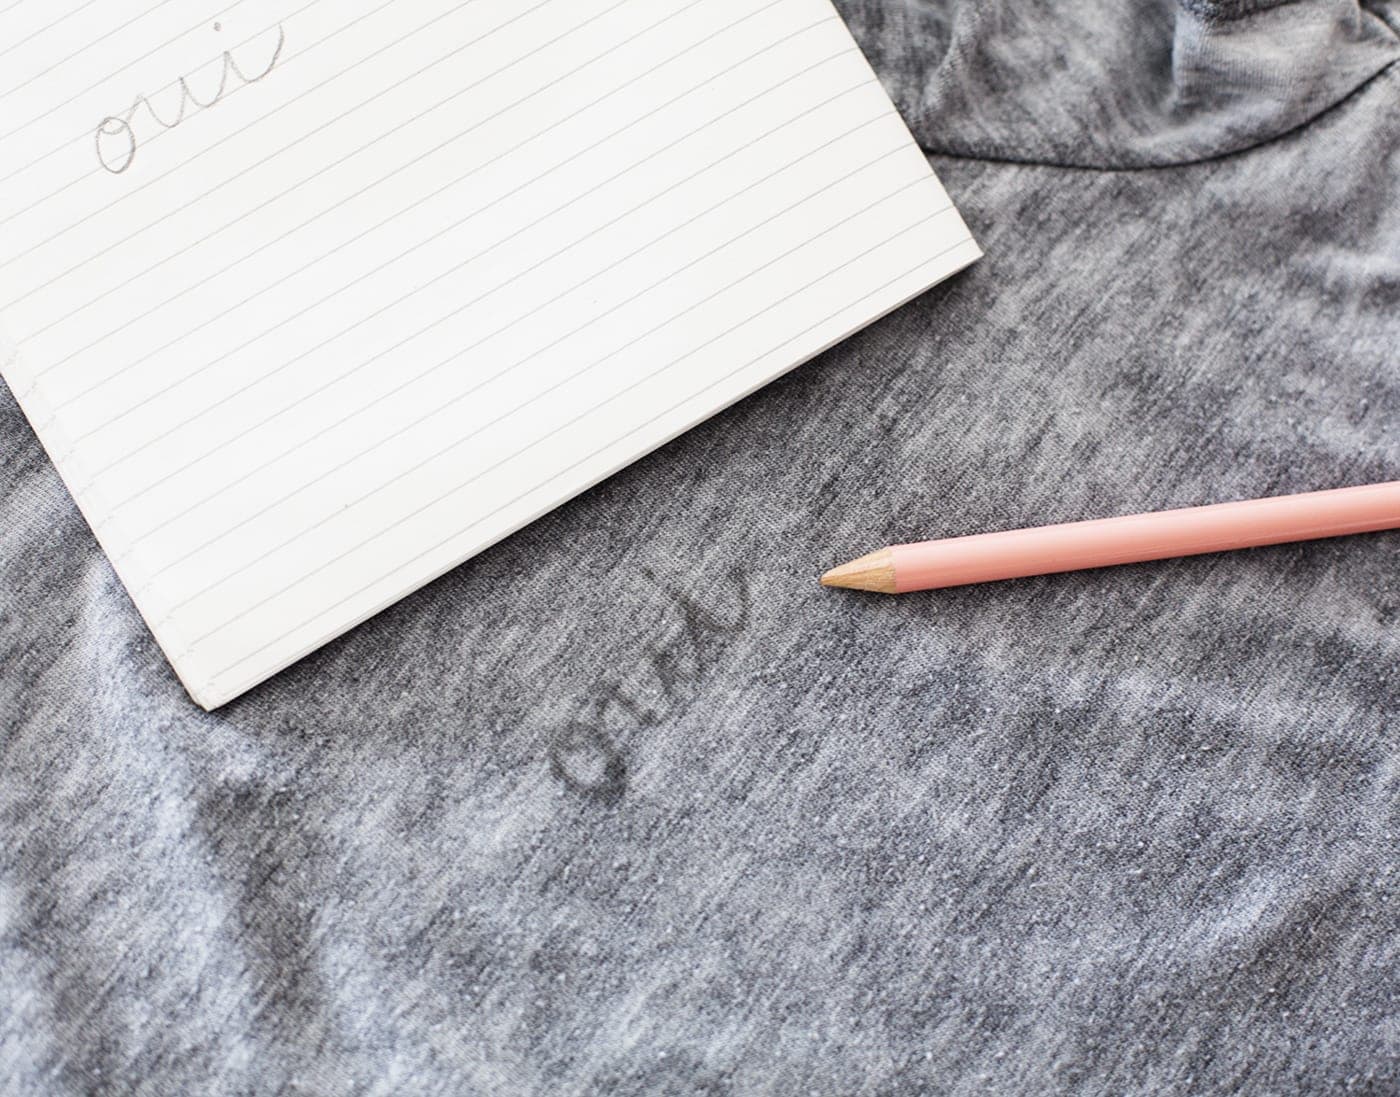
Now turn your T-shirt the right way round and have a feel for where the vilene is. This will provide a slightly stiffer base to sew on, especially as jersey tends to move around a lot. Sometimes it’s a good idea to practise what you want your word or phrase to look like and then once you’re confident you can draw this onto the t-shirt in the right place .
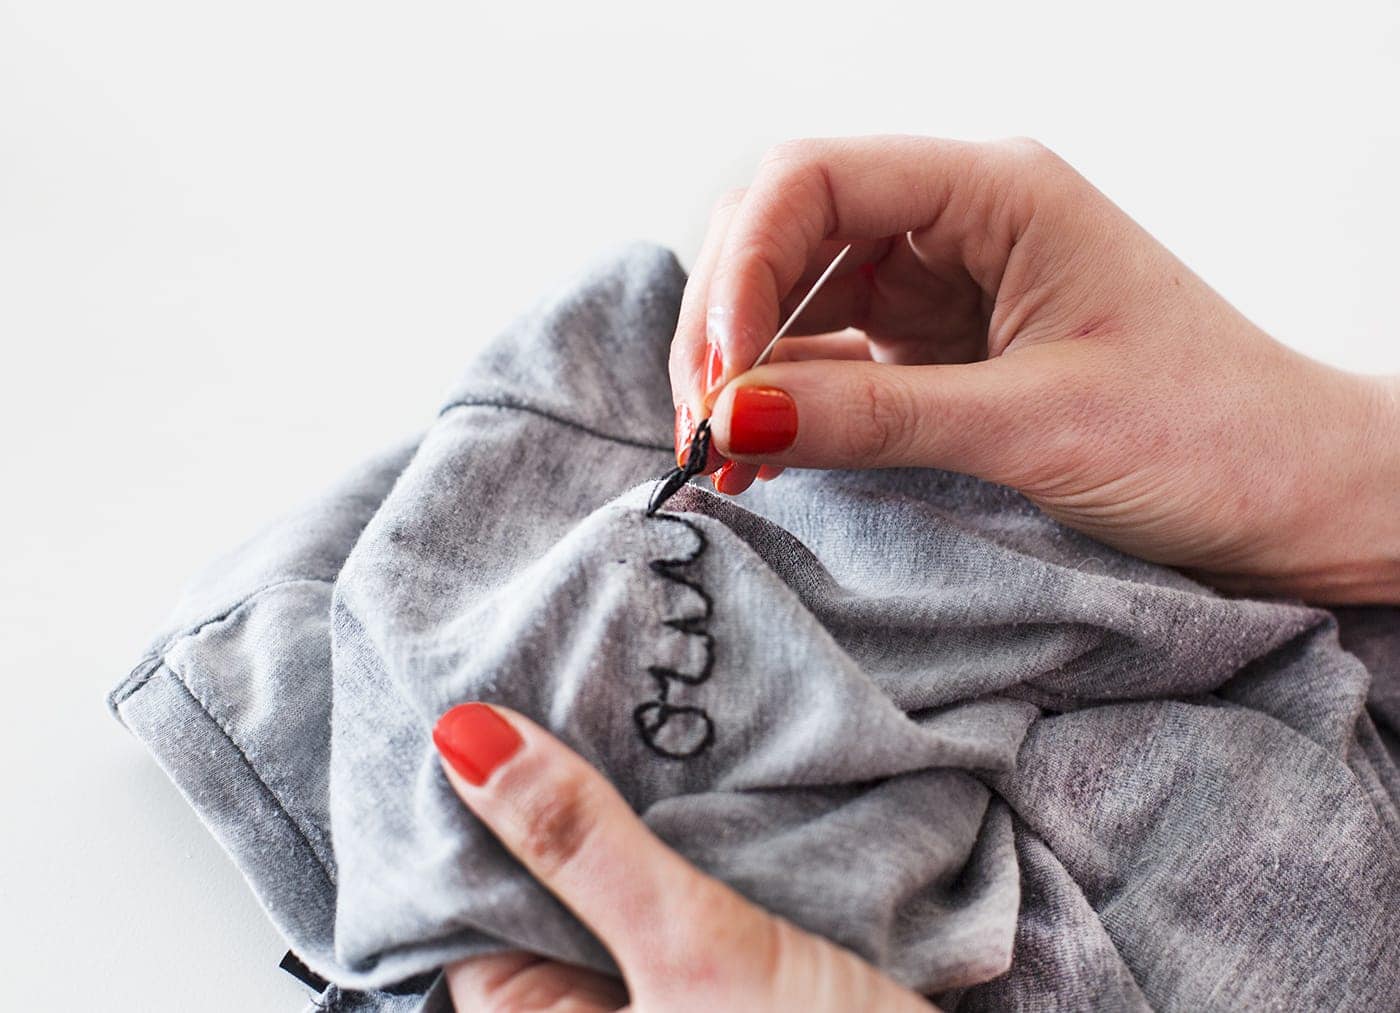
Now use a simple straight, running stitch to follow your pencil line from start to finish. It always helps if the letters are joined so you can continue your stitch all the way along. Tie a double knot on the wrong side at the start and then at the end to finish off. Trim and voila! 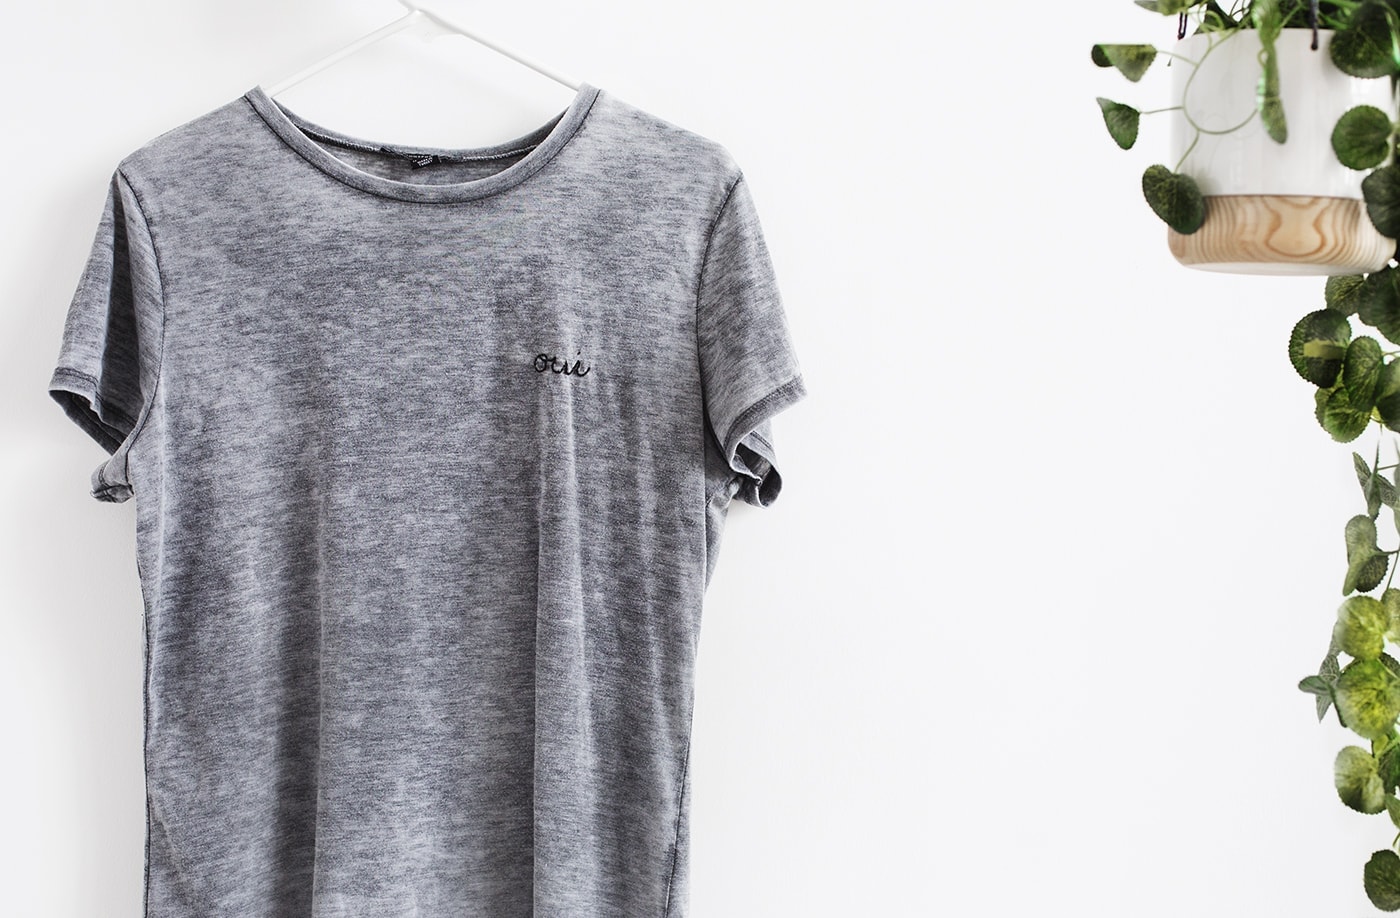
And that’s your simple route to fast fashion at it’s best. Give it a go lovelies and wear your slogans with pride!
You might also like
Meet The Lovely Drawer

Hi, I’m Teri and welcome to my own creative corner of the internet. I blog about interiors, DIY projects, design inspiration and my general life so stick around have a read and say hi.
In the shop
 Quick ViewSelect options
Orchard Days
£20.00 – £25.00
 Quick ViewSelect options
Chicory
£20.00 – £25.00
Work with Me
The Lovely Drawer is an award winning blog with a loyal audience that has grown over the years. I love working with brands small and large on exciting collaborations that can bring products alive in my own signature aesthetic.
