

Bag It Up
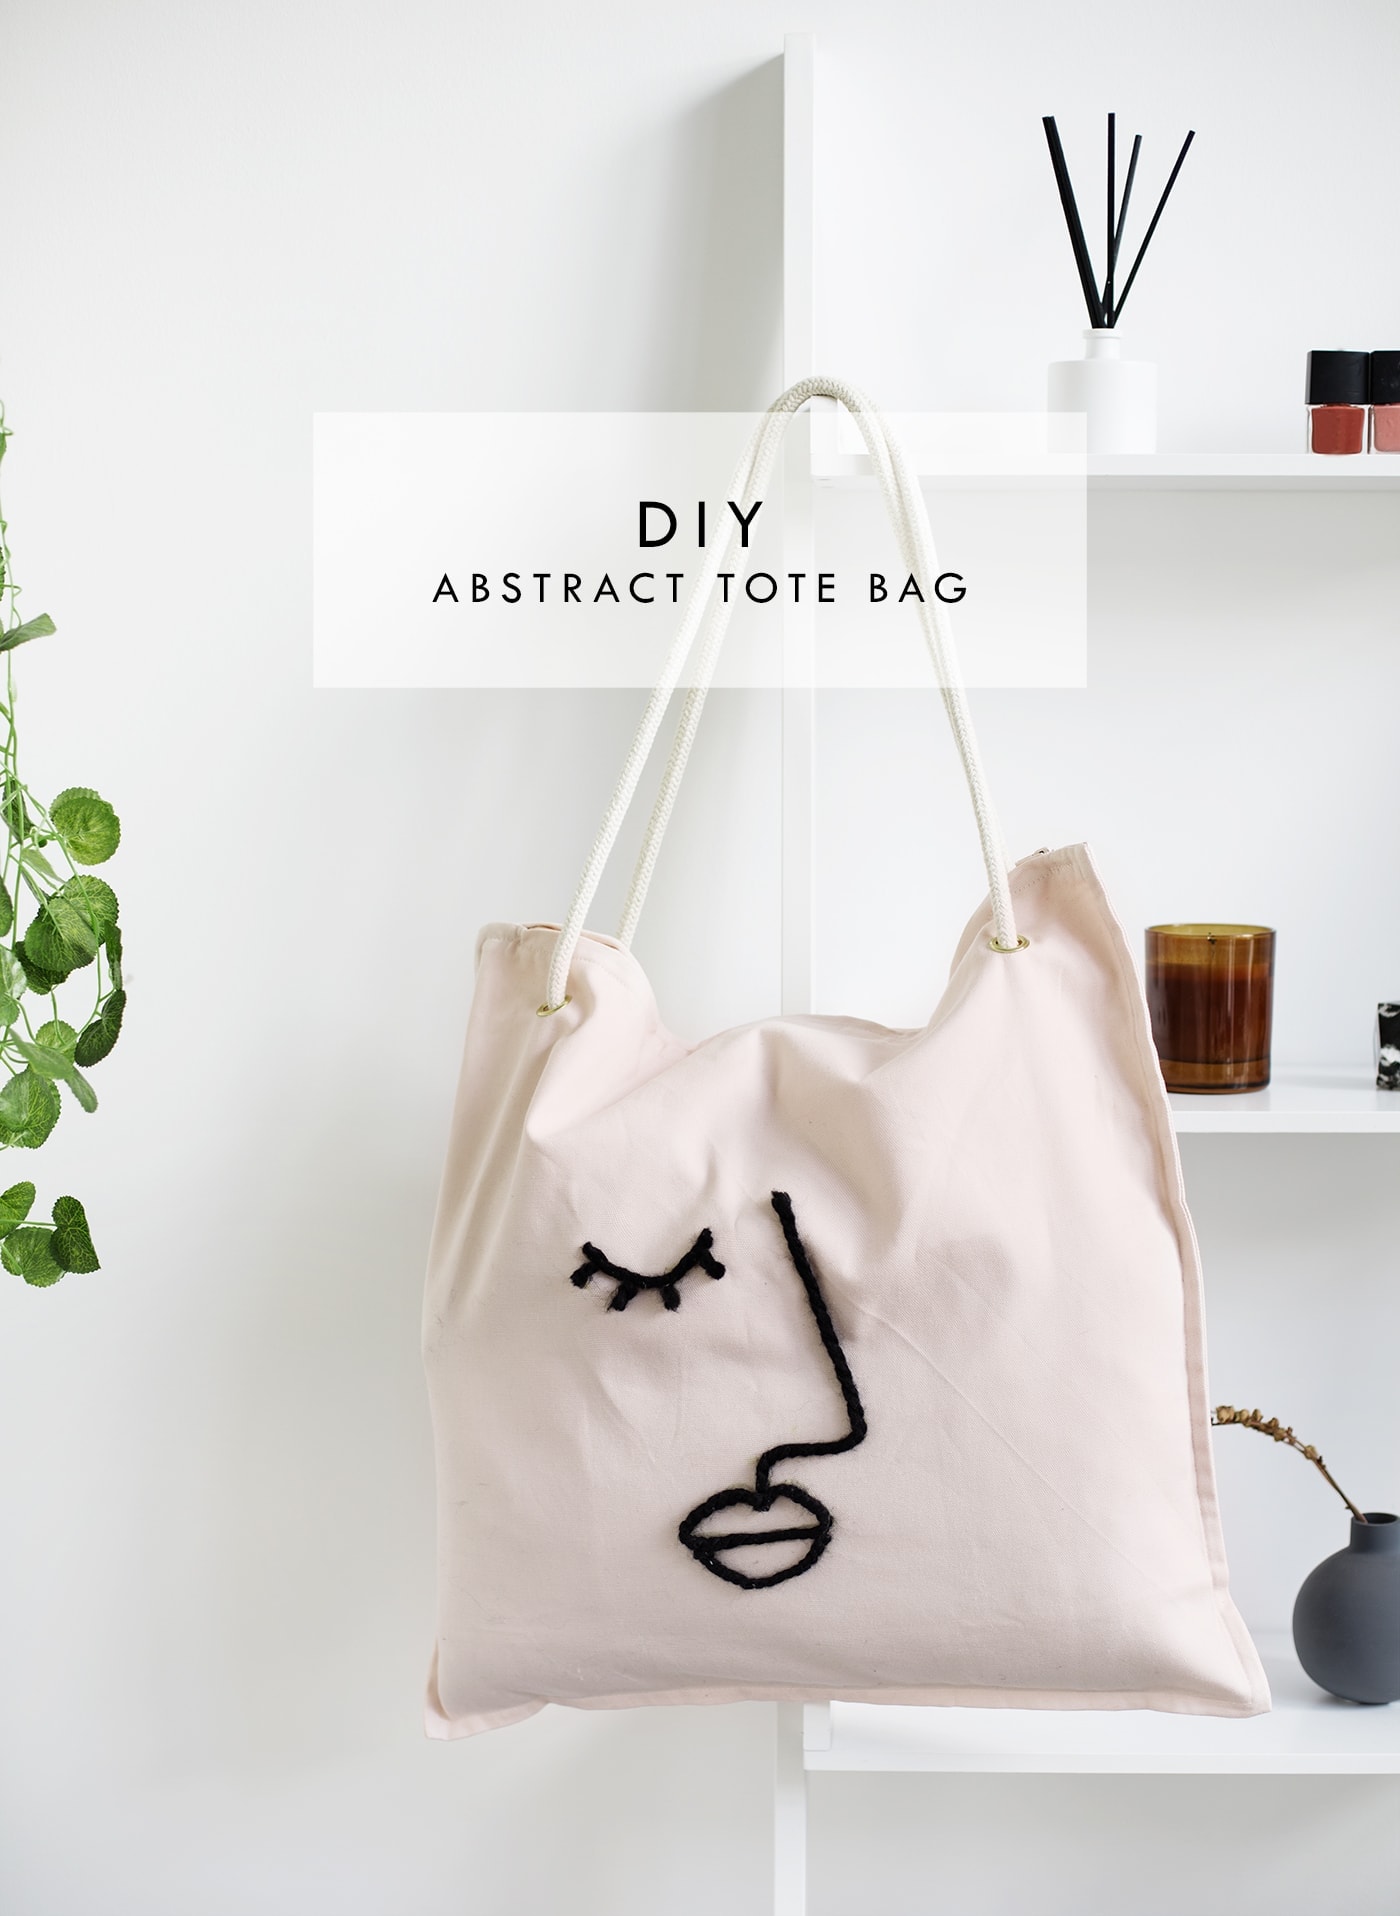
So here’s the thing, I bought a blush cushion cover in Ikea a good 4 months ago, simply because it was the most perfect shade of blush anyone could wish for (not too pink, not too dark) and it was a bargain £3! I wasn’t sure I needed another cushion in my life but I vowed to put it to use in some yet to be decided way.
I stared at it on my desk and realised it was essentially a zipped bag without handles and so that’s what I’ve made it into. I decided I could do with having a more roomy and resilient tote bag for carrying bits of shopping and my postal orders around and with the addition of some rivets, rope, and a fun abstract design, voila! I love that the cushion cover does most of the hard work for you so there’s no cutting, sewing or fitting zips involved!
Materials
- Zip cushion cover
- Chunky black wool
- Roughly 2 metres cotton rope
- Large eyelit punch kit
- Scissors
- Pencil
- Fabric glue
- Sheet of card or old magazine
- Thick, wooden chopping board
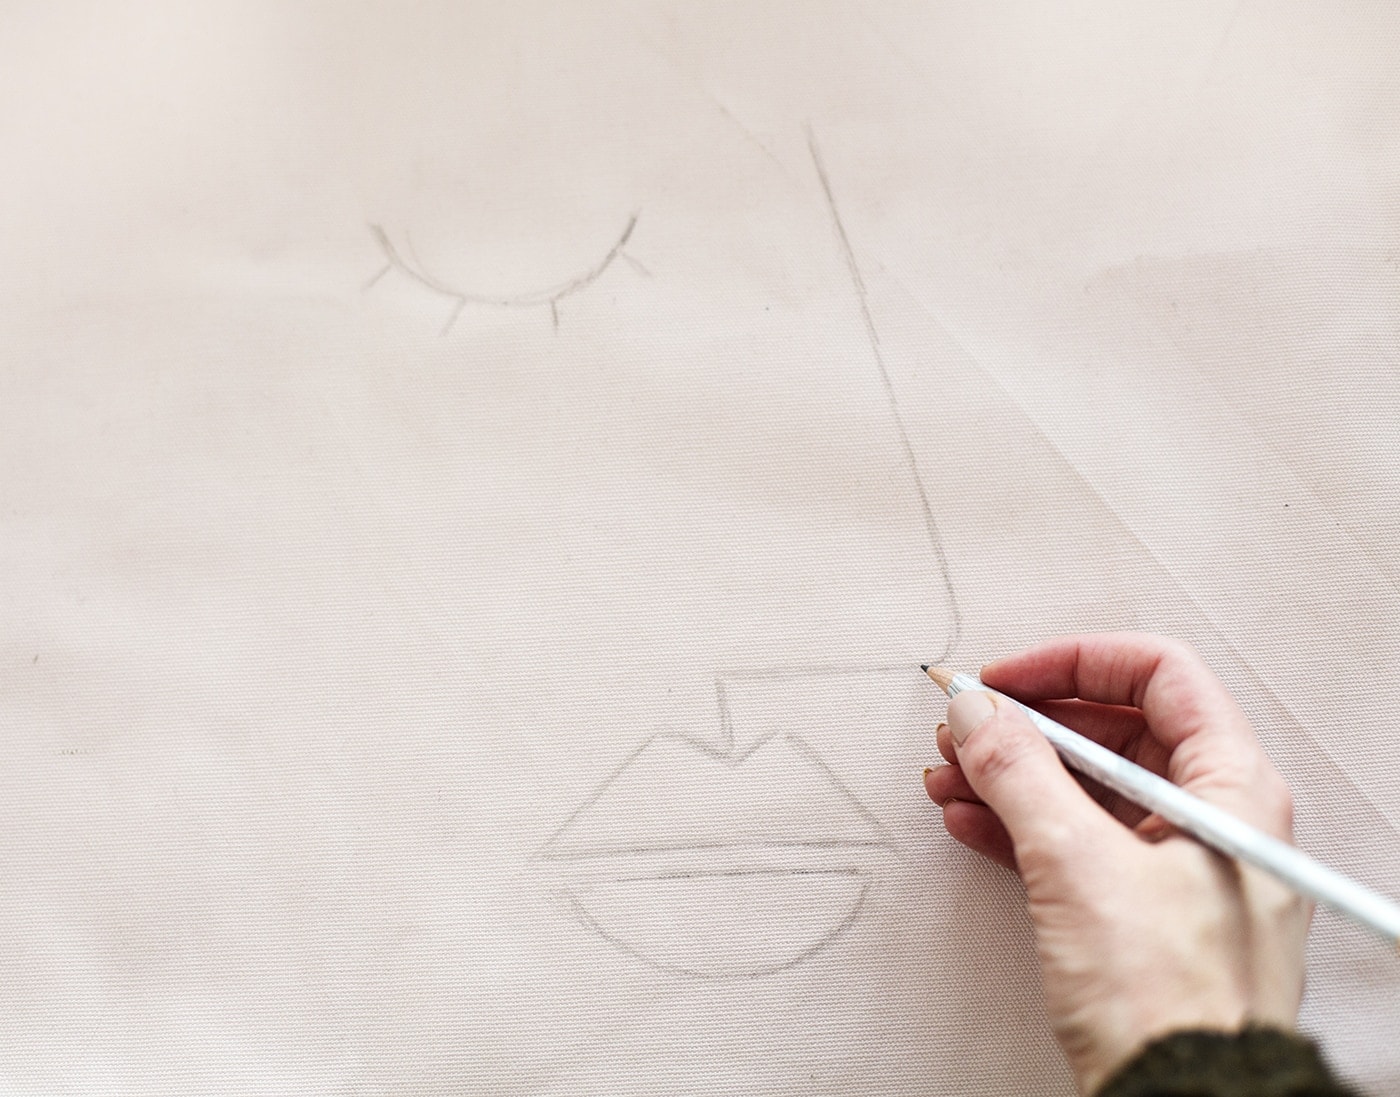
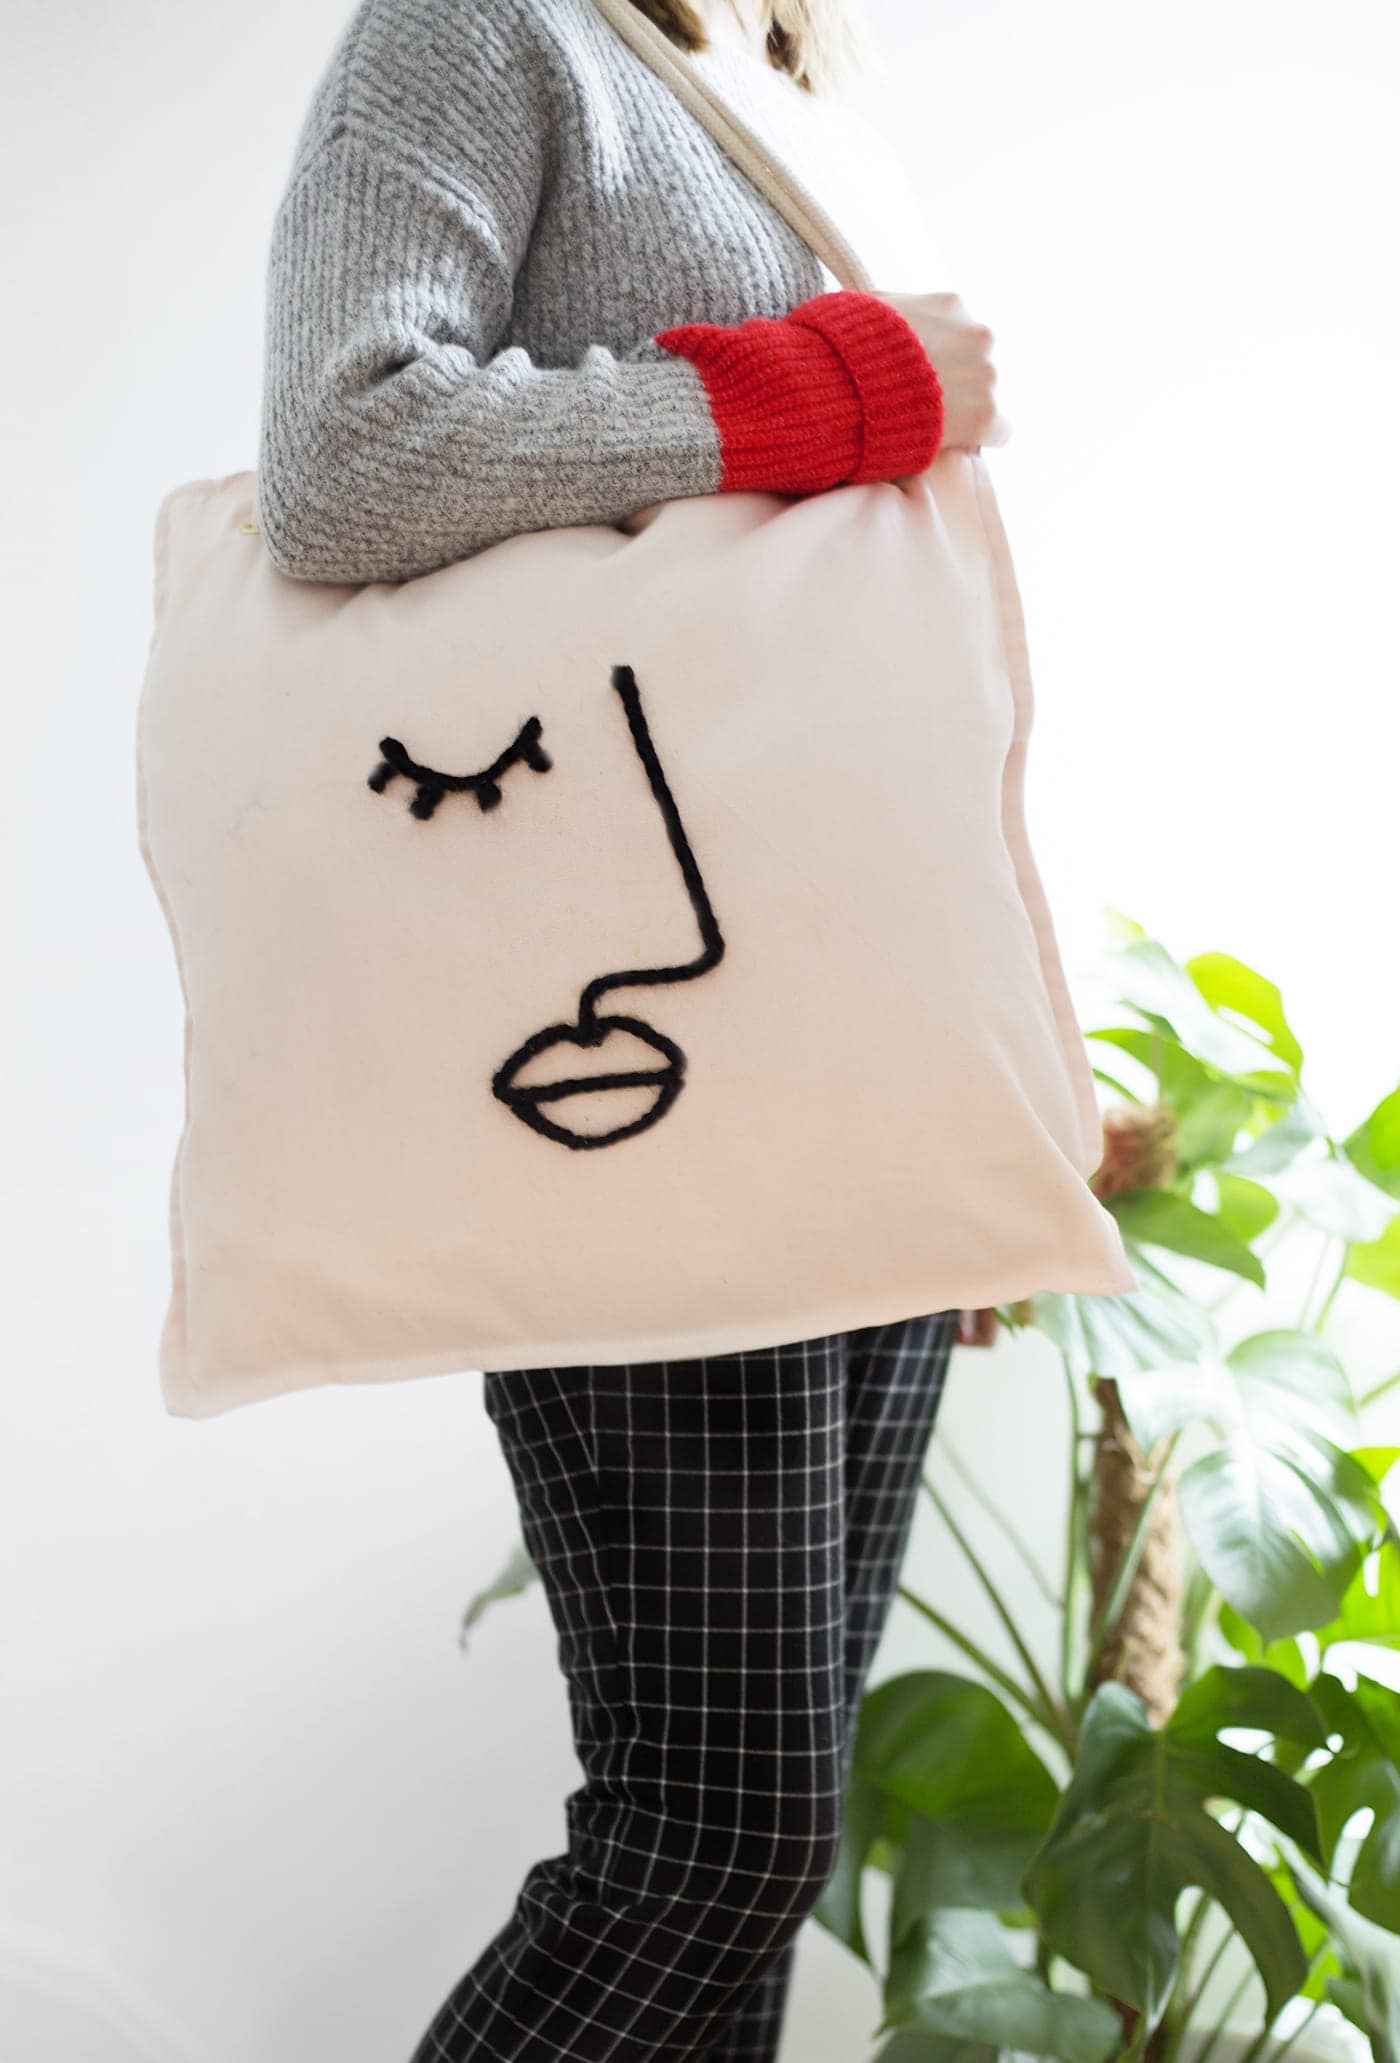
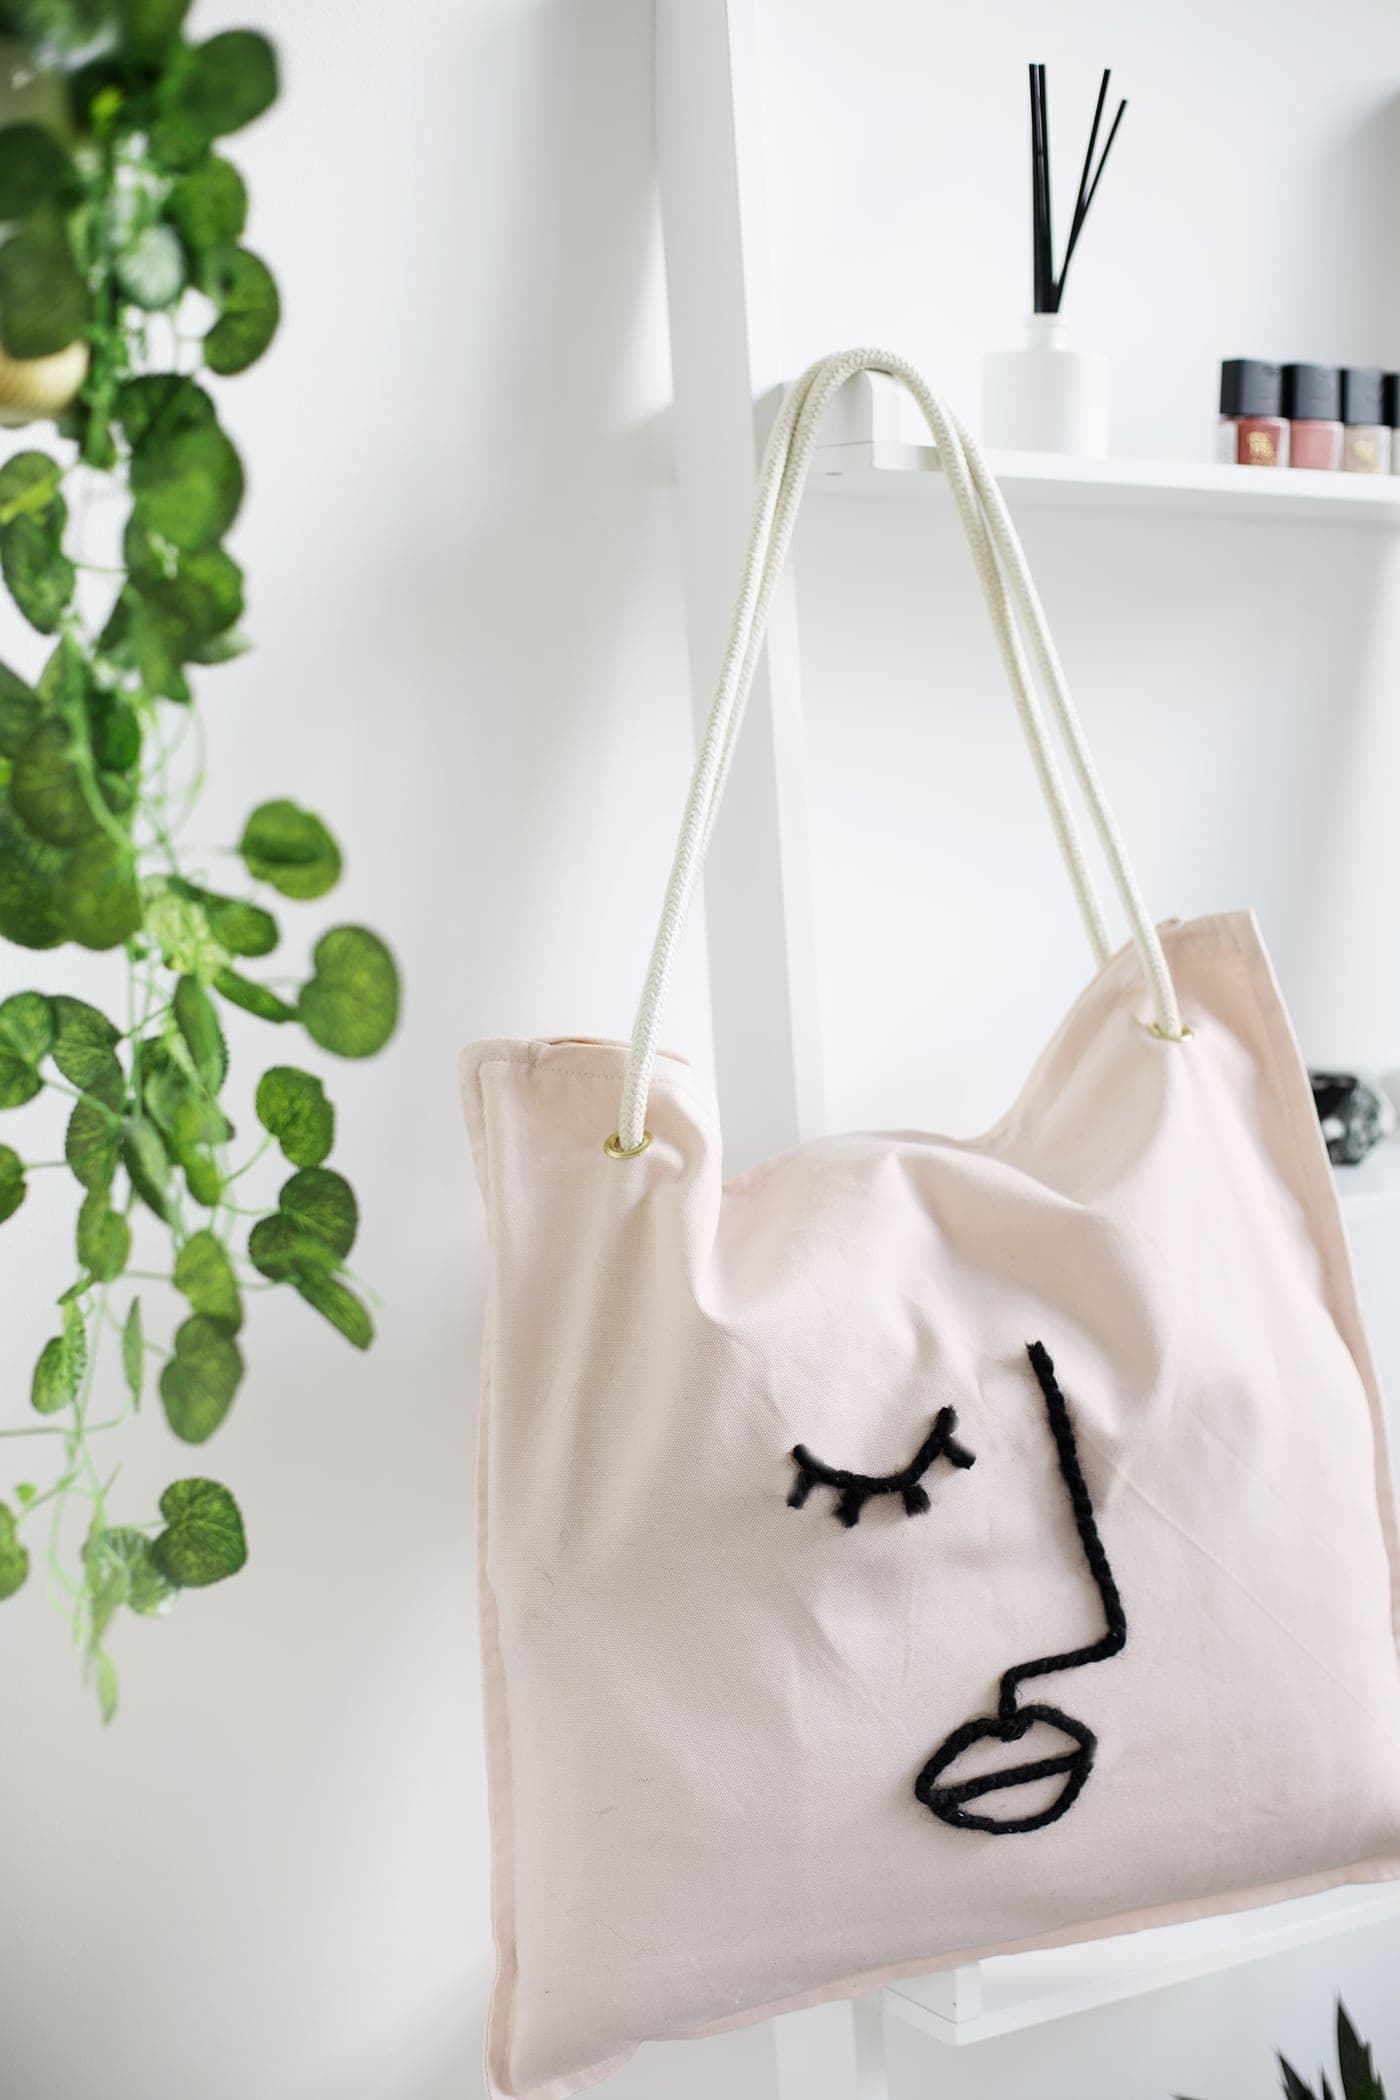
Start by drawing your design onto the front of the cushion cover with a pencil. Why not try this simple abstract face which looks striking but isn’t too fiddly.
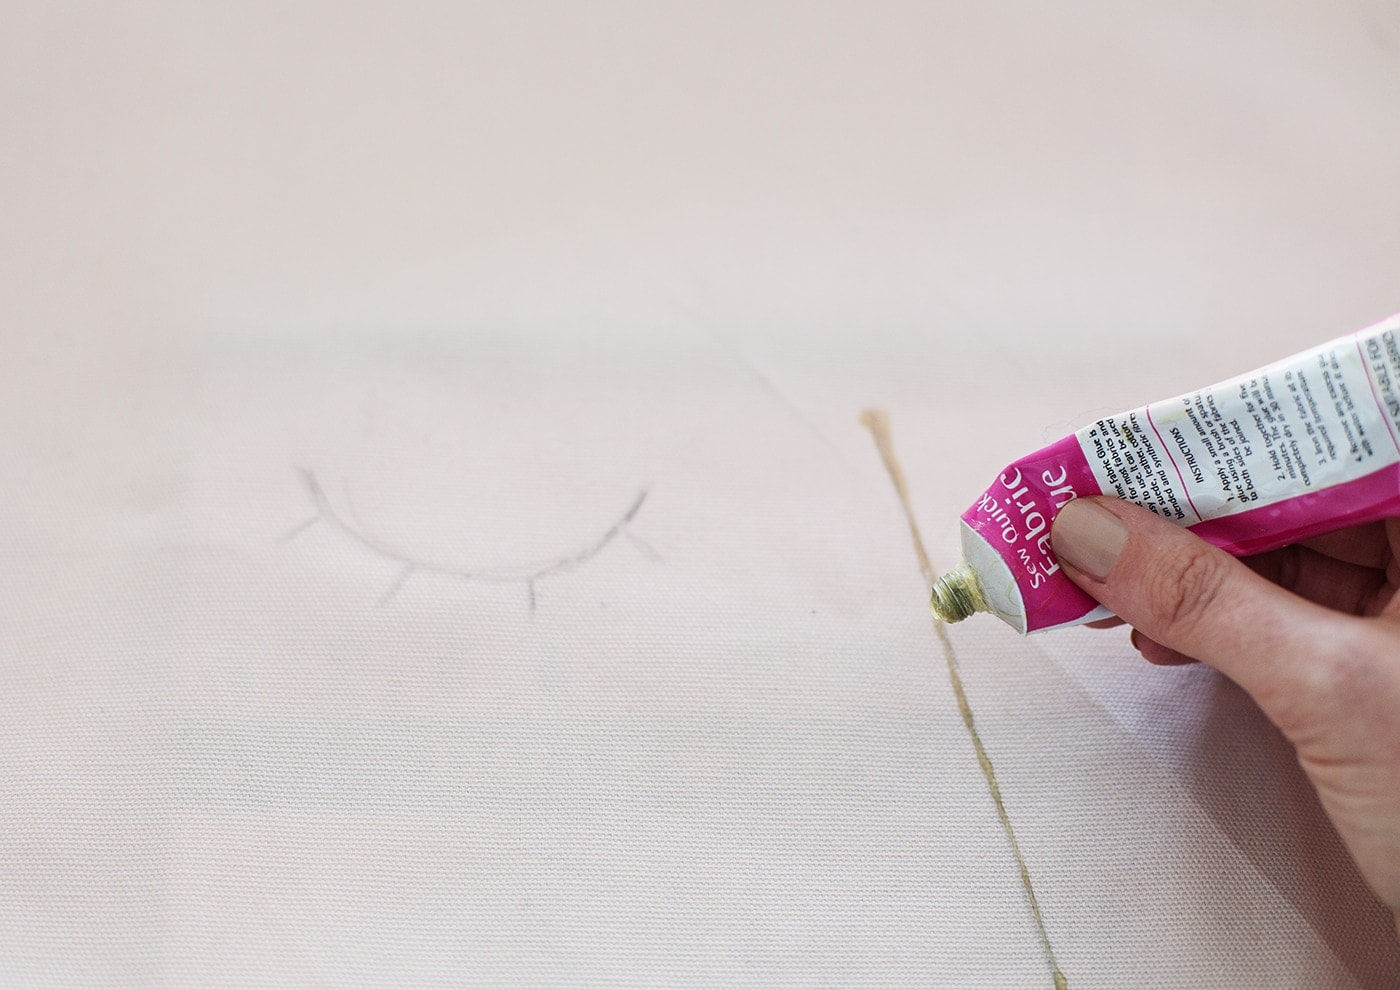
Now slot your card or old magazine inside the cushion cover to protect the fabric underneath. Trace the pencil lines with your fabric glue, very carefully.
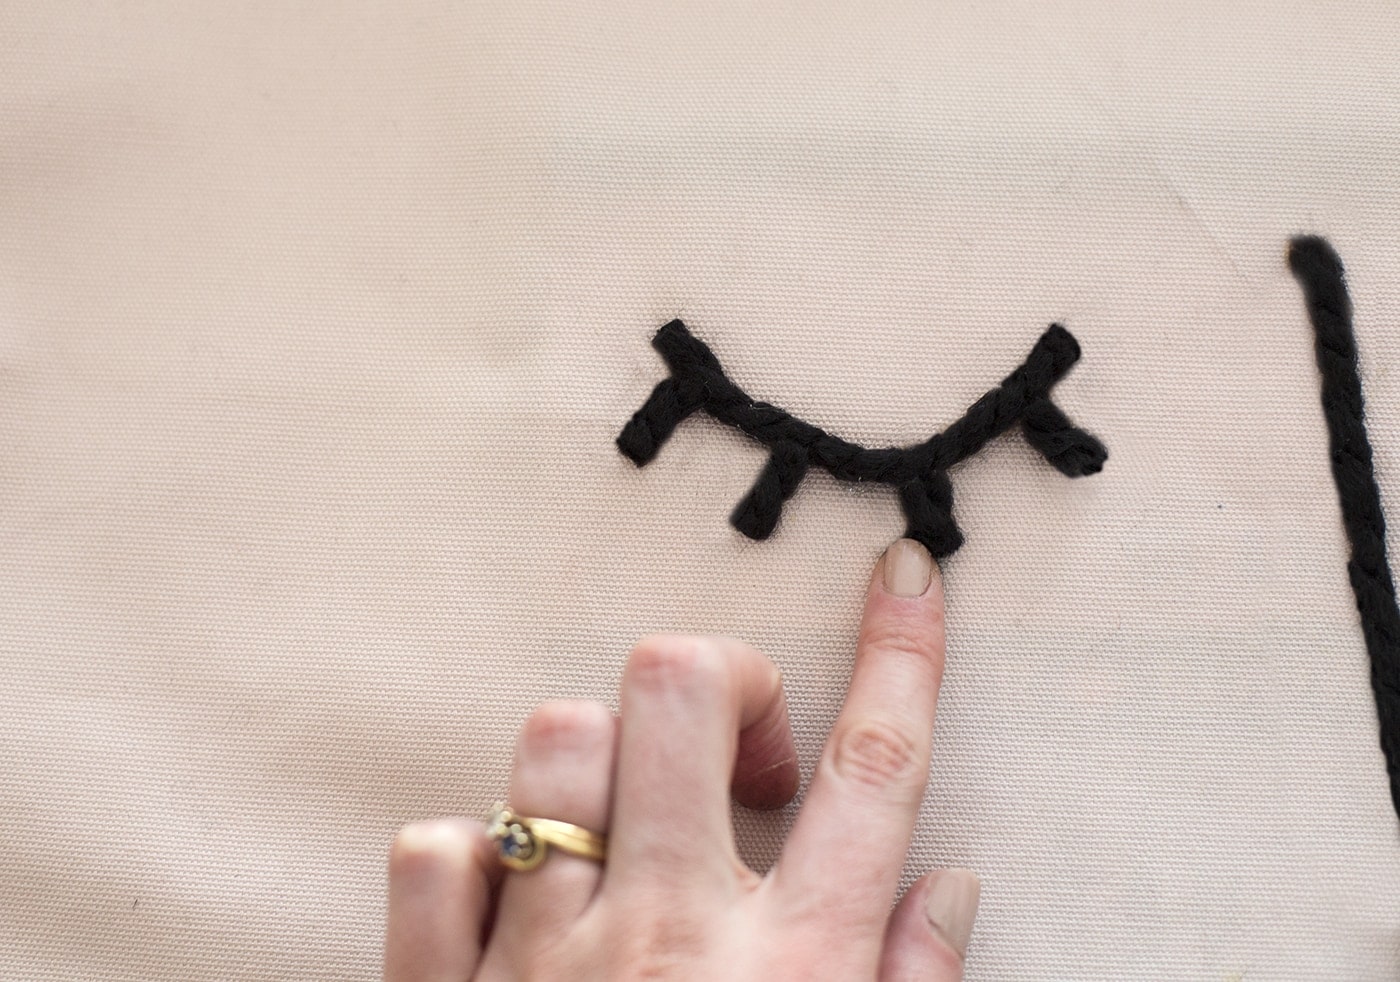
Do a little section and then apply the wool over the top. Snip at the end of a line and make sure the glue comes right to the edge to avoid fraying. Leave to dry and then remove inner sheet of card.
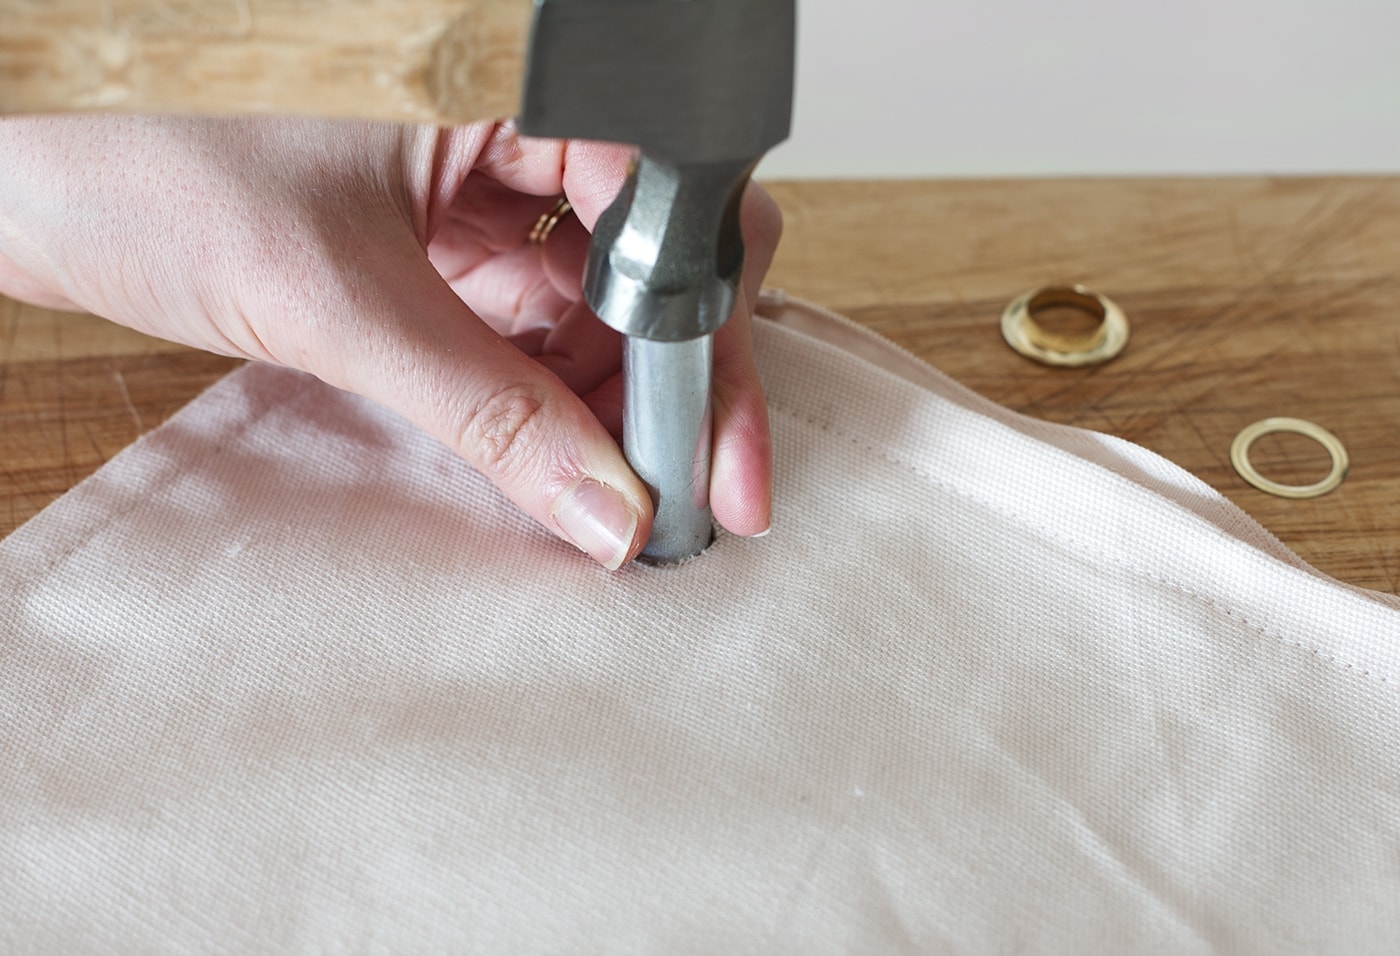
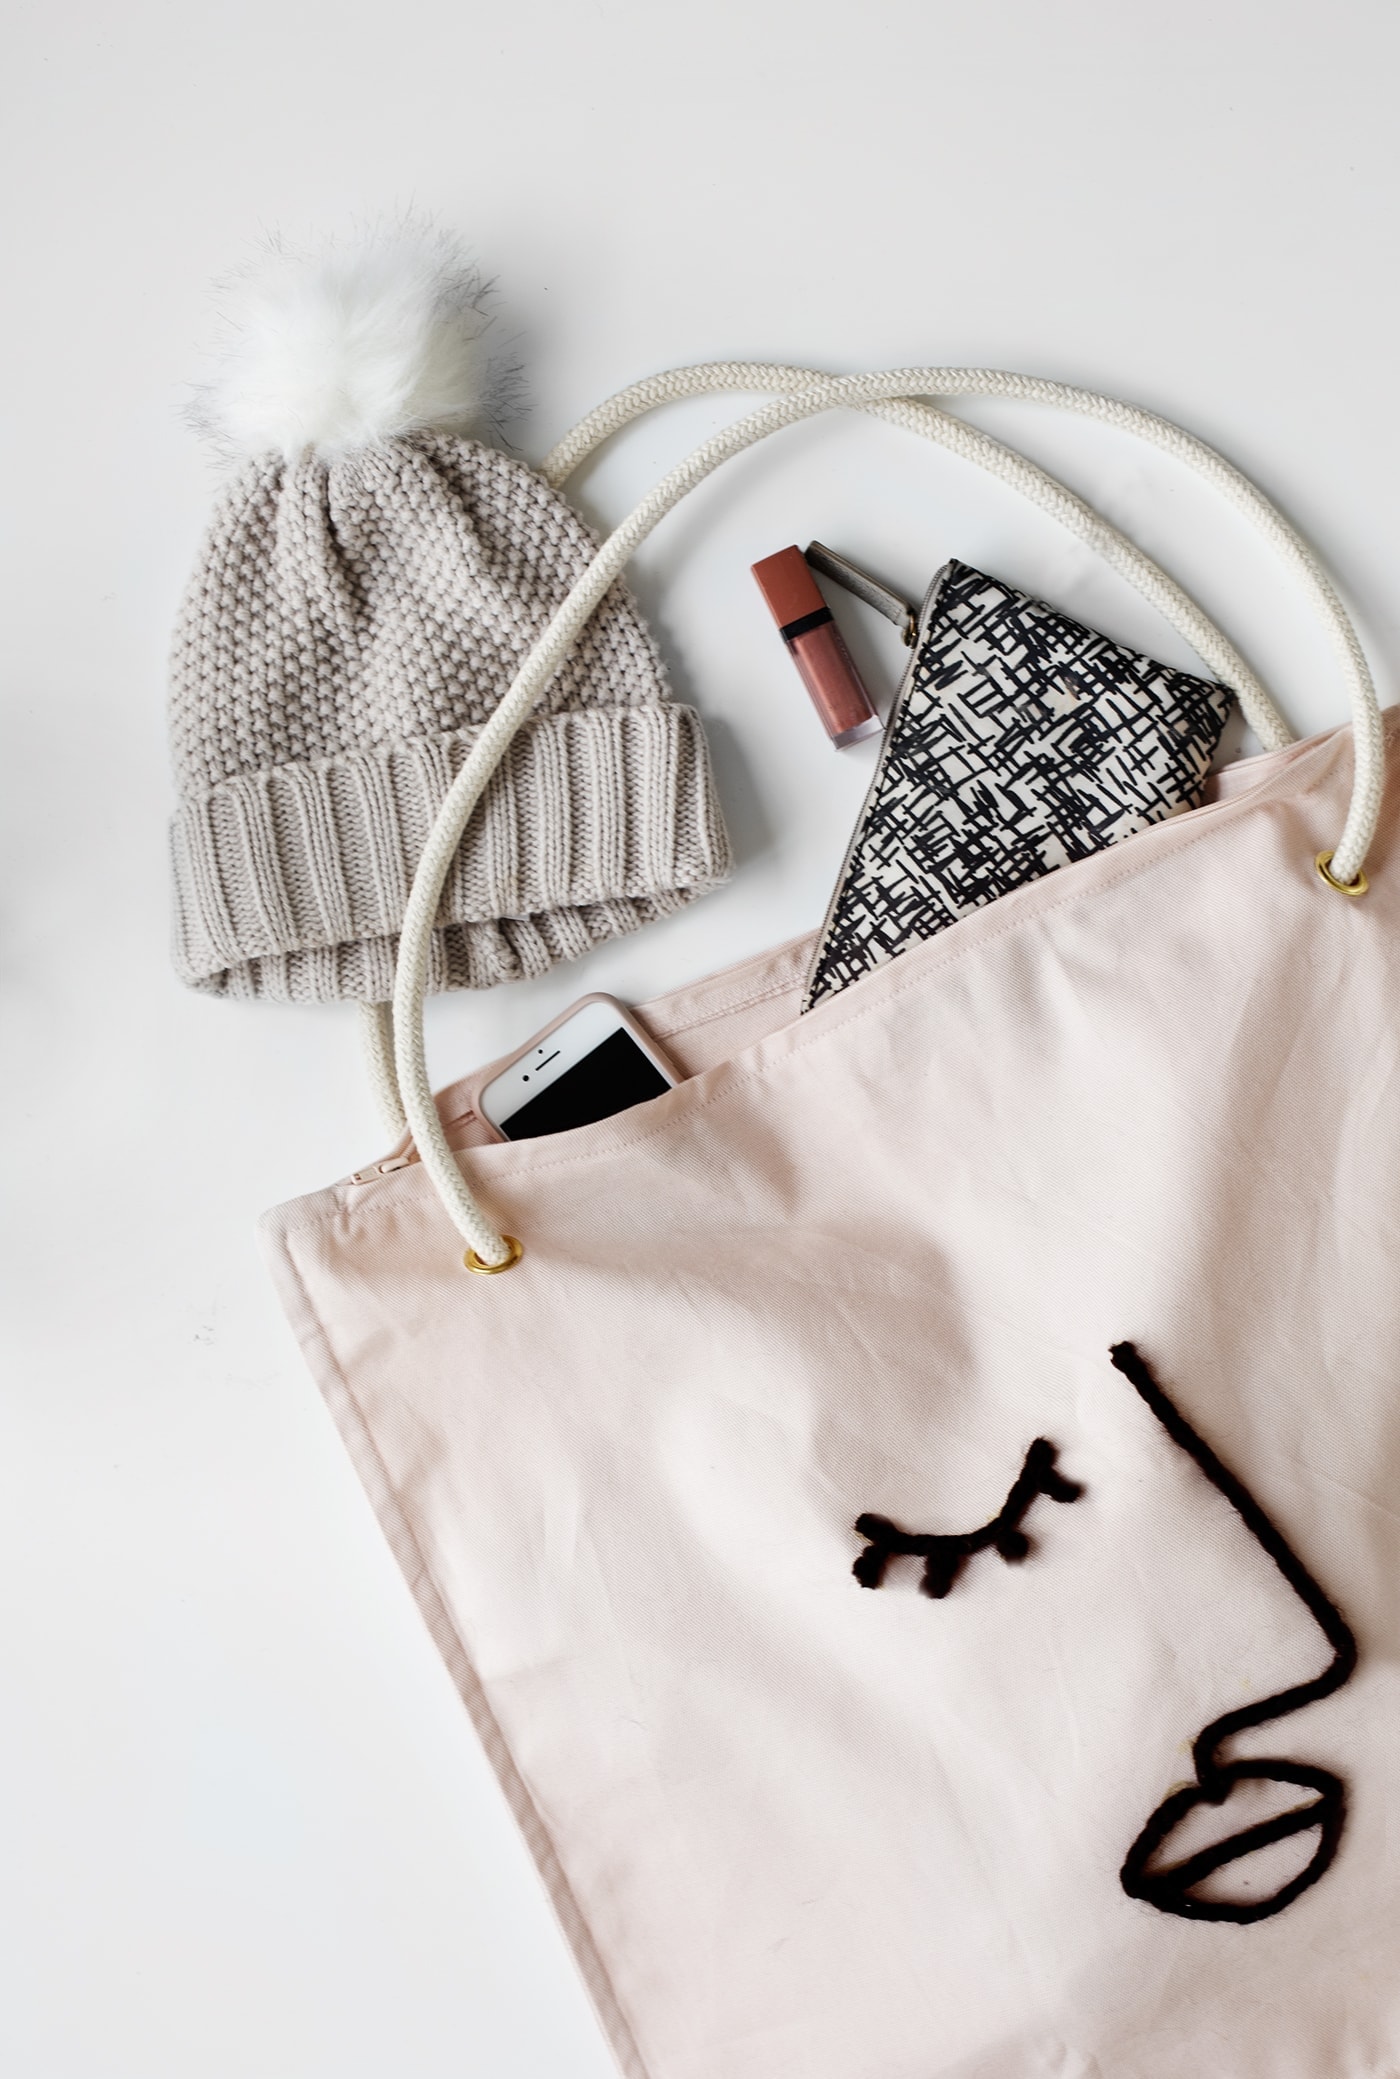
Mark with your pencil where you want your two handle holes on either side. Measure if necessary. Use the eyelit punch with a hammer over the top of those pencil markers. Make sure you have a chopping board underneath.
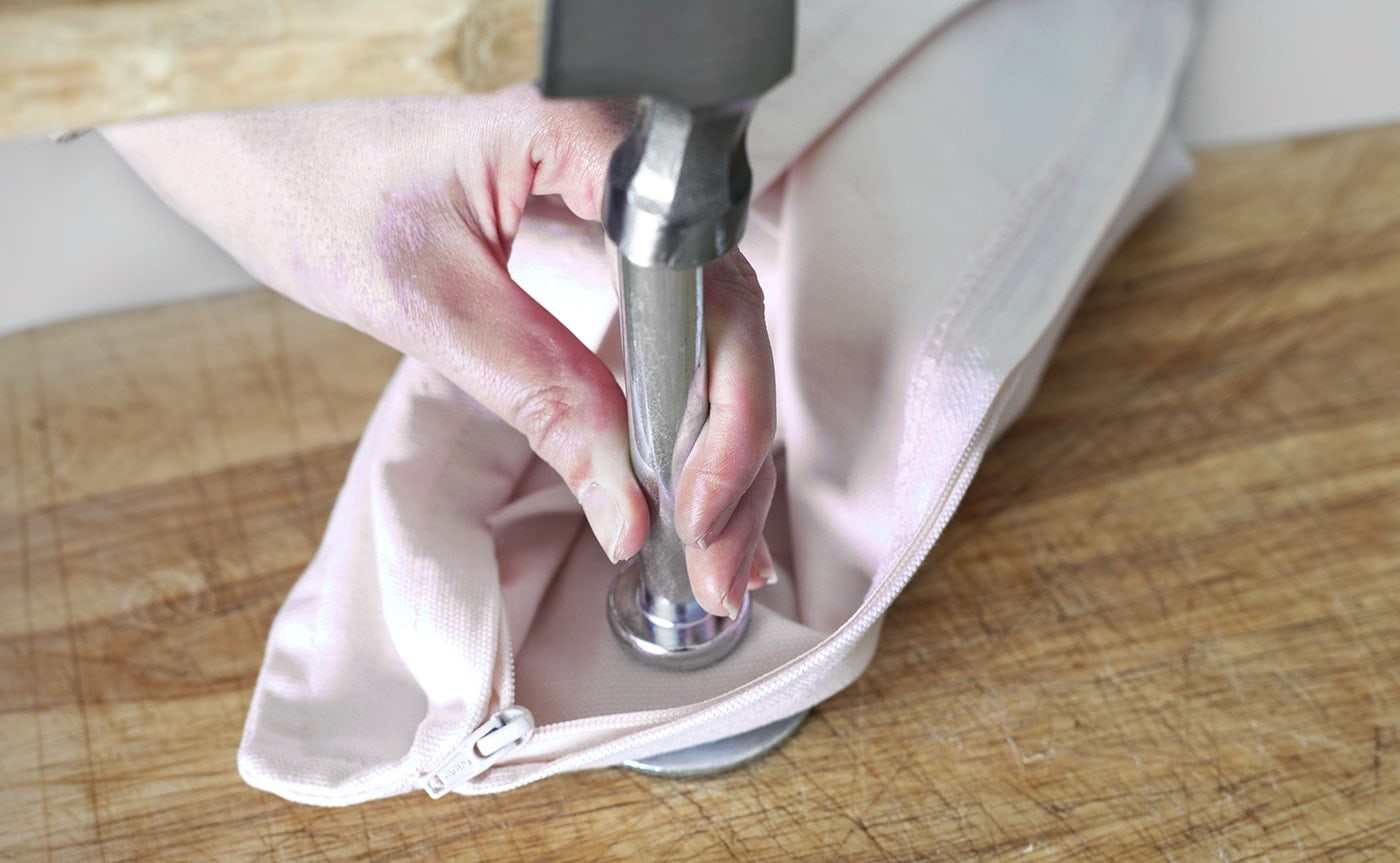
Insert the tall half of the eyelit through the hole from the underside. Stack the eyelit, cloth, and washer on the base tool and use the hammer to hit the stamp tool on top to secure the eyelit.
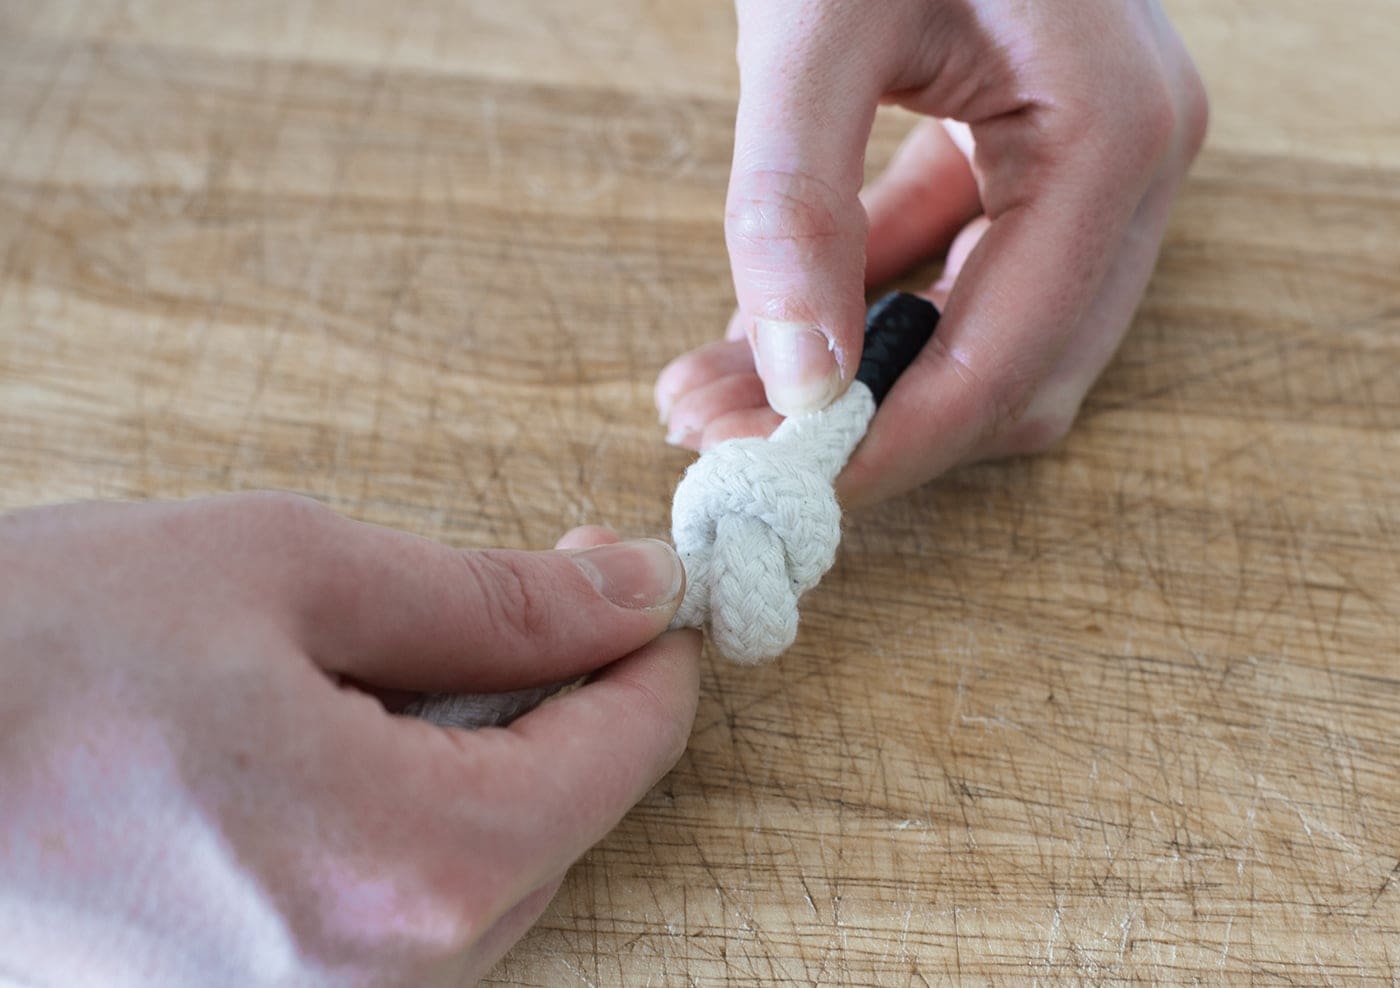
Cut the rope to the correct size for your shoulder straps, leaving a little extra for tying your knots. Just tie a knot on one side to begin with.
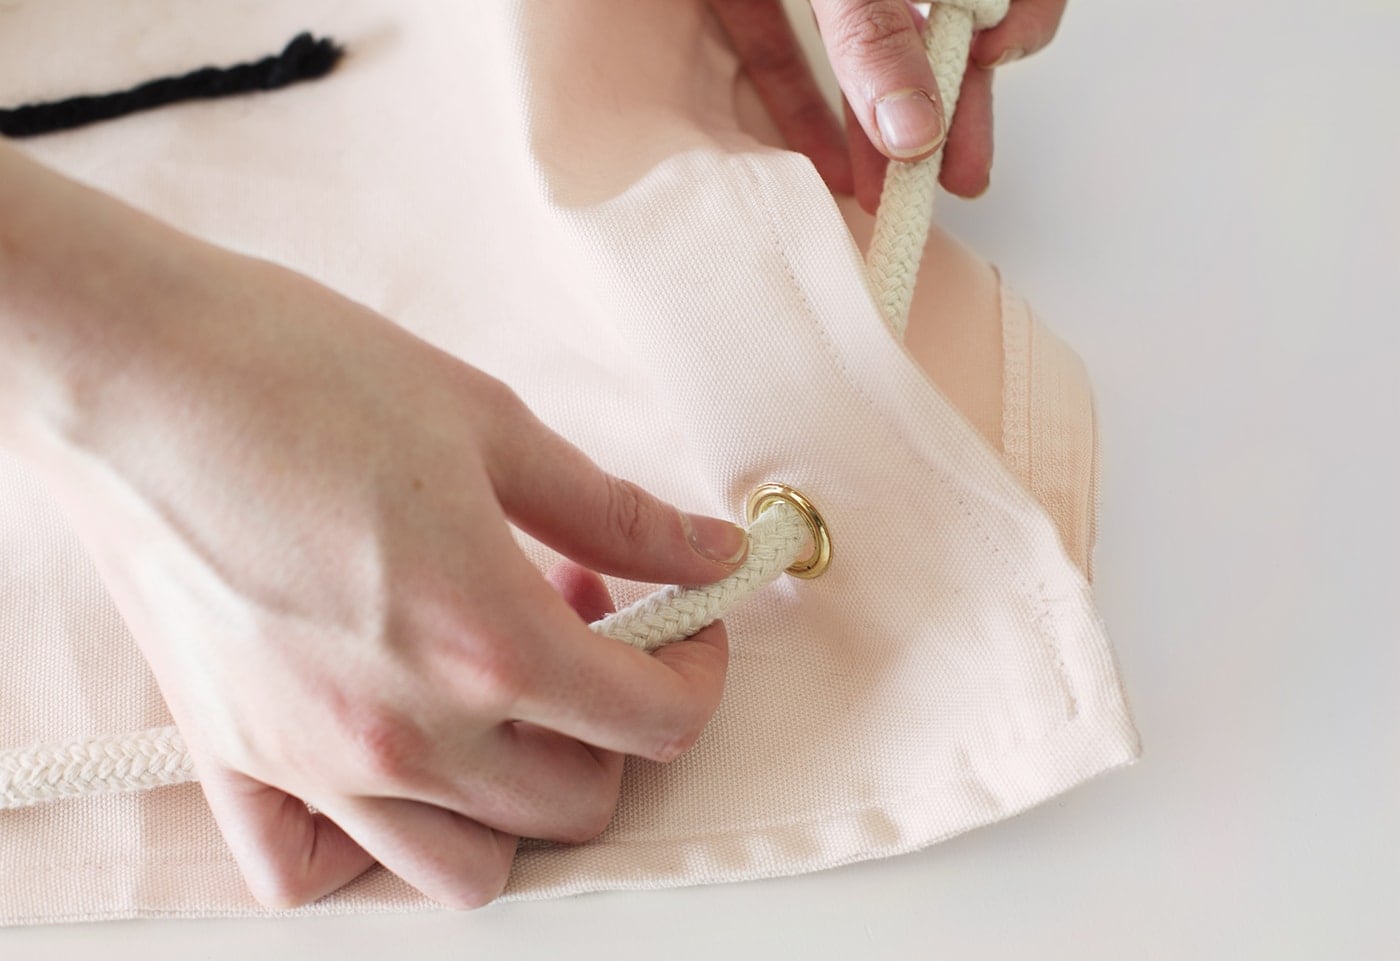
Now thread the rope through your first eyelit, starting from the inside of the bag so the knot faces inwards. Bring the rope back through the front of the other eyelit and tie a knot to secure. Add a little glue if you want extra security for your knots.
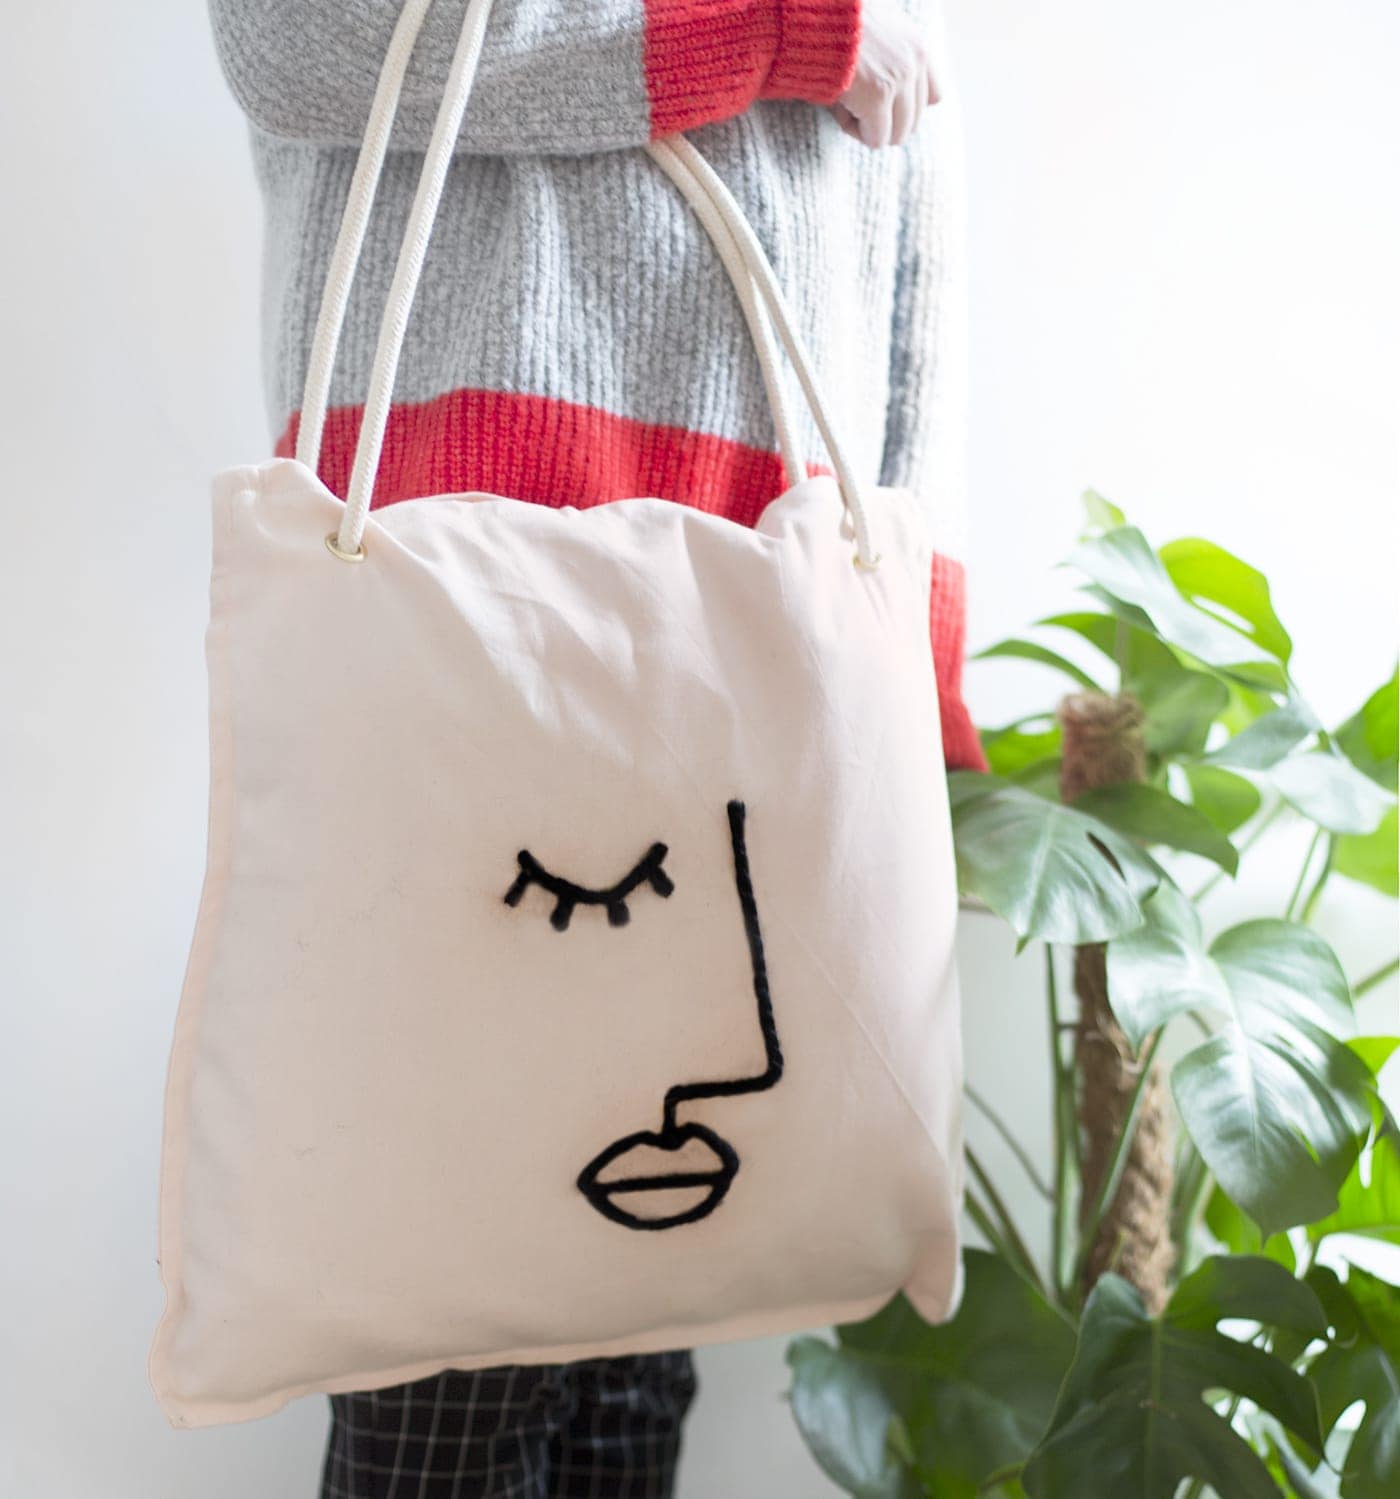
And there you have your no-sew abstract art tote bag. Perfectly simple! Obviously you don’t have to use this exact blush cover but I’m sure you’ll be tempted by it’s colour perfection like me.

You might also like


Meet The Lovely Drawer

Hi, I’m Teri and welcome to my own creative corner of the internet. I blog about interiors, DIY projects, design inspiration and my general life so stick around have a read and say hi.
In the shop

 Quick ViewSelect options
Terrace 1
£20.00 – £25.00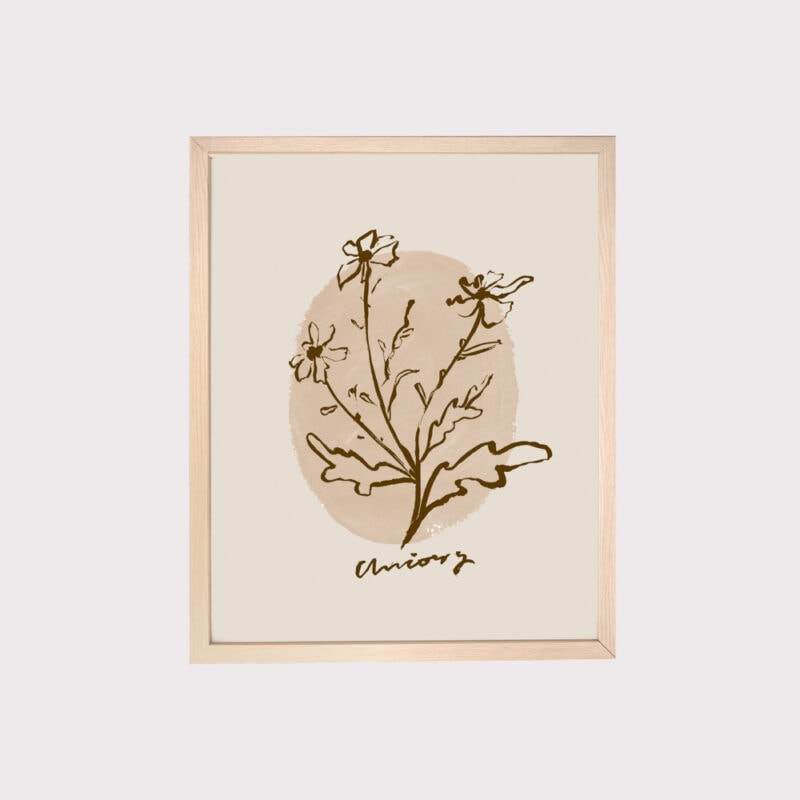
 Quick ViewSelect options
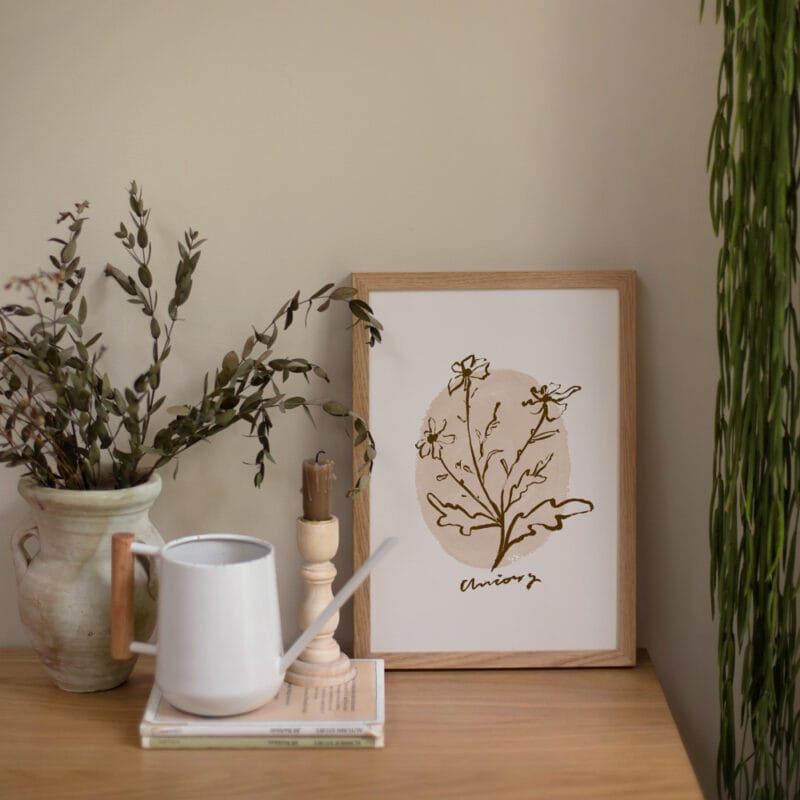
Chicory
£20.00 – £25.00
Work with Me
The Lovely Drawer is an award winning blog with a loyal audience that has grown over the years. I love working with brands small and large on exciting collaborations that can bring products alive in my own signature aesthetic.