

Turn 2 Placemats Into A Bag
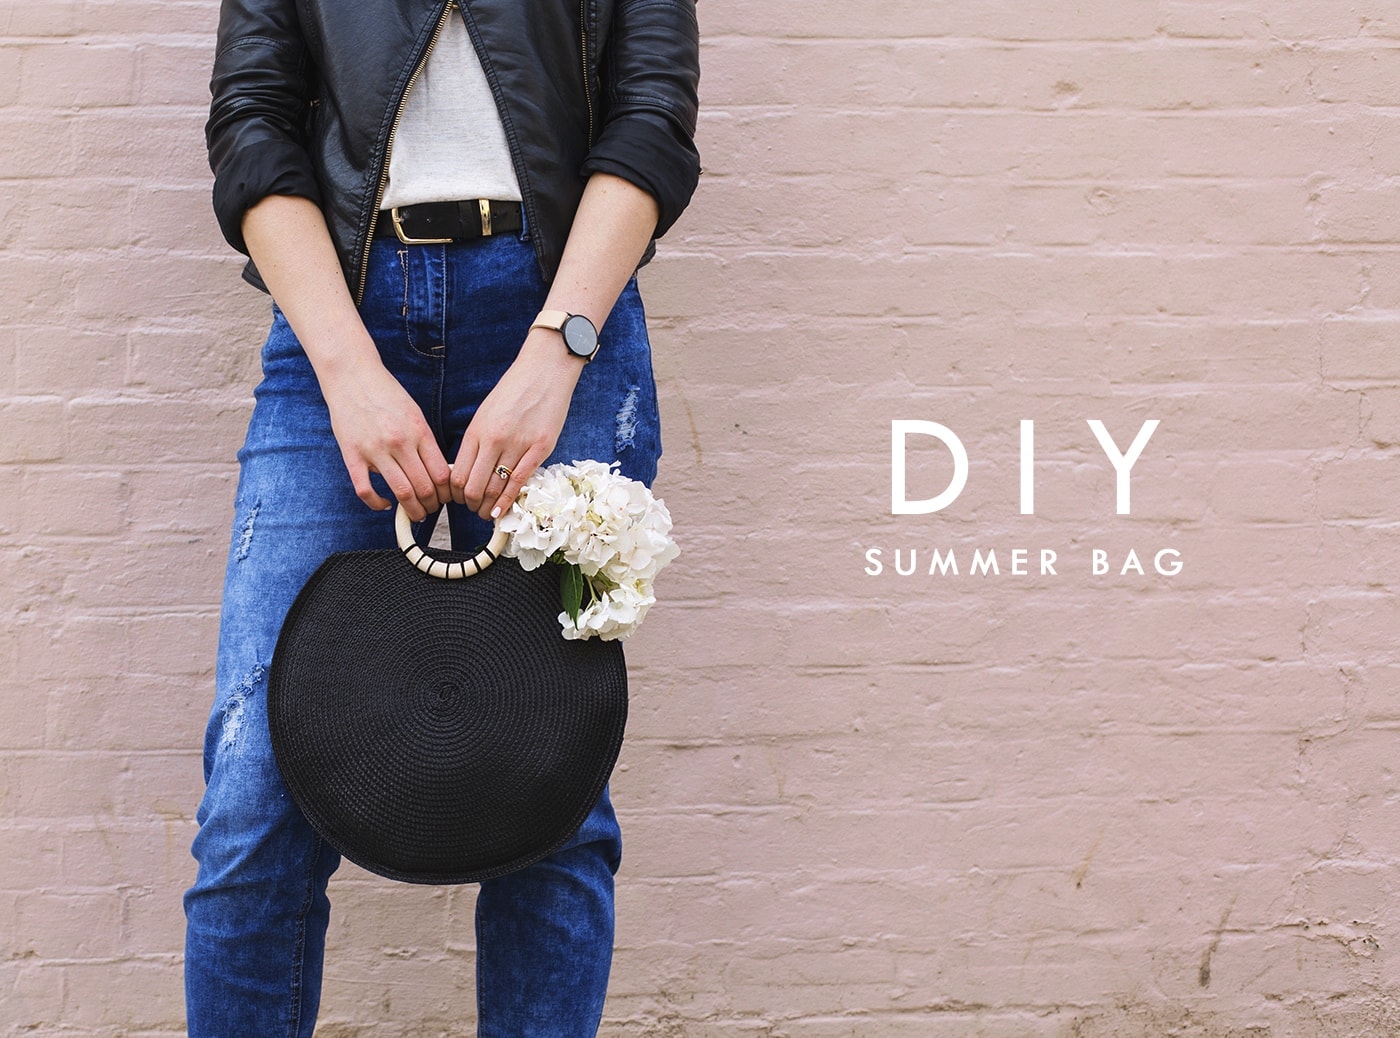
Every year I seem to create a new DIY Summer bag for you all to try. It’s not intentional but it seems to happen without fail. After all it’s always necessary to refresh your summer bags for your Sunny holidays. This tutorial may well be the easiest one so far and fashioned from woven placemats! I mean, who needs to eat off them right?
This bag is simple and chic, easily adding a statement to any Summer outfit and it’s so easy to make you have to give it a try! You could play around with the size of the mats or even try some jumbo wooden handles but hopefully this will provide you with some inspiration to get you started.
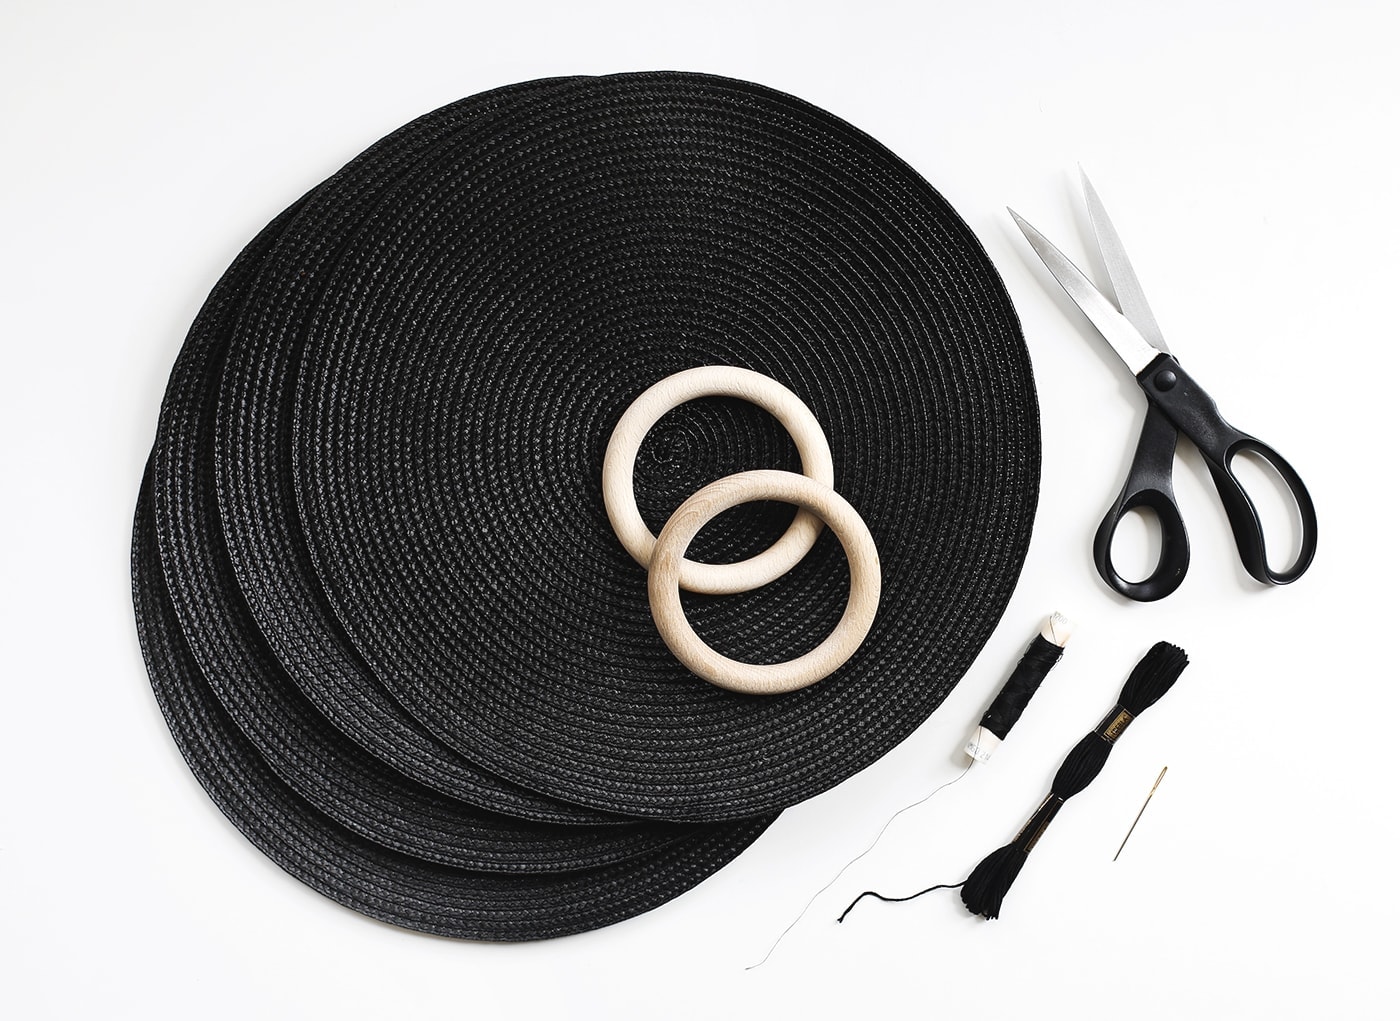
Materials:
- 2 x woven placemats (pack of 4 but I used half)
- 2 x wooden rings (I used 100m wide)
- Black sewing thread
- Black embroidery thread
- Scissors
- Large hand needle wide enough to fit the embroidery thread through
- Sewing machine
- Pins
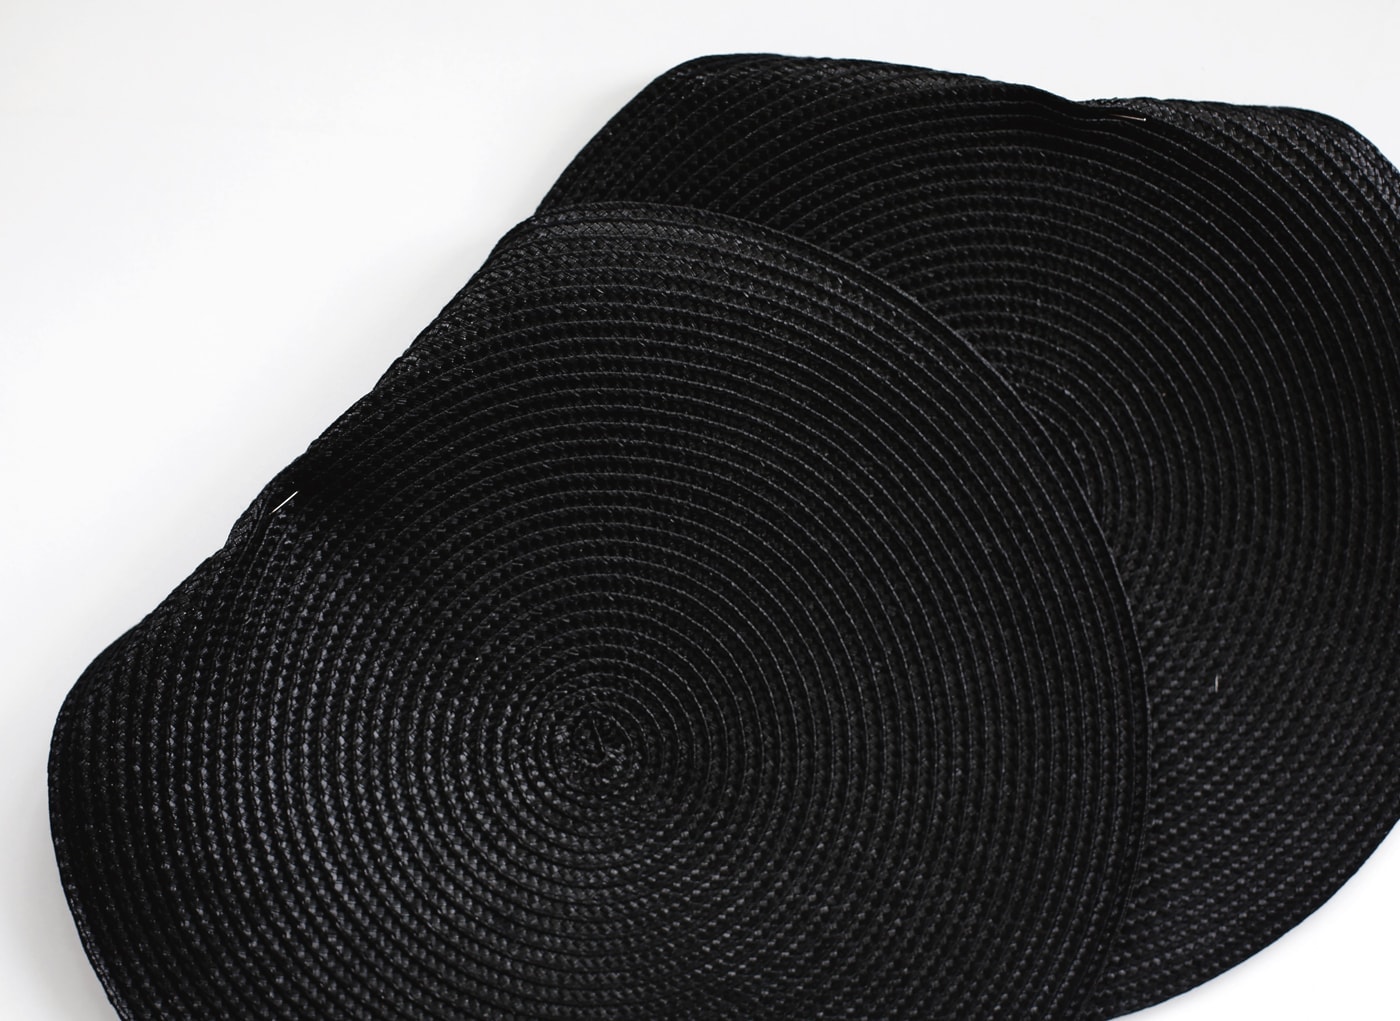
Take your two placemats and separately fold over the a section on each by roughly an inch. Pin this down on both and this will now be the top of your bag.
Load your sewing machine with the matching thread (in my case that was black). Then sew a straight stitch across the flat folded edges to secure them in place. You can trim off the excess once it’s sewn. Now pin both mats together wrong sides together so that that the flat edges match up and the raw stitching is facing inwards.
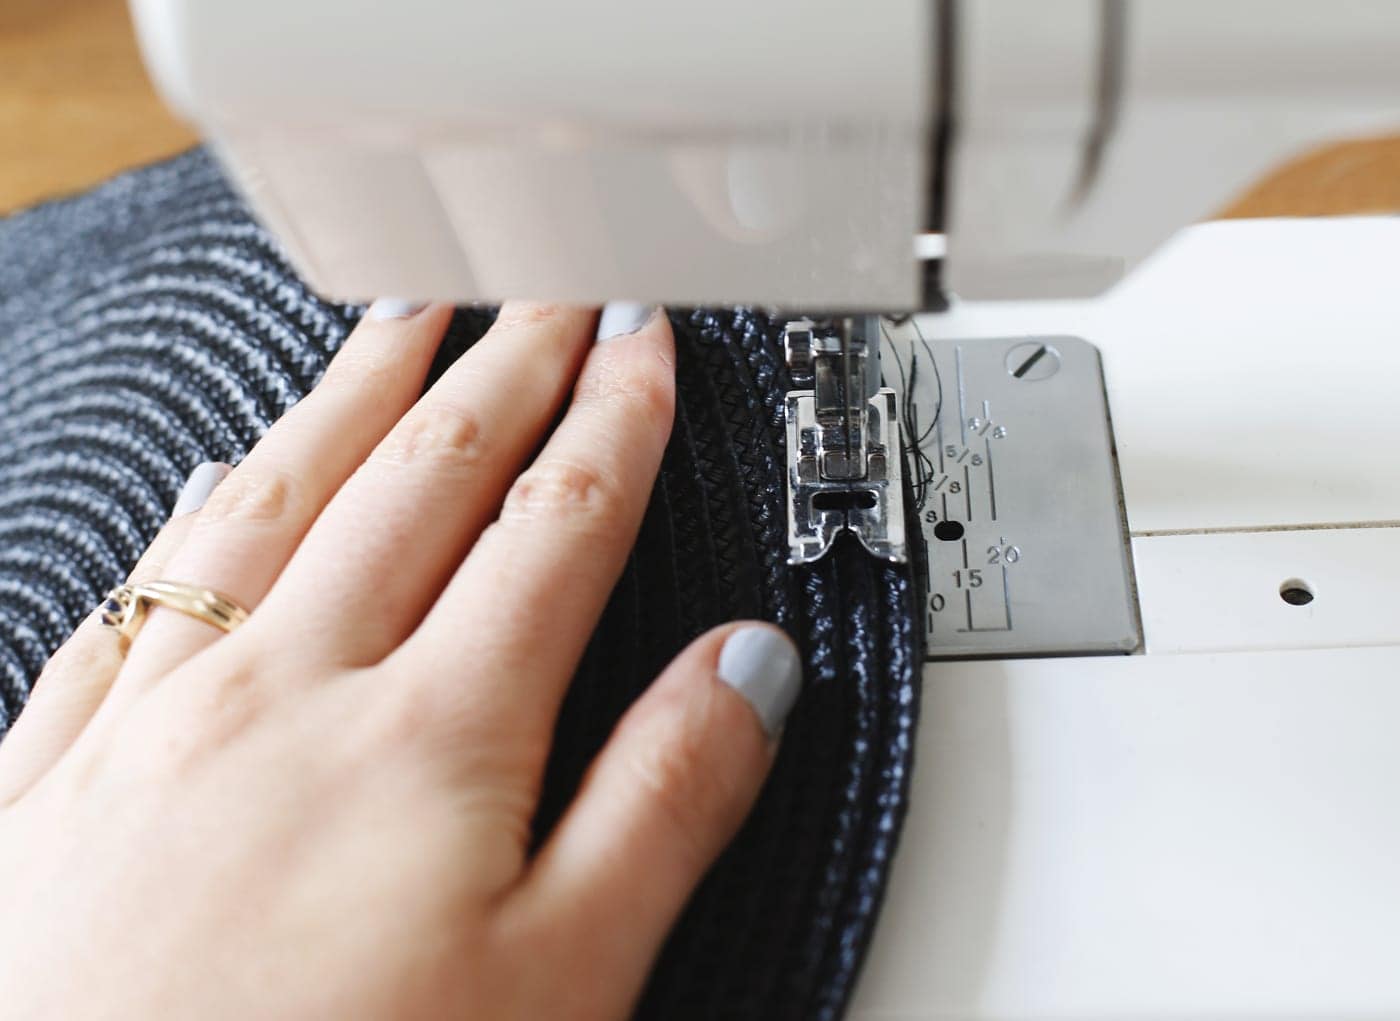
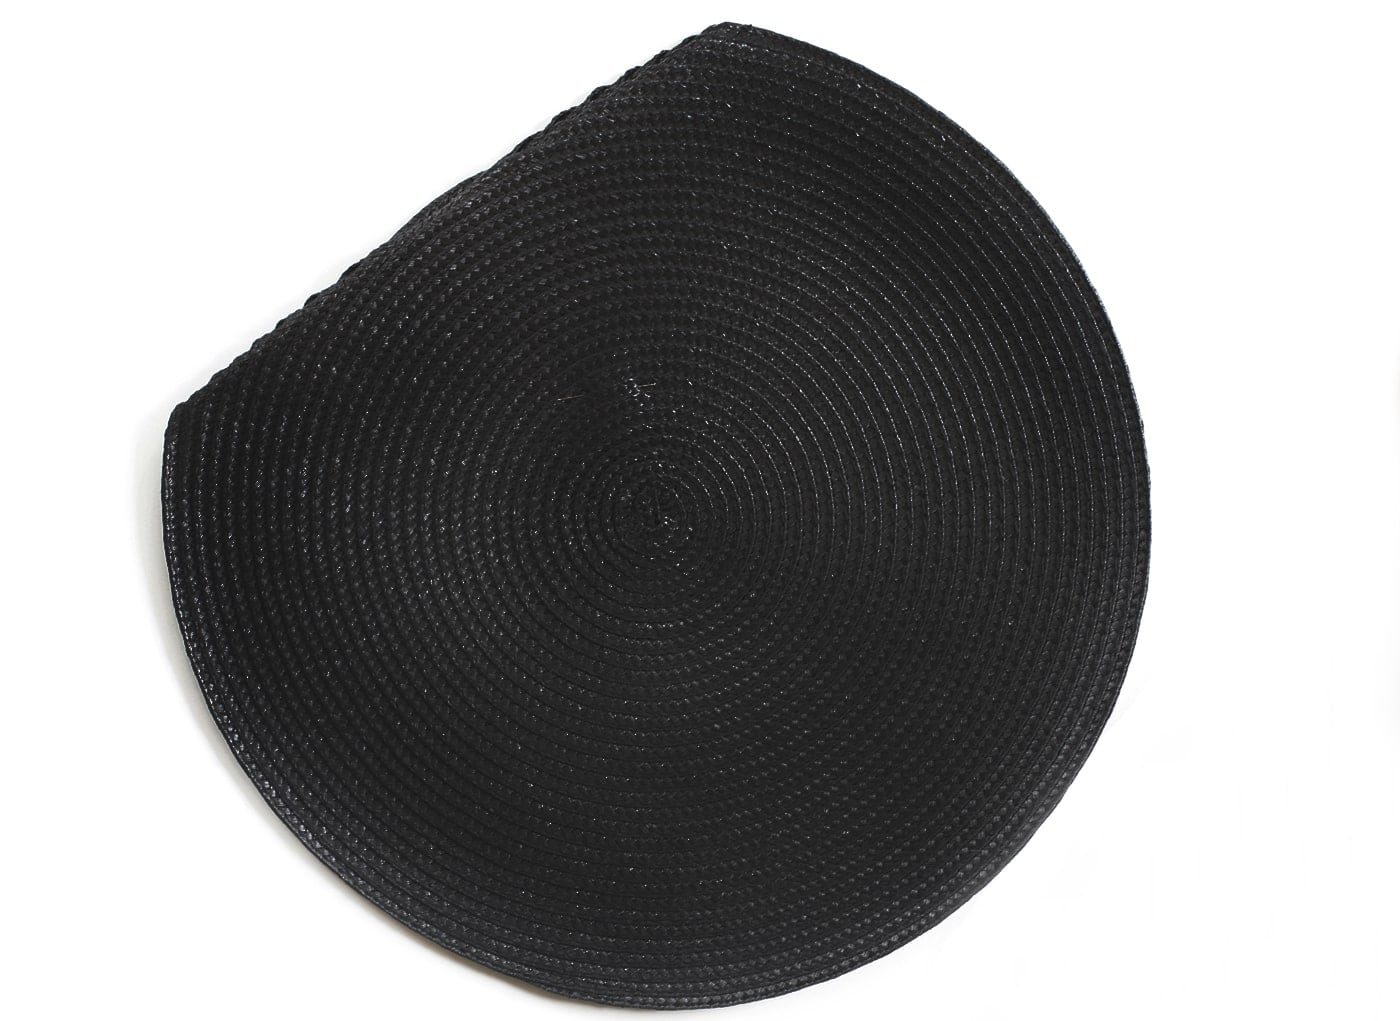
Sew around the edge of the bag starting from where the curve begins and following it around about 1cm from the edge. Do make sure you leave the flat edge unseen so you can get in and out of the bag.
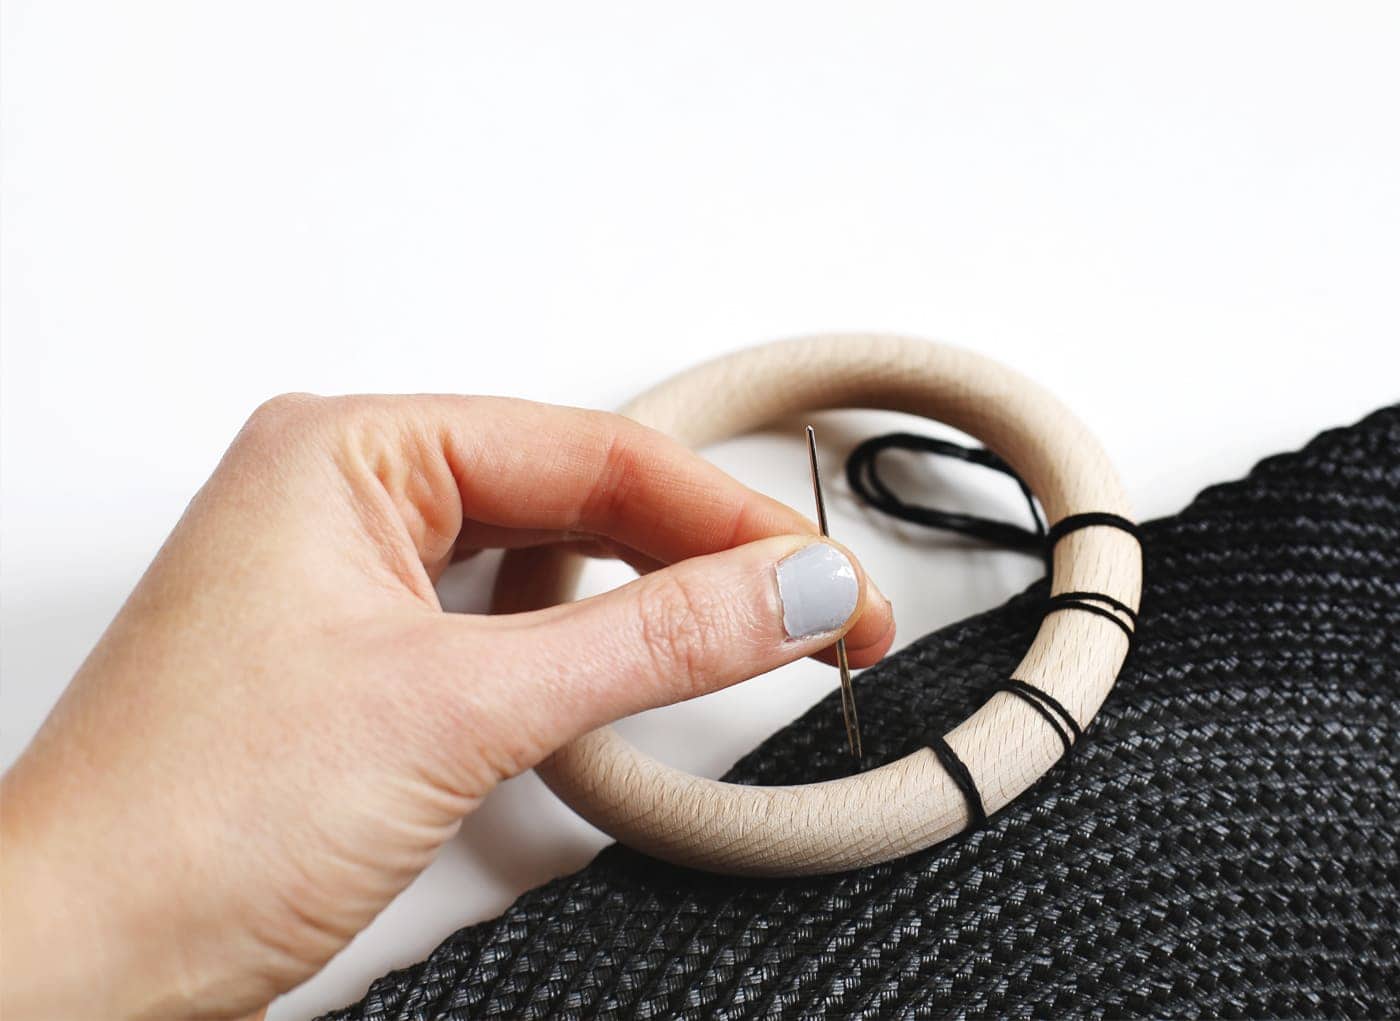
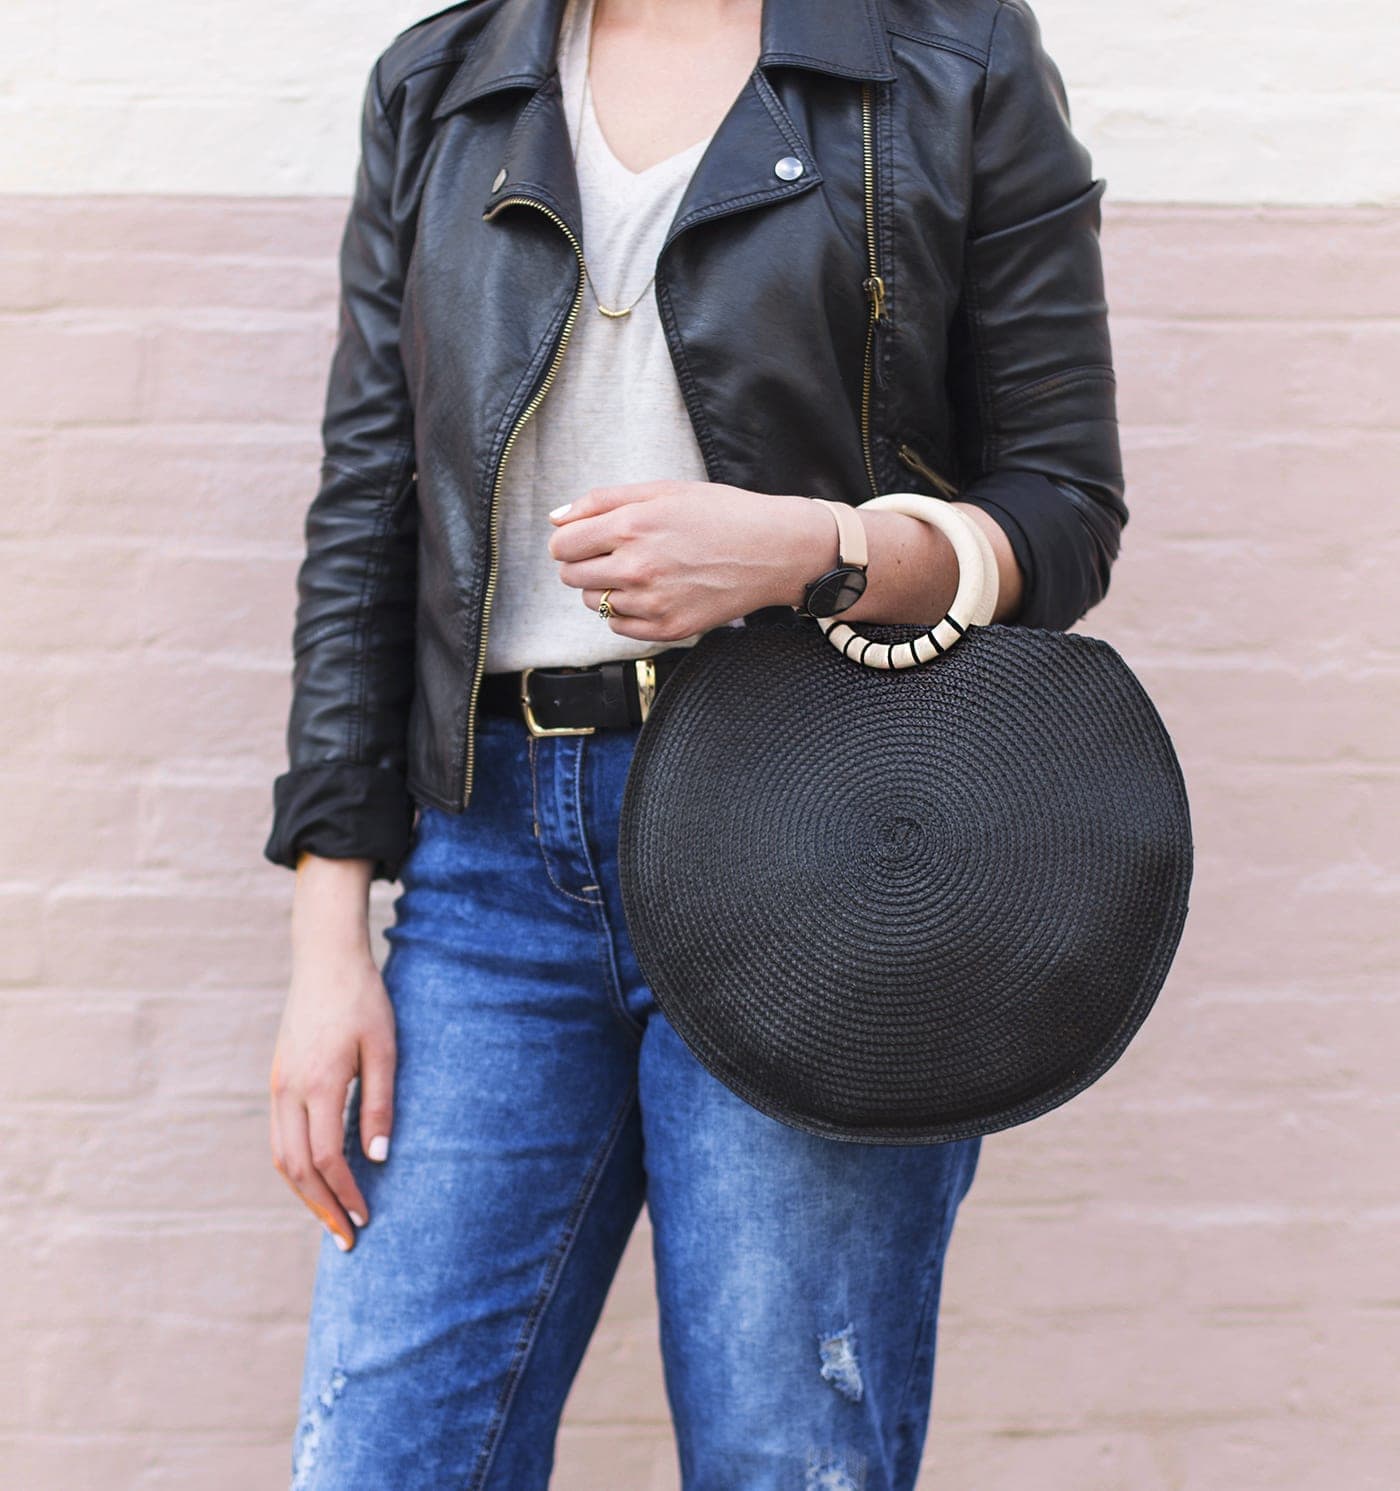
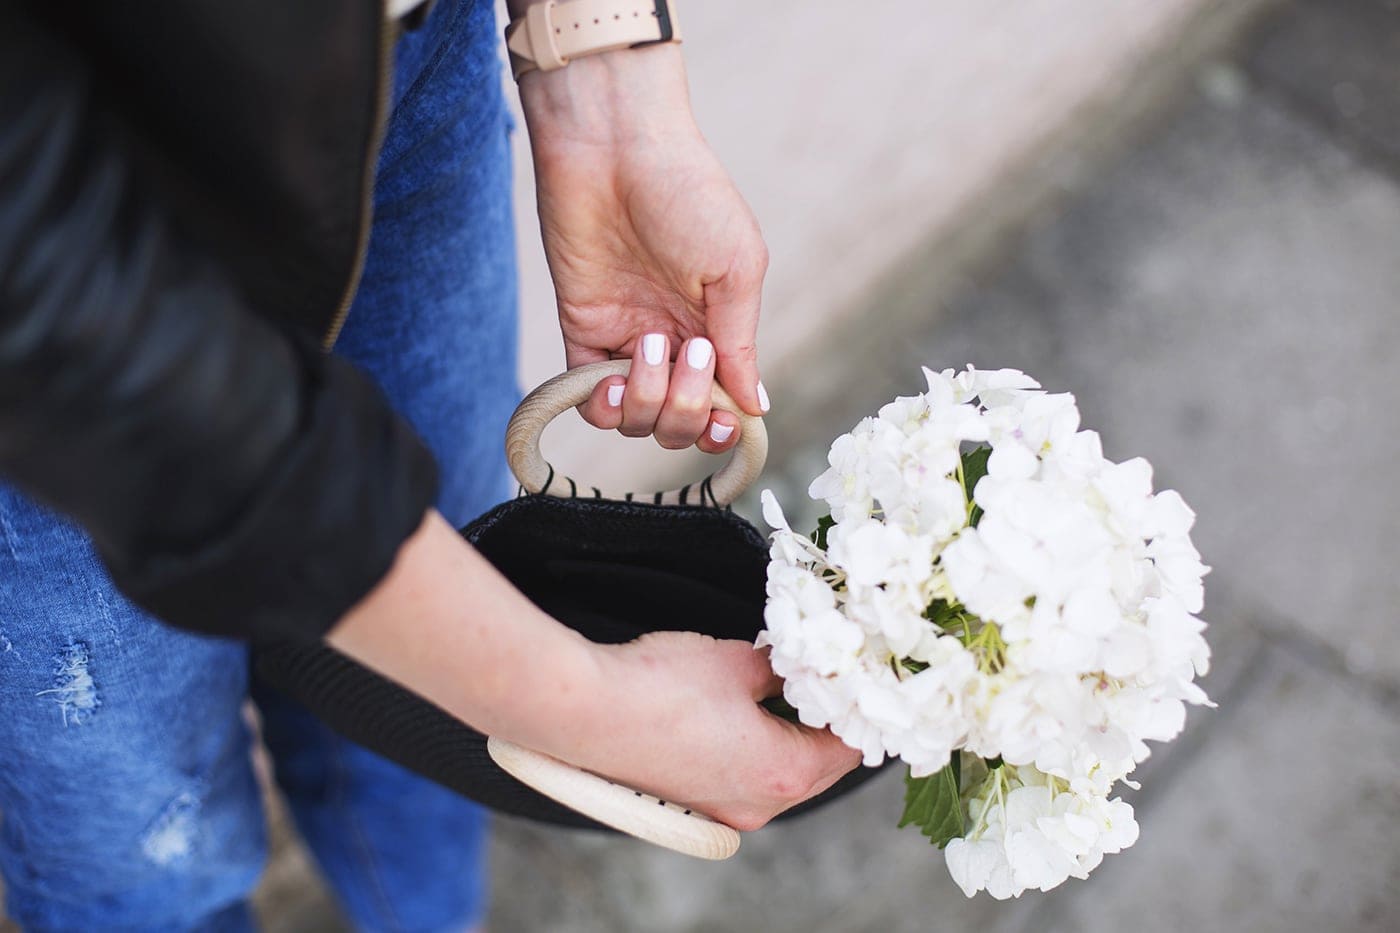
Now it’s time to attach the handles to the bag. Thread you’re embroidery thread into your needle do a few stitches into the inside of the woven fabric to secure but make sure the stitch is quite central along the top of the bag. Now hold the wooden hoop centrally (on the outside of the bag) and take your thread around the wood, looping each point twice. Then move along and continue until you have seven sections of thread, each looped twice so it’s nice and secure. Finish off on the inside and knot the thread and trim. Voila!
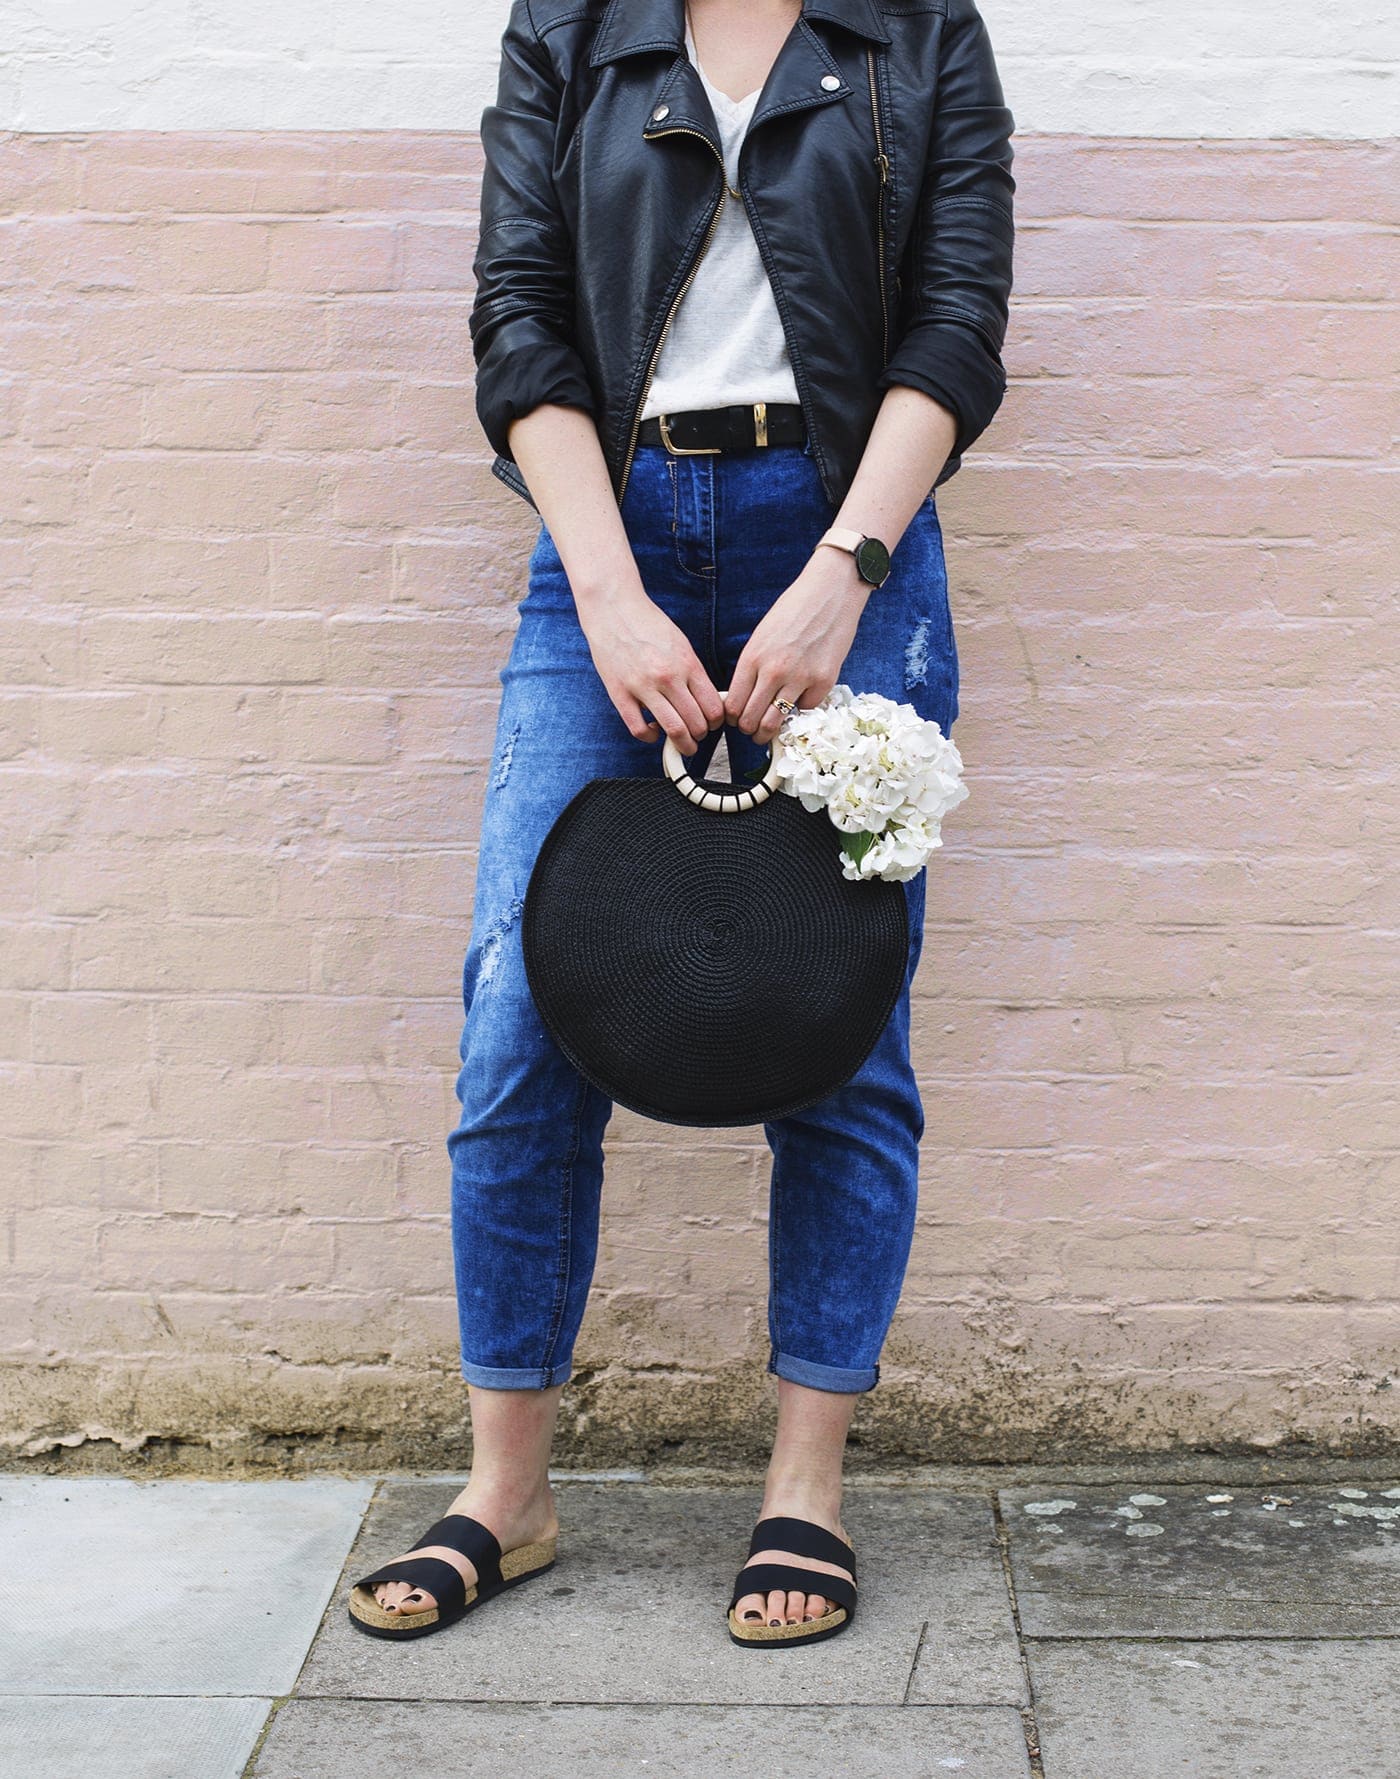

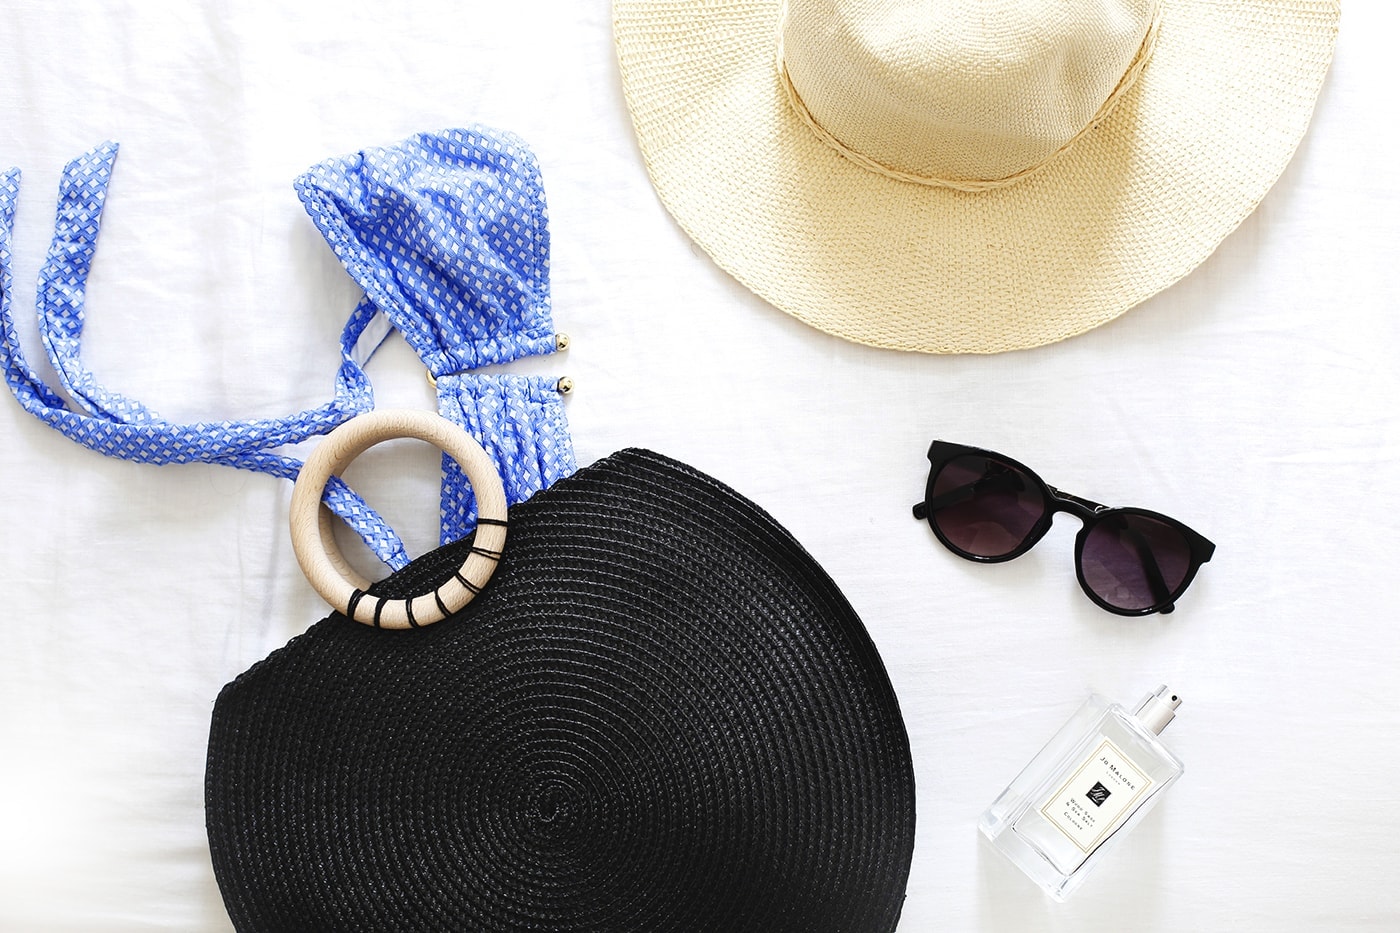
Bravo, you’ve done it! You’ve created a brand new Summer bag with some placemats, which lets be honest, don’t look as pretty beforehand. Take it to the beach or on a Summer night out. I’ll be taking mine on my Spanish holiday come September.
You might also like


Meet The Lovely Drawer

Hi, I’m Teri and welcome to my own creative corner of the internet. I blog about interiors, DIY projects, design inspiration and my general life so stick around have a read and say hi.
In the shop

 Quick ViewSelect options
Personalised Cuddly Bunny
£30.00 – £35.00
 Quick ViewSelect options
Chicory
£20.00 – £25.00
Work with Me
The Lovely Drawer is an award winning blog with a loyal audience that has grown over the years. I love working with brands small and large on exciting collaborations that can bring products alive in my own signature aesthetic.