


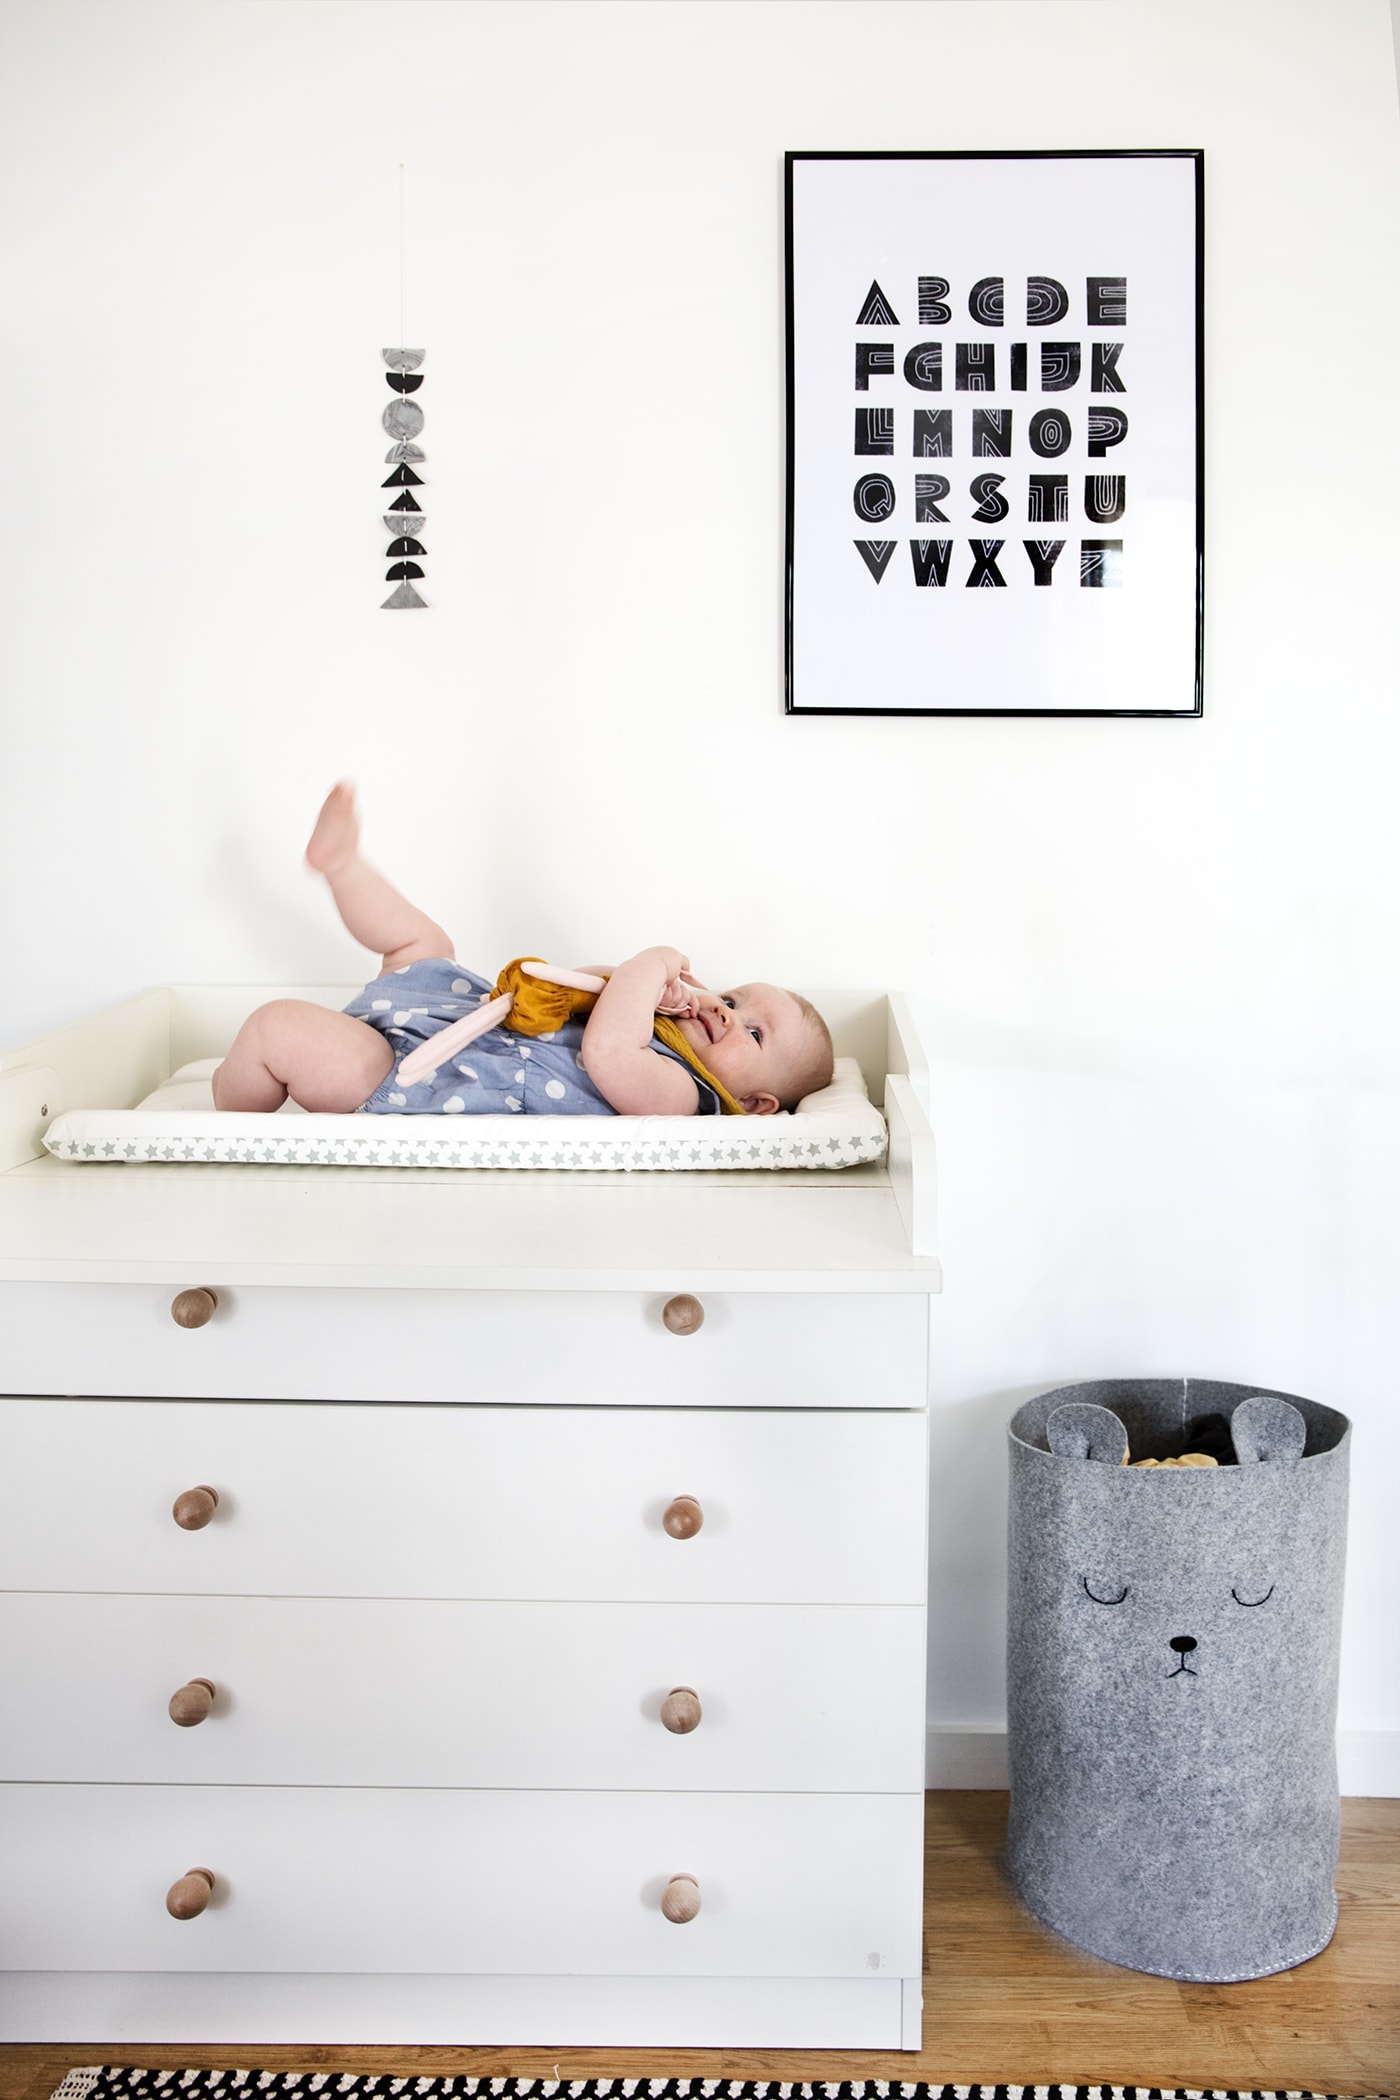
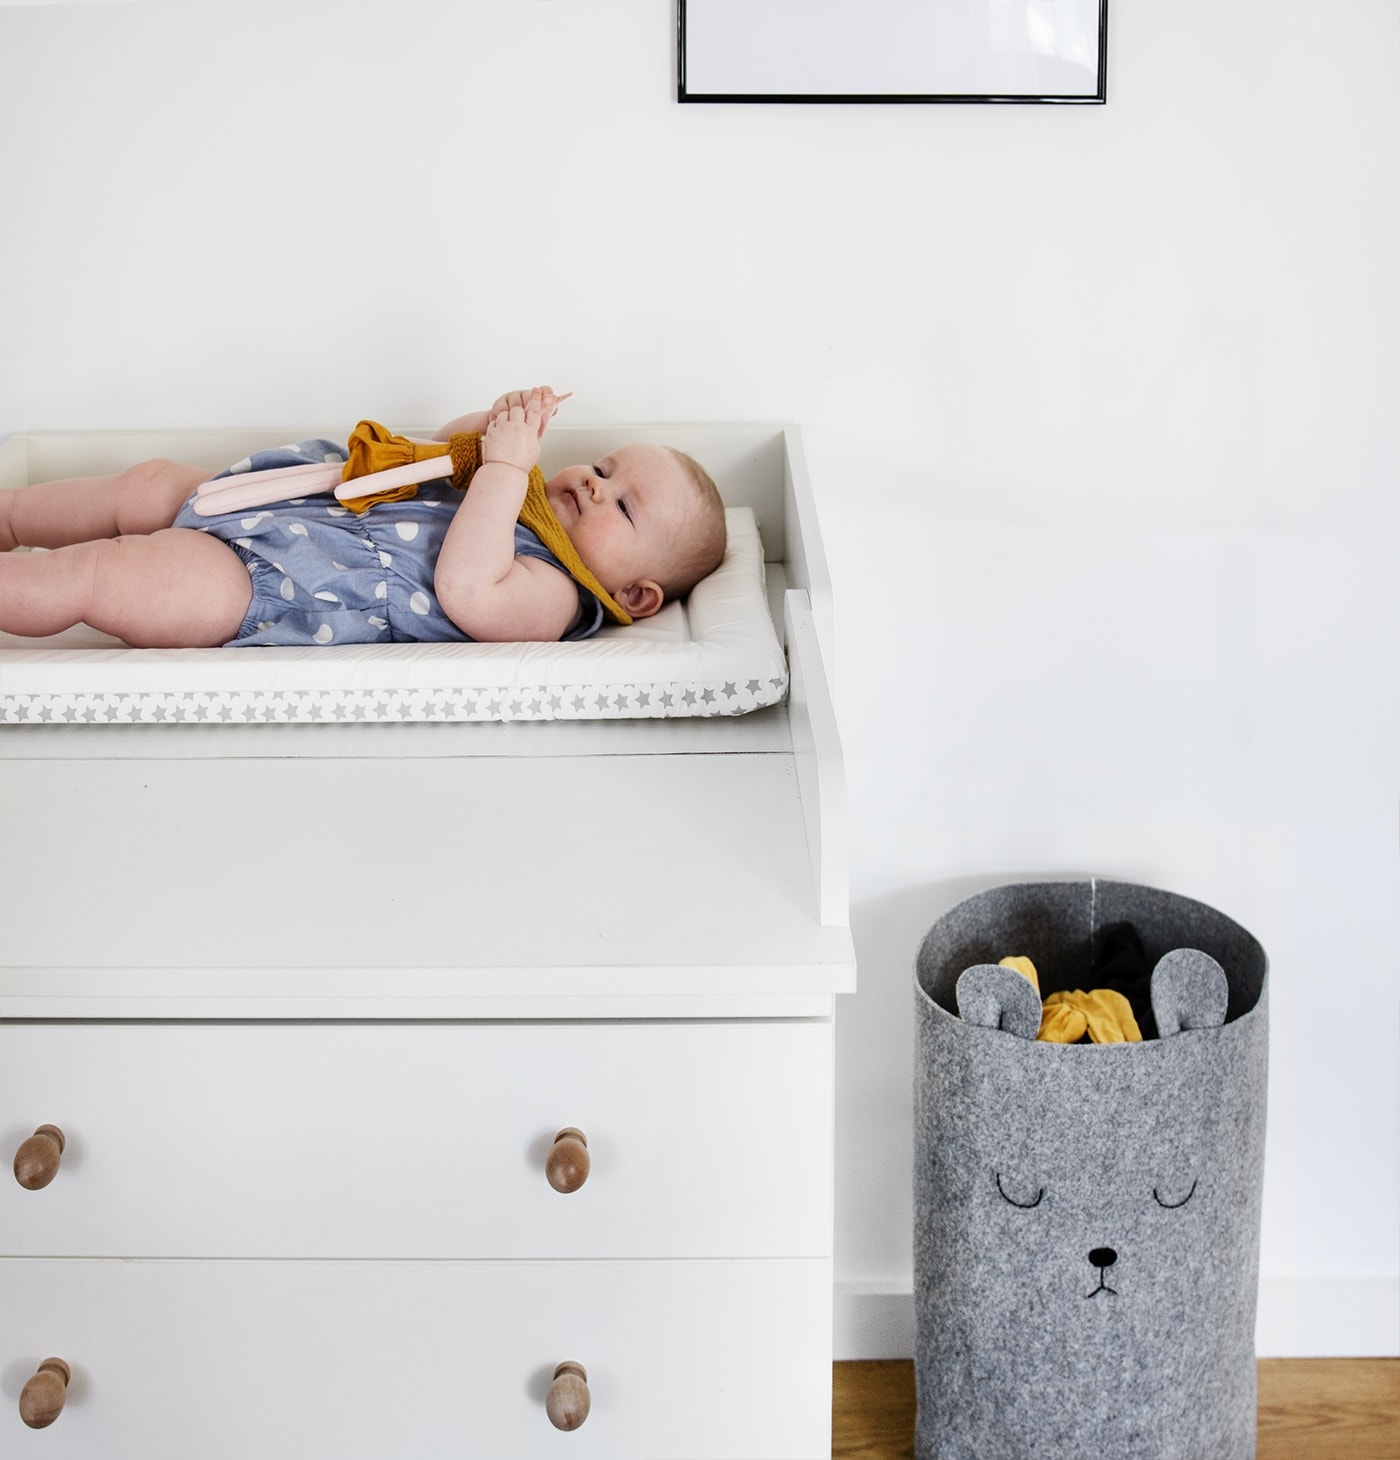
Do you ever find a temporary solution to something and then realise six months down the line that you’re temporary solution has become a permanent fixture? That’s what happened with Maggie’s laundry bin. Wow that sounds like a dull way to introduce a post but I’ll continue anyway.
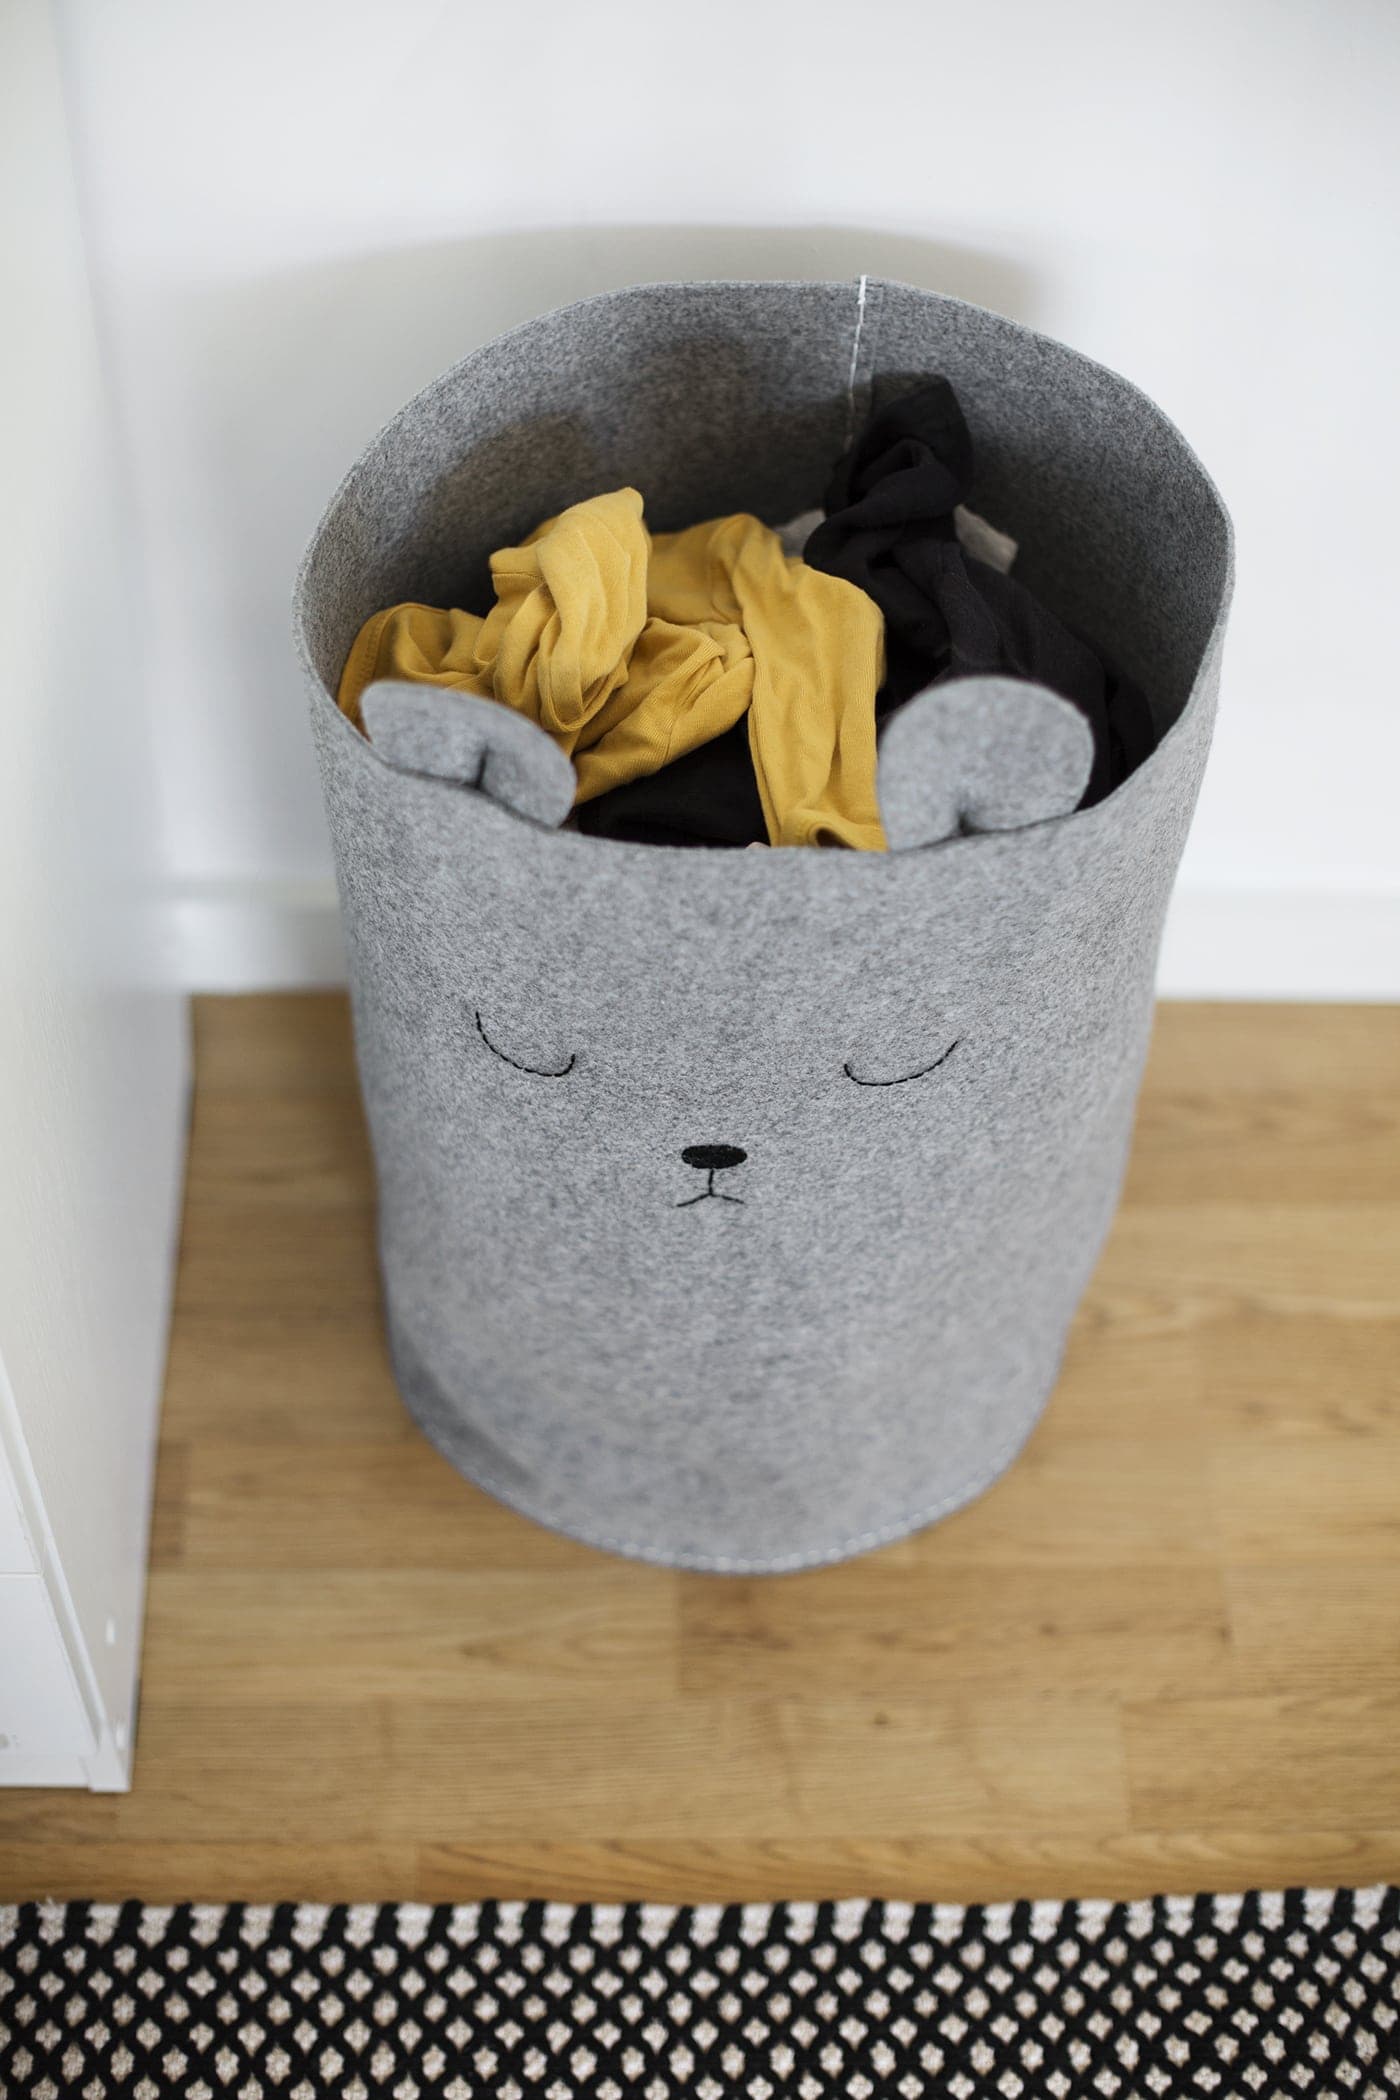
We’ve been using a very shallow container to hold all her dirty clothes since near the beginning of her life out of the womb and I’ve been meaning to find something else ever since. Shallow is not the best for babies that churn through a lot of outfits with poo explosions and all those fun and games. You could say it encouraged me to do more loads of washing but I wasn’t a fan of all her mini outfits overflowing out off the top. I designed this much larger and much cuter laundry bin to meet the need and seven months on it’s finally landed in her bedroom. Meet my handy bear friend who is easy to make and practical to boot!

Materials:
- 1m x 1m (depending on size of laundry bin) 3 – 4 mm felt
- Round plate or chopping board at desired circumference for laundry bin
- Pencil
- Fabric Scissors
- Pins
- Tape measure
- Card scraps
- Needle with a large enough hole to thread embroidery thread through & a standard needle
- White embroidery thread
- Black embroidery thread
- Grey sewing thread
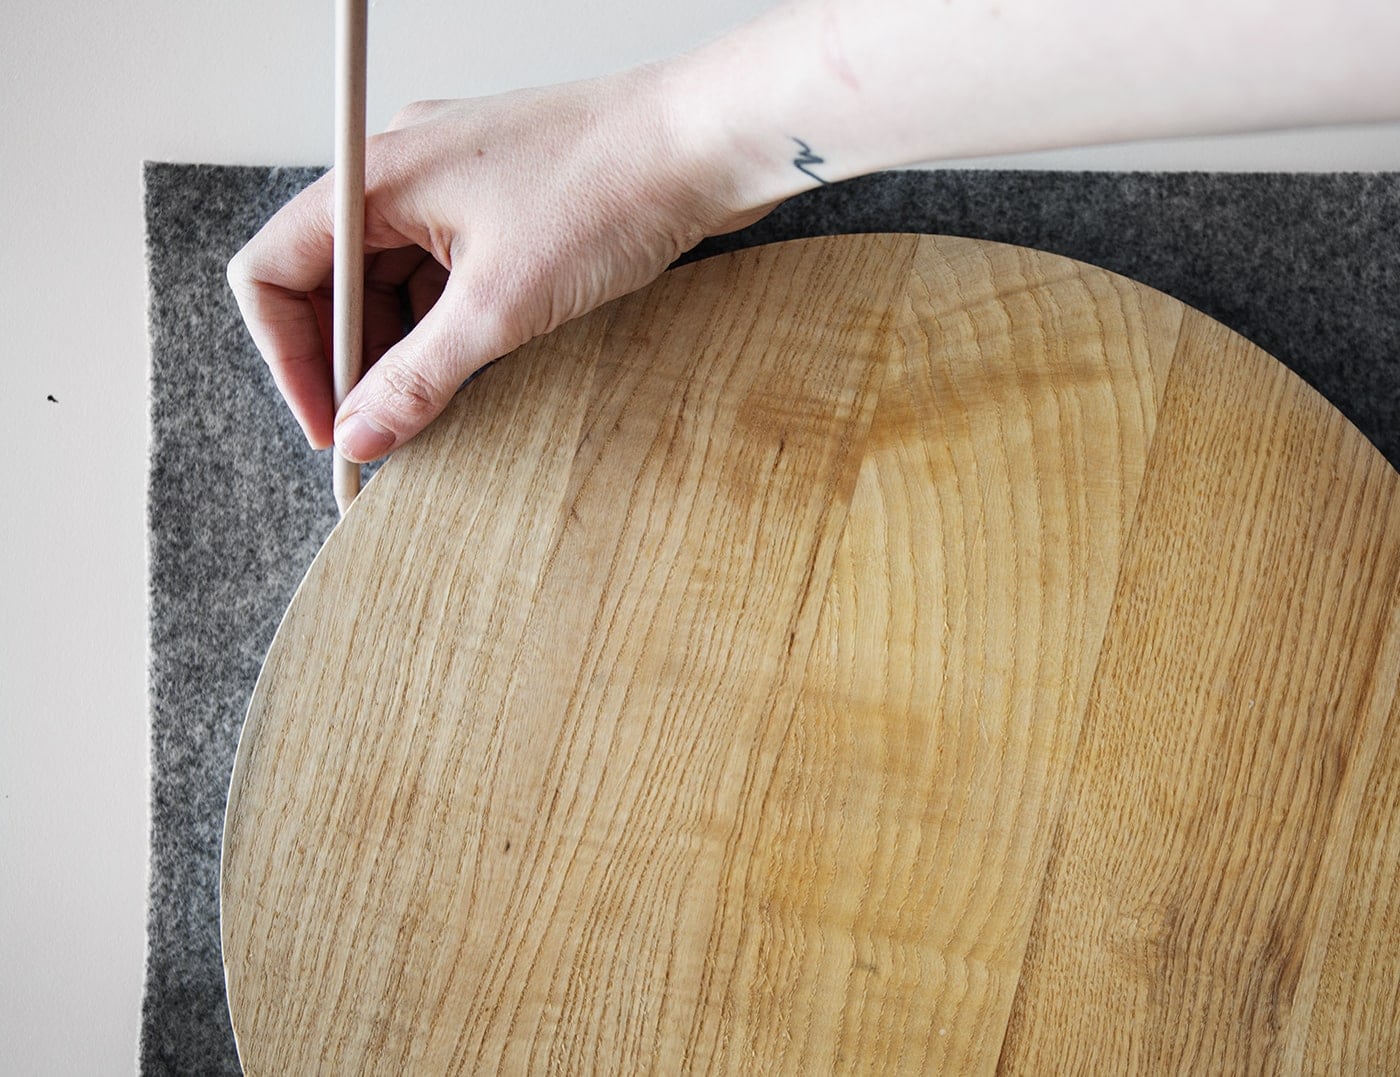
Start by drawing around your circular item, onto the felt.

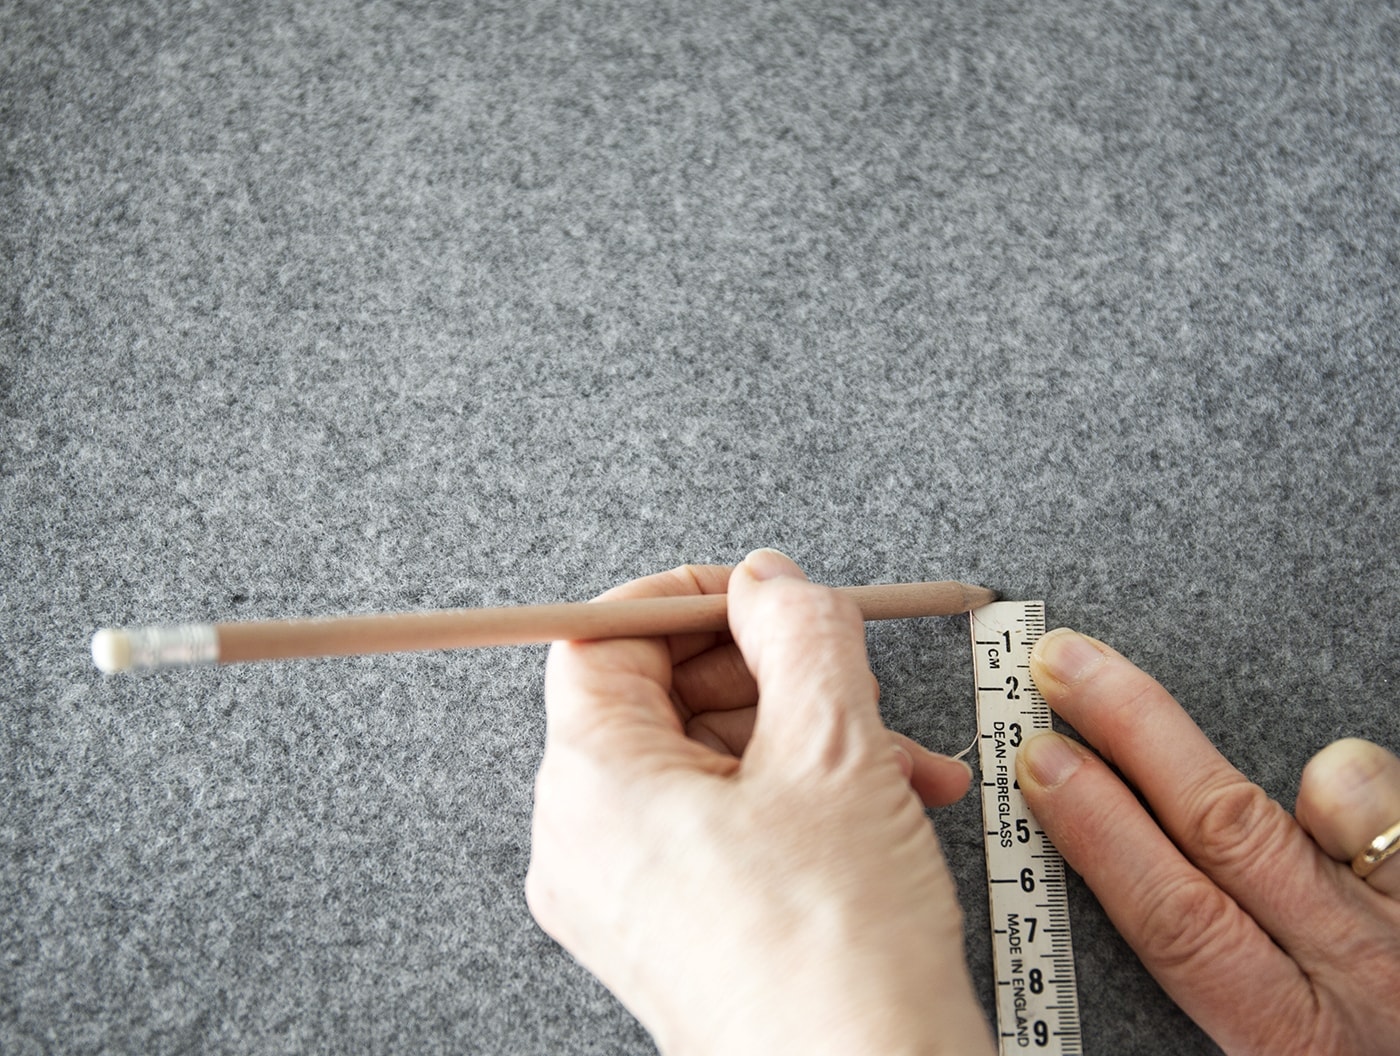
Cut this shape out as neatly as you can. It’s a good idea to use a tape measure to follow the circumference and measure how wide the joining piece of felt needs to be.
Cut the rest of the felt to the correct width and then decide how tall you’d like your laundry bin. Measure this distance from the bottom and mark with a pencil. Continue to do this all the way across until you can see a clear and even line to cut.
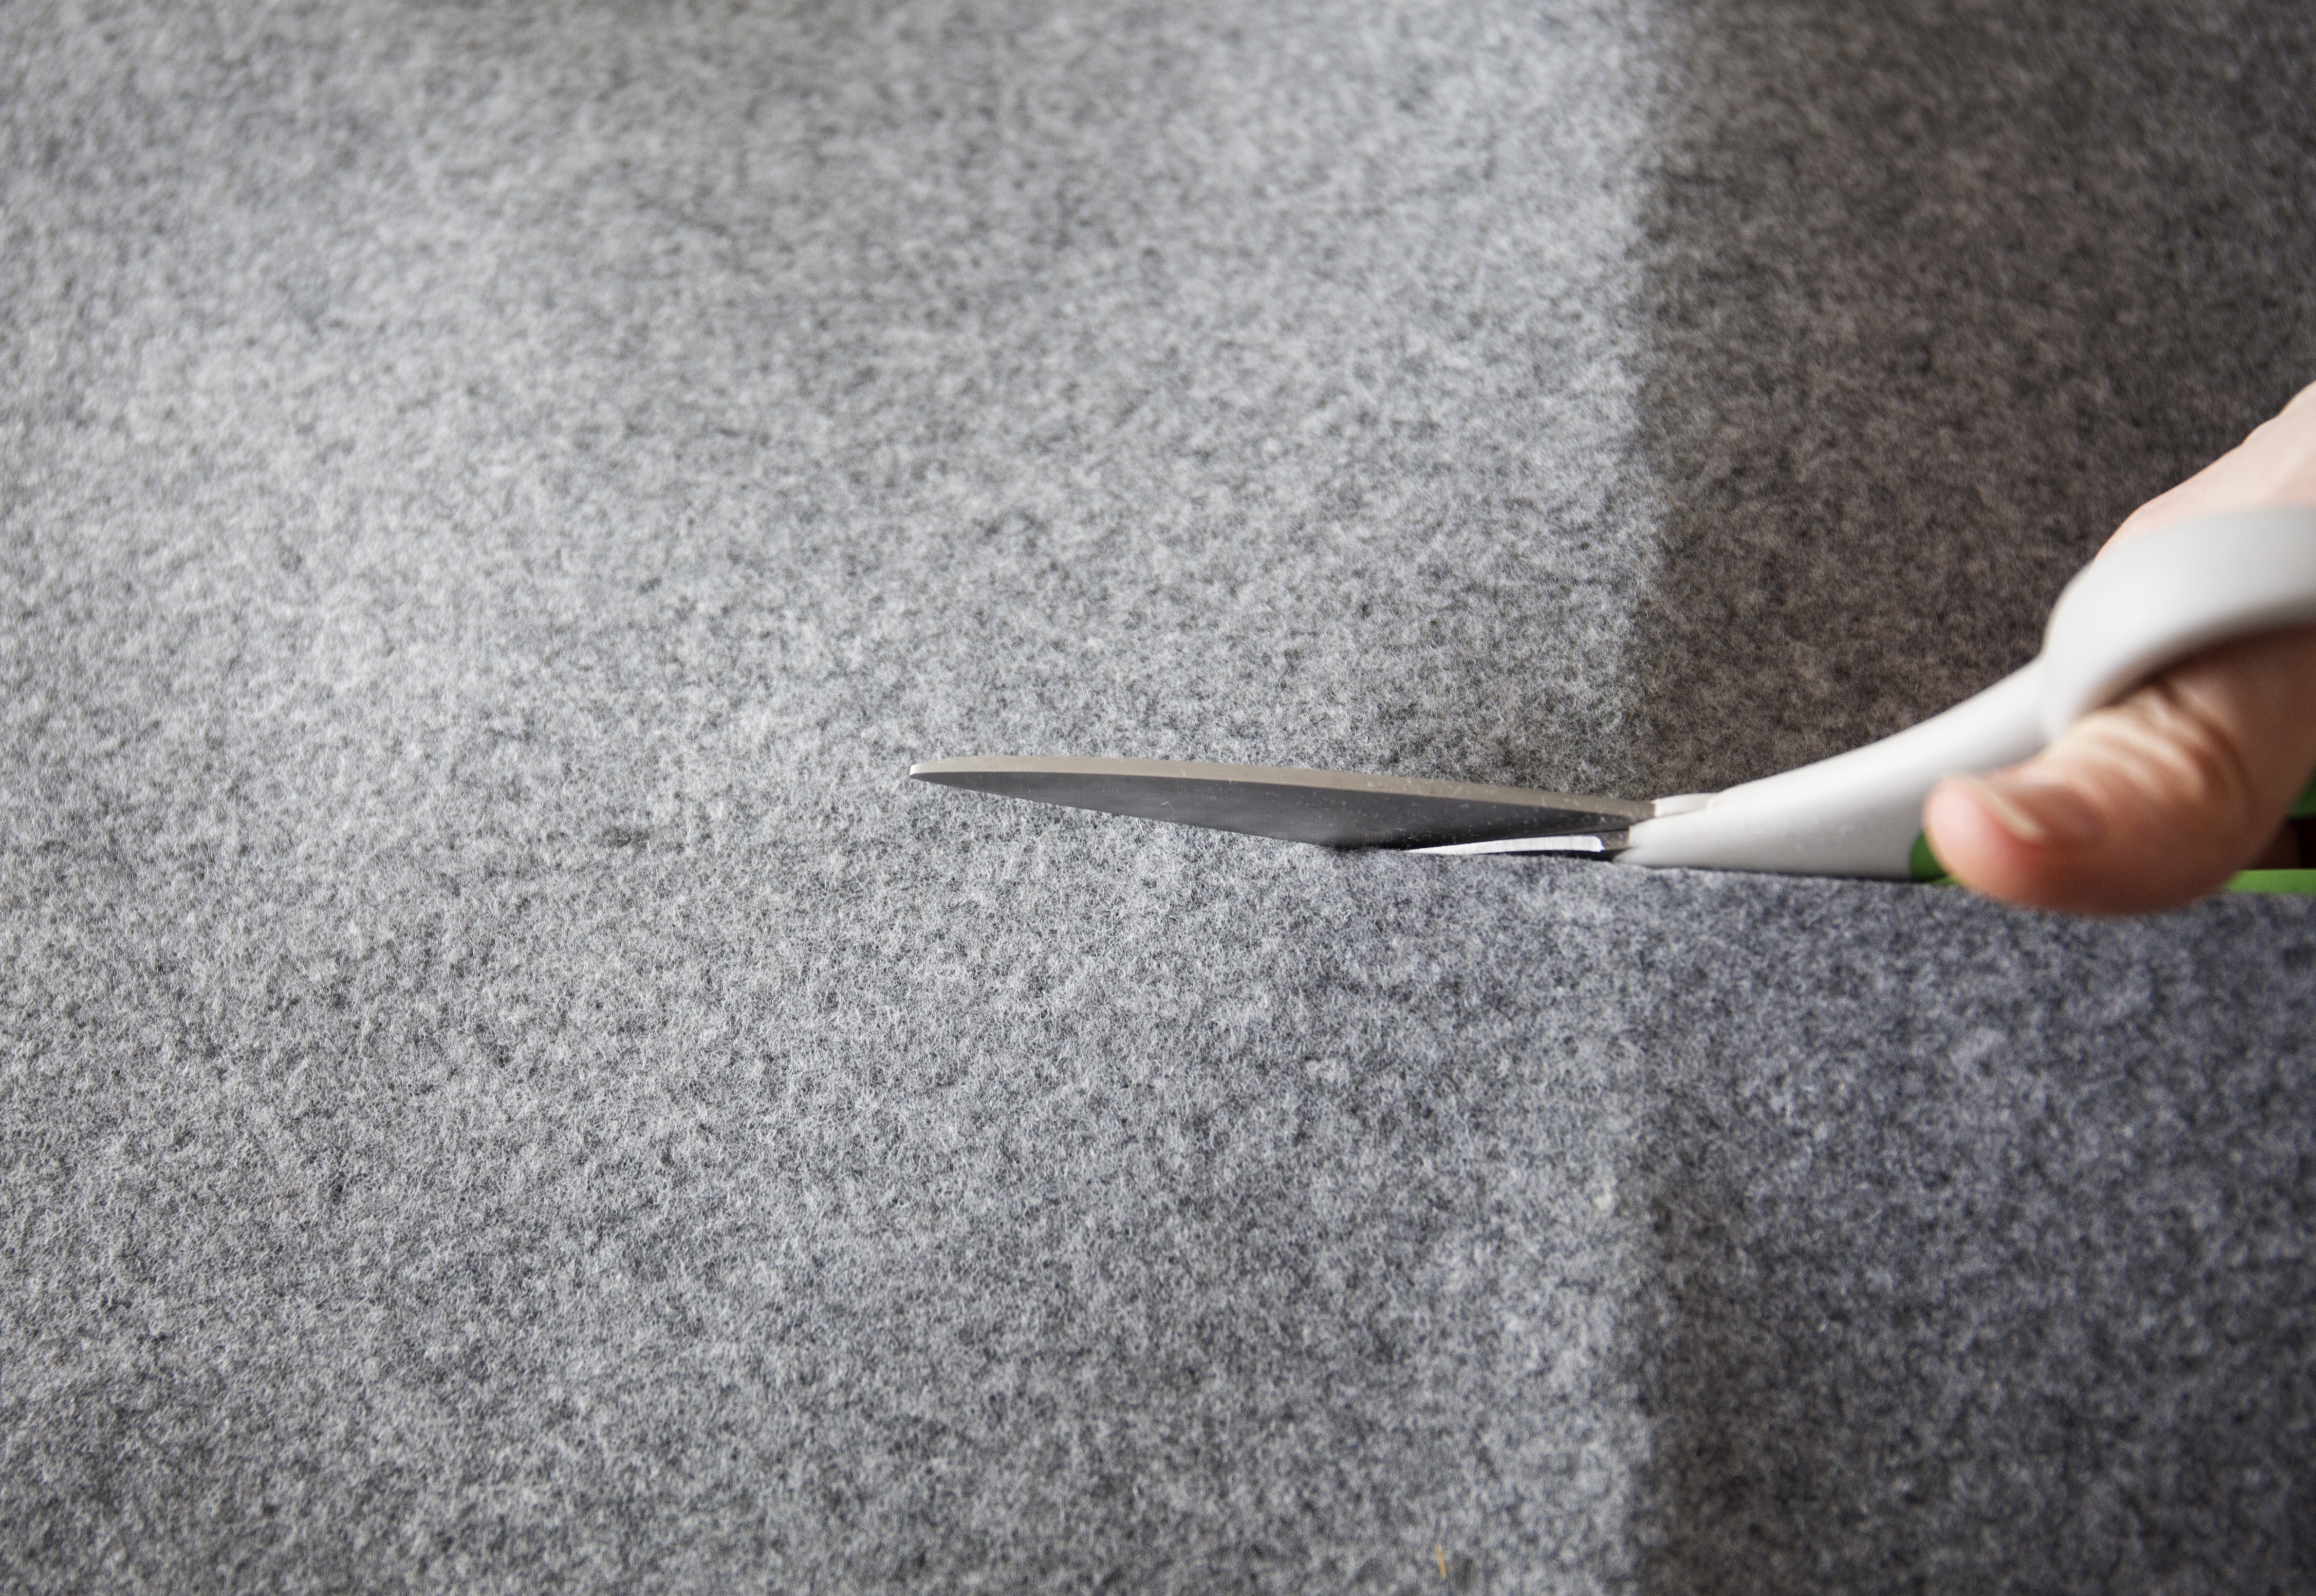
Now cut along these points, joining the dots with each snip.
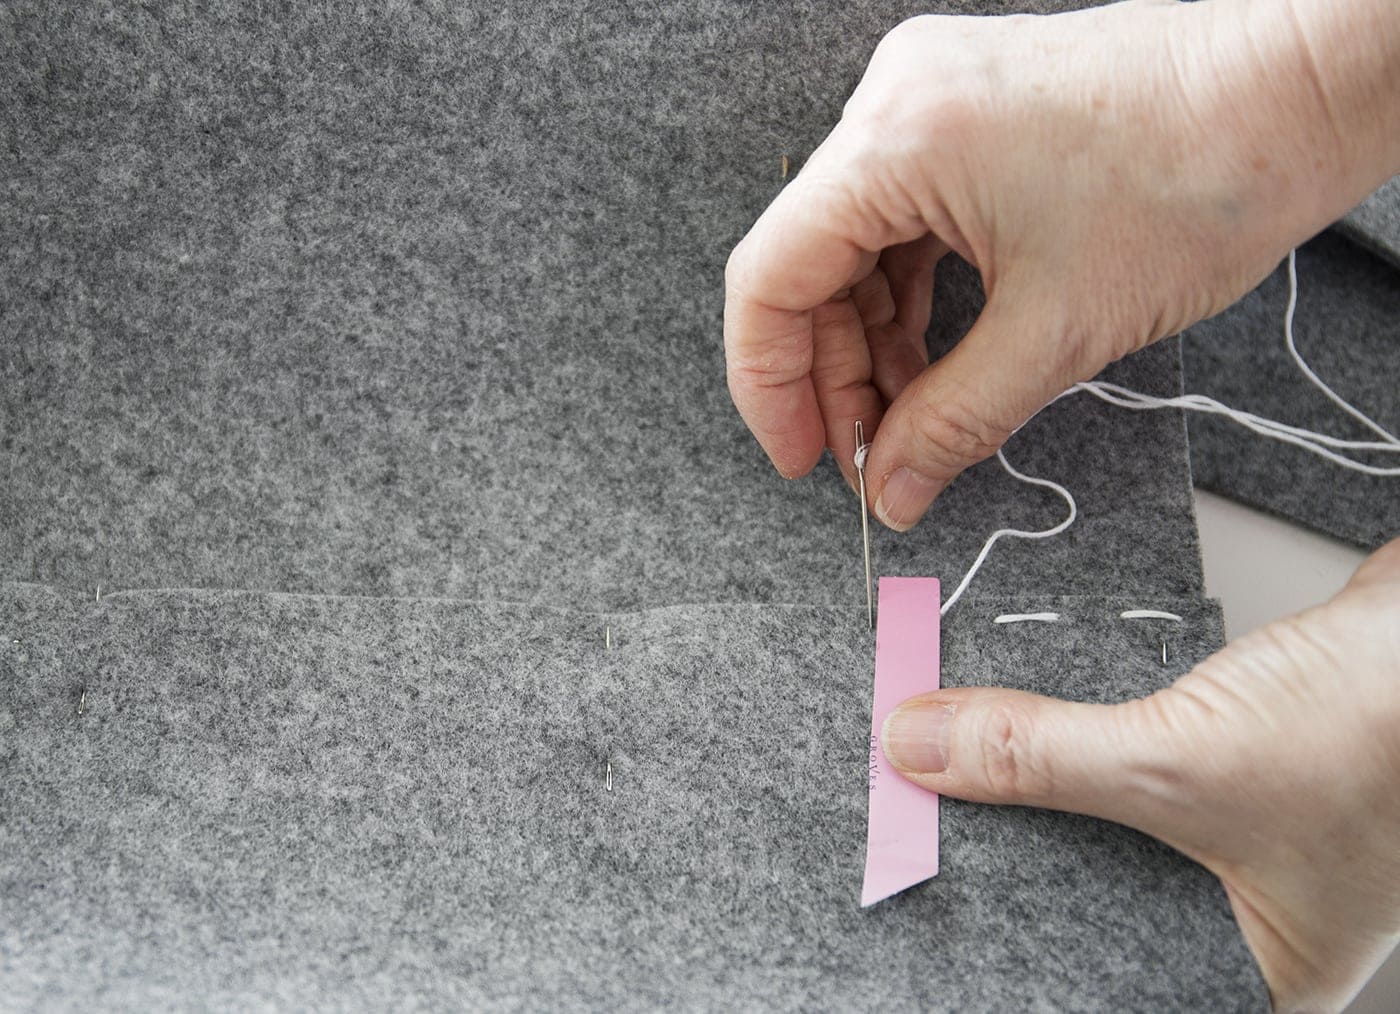
Now to sew up either end of this piece of felt to make a cylinder. Start by pinning this join together the whole way up and then thread your needle with the embroidery thread. Cut a piece of card to the size you’d like each stitch and gap between stitches to be. Mine was about 1.5cm. Then tie a knot in the embroidery thread and start on what will be the inside. Do large running stitches using the card guide as you go. This will help it to look even.
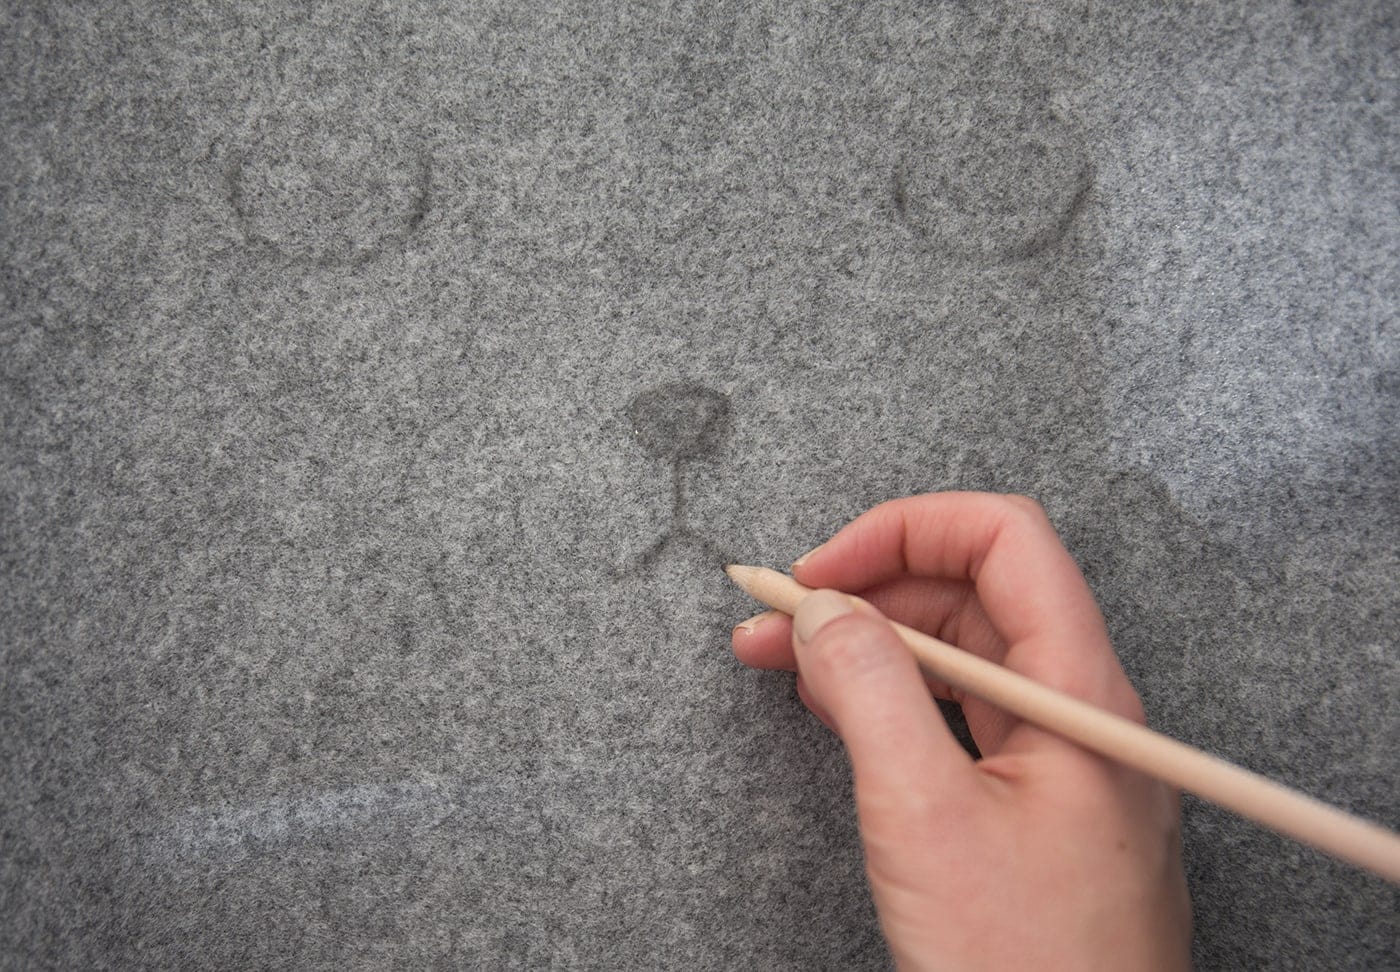
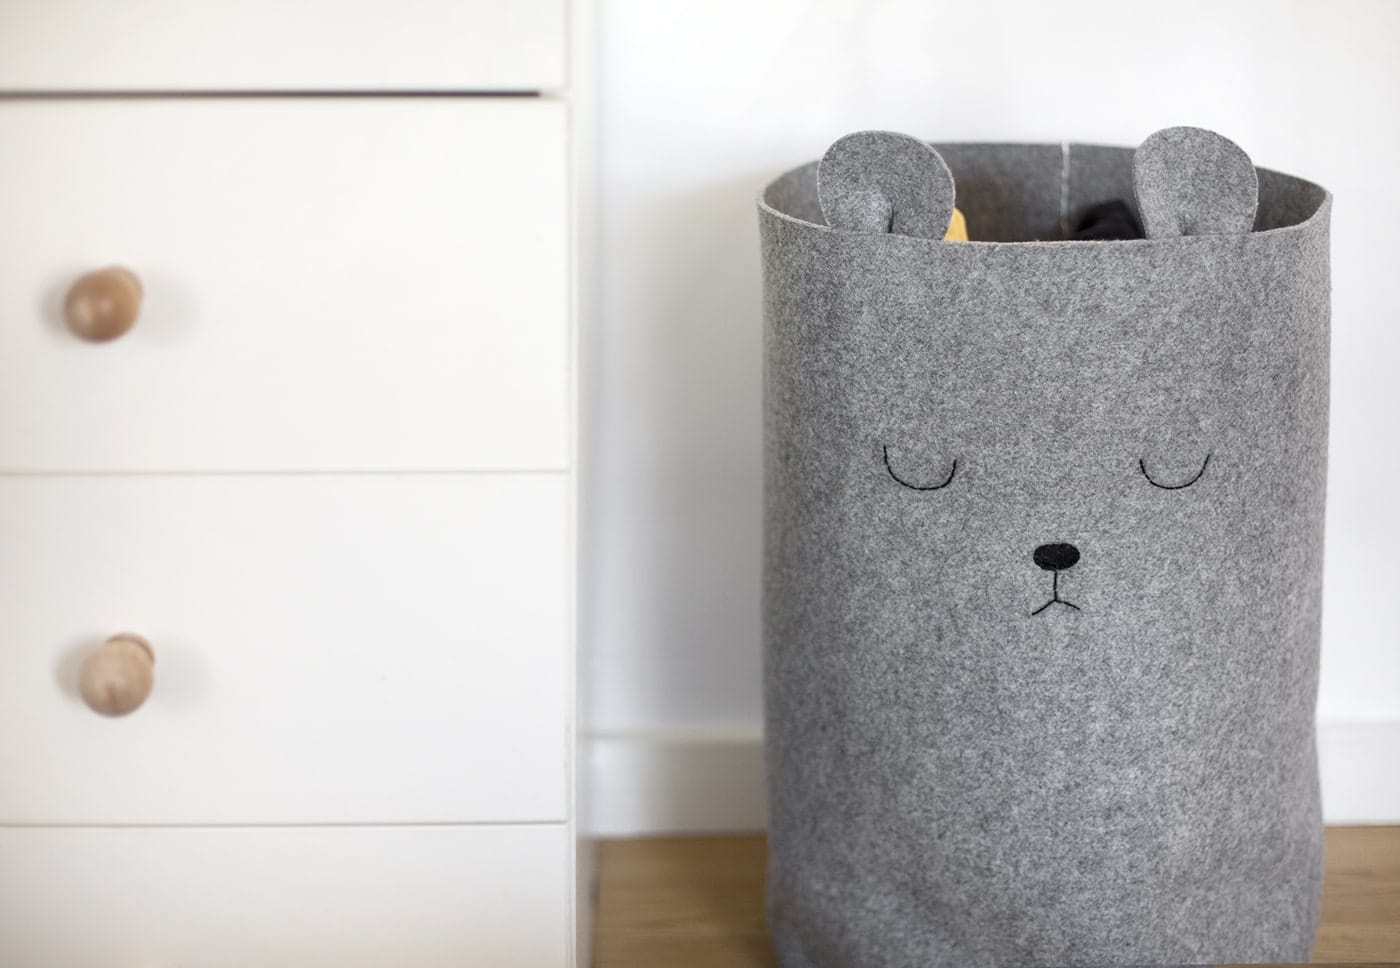
Once you’ve sewn the felt into a cylinder, find the middle on the opposite side and draw your bear face on in pencil.
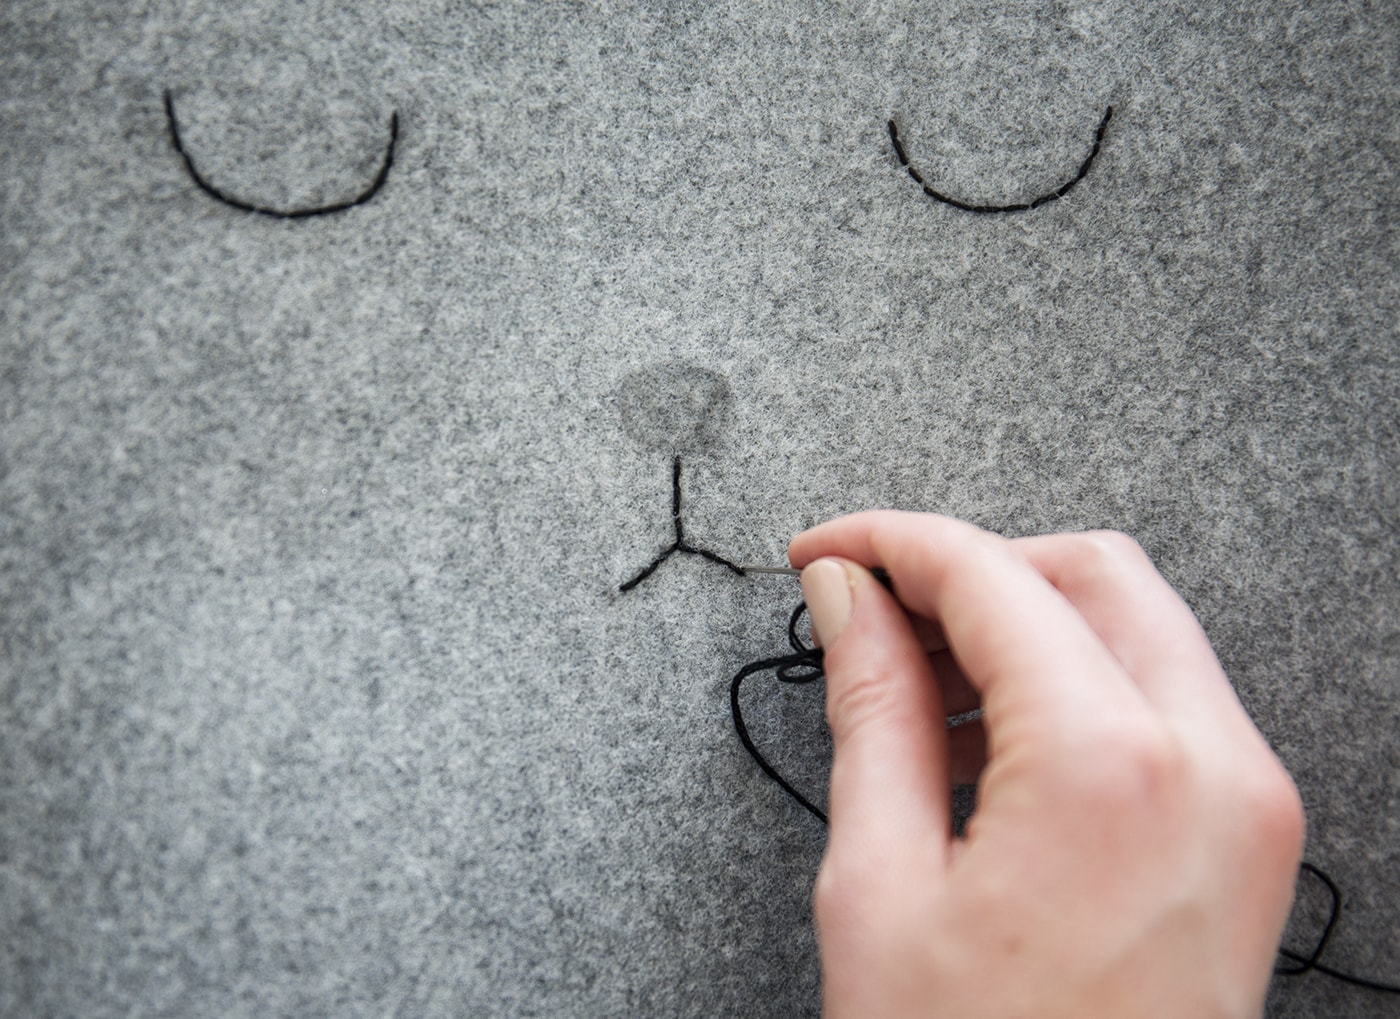
Thread your needle with black embroidery thread this time and follow the pencil lines with a smaller running stitch.
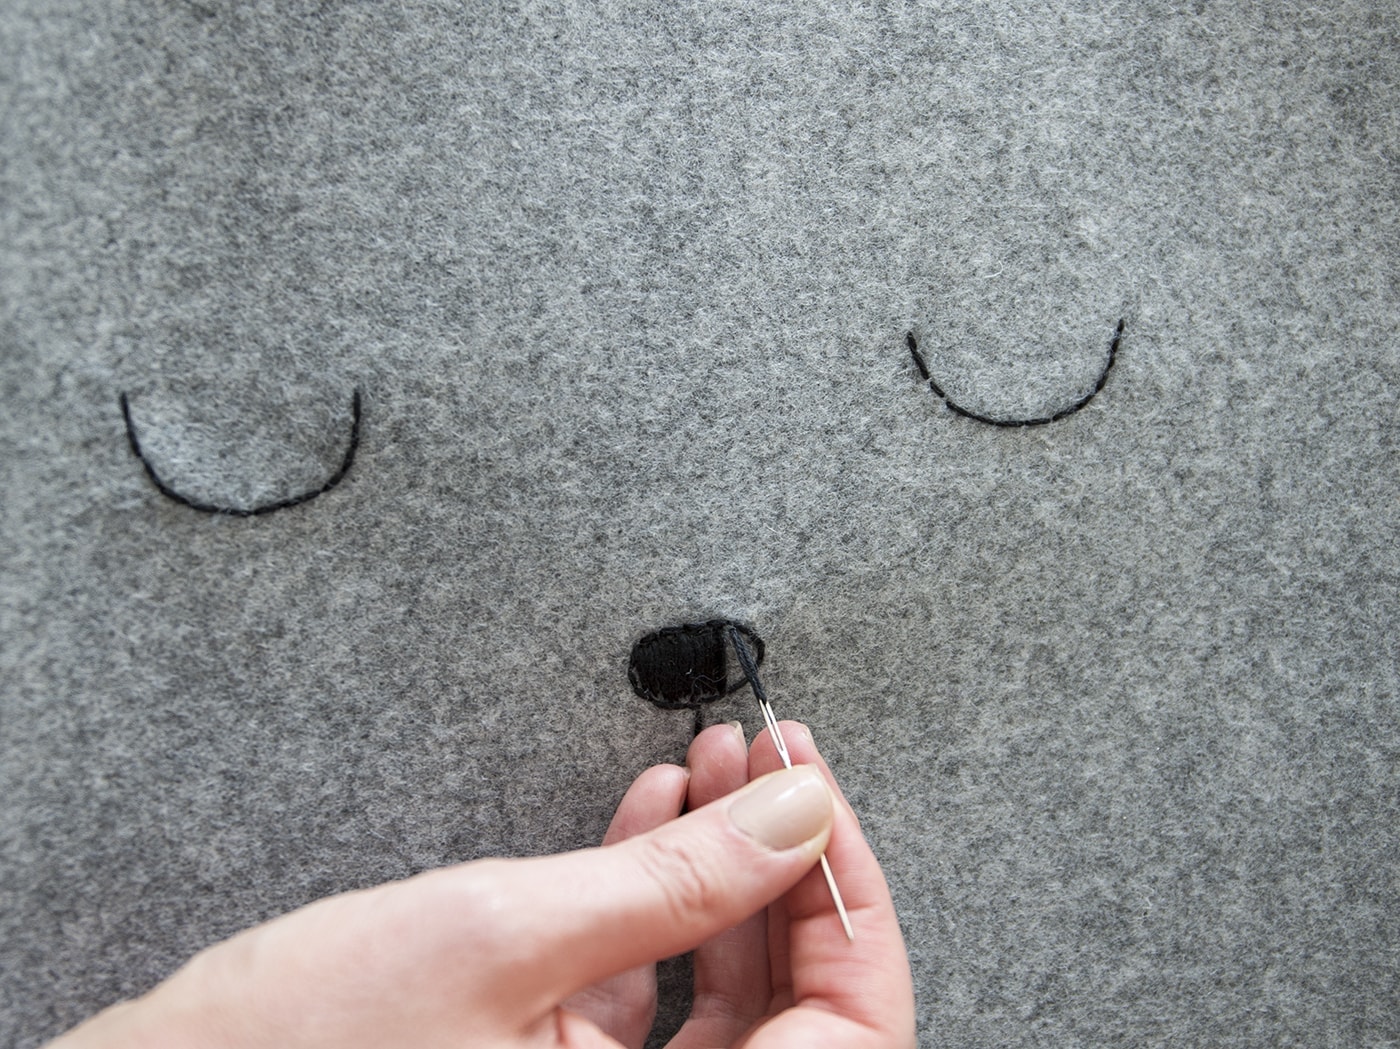
For the nose I outlined the shape with the same running stitch and then filled it in with large stitches from top to bottom, all the way along. Keep them close together to get a solid fill.
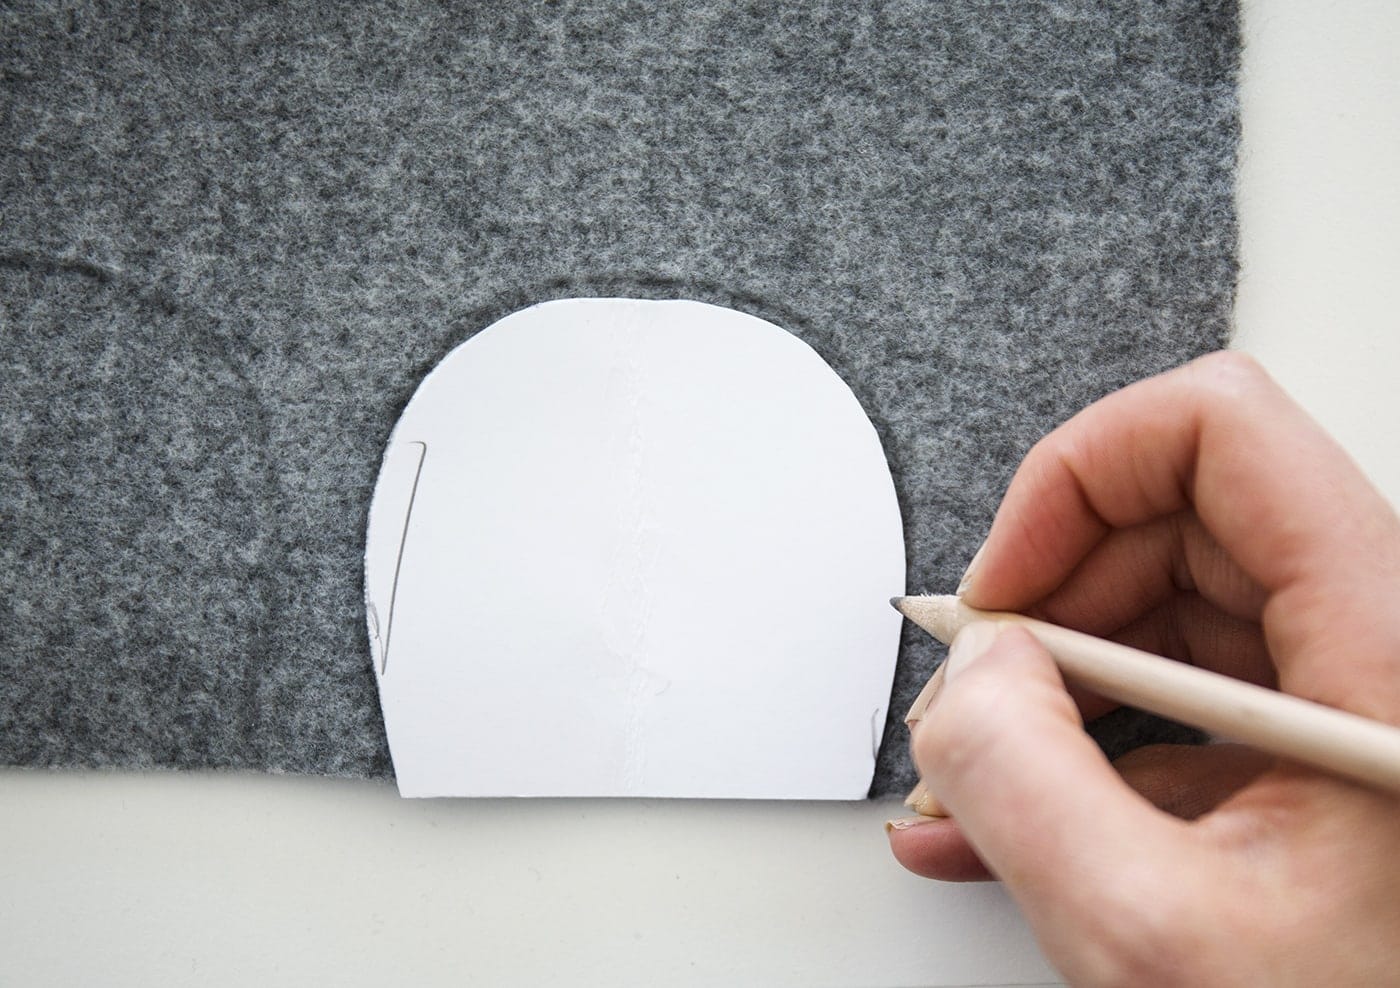
Now to make the ears. Use a piece of card to create a template. Fold a section in half an draw half the ear on. Now you can cut through both and unfold to reveal an even shape. Lay this on the felt and draw yourself two ears. Cut them both out.
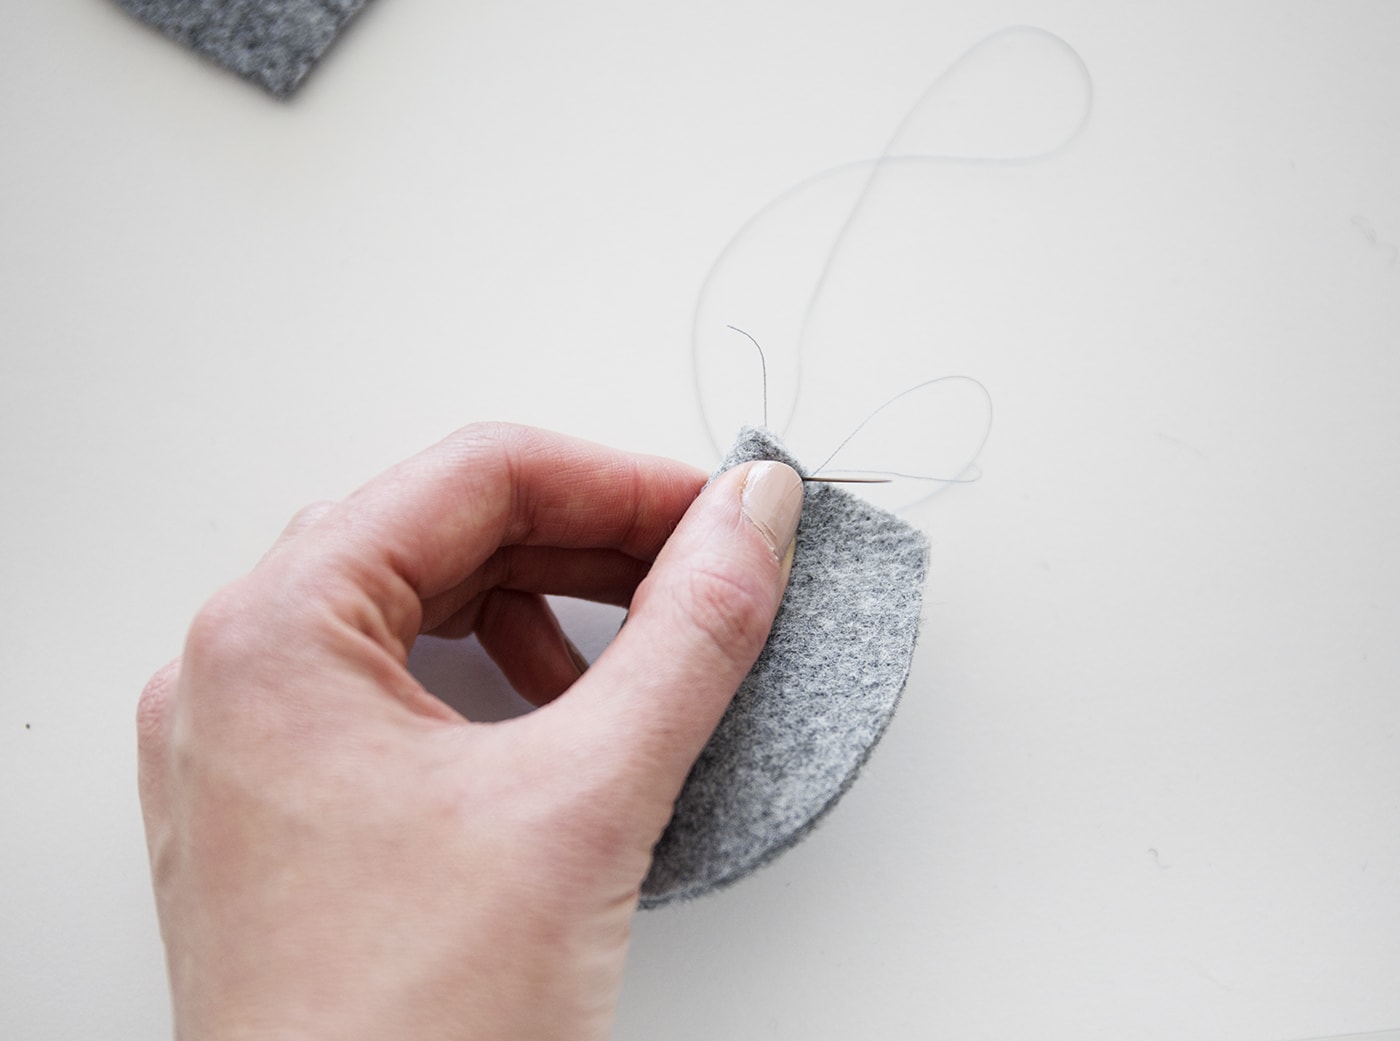
Pinch each ear in slightly at the bottom and thread your needle with ordinary sewing thread. Stitch this pinch together to make a more convincing ear shape.
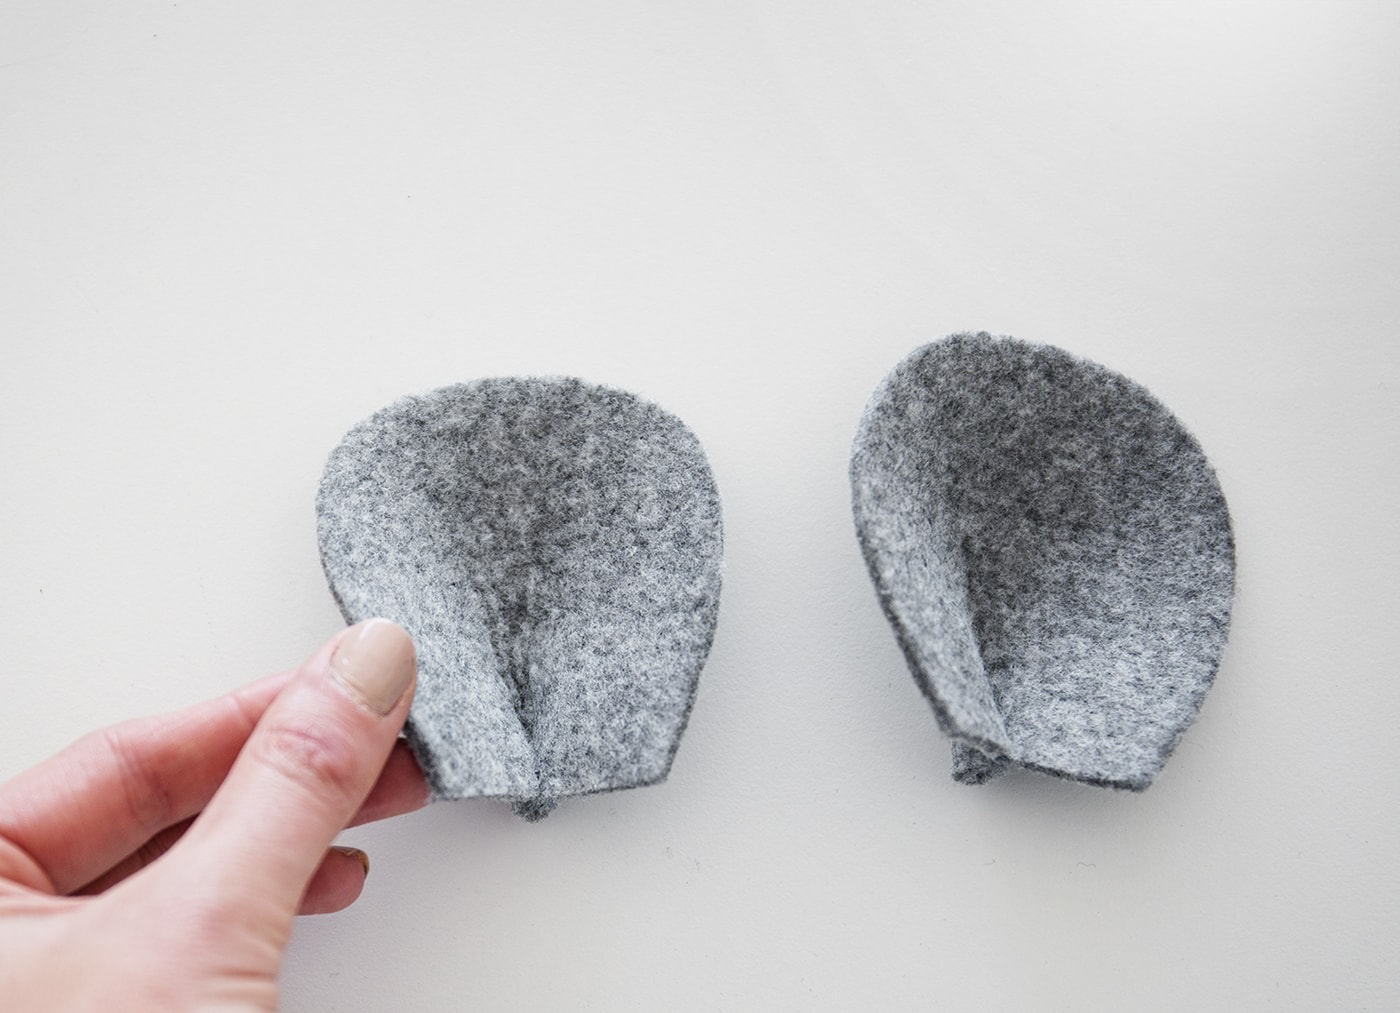
When you’ve finished they should look a little something like this.
Using the eyes as guides you can pin where you want each ear to go along the top edge. This will mean you get them nice and even.
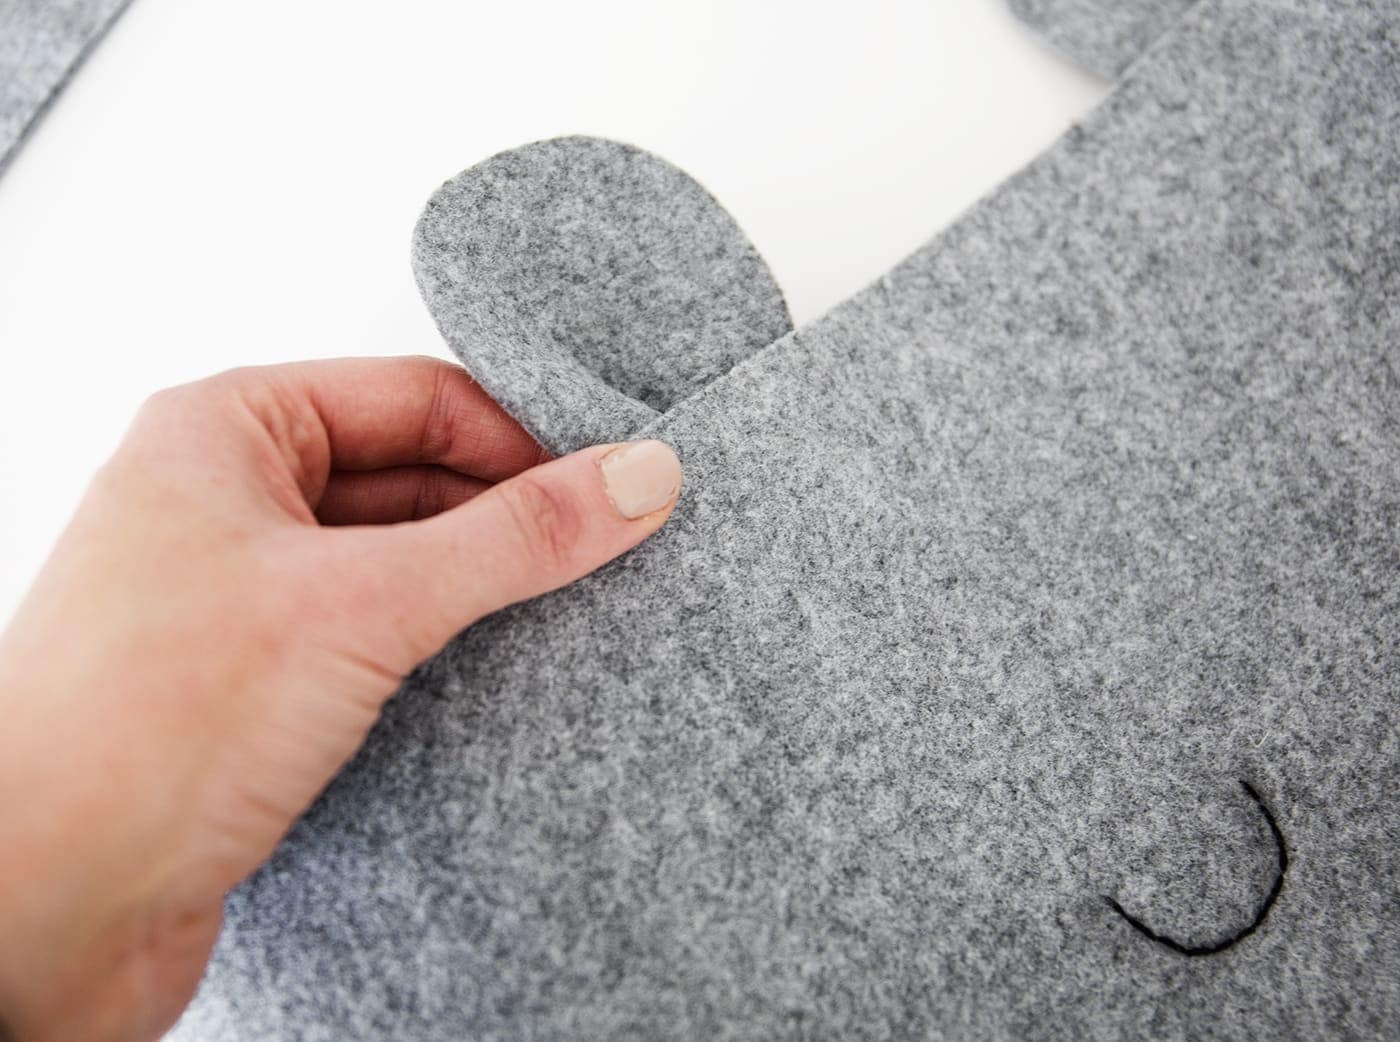
Use the pin guides to stick each ear on with fabric glue. Just press on a line of glue along the bottom of each and press down to adhere.
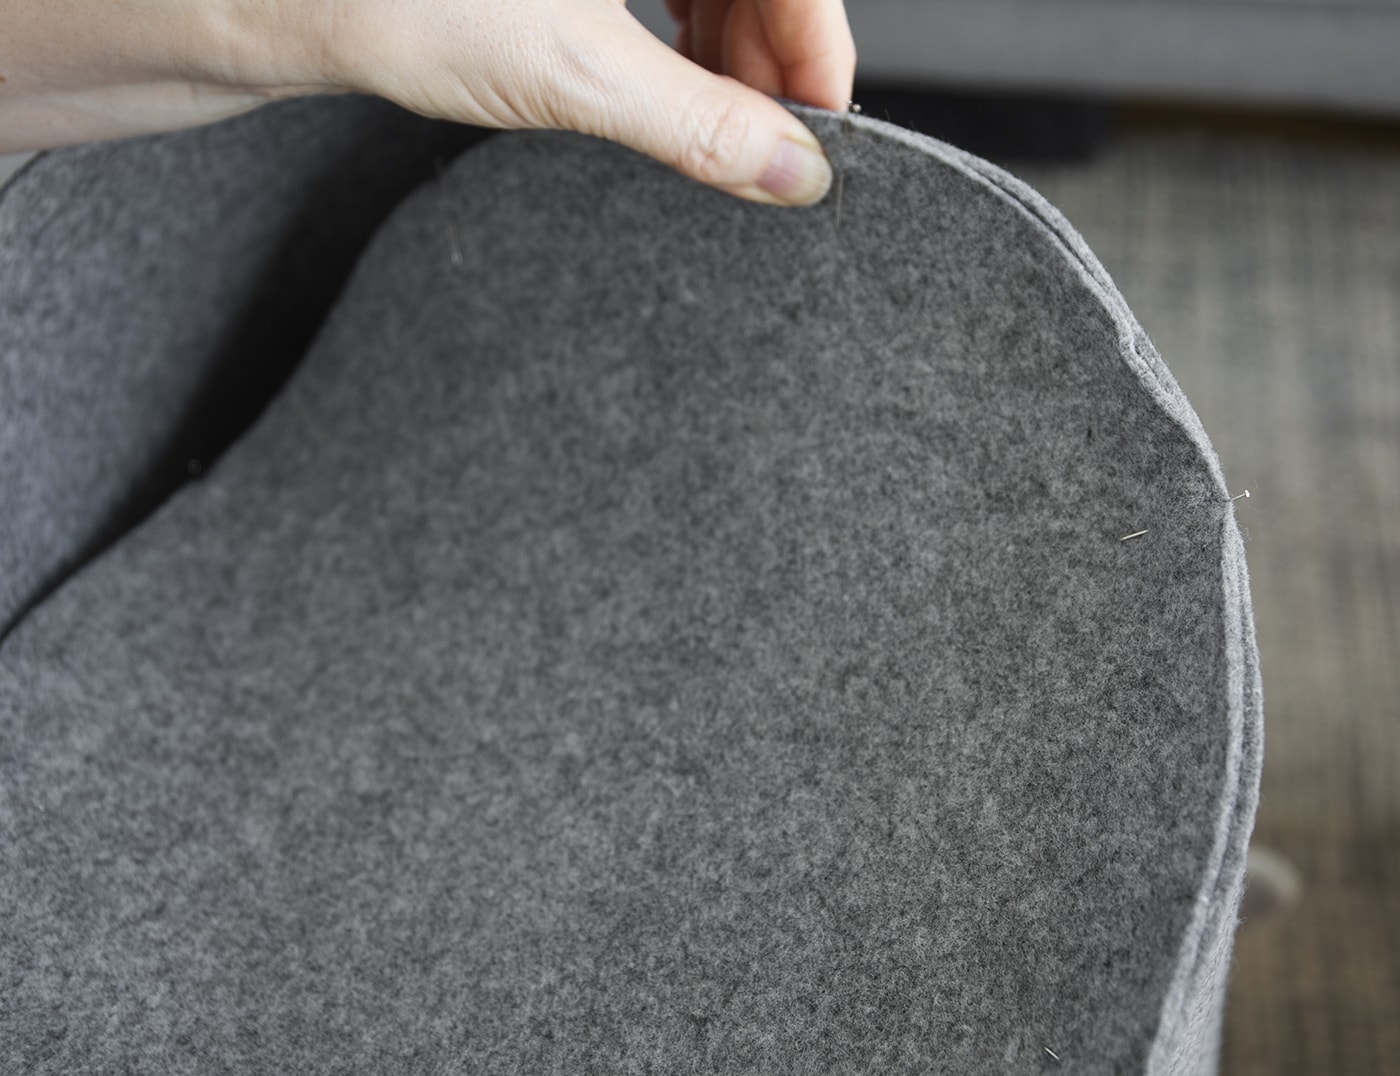
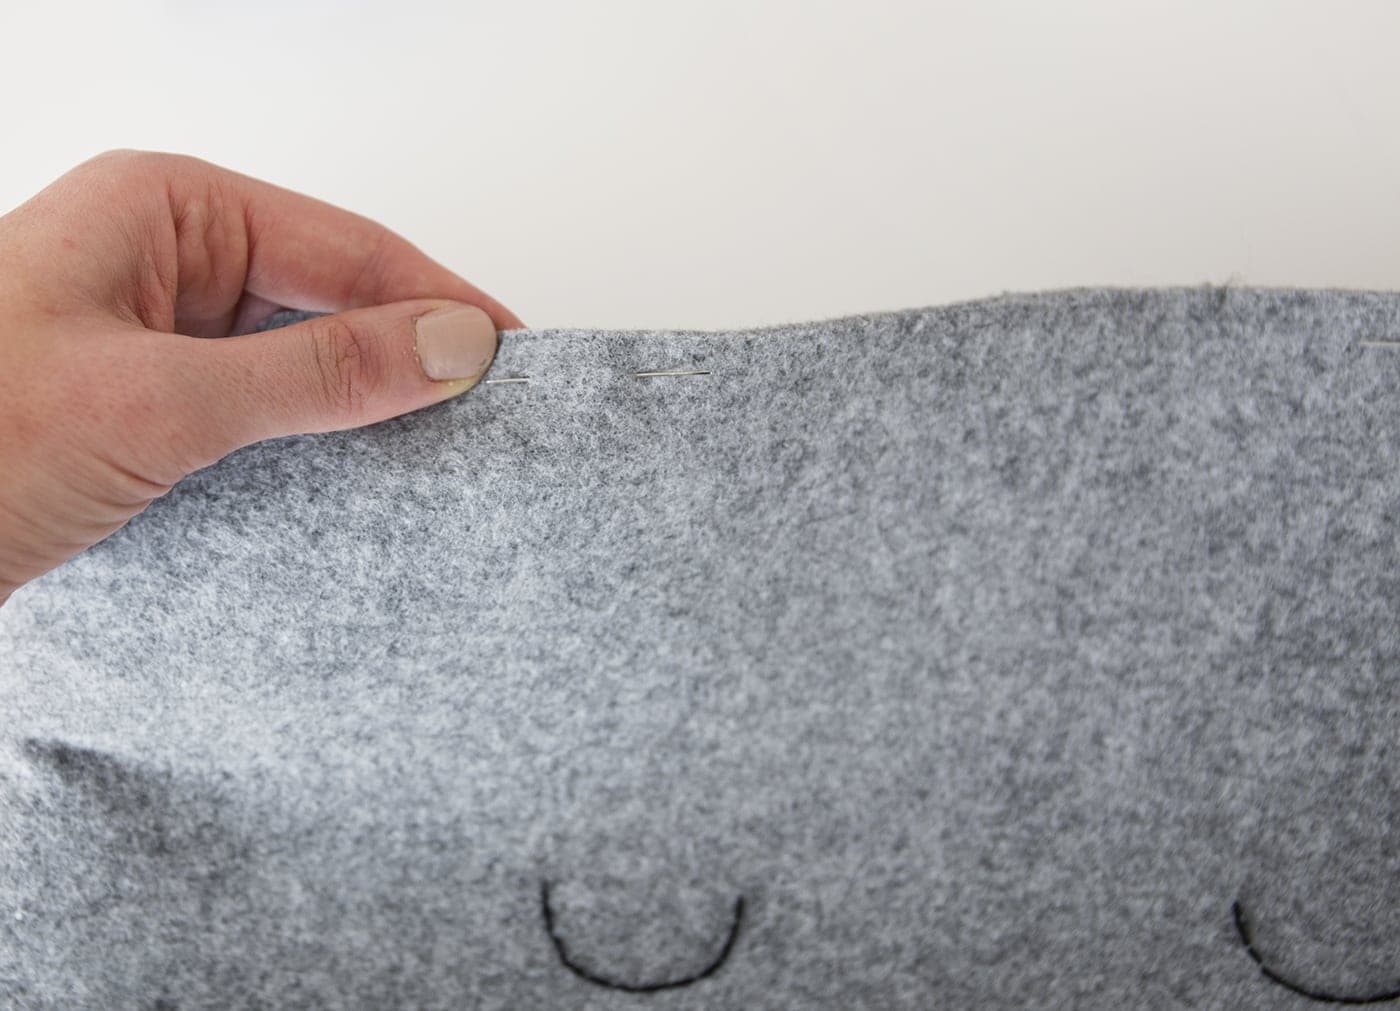
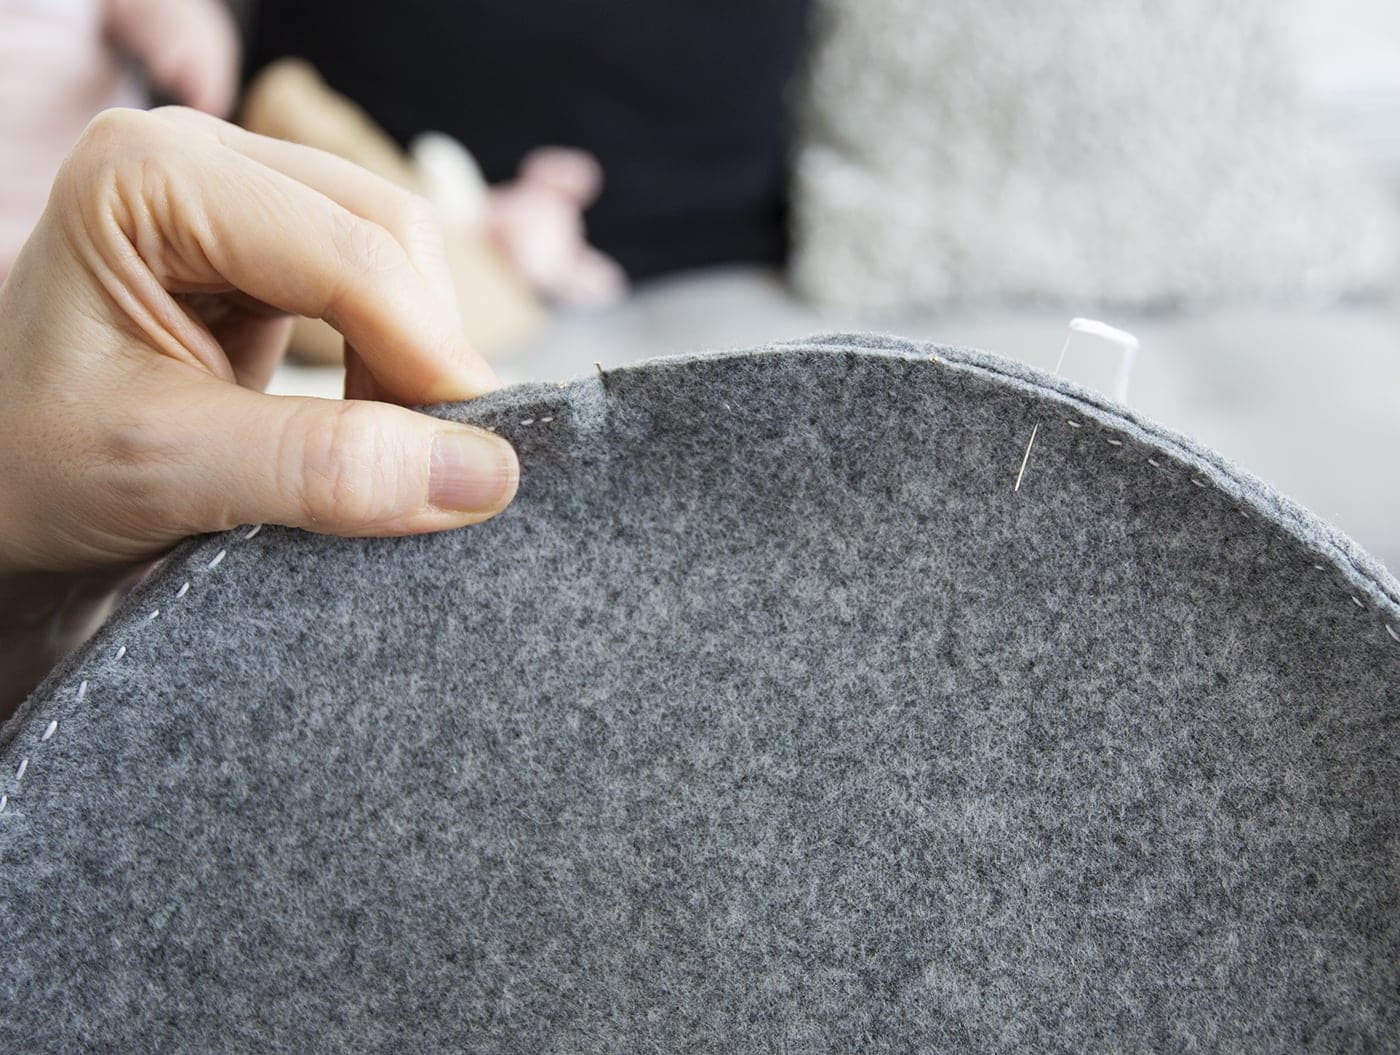
Fold your base circle in half and pin on either side to get the halfway point and then do the same again but fold the other way and pin the edges. This will mean you’ve marked quarter with pins. Then pin in between each pin to give you pin markers for eights of the circle. Do the same for the bottom of your felt cylinder and then join both the circle to the cylinder by lining up these pin points, pinning both layers of felt together.
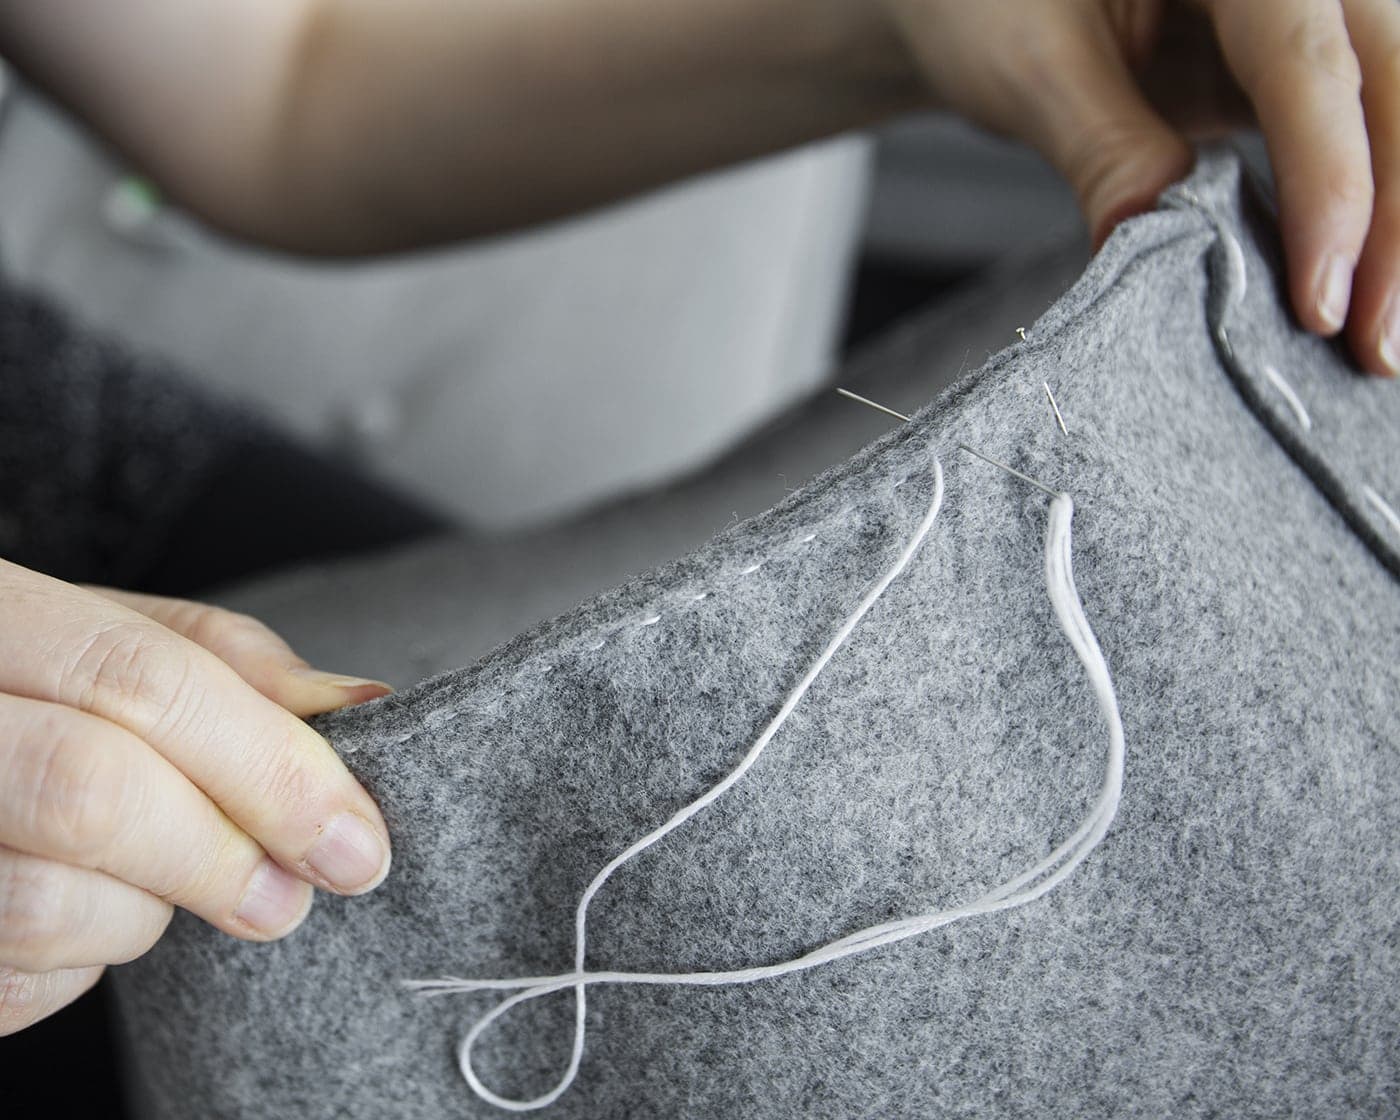
Thread your needle with embroidery thread again, knot and sew through both layers of felt with a medium sized running stitch. Try and keep the stitches roughly even and making sure your felt edges are lined up as you go (obviously your pins will help with that).
Continue the whole way round until your stitches meet and then finish off with another knot and snip any excess thread and you’re done!
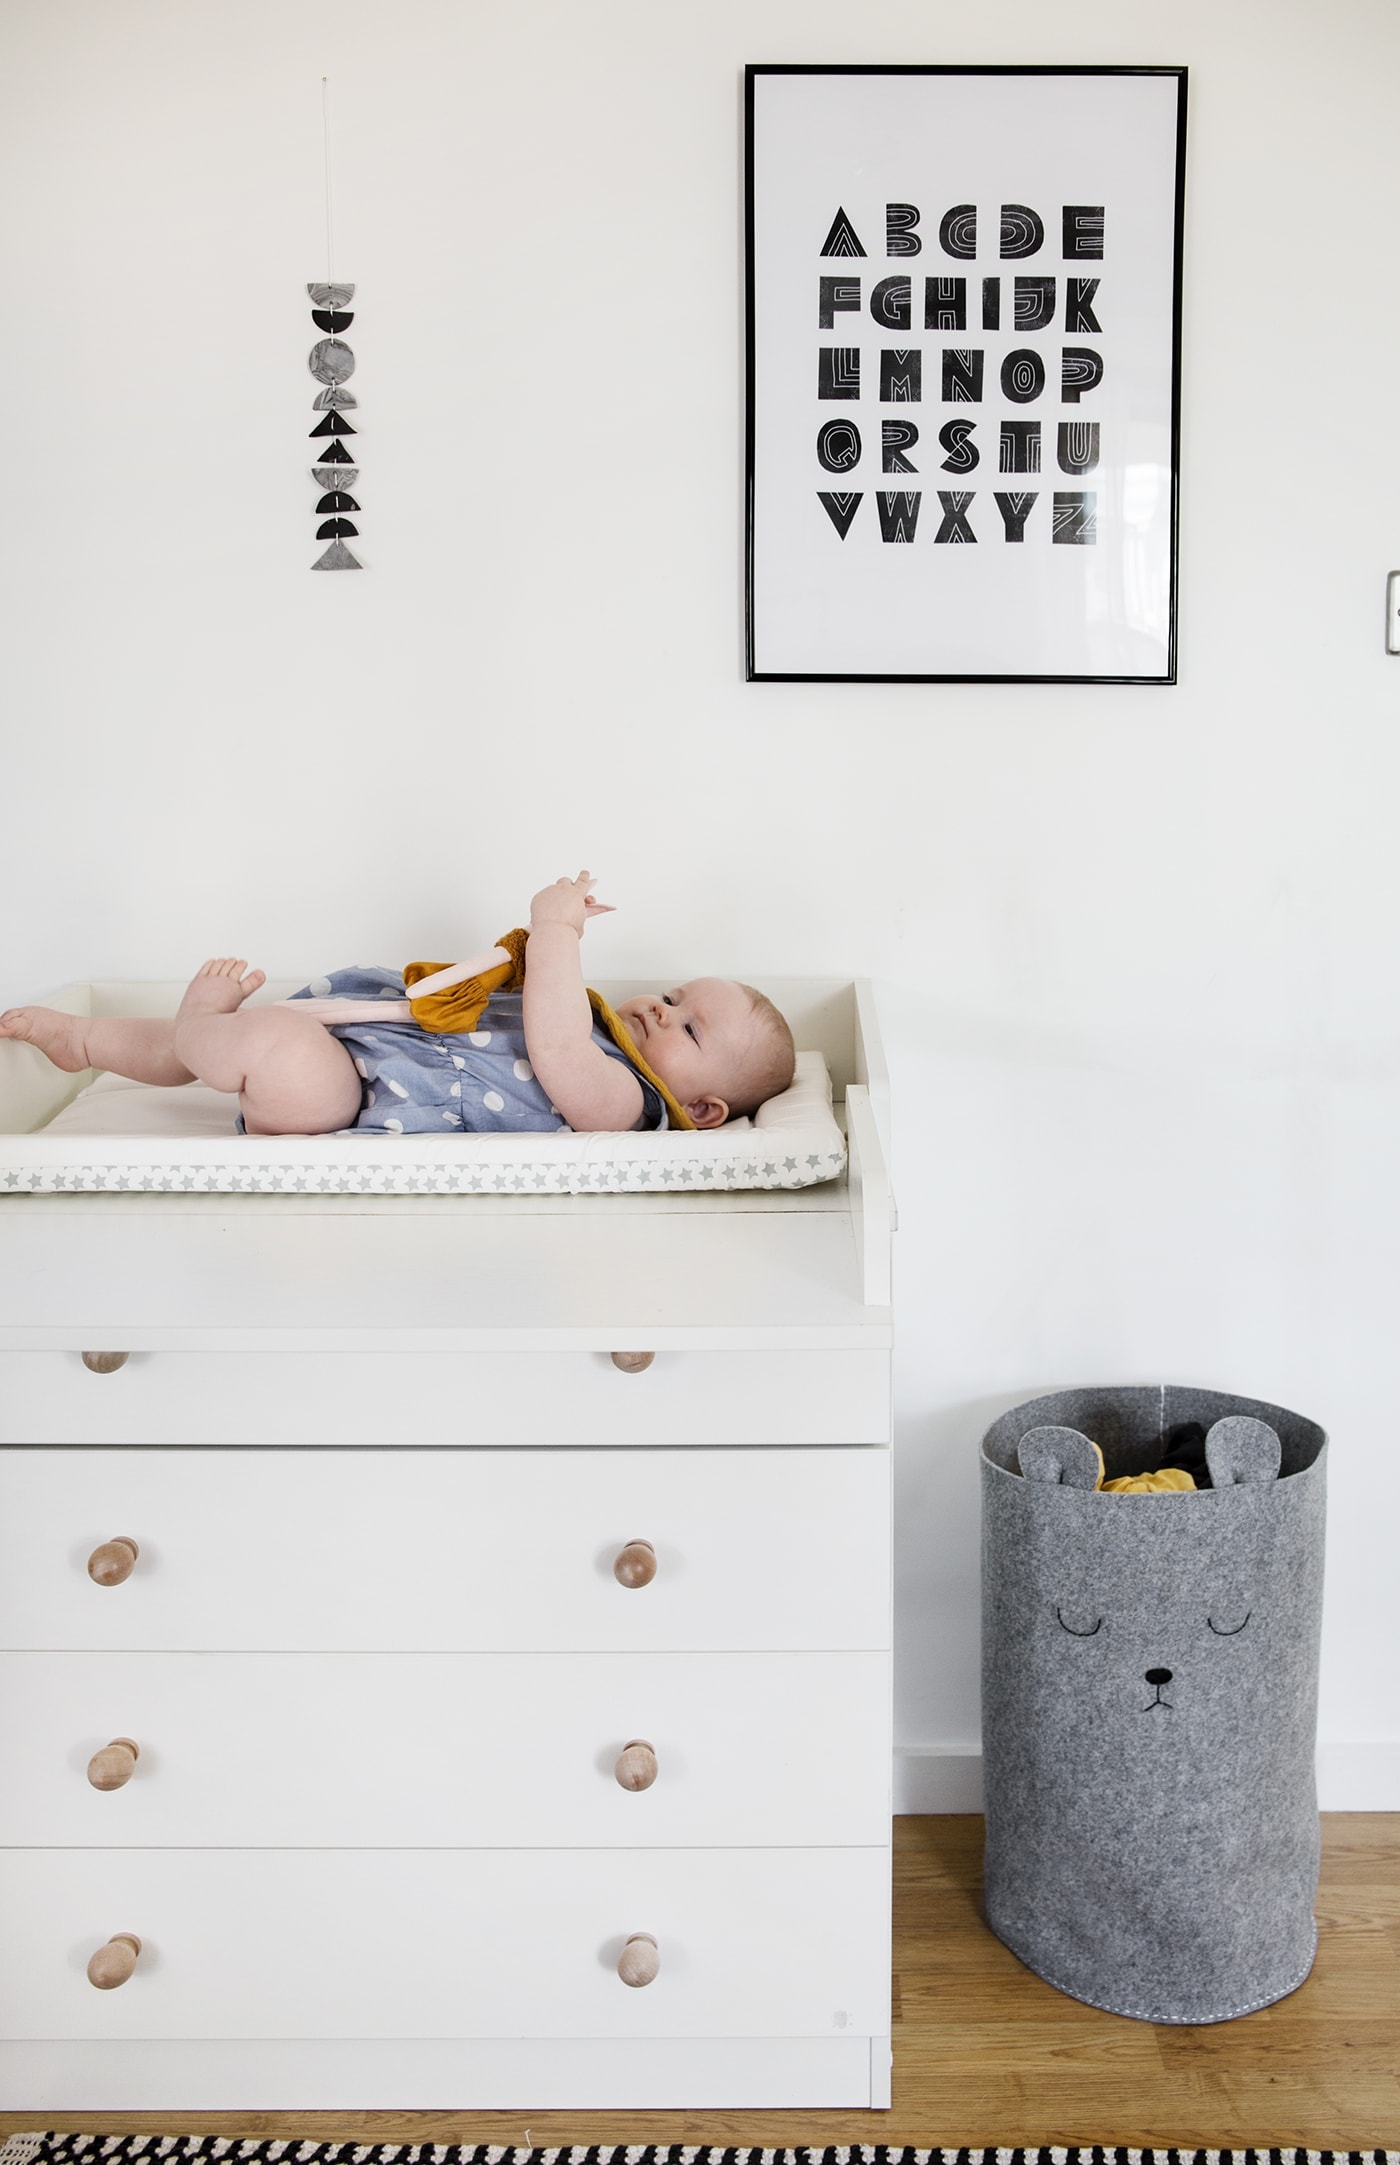
It works well for a baby’s room, right through to a kid’s room and could be adapted to a different animal like a cat or a bunny, depending on what your little one likes most. I’m already enjoying our new and improved laundry bin!
You might also like


Meet The Lovely Drawer

Hi, I’m Teri and welcome to my own creative corner of the internet. I blog about interiors, DIY projects, design inspiration and my general life so stick around have a read and say hi.
In the shop
 Quick ViewSelect options
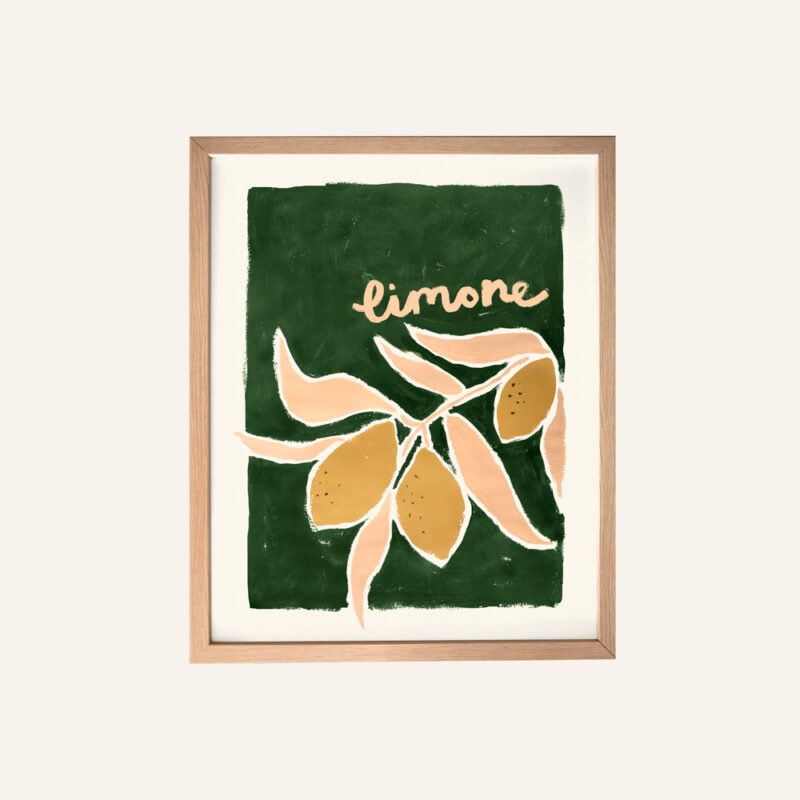
Orchard Days
£20.00 – £25.00
 Quick ViewSelect options
Terrace 1
£20.00 – £25.00
Work with Me
The Lovely Drawer is an award winning blog with a loyal audience that has grown over the years. I love working with brands small and large on exciting collaborations that can bring products alive in my own signature aesthetic.