

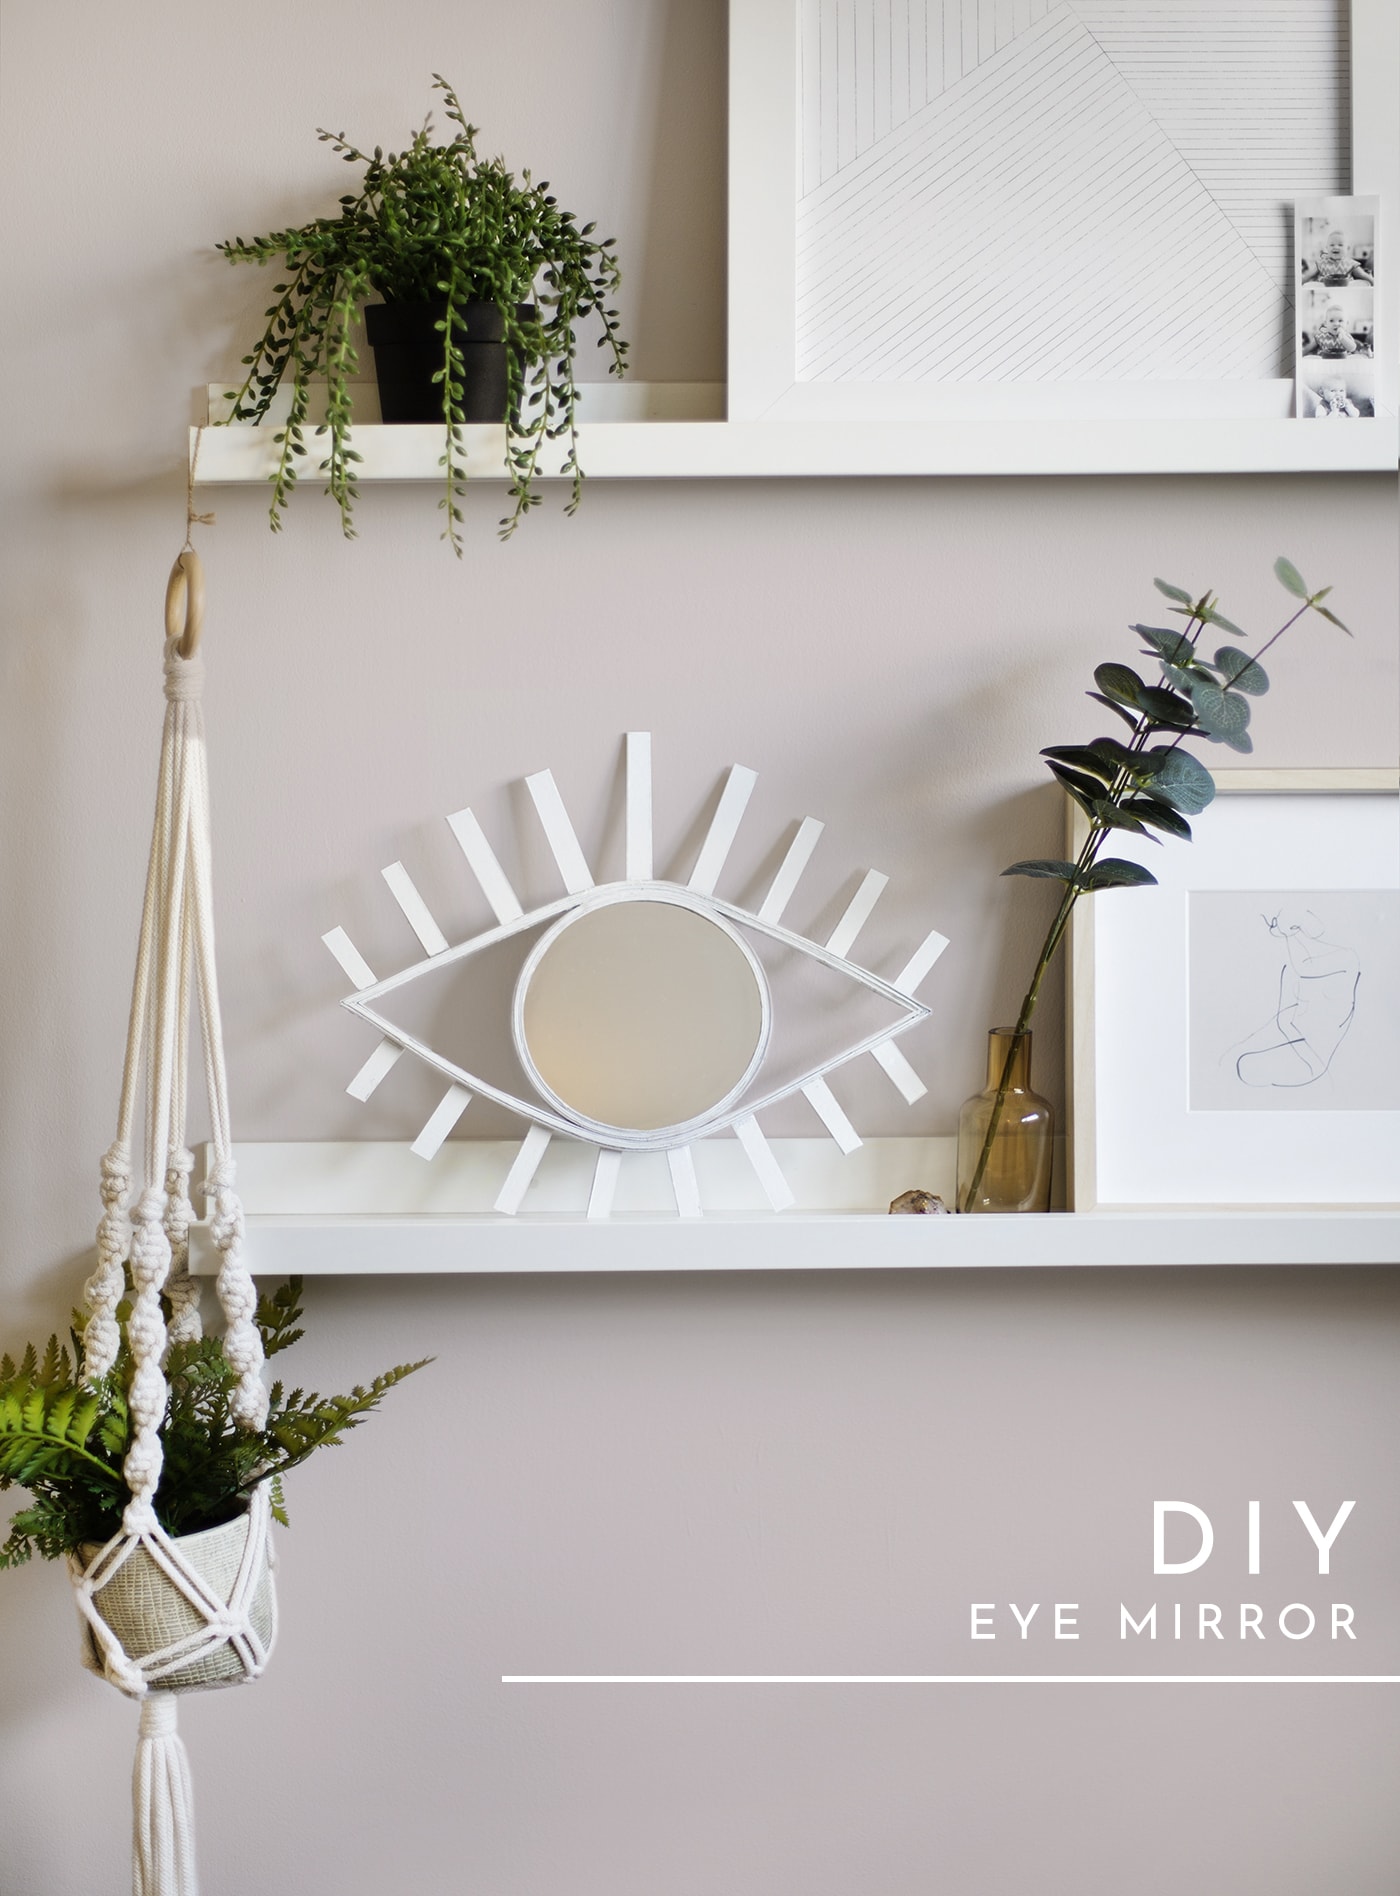
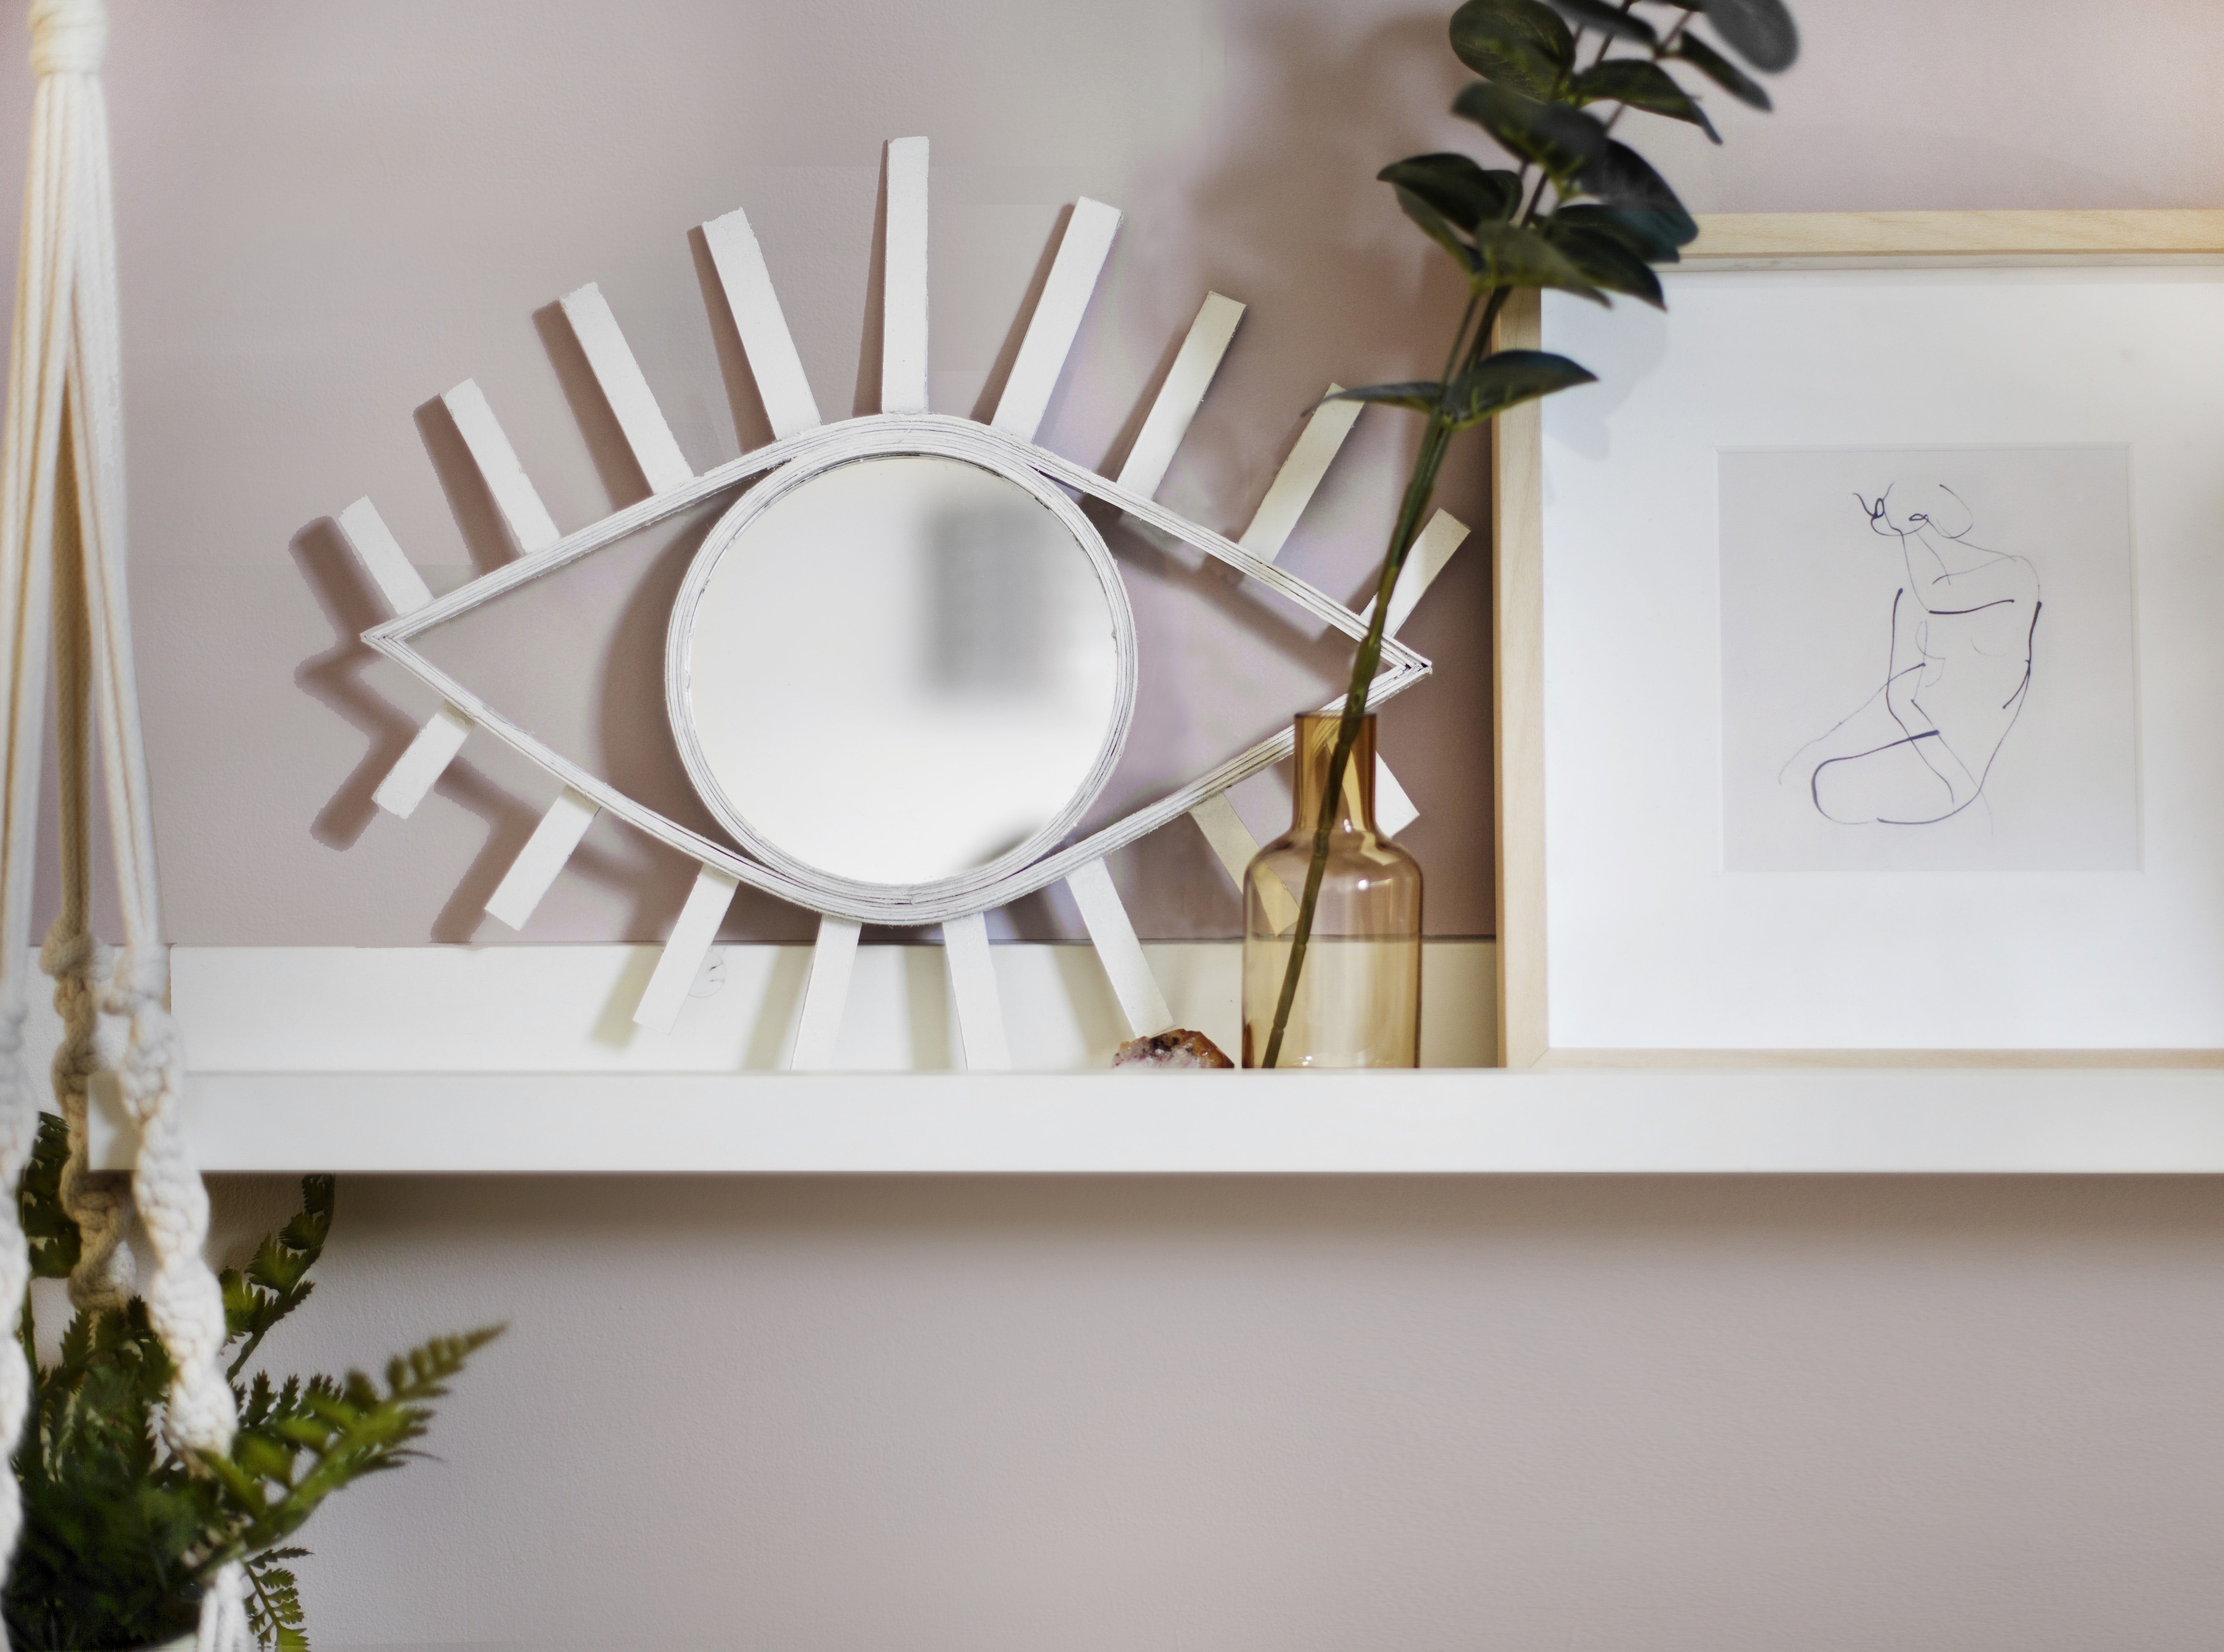
DIY Eye Mirror with Gorilla Glue
 AD | This is a sponsored post with Gorilla Glue
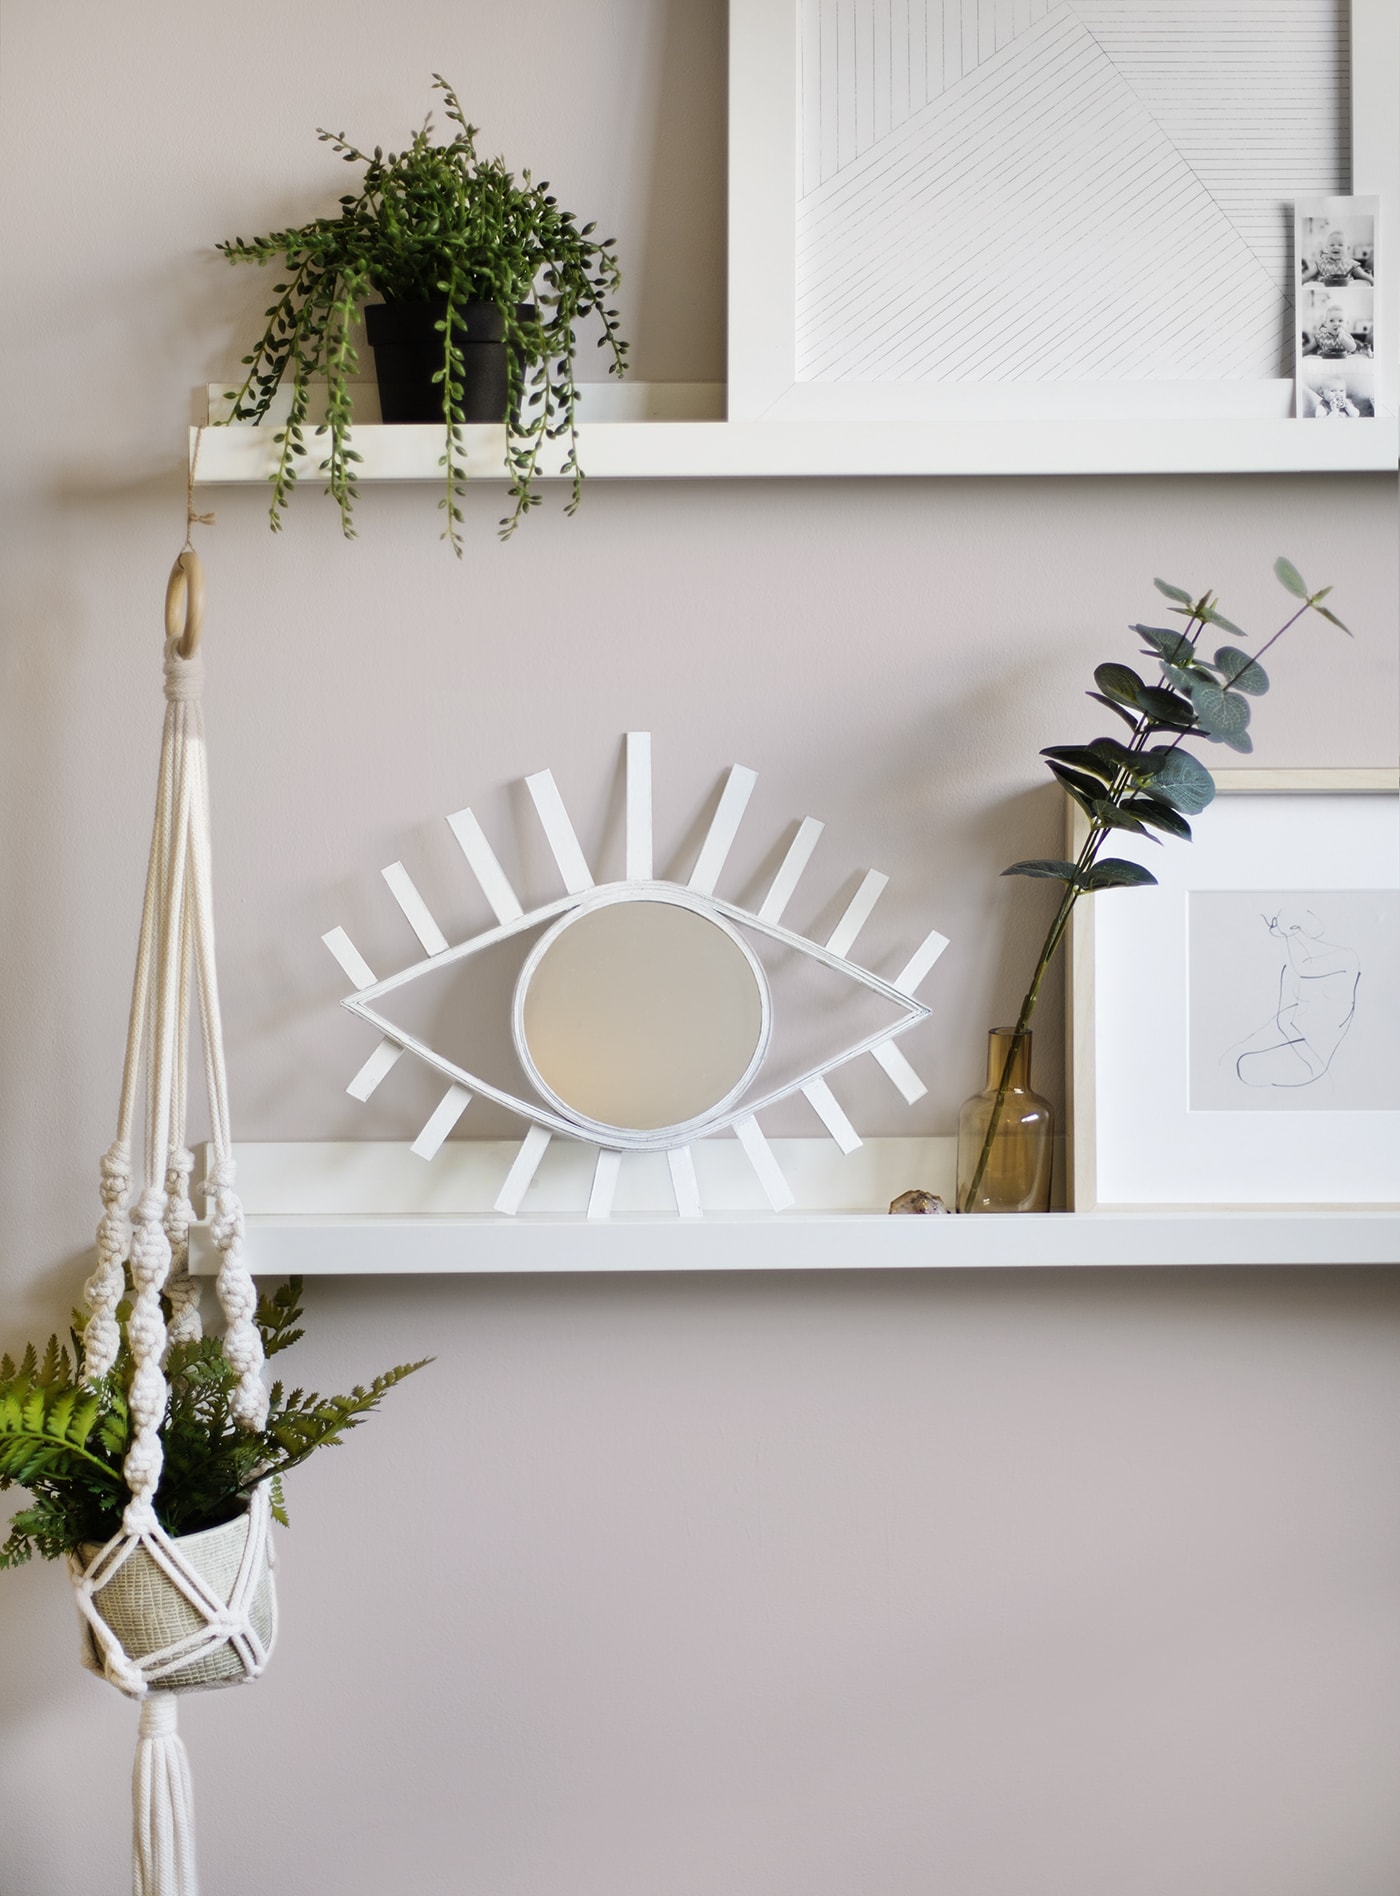
I’ve spent the last few months adding some much needed personality to our bedroom.It was previously pretty sparse and minimal in a way that made it feel a little impersonal so I’ve been adding art prints, plants, baskets, lighting and various trinkets to give it a more homely feel. Having said that I haven’t really made anything for the room myself, so I thought I’d take the opportunity to buy into the ‘eye’ trend and make myself a custom mirror. Thankfully I teamed up with Gorilla Glue to make this a possibility along with a fair amount of grey board…you wouldn’t be able to tell would you?
When layered grey board is actually really sturdy and encases the mirror perfectly, with some help from Gorilla Super Glue Gel. I was so impressed with how quick and strong this glue was, perfect for this project.
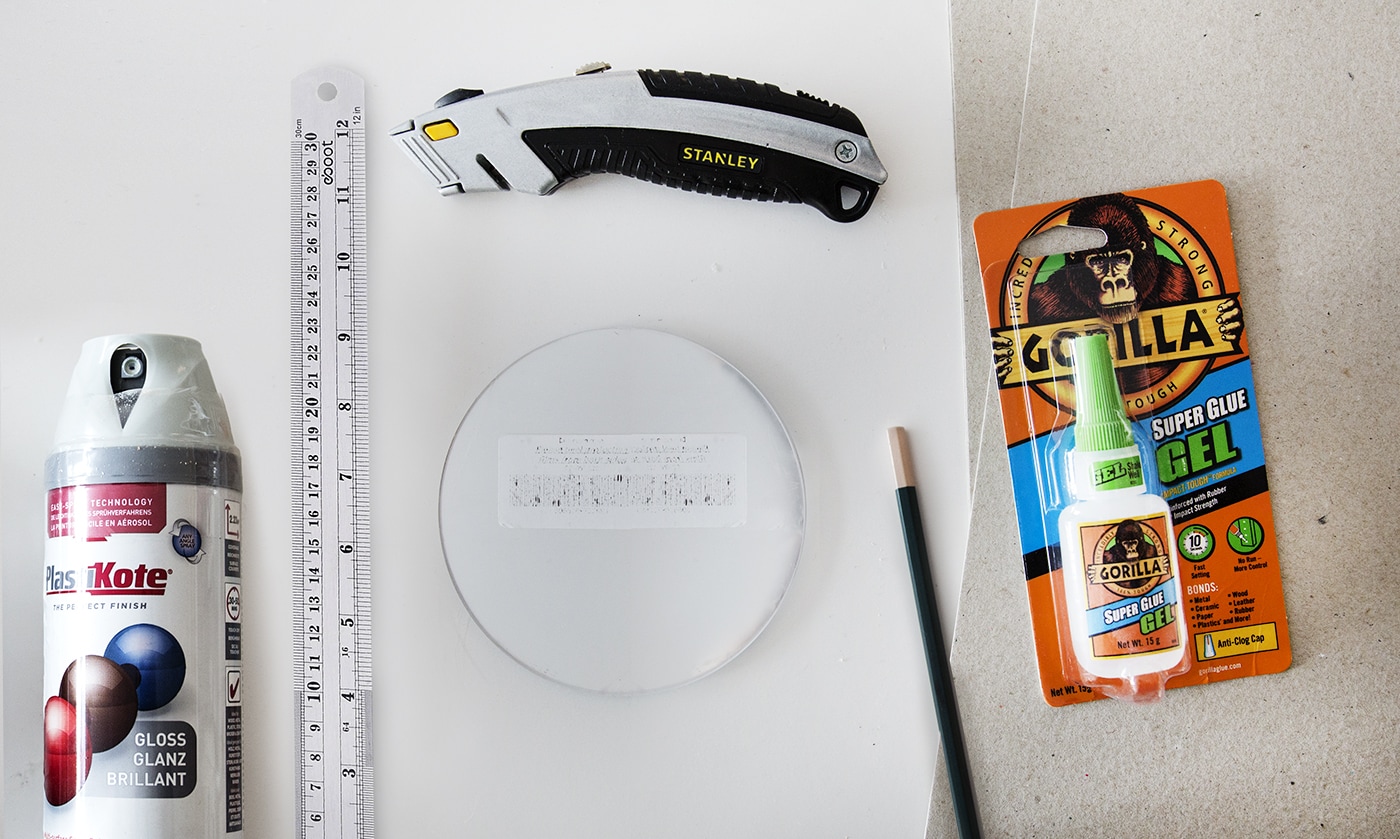
Materials
- Gorilla Super Glue Gel
- 3 x A3 sheets 1.5mm grey board
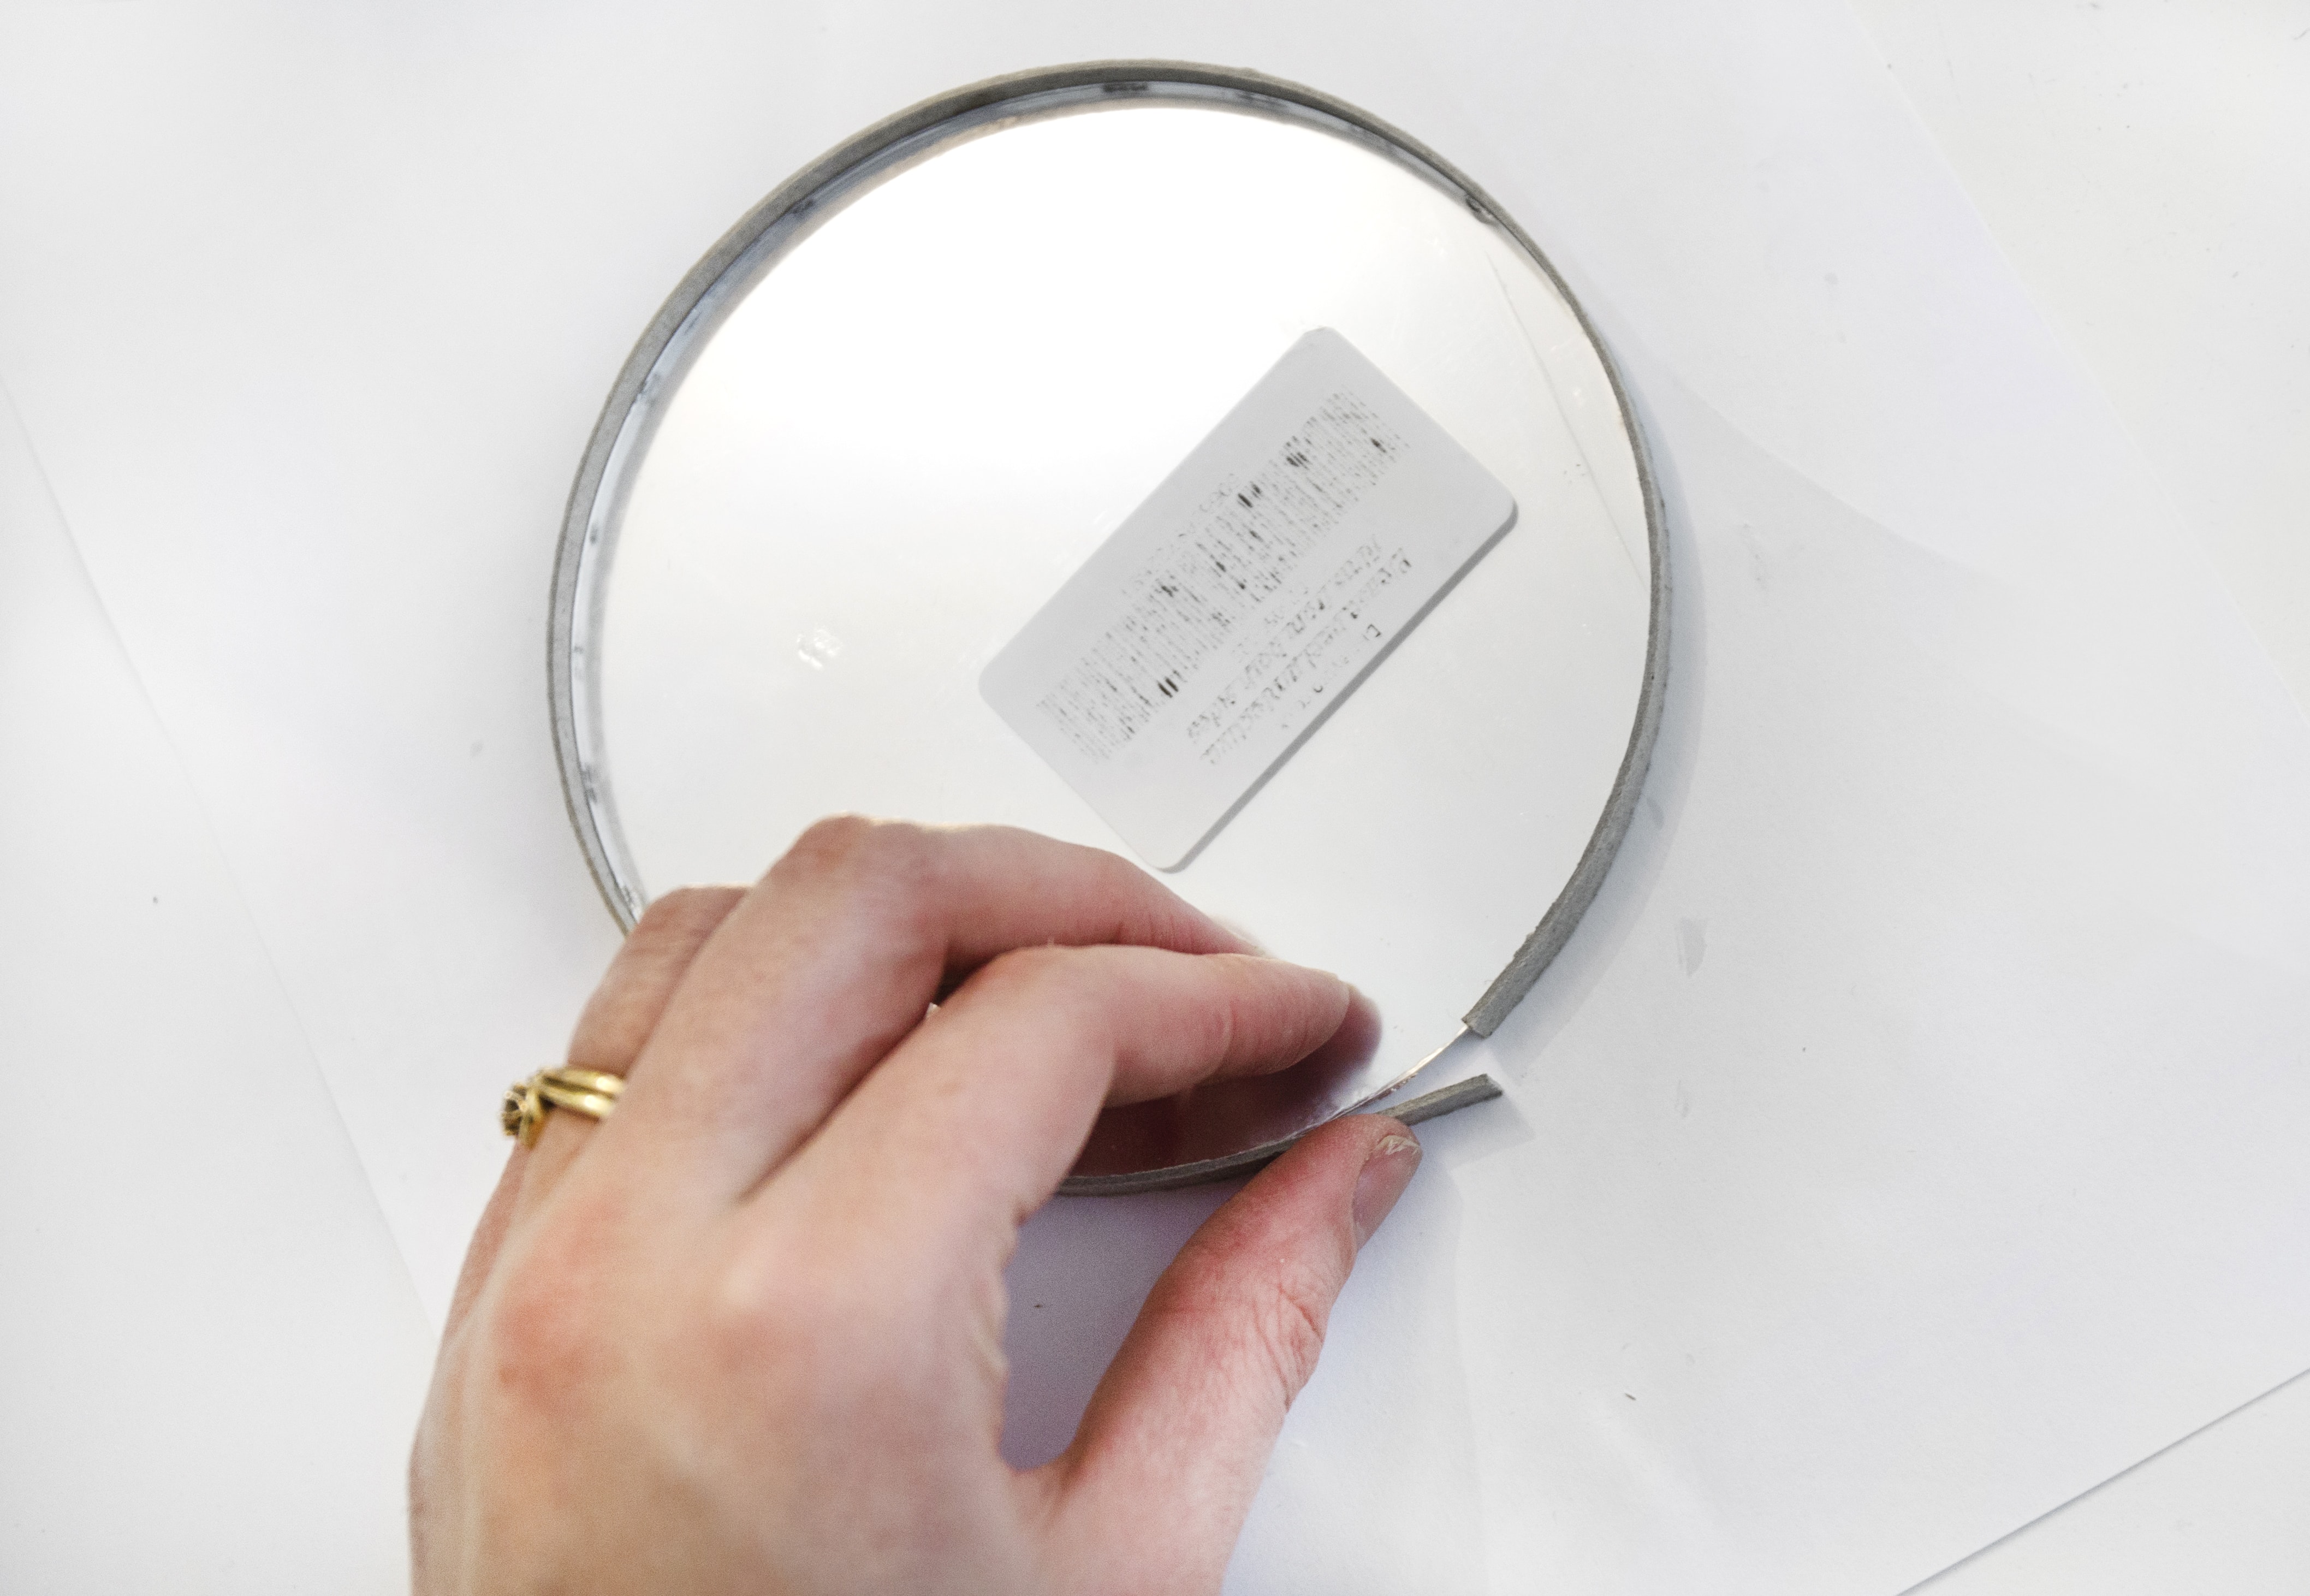
- 125mm acrylic round mirror (your mirror should come with a protective seal sticker)
- Craft knife
- White Spray paint
- Metal ruler
- Pencil
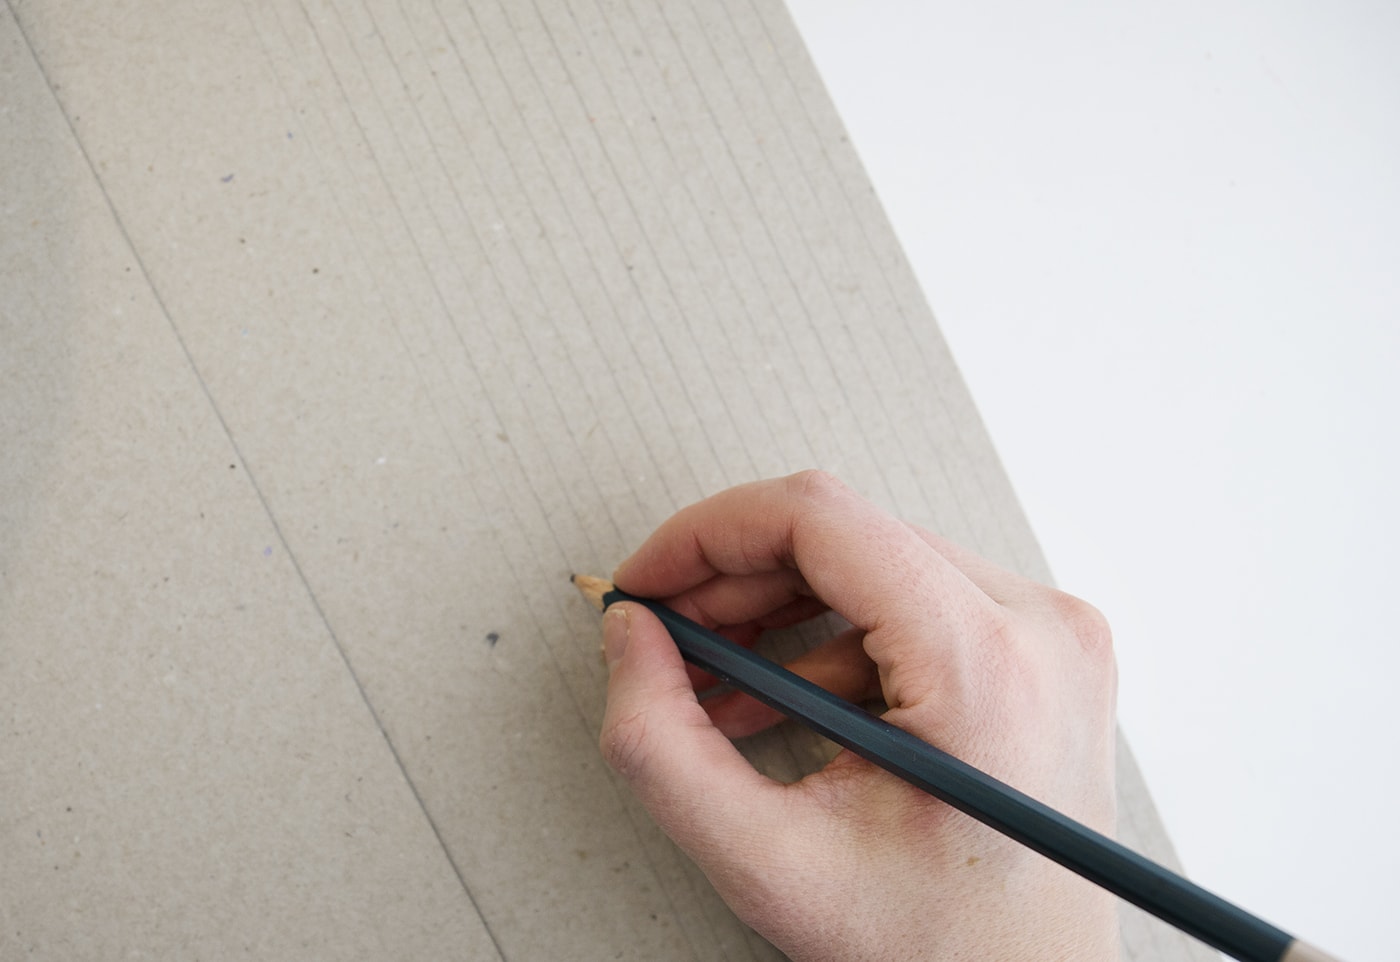
Step 1
Take a sheet of the grey board and set it at portrait so you can get the greatest length. Then use the ruler to measure 5mm increments and mark with dots at the top and bottom. Join the dots together with straight pencil lines and these will form the pieces you will use to build the eye shape.
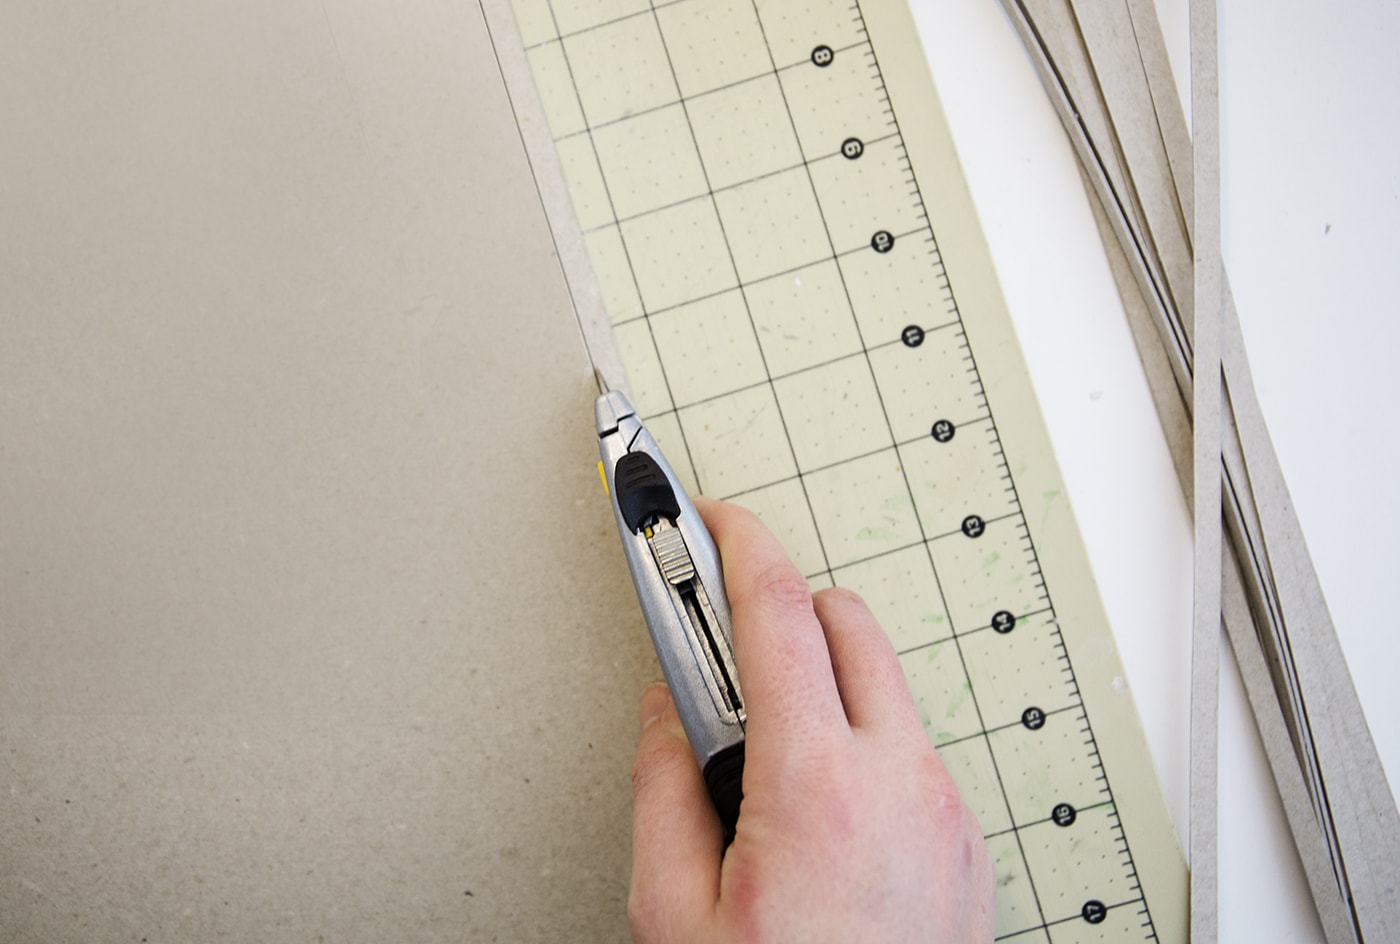
Step 2
Cut each one with your ruler and craft knife to build up a stash of grey board lengths.
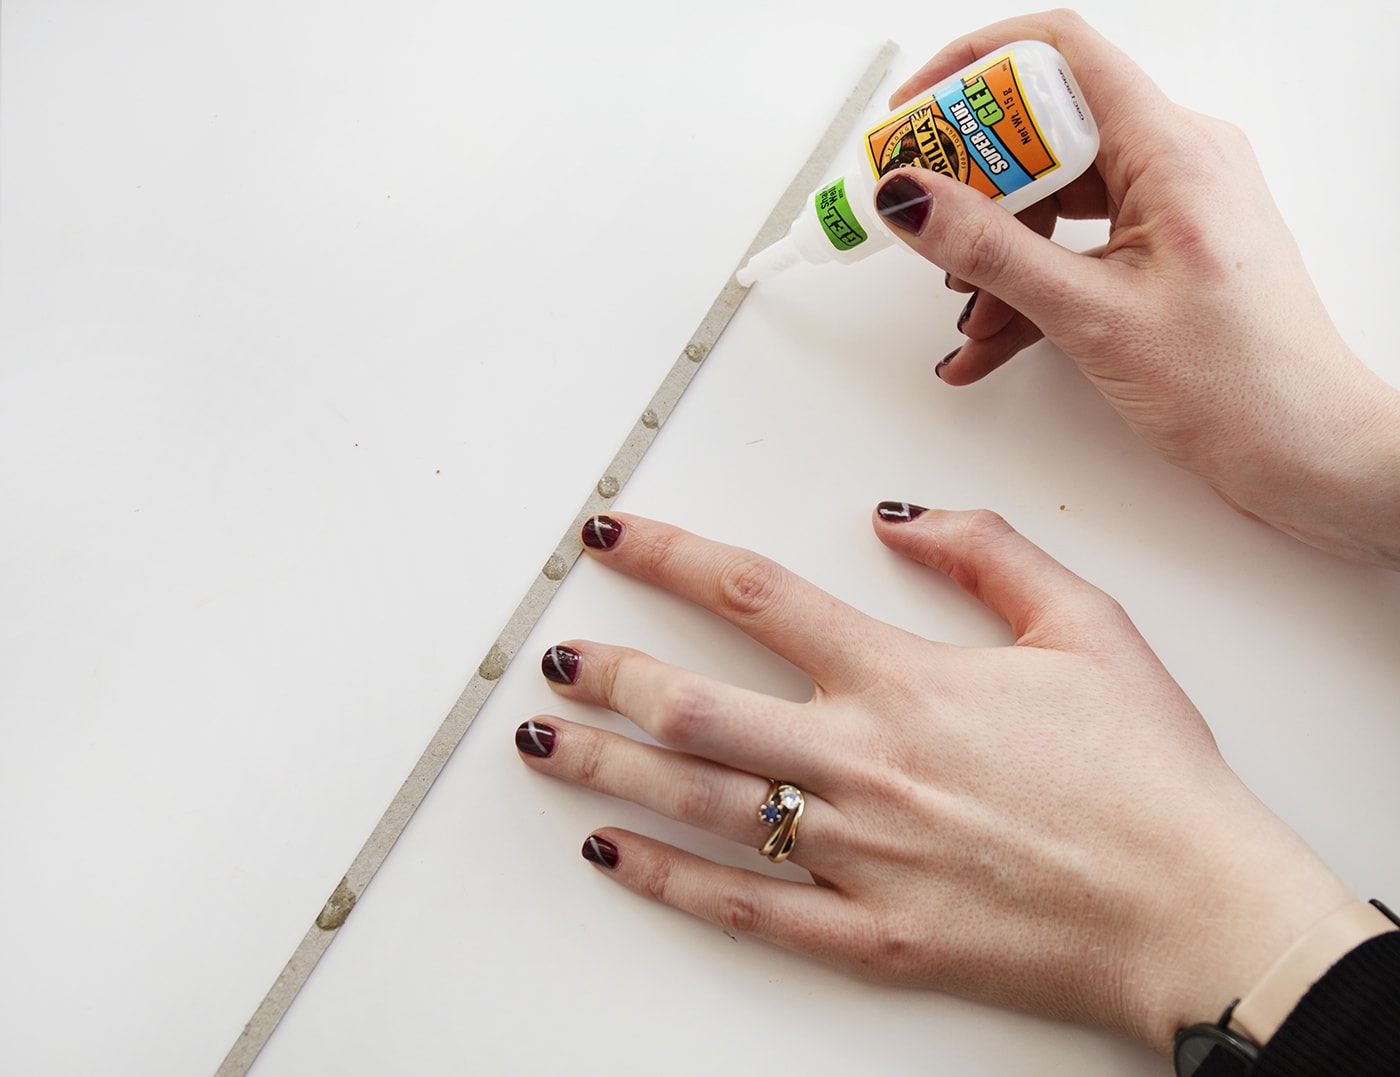
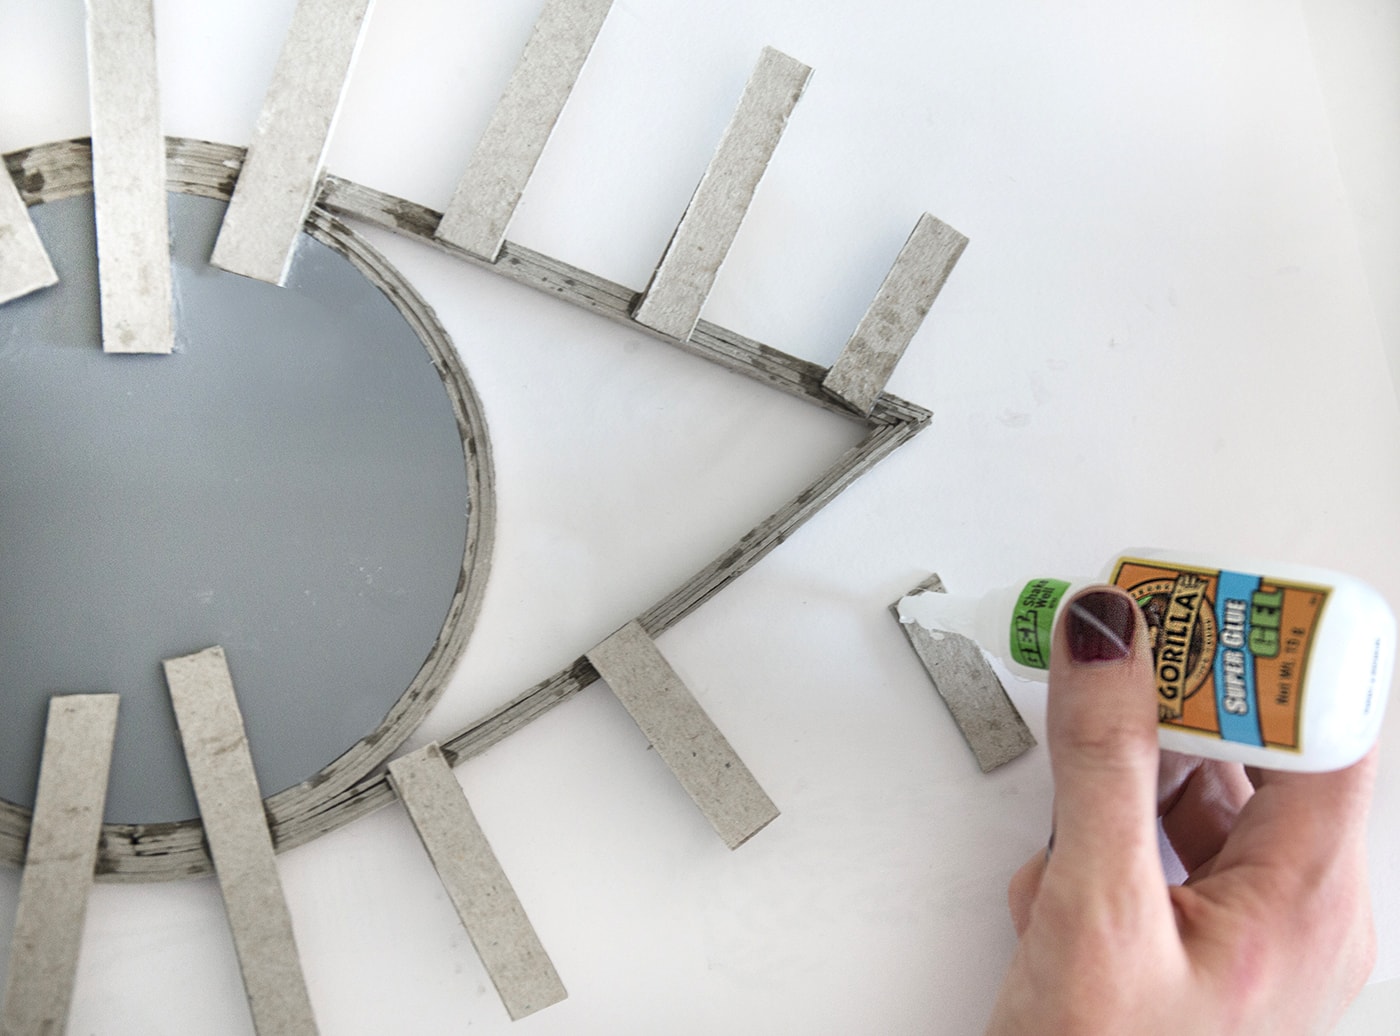
Step 3
Use Gorilla Super Glue Gel to add dots of adhesive along your first grey board strip. You’ll see that you don’t need very much so don’t overload with glue.
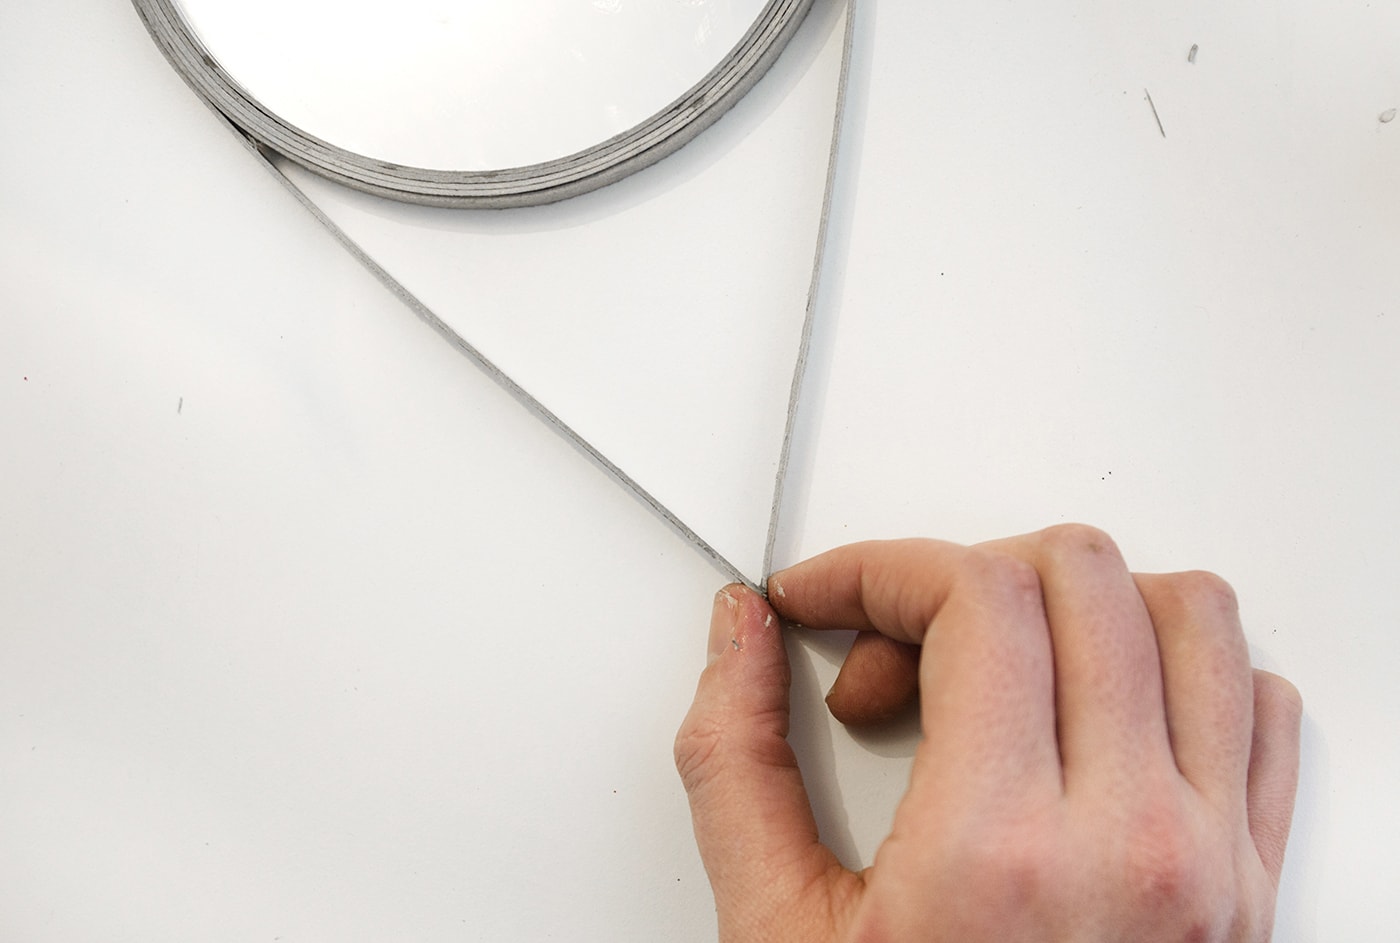
Step 4
Then take your first strip and gradually wrap it around the mirror back to the join and trim off any extra so each end matches up perfectly. You can add a tiny bit of extra glue at the join. Continue this step for five layers of the grey board. Hold together for 10-45 seconds to allow glue to stick.

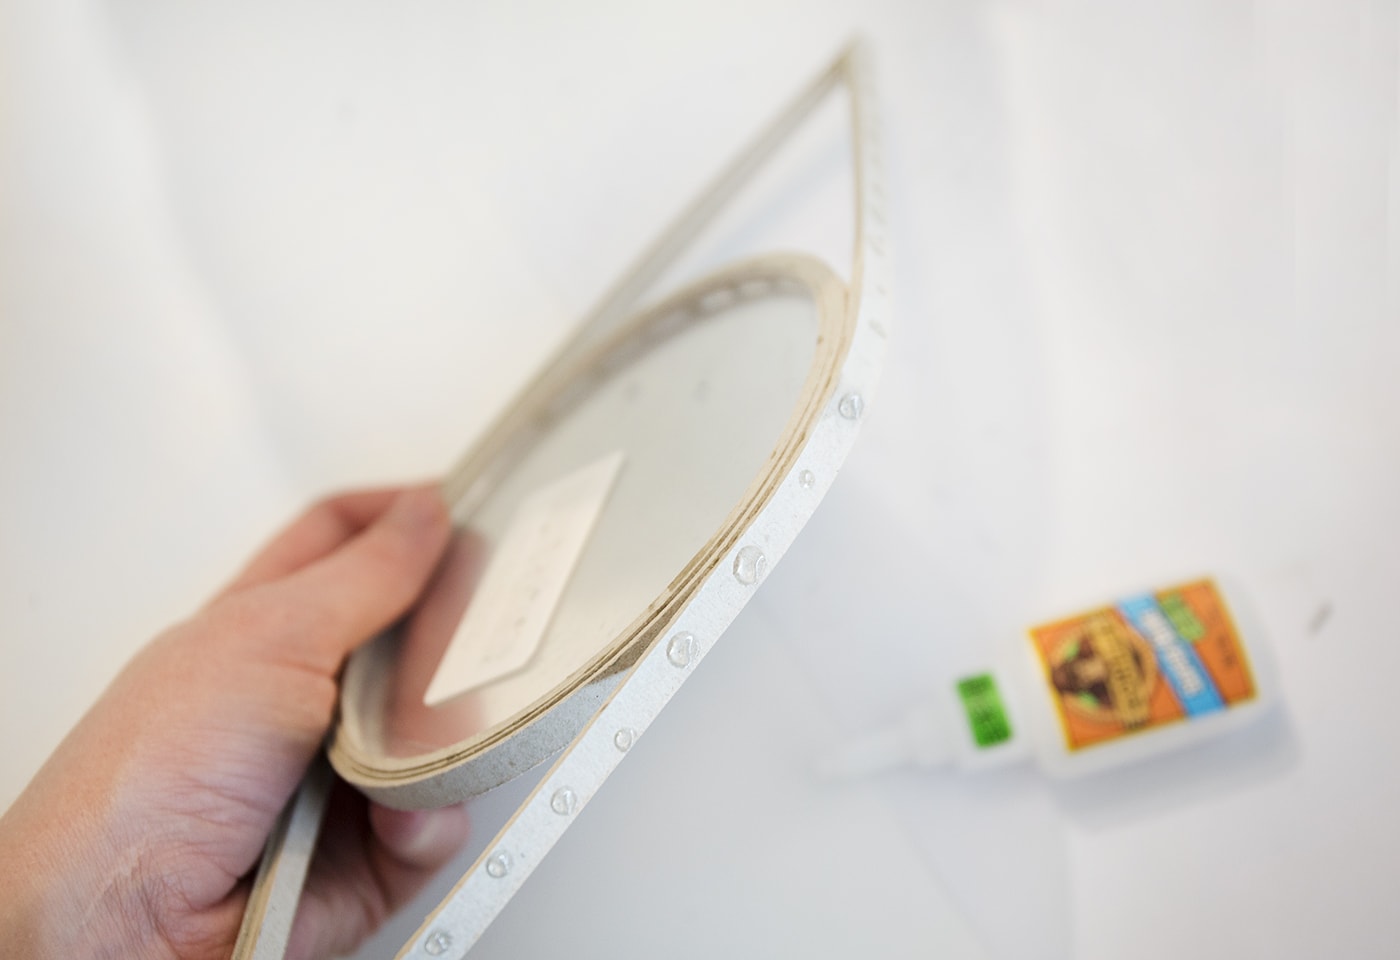
Step 5
Next, take another two grey board strips but this time add some dots of glue along the top and bottom of the circle and then attach the strips to the glue to form the outer section of the eye. Leave plenty of length on either side of the glued areas to create the whole shape.
Step 6
Add a little of the glue at either end to join the two strips, making sure the eye shape is even on both sides.
Step 7
Then continue to add little dots of glue on the top and bottom of the eye shape and keep on attaching another two strips of the grey board each time, trimming at either end and sealing with a little extra glue. Continue for another five or six layers.
Step 8
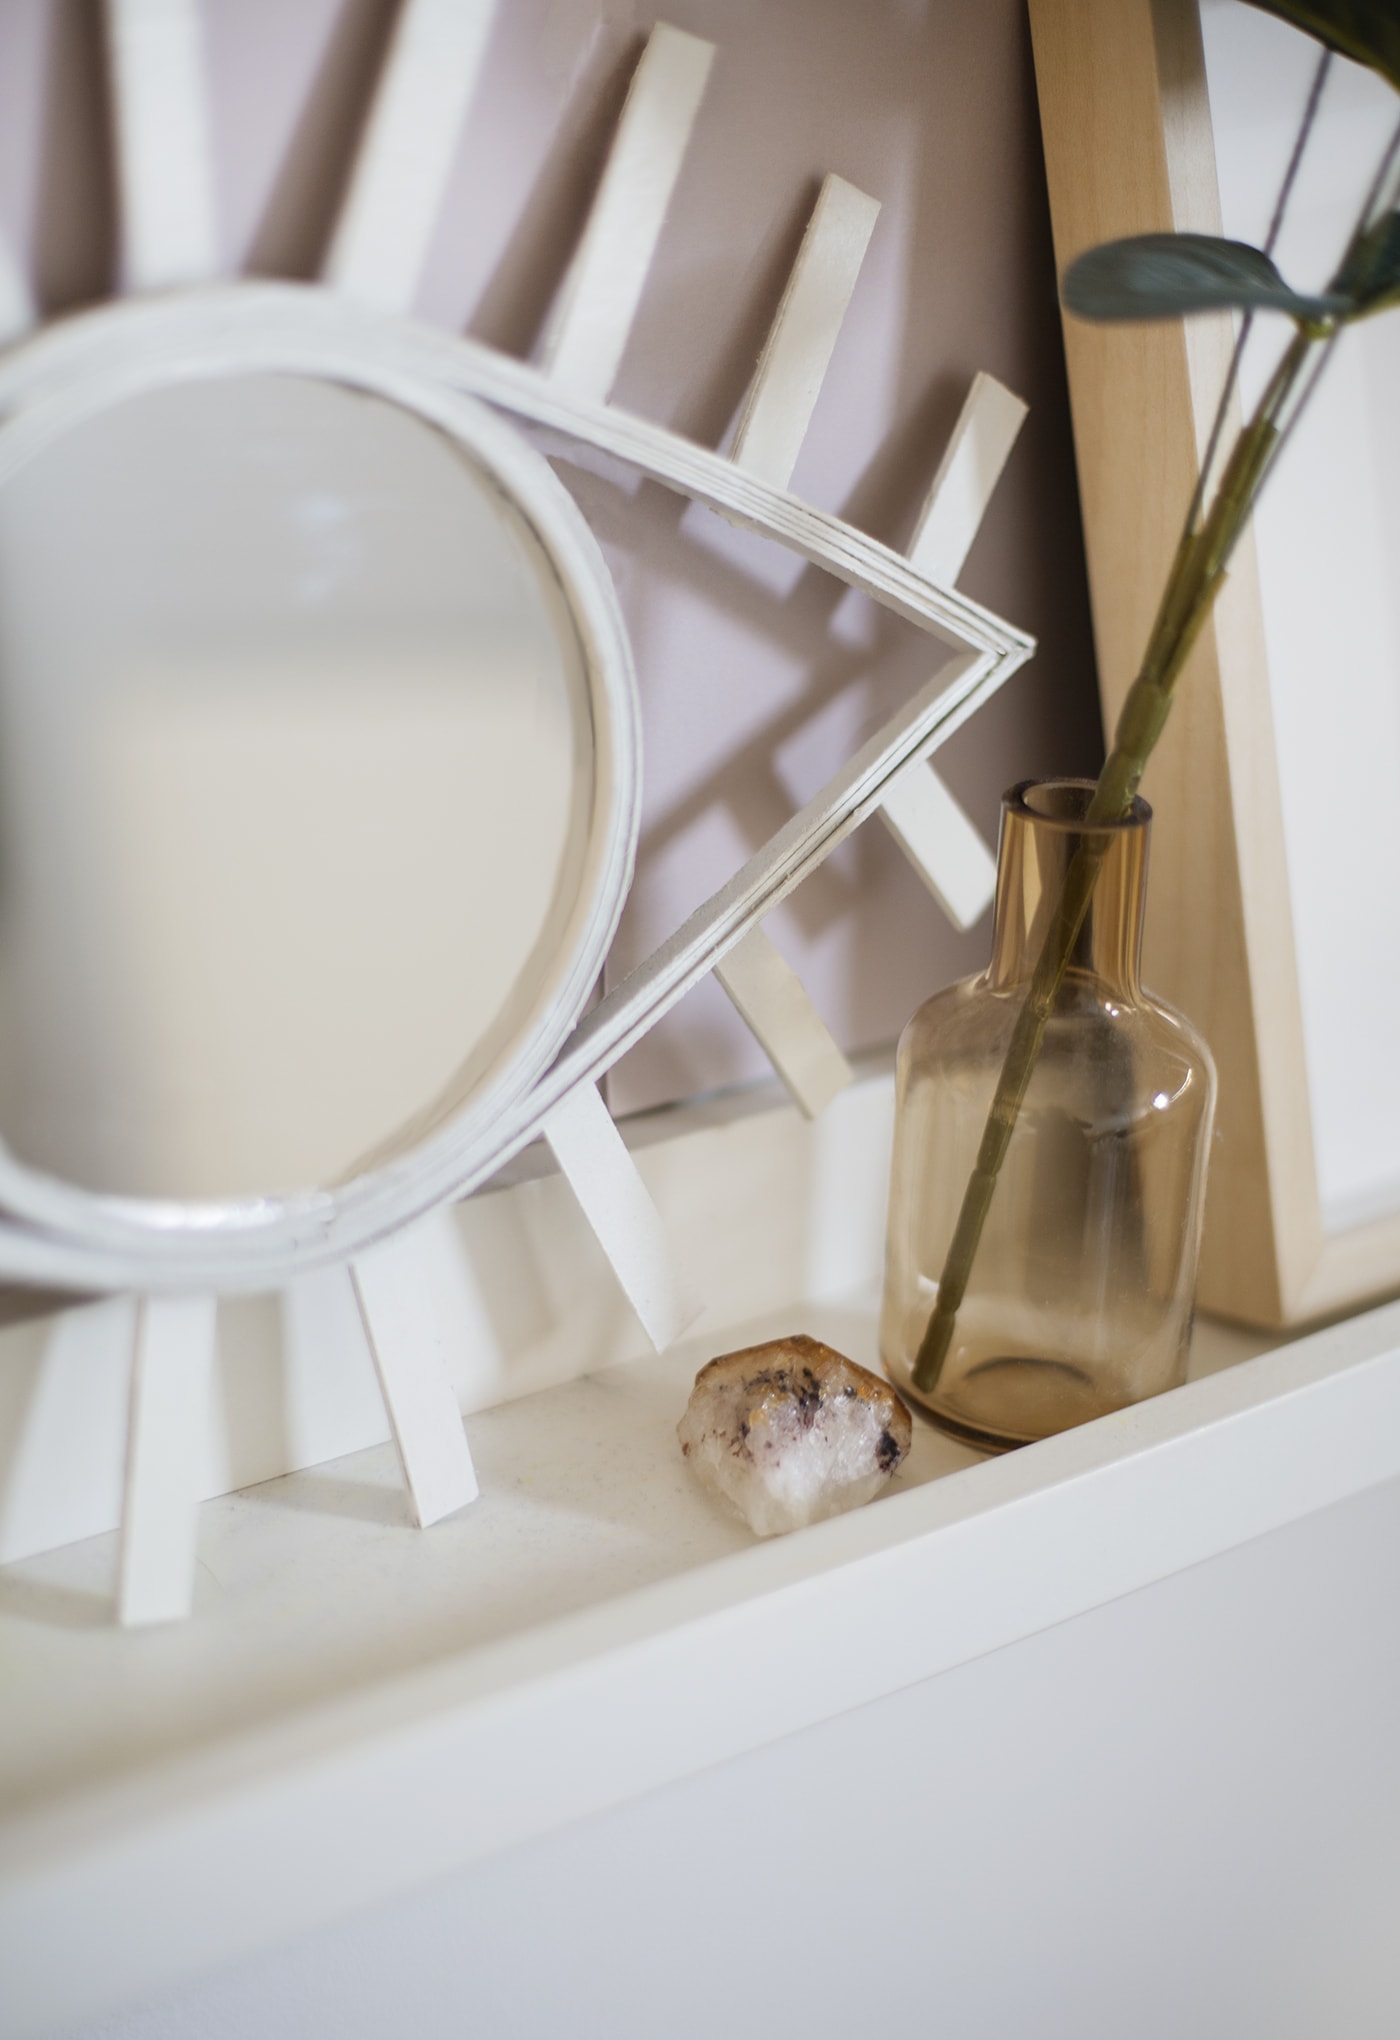
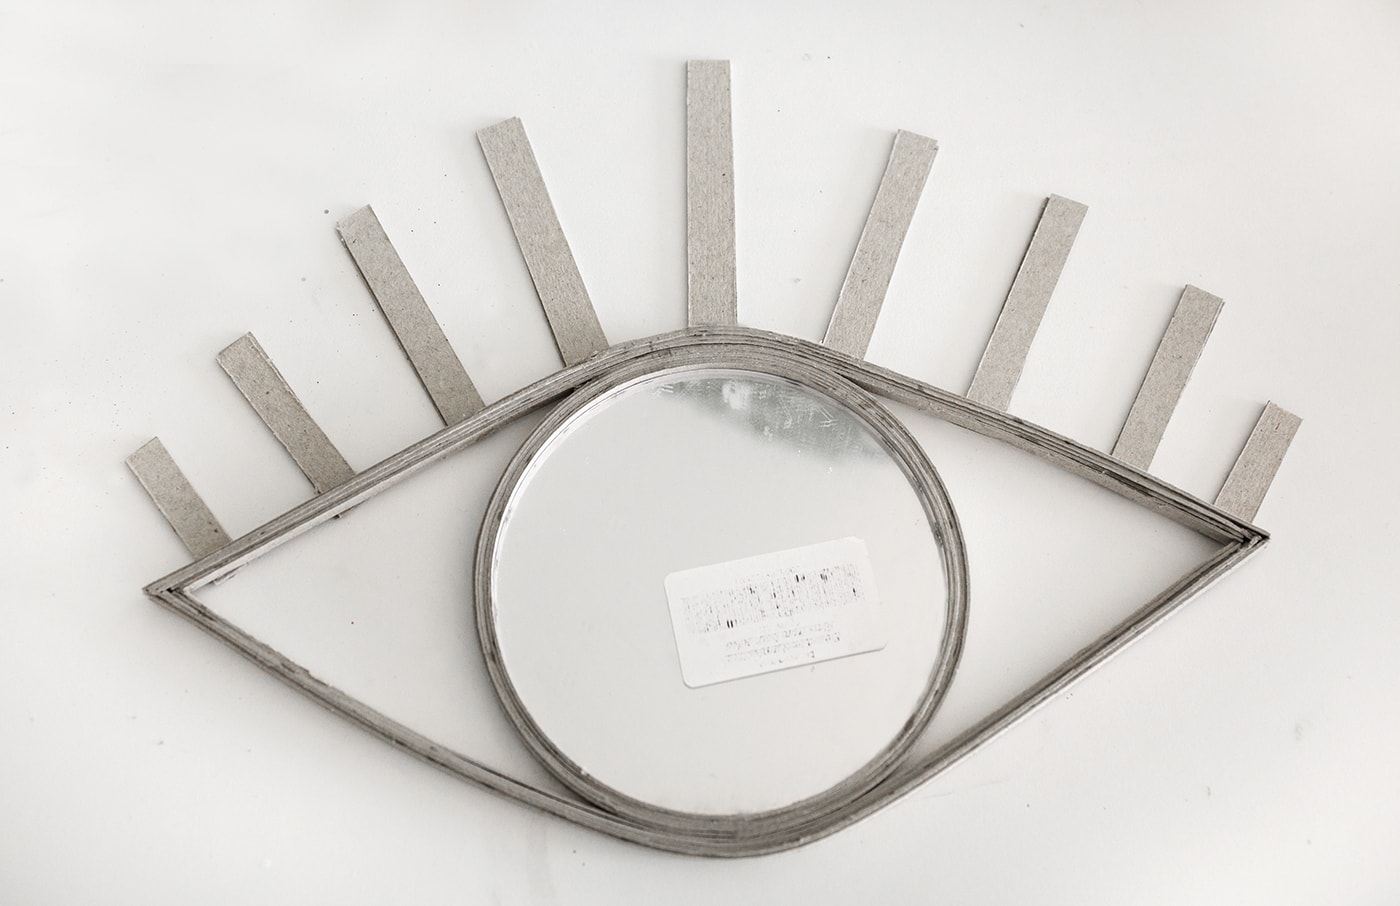
Now in the same way you created your thin grey board strips, draw and cut wider strips, roughly 2cm wide and lay them out along the eye shape to get an idea of where they need to be cut to create a staggered eye lash effect.
Step 9
Glue the strips to the back of the eye. The three middle strips on the top and bottom can extend all the way over the mirror back for extra strength but the rest will need to be carefully glued the outer section of the eye. Hold each strip for about 15-45 seconds to make sure it’s adhered properly.
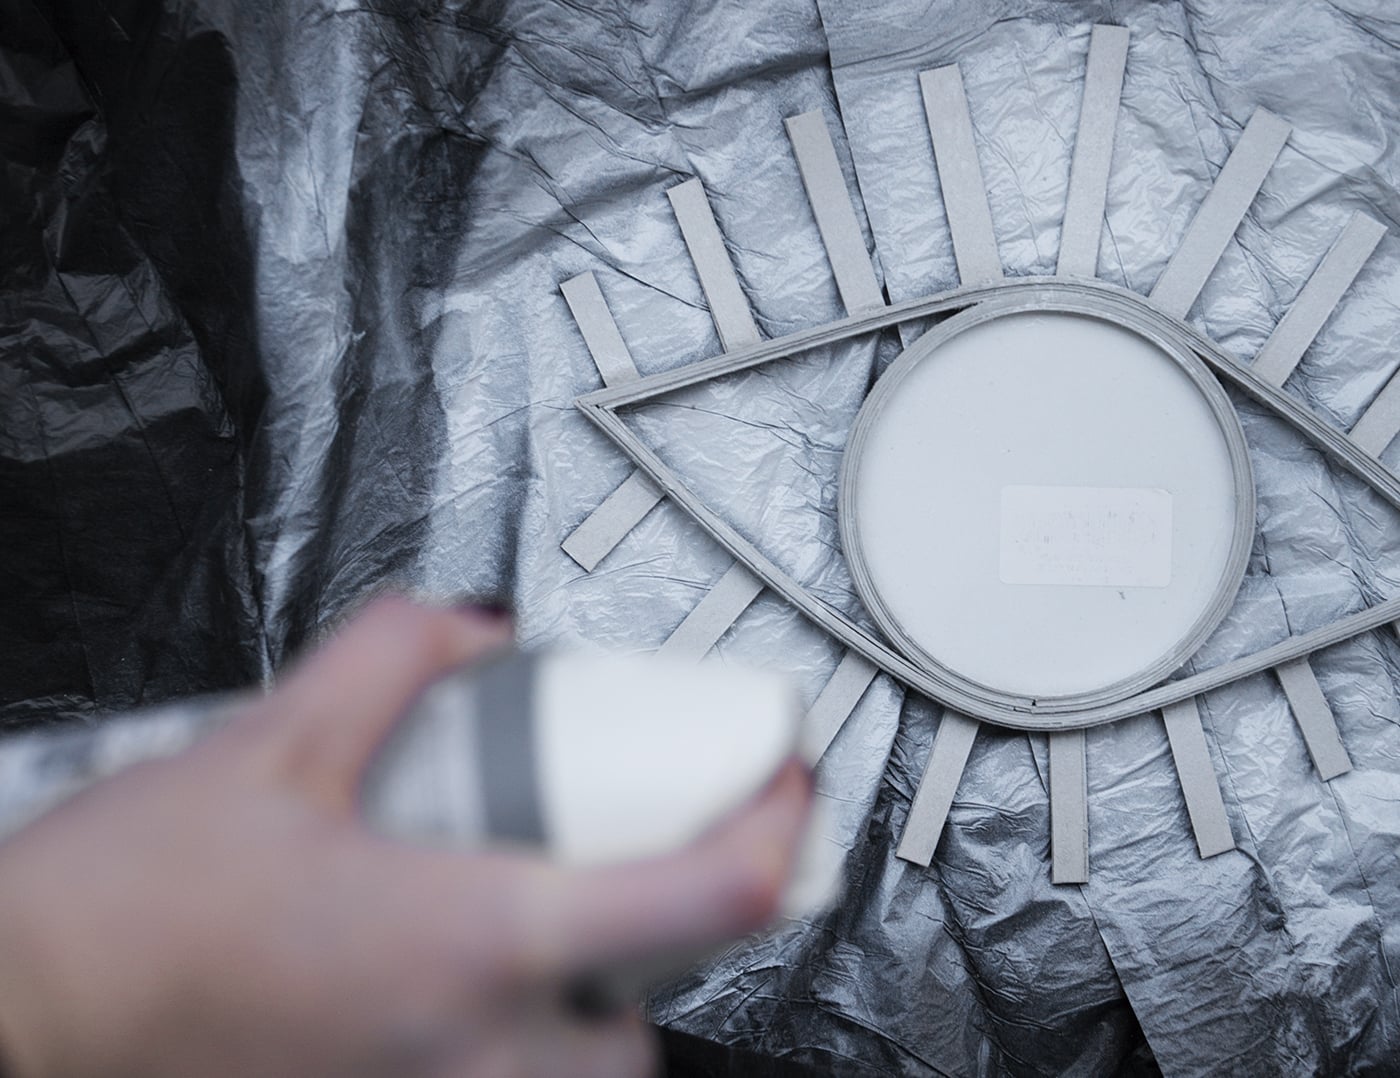
Step 10
Once everything is glued in place and the glue has dried, cover a surface in a well ventilated area and cover the card in a few light layers of spray paint, allowing each to dry in between. If your mirror didn’t come with a protective seal then you will need to cut a pice of paper or card to fit over the top so the spray paint only takes to the outer eye shape.
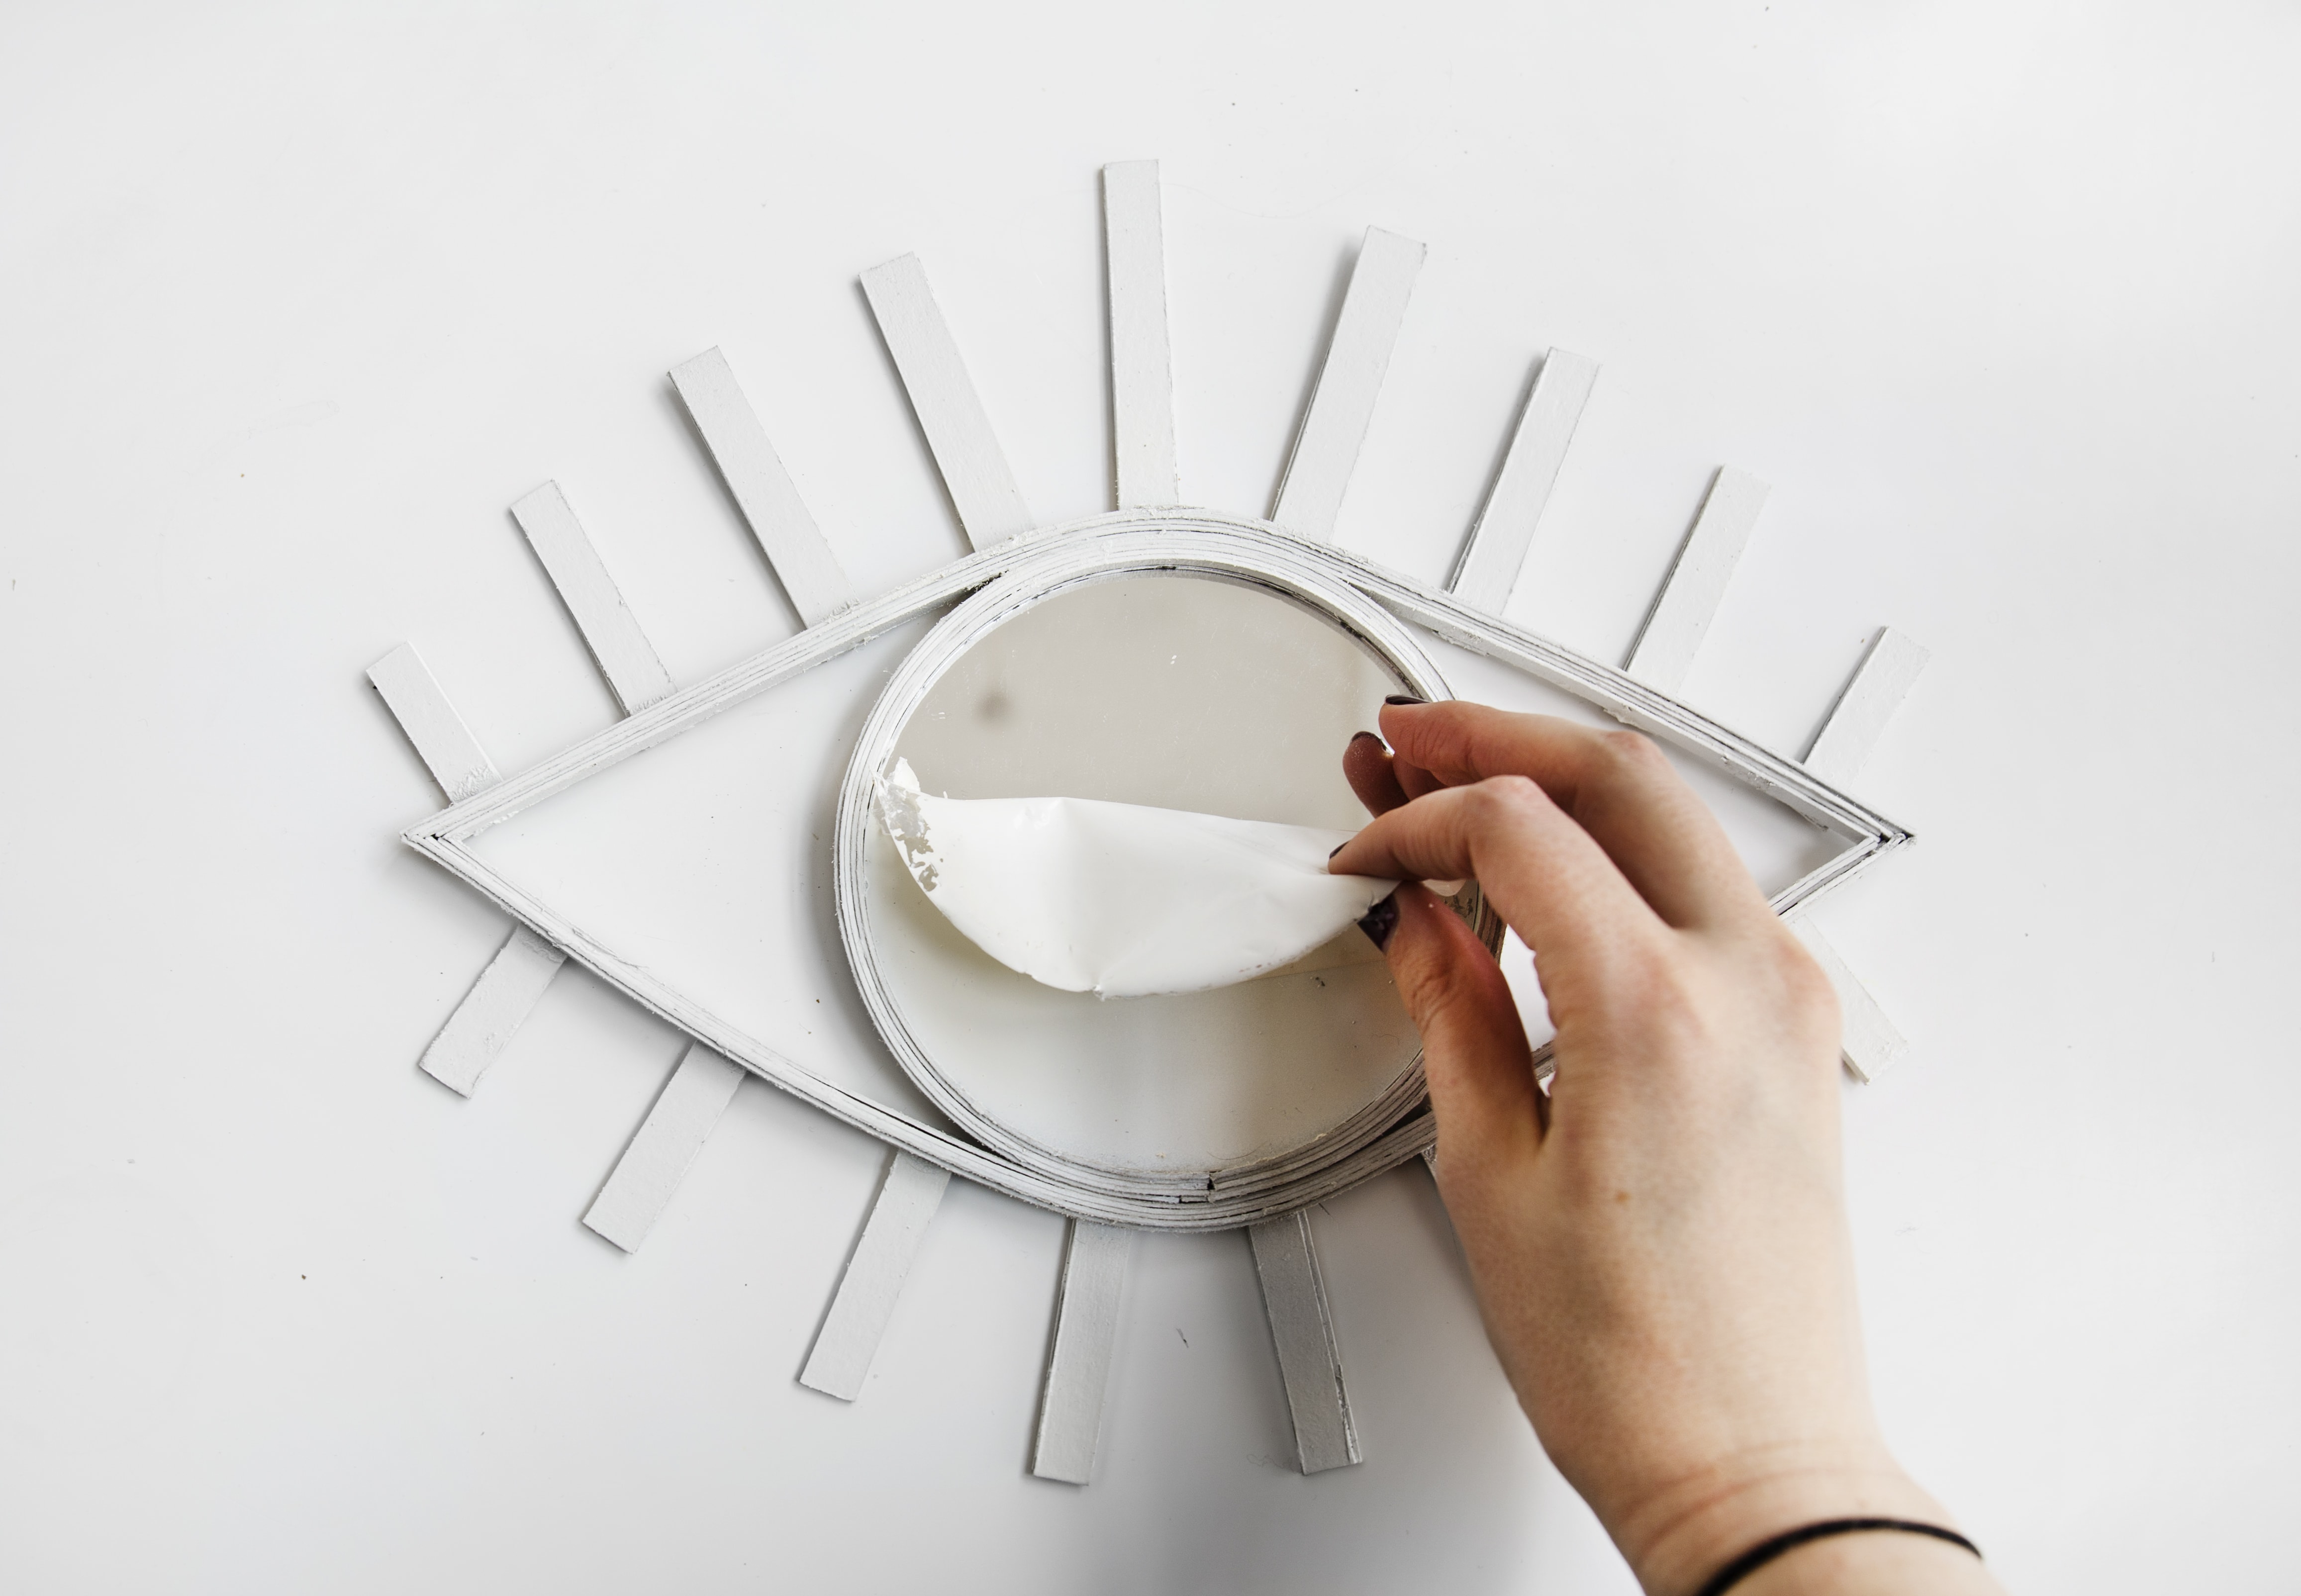
Step 11
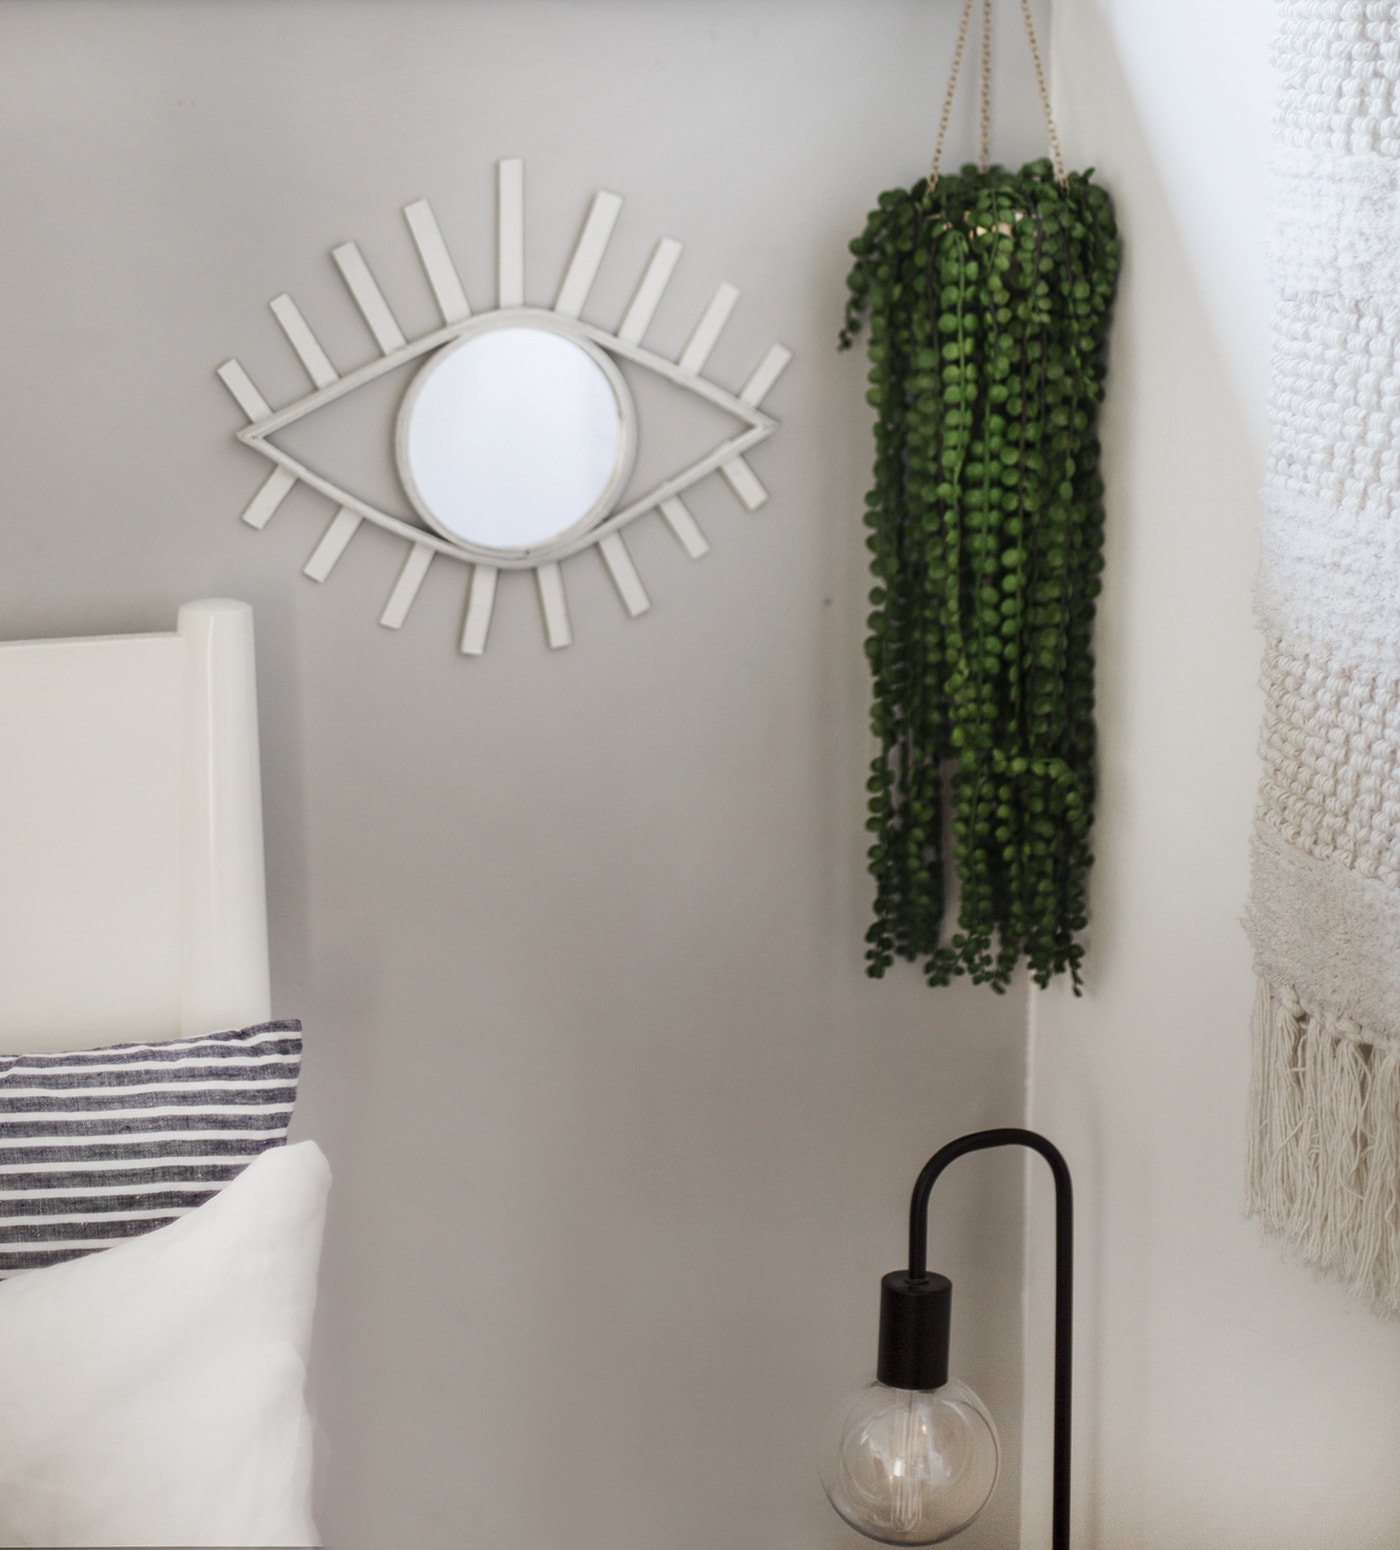
Once completely dry you can peel off the protective seal that’s been covering the mirror and voila…your make is done!
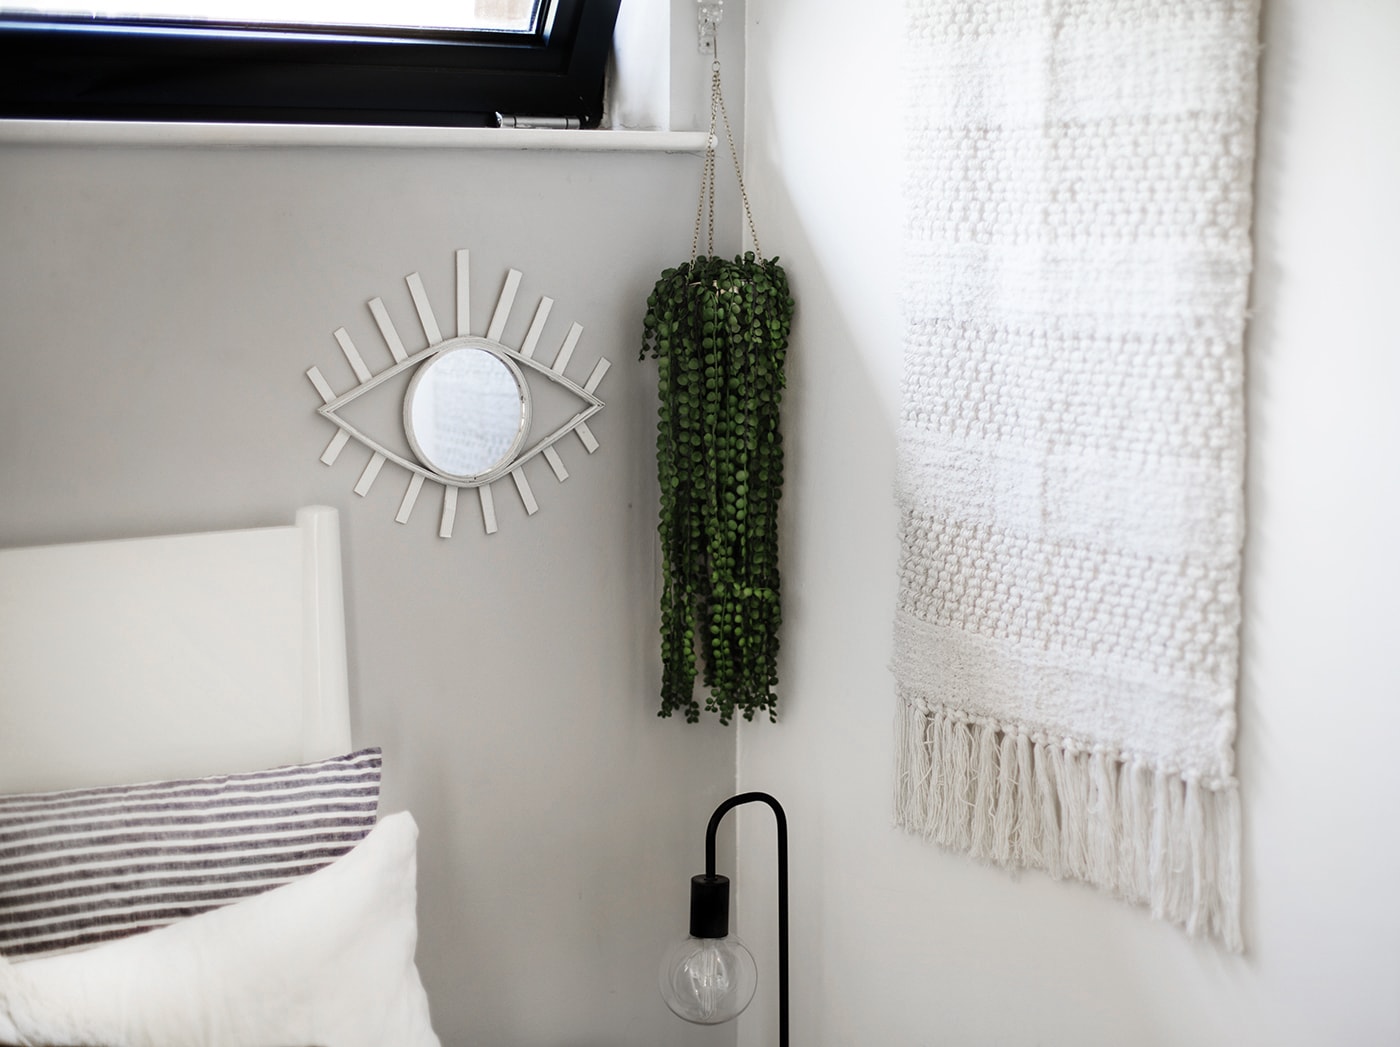
Who would have thought it was made of card and glue eh? Give it a try and make your own eye candy for a room. It’s sturdy enough to stand or you could add a little hook to the back to hang on the wall.
You might also like


Meet The Lovely Drawer

Hi, I’m Teri and welcome to my own creative corner of the internet. I blog about interiors, DIY projects, design inspiration and my general life so stick around have a read and say hi.
In the shop
 Quick ViewSelect options
Orchard Days
£20.00 – £25.00
 Quick ViewSelect options
Personalised Cuddly Bunny
£30.00 – £35.00
Work with Me
The Lovely Drawer is an award winning blog with a loyal audience that has grown over the years. I love working with brands small and large on exciting collaborations that can bring products alive in my own signature aesthetic.