

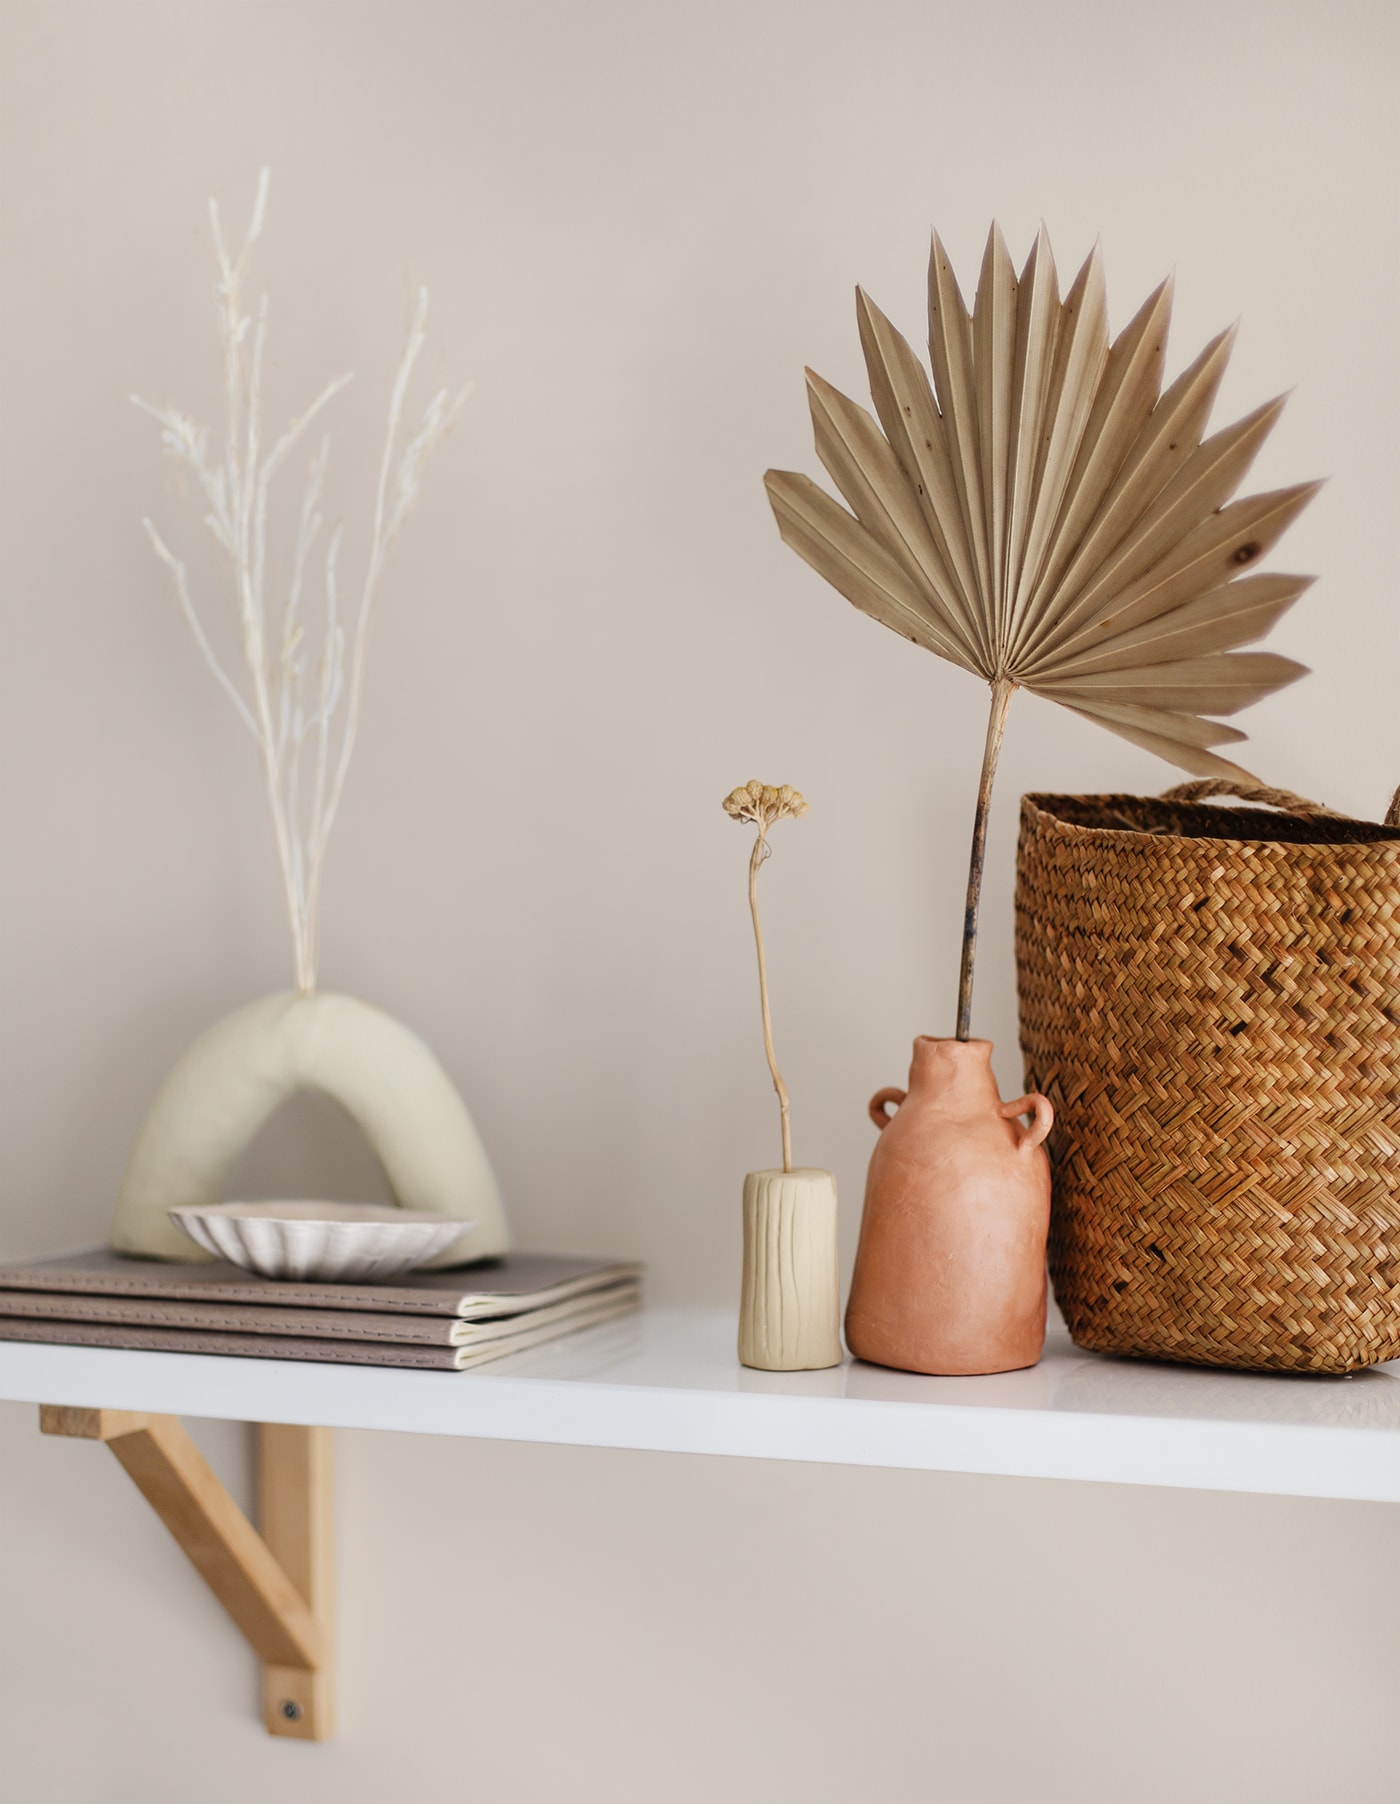
DIY Quirky Clay Vases
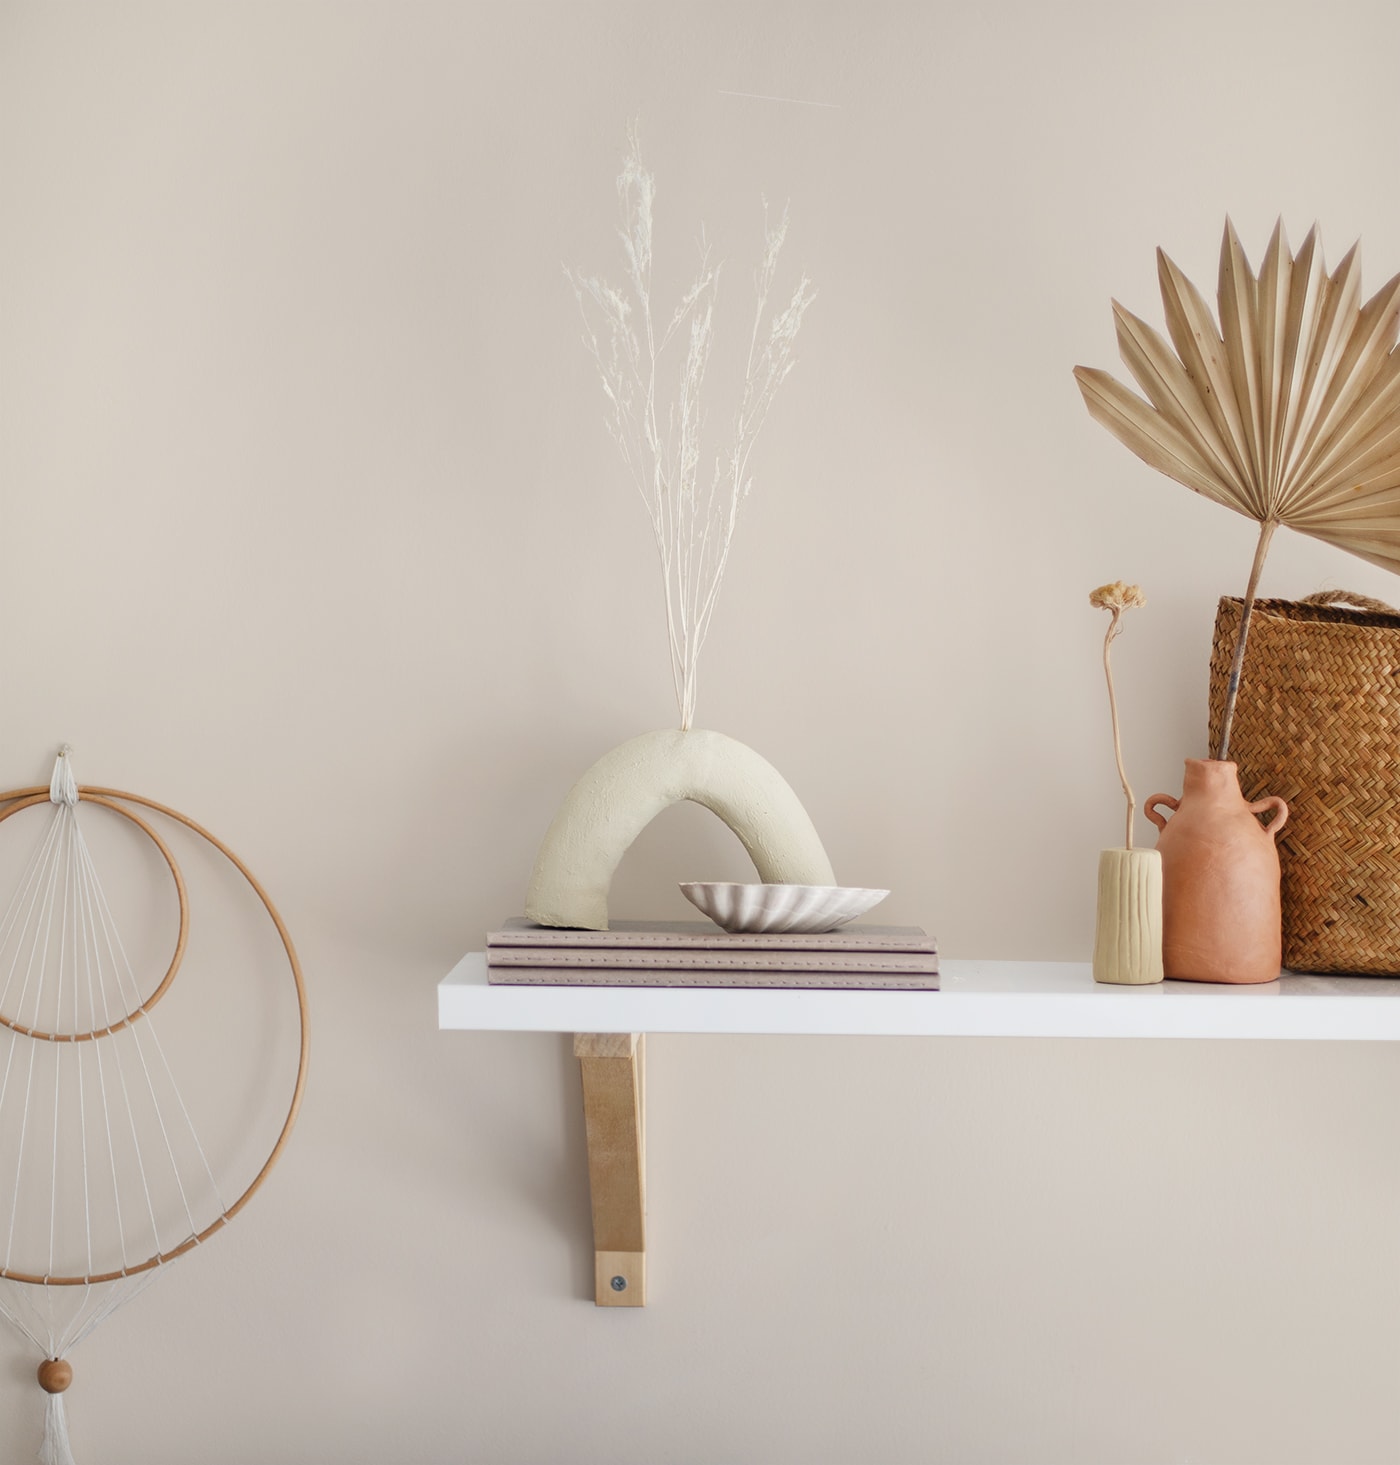
I’m a big fan of interesting pottery and love thrifting interesting pieces but why not make some one-off pottery yourself.Seeing as most people don’t casually own a potters wheel, this project simply uses air dry clay, some water and your fingers. If you use plastic bottles in the centre they can even function with fresh flowers, holding some water. The best thing about these is that it doesn’t matter if they’re a bit wonky because it all adds to the charm.
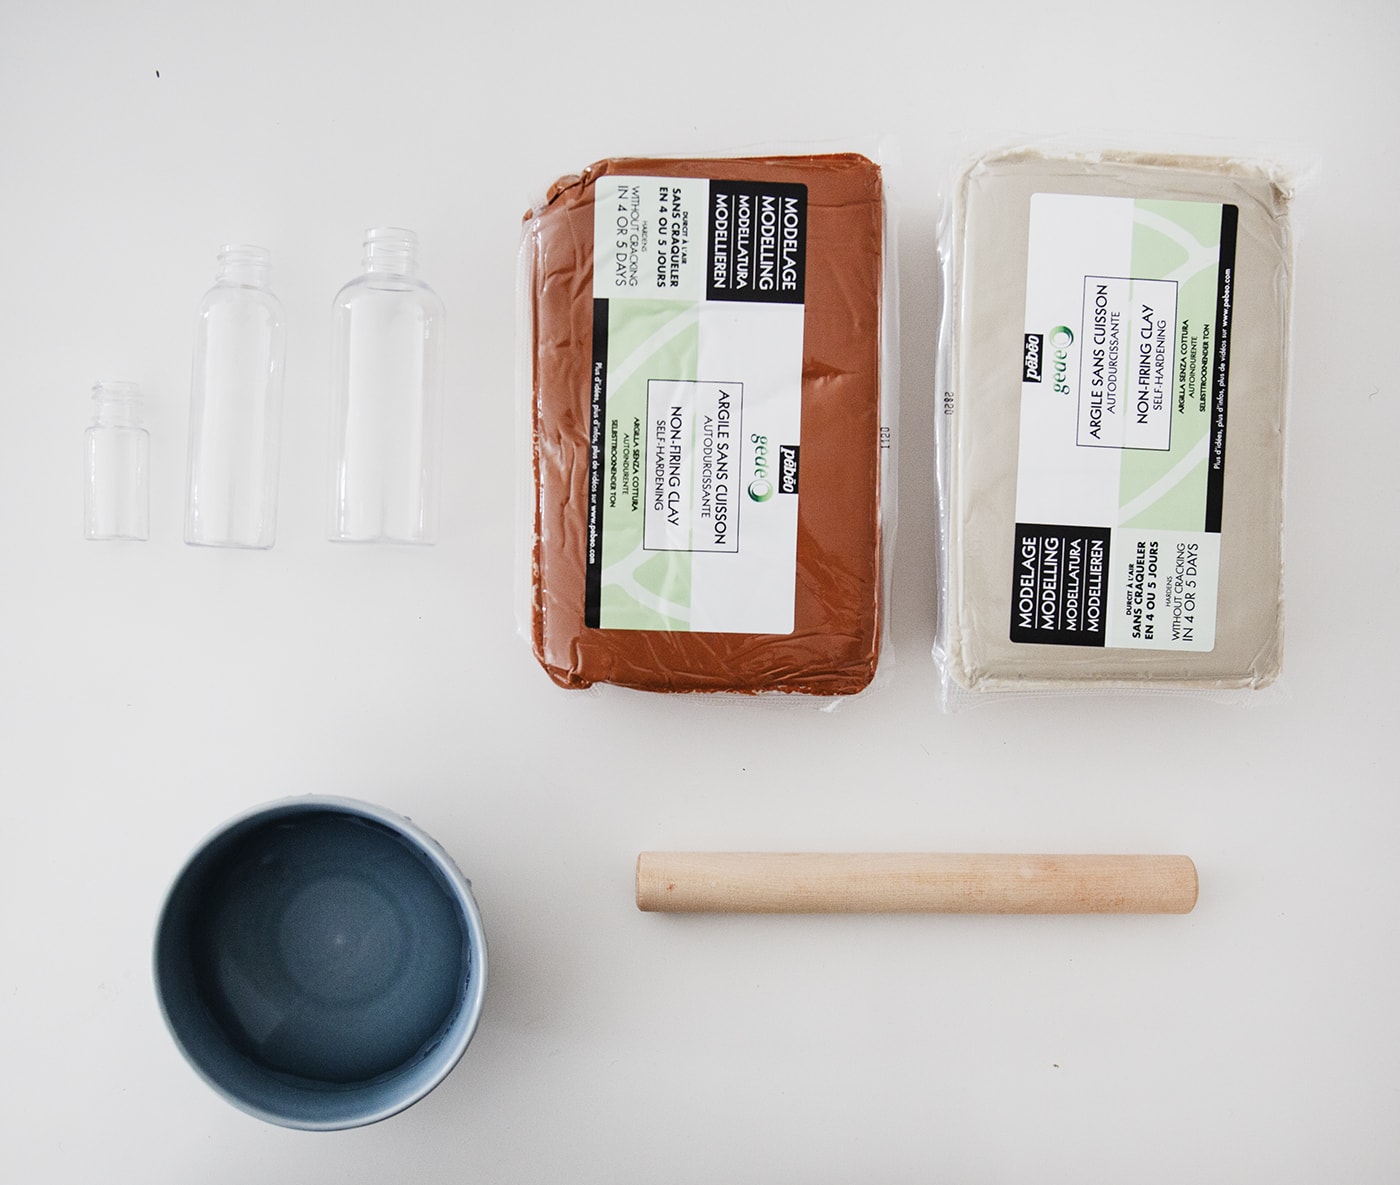
Materials
Air dry clay (I actually prefer this brand)
Plastic bottles or any other small container
Bowl of Water
Scalpel or specialised clay tool
Rolling pin
Acrylic paint and baking soda if you’d like to paint them
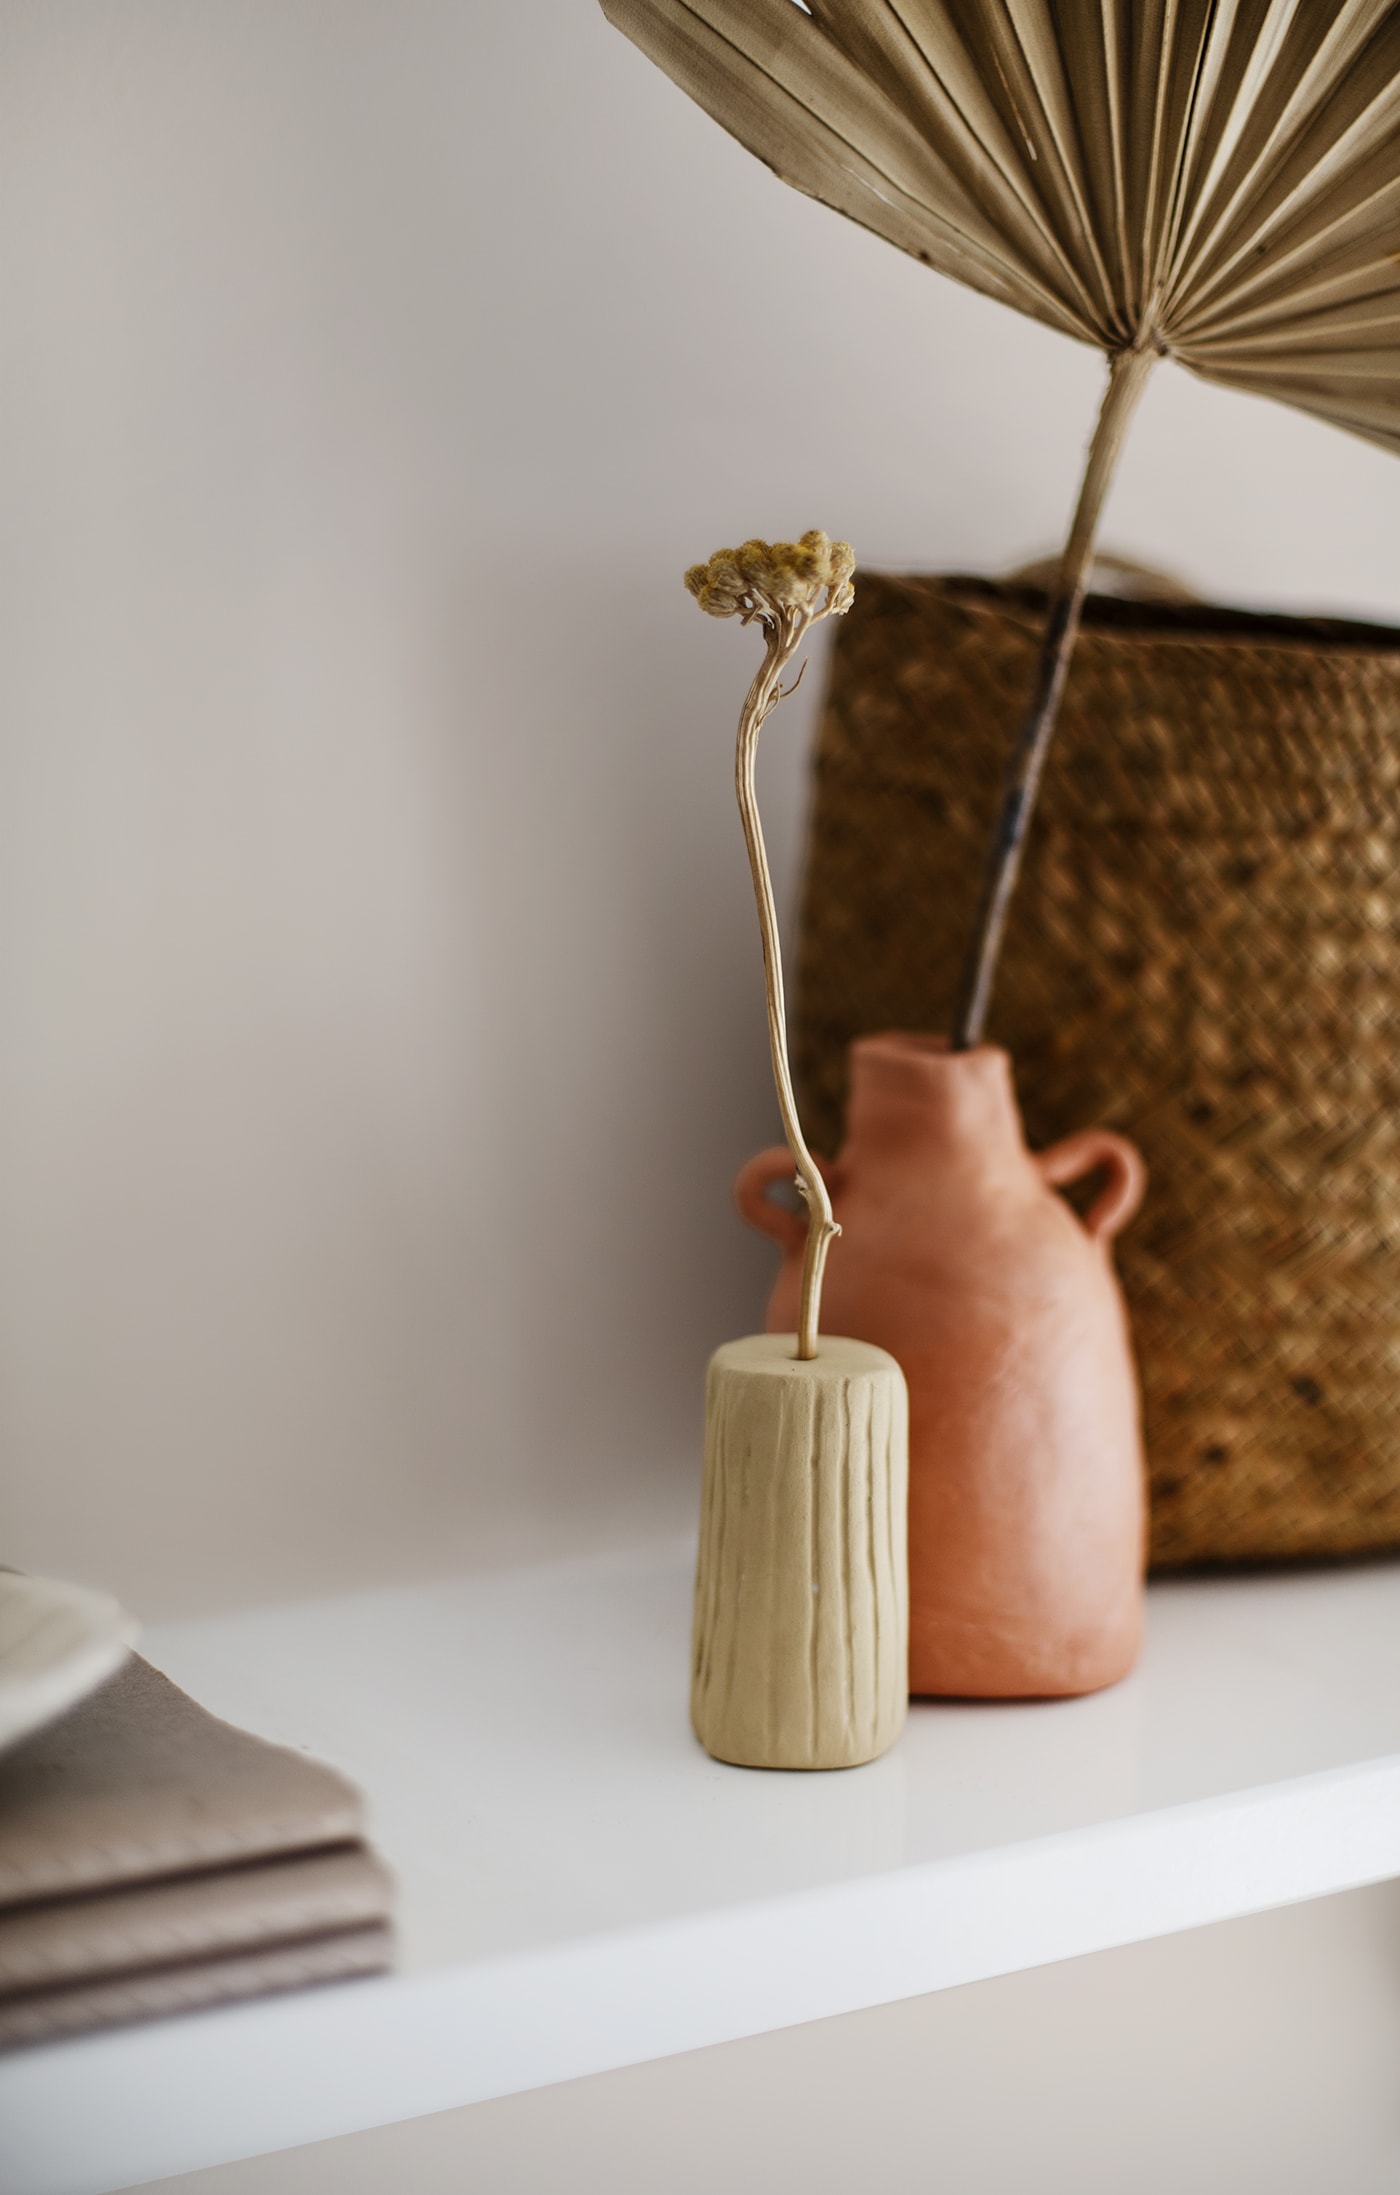
Vase with handles
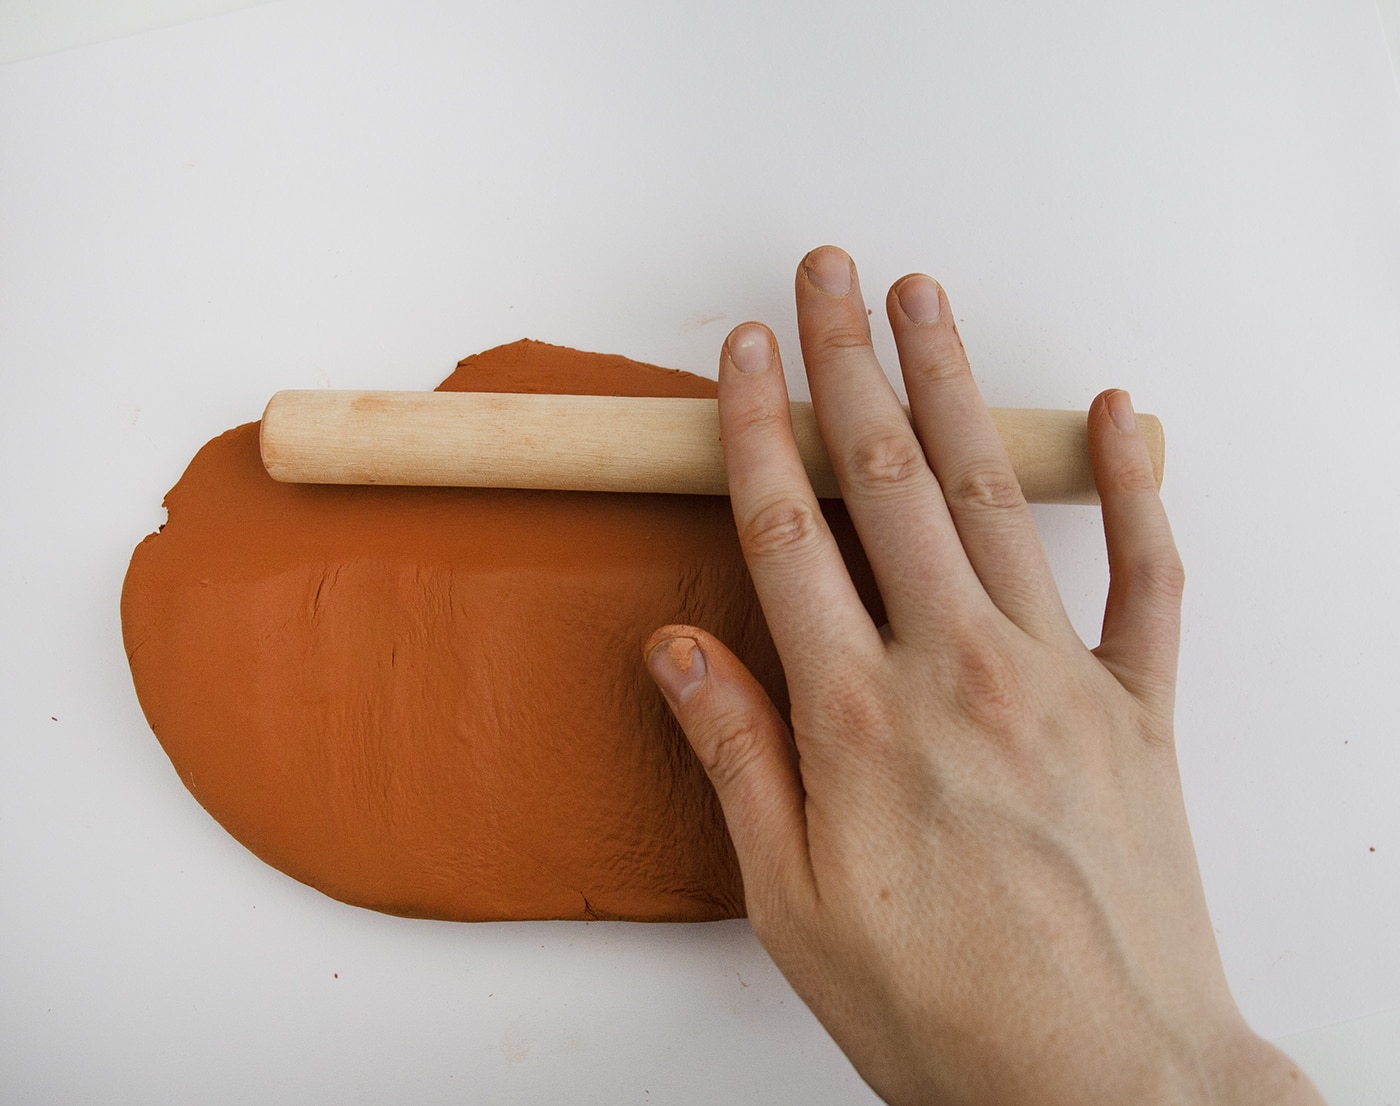
Step 1
Take a chunk of the clay and roll out to roughly two centimetres thick and making sure it’s slightly taller than your bottle.
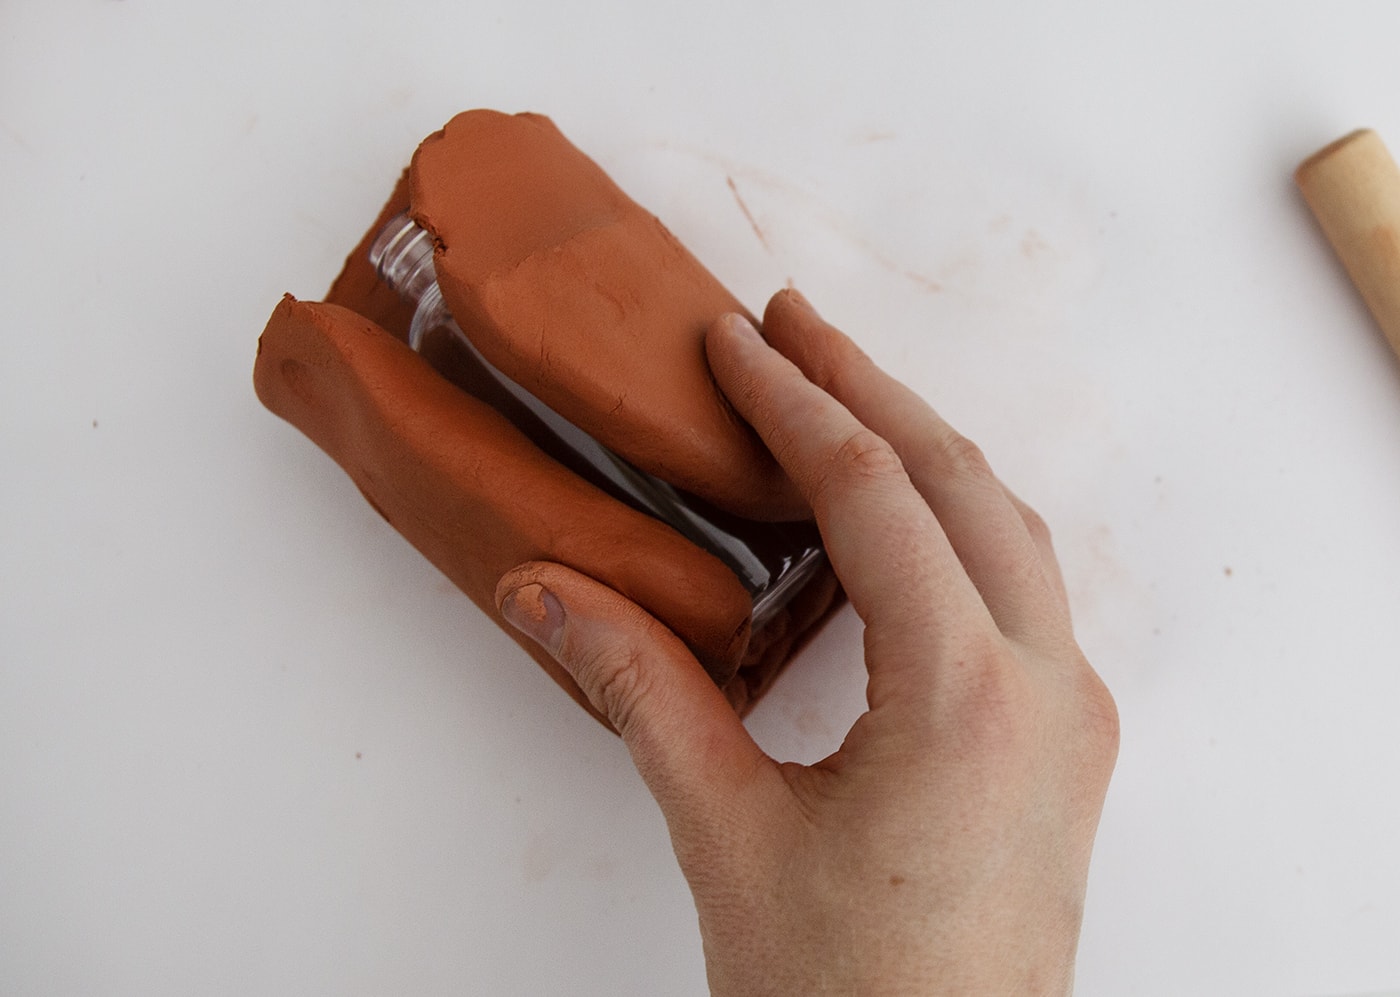
Step 2
Wrap around the bottle.
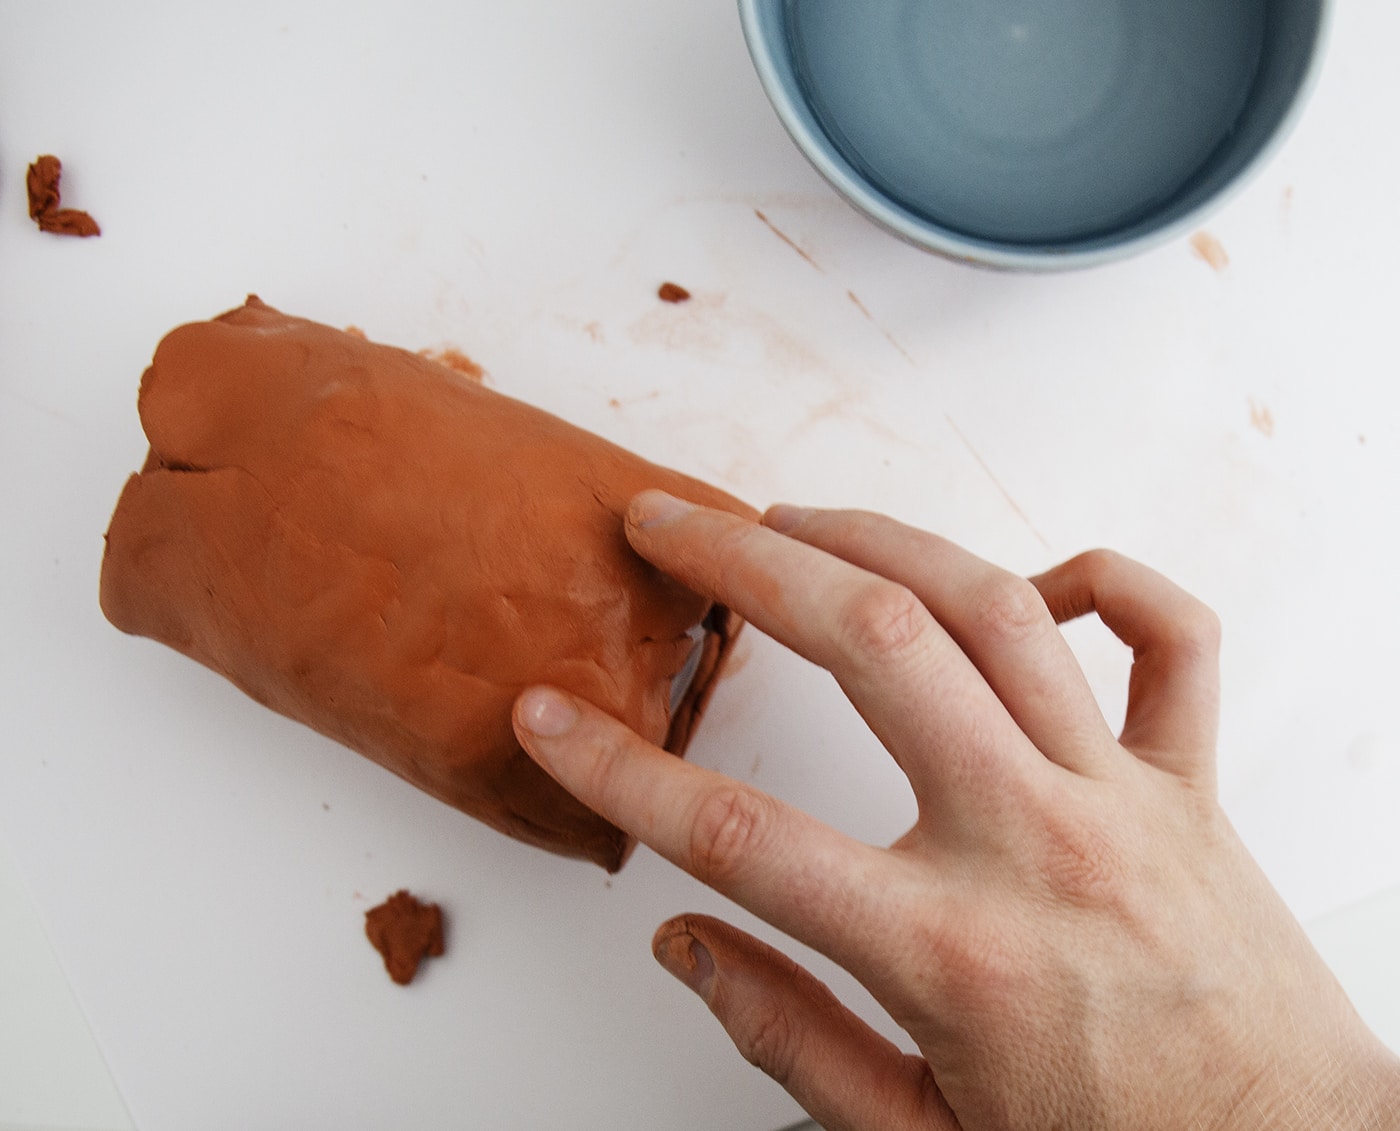
Step 3
Then pull together with your fingers, closing the gap and use some water to smooth the join.
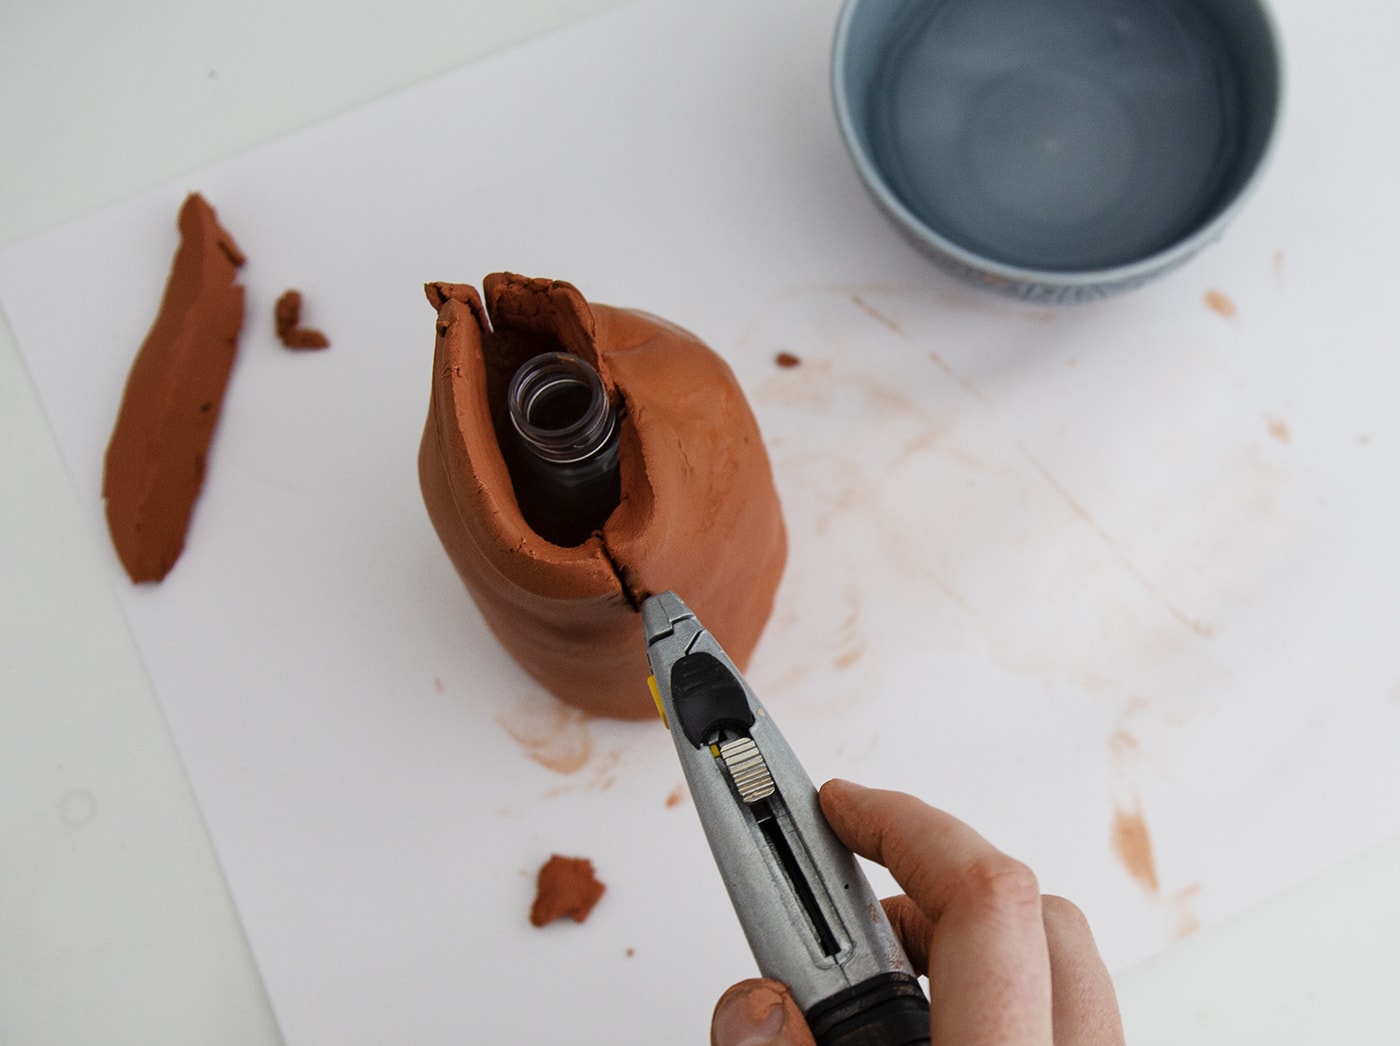
Step 4
Cut two slits opposite one another at the top.

Step 5
Press the top section into the neck of the bottle, smoothing again with water and your fingers.
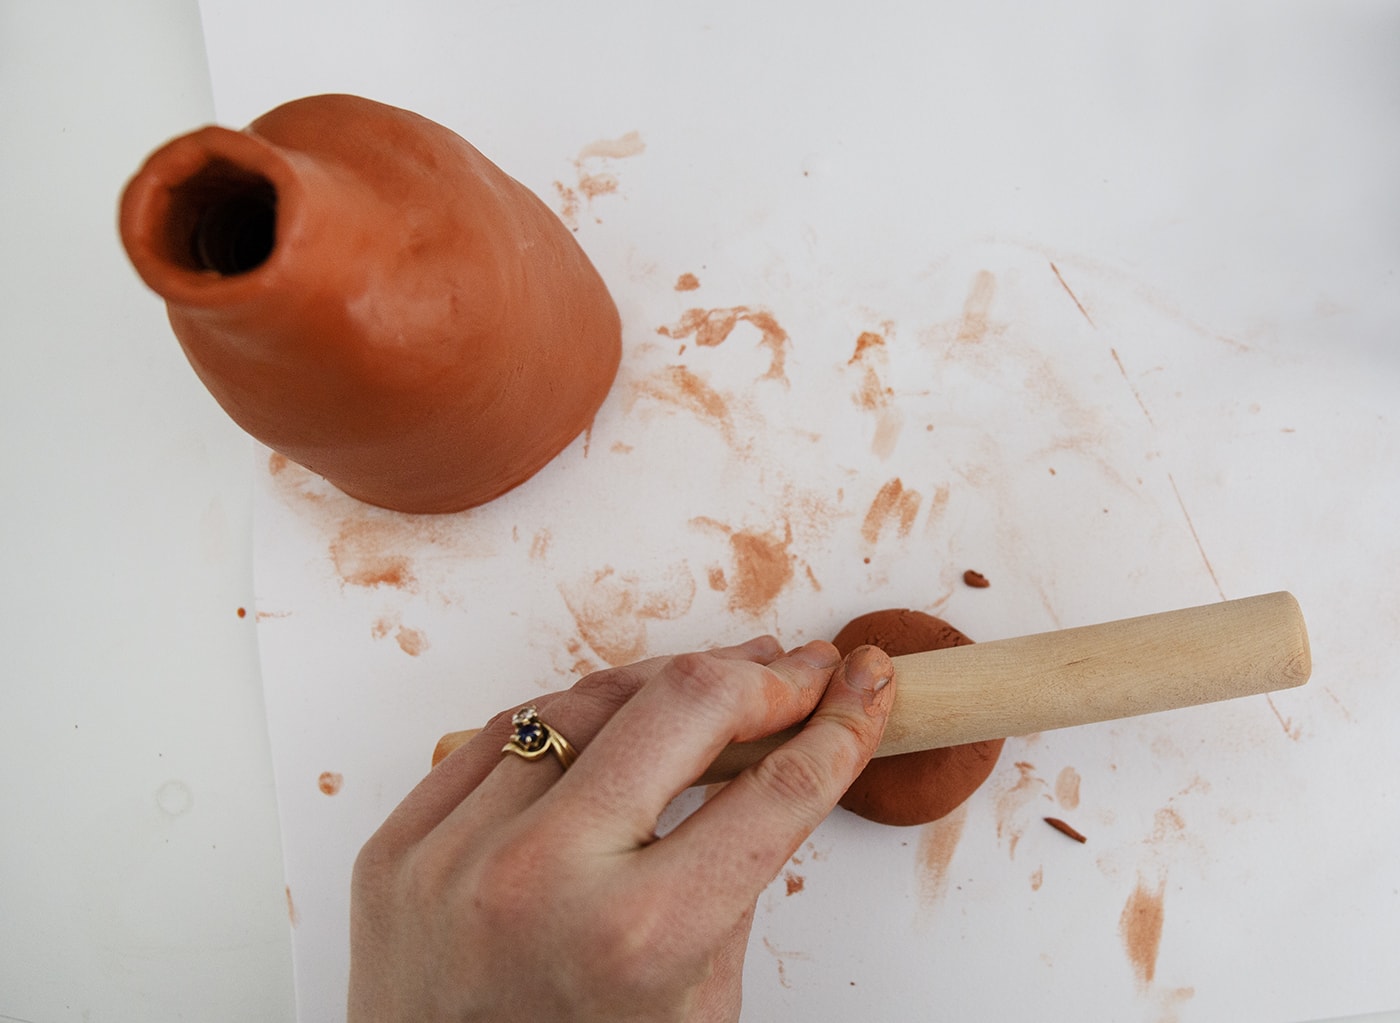
Step 6
Roll a separate ball of clay and to form the bottom.
Step 7
Place the bottle on top and trim around the edge, leaving about half a centimetre excess to join.
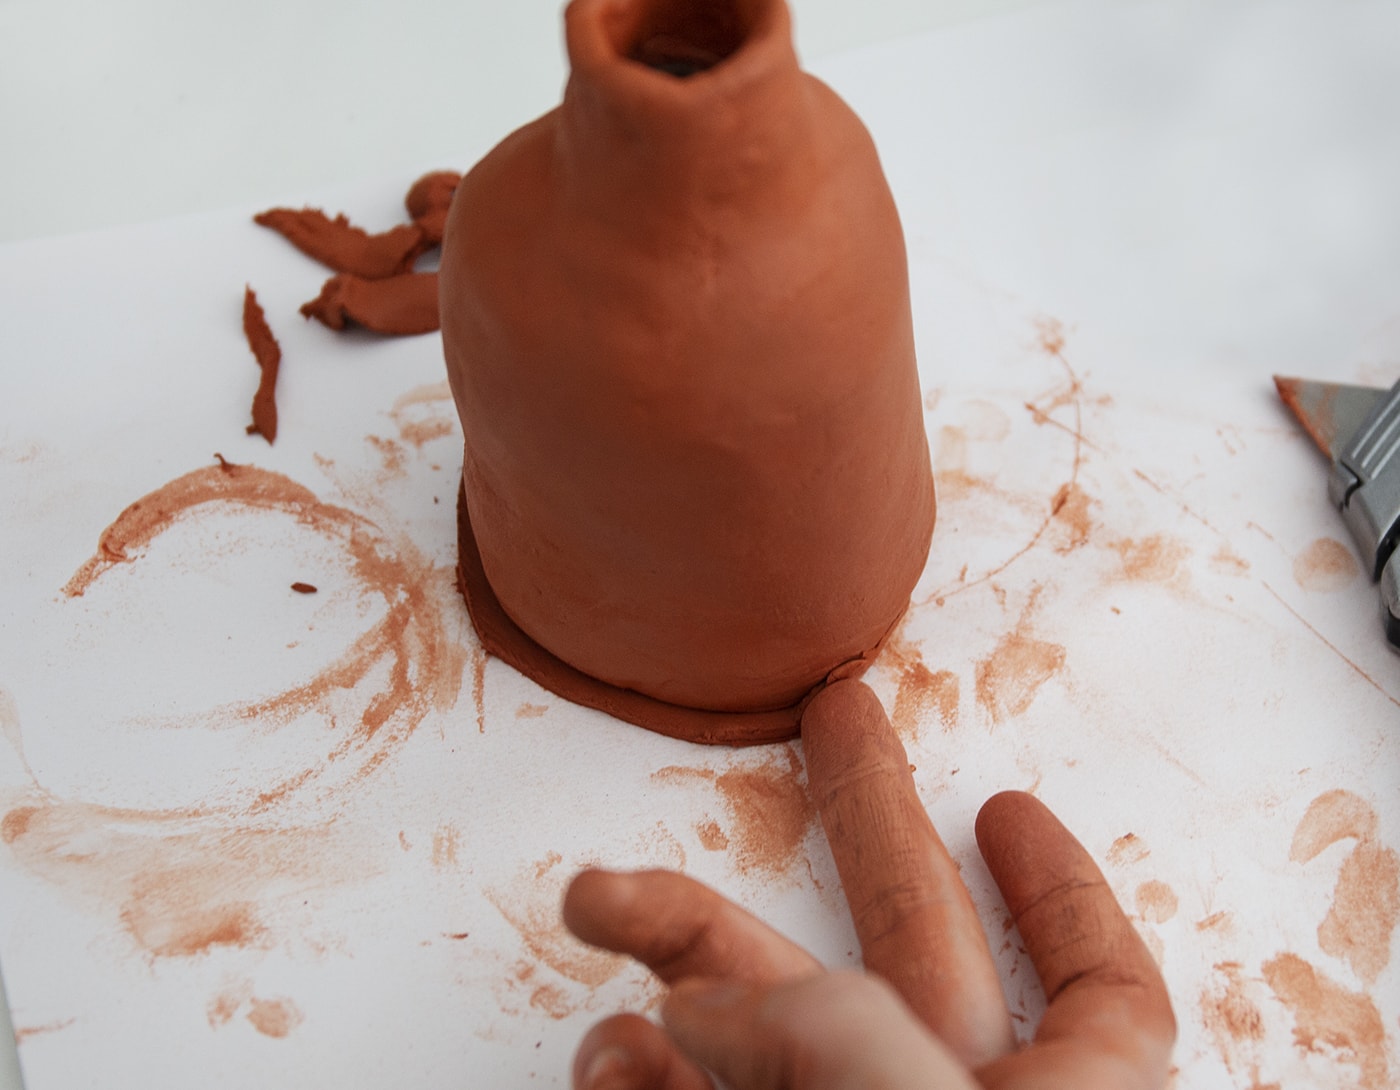
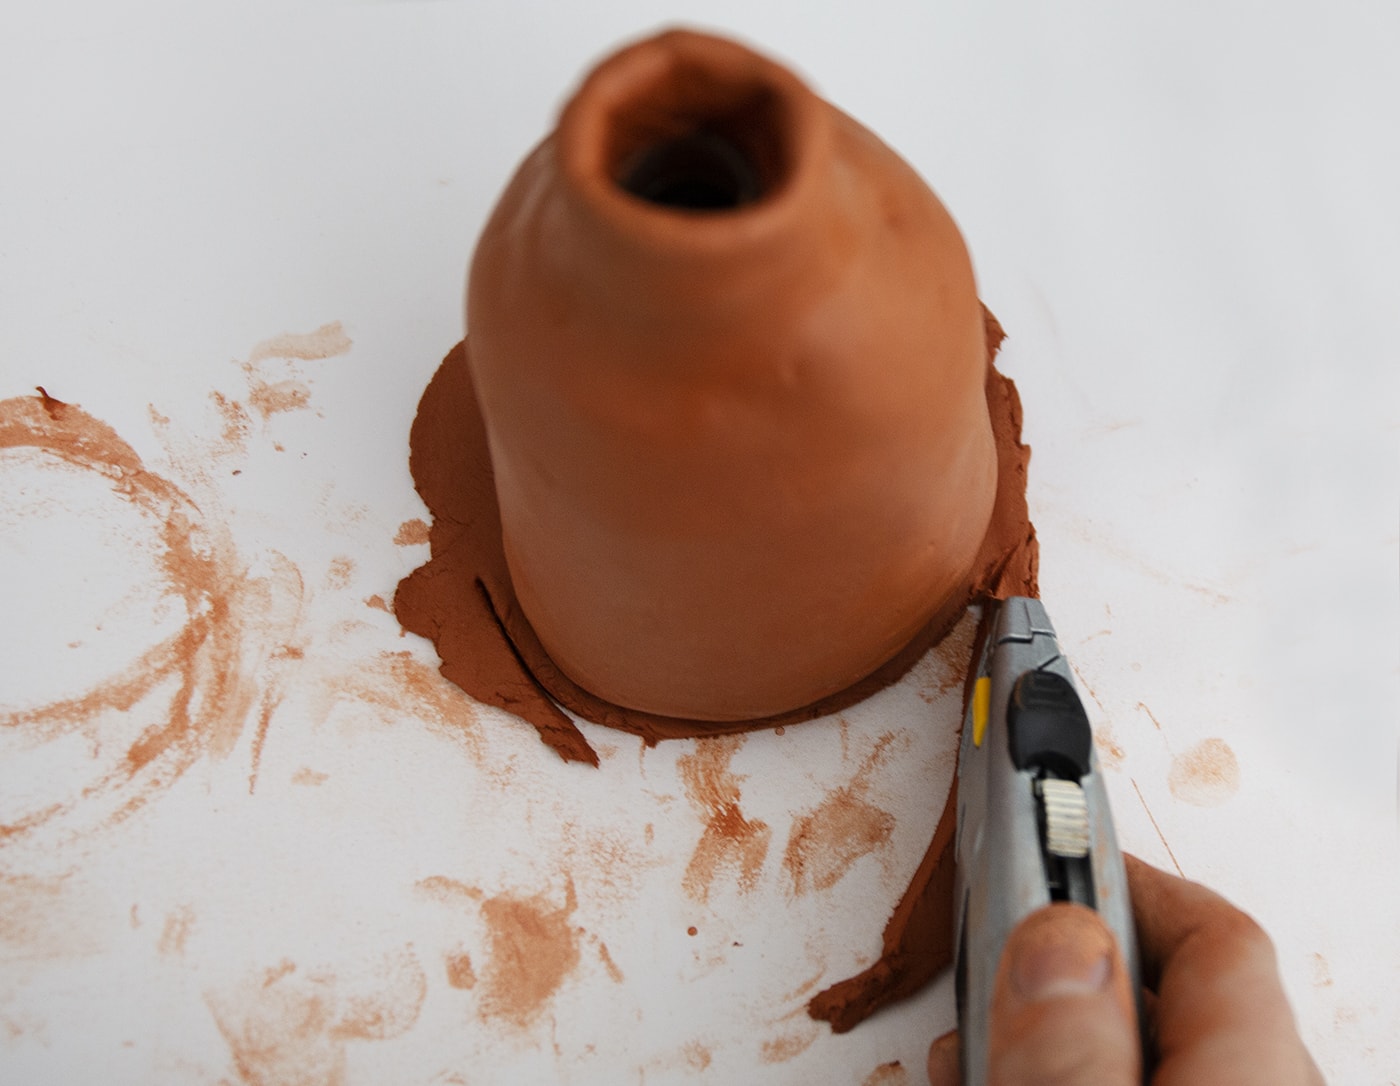
Step 8
Press the clay to join, working your way around the bottom.
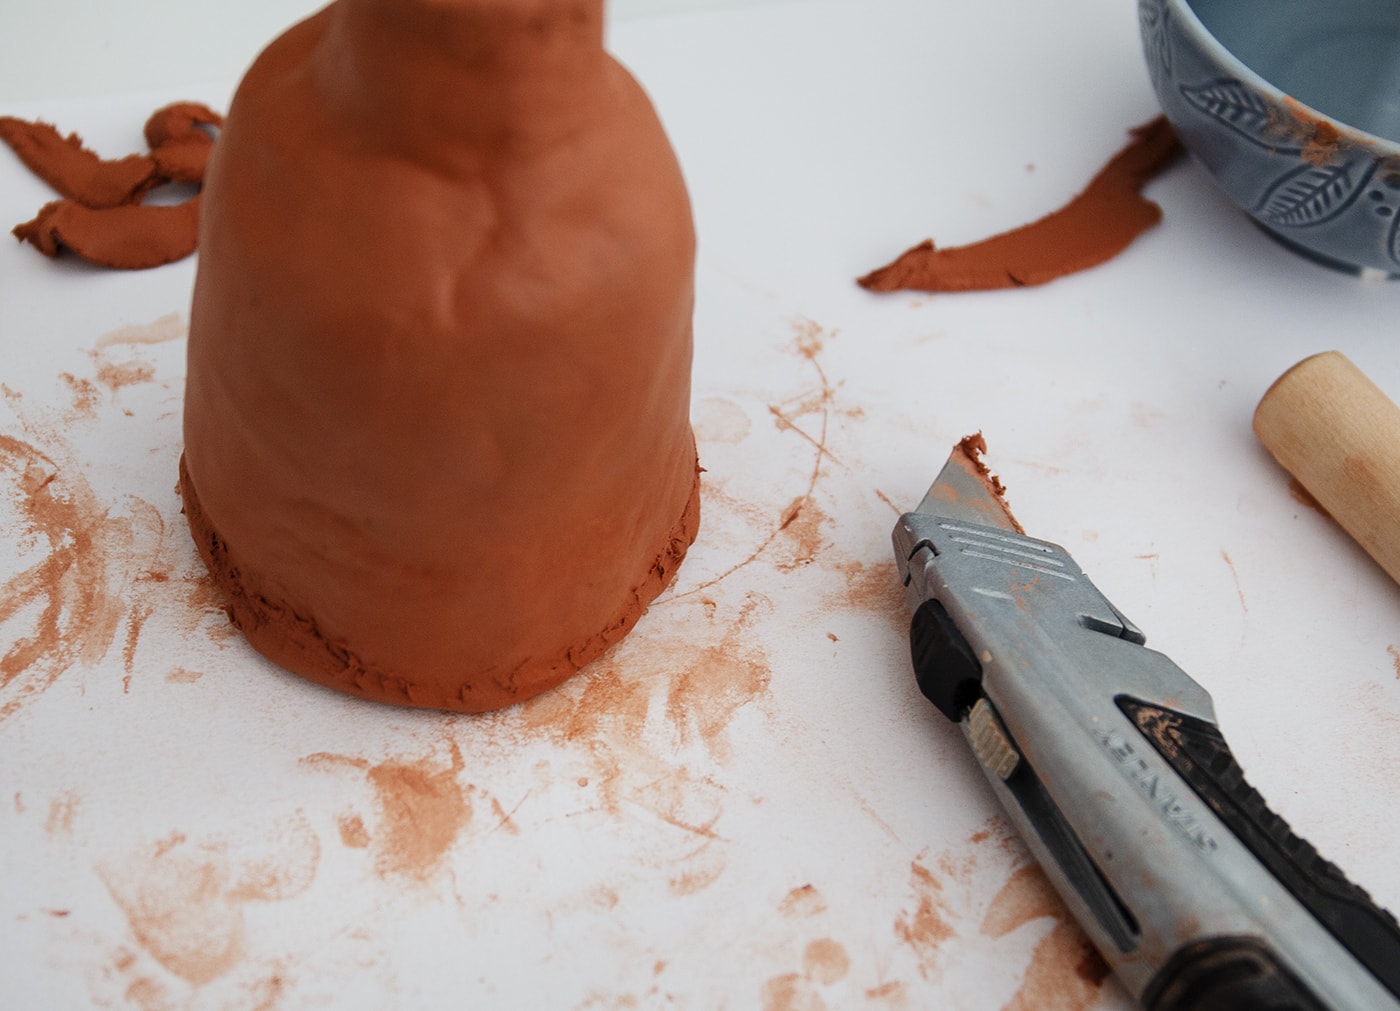
Step 9
You can either use your knife or a clay tool to scrape the clay over the join and then use water and your fingers to smooth it over.
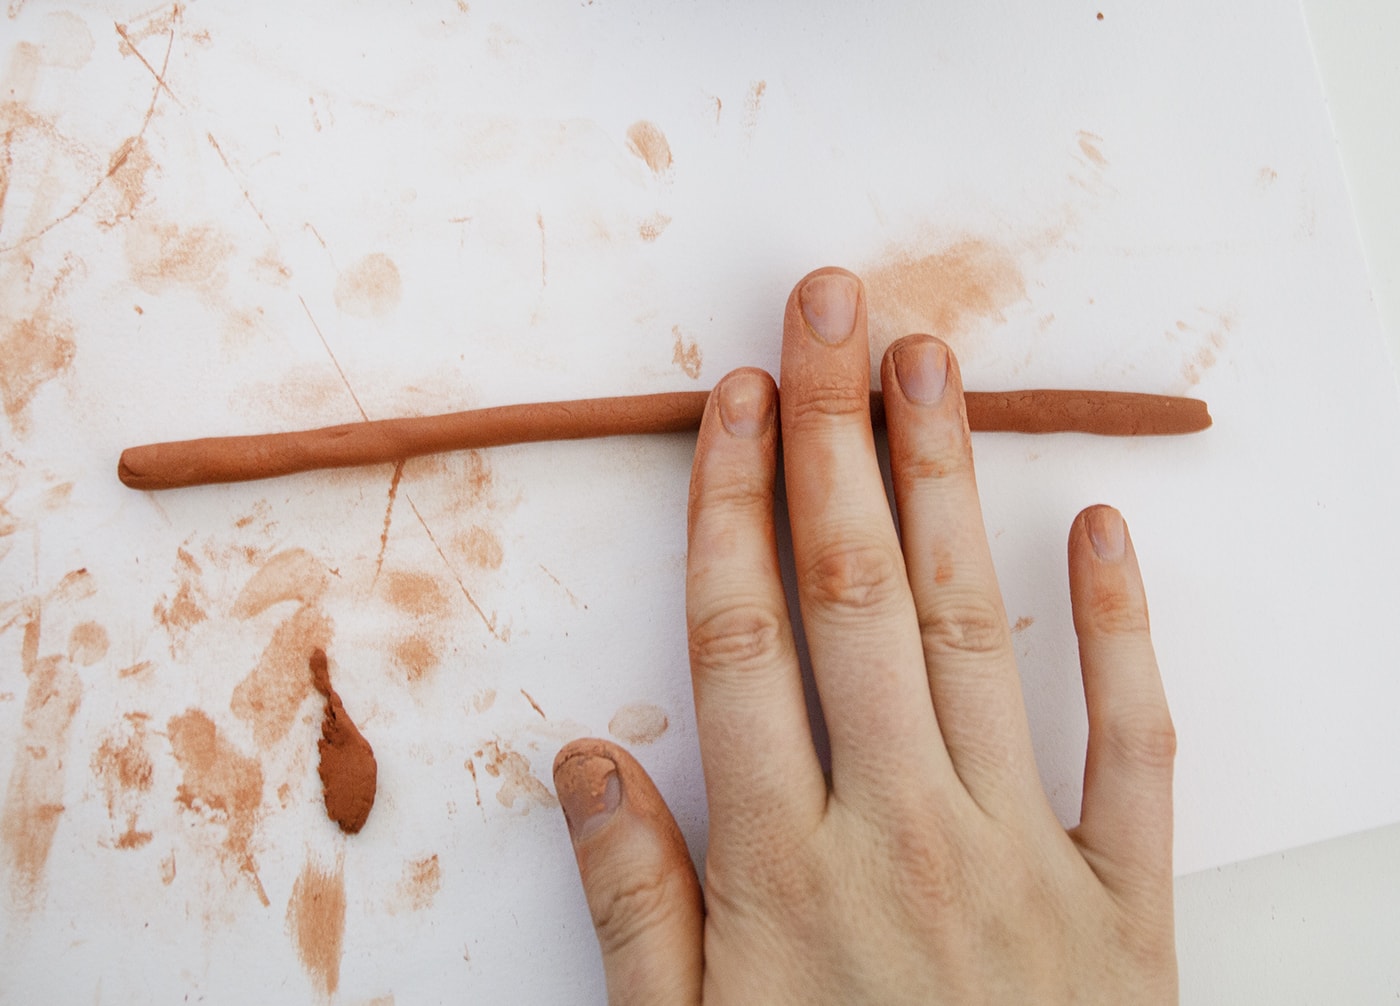
Step 10
Roll a cylinder of clay for the handles. Cut in half.
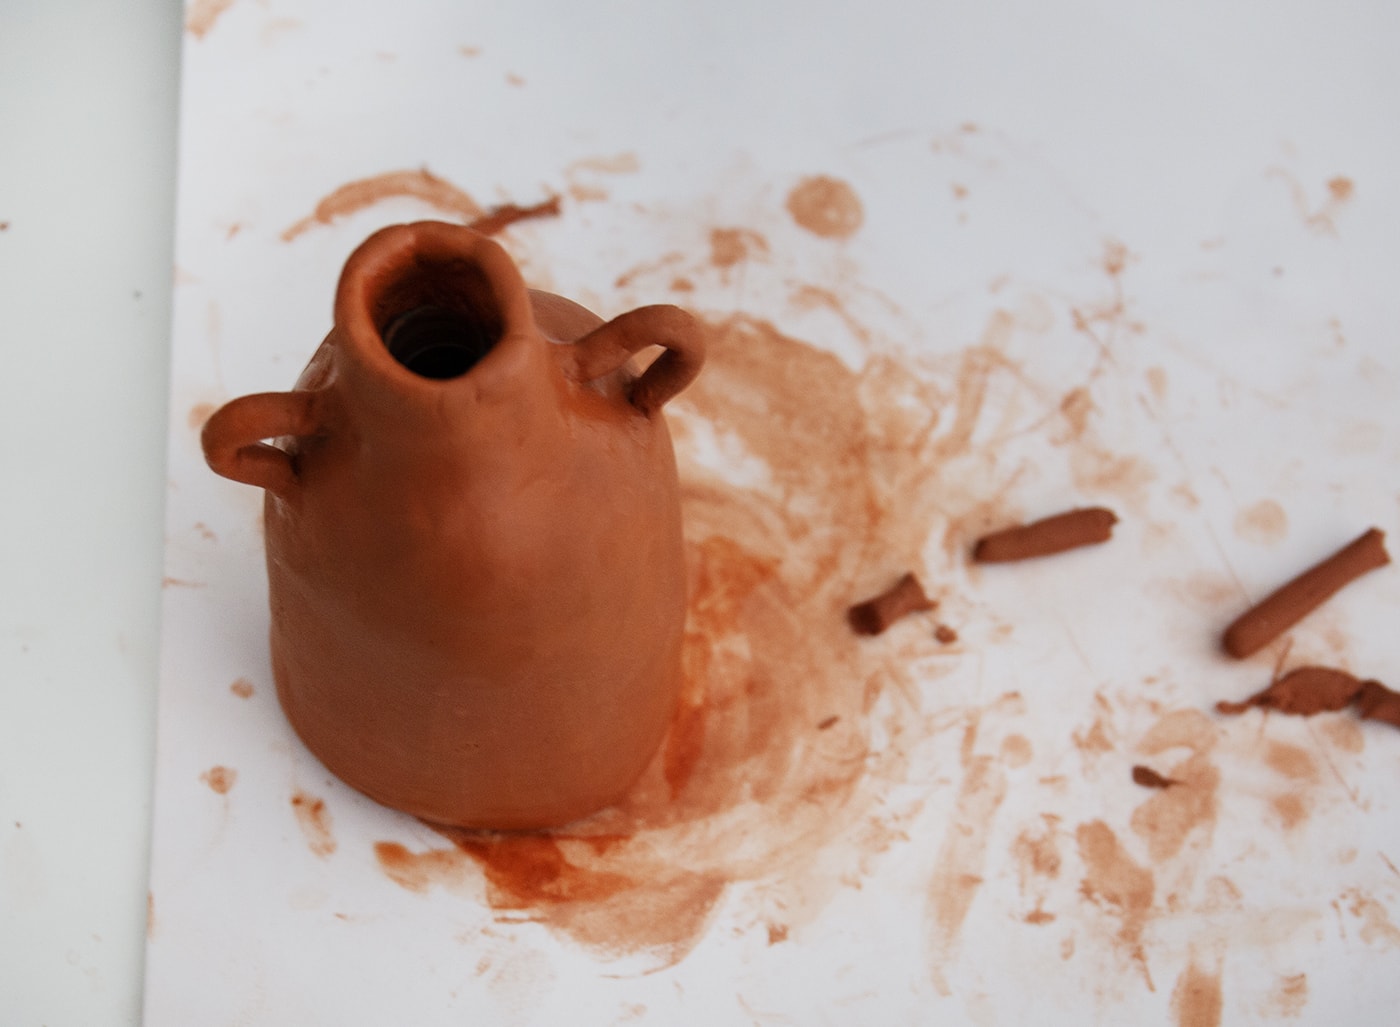
Step 11
Join in the same way as the bottom of the vase, making them the desired shape.
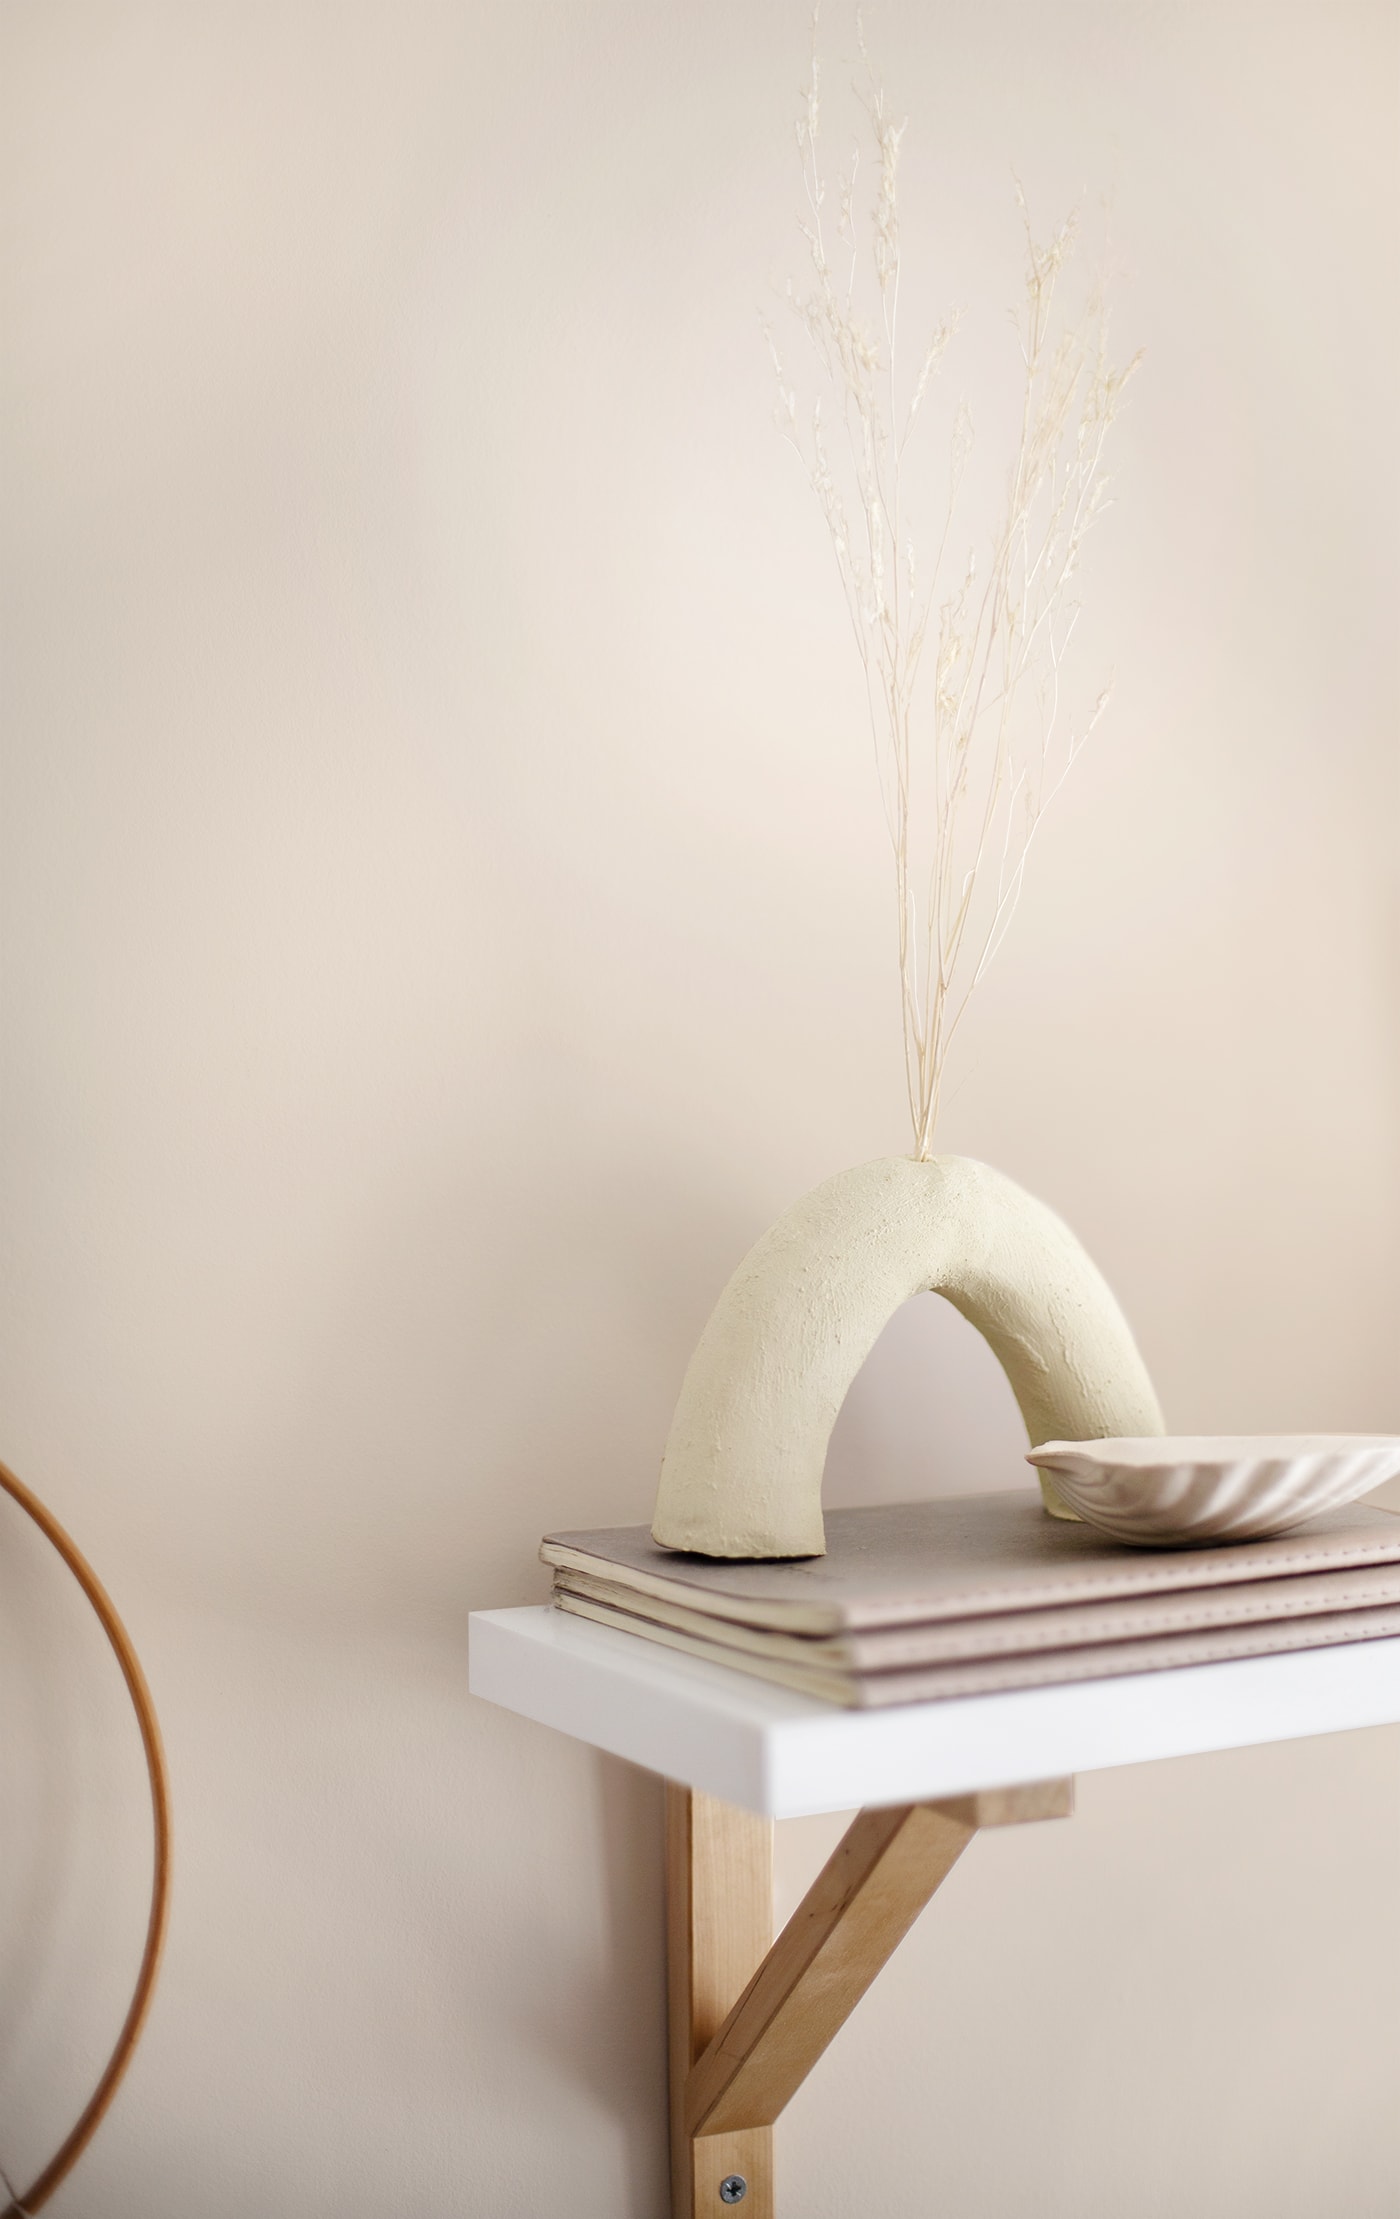
Arch vase
Step 1
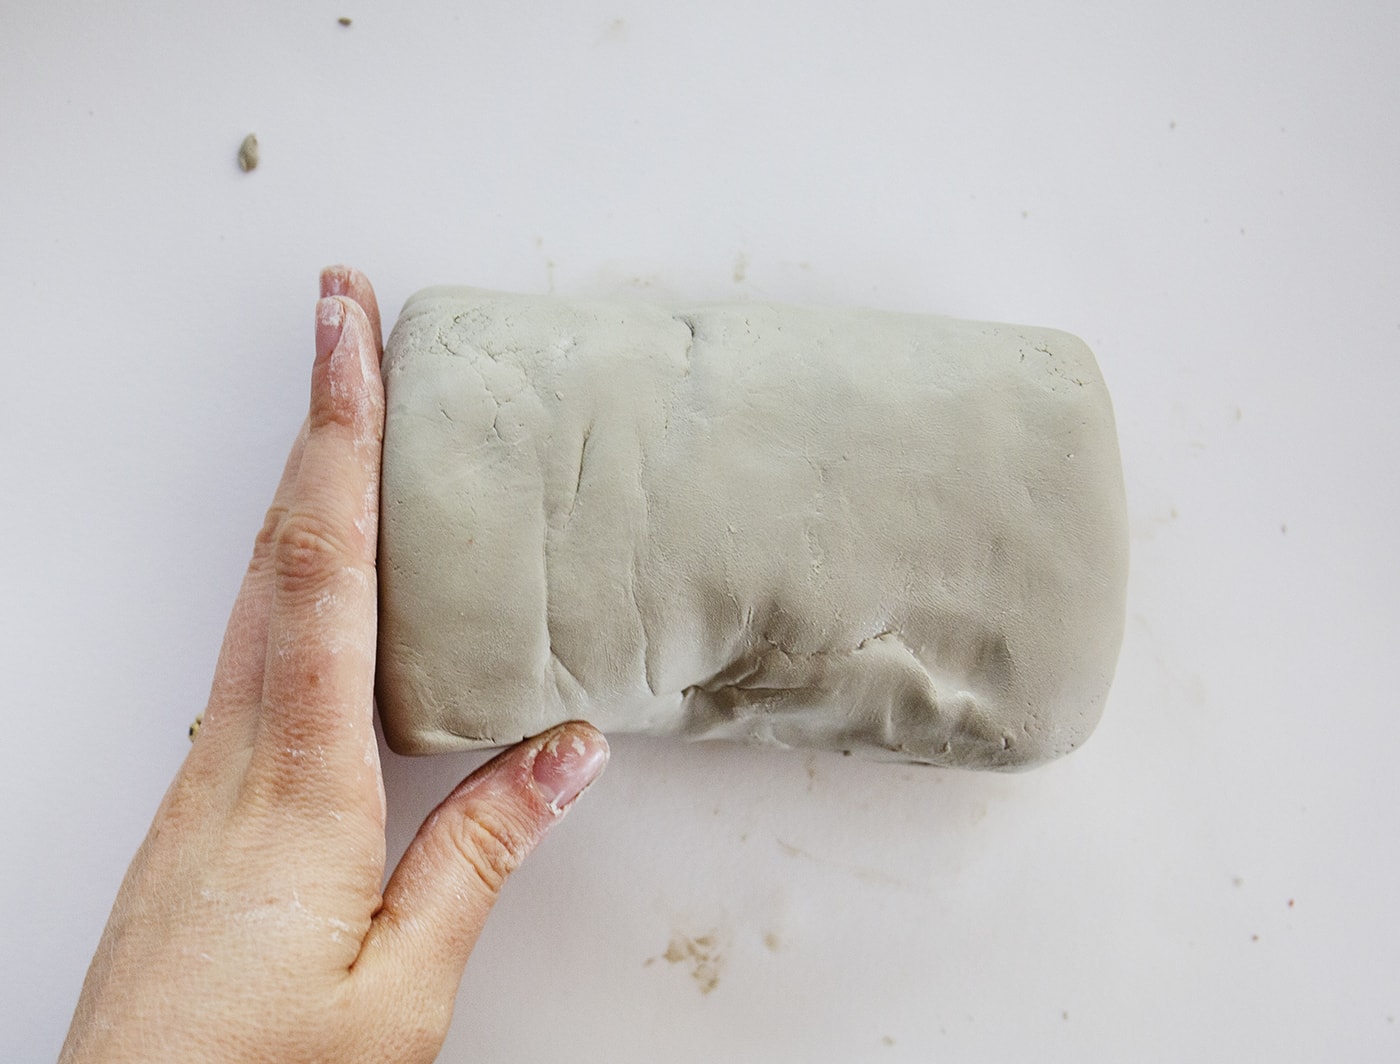
Take a very substantial block of the clay and work a little with your hands.
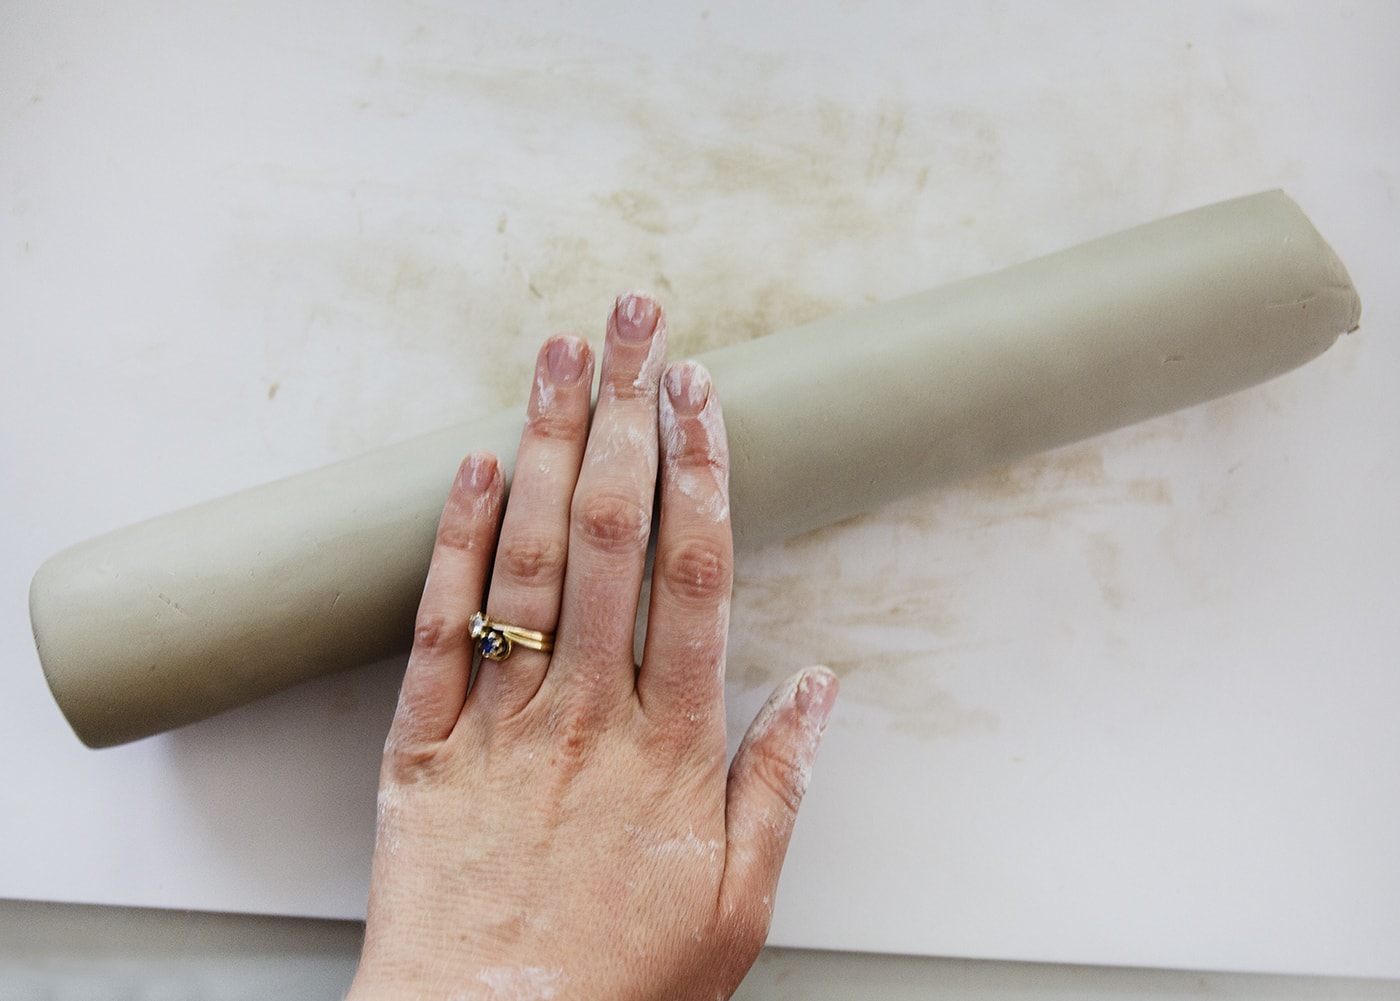
Step 2
Wet the surface of the clay a little and begin rolling a long, thick cylinder. Wet more if you start to see cracks emerging.

Step 4
Cut the ends off with a knife and smooth with water and your fingers.
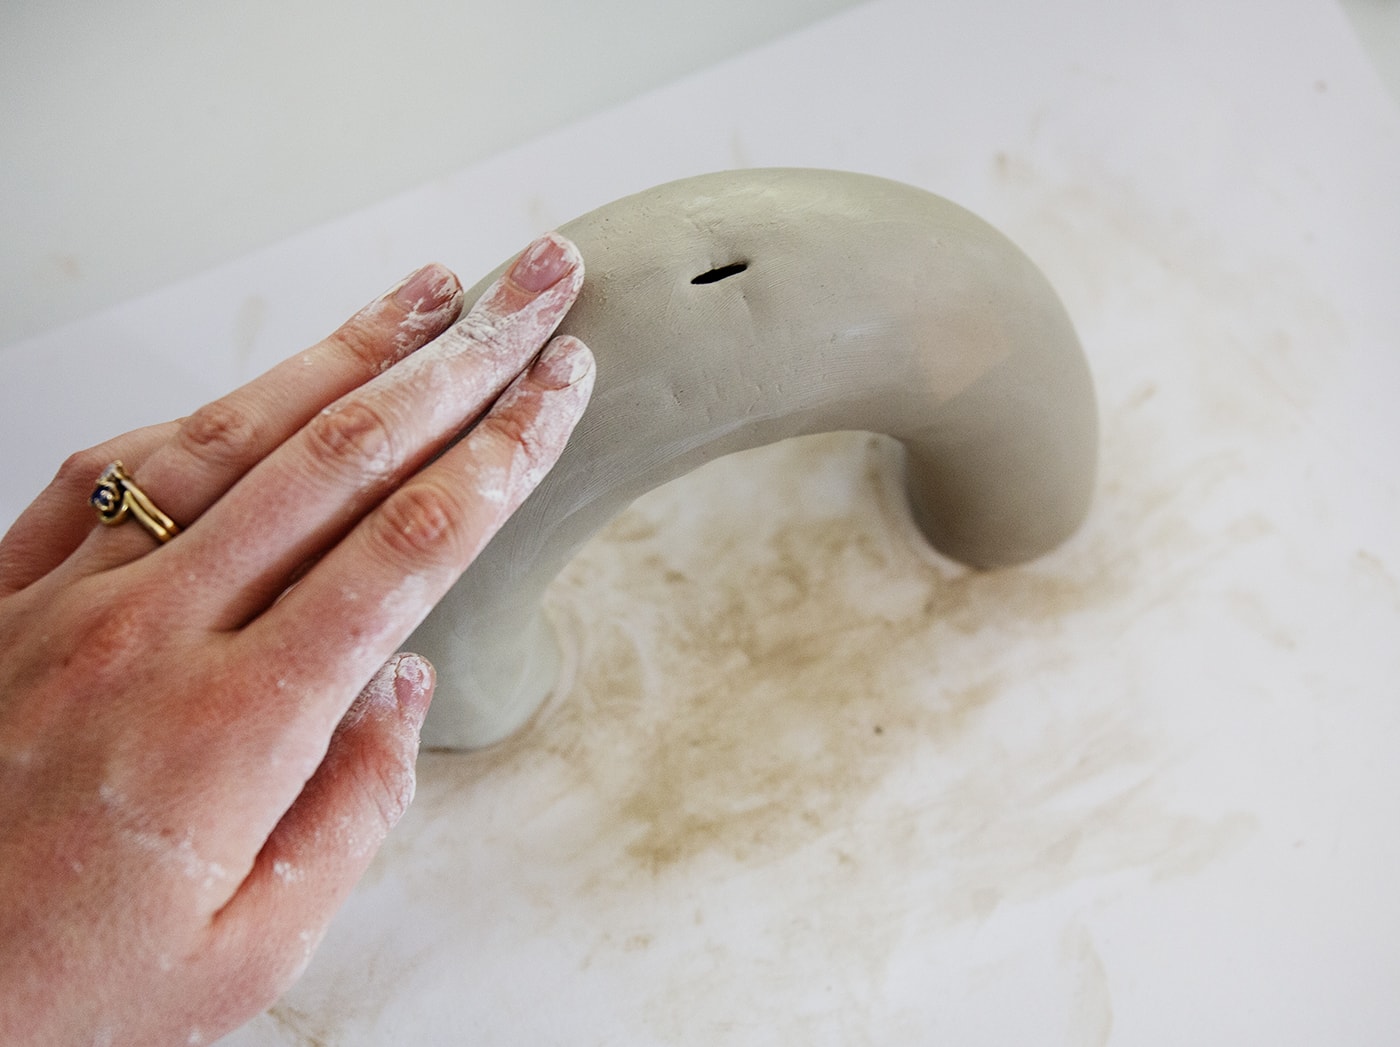
Step 5
Gently and using more water to do so, bend the clay cylinder and start smoothing with your fingers. If cracks emerge then use the knife or a clay tool to pull the clay from one side, over the split and then smooth with water. I did a fair bit of smoothing and moulding to get a clean shape and then added a hole in the top, going most of the way through.
Step 6
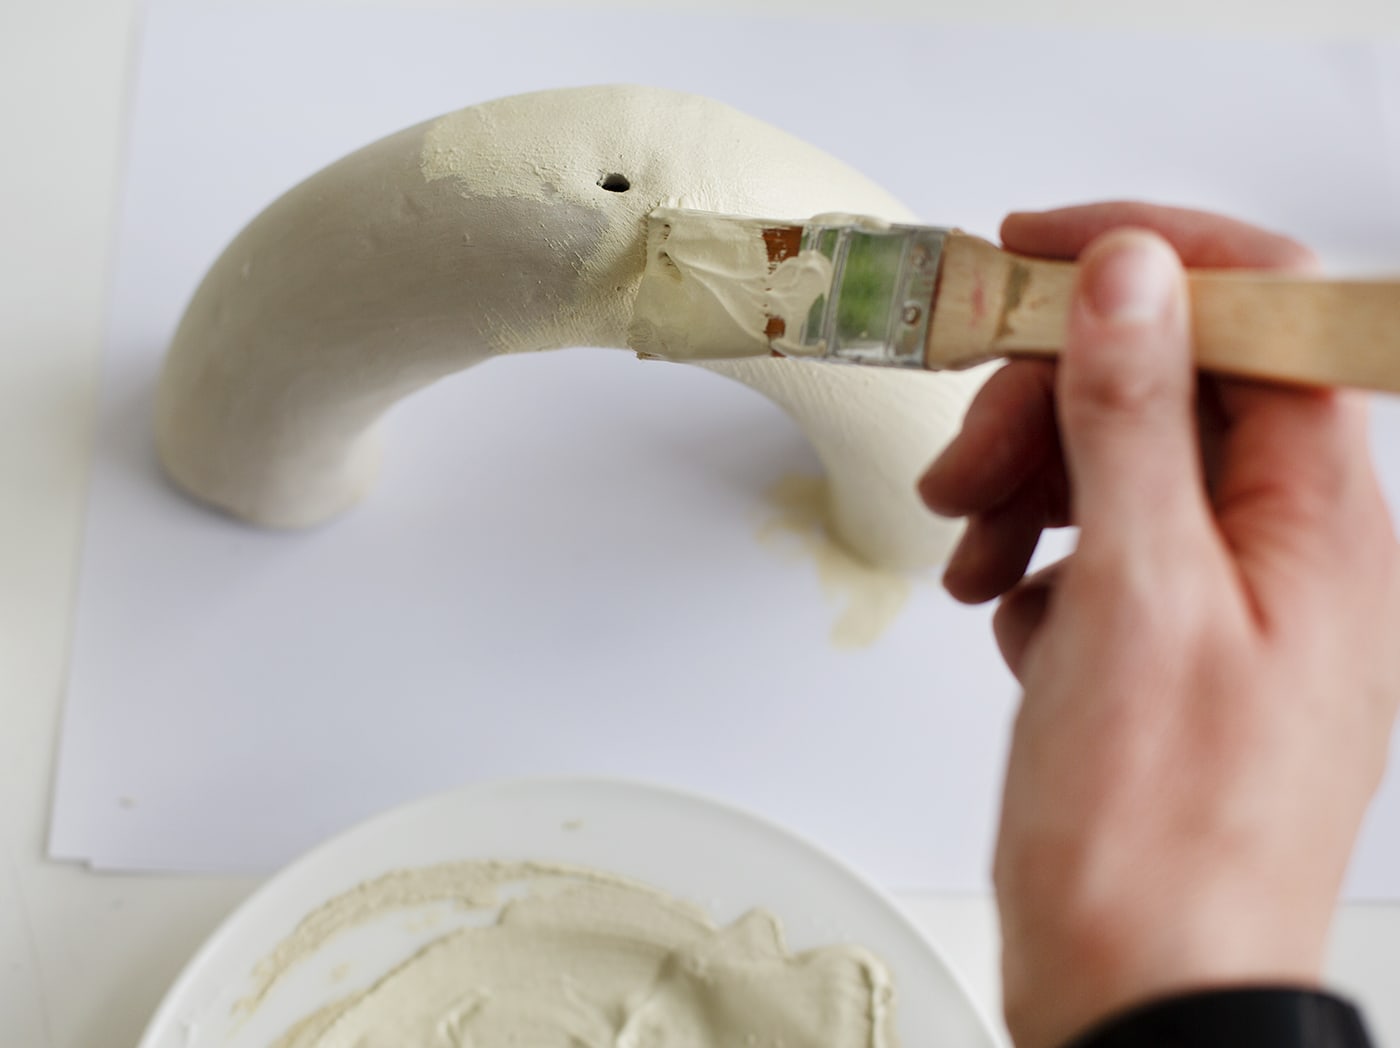
If you fancy making your clay vases a specific colour then you can paint them. For extra texture I slowly added baking soda to the acrylic until it formed a thick paste. Do two coats of the paint and you’re done!
Textured vase
You can either adopt the same idea as the vase with handles, using another small plastic bottle or just use a lump of clay to make a cylinder, similar to the arched vase, adding a hole in the top. Either way I added the ridges with the end of a paintbrush, tracing it down in a line each time and smooth any edges with some water.

You might also like


Meet The Lovely Drawer

Hi, I’m Teri and welcome to my own creative corner of the internet. I blog about interiors, DIY projects, design inspiration and my general life so stick around have a read and say hi.
In the shop

 Quick ViewSelect options
Terrace 1
£20.00 – £25.00
 Quick ViewSelect options
Orchard Days
£20.00 – £25.00
Work with Me
The Lovely Drawer is an award winning blog with a loyal audience that has grown over the years. I love working with brands small and large on exciting collaborations that can bring products alive in my own signature aesthetic.