

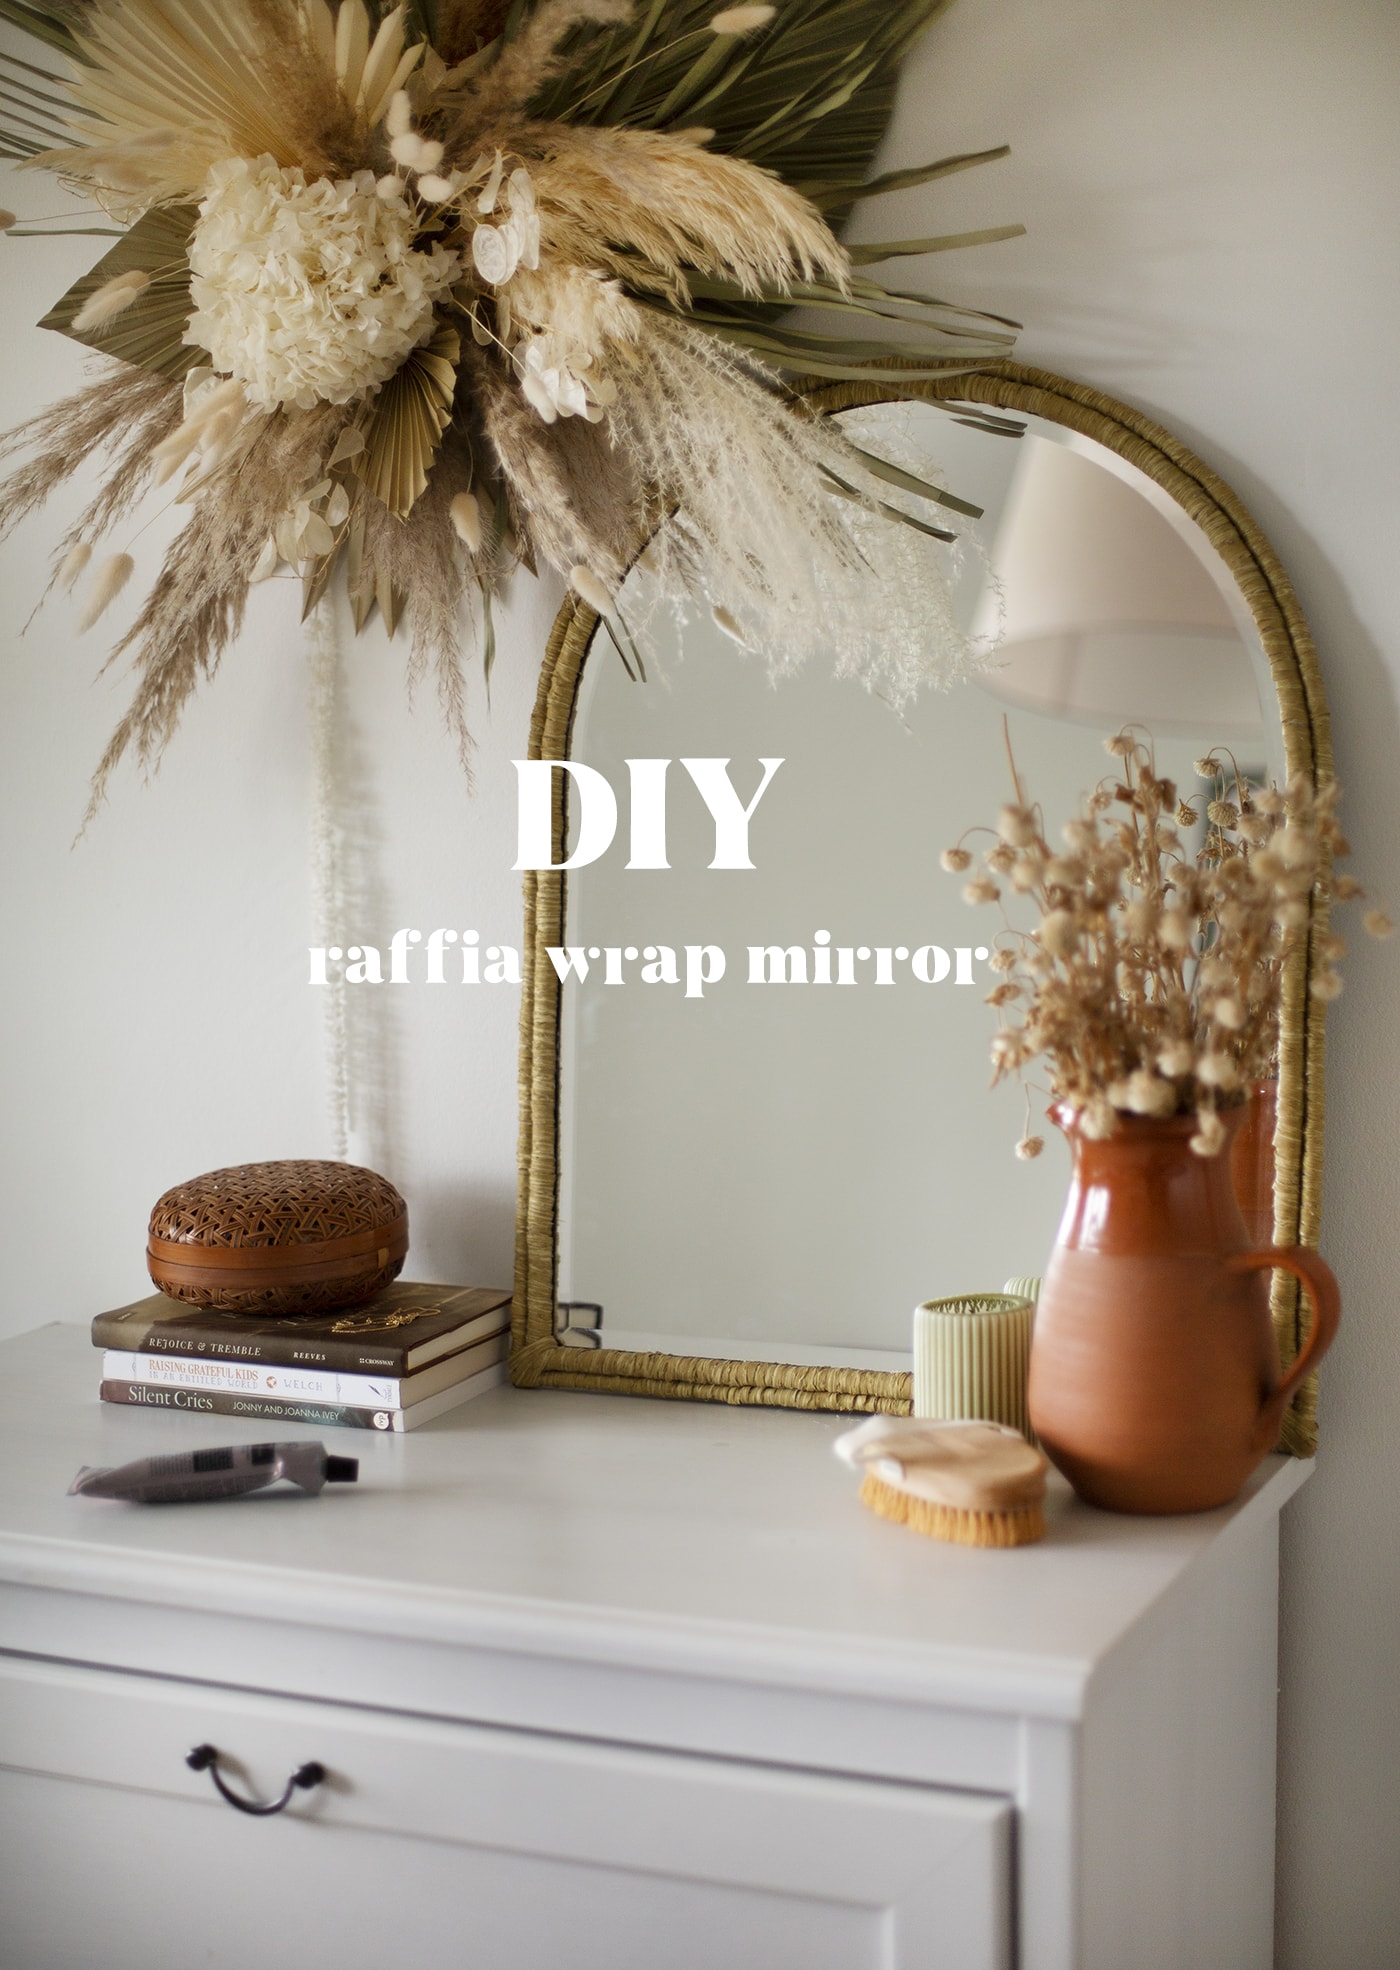
Mirror Thrift Flip
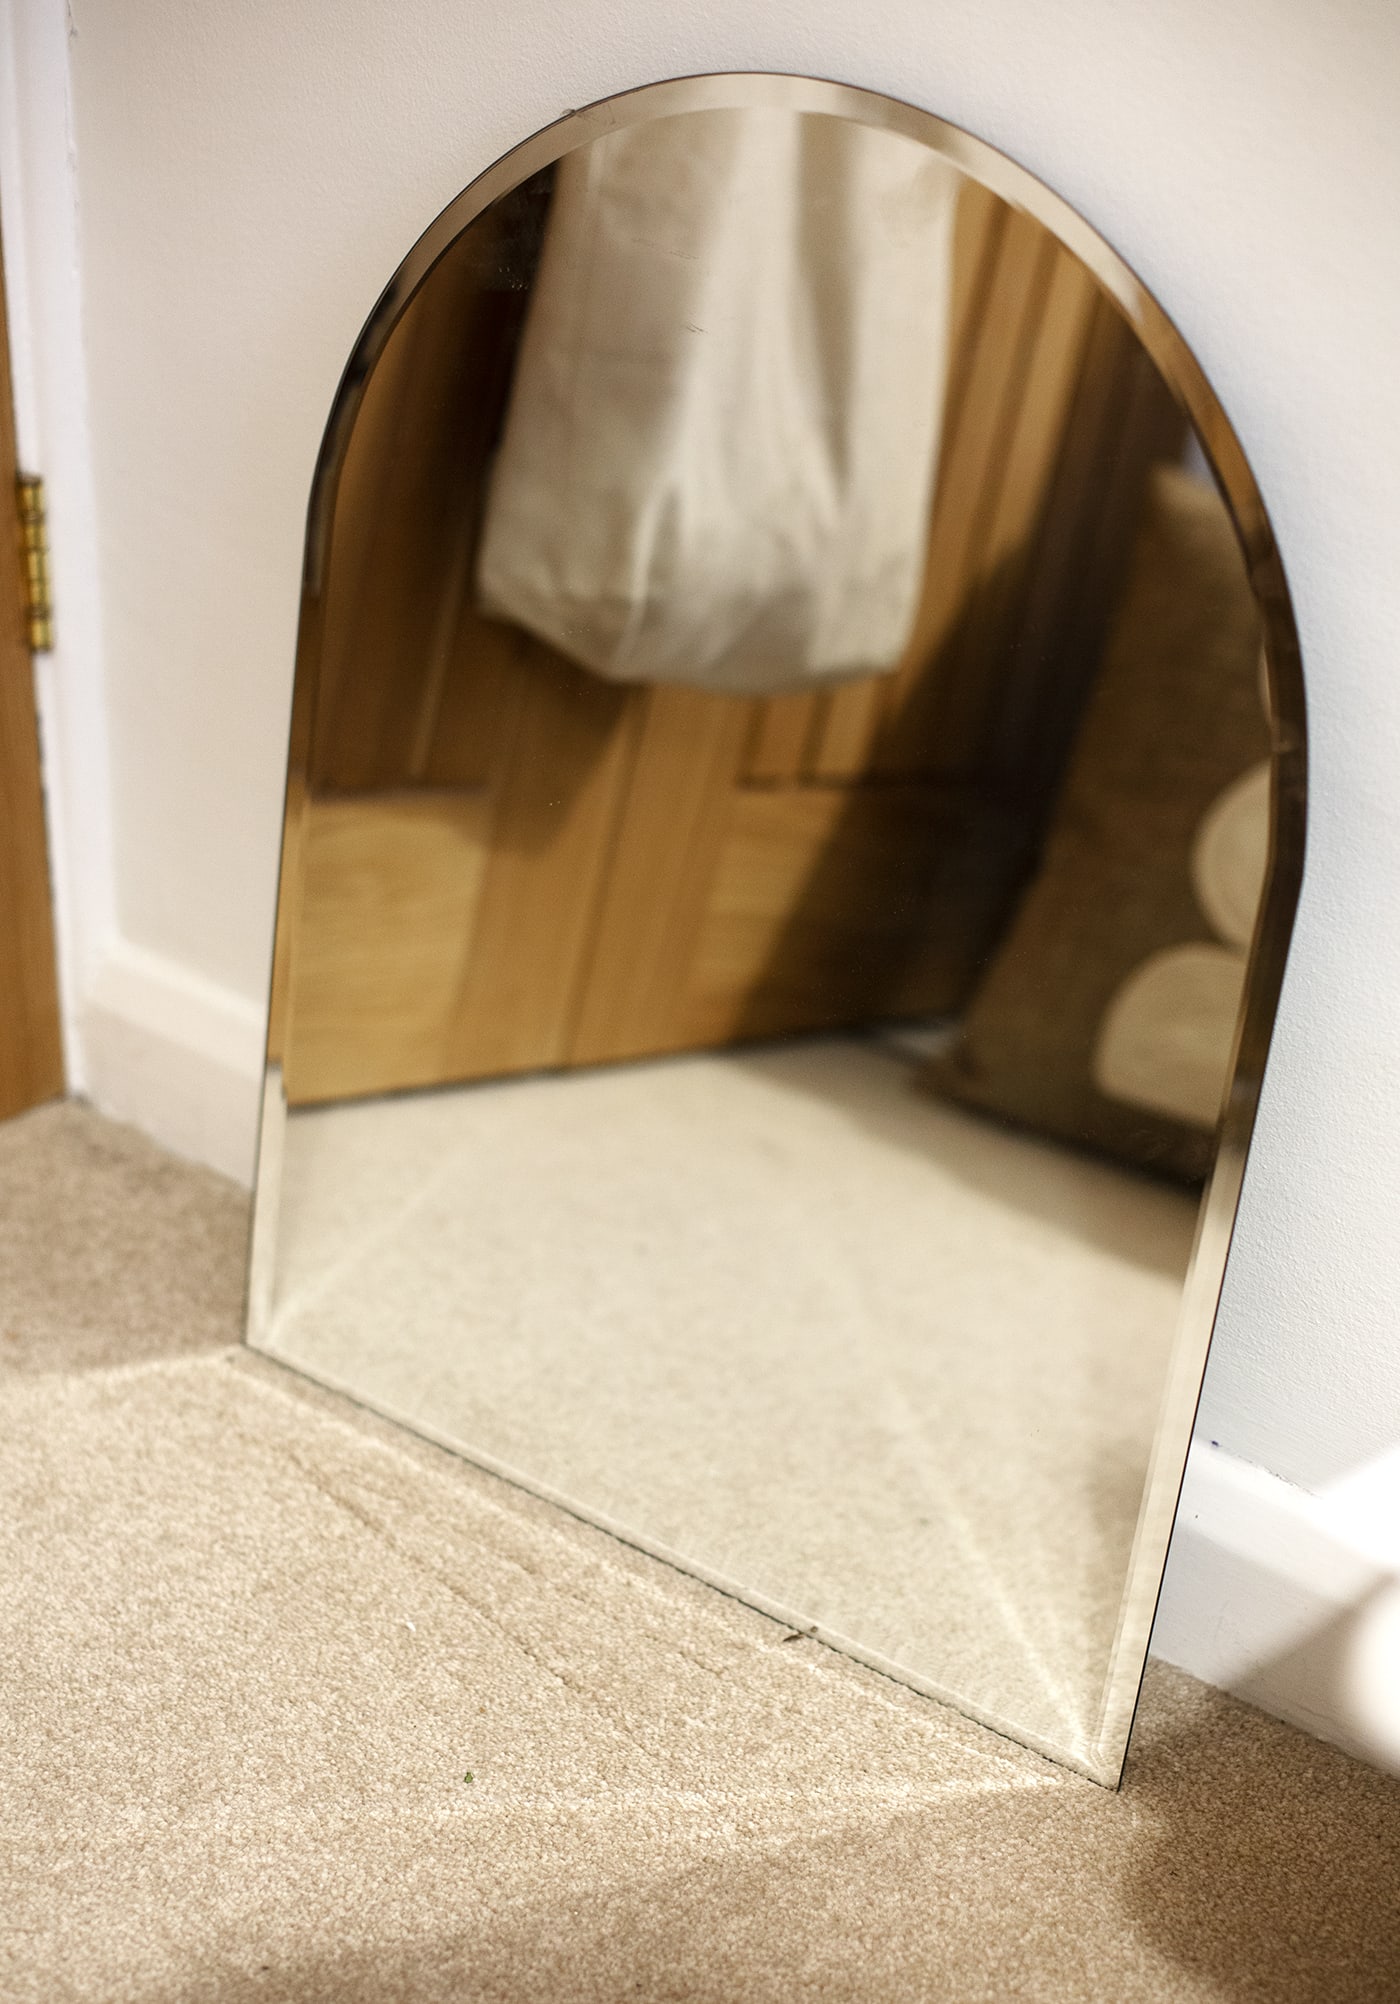
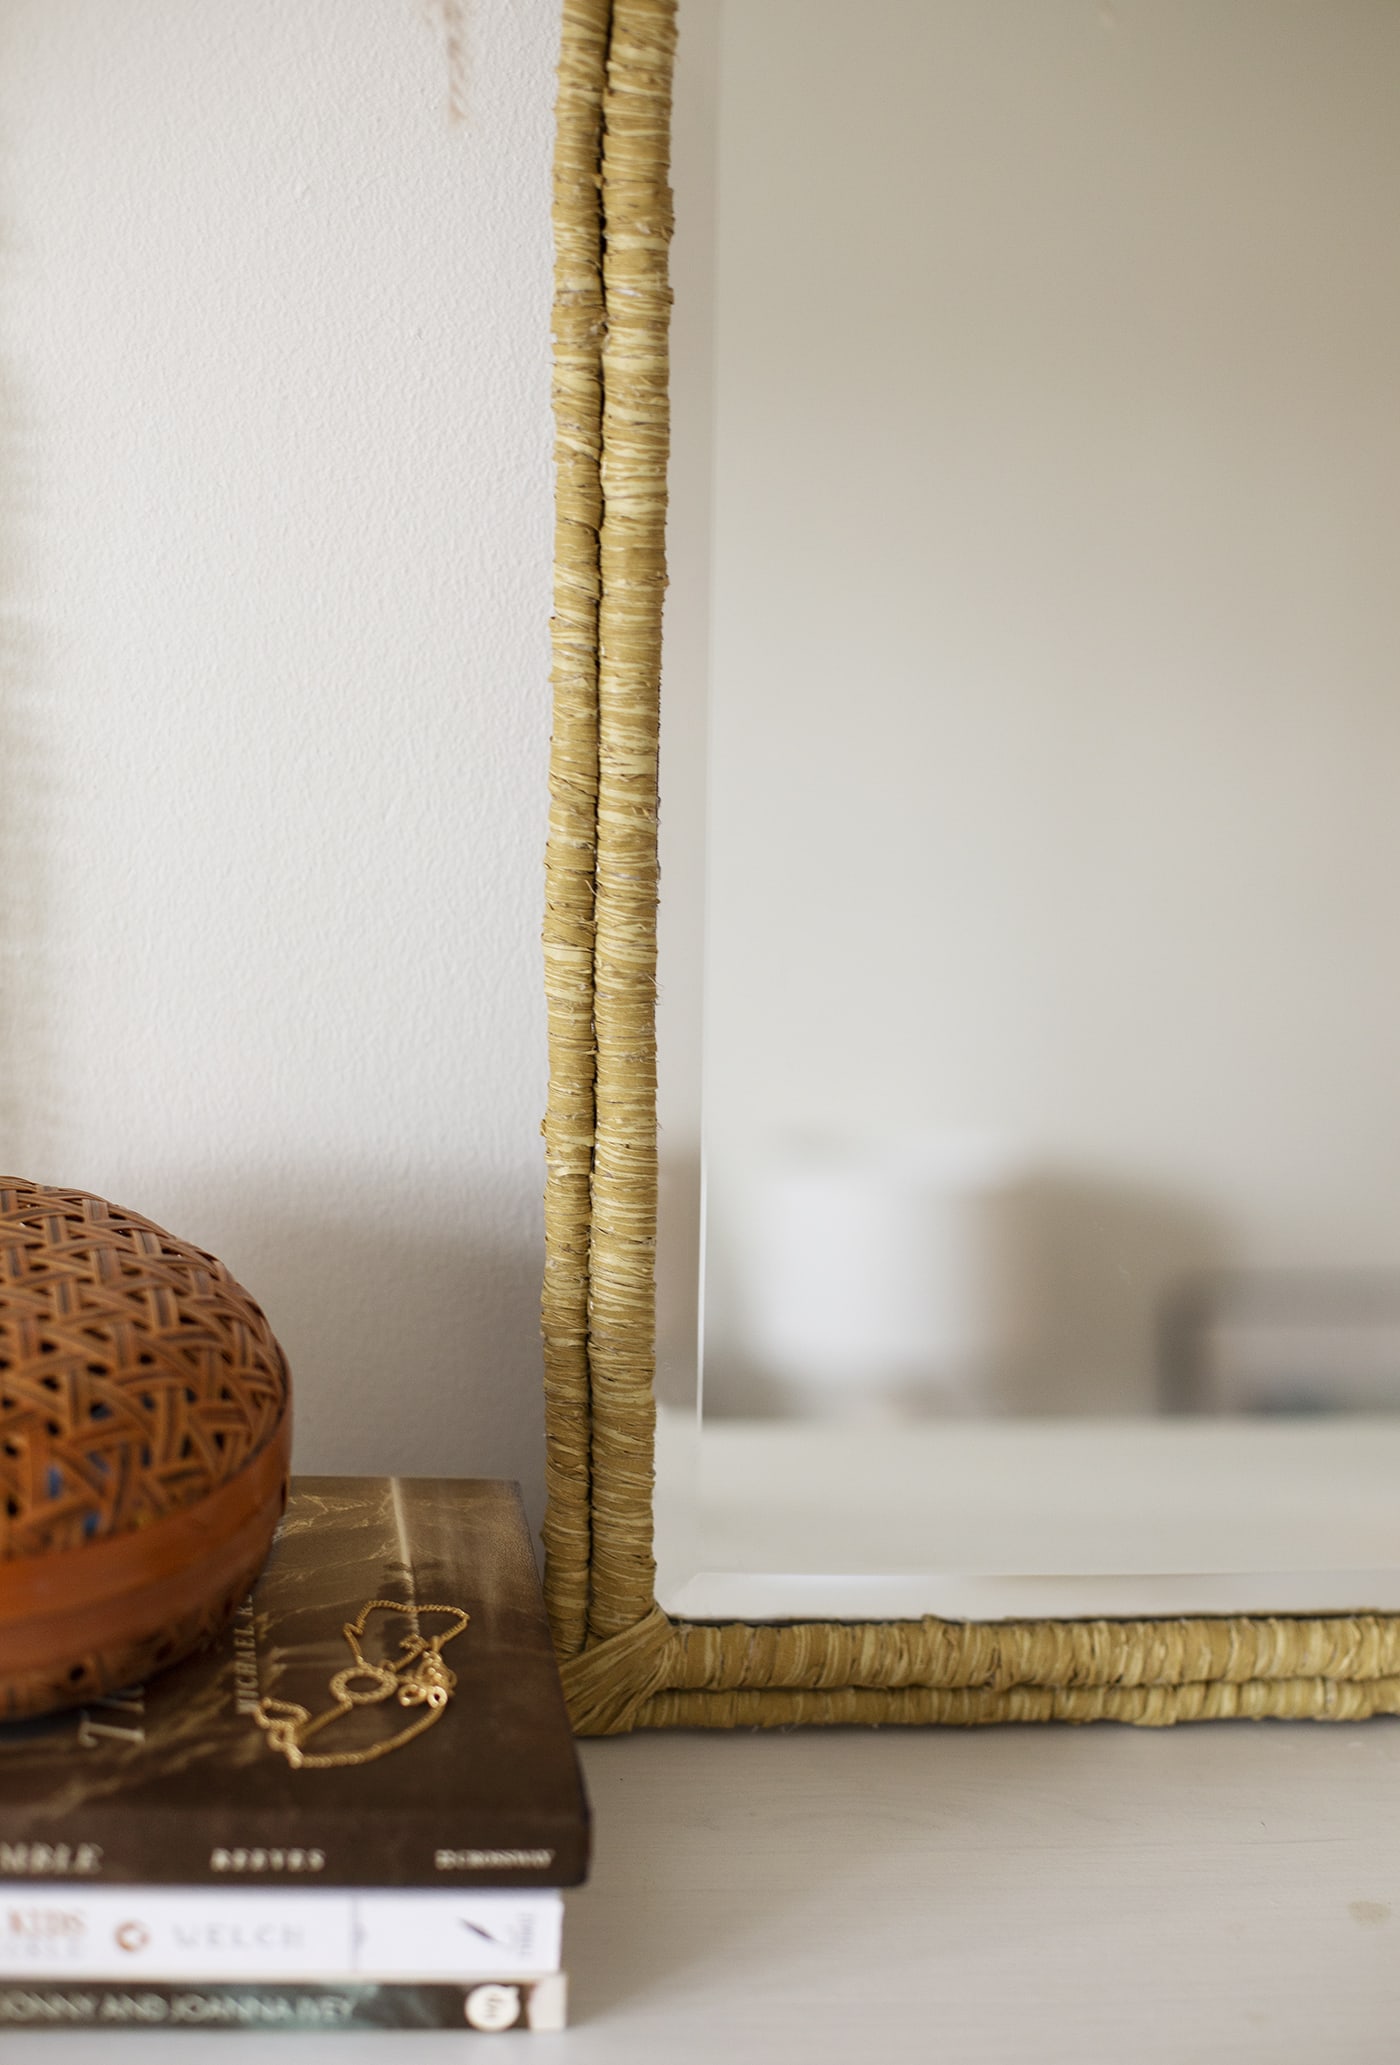
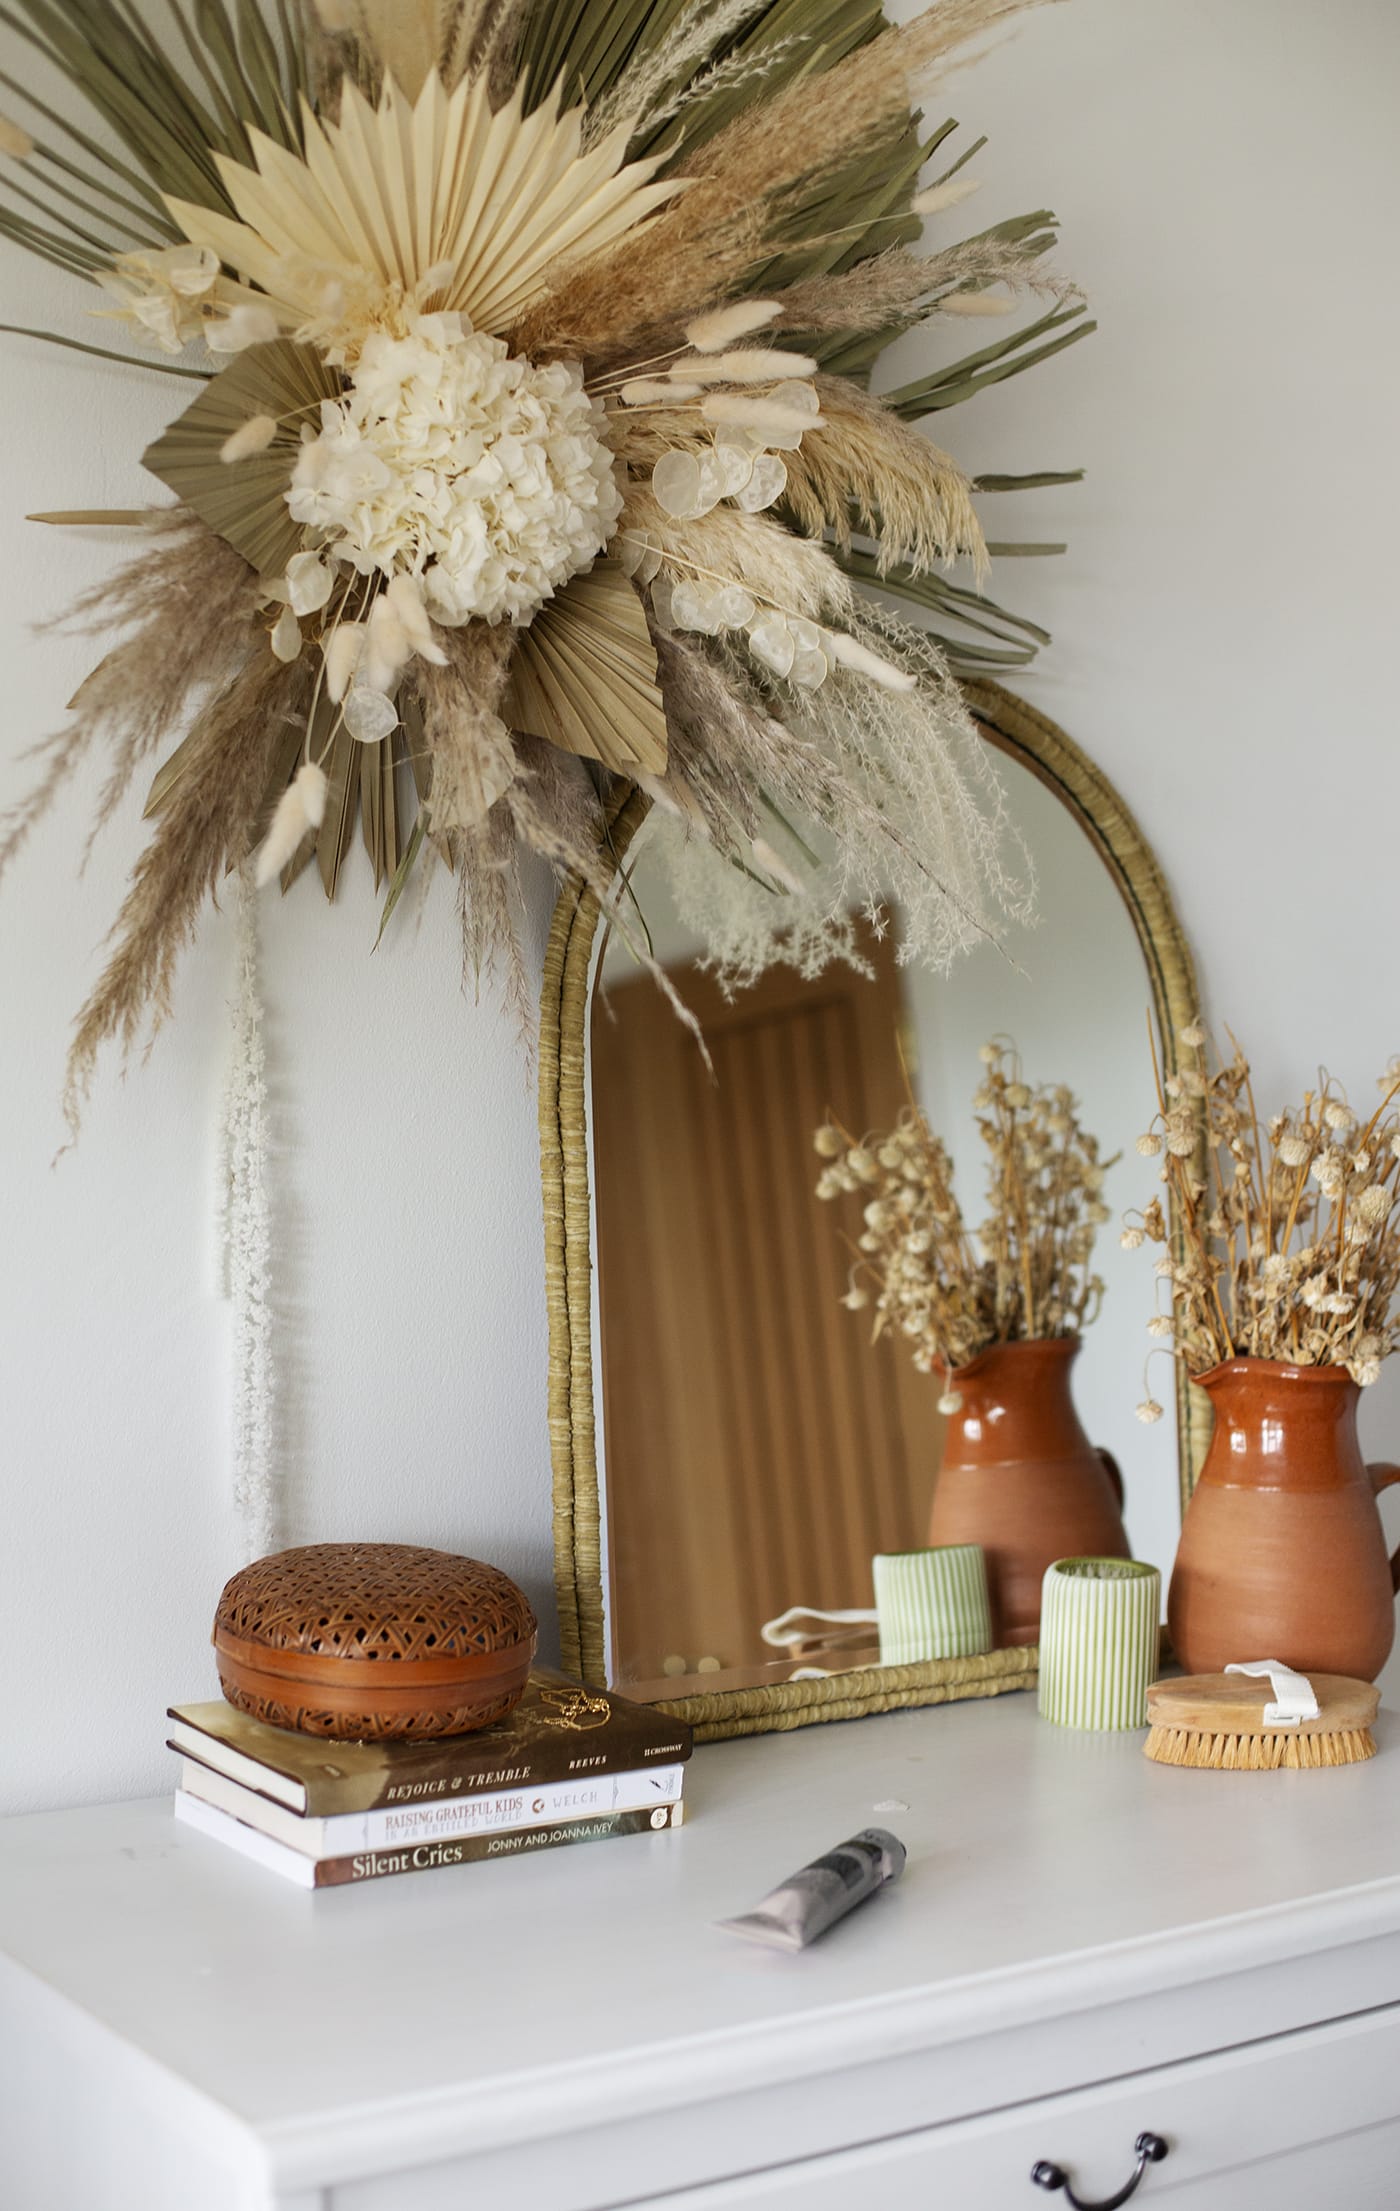
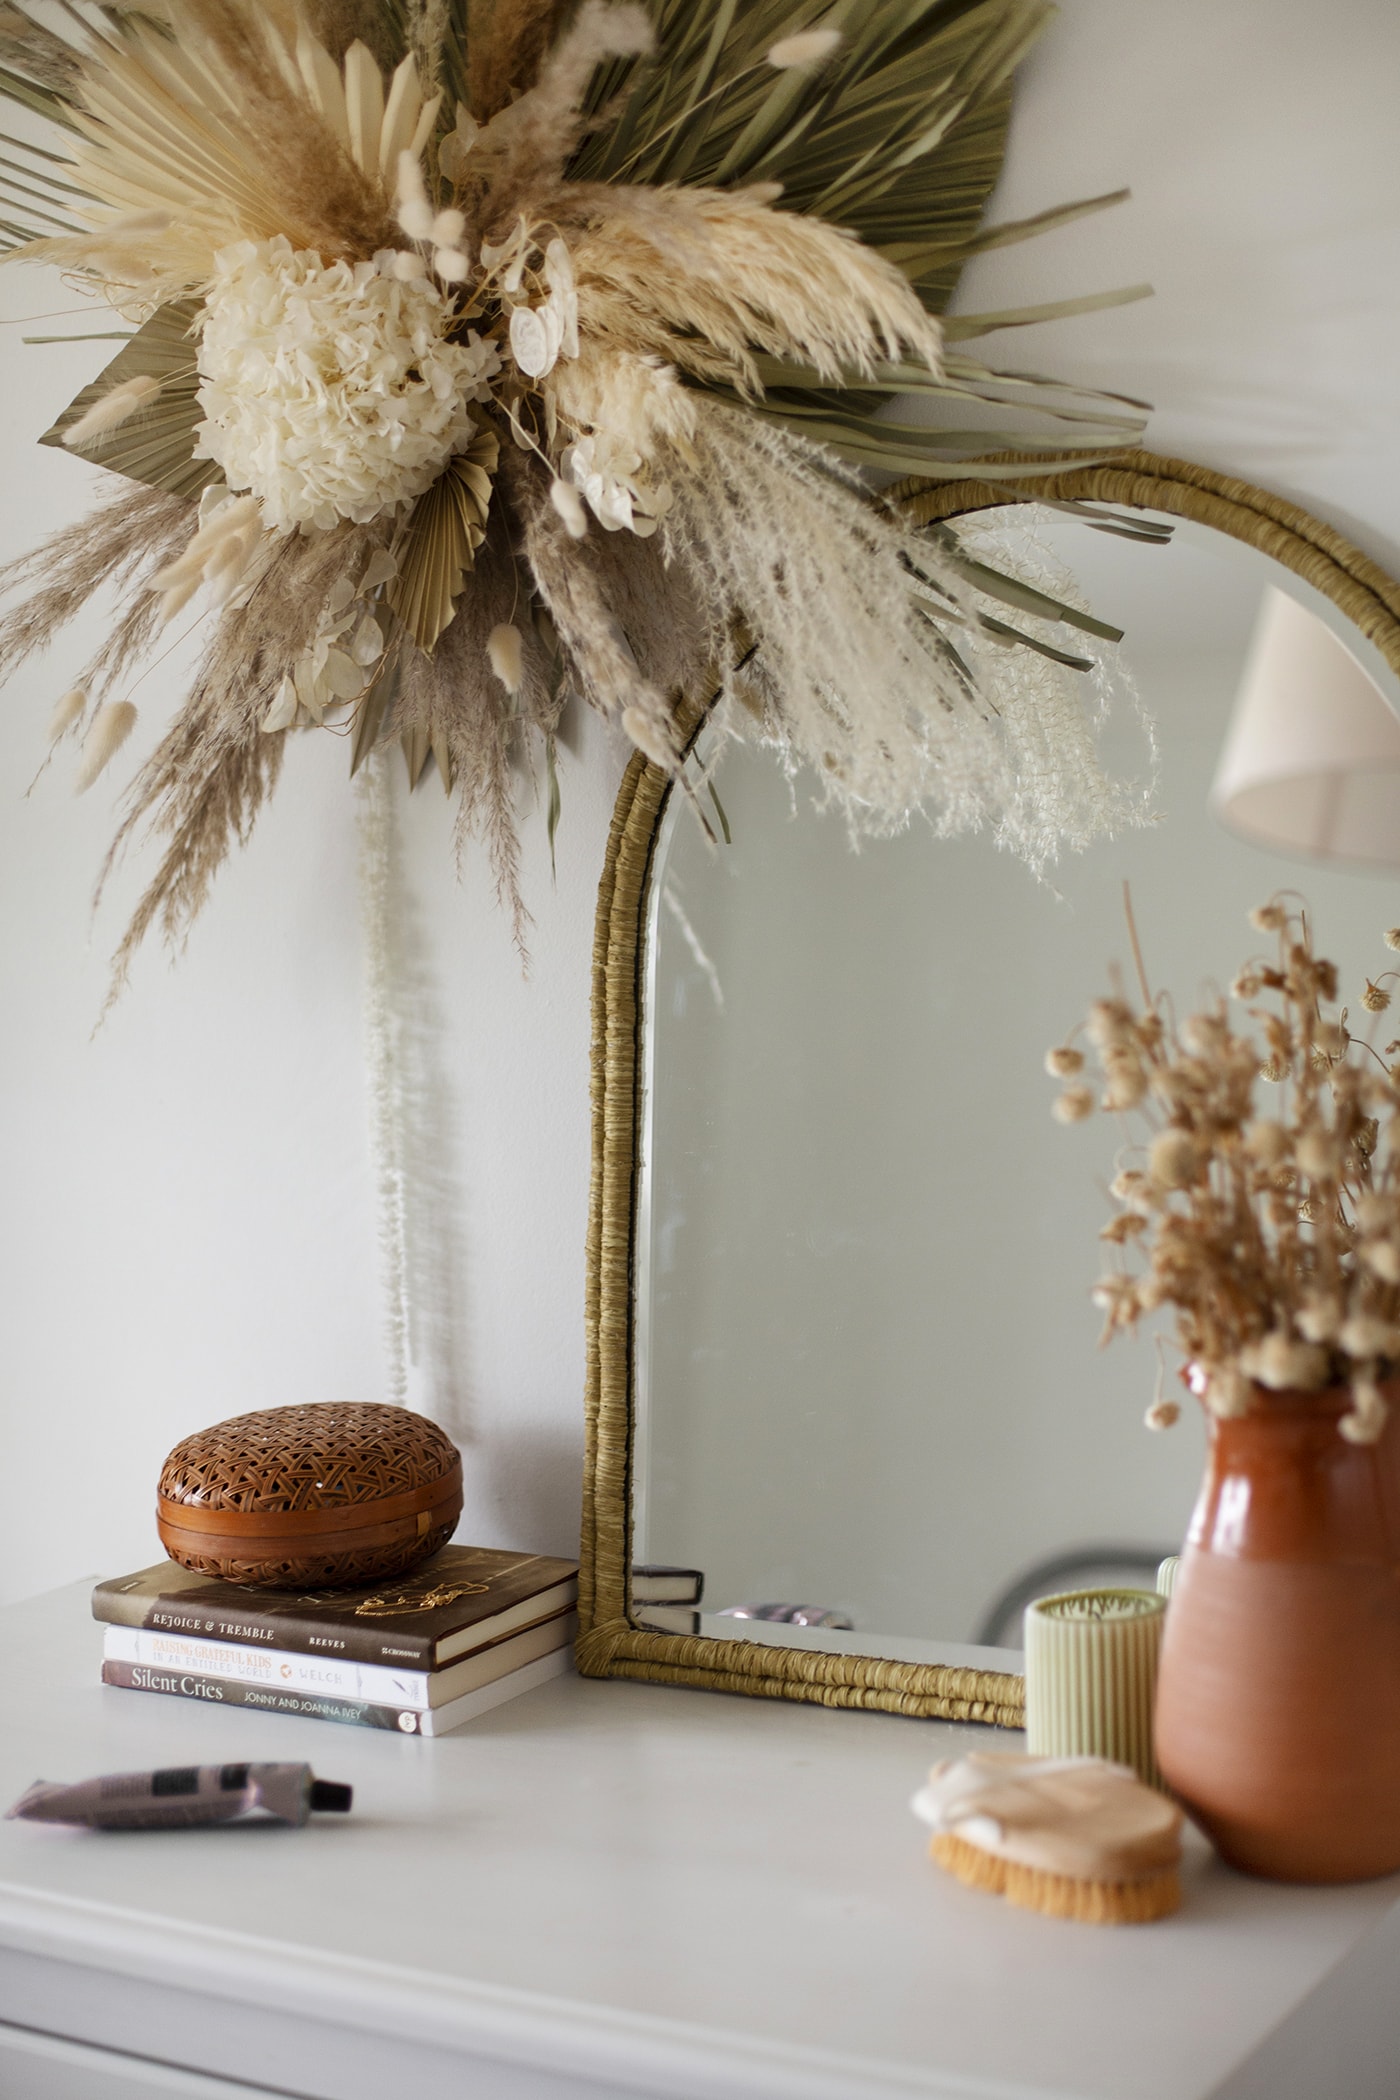
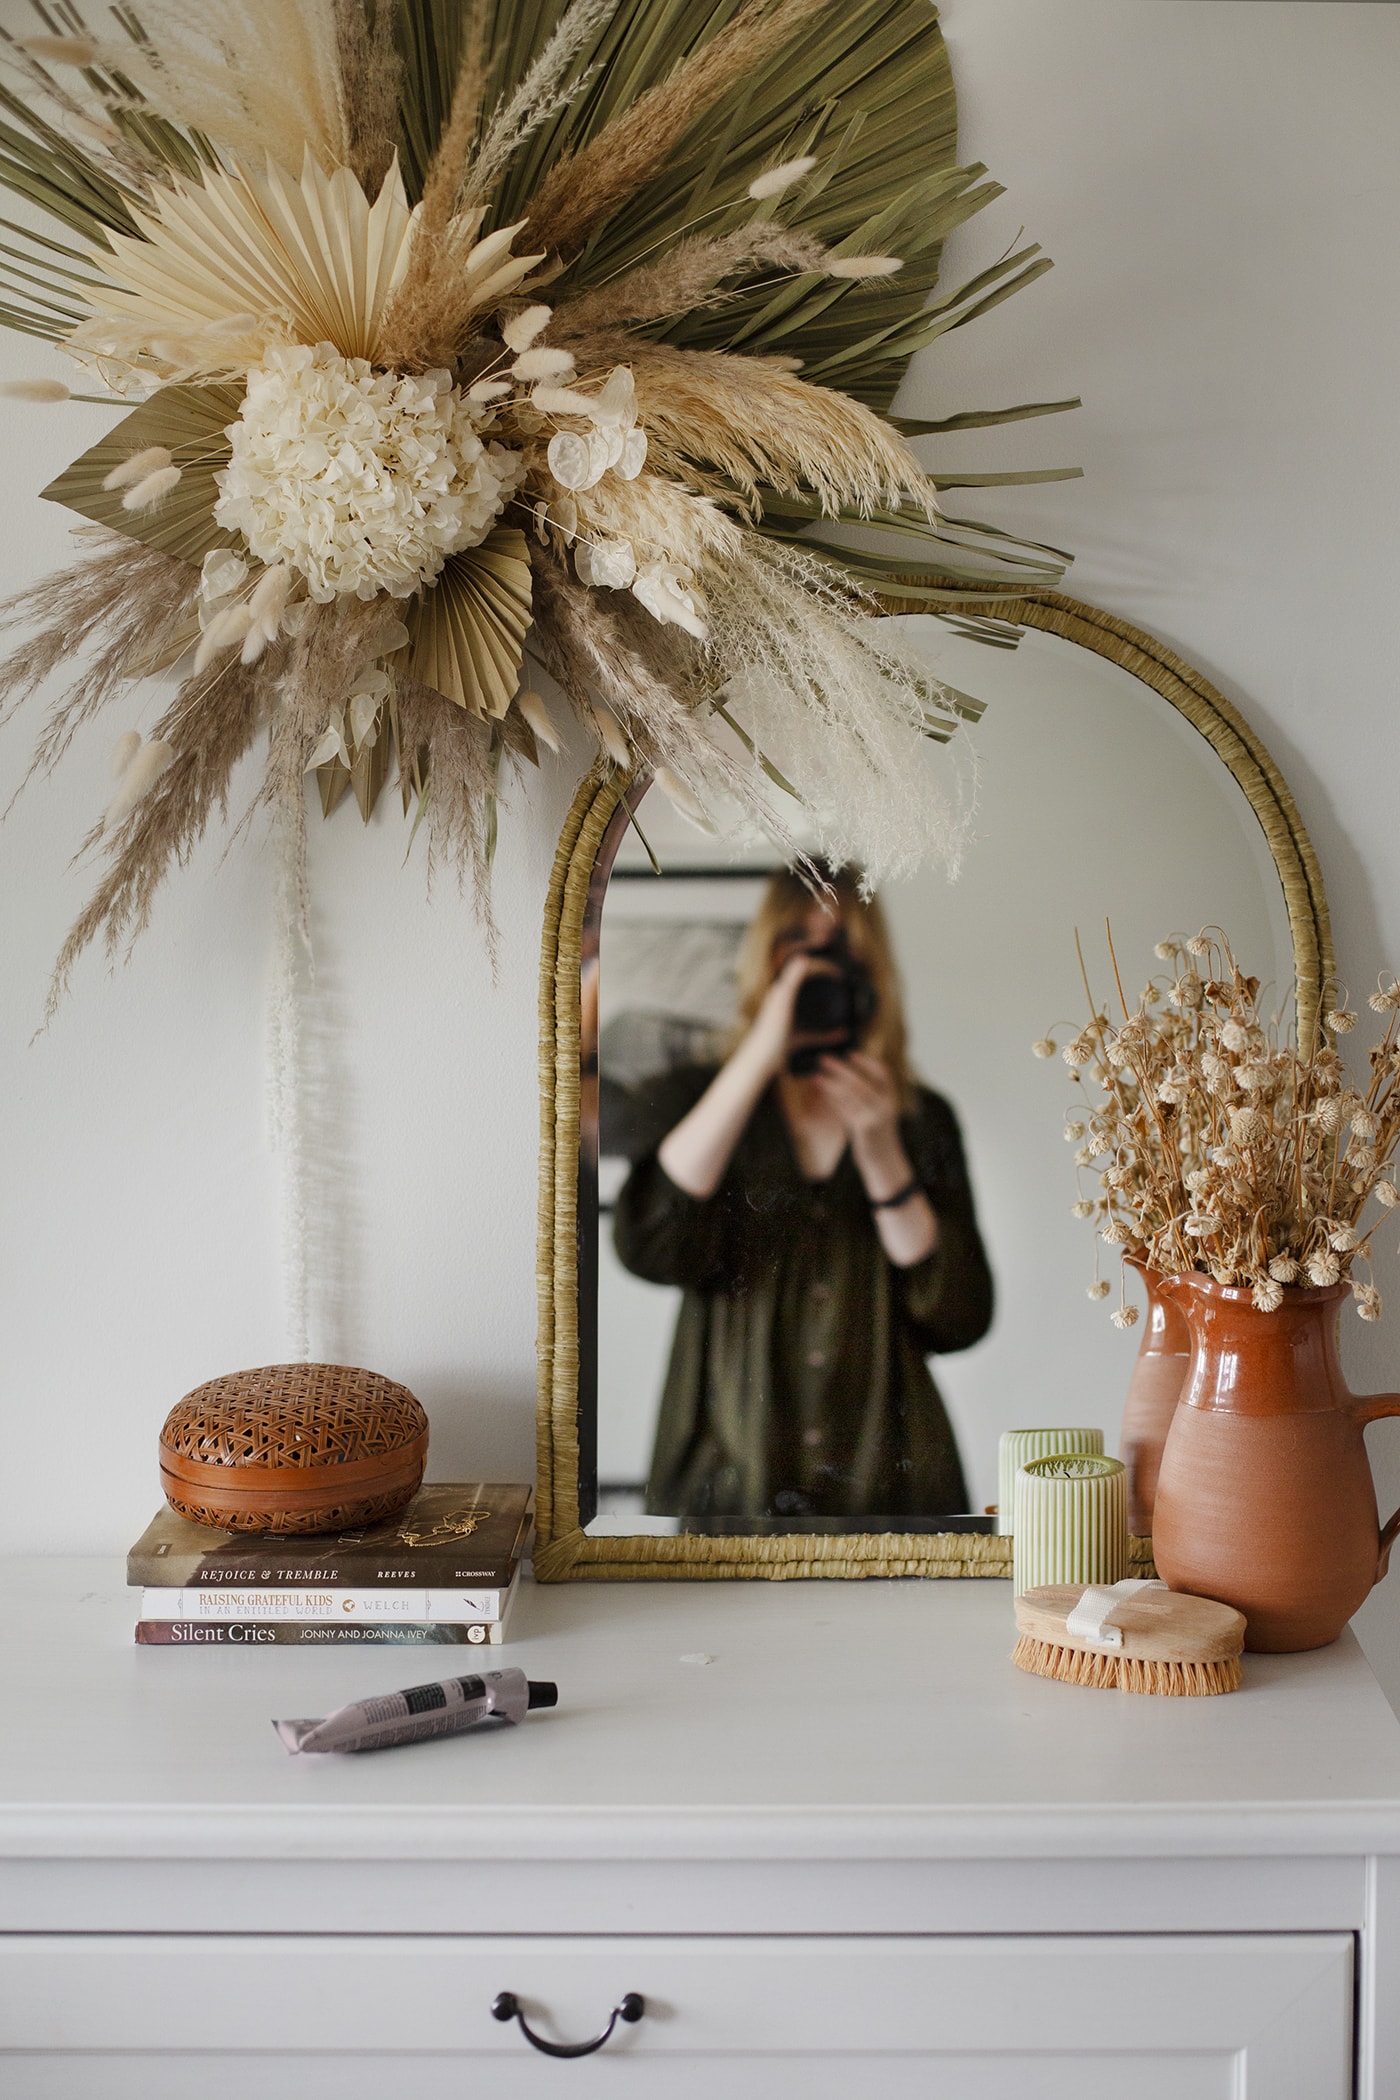
I’m a big fan of hunting for gems in charity shops and was beyond happy when I stumbled across this bevelled arch mirror for just £15!Whilst I loved it just as it was, I knew I could make it even better by creating a border. Whilst it’s unlikely you’ll stumble across the exact same mirror on your second hand travels, this hack will work with any unframed mirror you might find. This is another project that is simple but a little repetitive so find a good movie on Netflix and get wrapping.
Materials:
- Natural toned poly raffia (for this project I used about 18 metres)
- 8mm cotton sash cord (for this project I used about 3 metres)
- 12mm cotton sash cord (once again I used about 3 metres)
- 3000 micron grey board
- Glue gun and gorilla glue sticks
- Craft knife
- Cutting mat or similar
- Scissors
- Pen
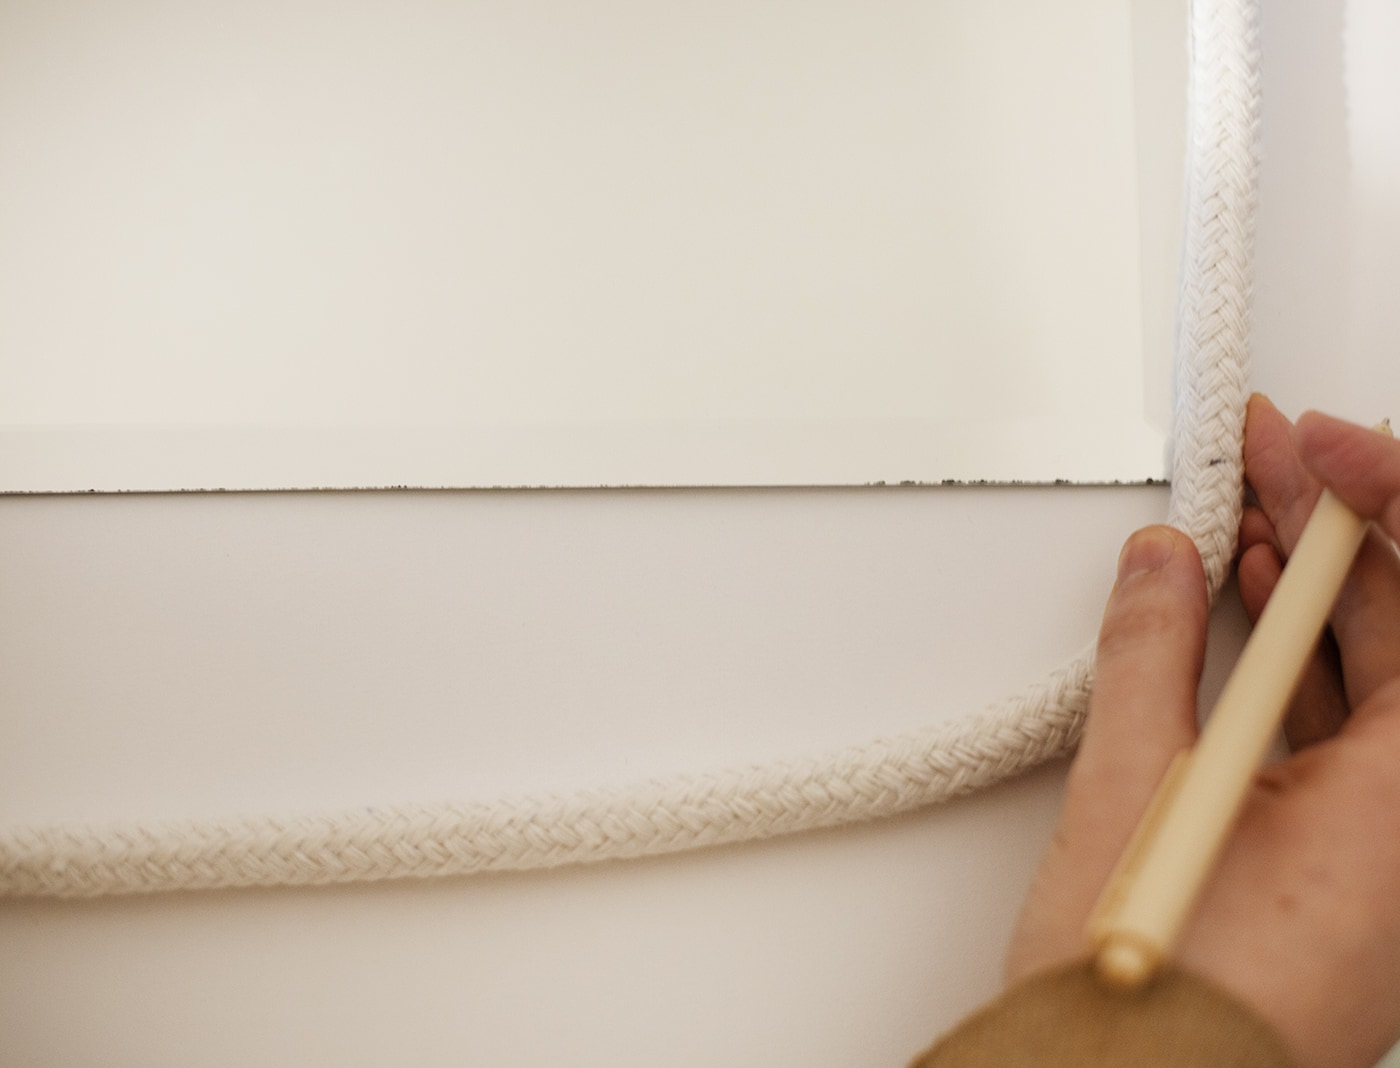
Start by winding the 12mm cord around the edge of the mirror to get a rough idea of how long it should be.
For the arch shape I just needed 2 strips cut but if your frame was rectangular then you would need 4. Line them up and snip.
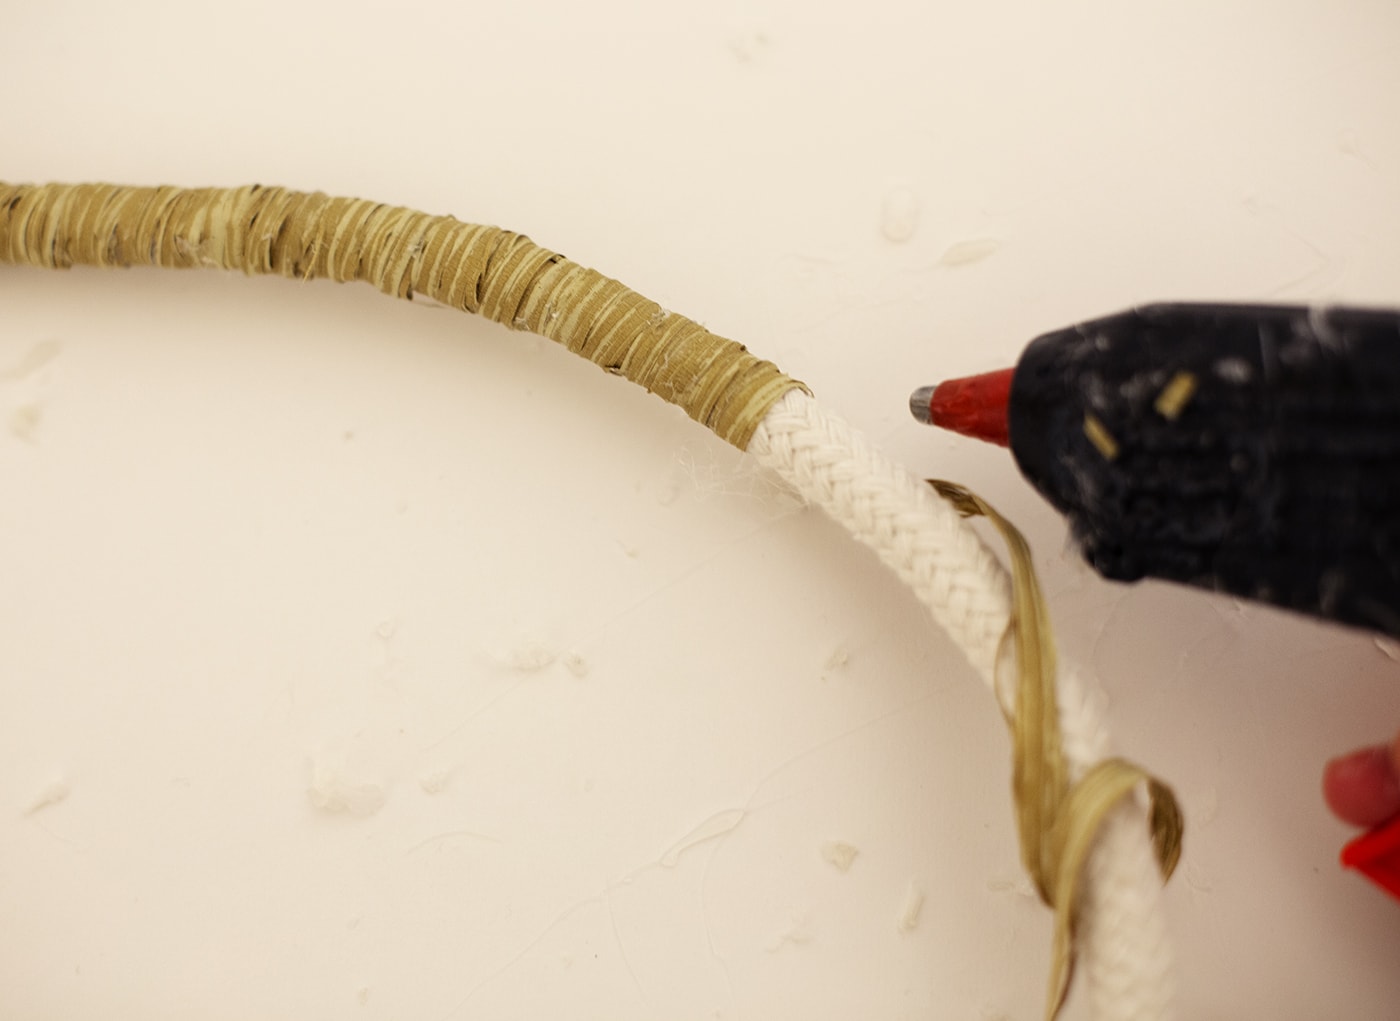
Warm up the glue gun and add glue around the cut end and wrap the raffia around. Once that’s secure continue to work your way along the cord, adding a dot of glue to every wrap. Try to overlap the raffia tightly so there isn’t any rope showing through. It’s much easier to cut a metre and a half strips of the raffia so you don’t get in a tangle. Each time you run out just start the same way as before, overlapping the raffia and hiding the join.
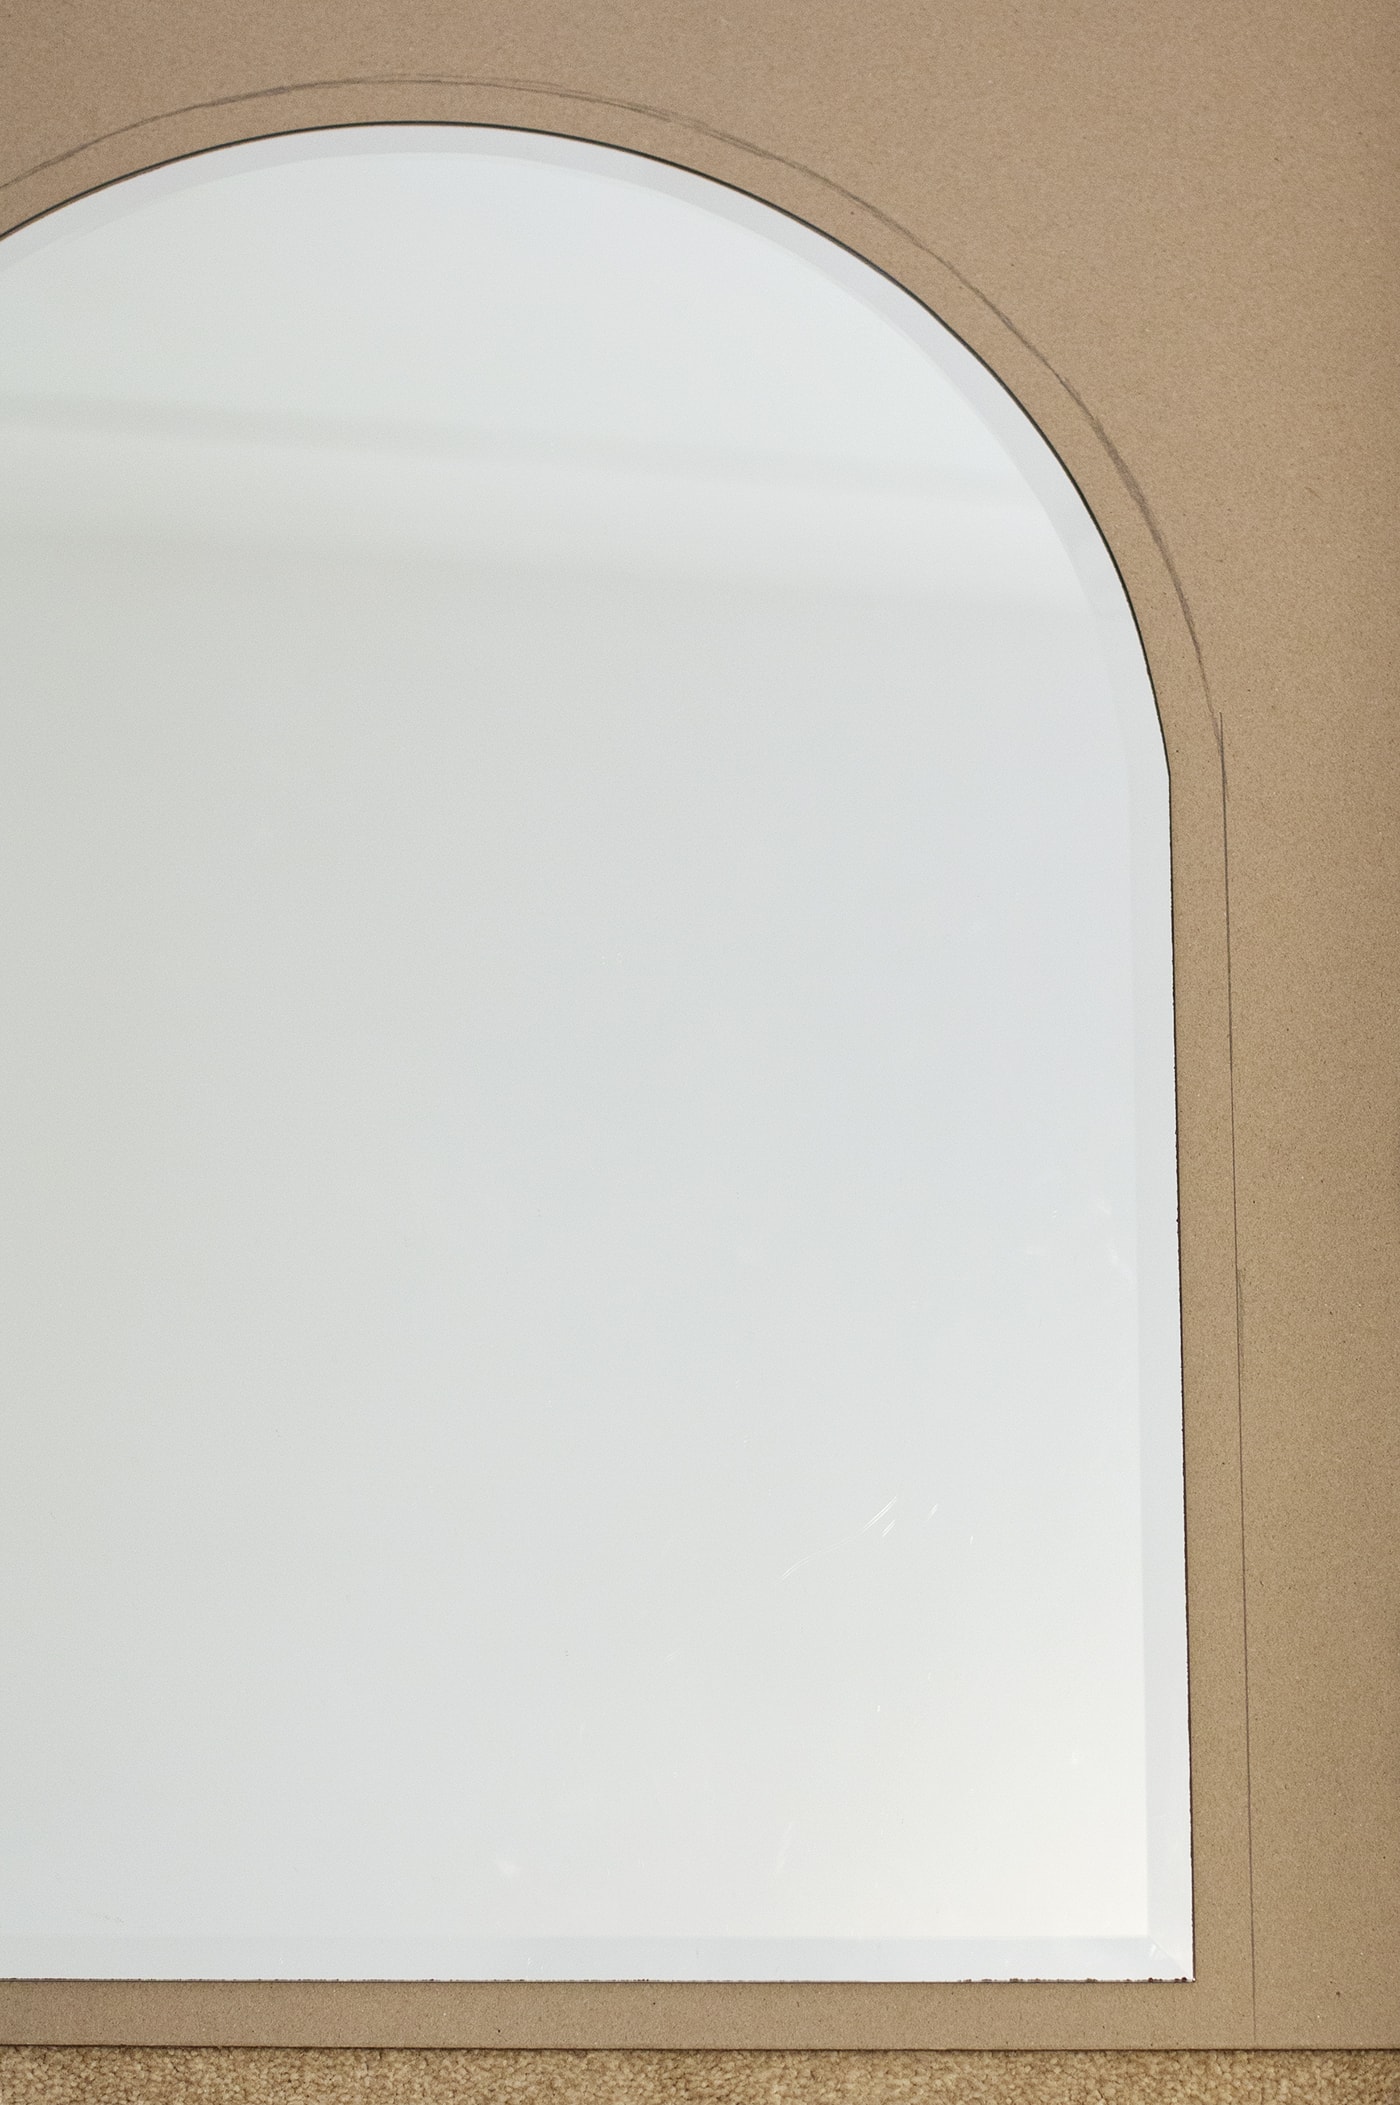
Place the mirror on top of the grey board and draw around the edge leaving extra space that’s just a little smaller than the width of both your cords combined.
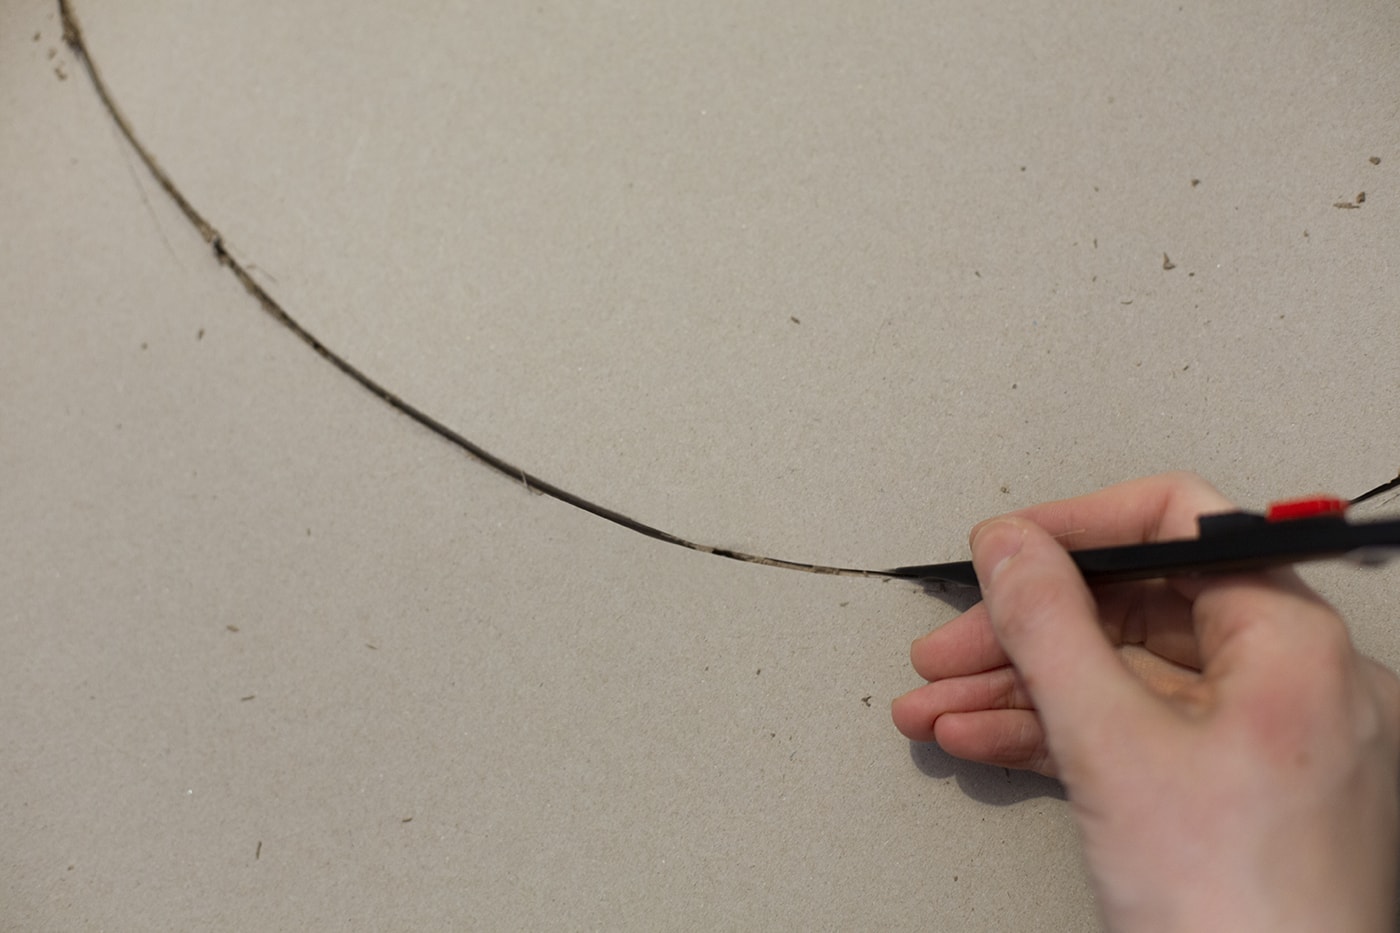
Use the craft knife to carefully cut out the shape. Gently score the board first and then apply more pressure. I used a ruler to help me keep the sides straight.
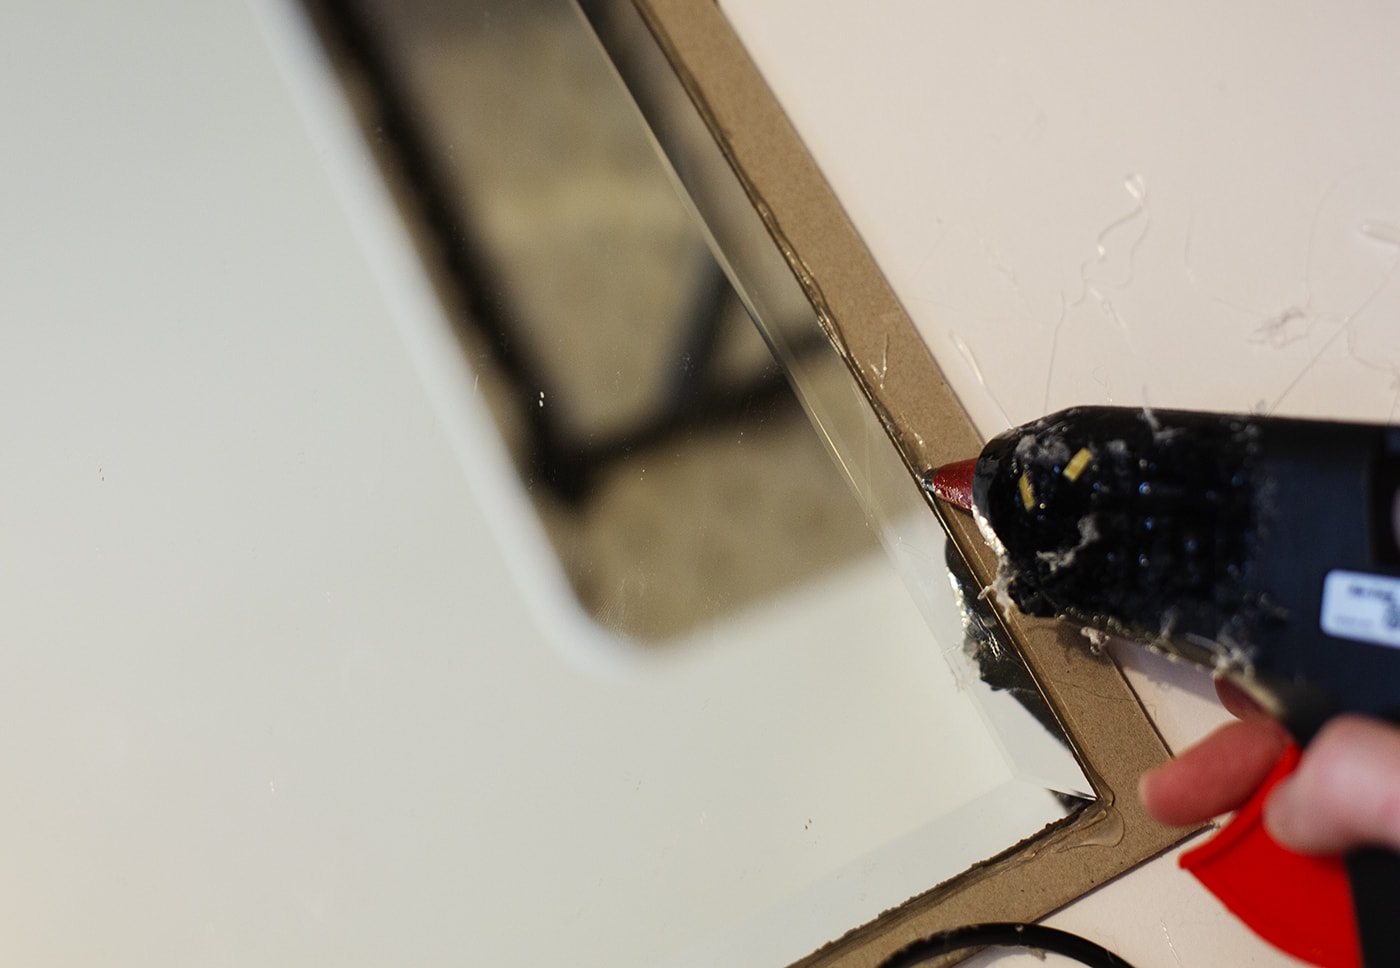
Attach the mirror on top of the board by applying lined of glue directly onto the board as quickly as possible, so that you can place the mirror on top before it dries. Then work your way around the outside of the join, where the mirror meets the board, almost as if you were sealing it. This will eventually be covered.
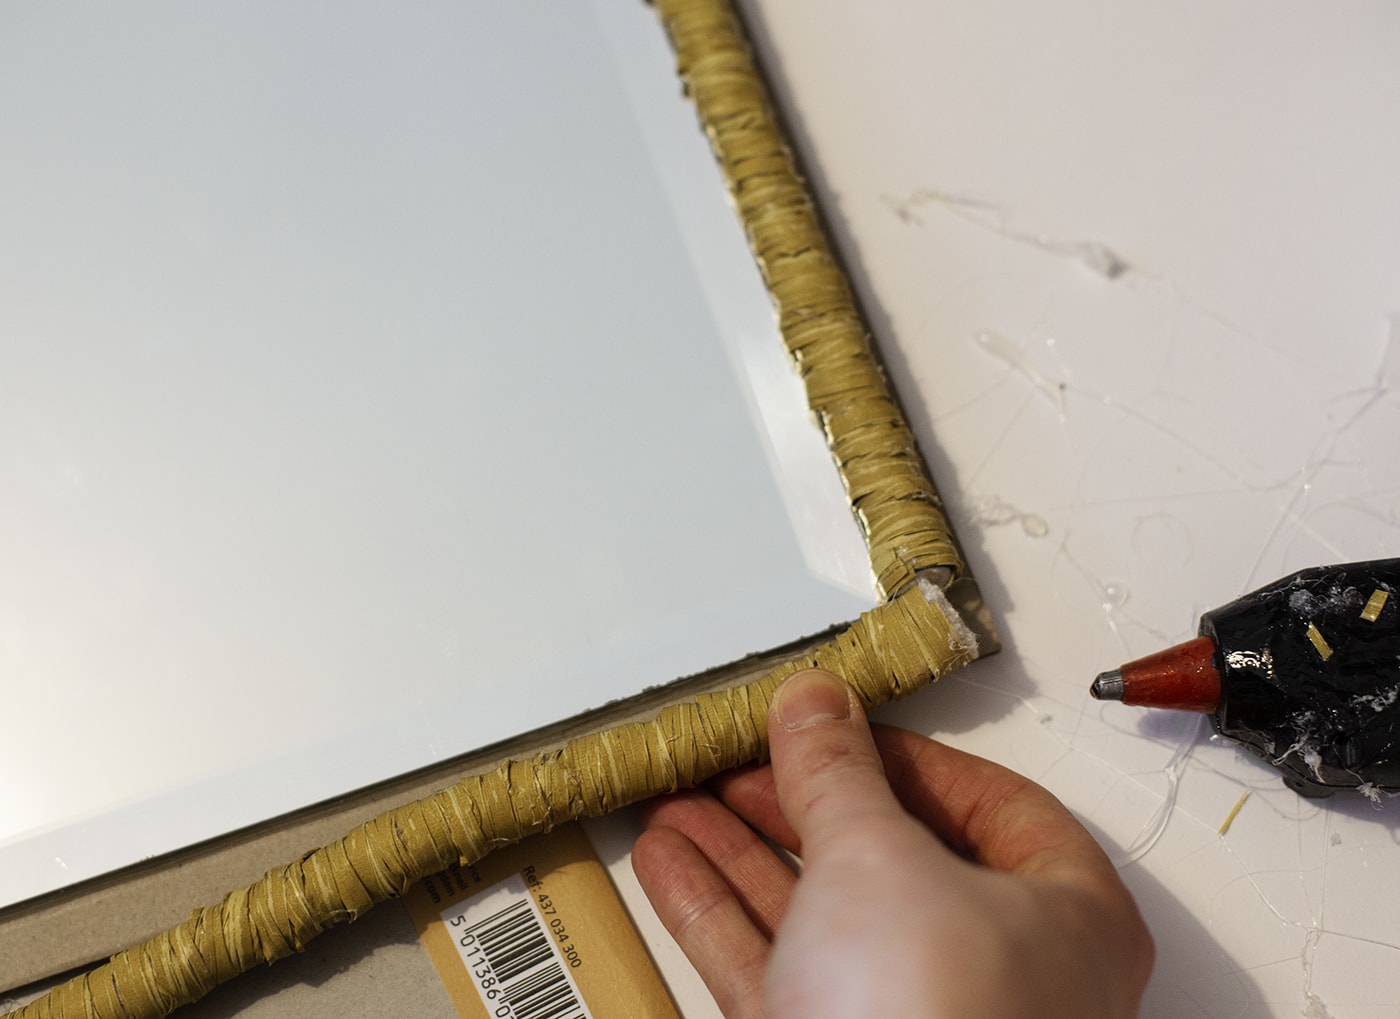
Now glue lines along the board and gradually stick down the wrapped cord, pushing down as you go. Where they join, add some extra glue on the raw end.
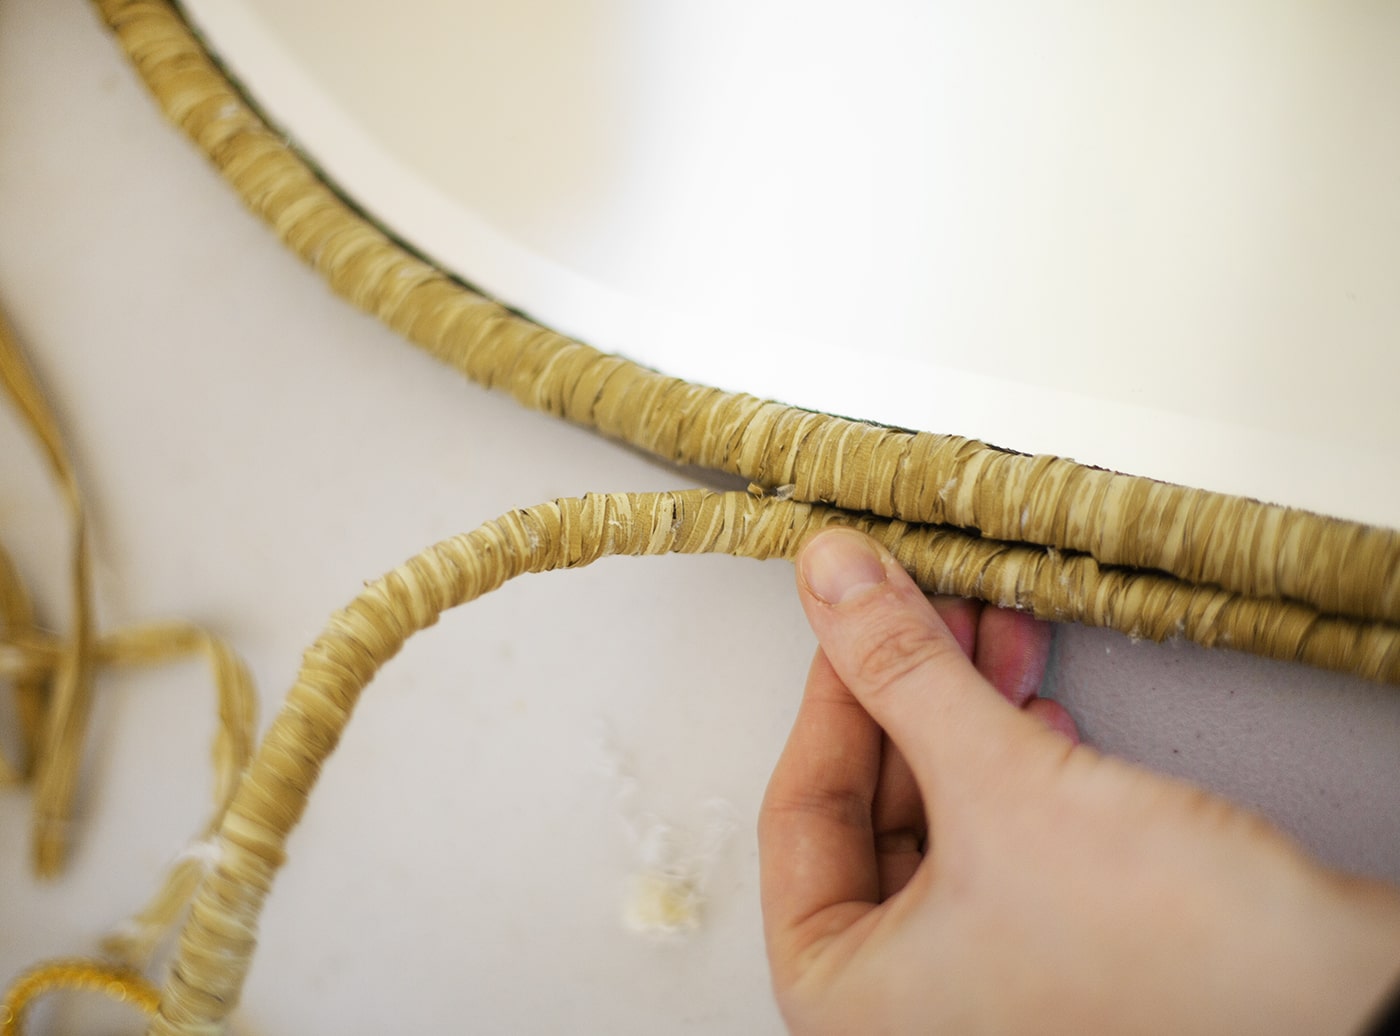
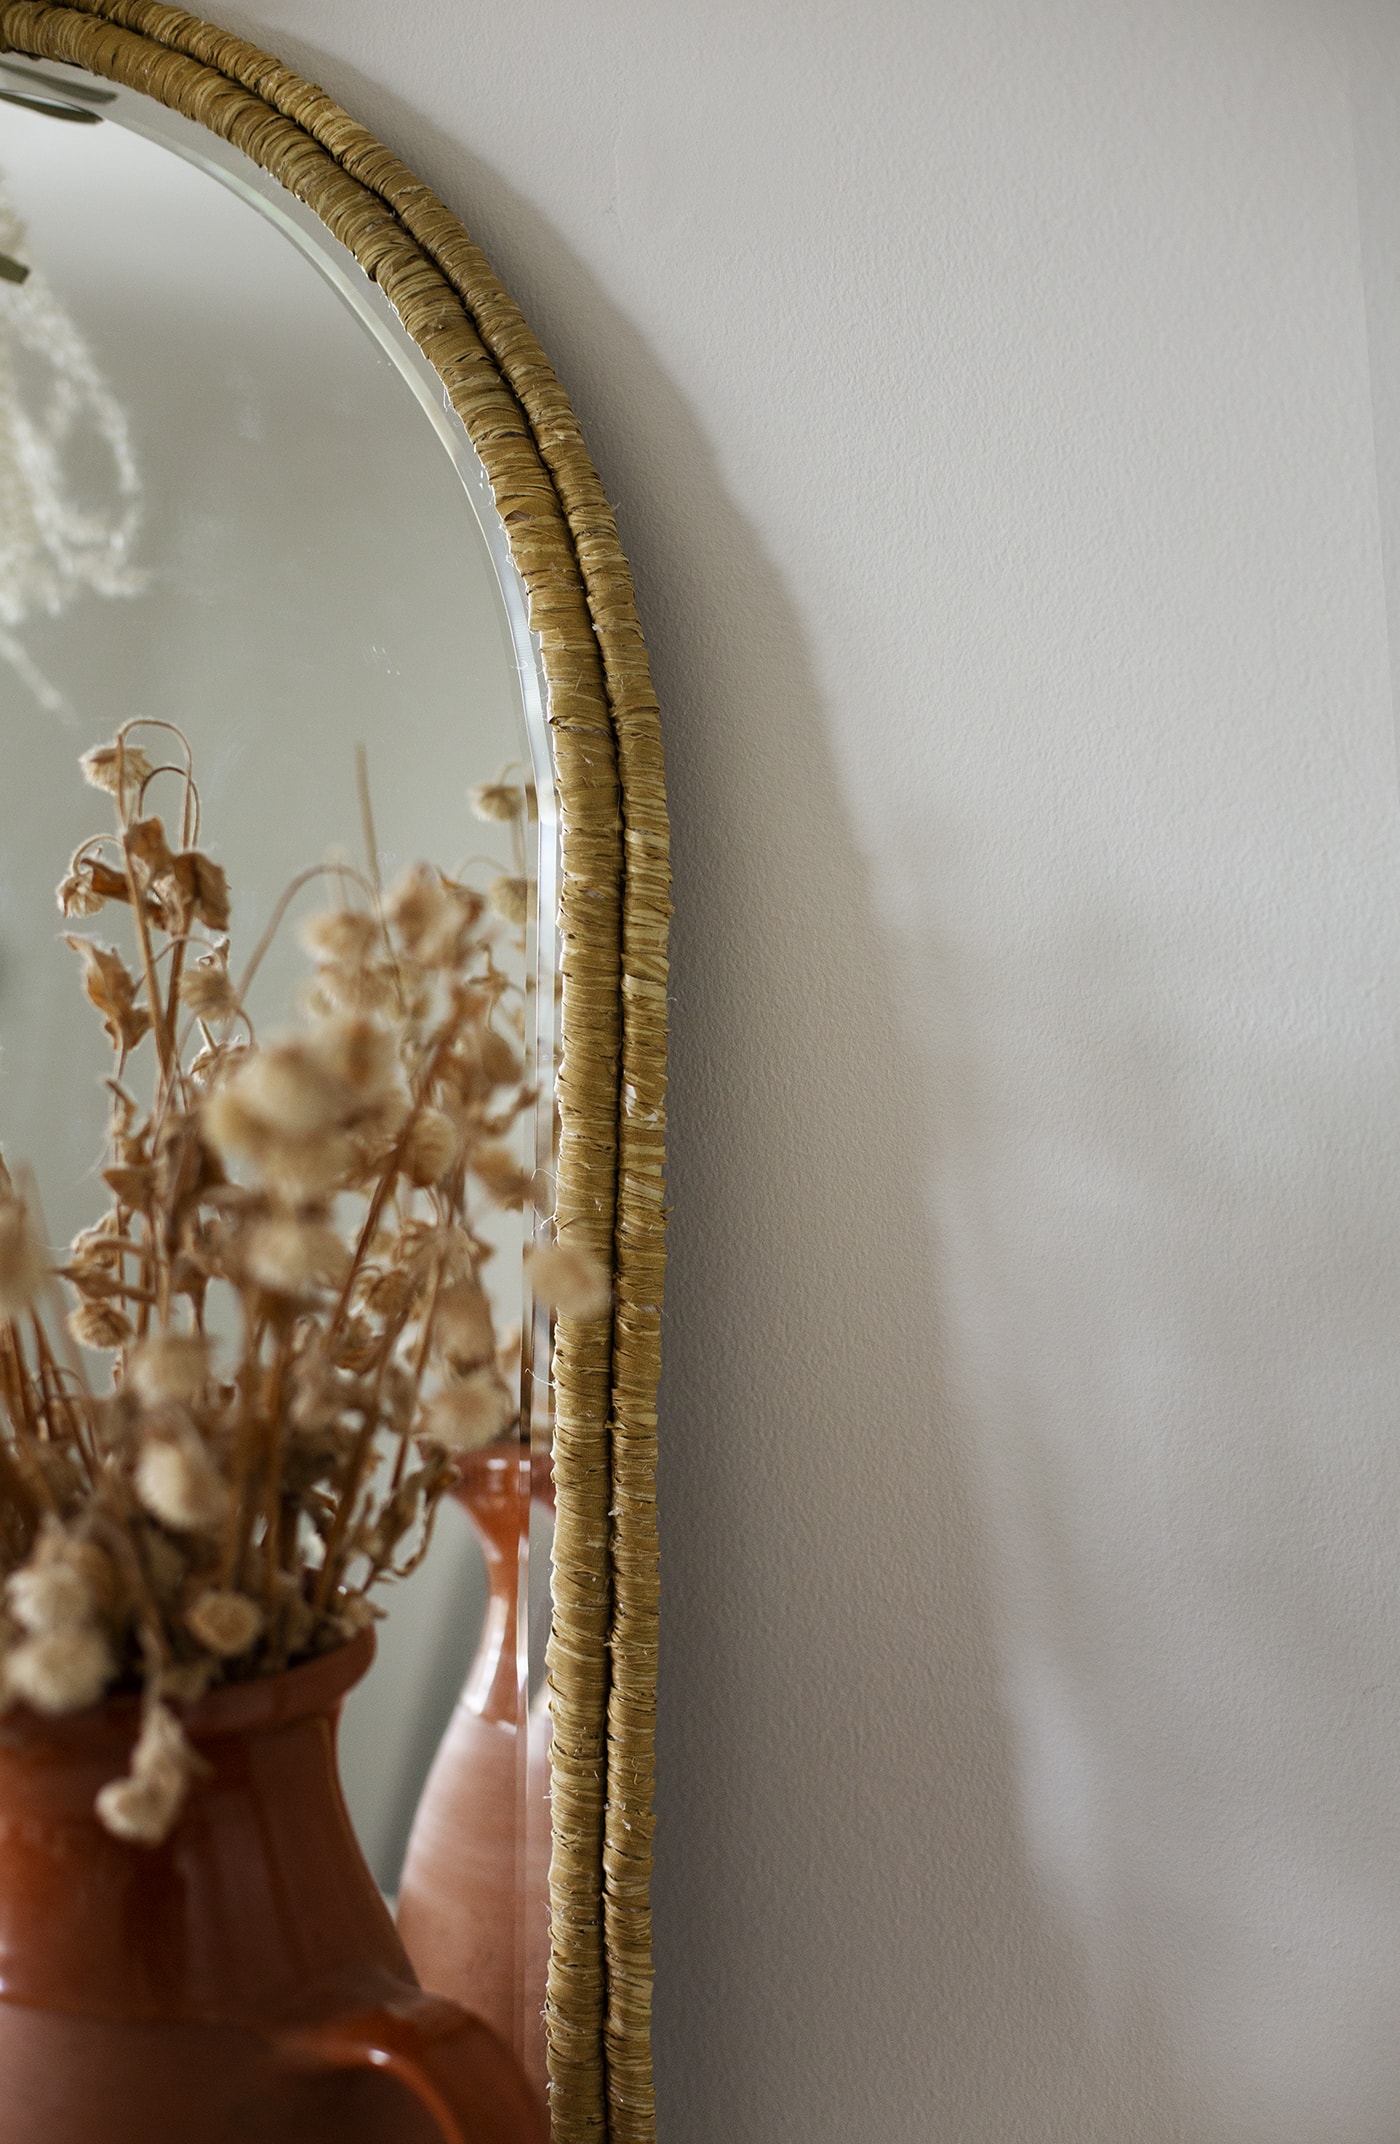
Now repeat all the cord steps from the start with the 8mm cord and finish by wrapping and sticking this around the outside of the 12mm by adding glue to the grey board and even the edge of the thicker cord to make it extra sturdy. Press down and in for a few seconds whilst each section dries.
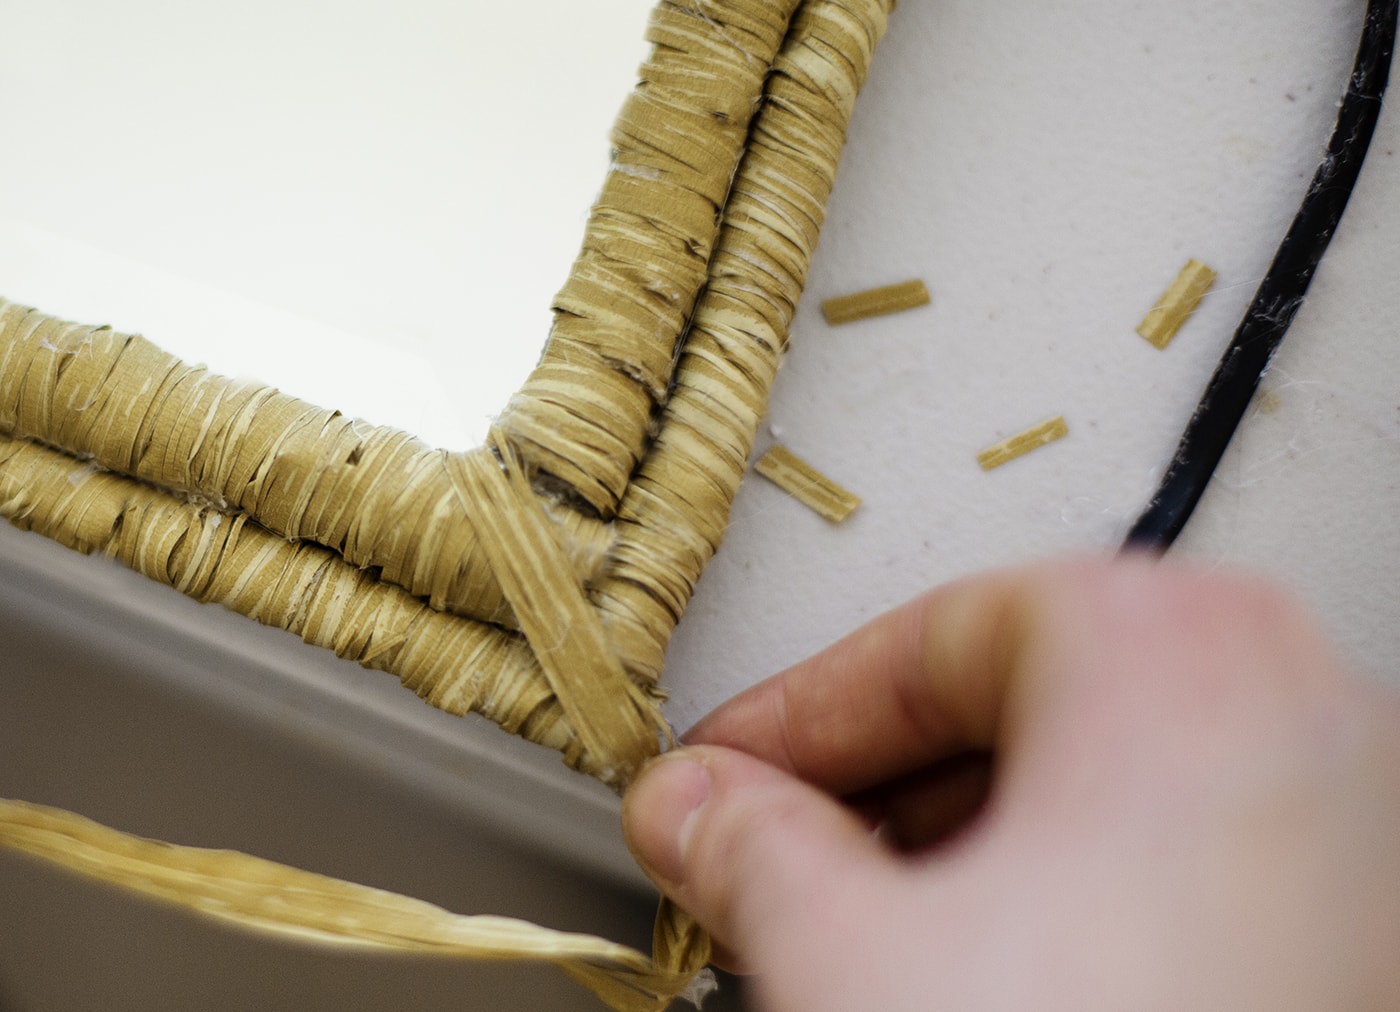
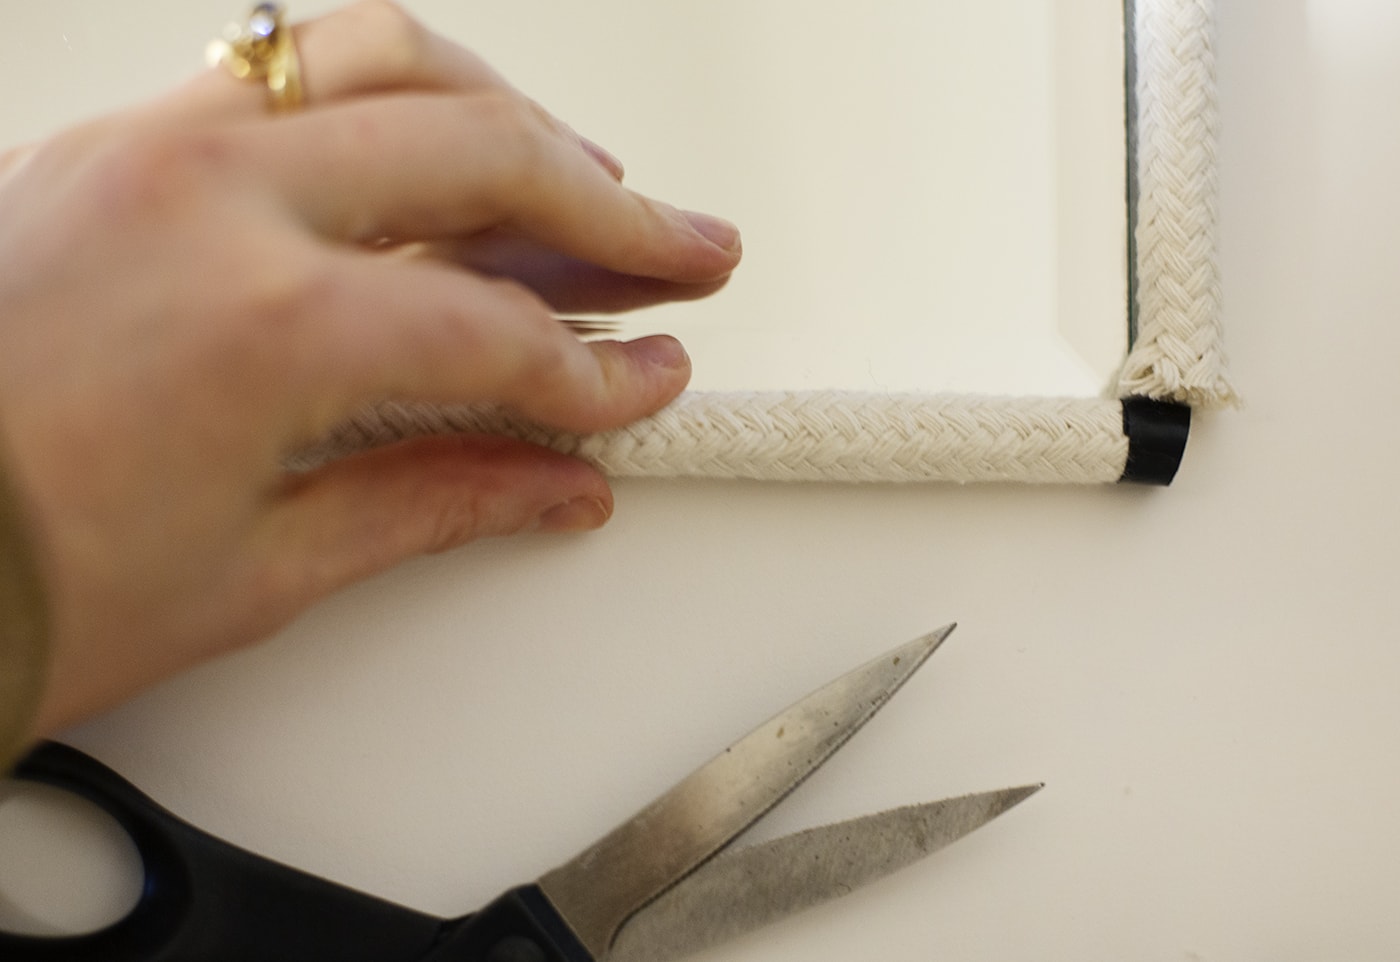
Now cover the joins at the edges by cutting some short strips of raffia. Start in the inner corner, by adding a dot of glue to the raffia and then pressing down. Continue to add a line of glue as you bring the raffia strip diagonally to the corner and around to the back. Secure with more glue on the back.
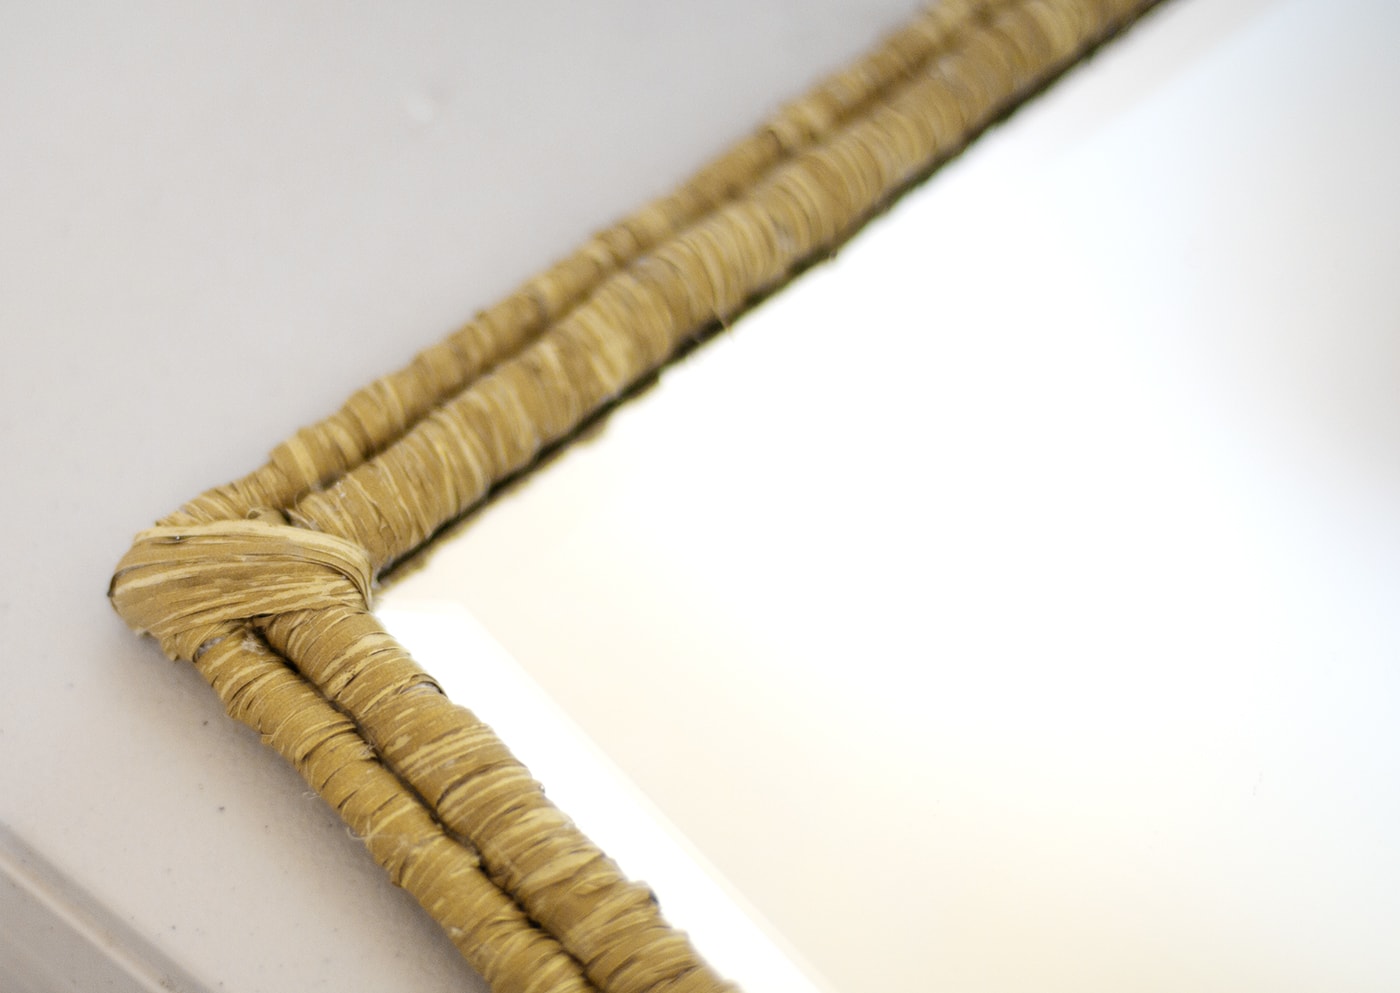
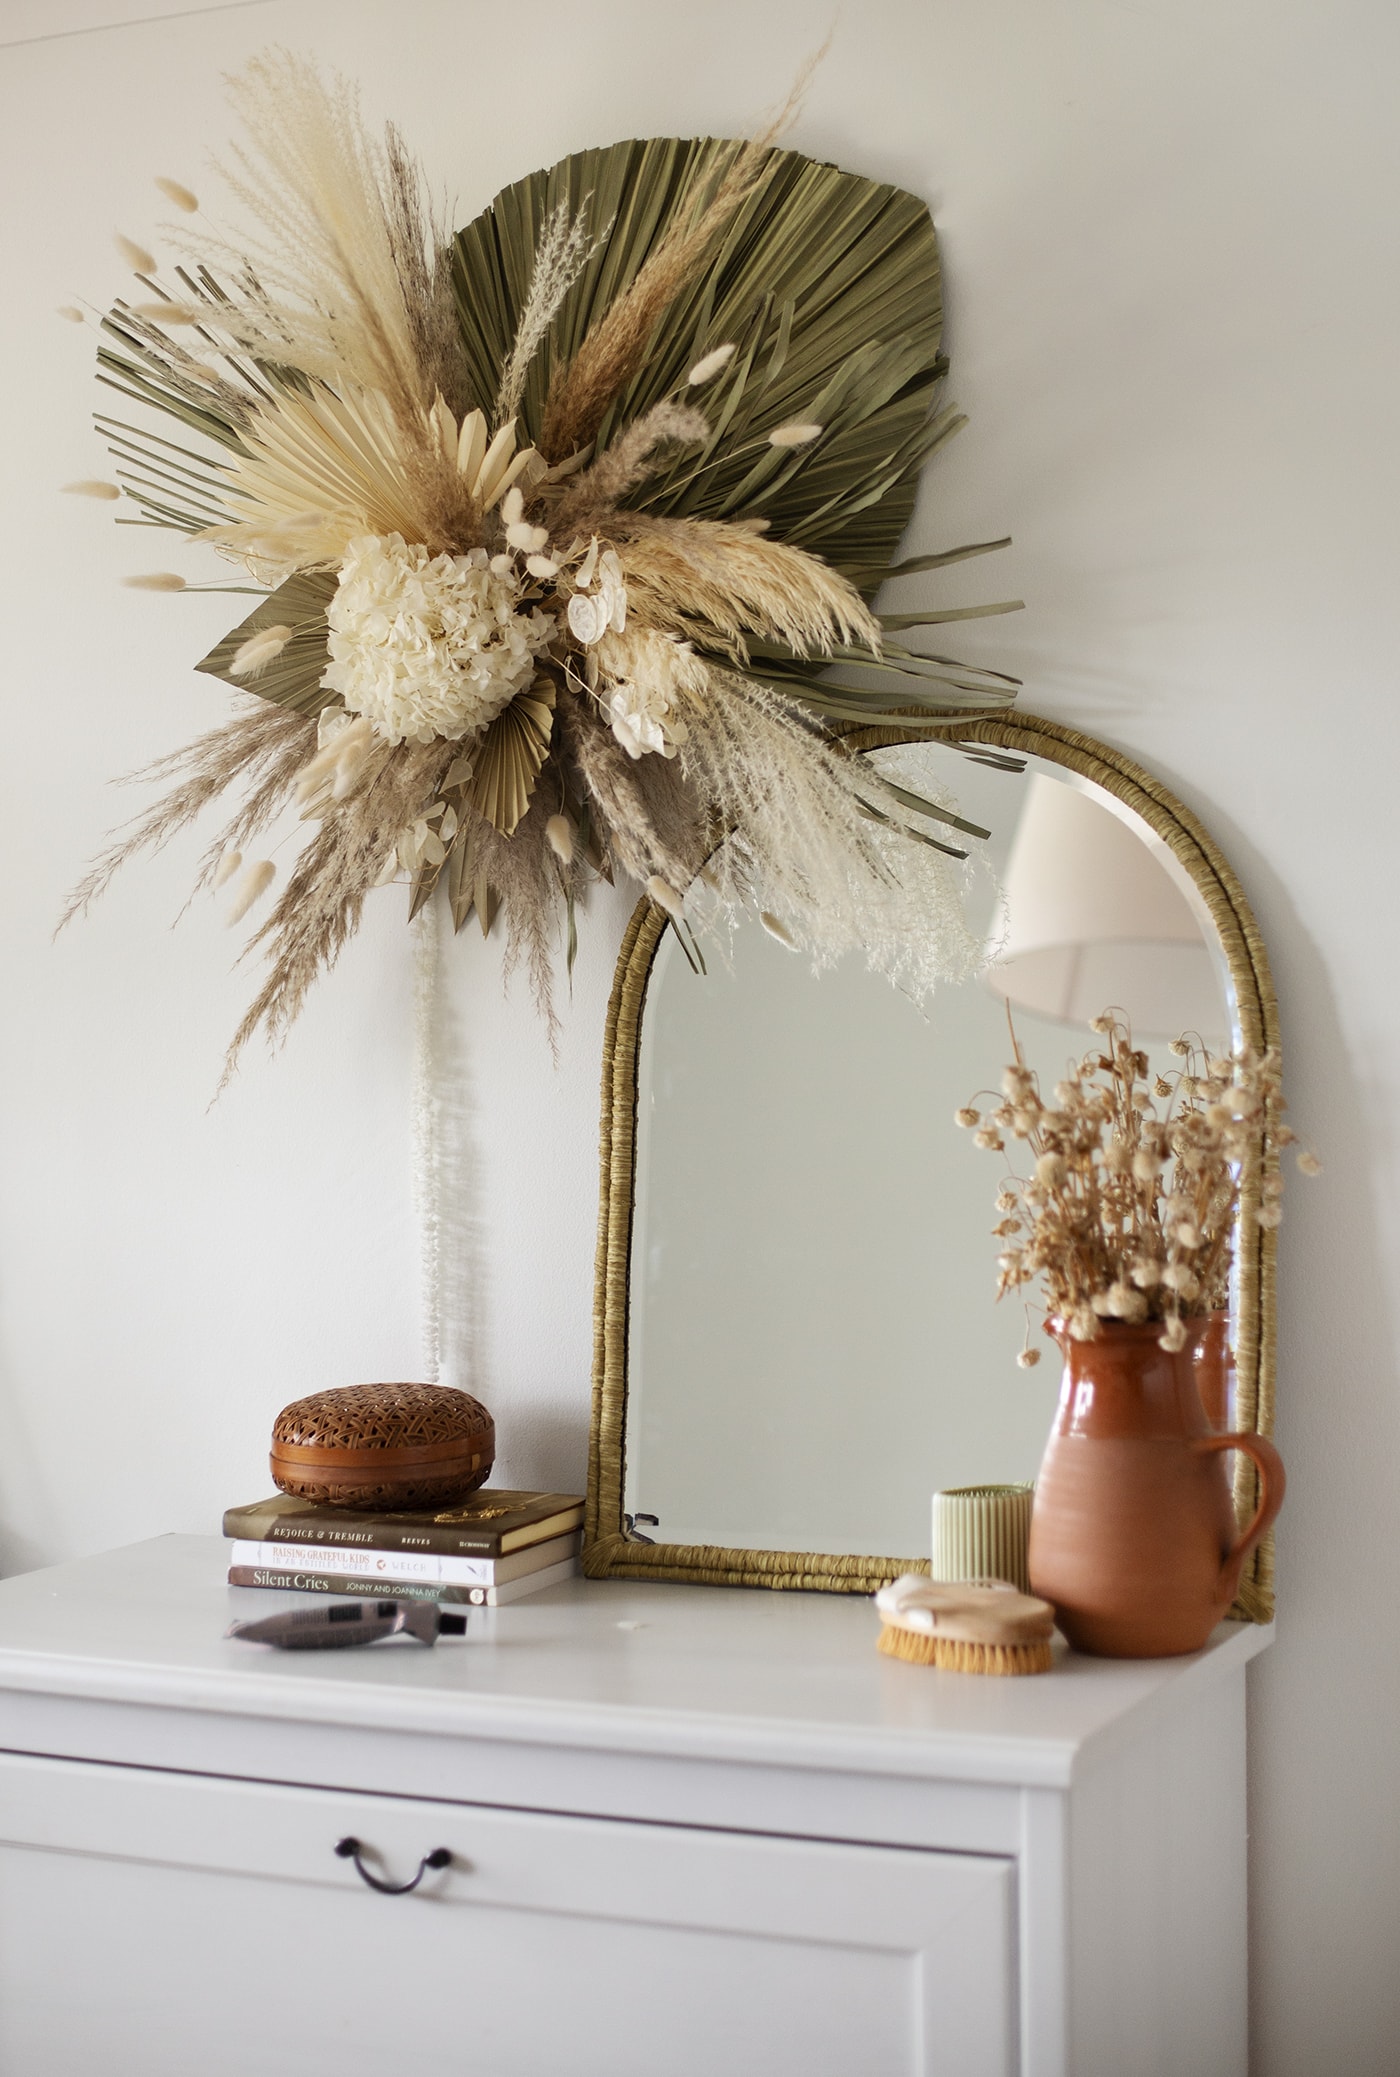
Repeat that step 5 or 6 times, fanning the raffia strips out in order to conceal the join completely. Pull off any stray glue strings and cut any raffia threads that are sticking out and the make is complete!
You might also like


Meet The Lovely Drawer

Hi, I’m Teri and welcome to my own creative corner of the internet. I blog about interiors, DIY projects, design inspiration and my general life so stick around have a read and say hi.
In the shop

 Quick ViewSelect options
Terrace 1
£20.00 – £25.00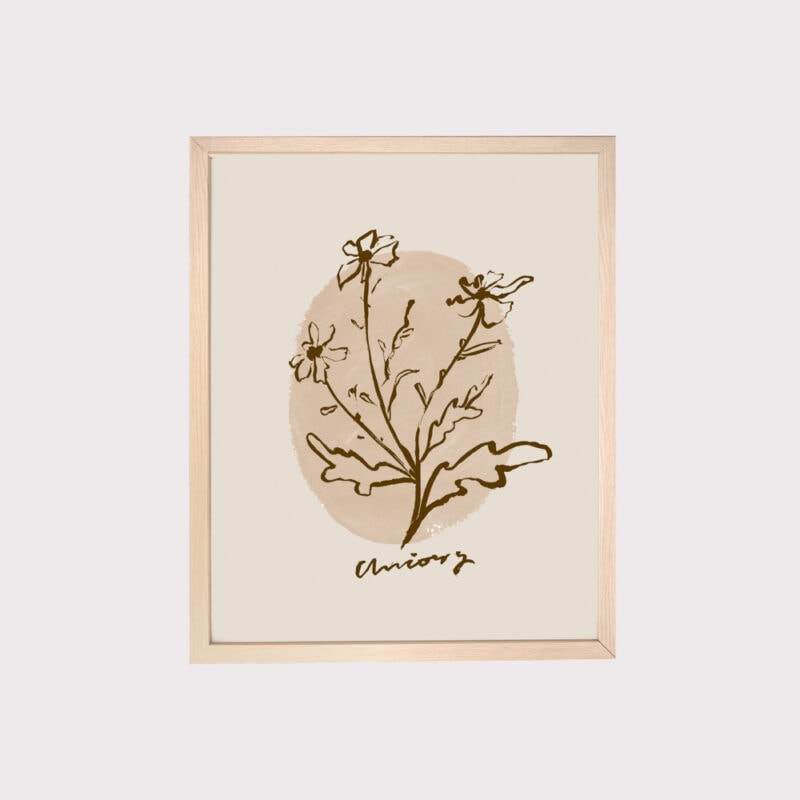
 Quick ViewSelect options
Chicory
£20.00 – £25.00
Work with Me
The Lovely Drawer is an award winning blog with a loyal audience that has grown over the years. I love working with brands small and large on exciting collaborations that can bring products alive in my own signature aesthetic.