B&Q Toddler Nook Makeover For Renters
 This is a paid partnership with B&Q
I’ve really enjoyed sharing more renter friendly content recently as I know there are so many renters like me out there,particularly in cities where it’s tough to afford to buy. We all want to make our space feel like a home rather than a stop gap, especially as we may be in that same space for many years so I’m really excited to partner with B&Q to inspire renters to make room-transforming changes without the fear of losing your deposit.
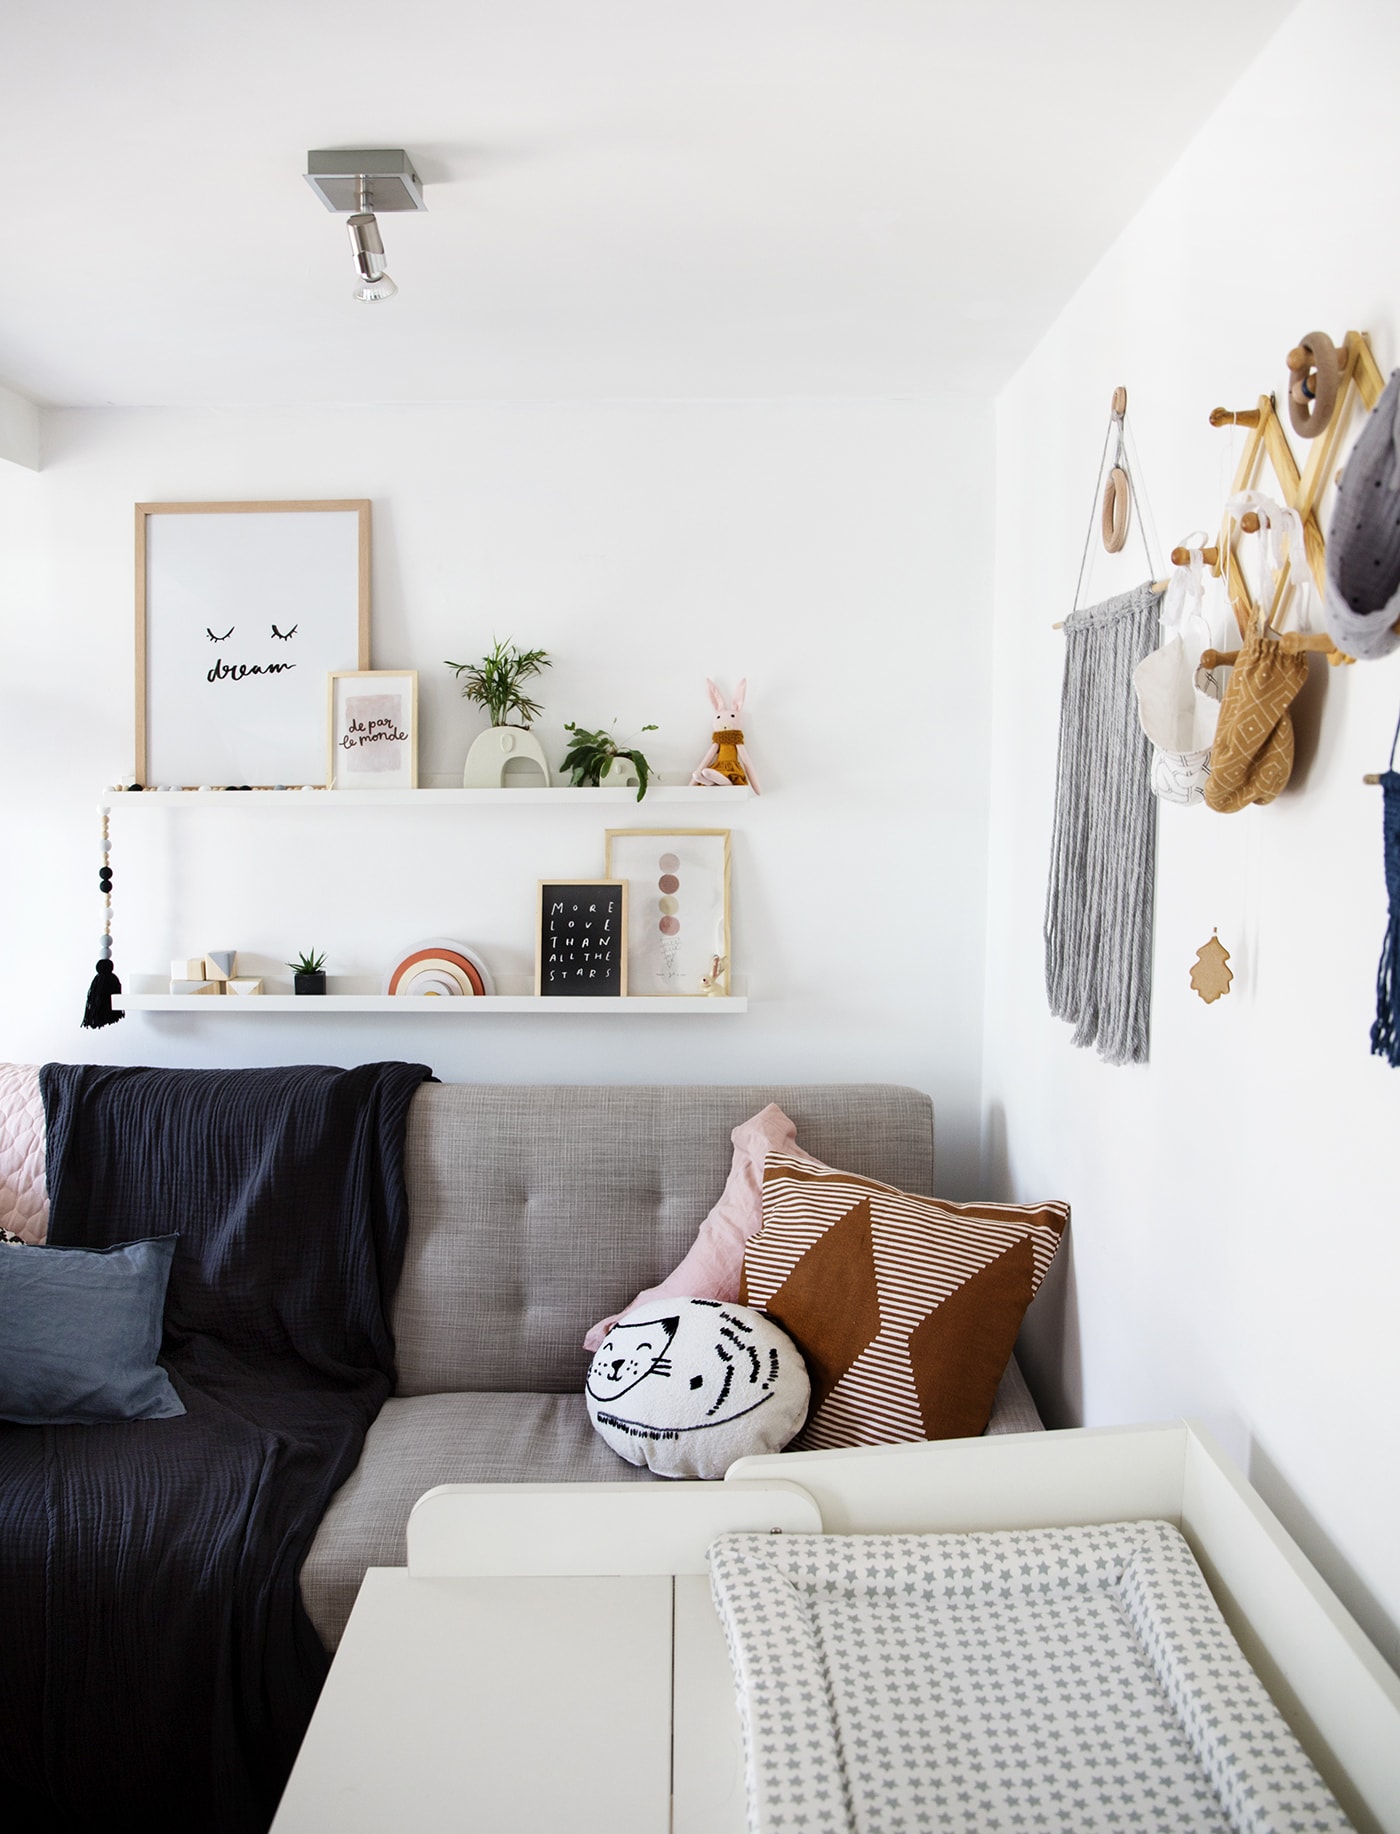
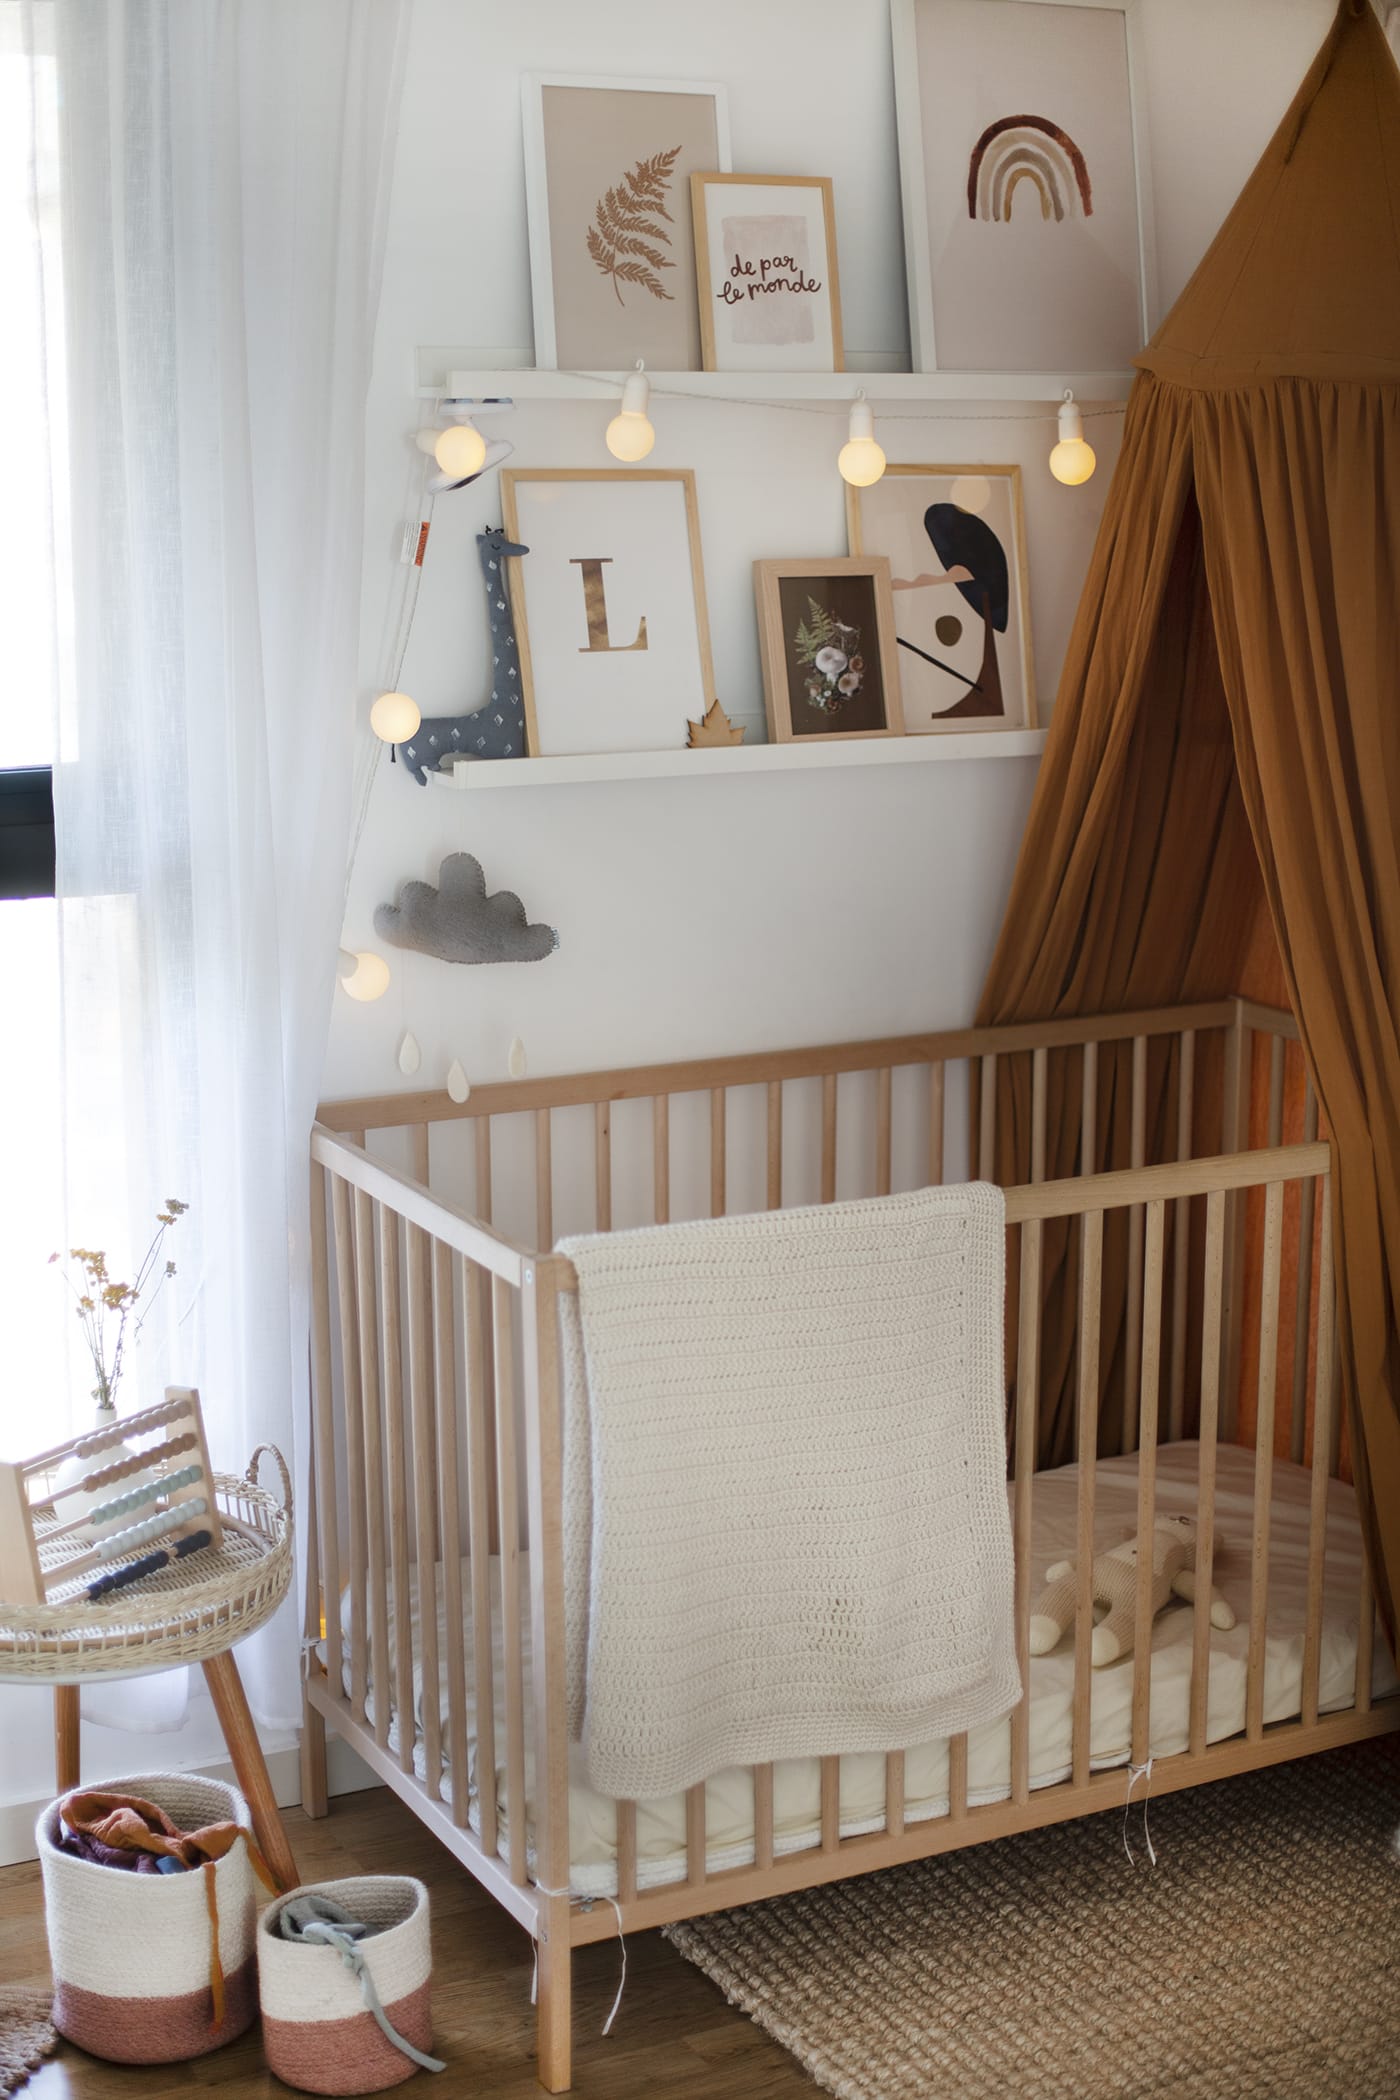
We moved into our flat when it was just Nick and I and have since adapted it for one baby and then to a toddler and now to another baby. The space has changed and grown as our family has grown and our needs have changed. Most recently you may have caught me pondering moving Maggie from her cot to a bed over on Instagram. With London rental prices being crrrraaaazzzzzyyy, we can’t afford to get a place with 3 bedrooms so we always knew if we had more than one kid then they would have to share a room. It suddenly dawned on me that we should make Maggie’s transition from cot to bed happen before Lars moves upstairs and takes up residence in her happy sleeping spot of two years. I wanted to create her own special space down the other end of the room, so she feels like she’s happy to call it her own. Here’s how we did it….
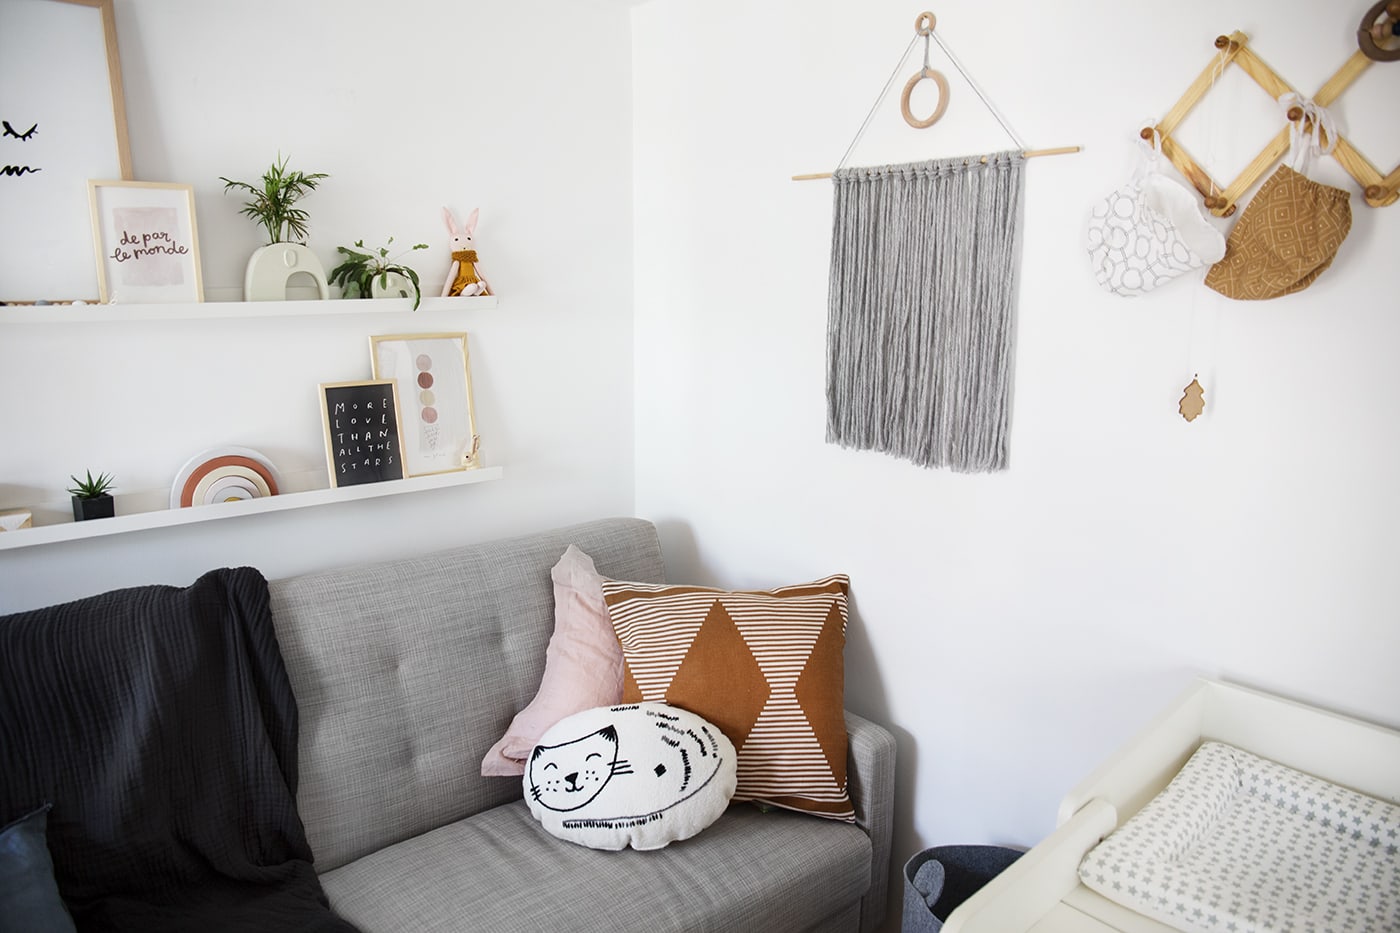
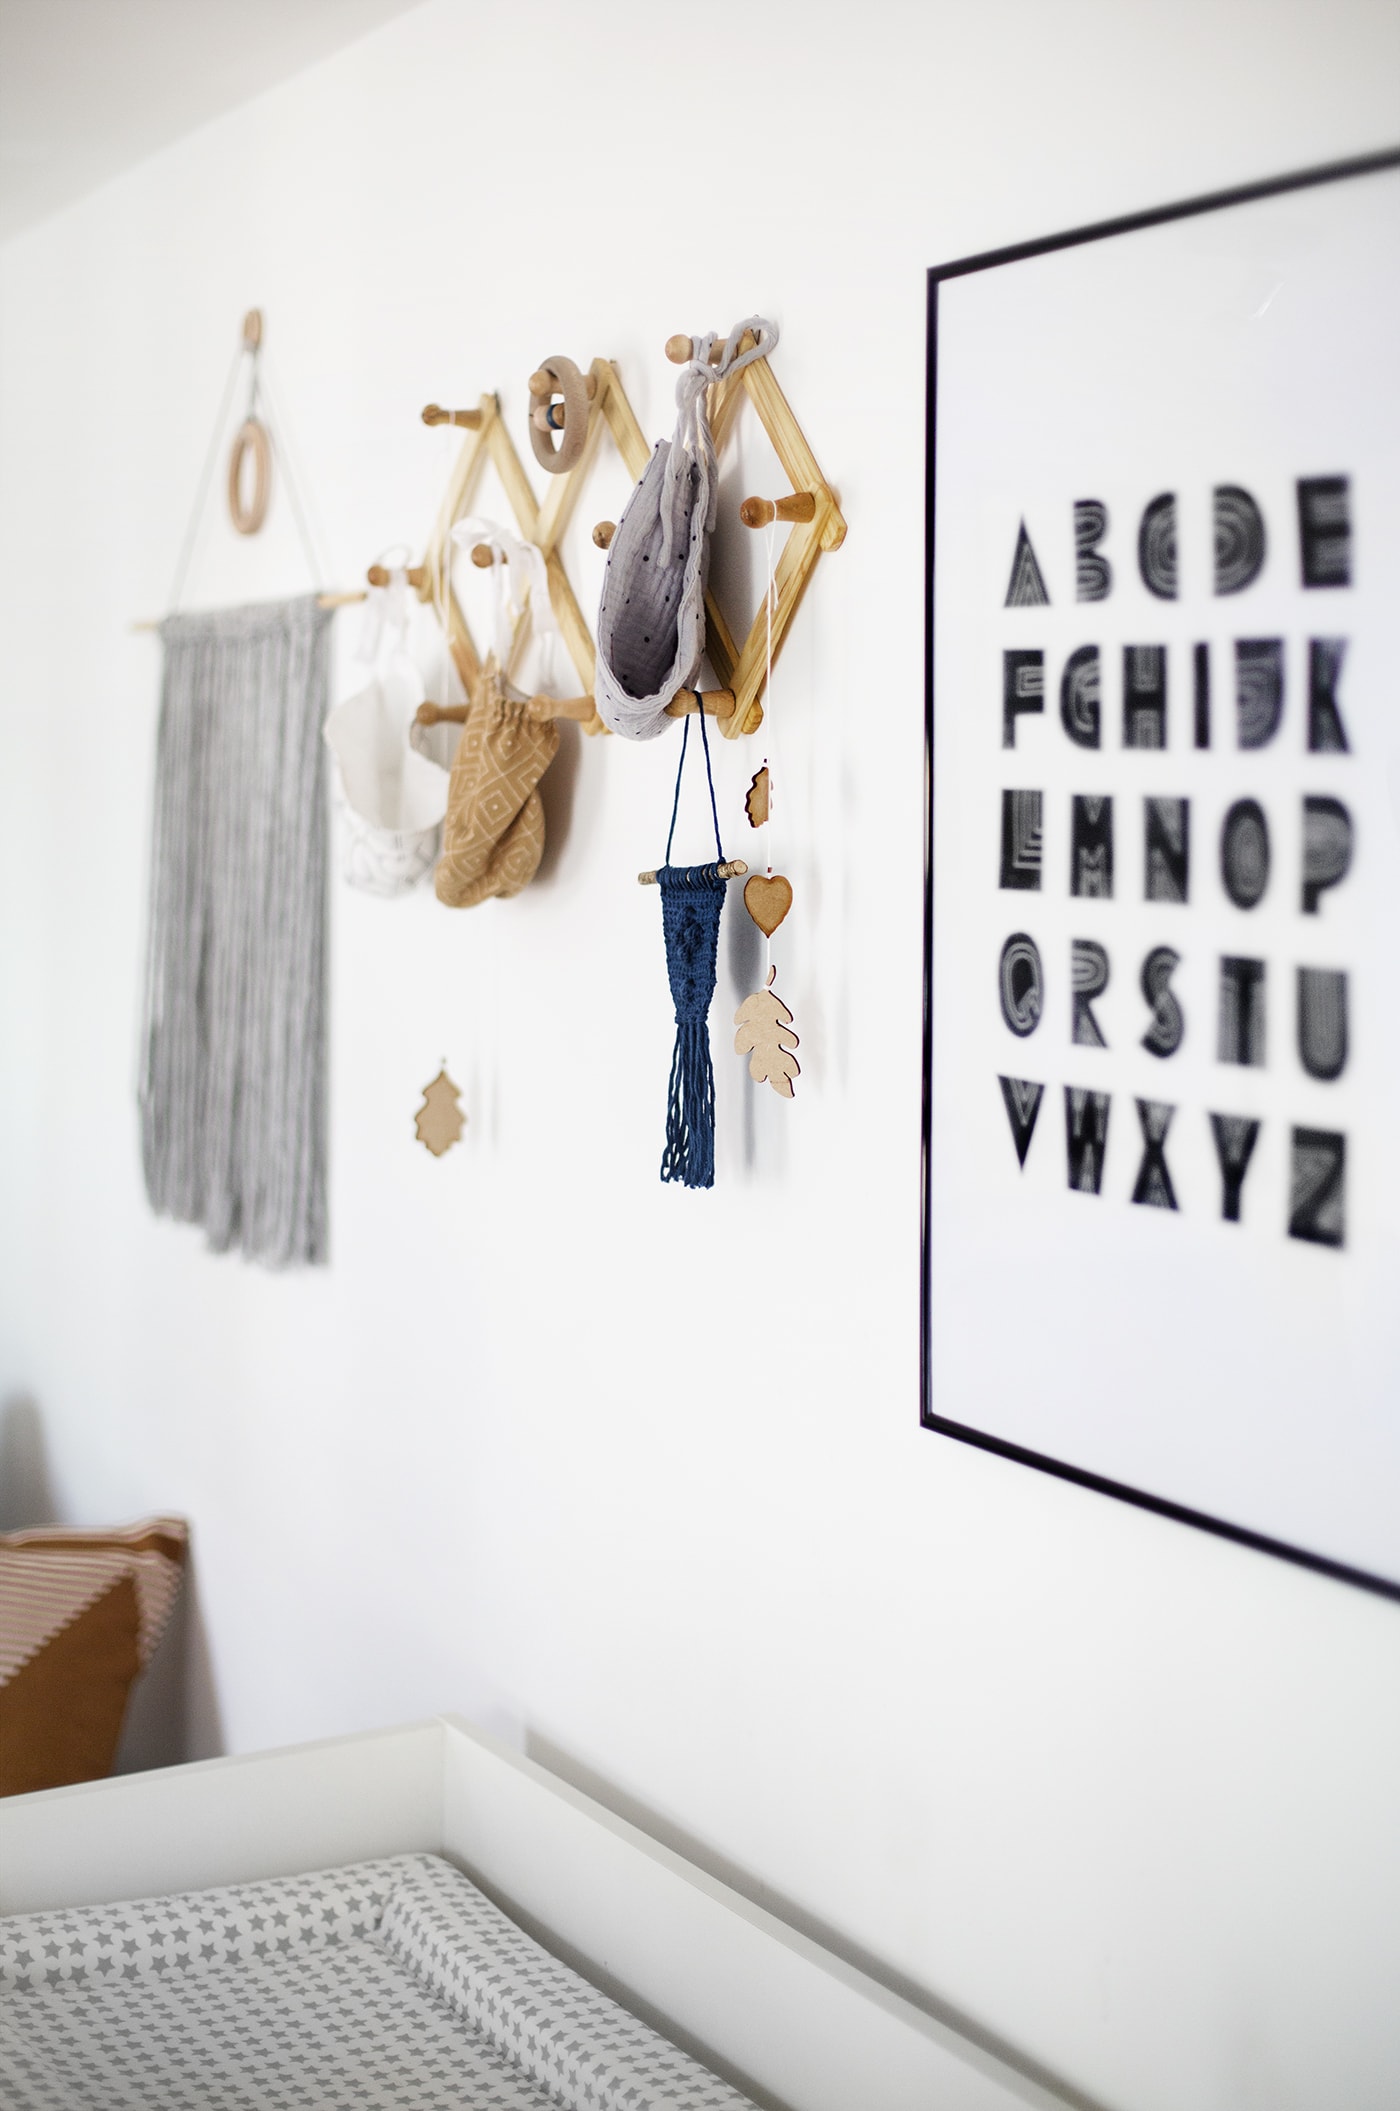
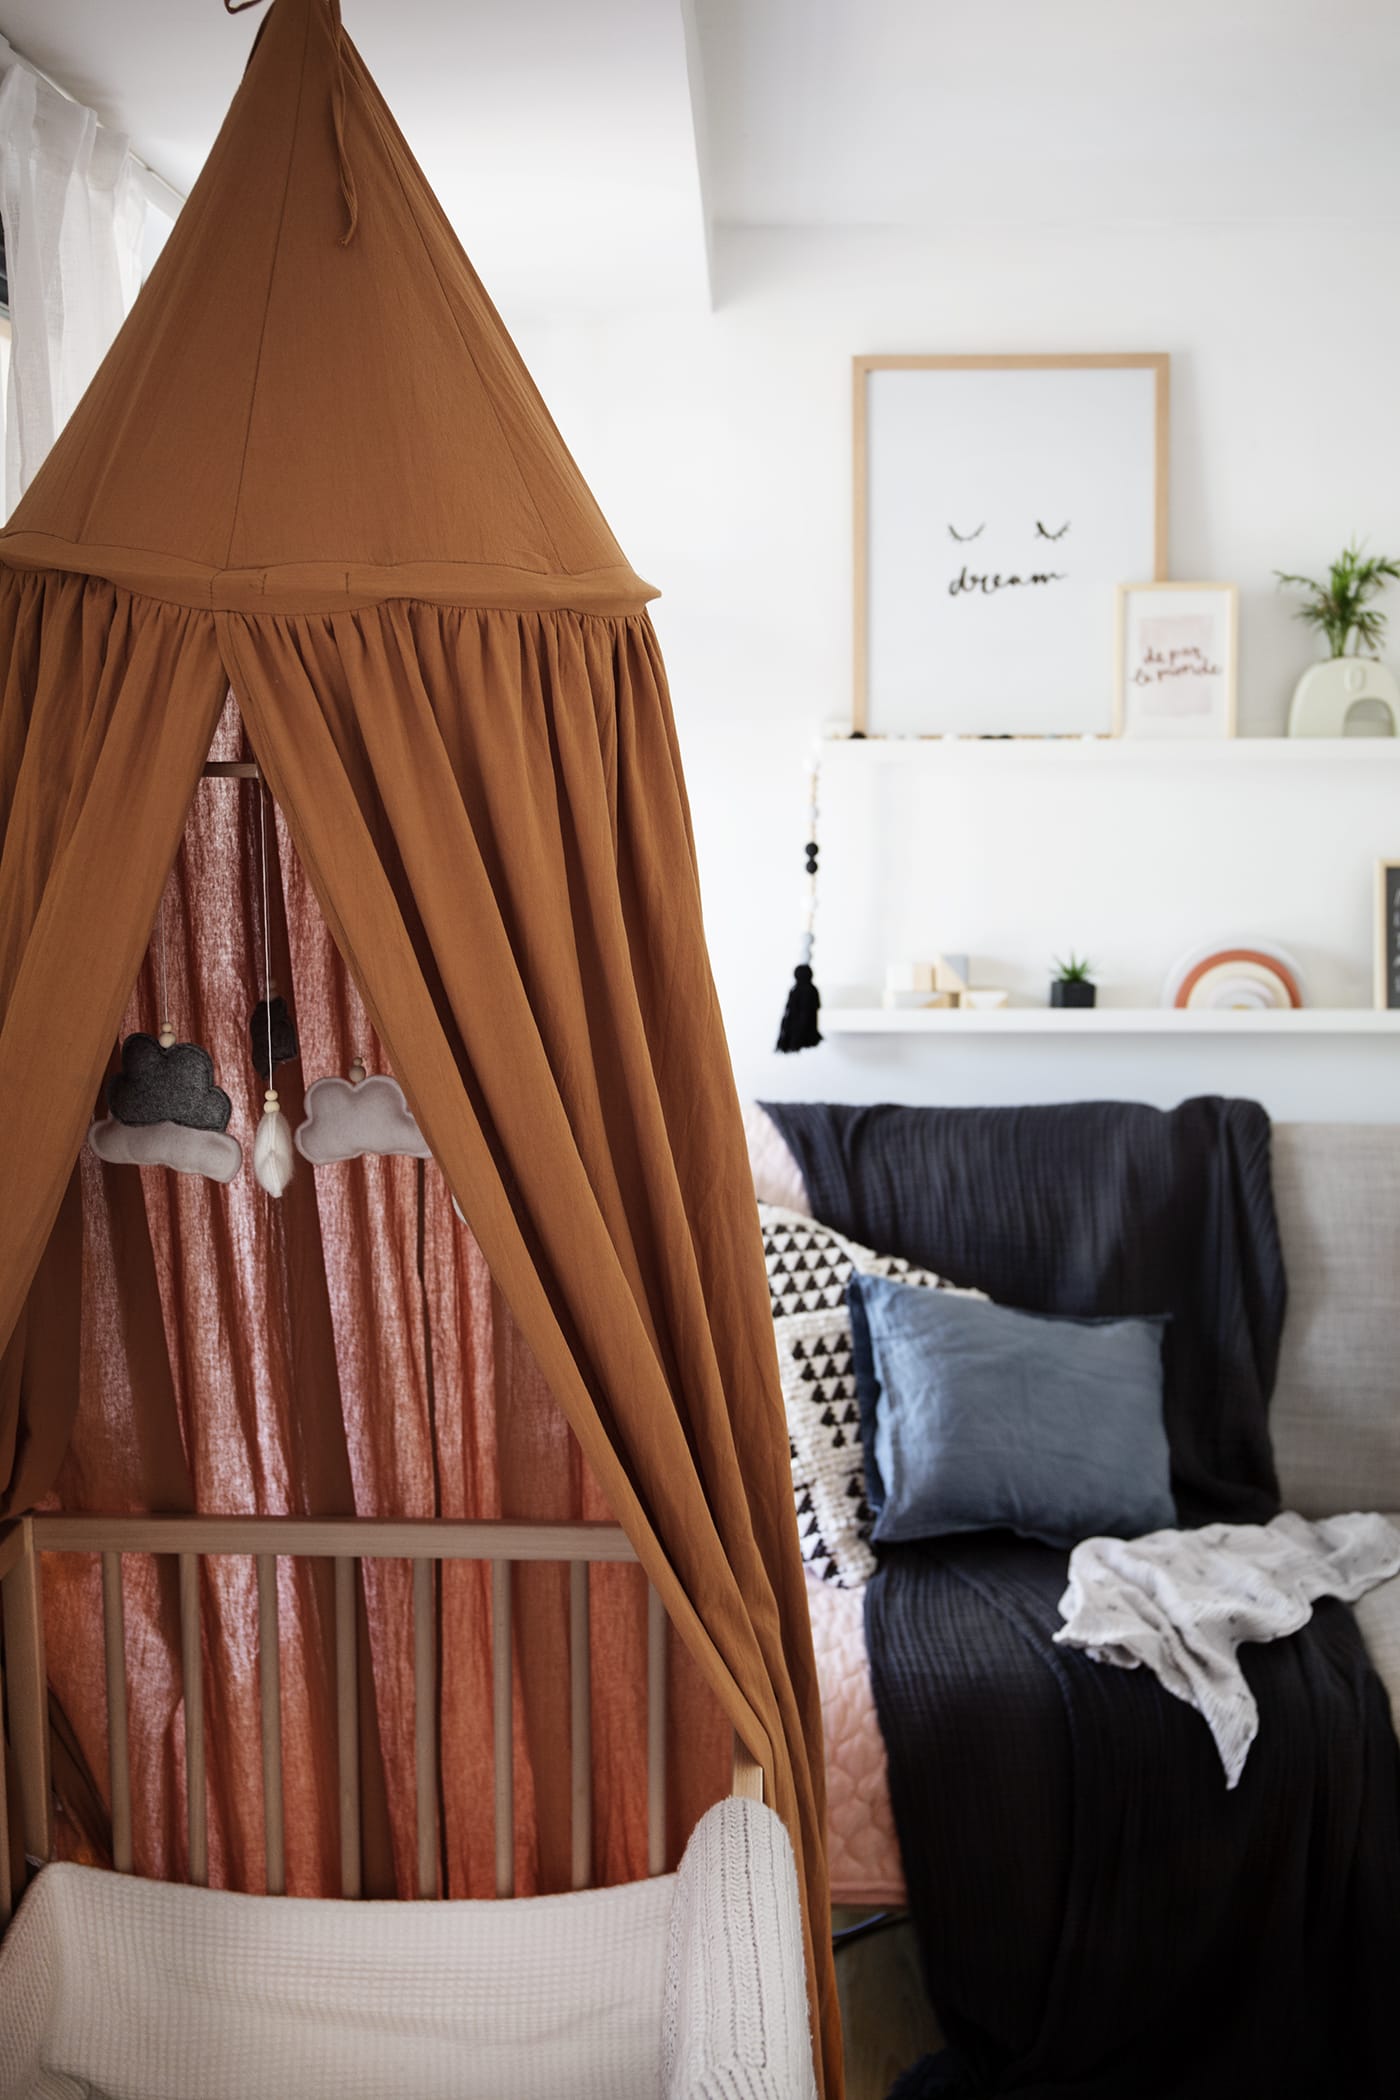
Before
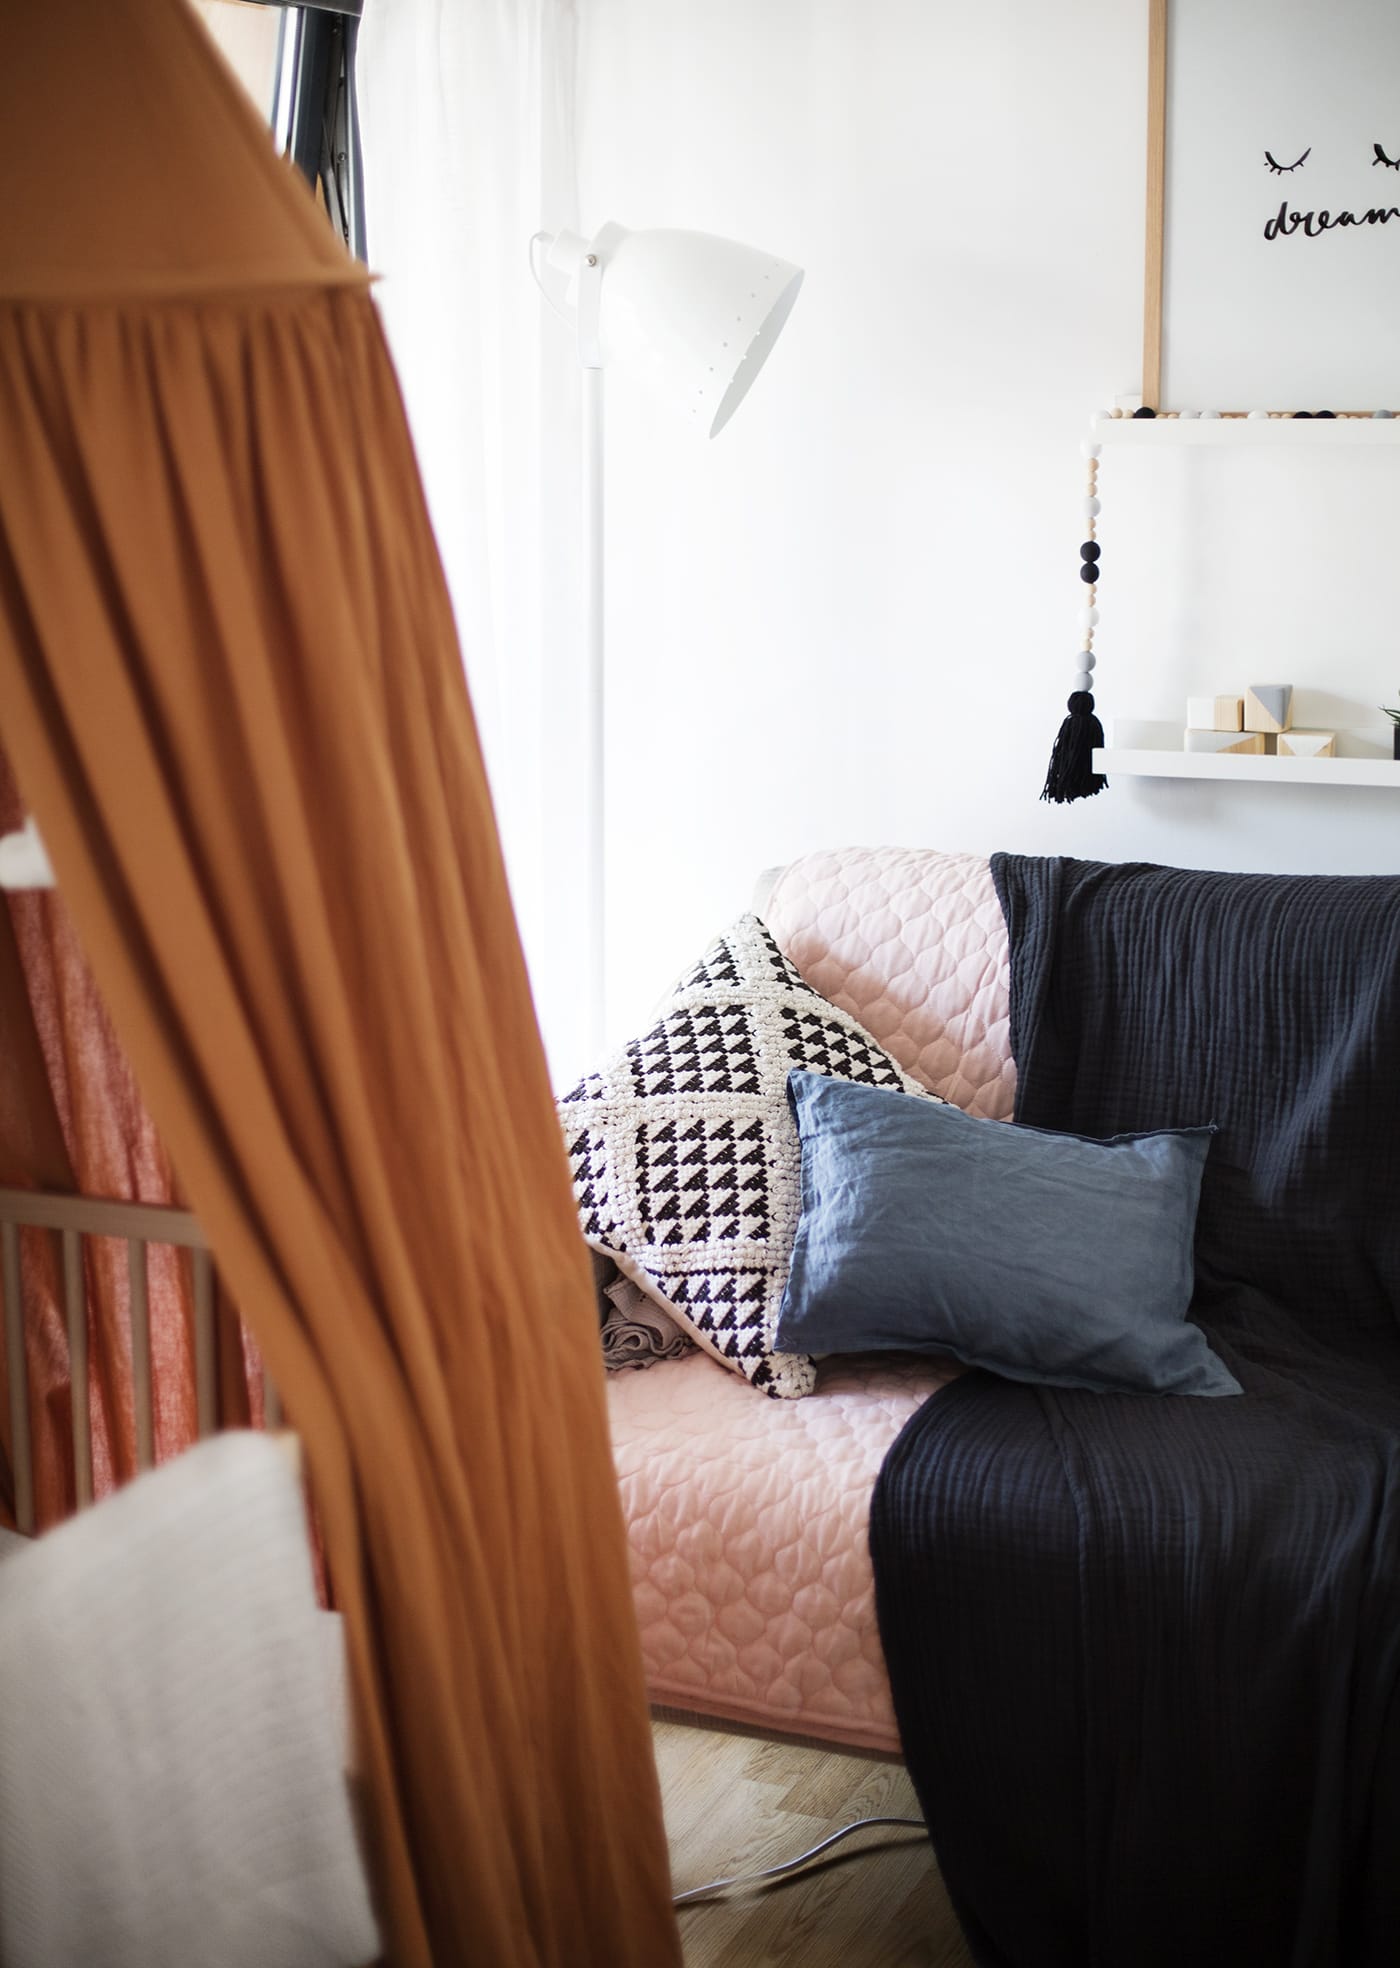
Mood Board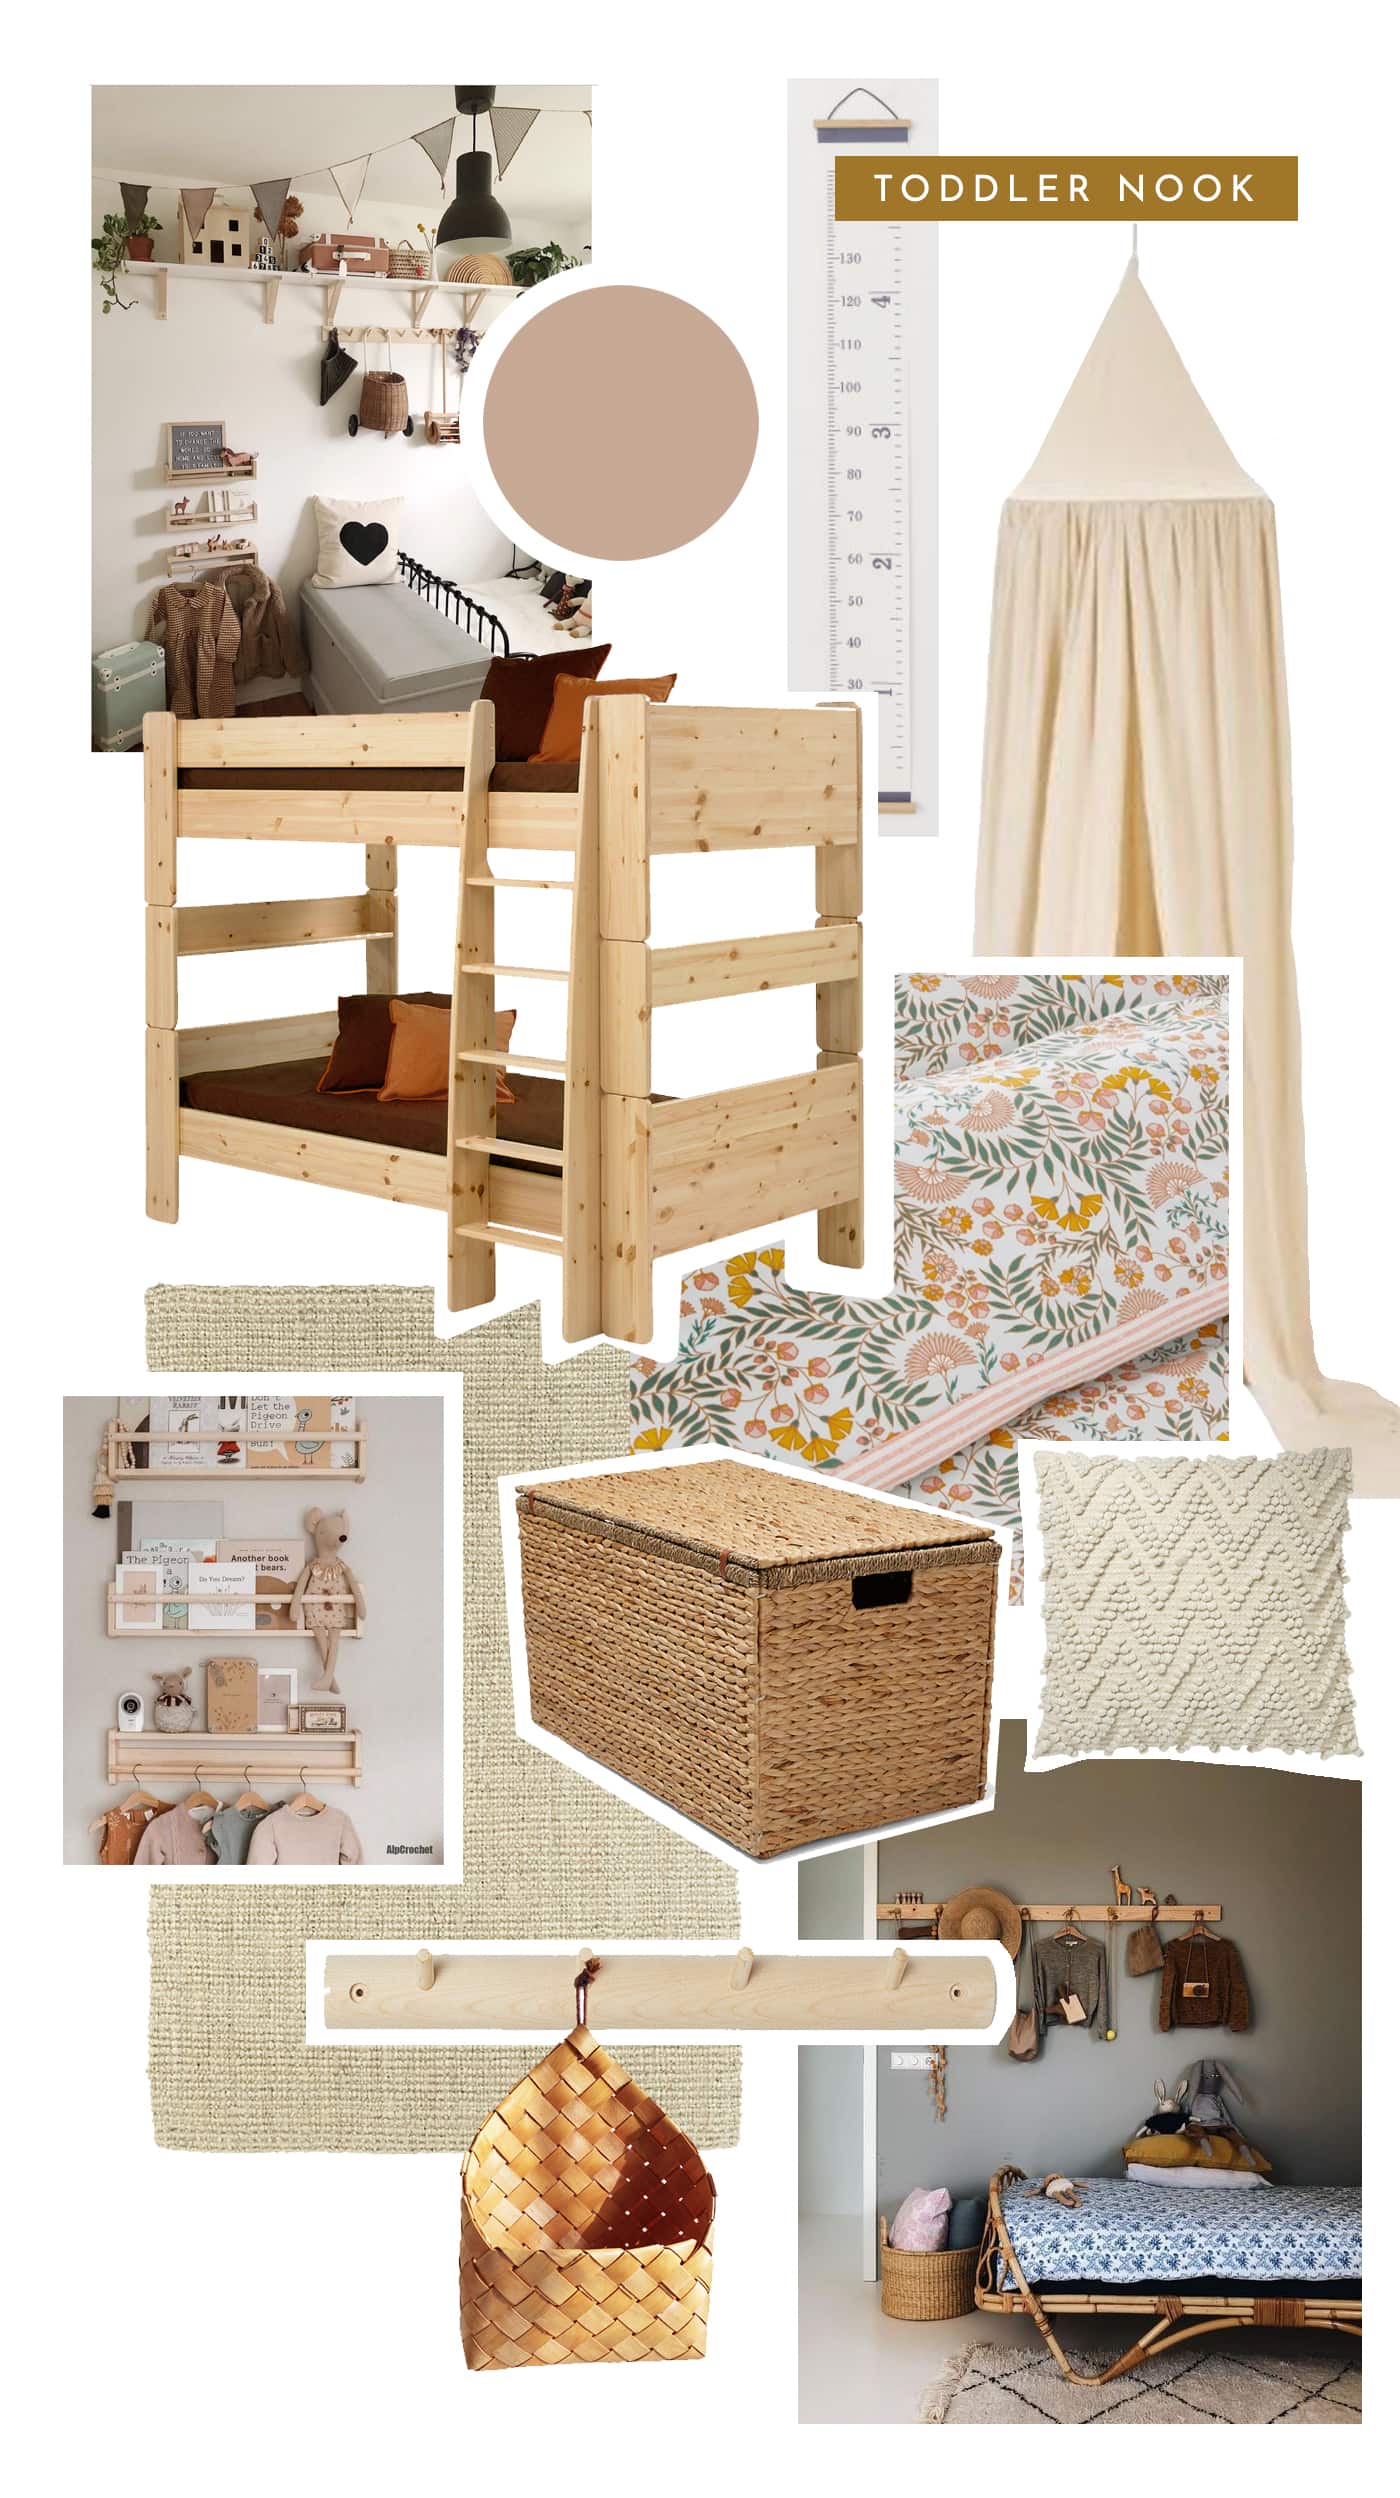 Flexible furniture for transitions
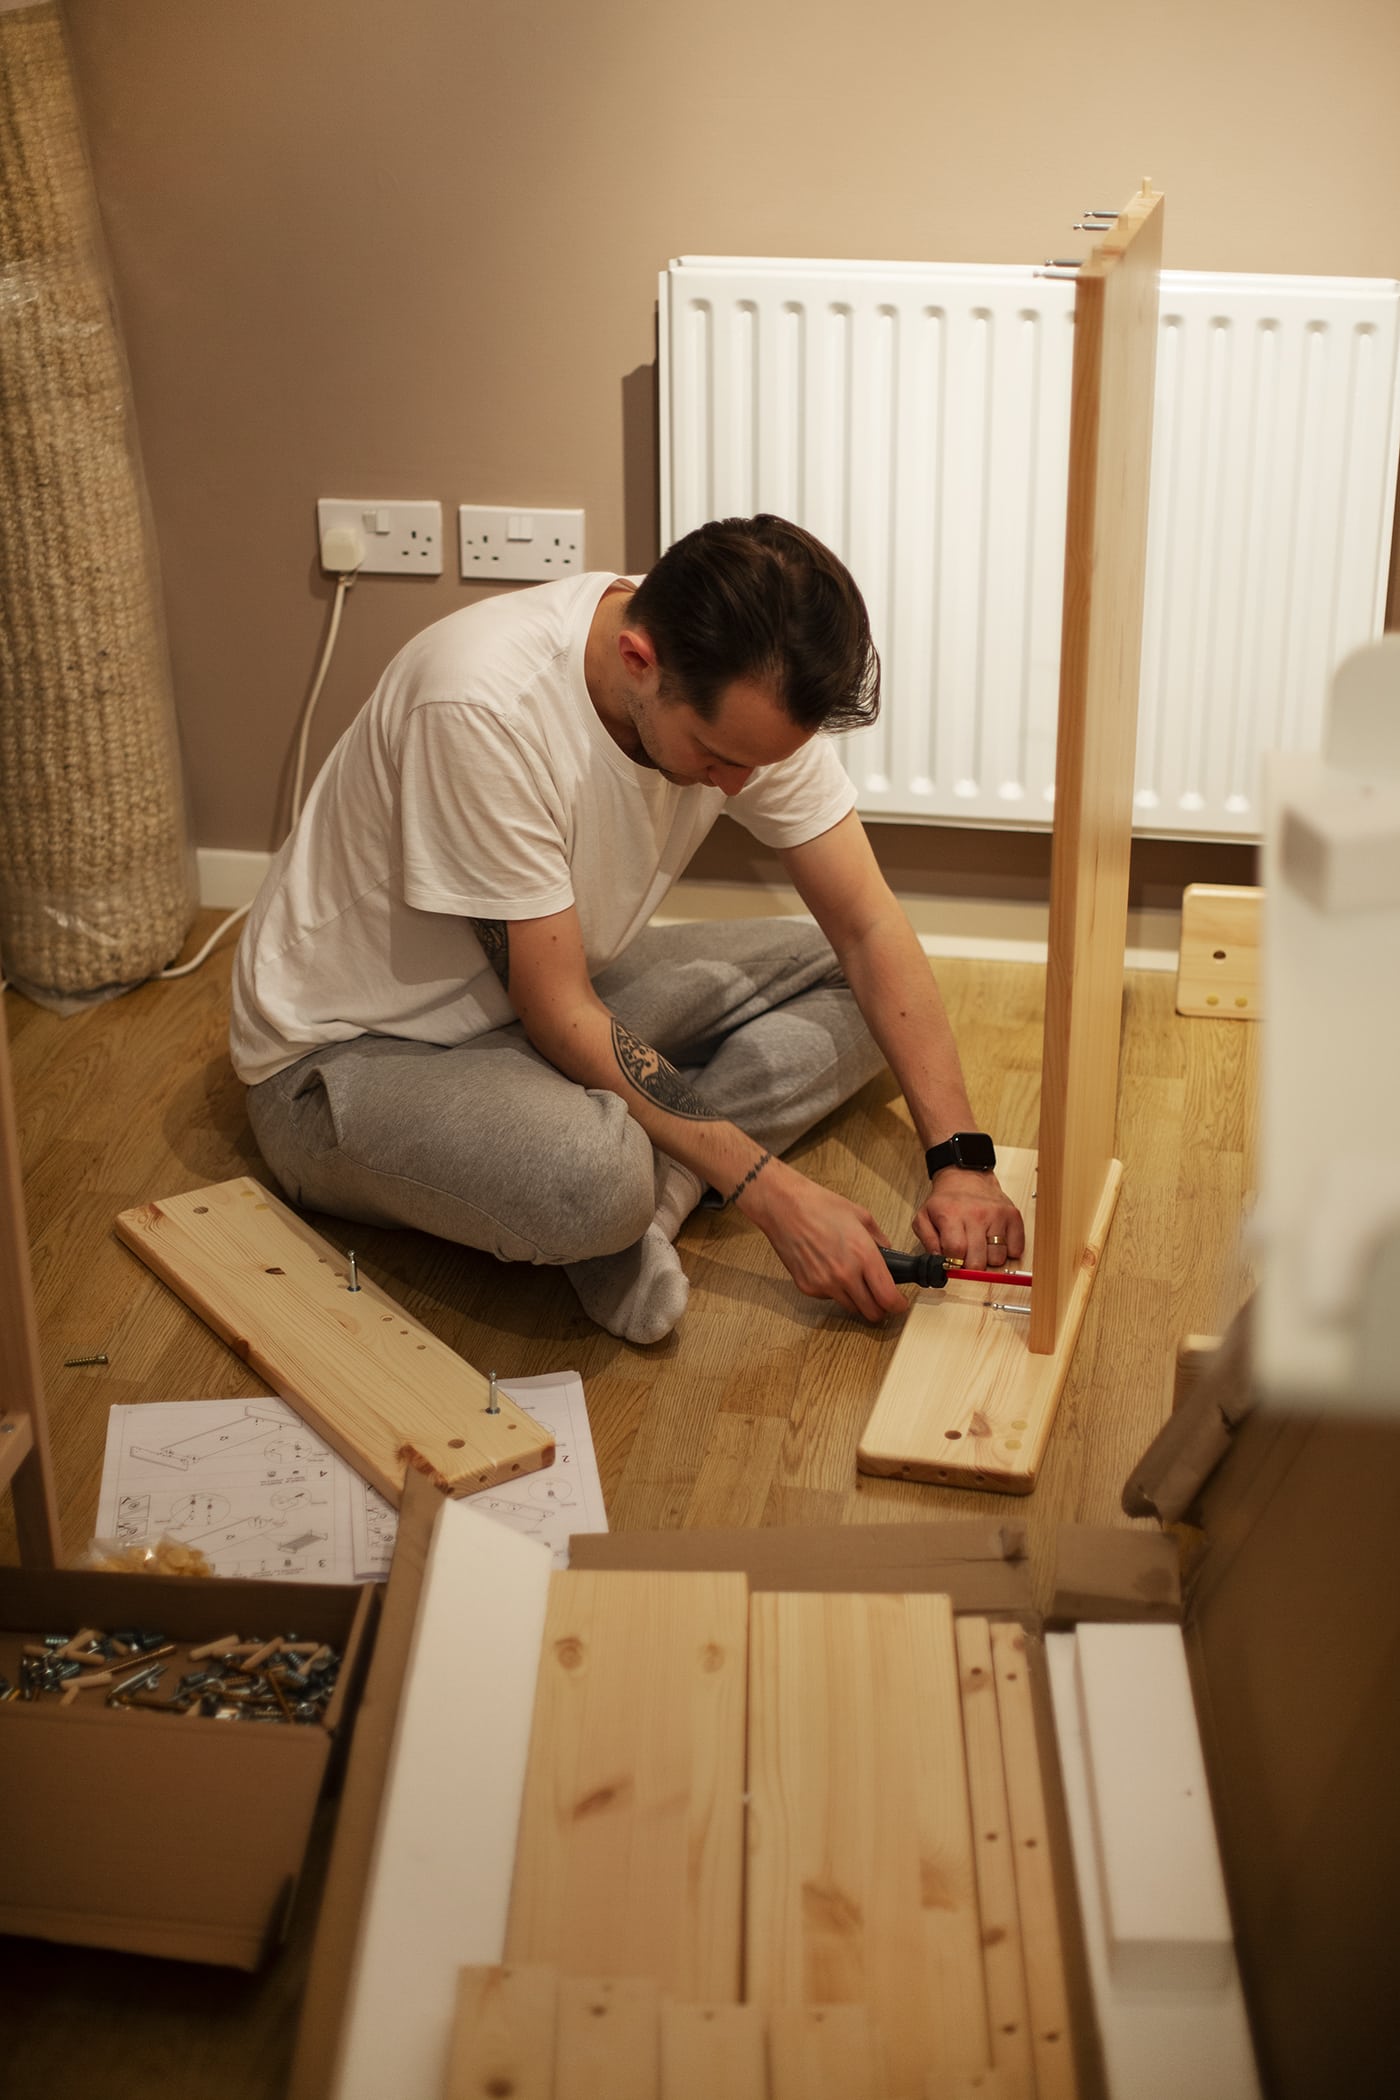
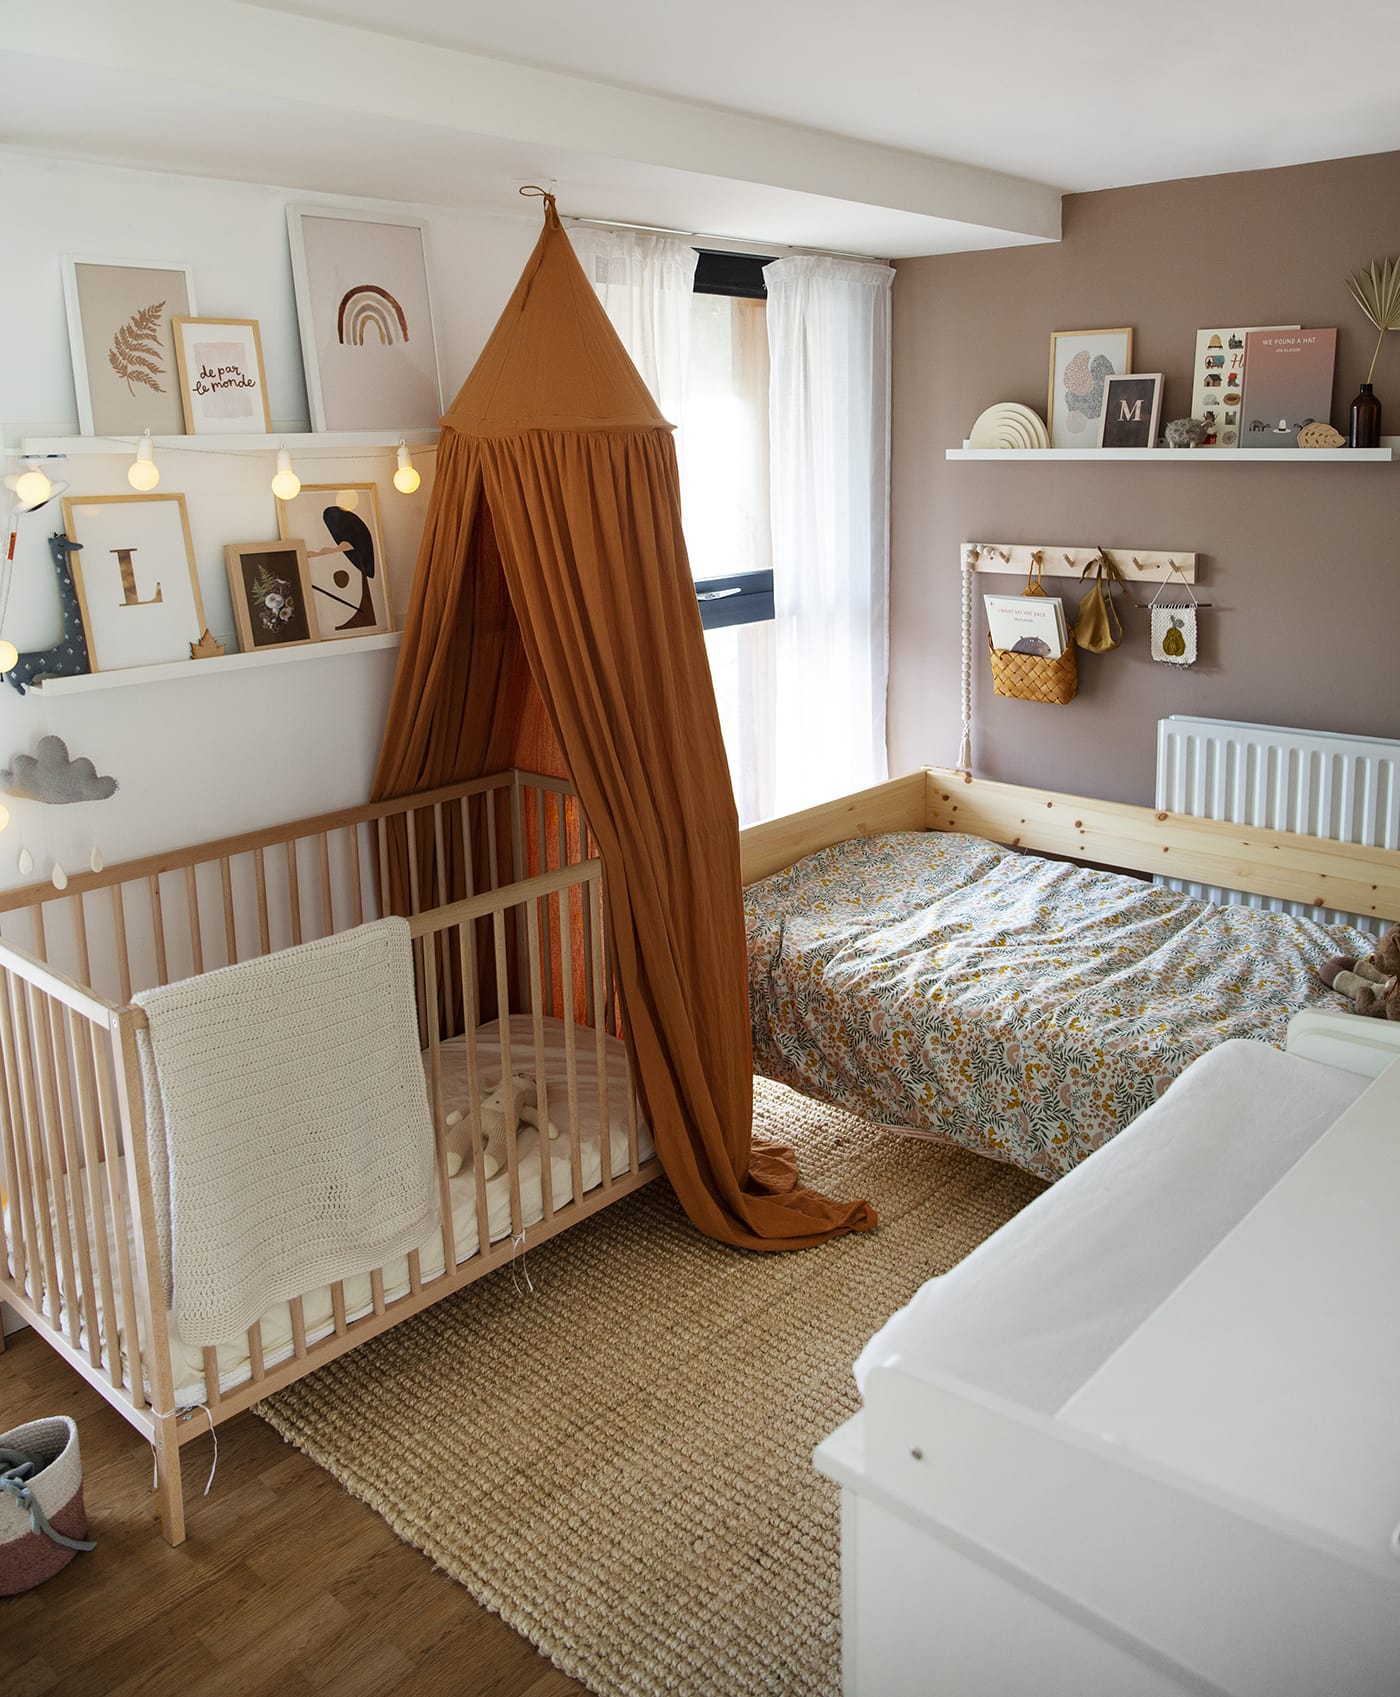
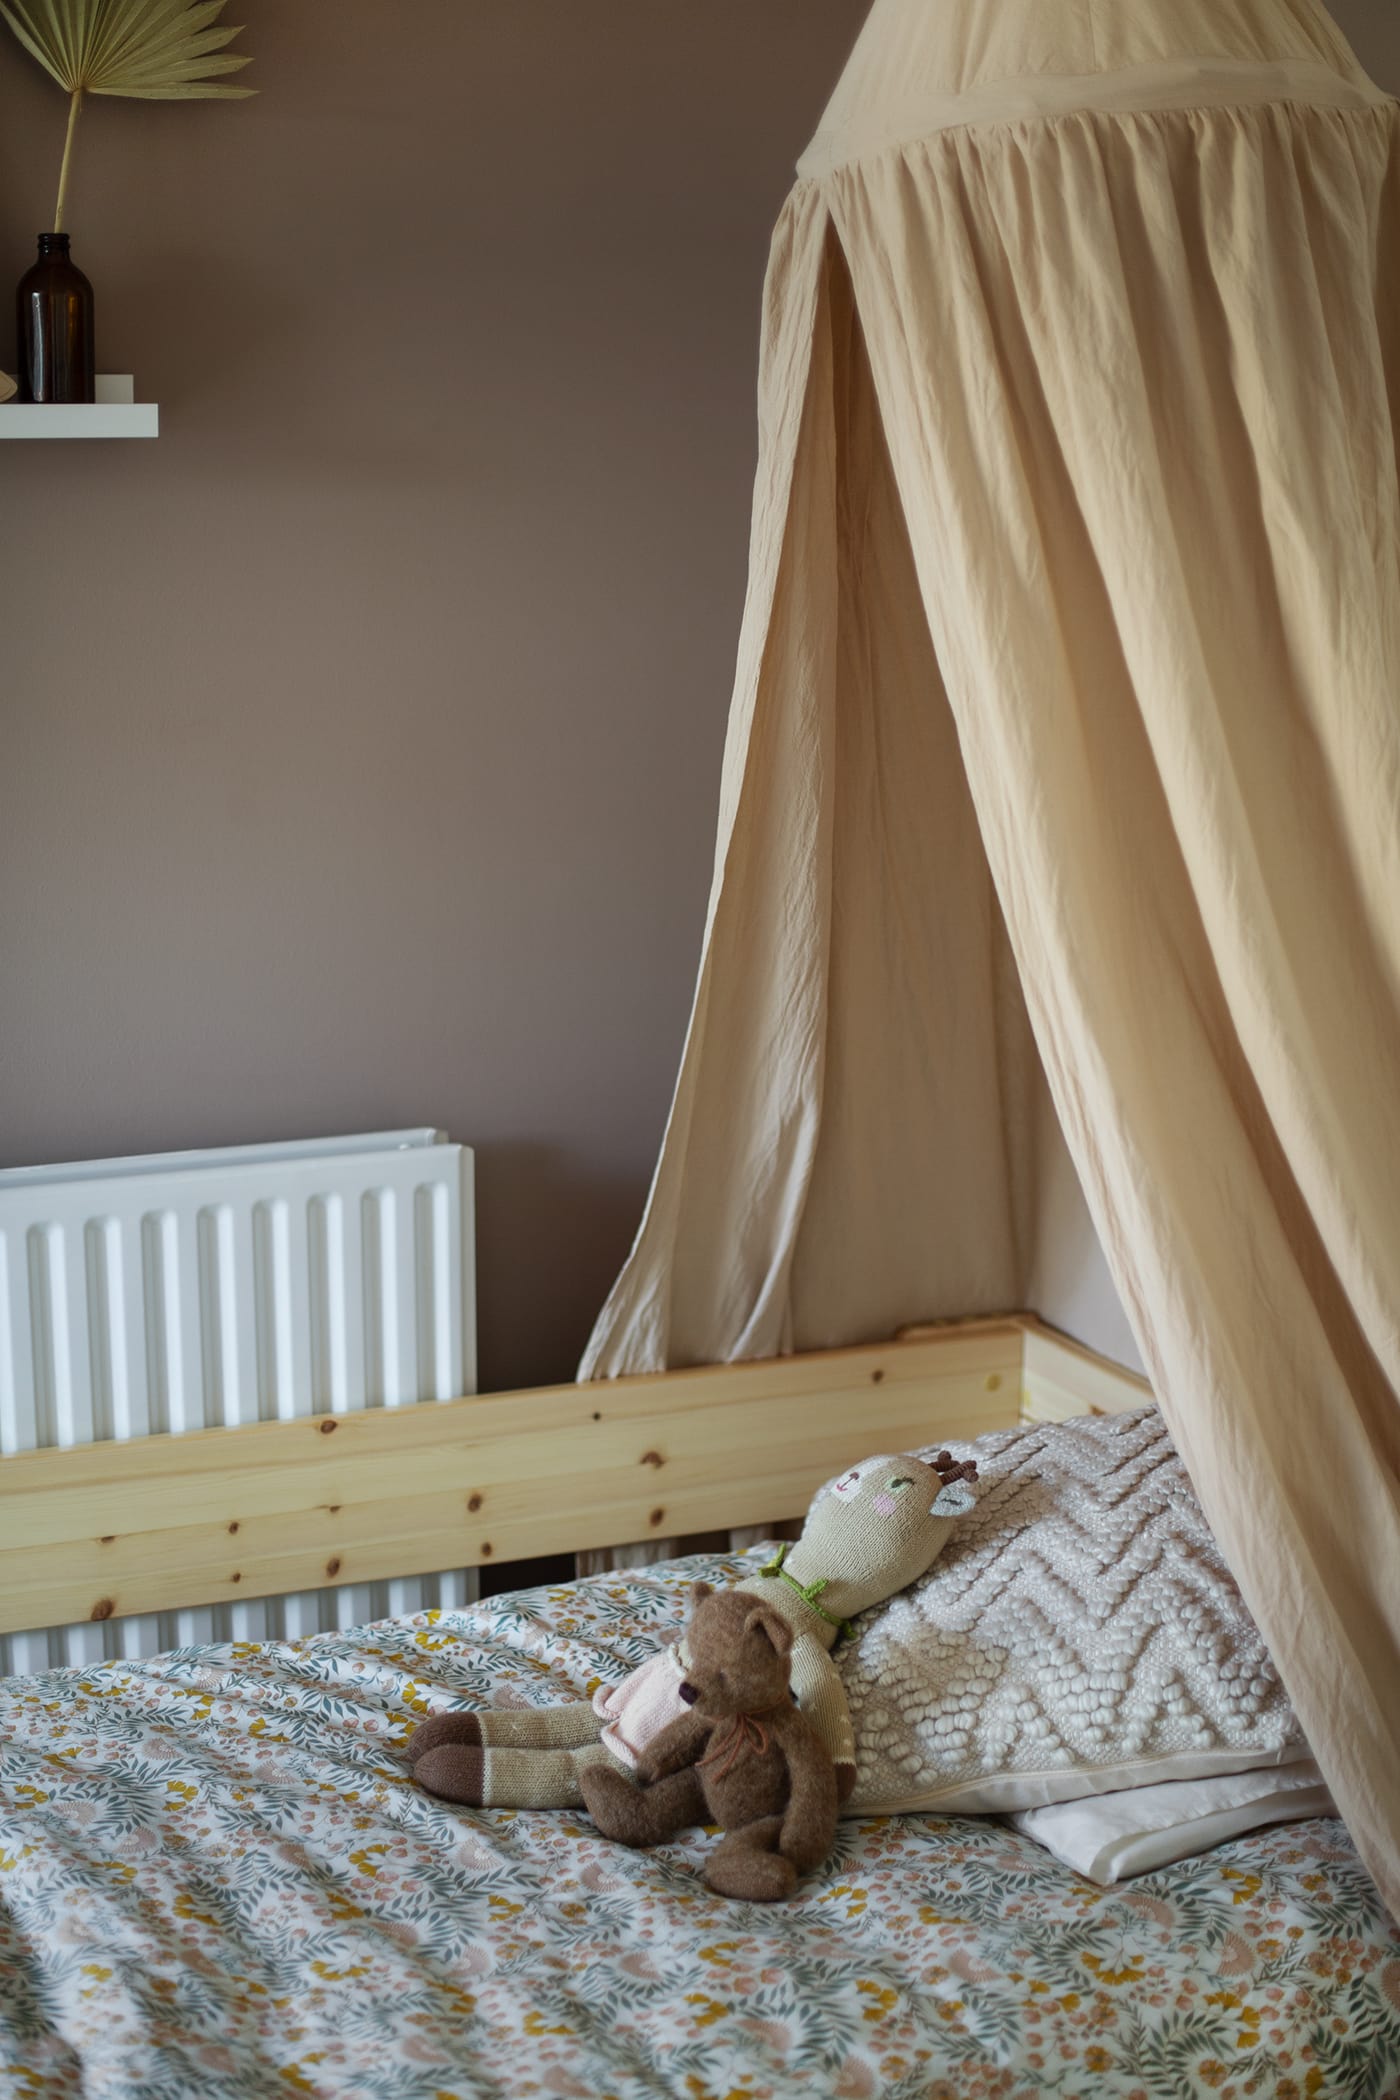
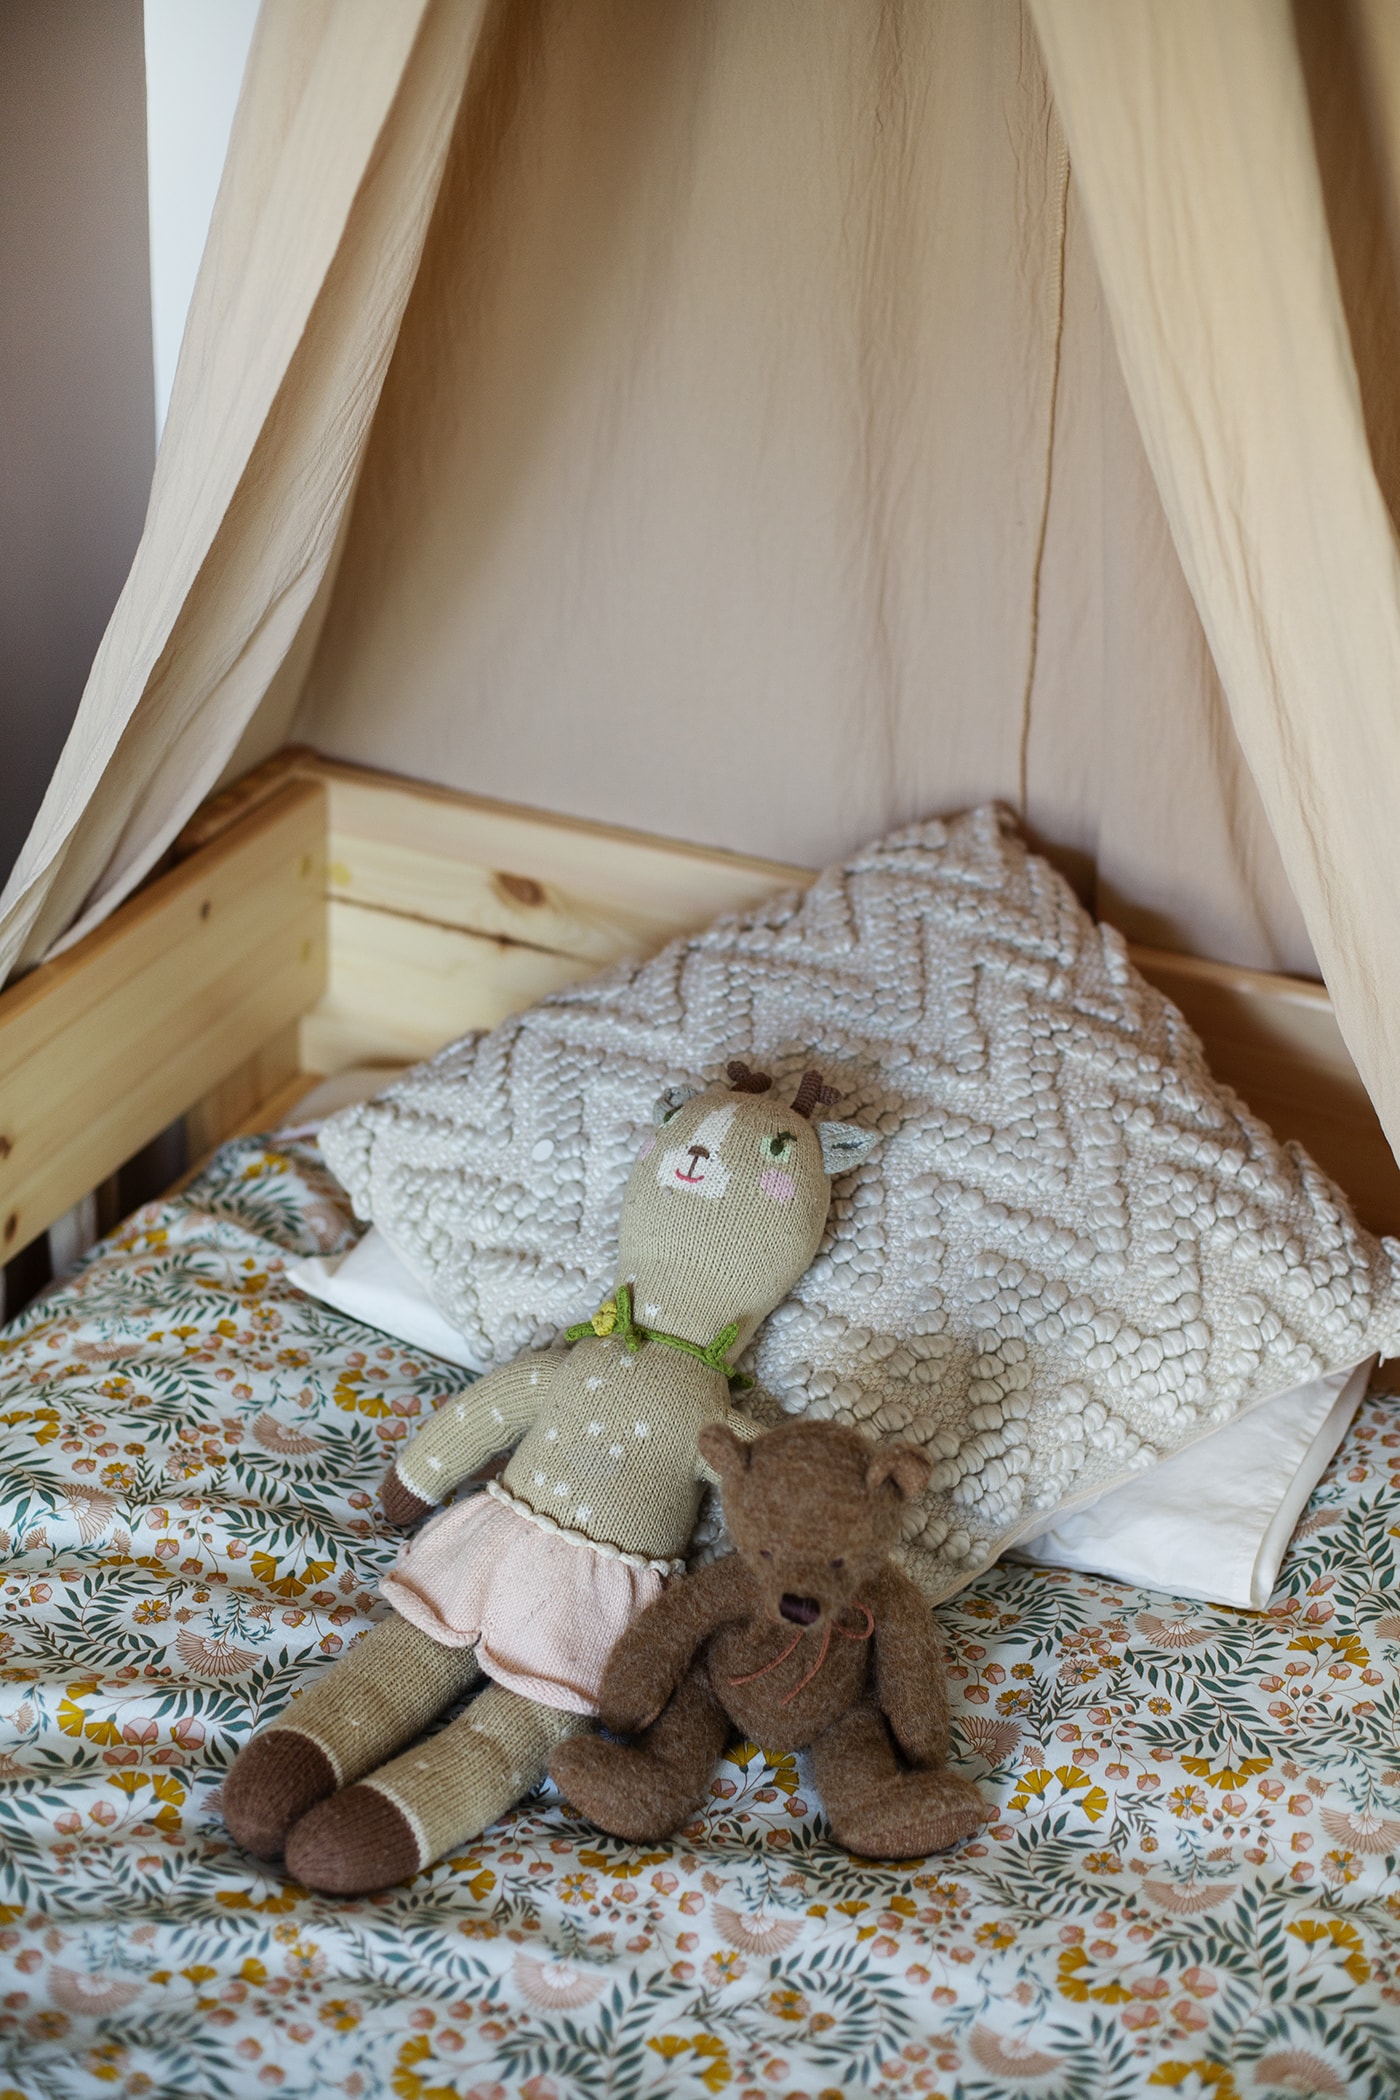
I had lots of great advice on that Instagram post with lots of you saying that it’s best to think long term and buy a proper sized single bed, but even better is to get a bunk bed that can start as a single bed. This means you can choose to have sides to stop your little one falling out of bed continually but also means you’re all set and ready for when baby number two eventually graduates to a bed. B&Q have the best solution with their Wizard Bunk Bed, which can easily be a single bed, a raised single bed or a full bunk bed. I went for the pine, but it also comes in white or a white wash, depending on what would suit your room and it’s so great to know that even if we do end up having to move in the future the bed can come apart and be rebuilt as a bunk bed for Lars.

A statement wall
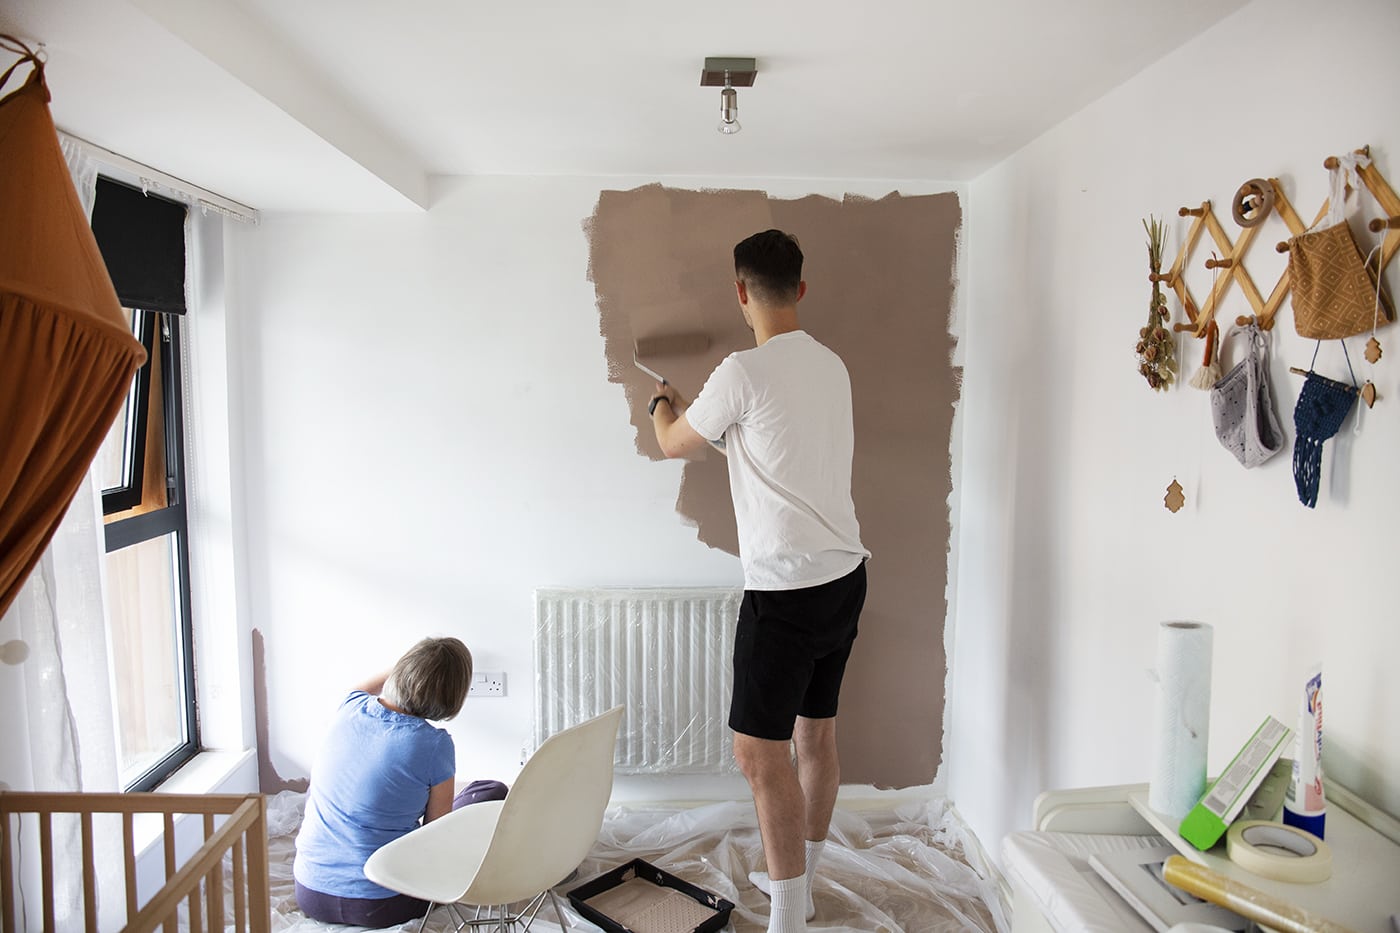
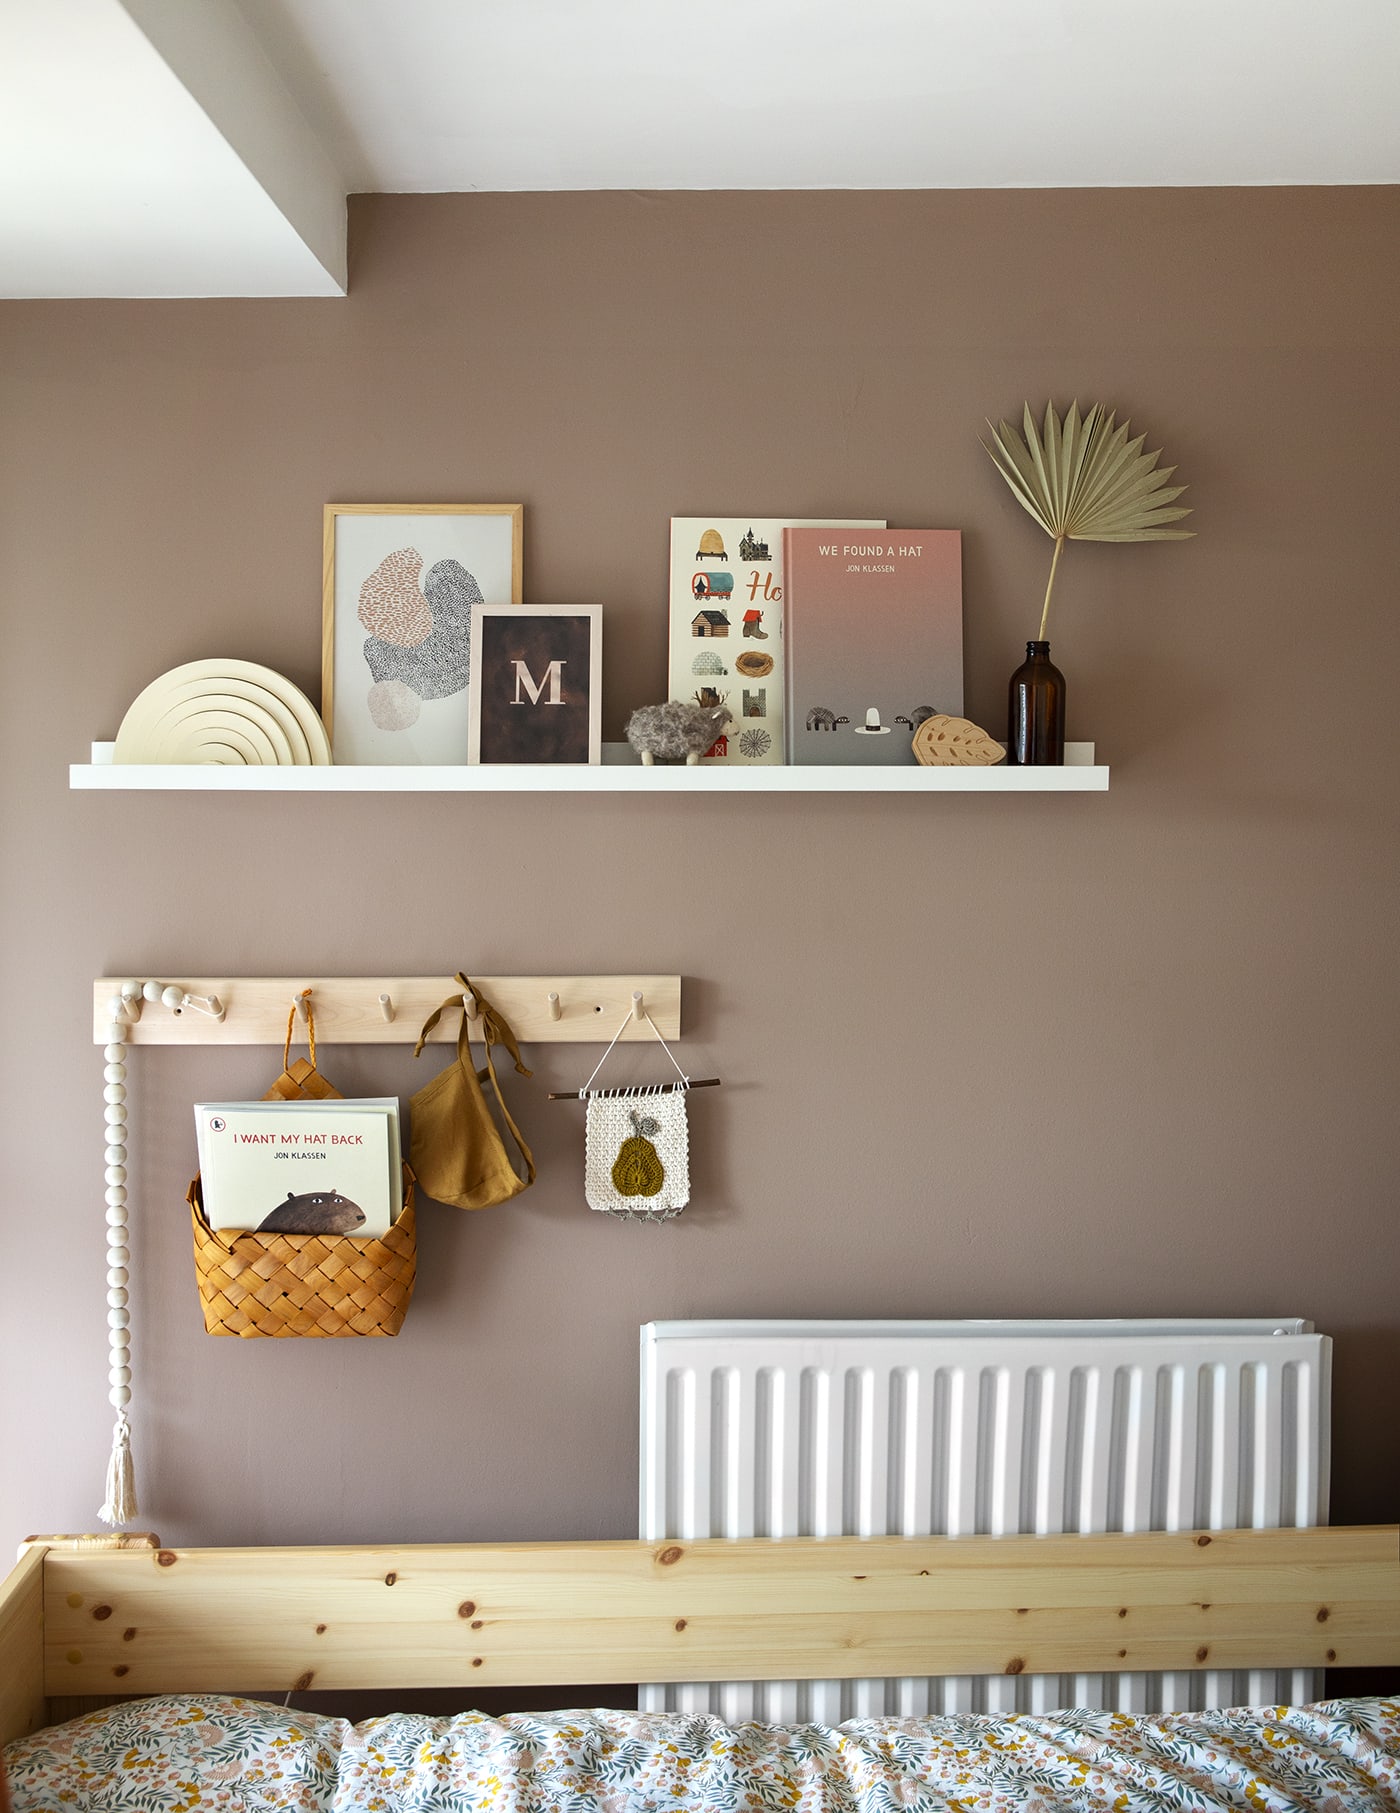
As you may have noticed, we’ve never painted any walls in our flat as I’ve generally been happy to keep them white, but I’ve been itching to add some colour in to the mix for a while now. Landlords differ on how lenient they are when it comes to making changes to your rented home, but more often than not they are happy as long as you put everything back to how it was when you’re leaving. A great way to approach this is by painting a statement wall. This means you’re not investing in too much change to a property that isn’t yours at the end of the day, but also means less work for you when it comes to painting over it at the end of your tenancy. Painting one wall is fairly quick but can completely change the look and feel of a room.
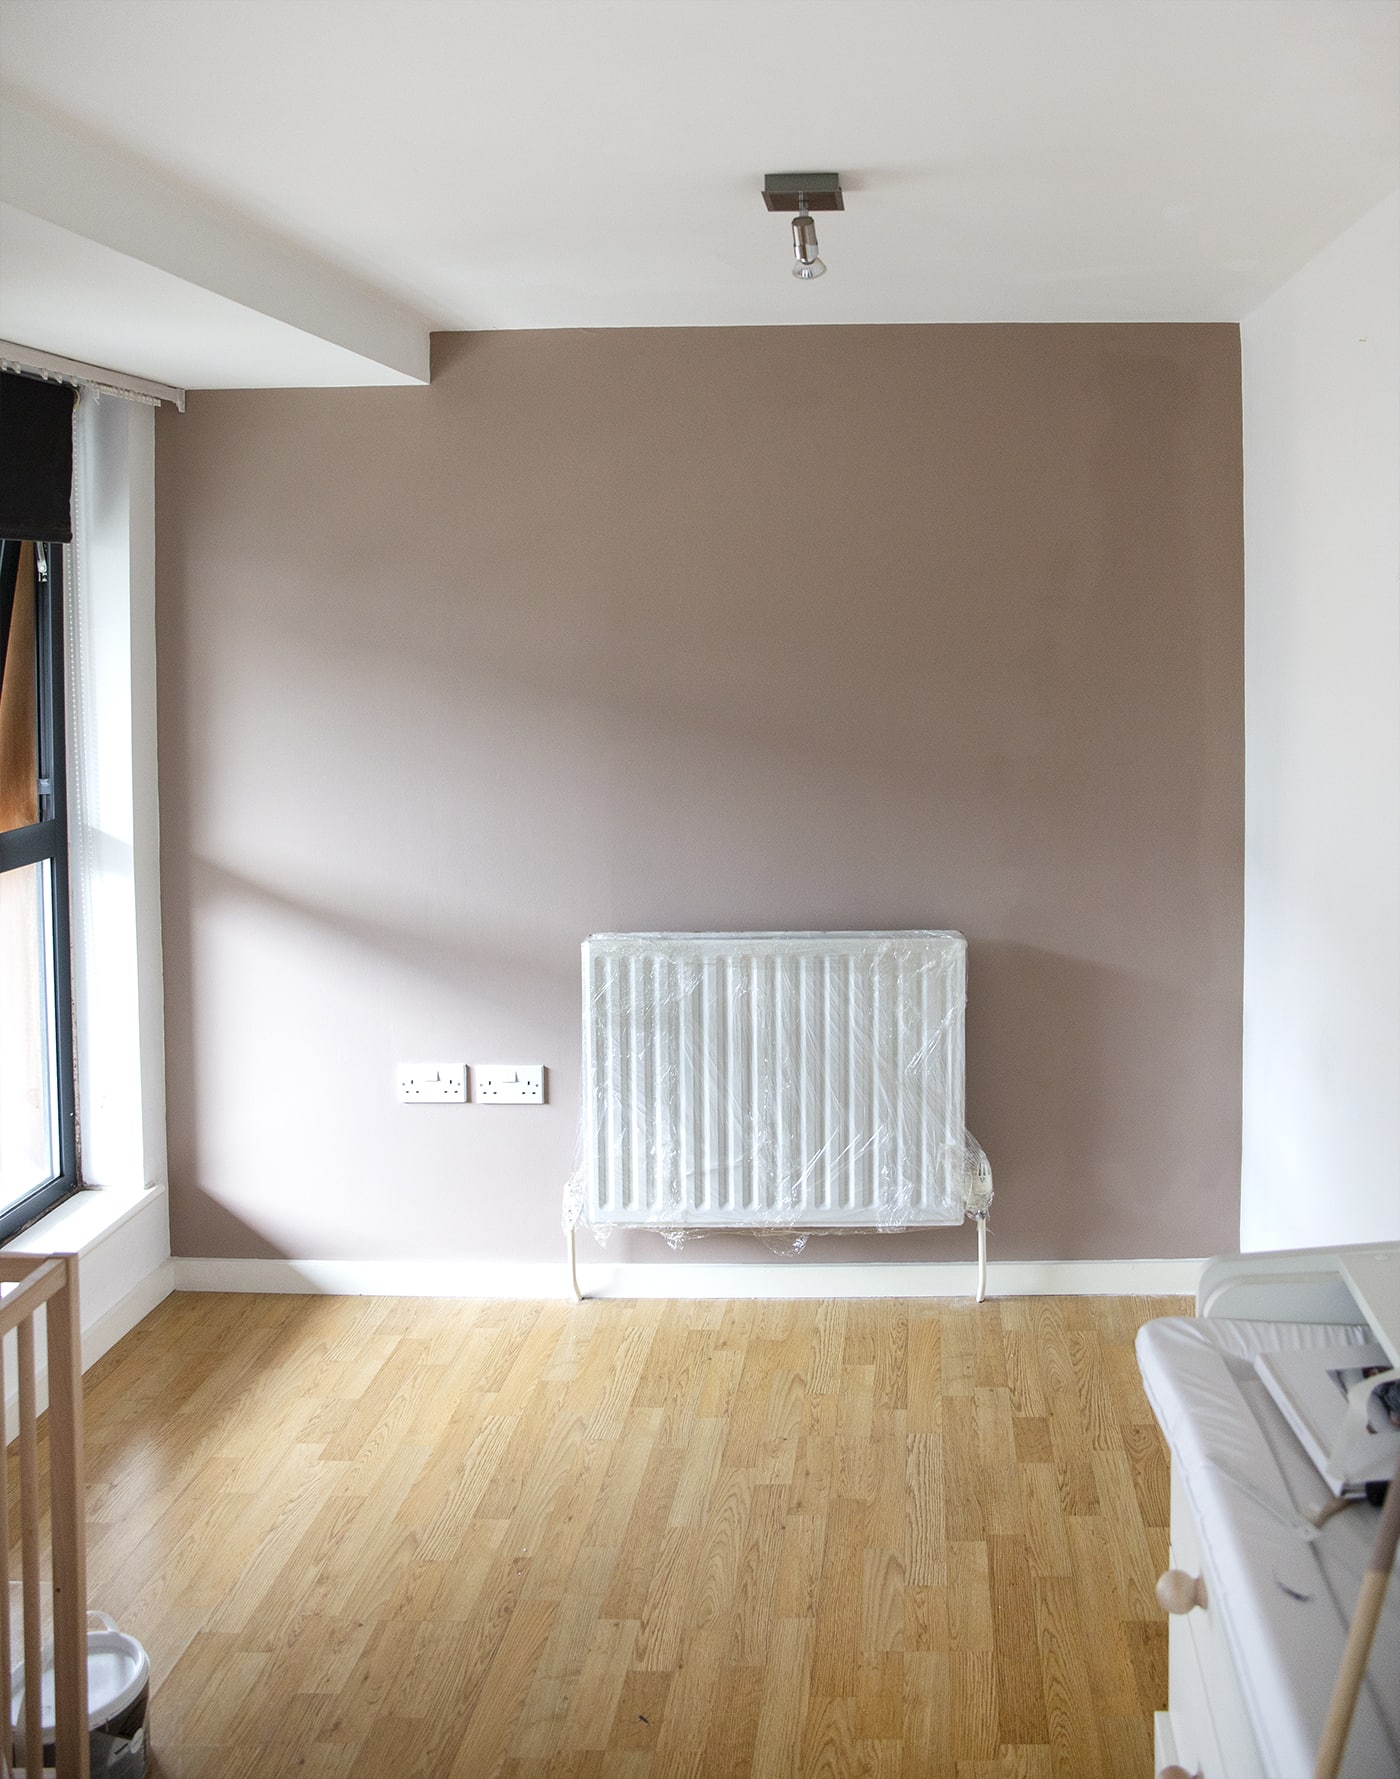
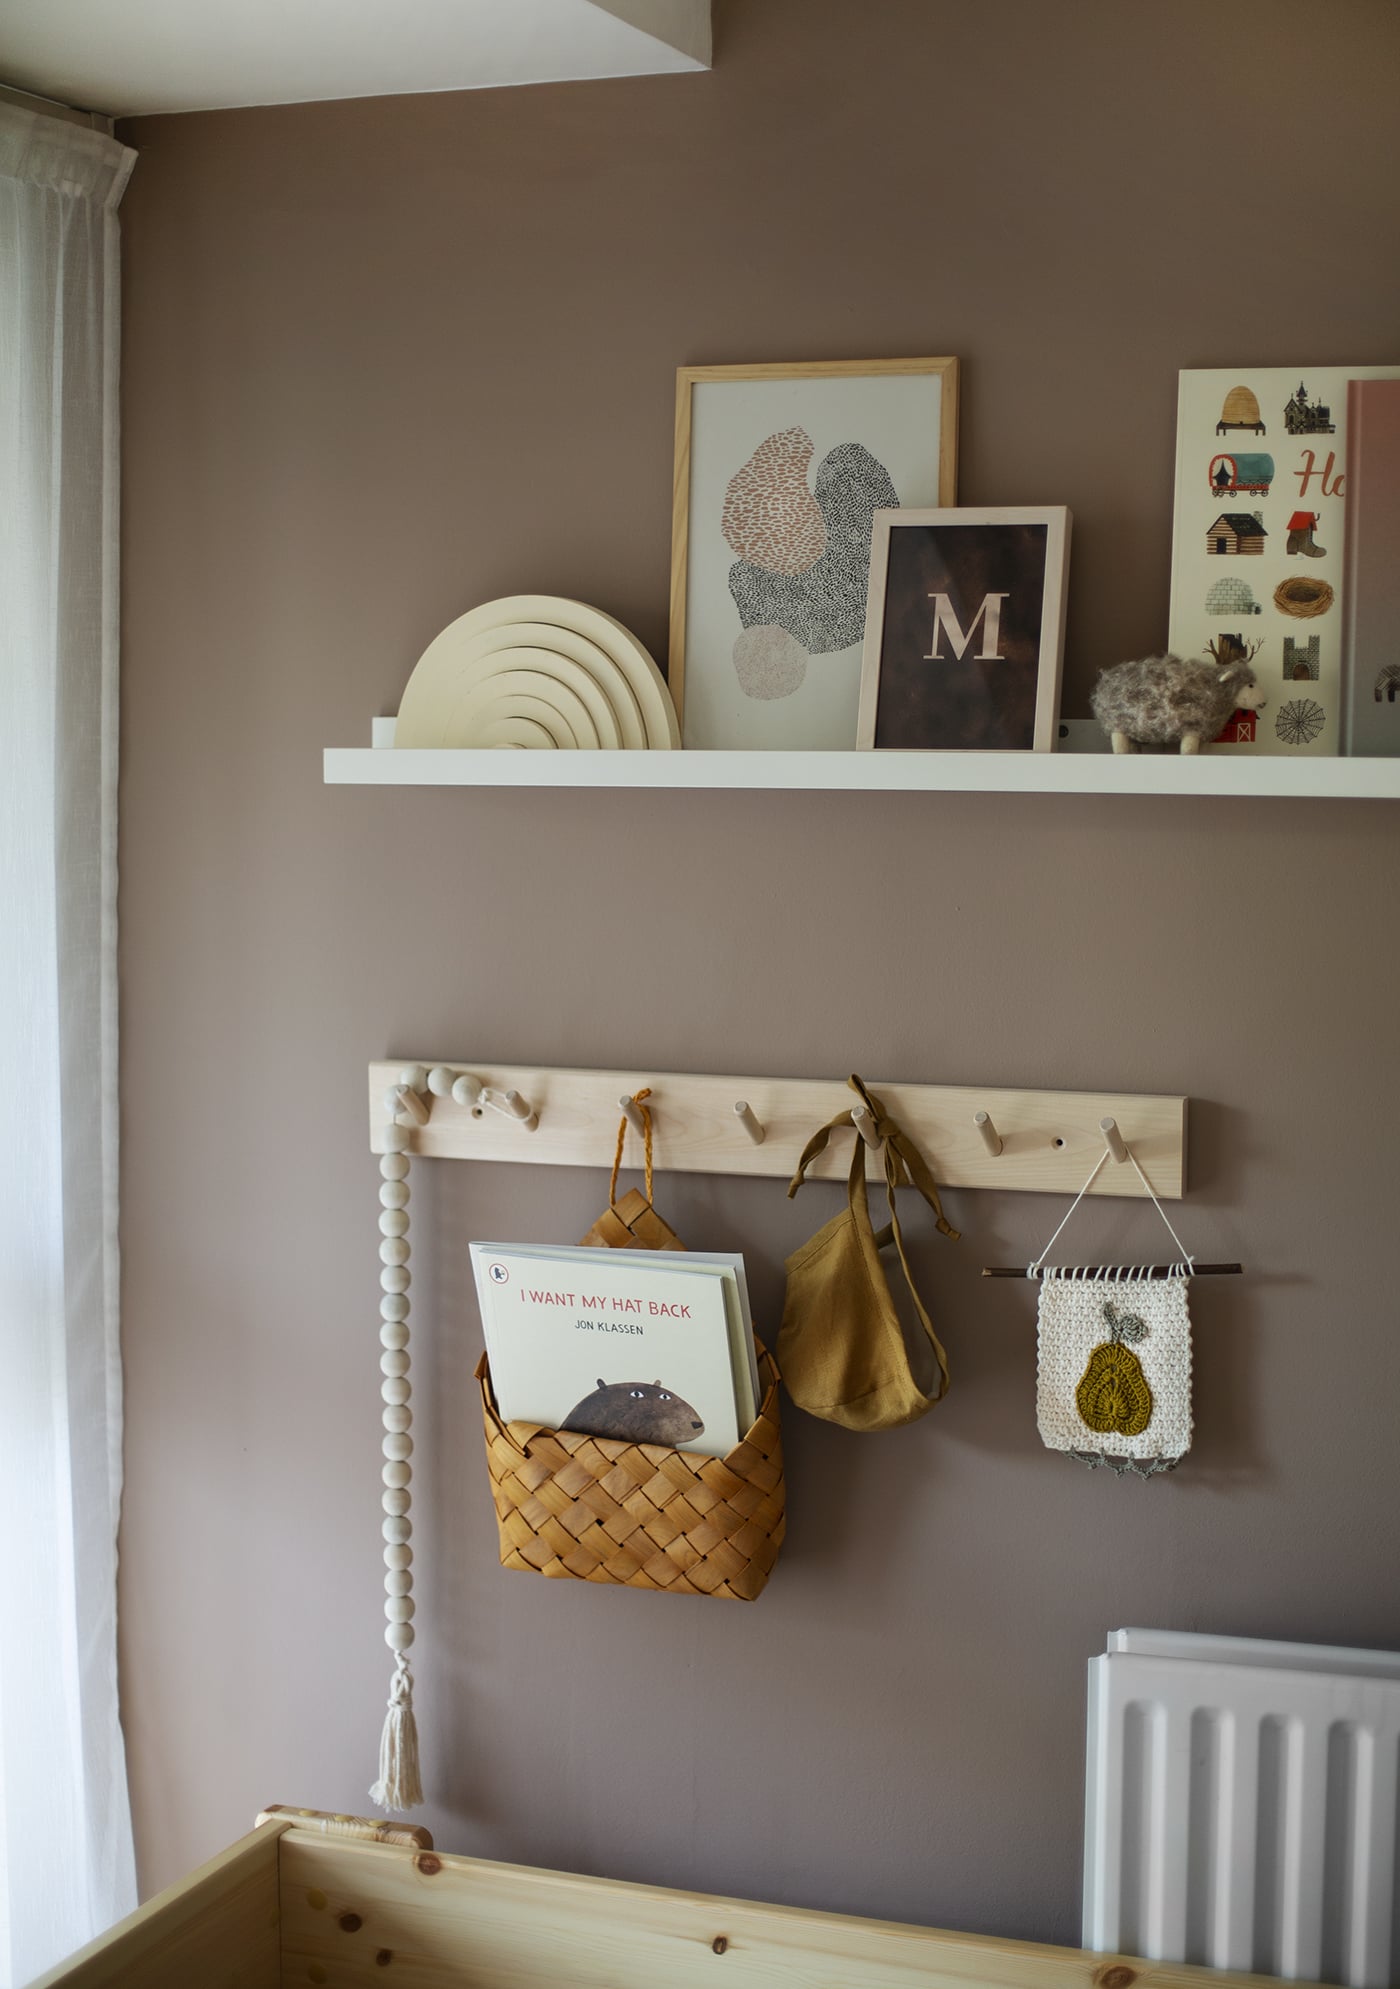
I decided to paint the back wall behind her new bed as this creates a distinction between where Lars will sleep and where she’ll be. I still wanted a fairly neutral colour, but wanted it to be pretty strong in order to make a bit of a statement and let’s be honest; if you’re going to paint you may as well make a noticeable difference. The reason I still wanted it to be neutral was to give us the flexibility to change up the furnishings in the future. It’s always good to think ahead!
I ended up using B&Qs Valspar colour matching service to get the shade I was after. In order to get the specific colour you want you need to bring a sample to the store, whether that’s a piece of fabric, wallpaper, your favourite item of clothing or home accessory. I simply painted the colour I wanted onto a sheet of paper. Most samples can be matched, but make sure you take a solid colour and avoid taking anything really shiny. Make sure you find out if your local B&Q has the Valspar colour matching service and then simply take your item to be scanned. It’s a really great way to get the exact colour you want!
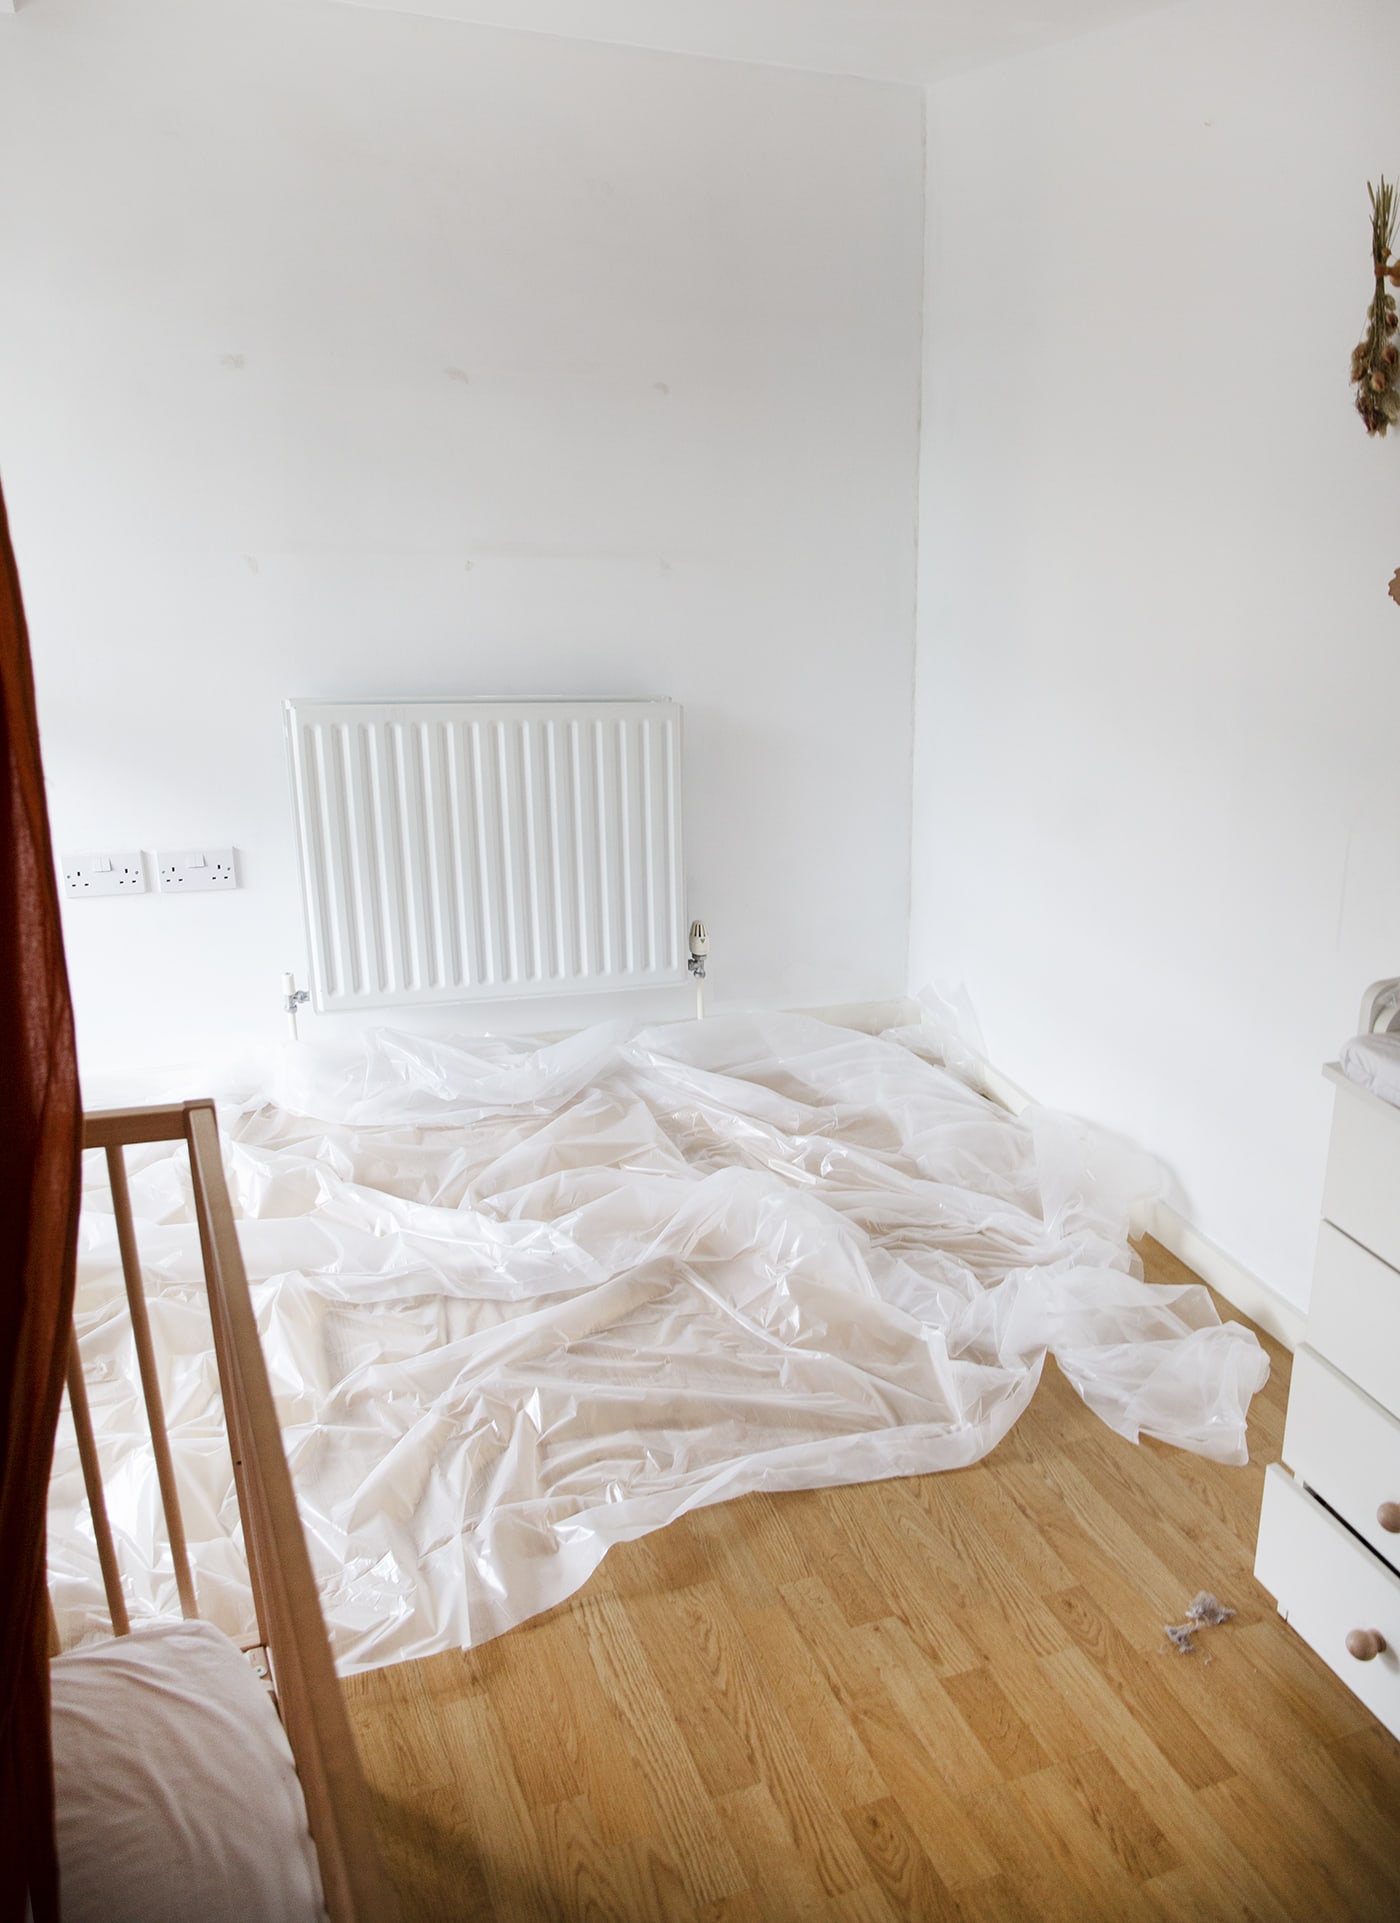
We were able to get everything we needed from B&Q to paint the wall, including masking tape and the Diall paint brush set of smaller brushes for the edges and around the existing picture ledges as well as the Diall plastic tray roller set for overall coverage. The paint dries within 2 hours so we managed to paint two coats in a day as well as allowing it to dry with all the windows open so Maggie could sleep back in there come the evening.
Temporary wall details
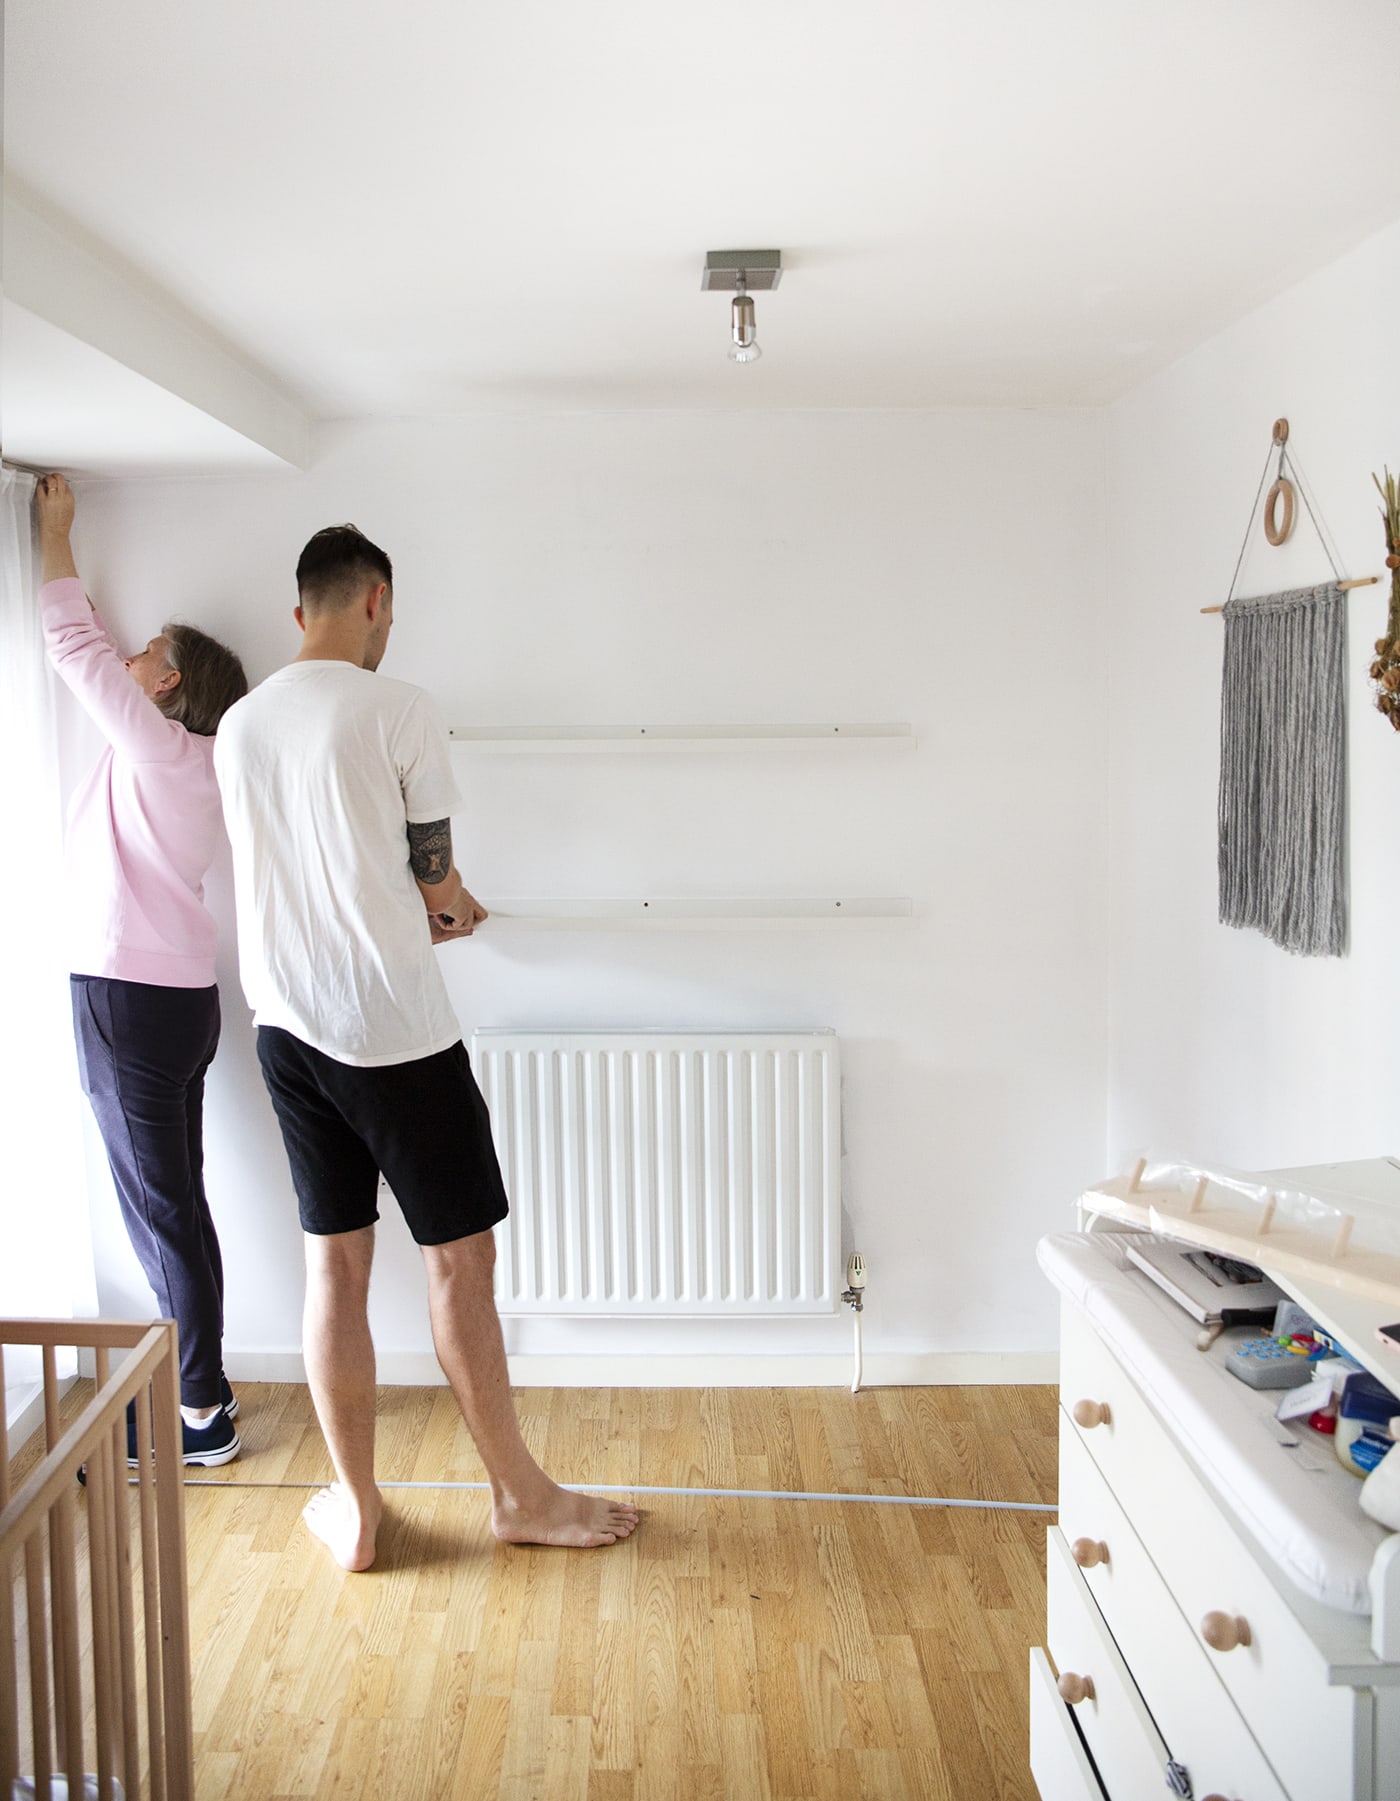
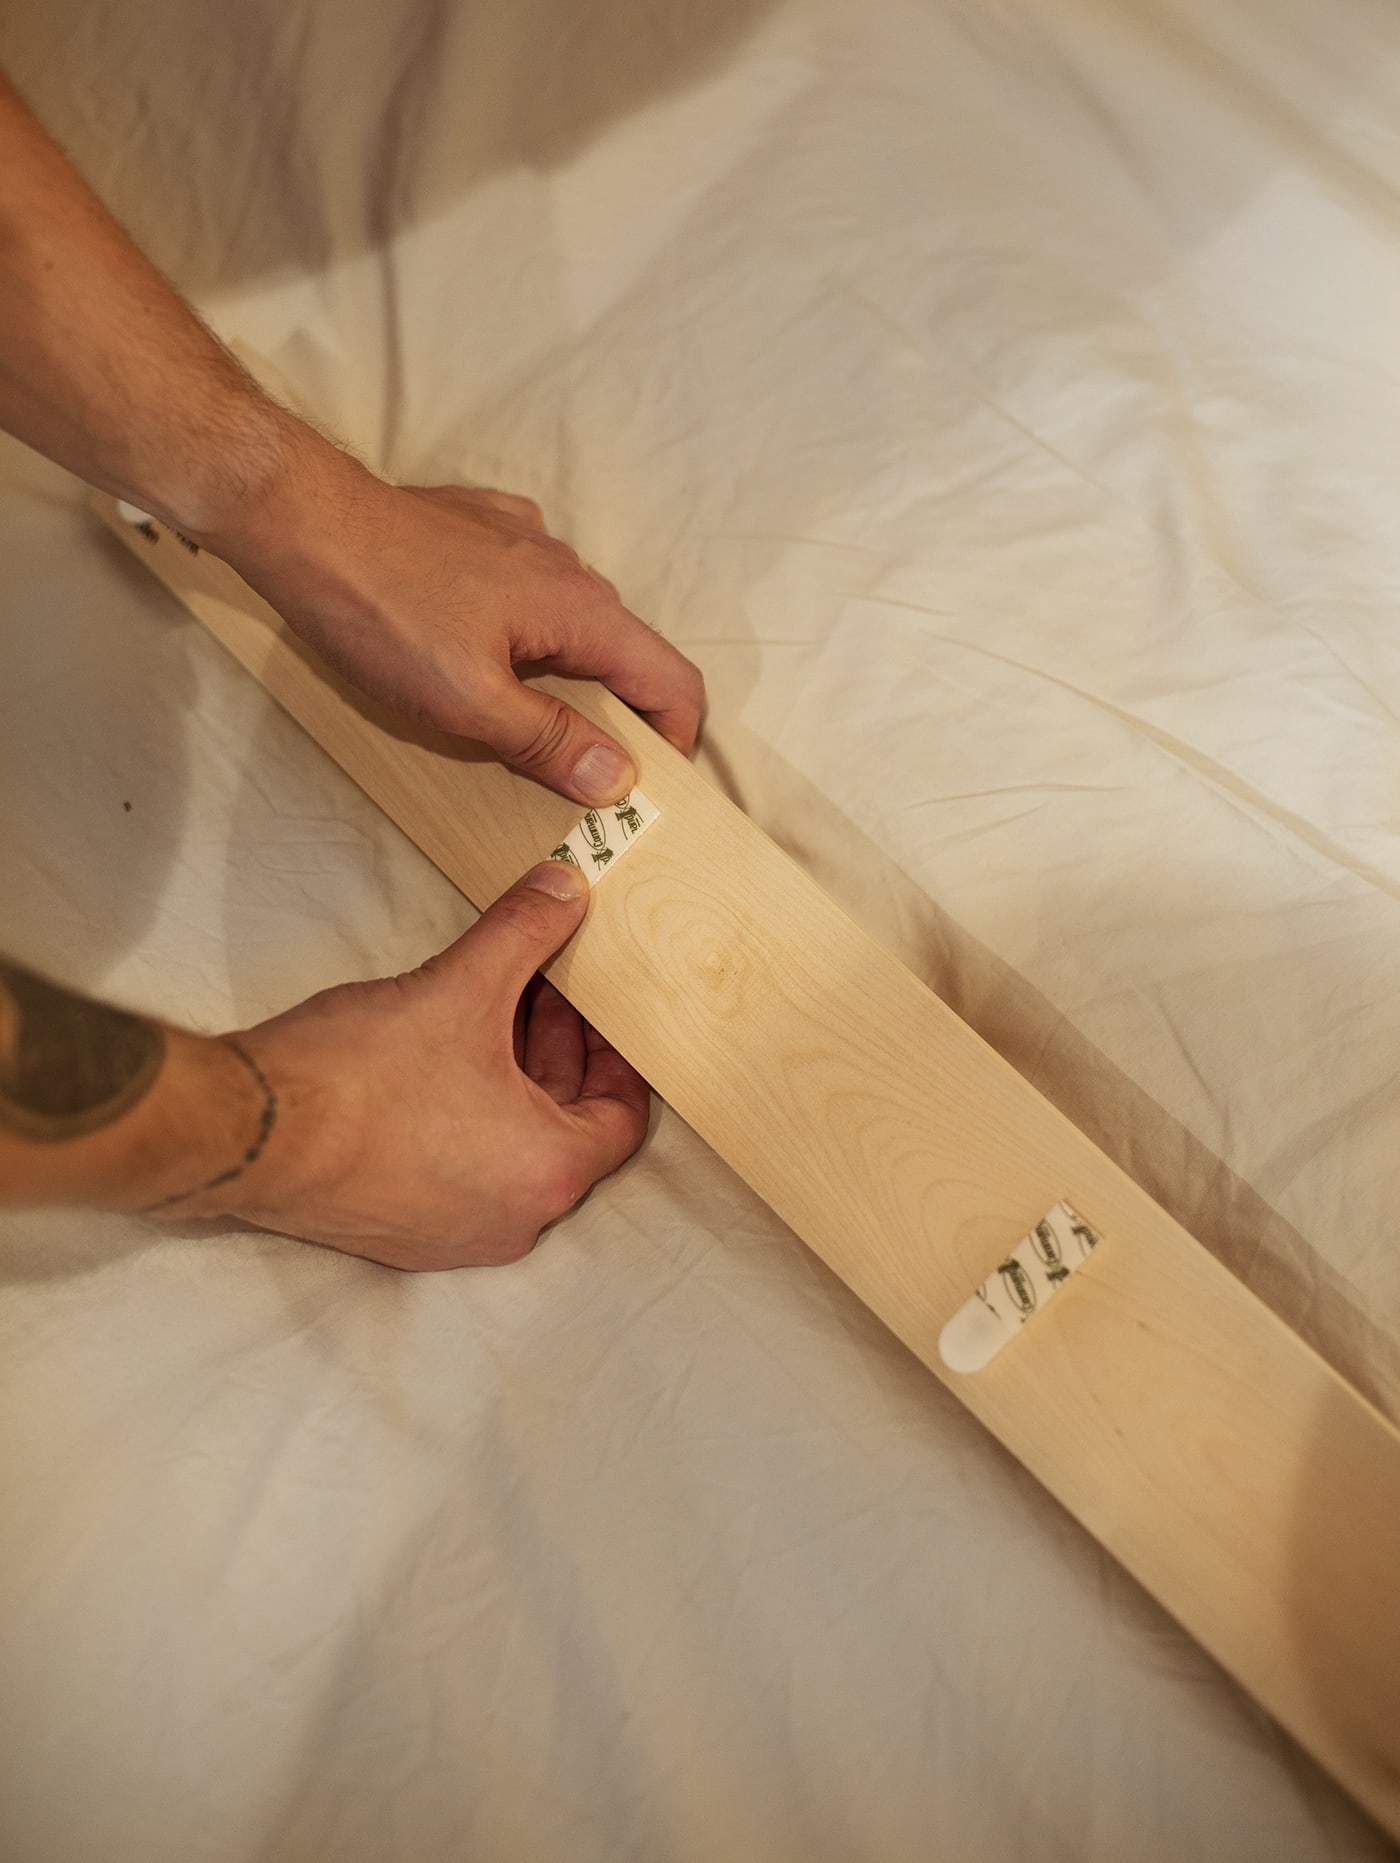
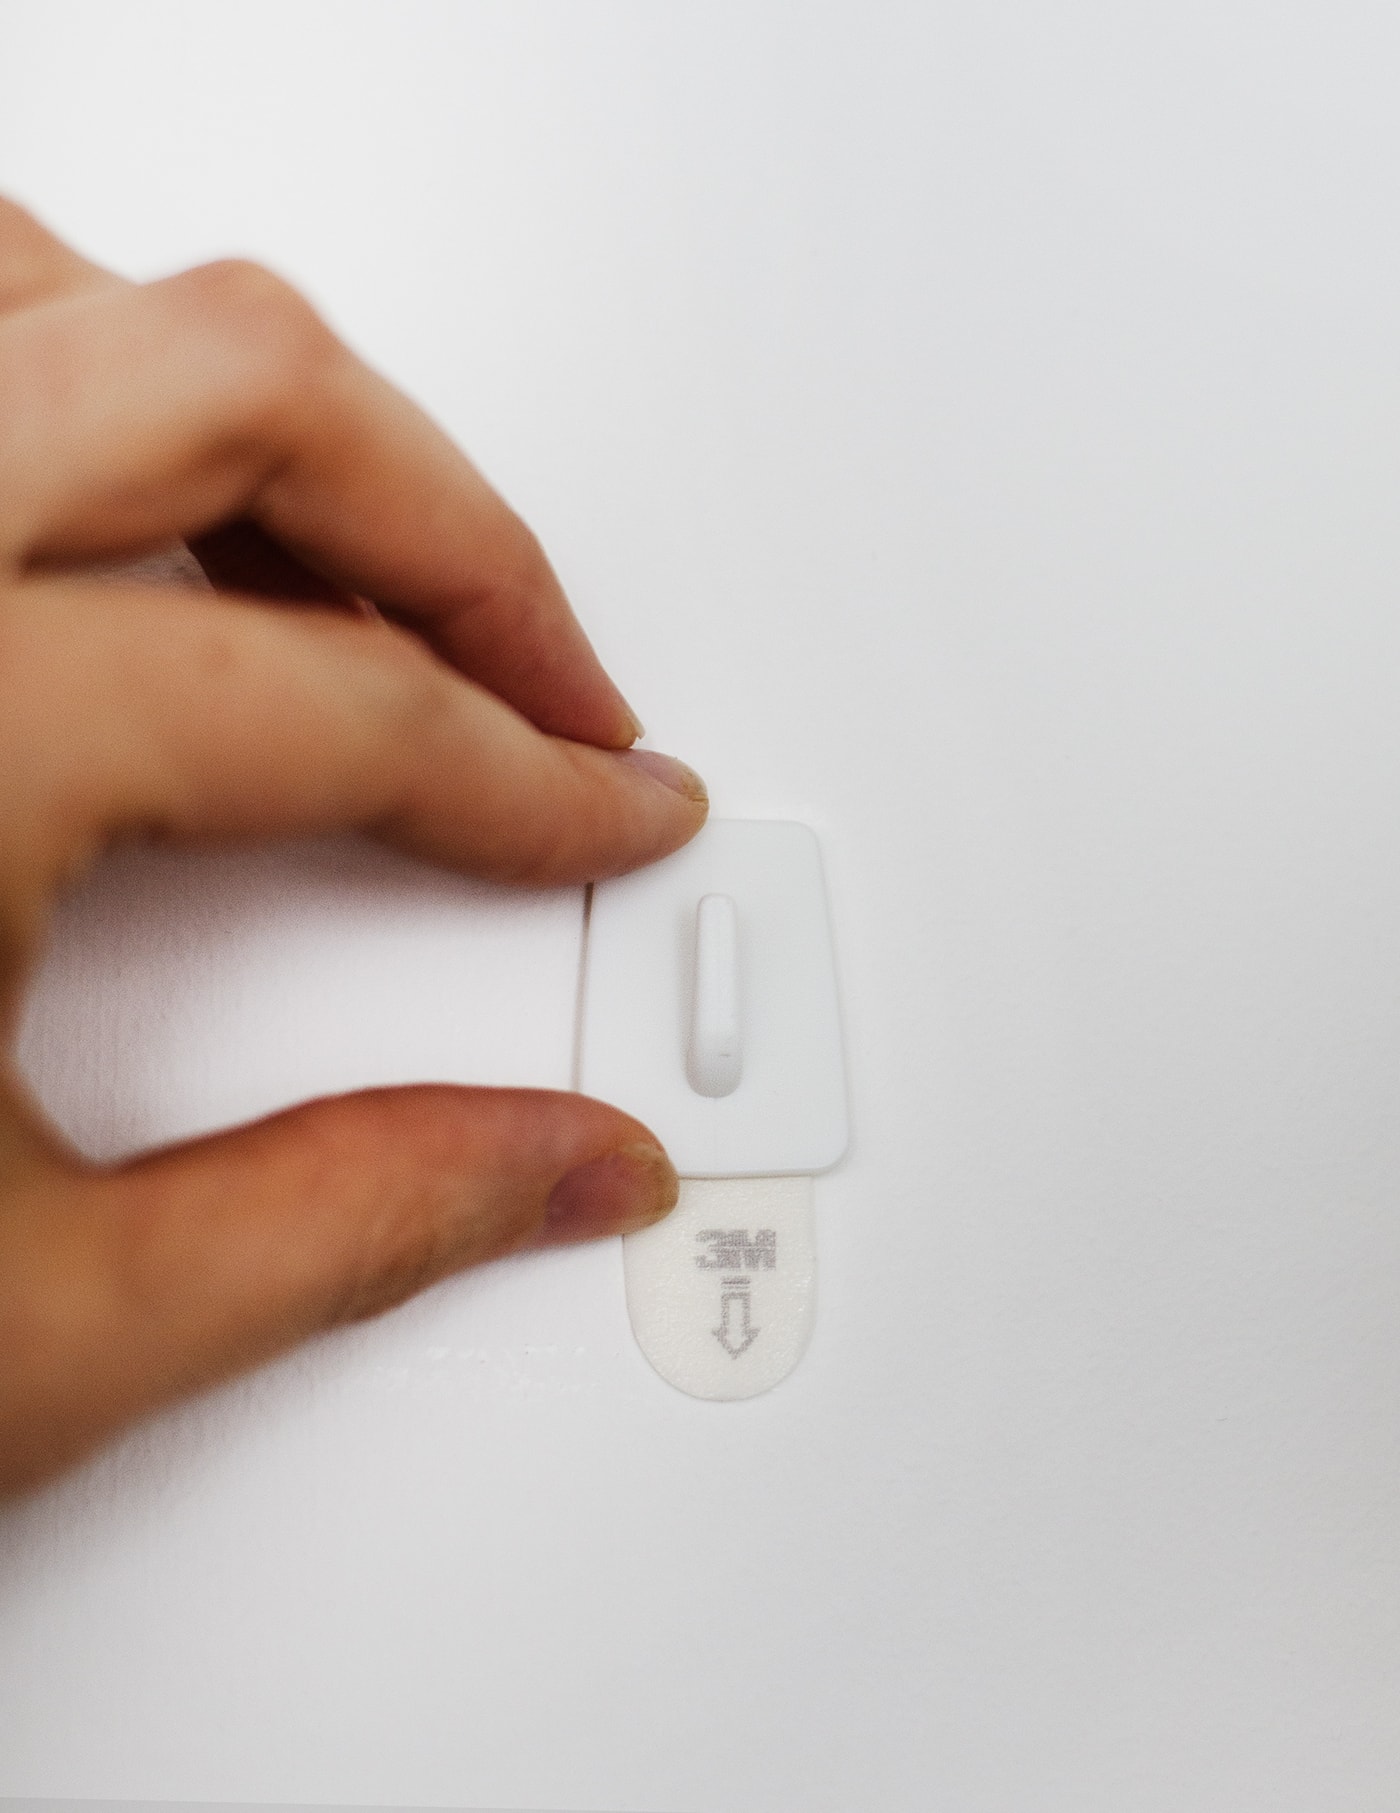
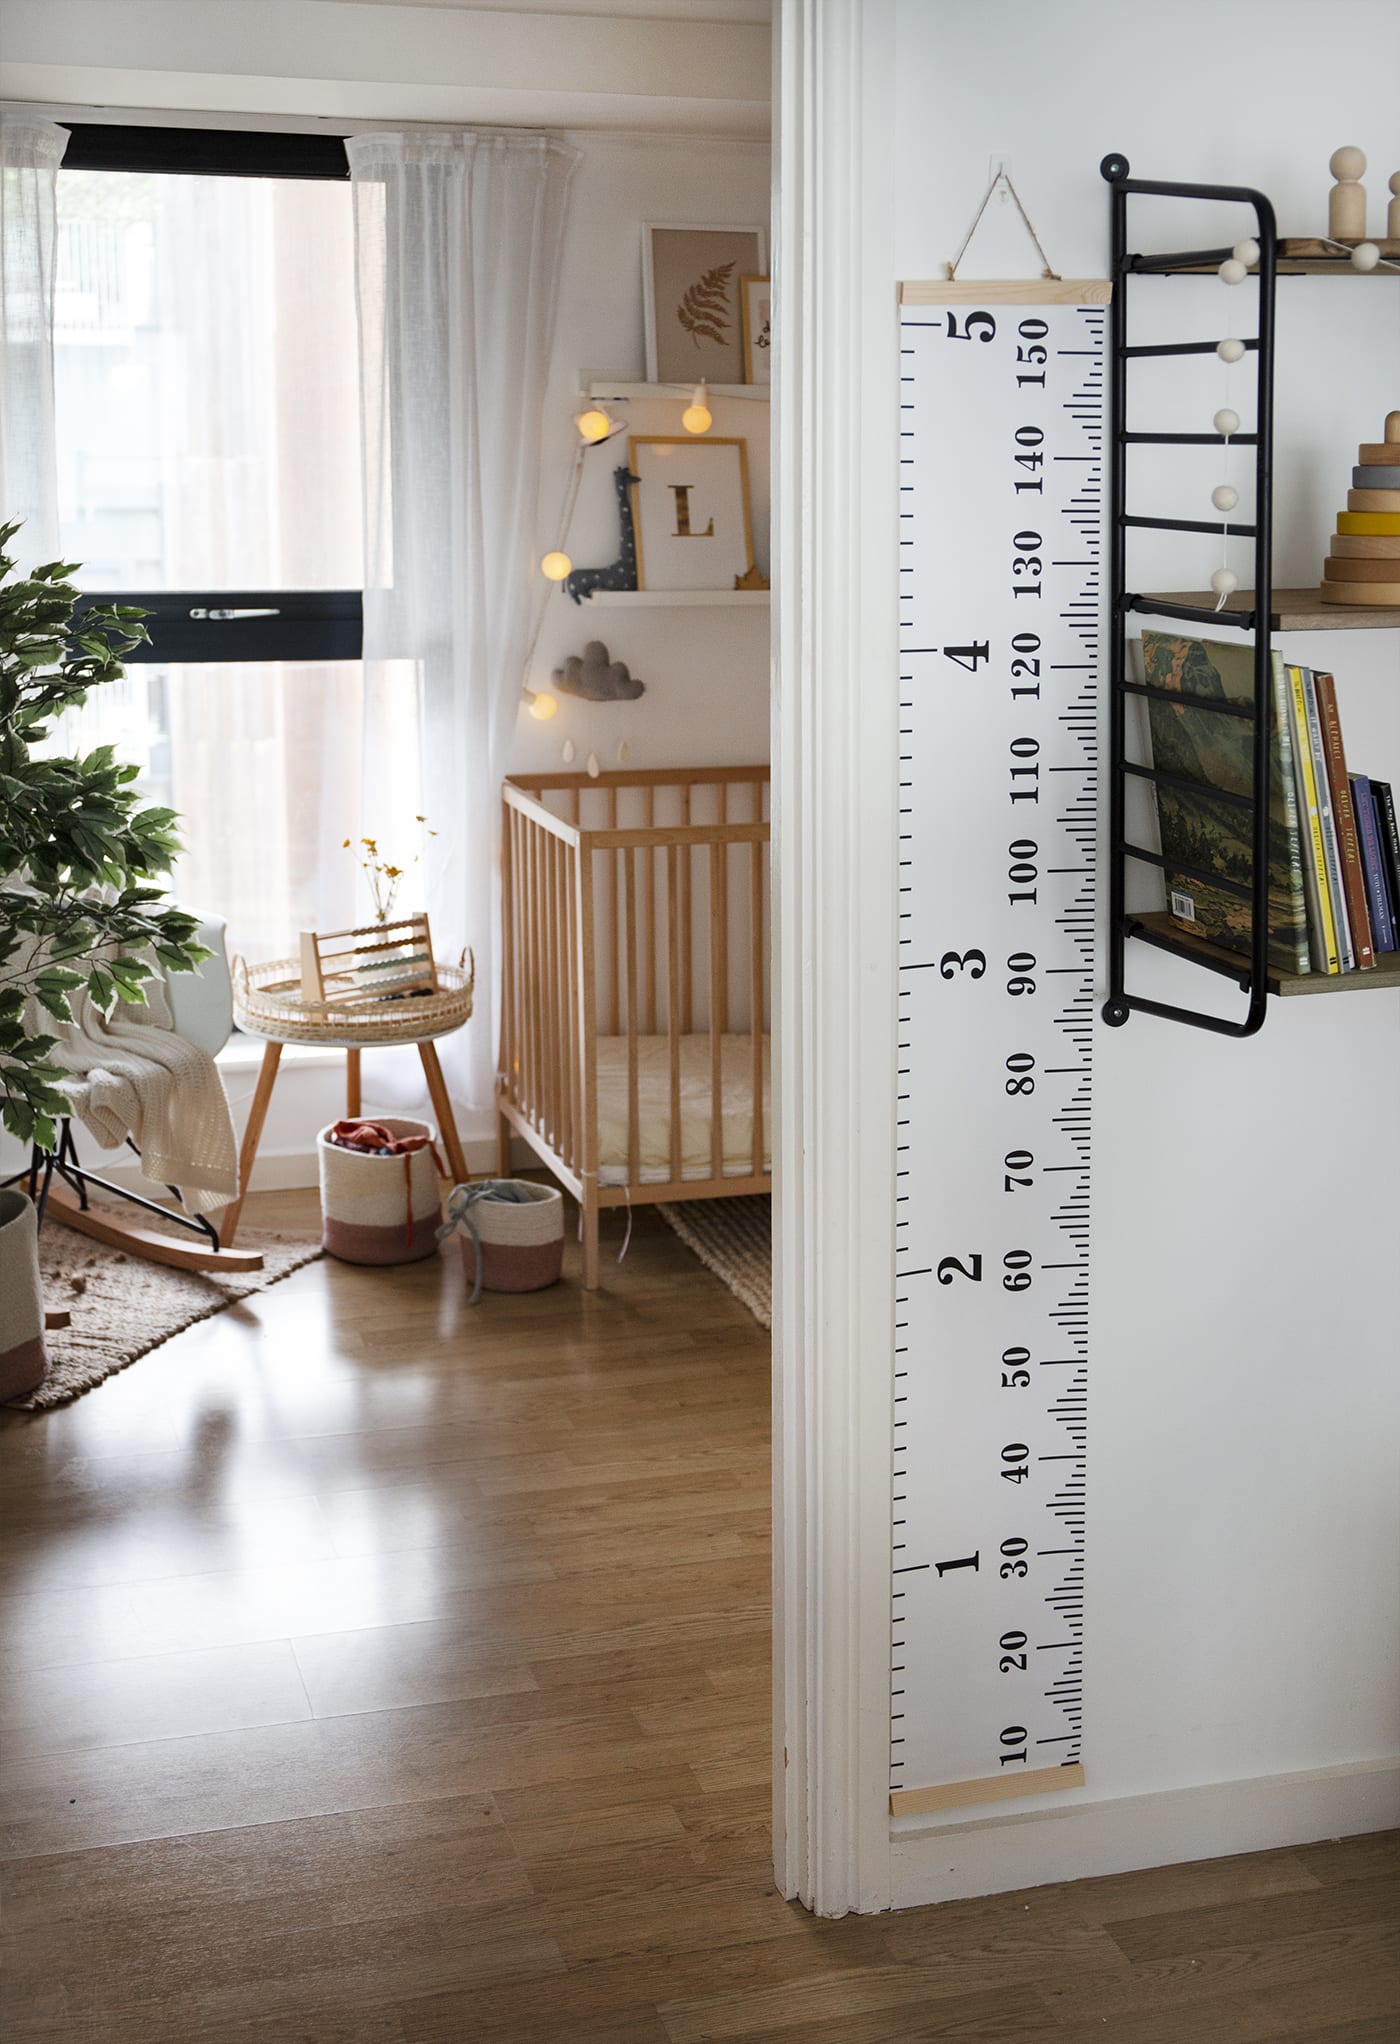
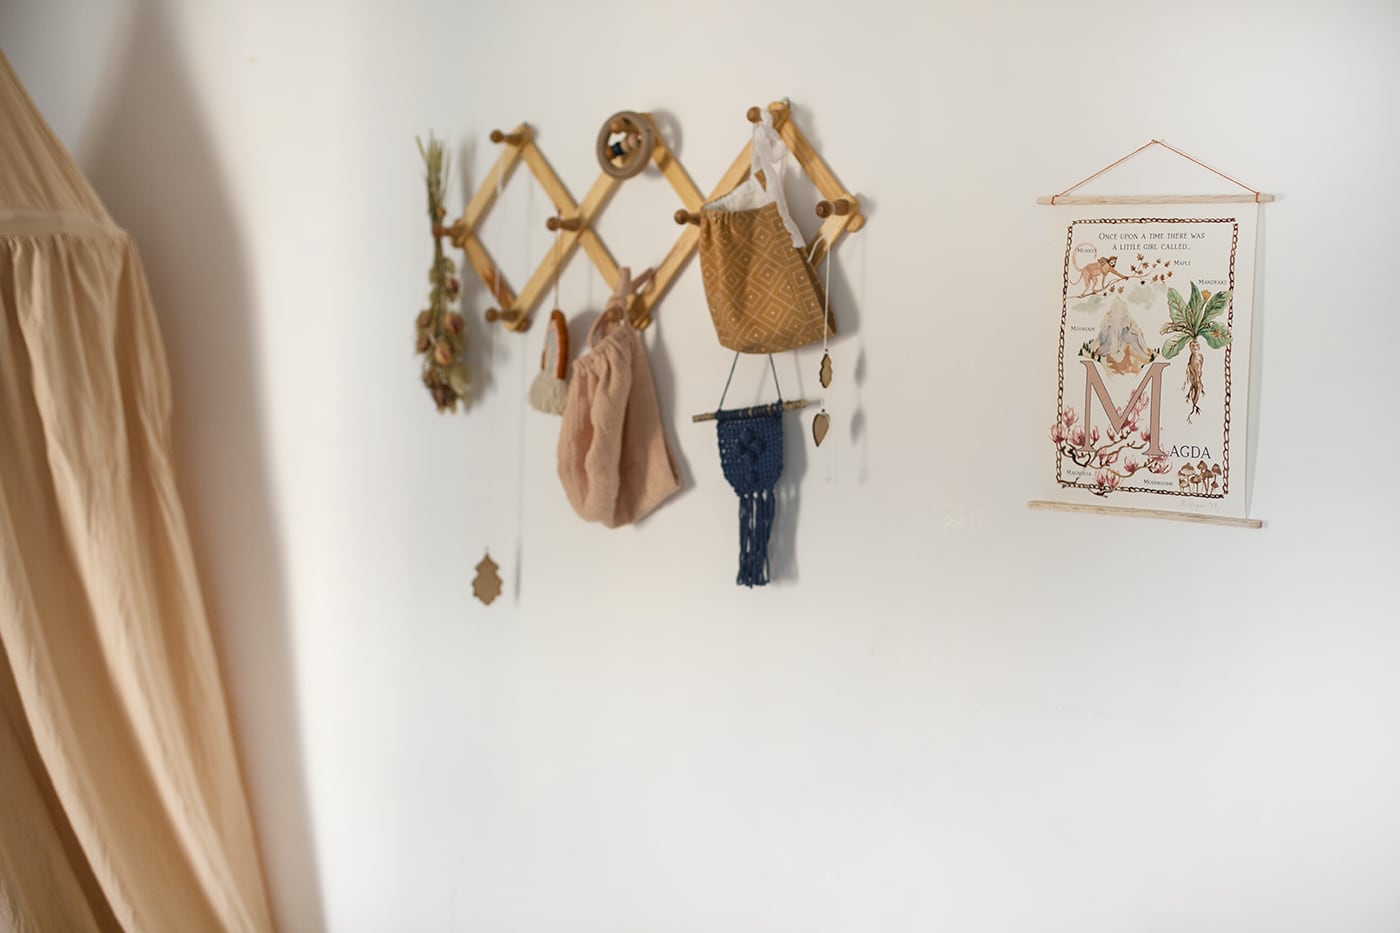
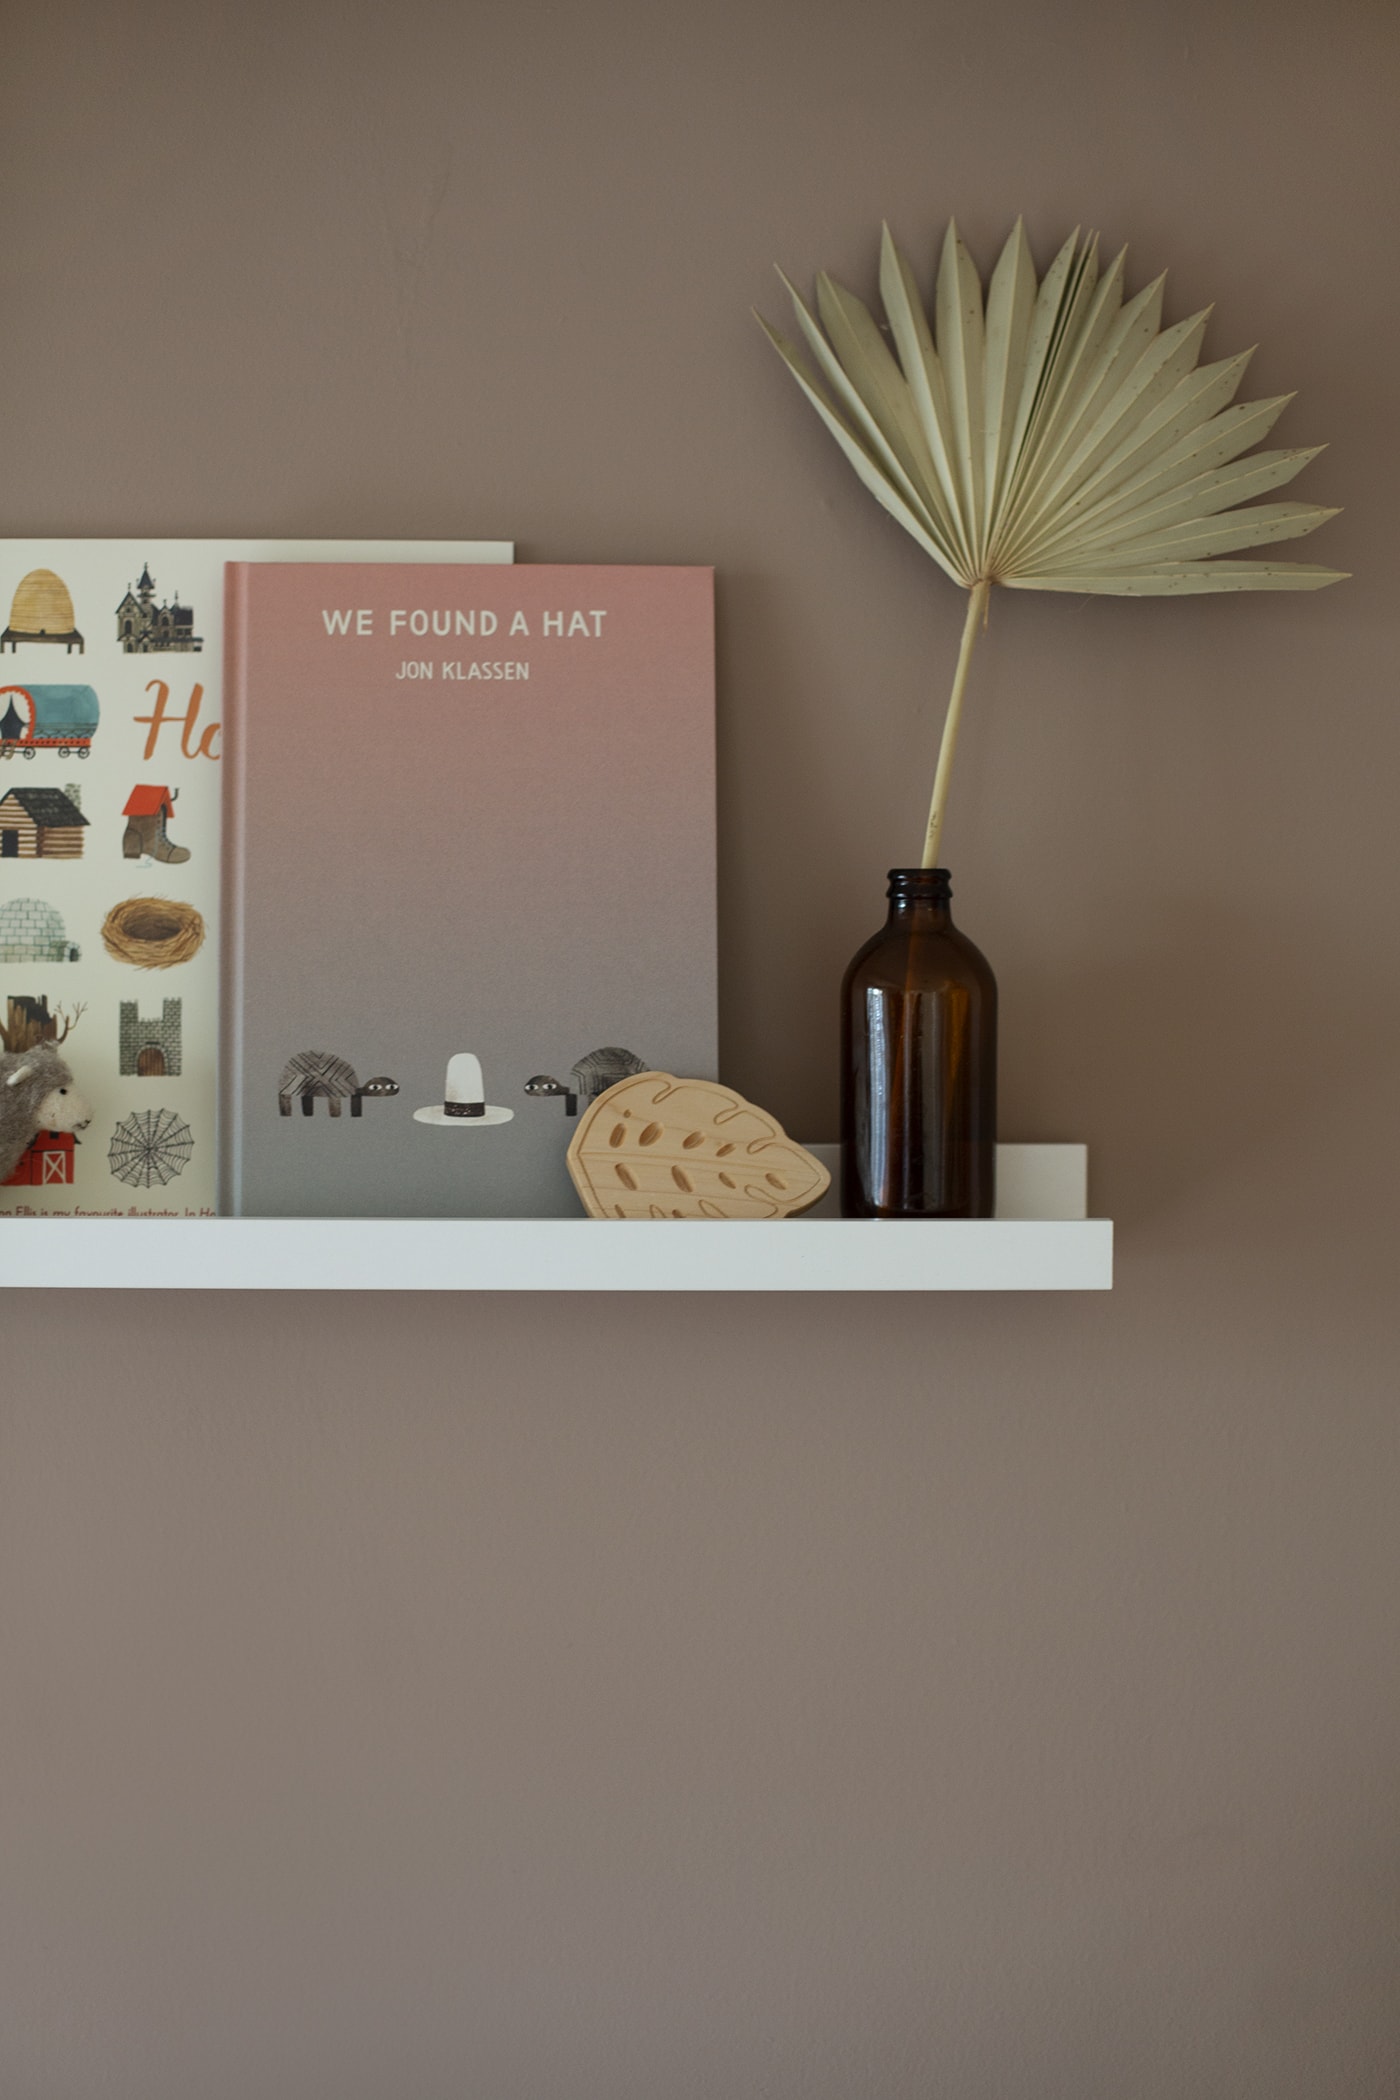
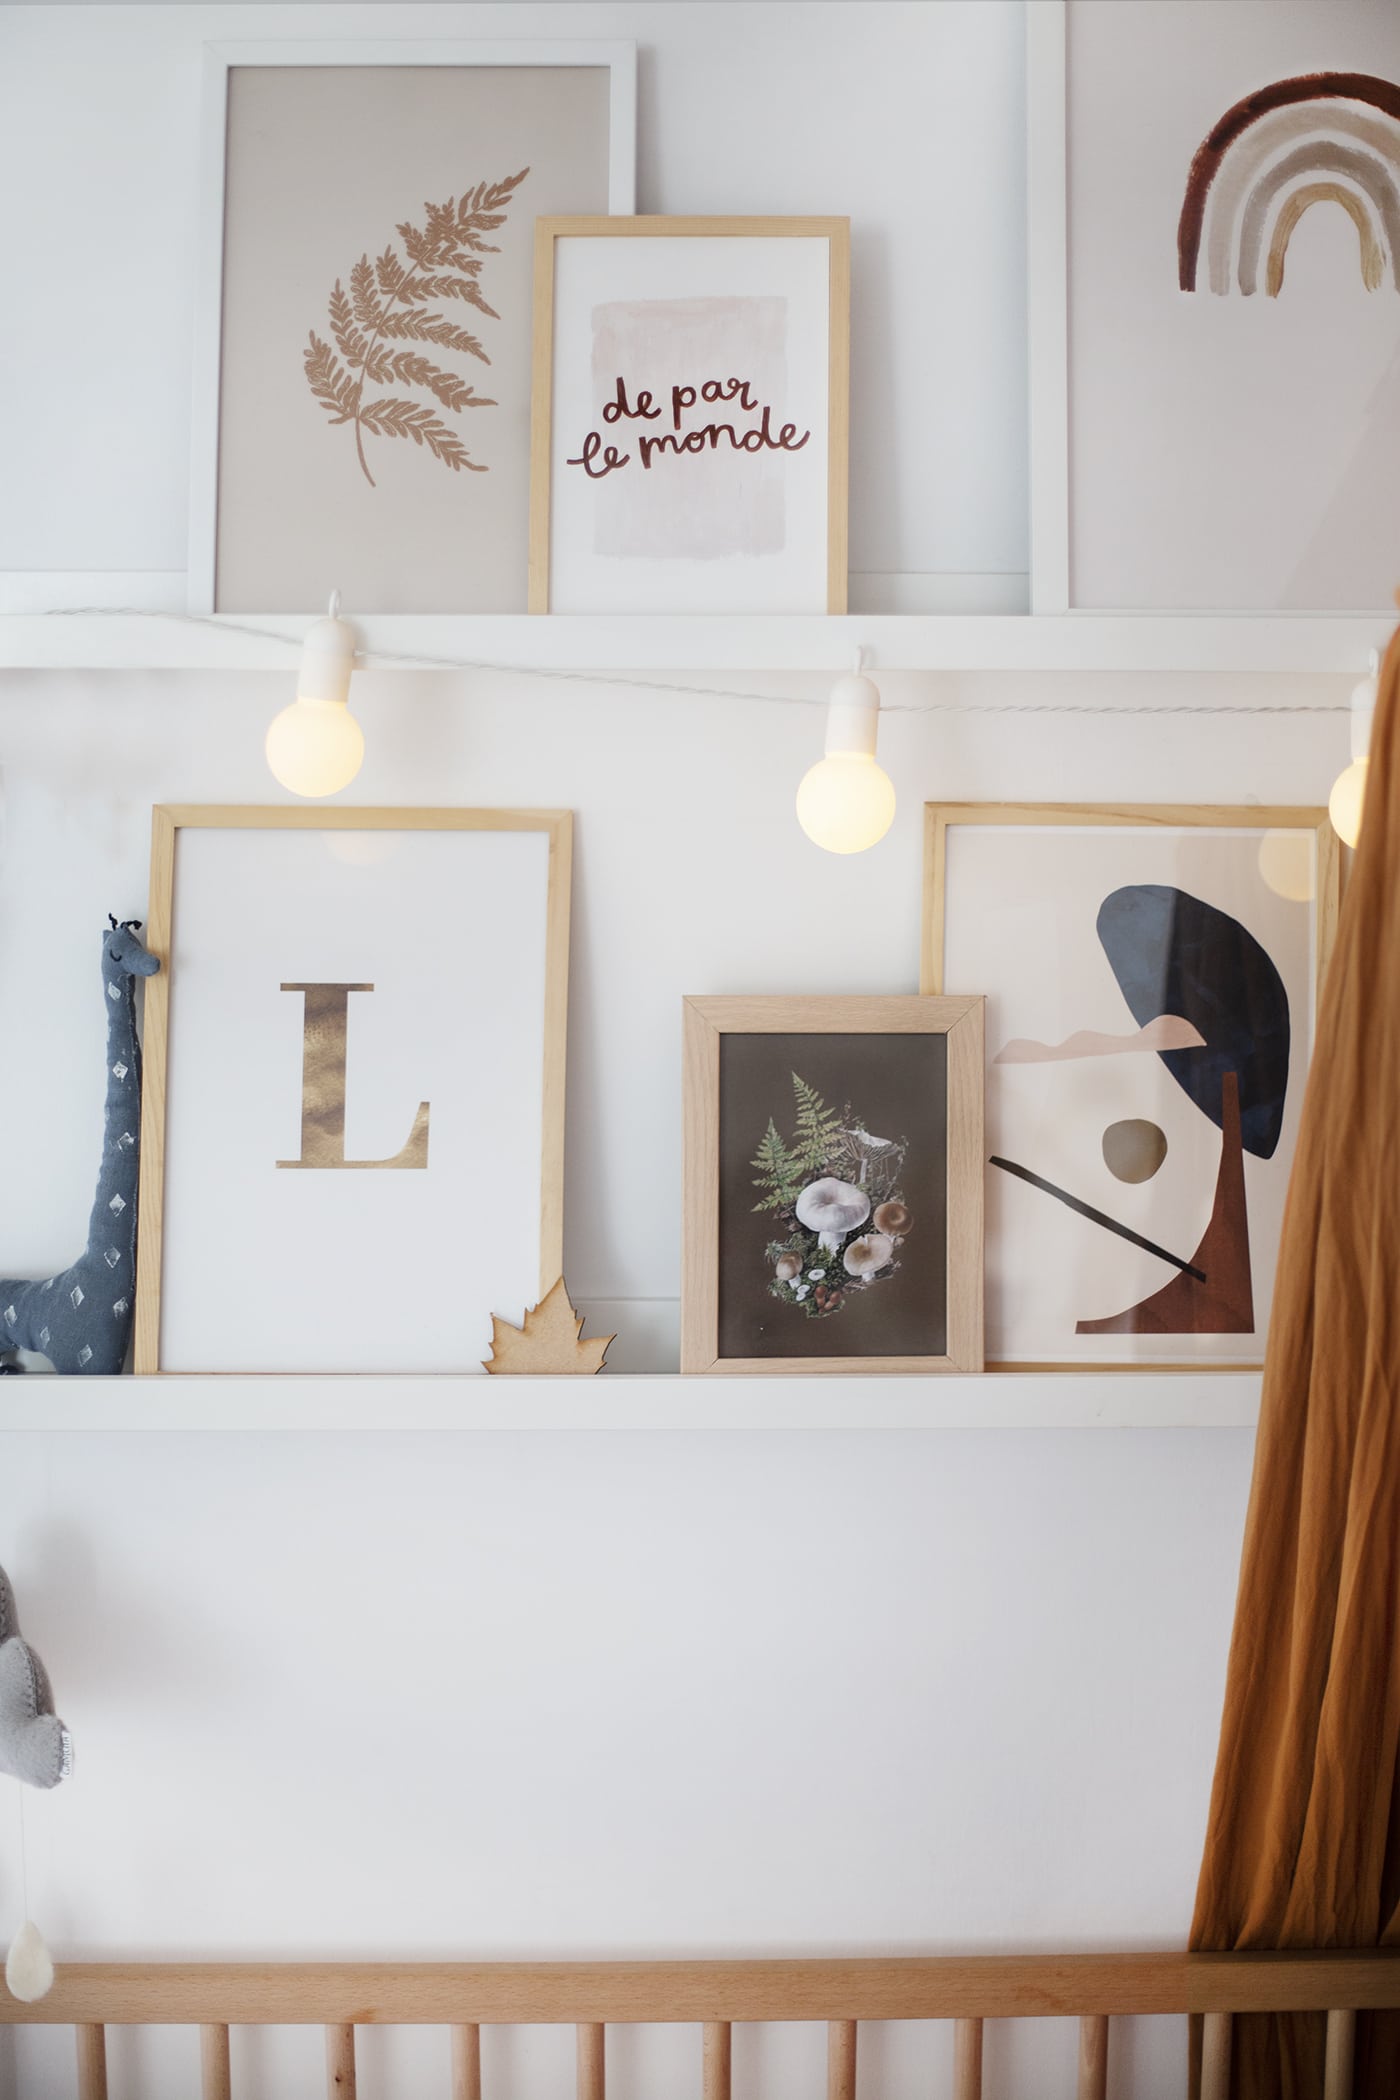
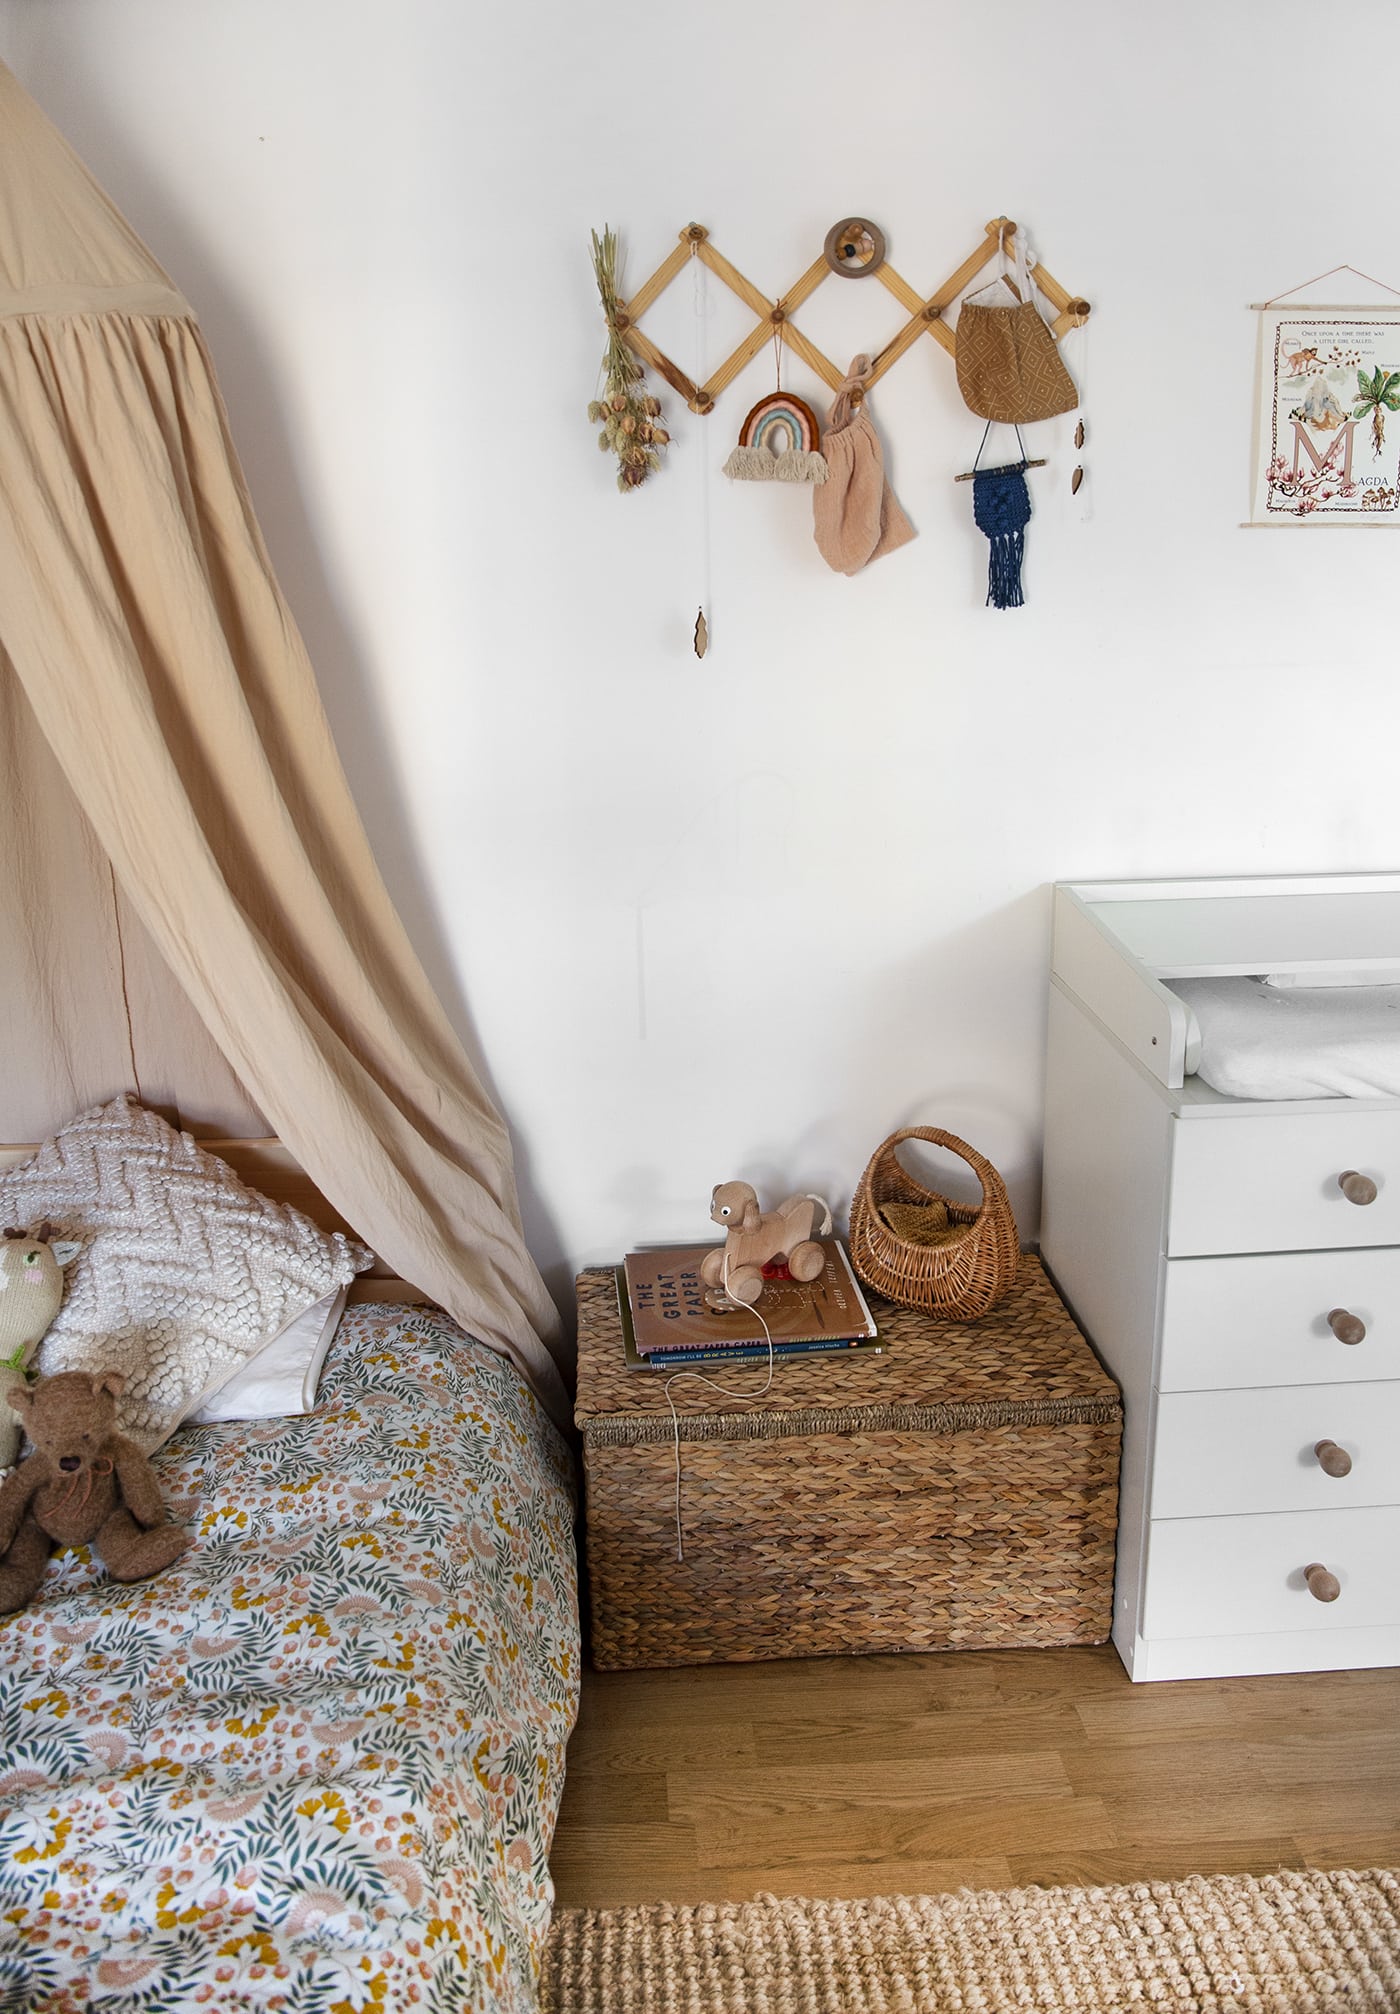
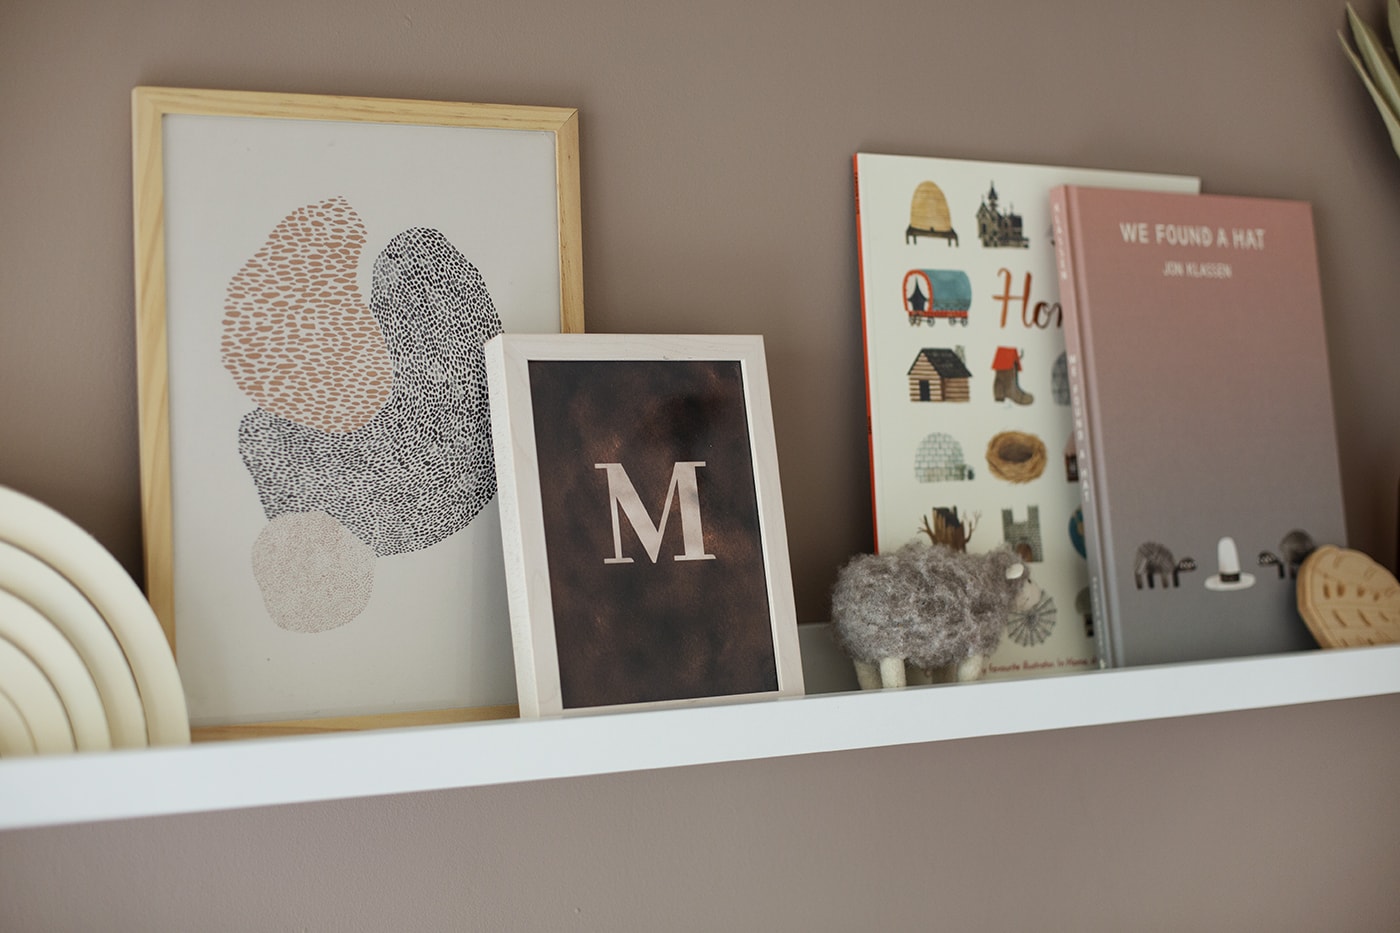
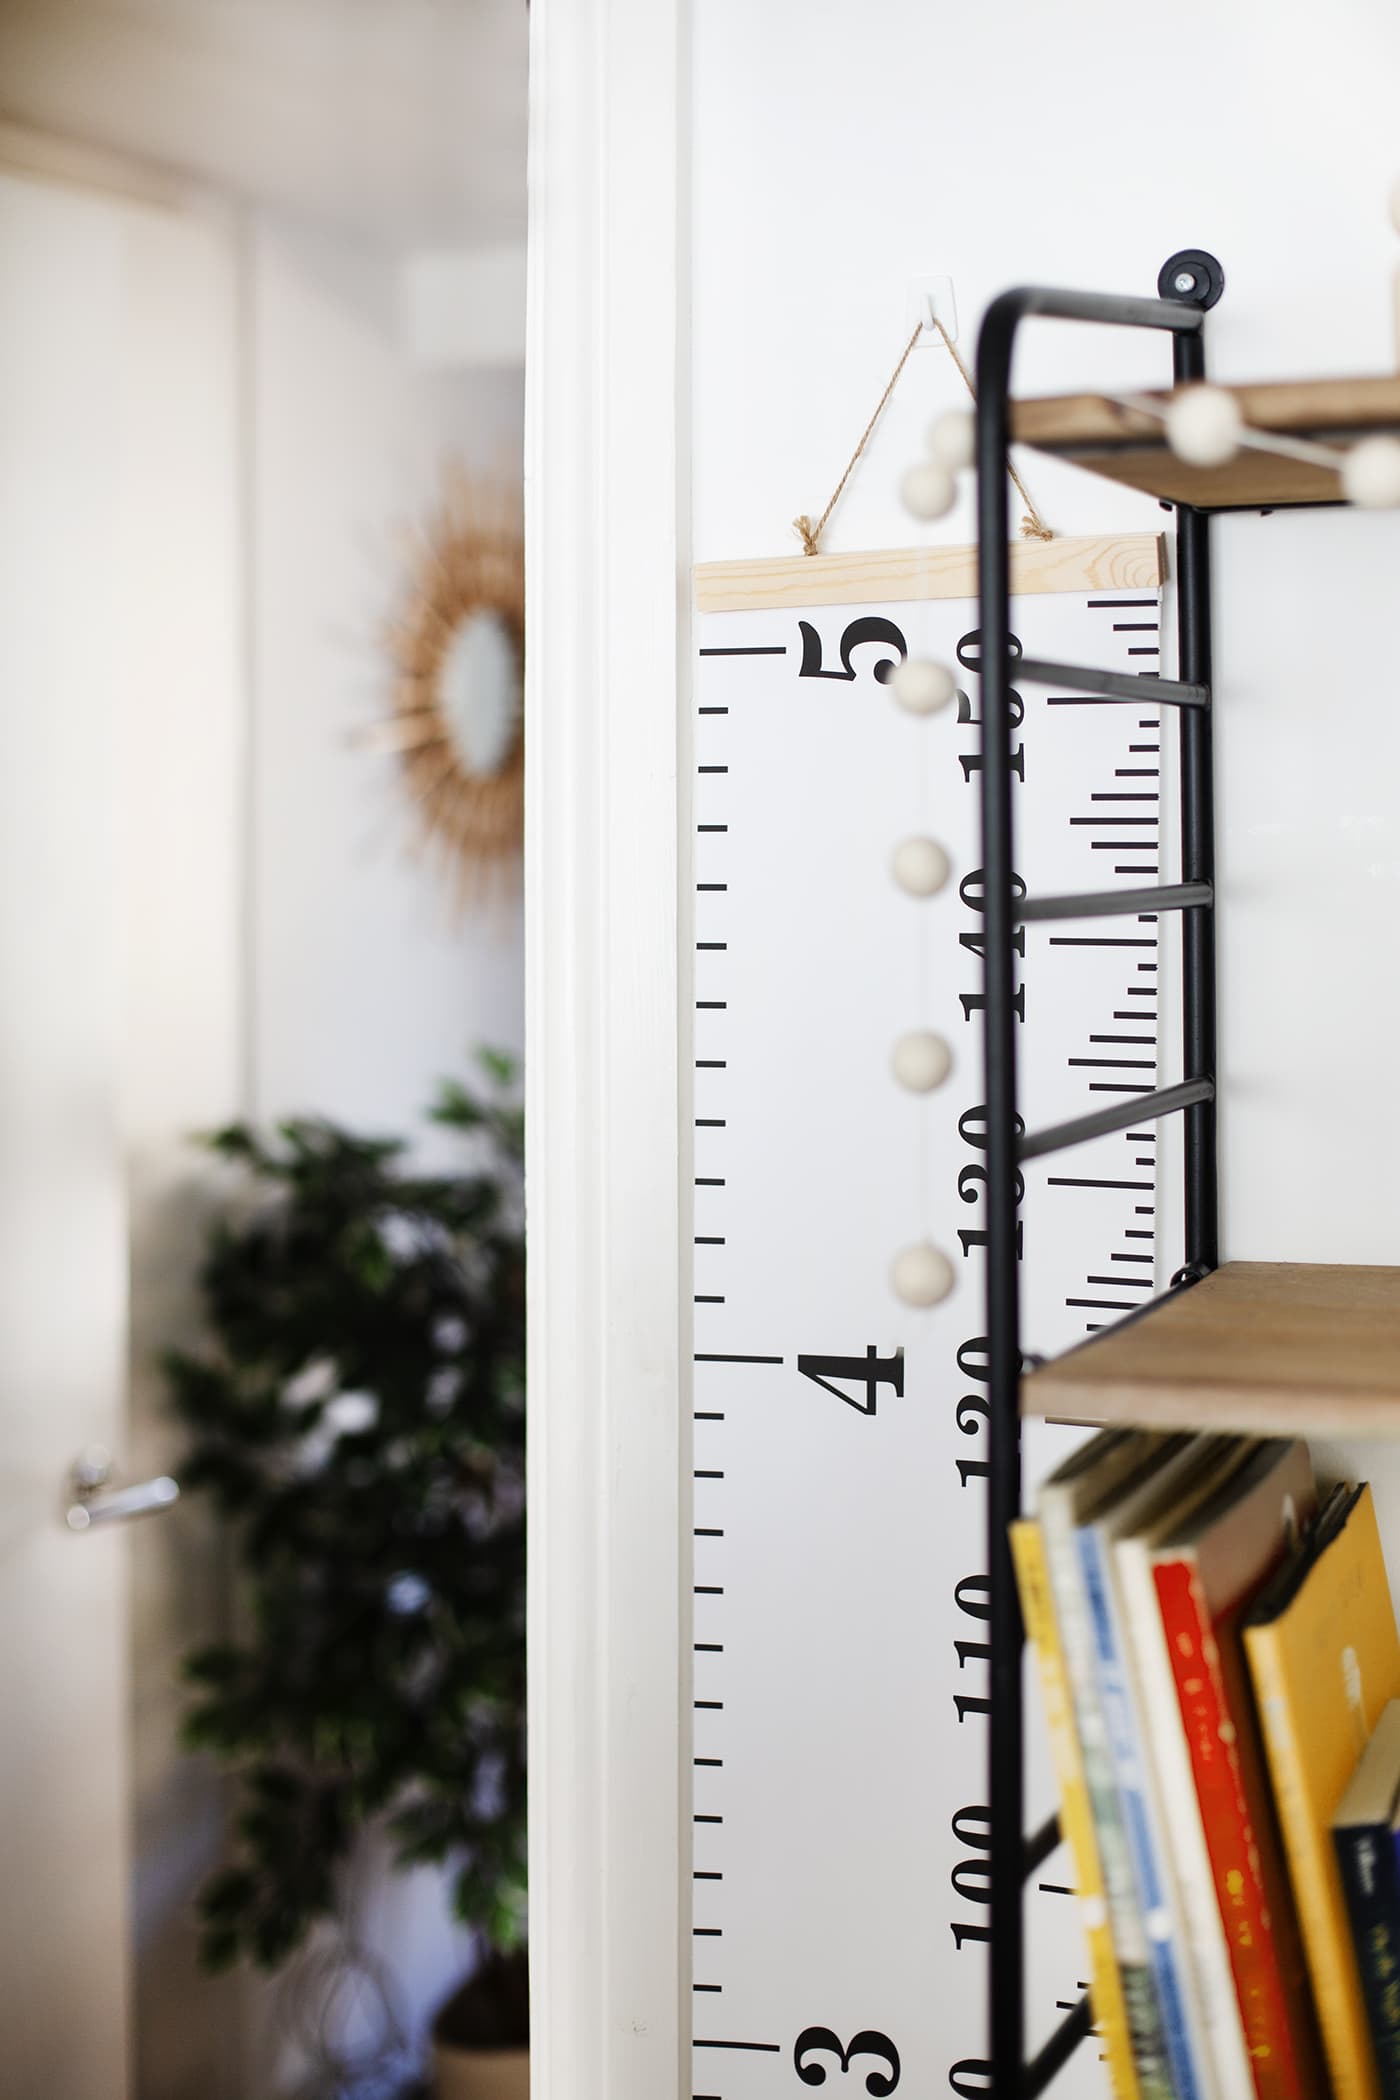
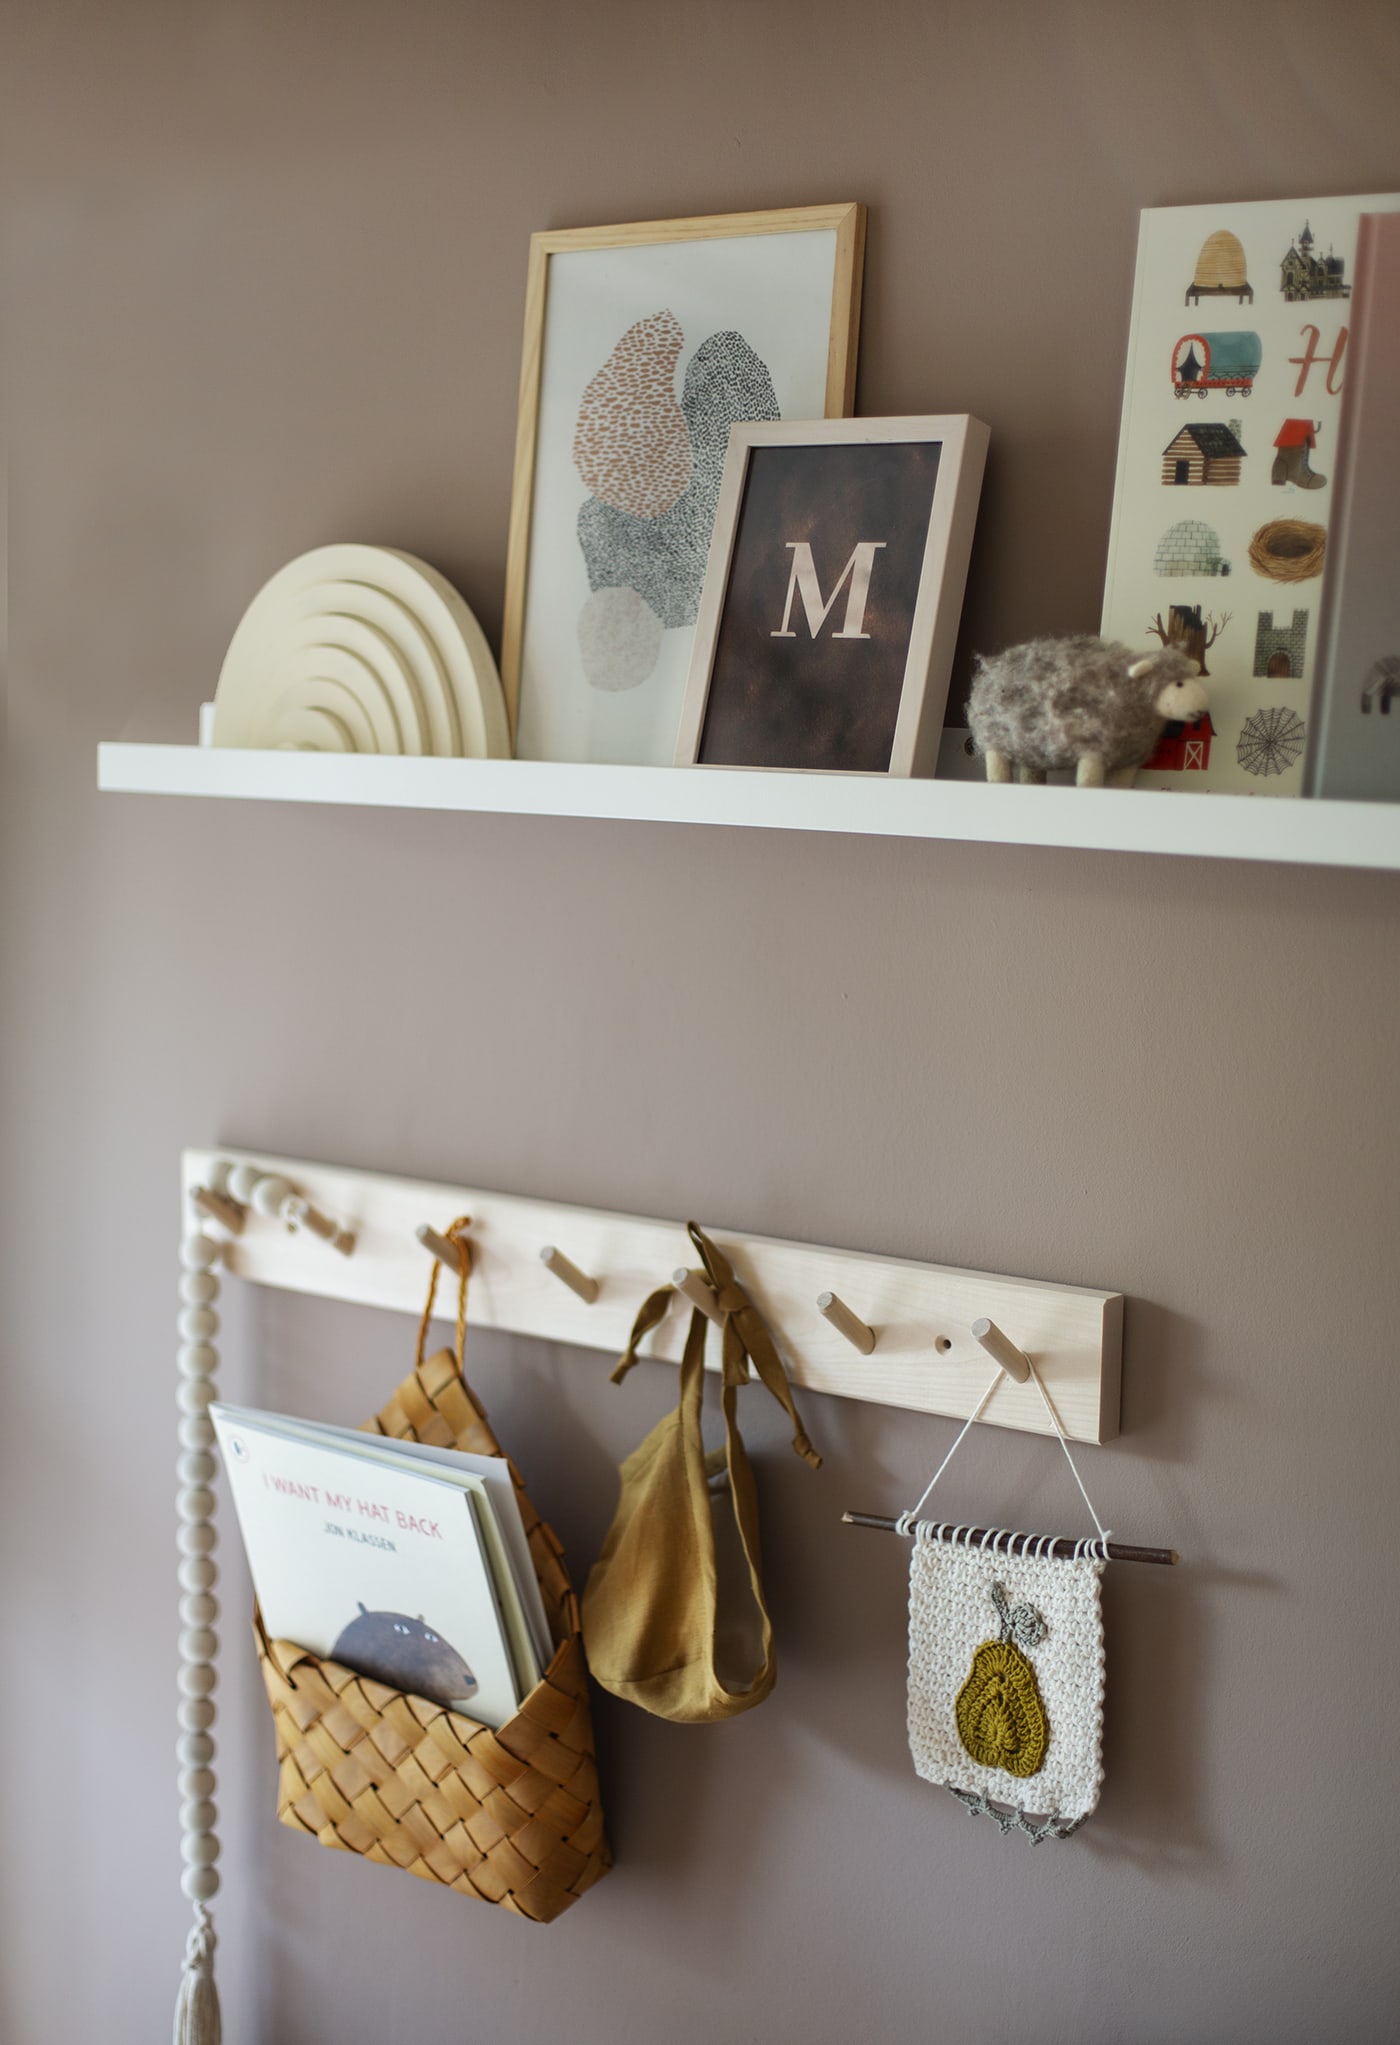
This room already had picture ledges when we moved in, but I wanted to add some extra details that could easily be removed come the end of our tenancy. B&Q sell command products which are a great alternative to hammering or drilling into your wall, and comes off damage free when you take them down. I’ve loved using the Command White Adhesive Picture Hanging Strips for our gallery walls over the years and so decided to use them to attach the peg hooks and attach one of the picture ledges to the wall. We removed the existing picture ledges and filled the holes before painting, making it easy to move the placing to suit the new space. The Command White Plastic Hooks also provided an easy and temporary way to hang the new height chart, which I’ve wanted to start using for aaaages! I wish I’d started recording Maggie’s height sooner.
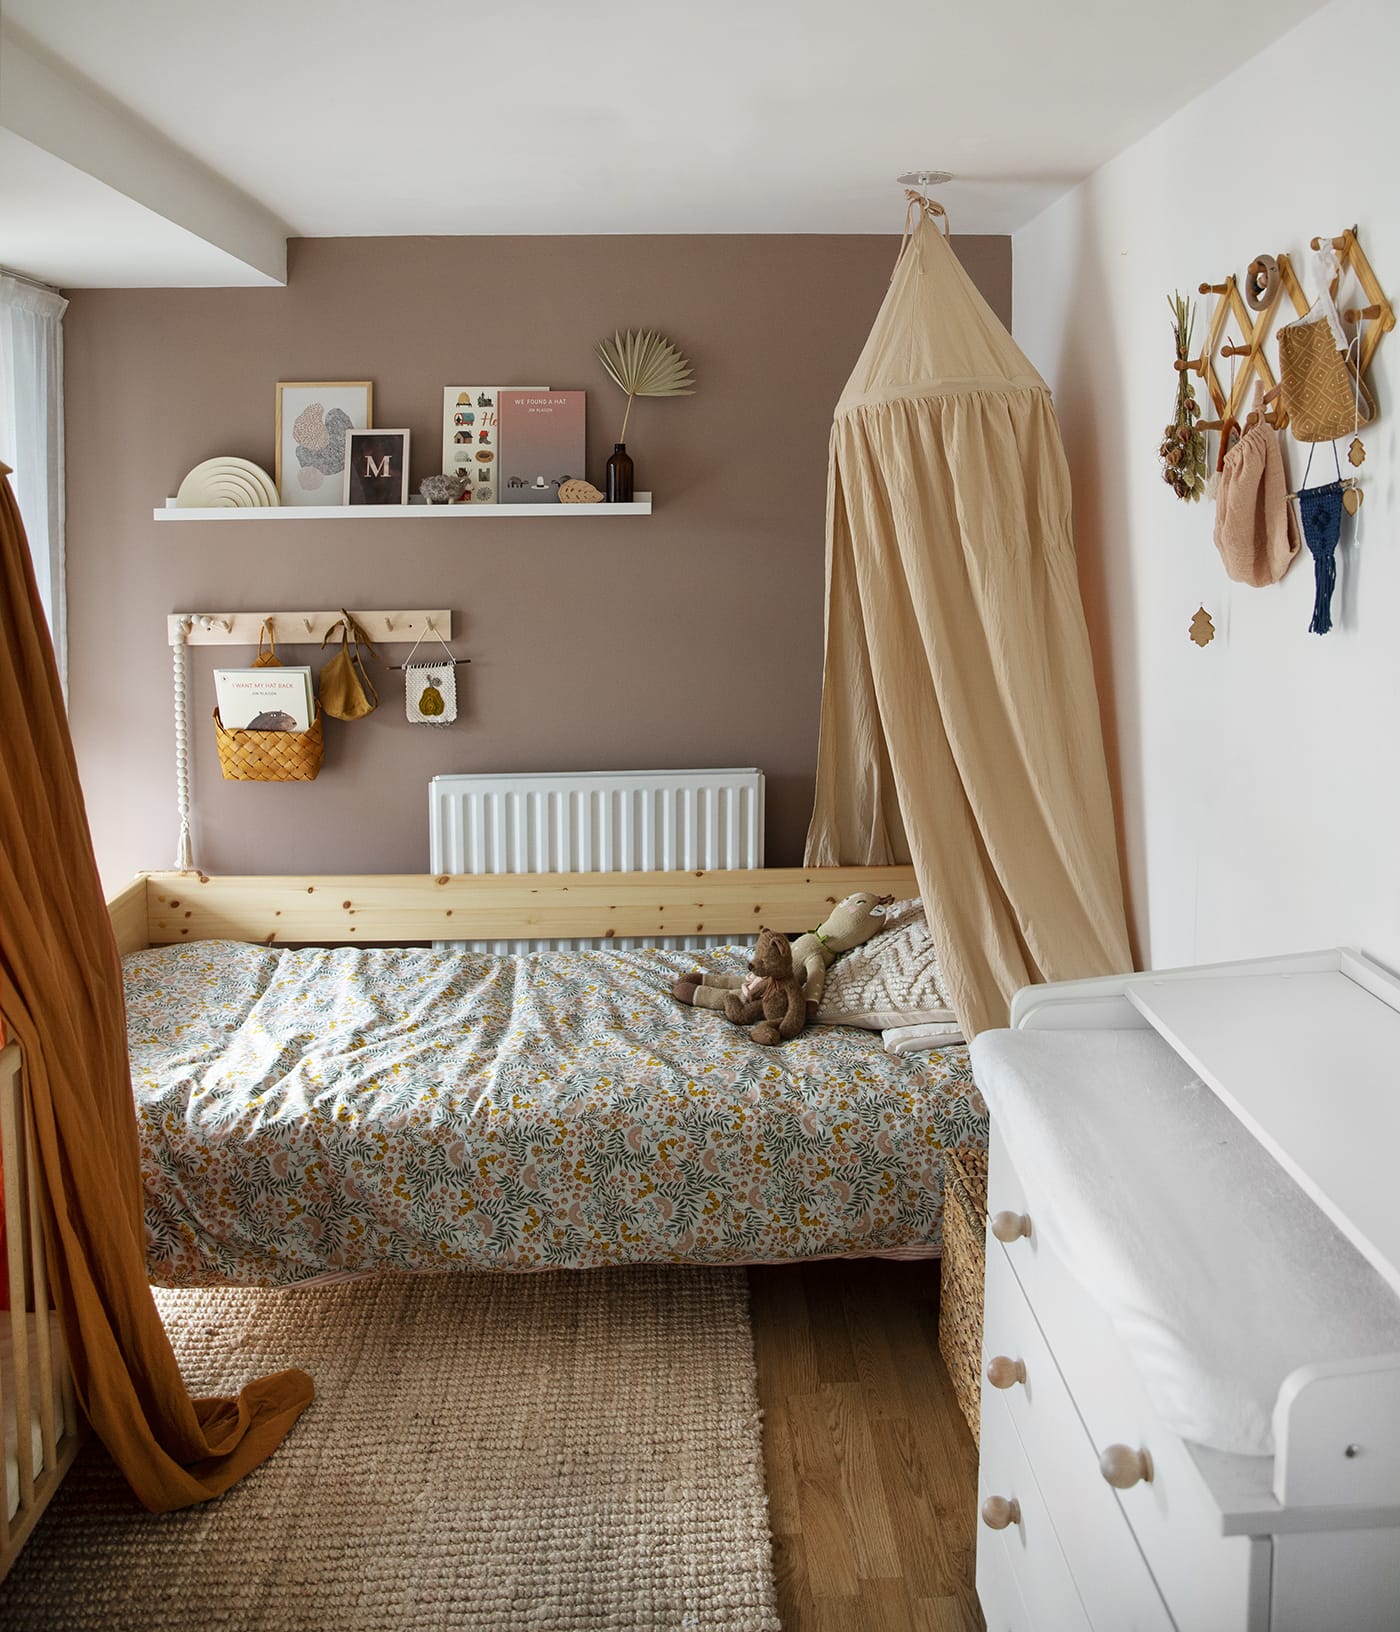 Wizard Bunk Bed in Pine | Colours Lollie Cream Rug | Pondicherry Loop Chevron Beige Cushion | Water Hyacinth & Seagrass Foldable Chest | 3m Command White Adhesive Picture Hanging Strips | 3m Command White White Plastic Hooks | 9 plastic tray roller set | Paint Brush Set of 5 | Clear Water Based Clean Spirit | Beige Masking Tape | Polythene Dust Sheets
Floor Overhaul
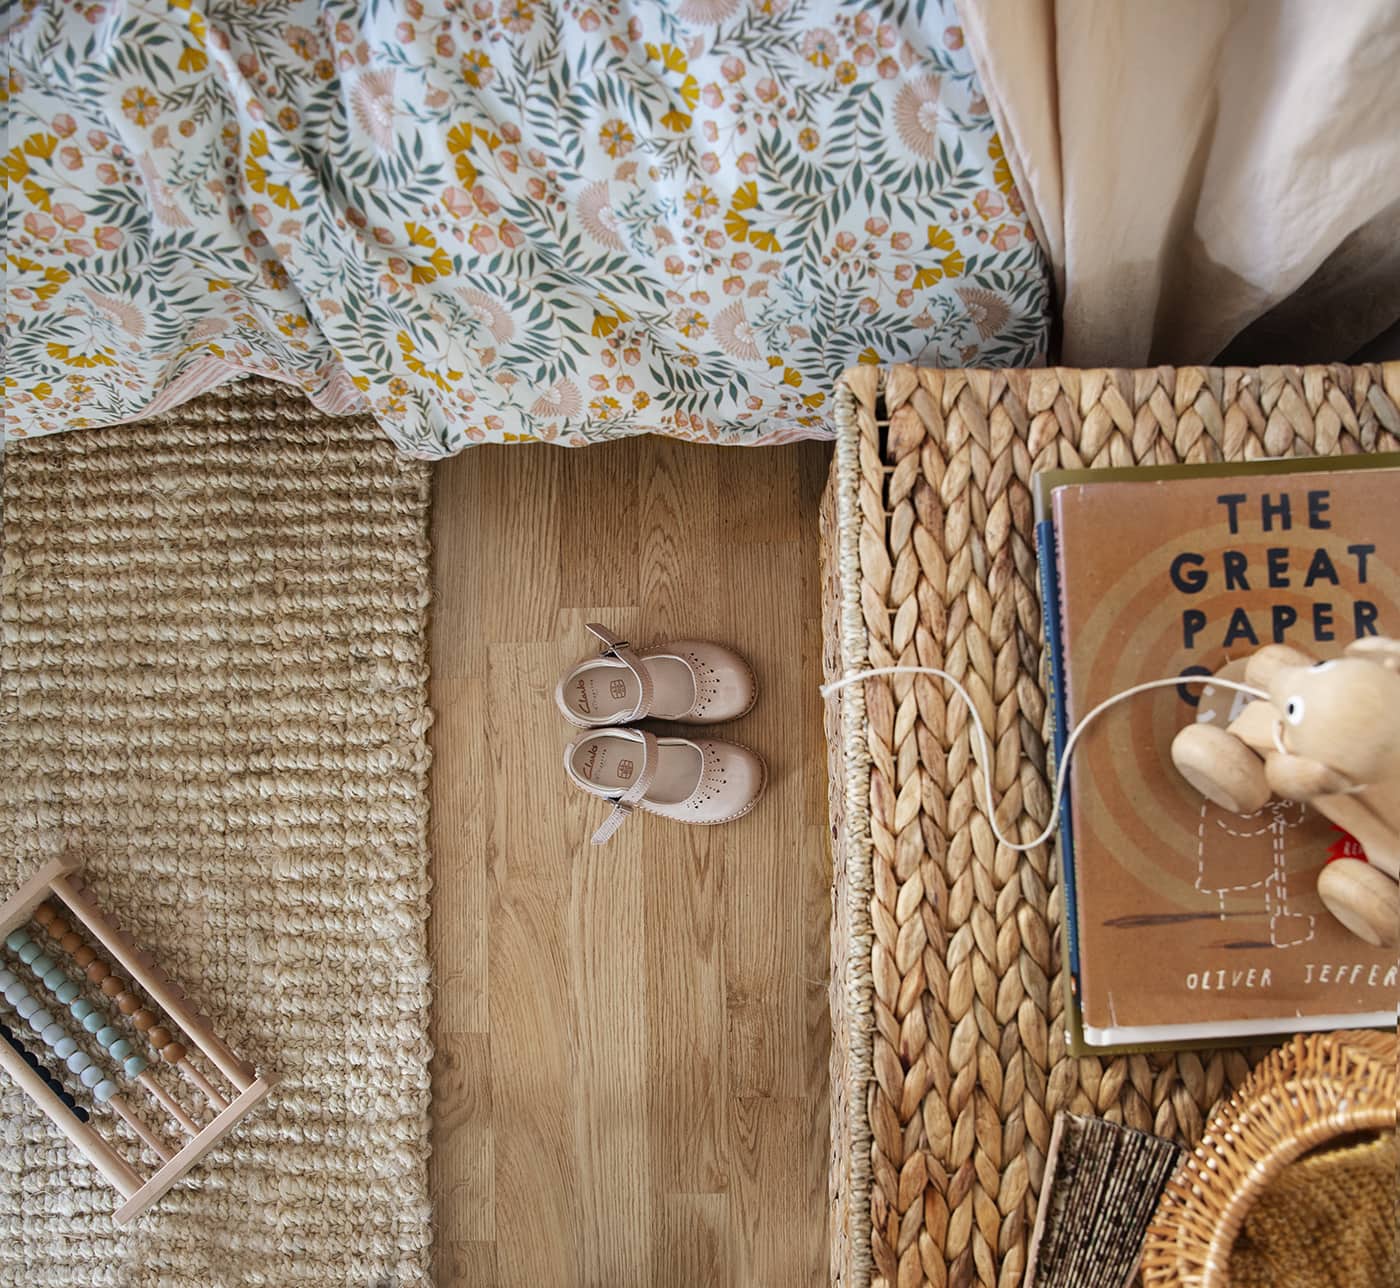
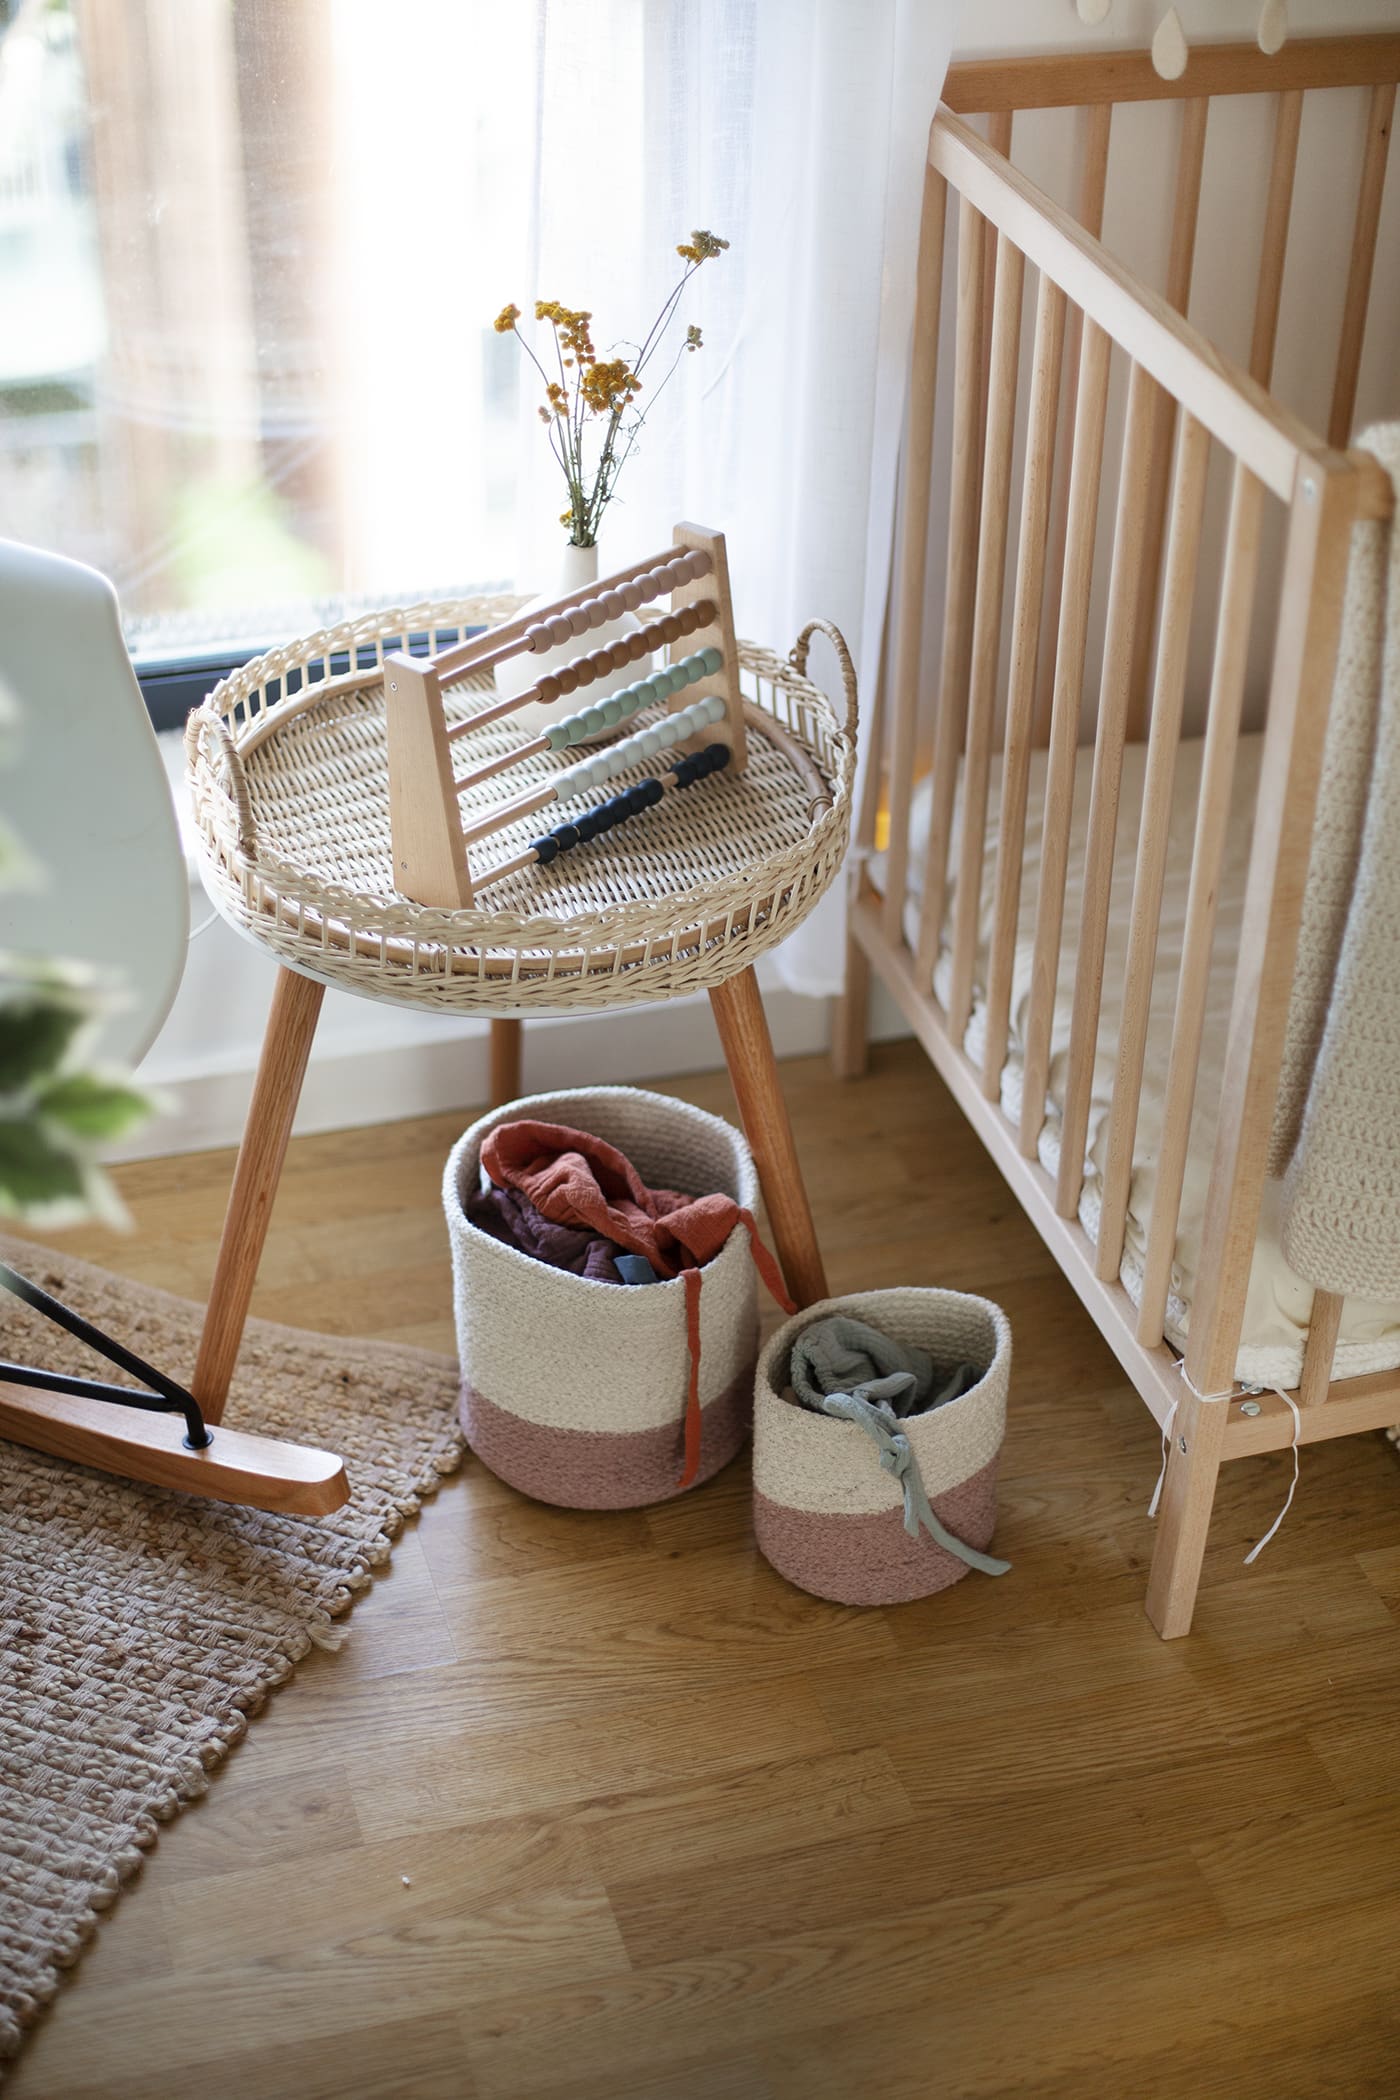
Sometimes the hardest part about loving your rented home is that you don’t get to choose the floors. We had awful carpets in our old flat that were stained and looked a lot like hessian stapled to the floors. Whilst our current set up is a fairly offensive laminate, it’s still much shinier and yellow tinged than I would ever pick myself. This is where rugs are so handy for covering large expanses to completely alter the look of it. It’s a simple way of bringing in more colour and texture that can easily be whipped up if you need to move on. I once again went for a fairly neutral but highly texture rug, found in the Colours Lollie Cream Rug. To be honest one of the overarching factors that drive my rug choices with two kids is how easily it will hide stains. I’m sure fellow parents will agree this was a wise choice.
Create your own storage
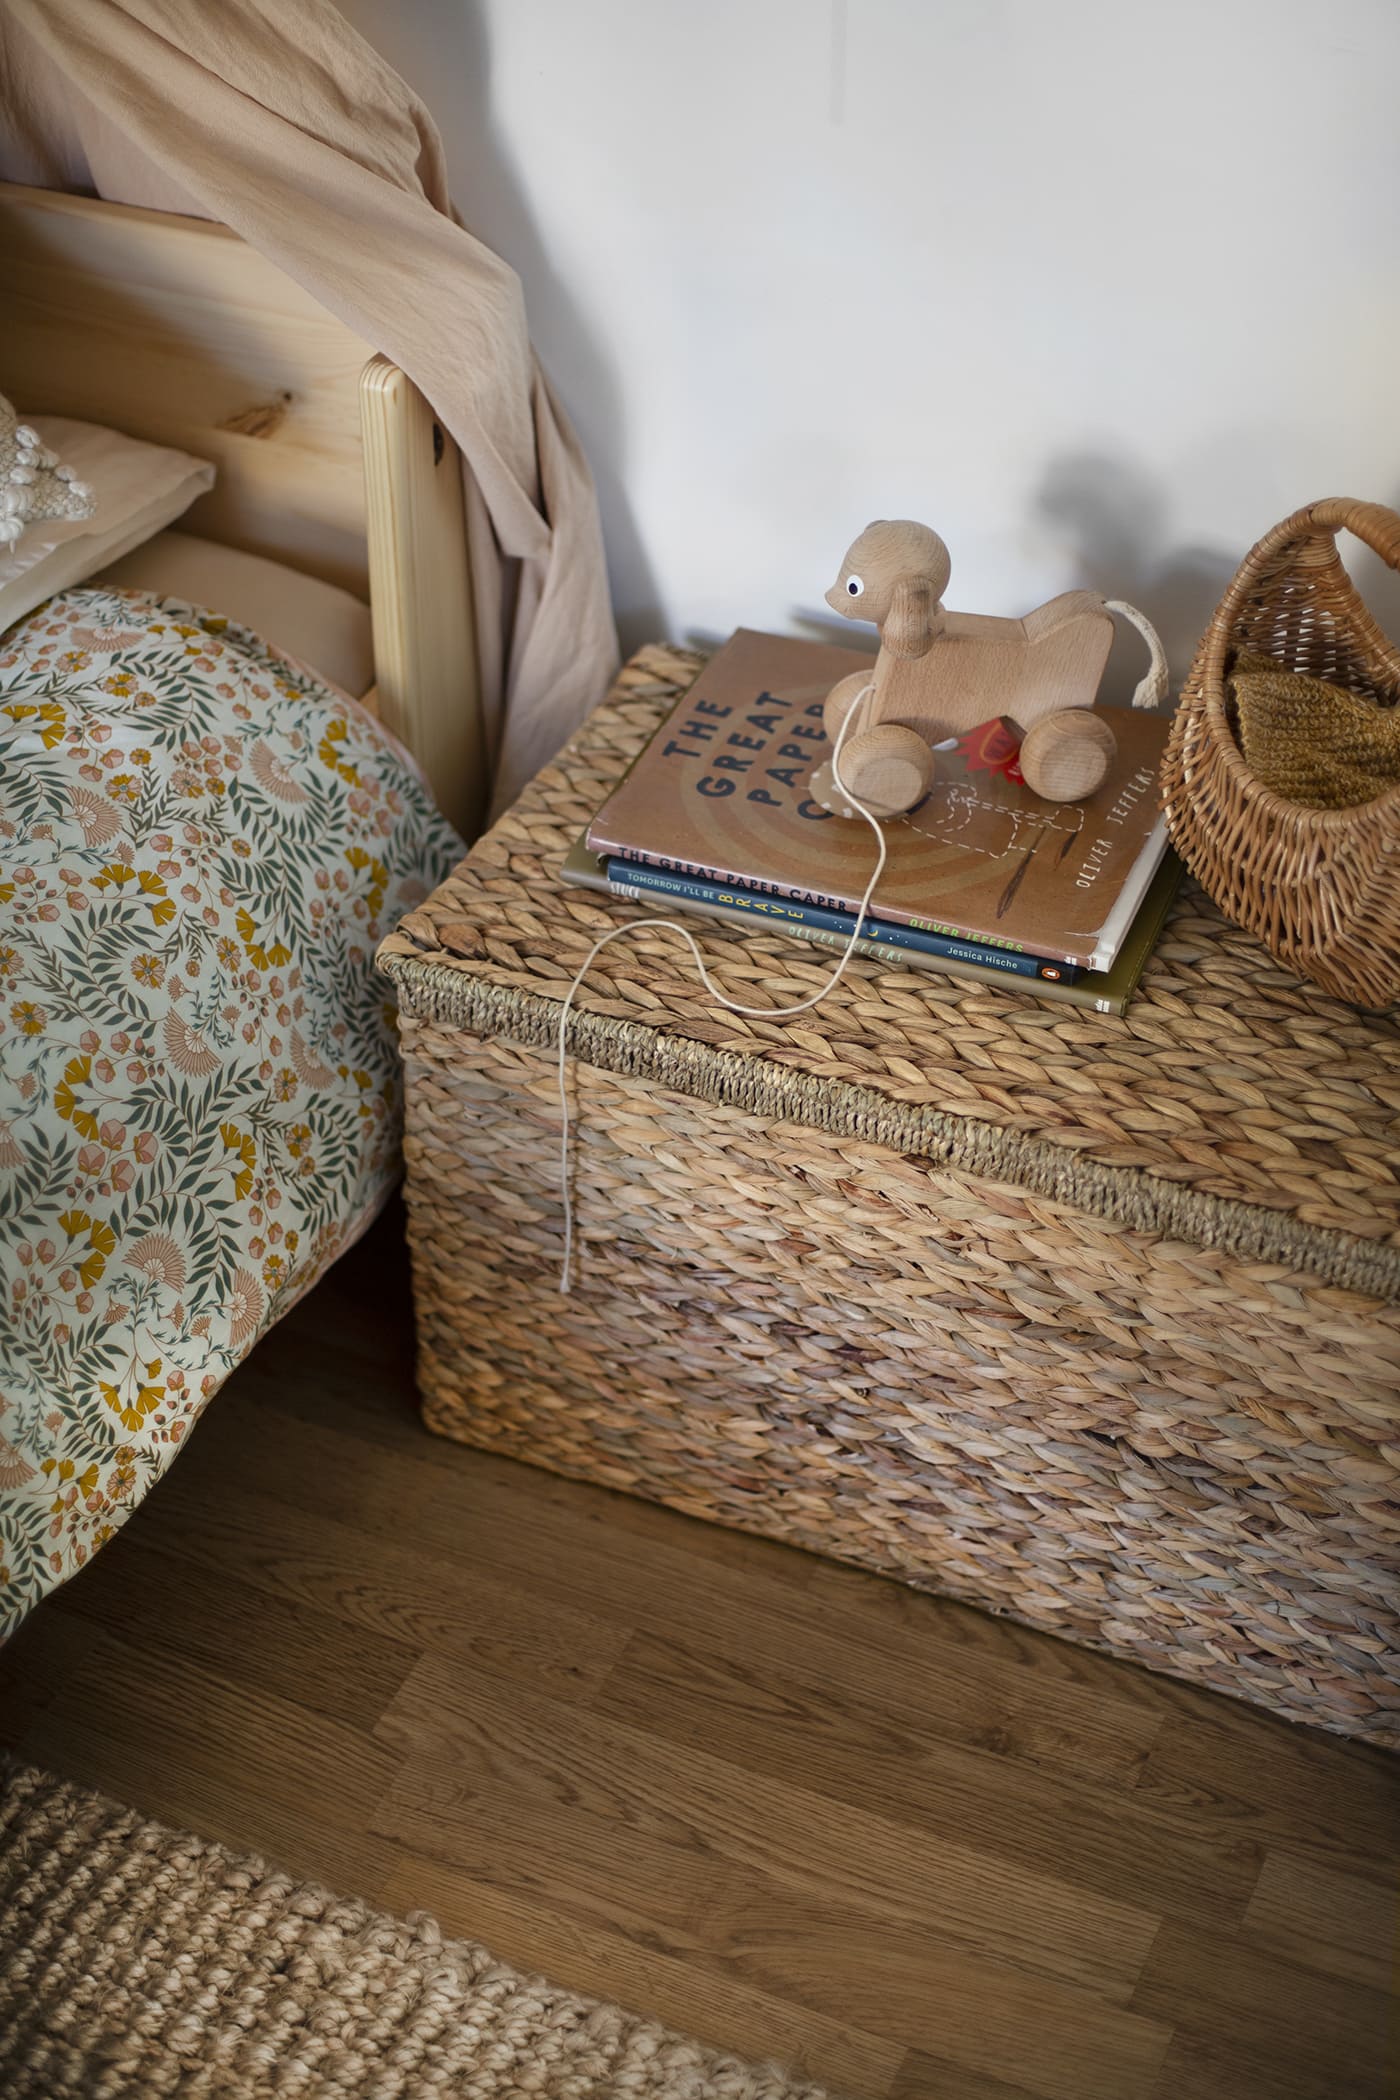
I hate clutter (not ideal with a toddler) and see how it makes a room look messy and in no way a relaxing space to be in. Our flat doesn’t have very that much built in storage and as renters we aren’t able to build in any ourselves so we’ve always purchased our own drawers, cupboards and media consoles to store away all the unsightly items. Try as I might to continually cull Maggie’s toy collection, generous Grandma insists on buying more and more for her. I decided to order this lovely Water Hyacinth Seagrass Foldable Chest to store away some of those extra toys. Storage can add personality to a room whilst being really useful for us renters to keep some things out of sight. We were even able to store the bunk bed extension pack under the current single bed, totally invisible with no clutter!
You might also like
Meet The Lovely Drawer

Hi, I’m Teri and welcome to my own creative corner of the internet. I blog about interiors, DIY projects, design inspiration and my general life so stick around have a read and say hi.
In the shop

 Quick ViewSelect options
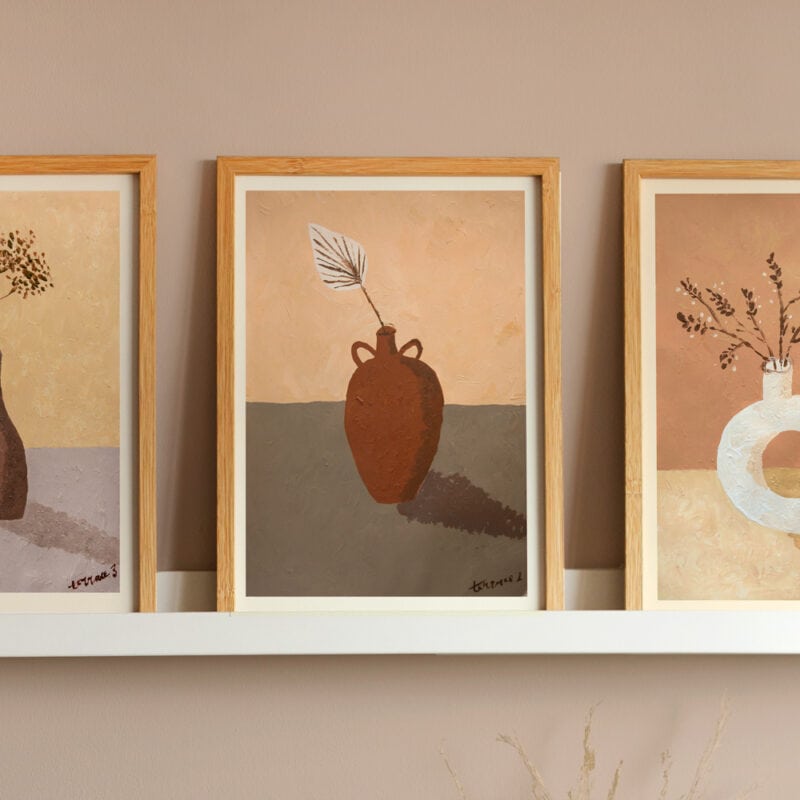
Terrace 1
£20.00 – £25.00
 Quick ViewSelect options
Chicory
£20.00 – £25.00
Work with Me
The Lovely Drawer is an award winning blog with a loyal audience that has grown over the years. I love working with brands small and large on exciting collaborations that can bring products alive in my own signature aesthetic.
