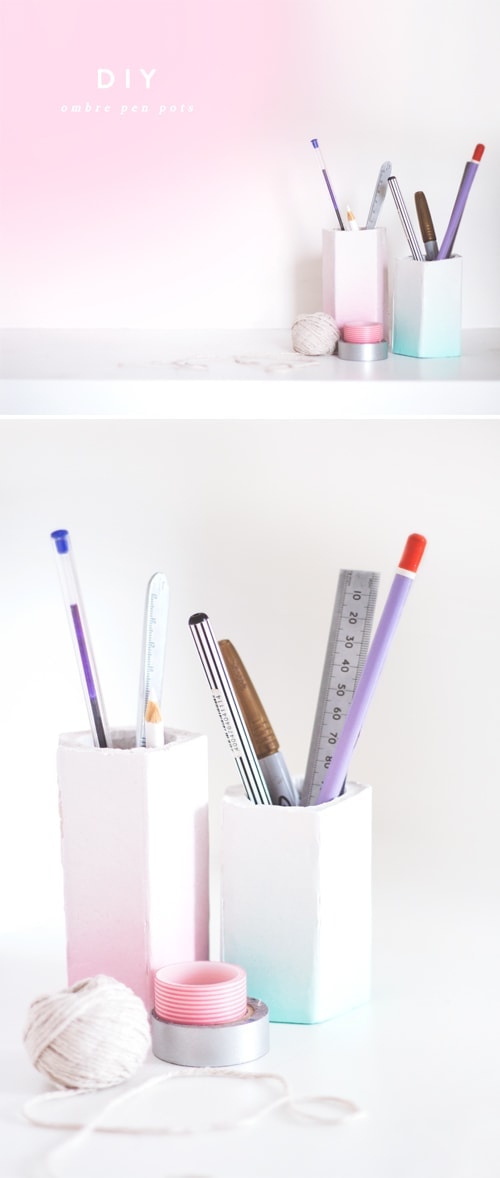
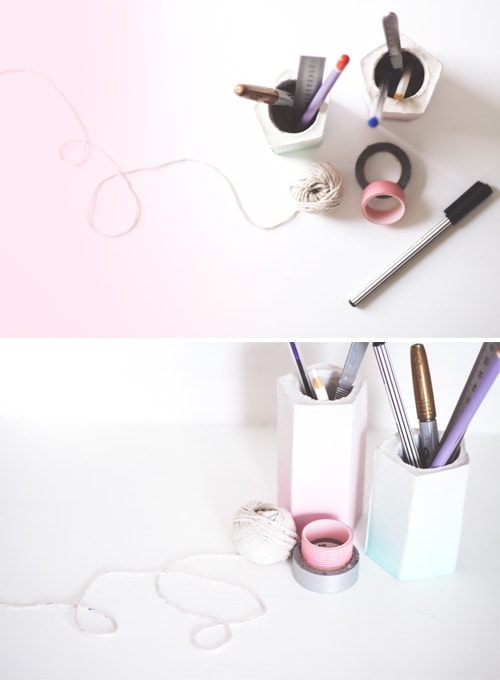
desk organising made pretty
Aahh finally some more DIY ideas to kick around this place. I’m not gonna lie, I wasn’t all together that hopeful that these plaster of paris pots were going to work. The last time I used the stuff was probably in summer holiday kids camp where there was at least an array of Disney characters in silicone mould form to work with. I remember actually refusing to use plaster of paris one year because I was too afraid of getting dirty. Oh dear…yes I may have been ‘that kid’.
Anyway they ended up turning out as planned which is always a bonus. There’s always that suspense factor with new DIY projects, not really knowing if your idea will hold up or be an embarrassing flop. My advice is just make sure these moulds are watertight. Any slits or gaps will not bode well for these little pots but apart from that I’m happy to make up for lost time from my childhood.
You will need…
- Thick card (not corrugated)
- Toilet roll tube
- Strong glue
- Ruler
- Packing tape and double sided tape
- Scalpel and scissors
- Baking beads or stones
- Jug
- Plaster of paris
- Water
- Spray paint
How to make…
1. Decide how tall you want your pot and how wide you want each panel to be. I made mine 4cm wide and so measured out five panels 4cm x the height side by side, adding an thinner panel flap at the end. Cut the whole thing out with your scalpel and ruler and score down each line. Don’t press too hard.
2. Cover the whole of the inside with packing tape, leaving no gaps apart from the extra flap. This will allow for the plaster shape to come away from the mould easily. I cut 4 cm strips of tape to try and fit within the panels and allow for a smoother finish on the outside.
3. Then to be on the safe side I put a strip of double sided tape along the thinner flap (taped side) with the strong glue and pulled the shape together to form a polygon. Fix the flap to the outside of the mould. Hold firmly together for a minute until stuck an then I added some packing tape to make sure the join was sealed.
4. Tape the outside of the toilet roll tube in the same way and then draw round the bottom of both the toilet roll tube and your polygon pot and cut out.
5. Then put some glue around the rim of each and attach to the bottom. Hold in place until they adhere. Then seal with packing tape to reinforce and cover any gaps. You can also do this on each fold of the polygon to protect the weak spots. I’d say go to town with tape on both the roll and your pot shape. It doesn’t need to look pretty right now. Attach tape (I used double sided as it’s so strong) to the inside of the toilet roll tube on either side, lower it into the pot and attach the tape strips to the sides. Go over this with packing tape too if you’d like. Fill the toilet roll tube with baking beads to weigh down.
6. Then mix your plaster of paris and water according to the instructions on the packet. I did this in a jug to make pouring easier. Once mixed pour into the mould. You may need to hold the toilet roll tube down if it starts to bob up. Tape the mould on the table a few times to get rid of air bubbles. If any leaks occur just get your tape and try and patch it up but don’t move it around too much. Leave for at least 2 hours to set.
7. Remove the baking beads. Cut the tape strips holding the tube and cut away your outer mould. Then pull out the tube roll. If you struggle as I did with one of mine, then start cutting strips into it and wiggle it out. Then in a well ventilated area spray on your ombre affect. You can do this by holding the pot on it’s side and using the spray paint on it’s side as well. Do small bursts of paint from the bottom and move the can closer to make it go slightly further up the sides.
8. Leave to dry and then you’re done! Time for this little pot to make a new home on your desk.
You might also like
Meet The Lovely Drawer

Hi, I’m Teri and welcome to my own creative corner of the internet. I blog about interiors, DIY projects, design inspiration and my general life so stick around have a read and say hi.
In the shop
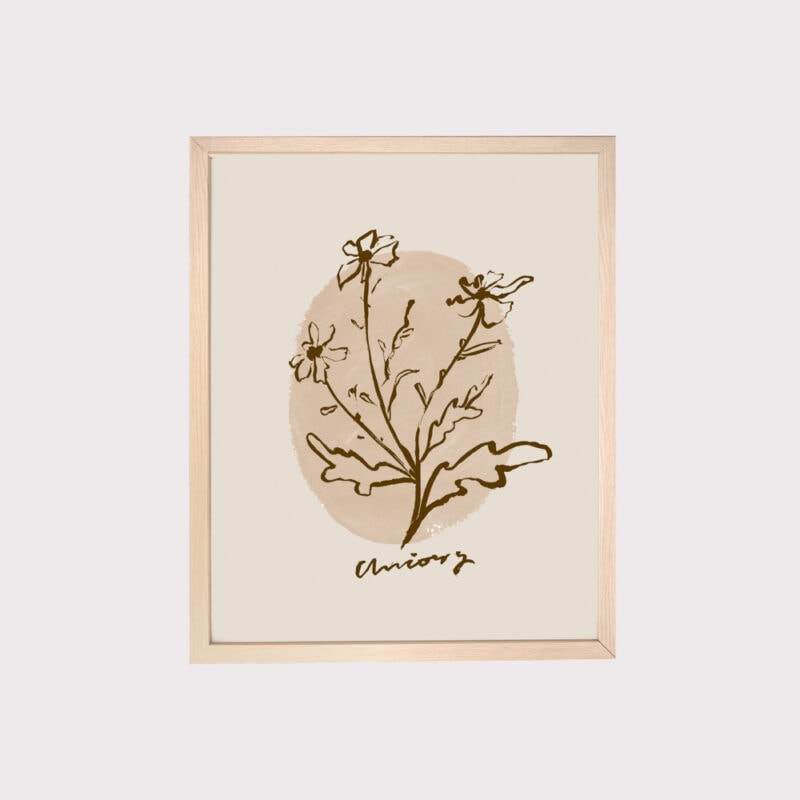
 Quick ViewSelect options
Chicory
£20.00 – £25.00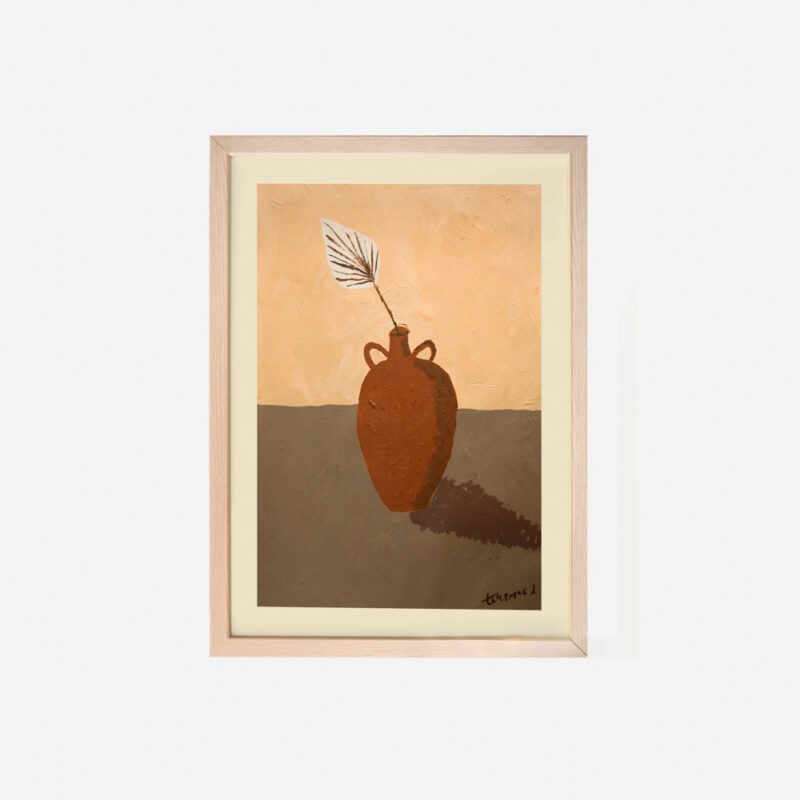
 Quick ViewSelect options
Terrace 1
£20.00 – £25.00
Work with Me
The Lovely Drawer is an award winning blog with a loyal audience that has grown over the years. I love working with brands small and large on exciting collaborations that can bring products alive in my own signature aesthetic.
