

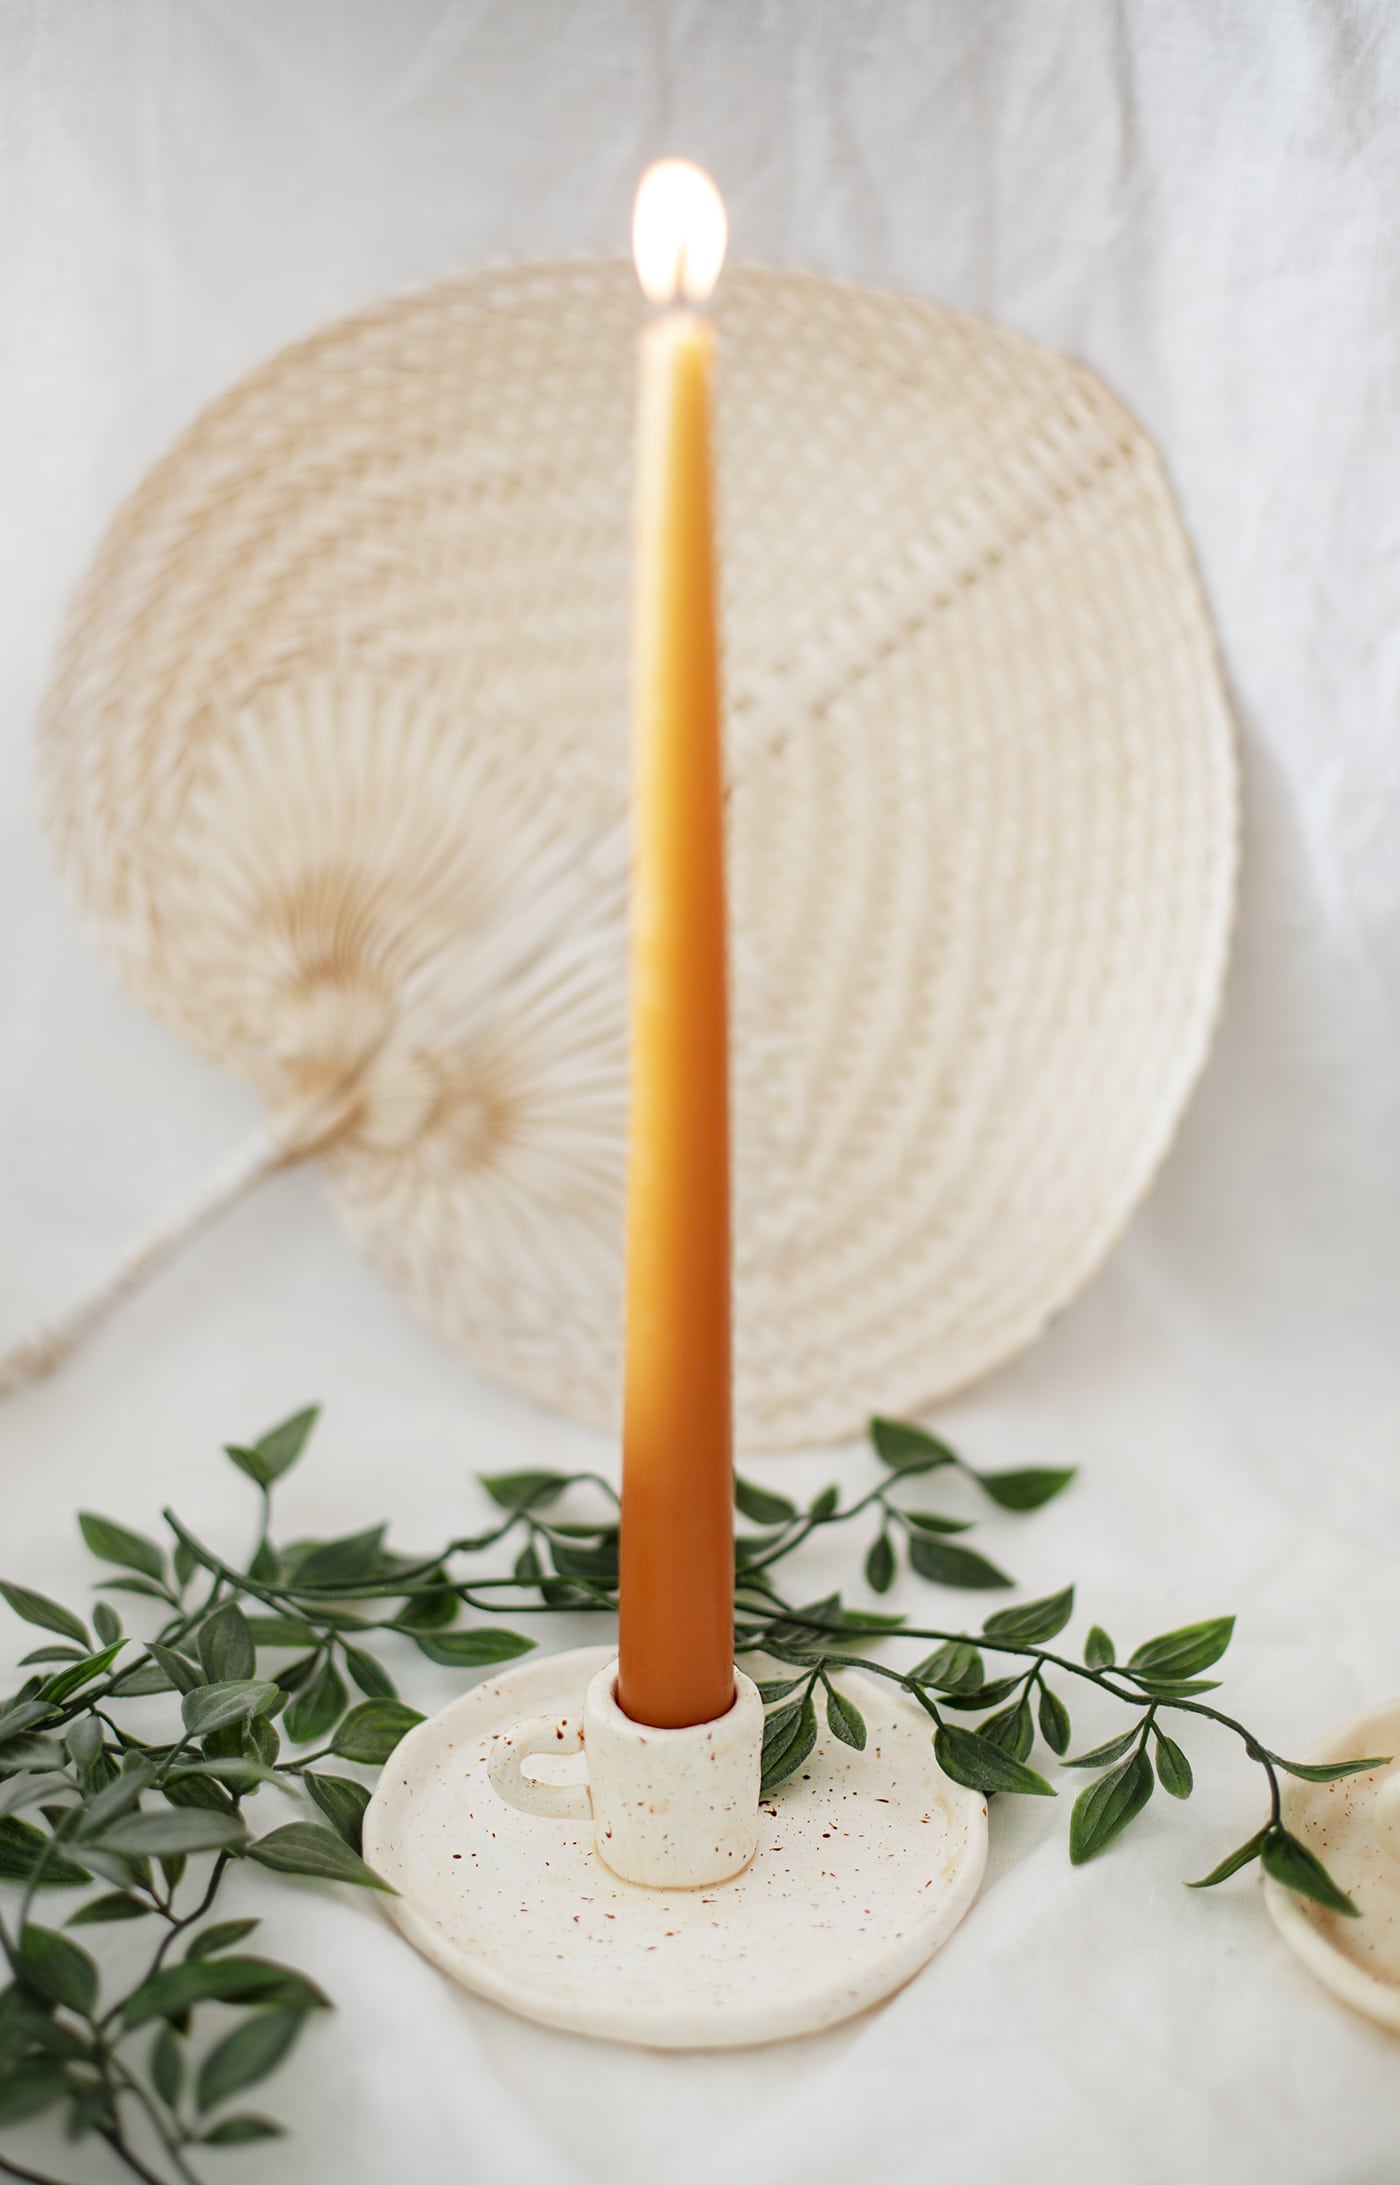
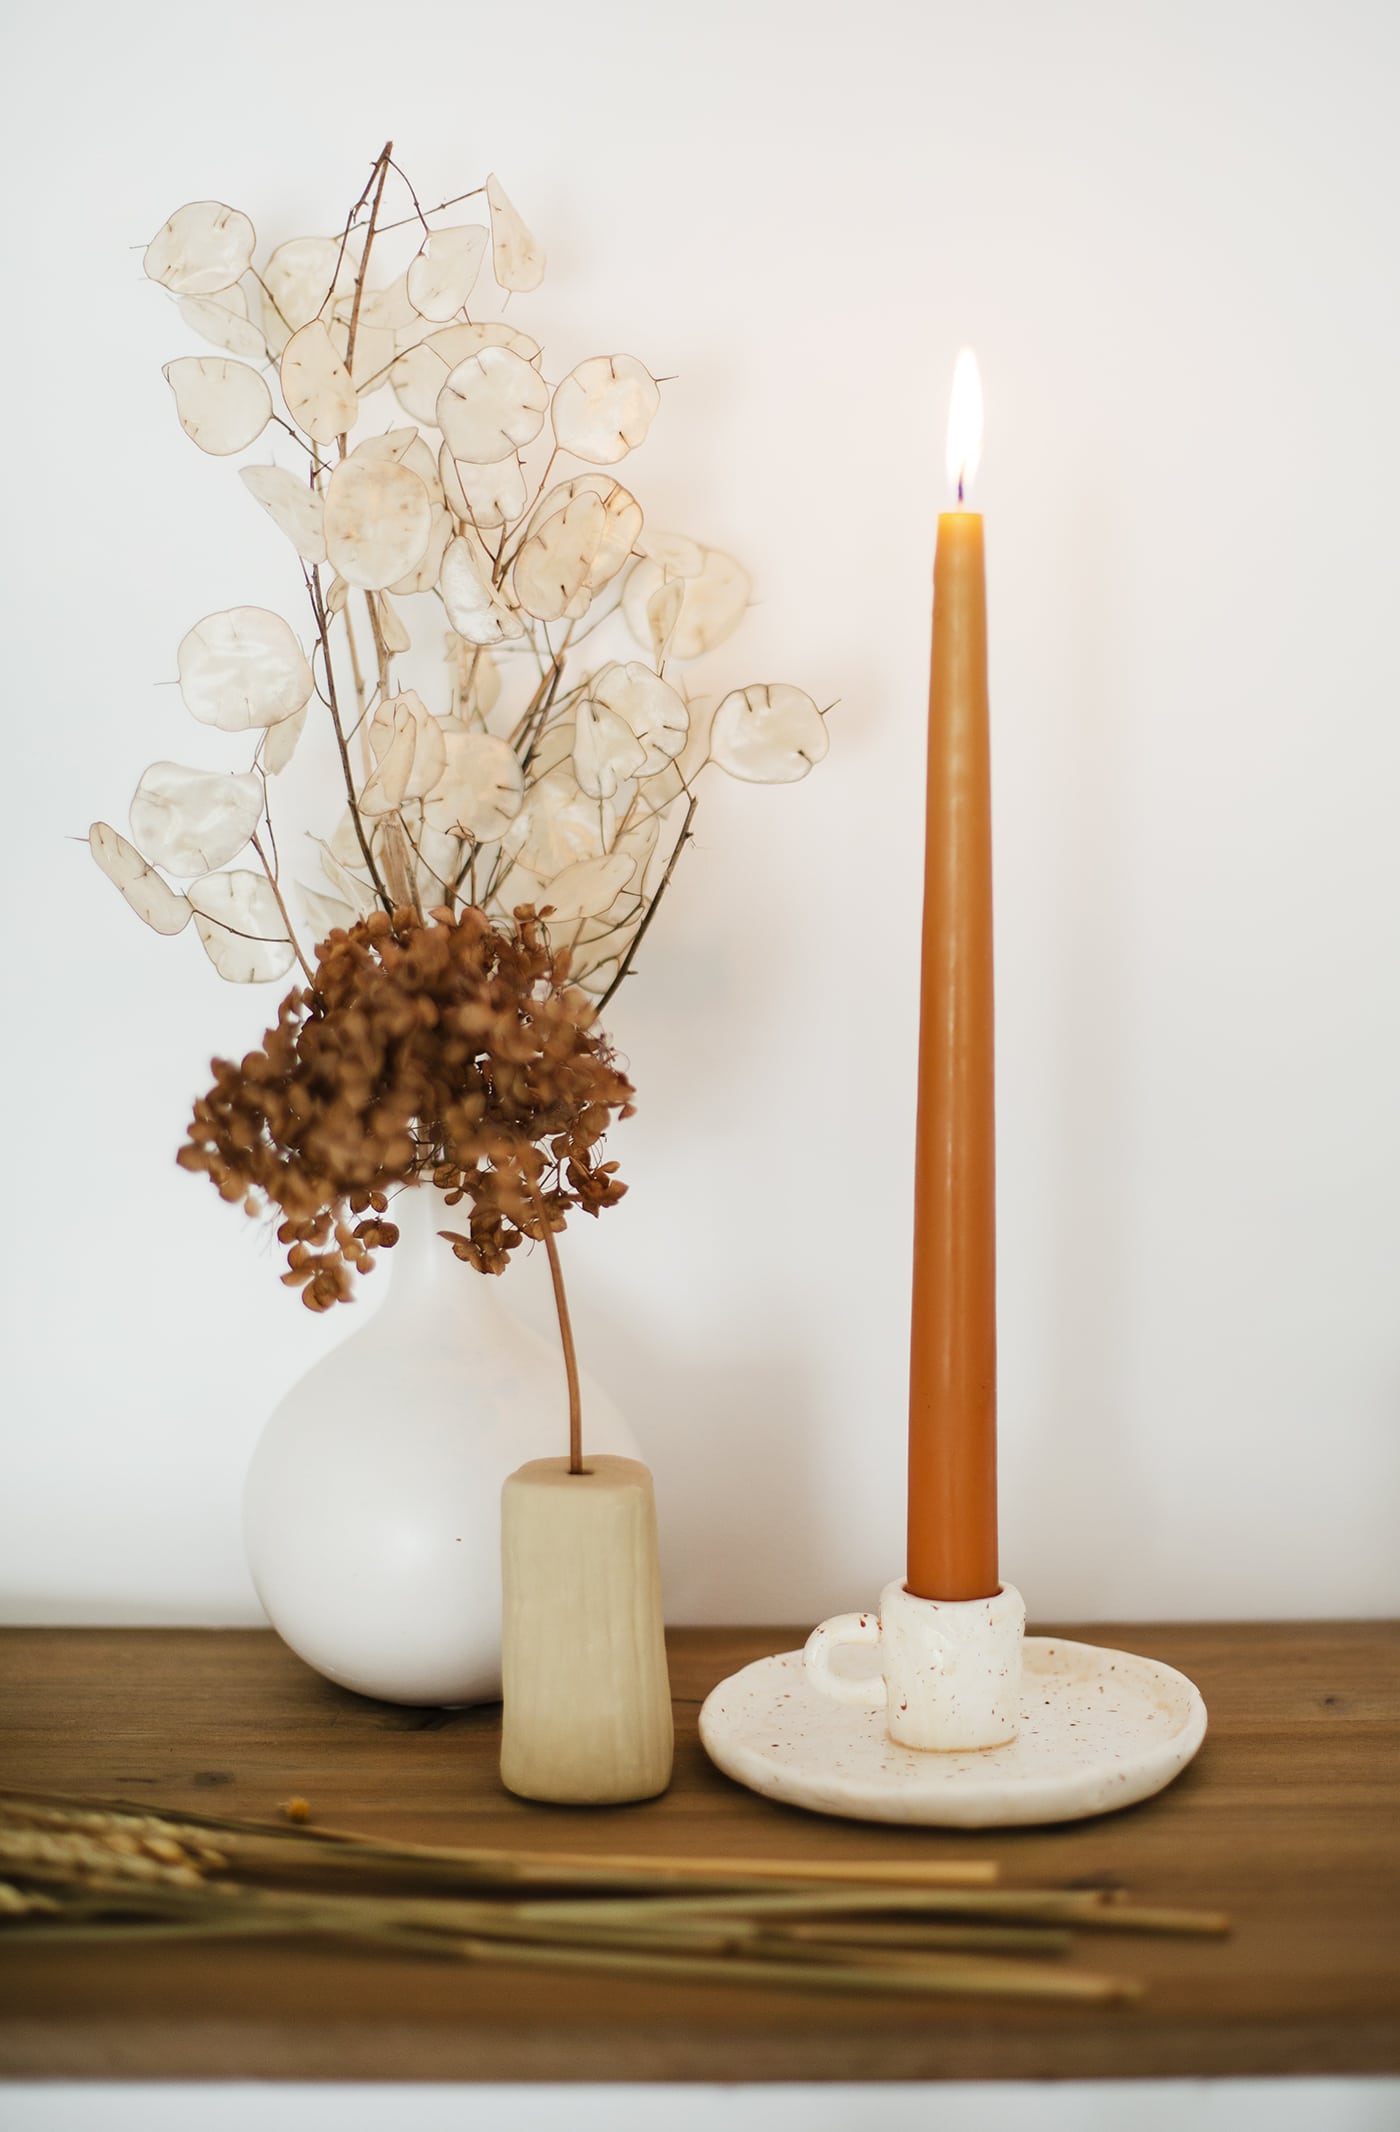
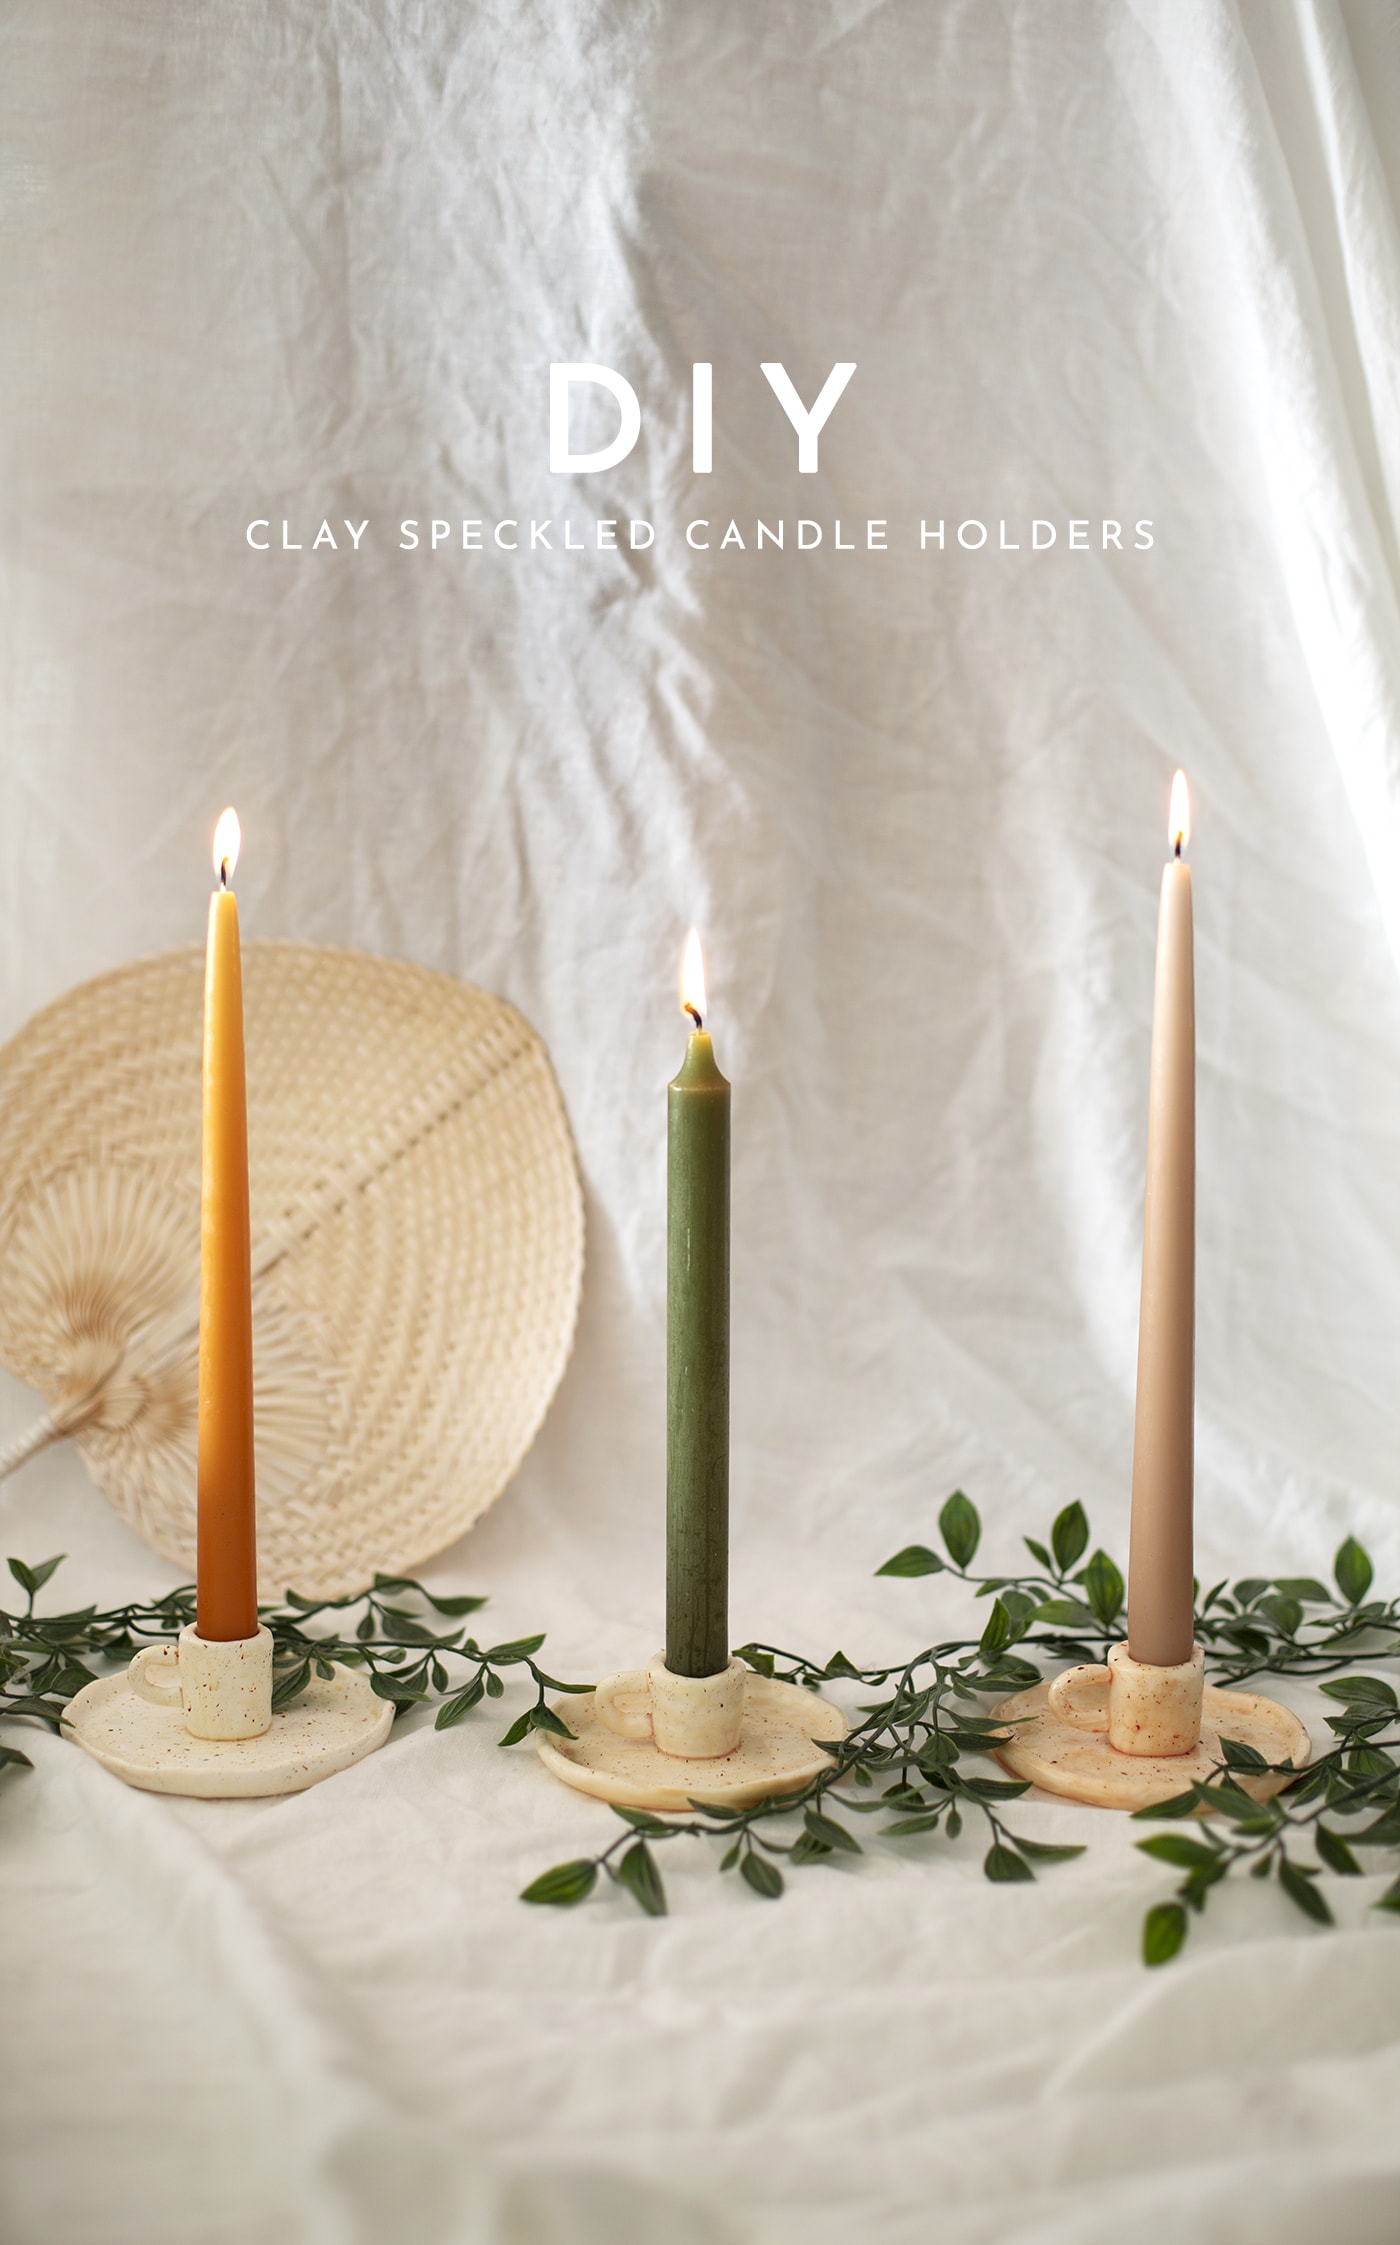
DIY Ceramic-look candleholders
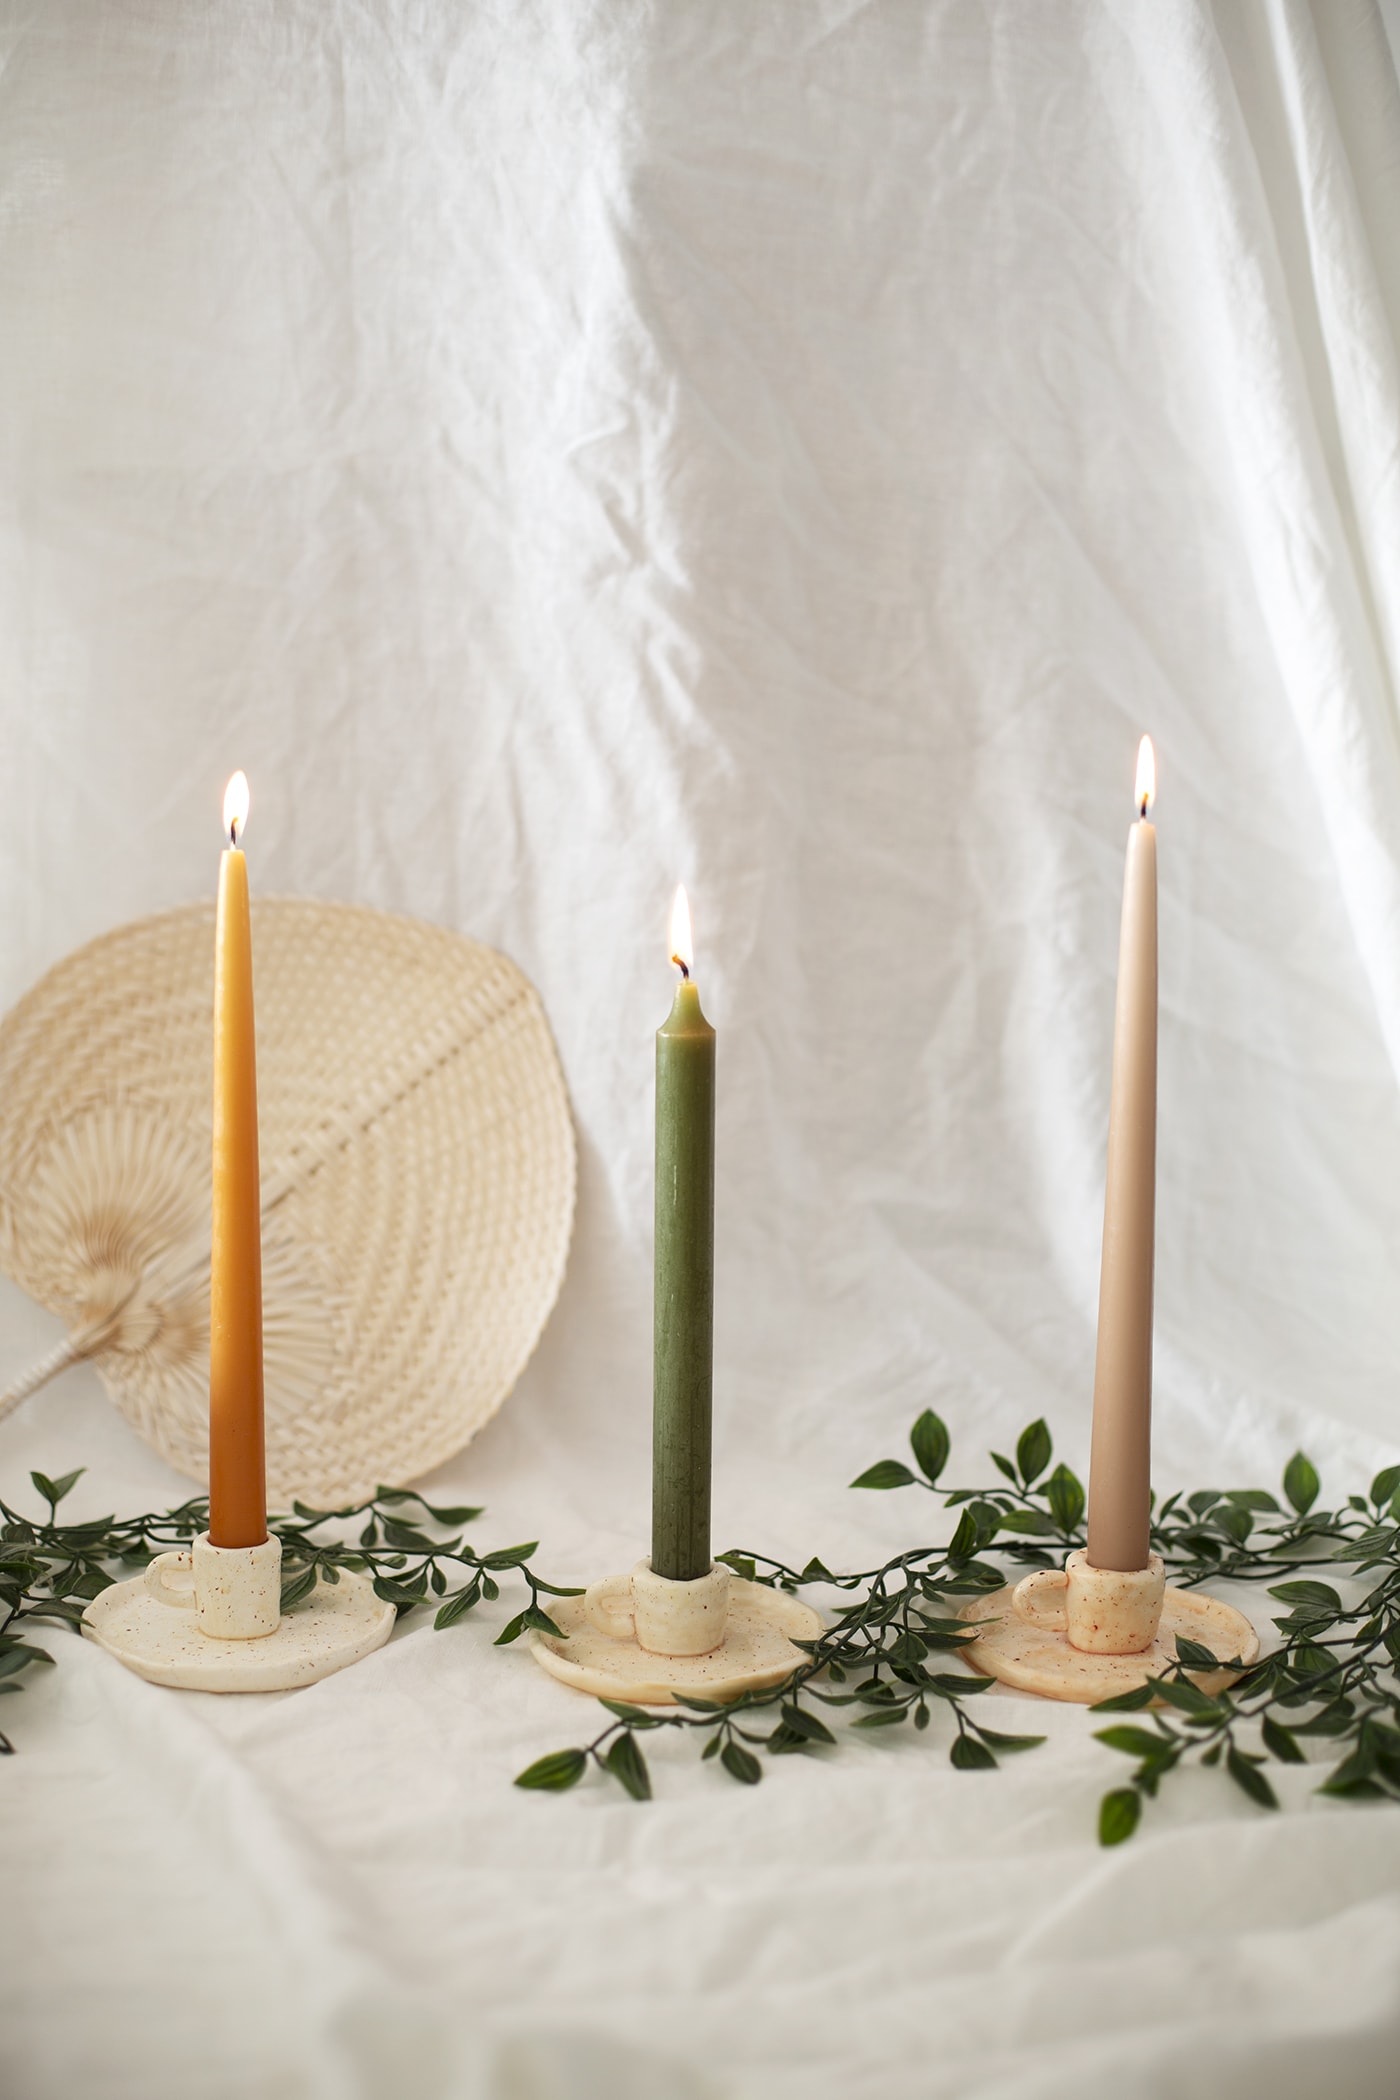
The nights are drawing in…time to get the candles out and enjoy some cosy, ambient light.It’s one of the few reasons I tolerate winter to be fair. I won’t apologise for two clay DIY projects in a row because why bother when there are so many things you can make with the stuff, air-dry or baking.
I’m actually going to make some of these to give as Christmas gifts this year (female family members look away now) so feel free to enjoy them yourself or to share the love.

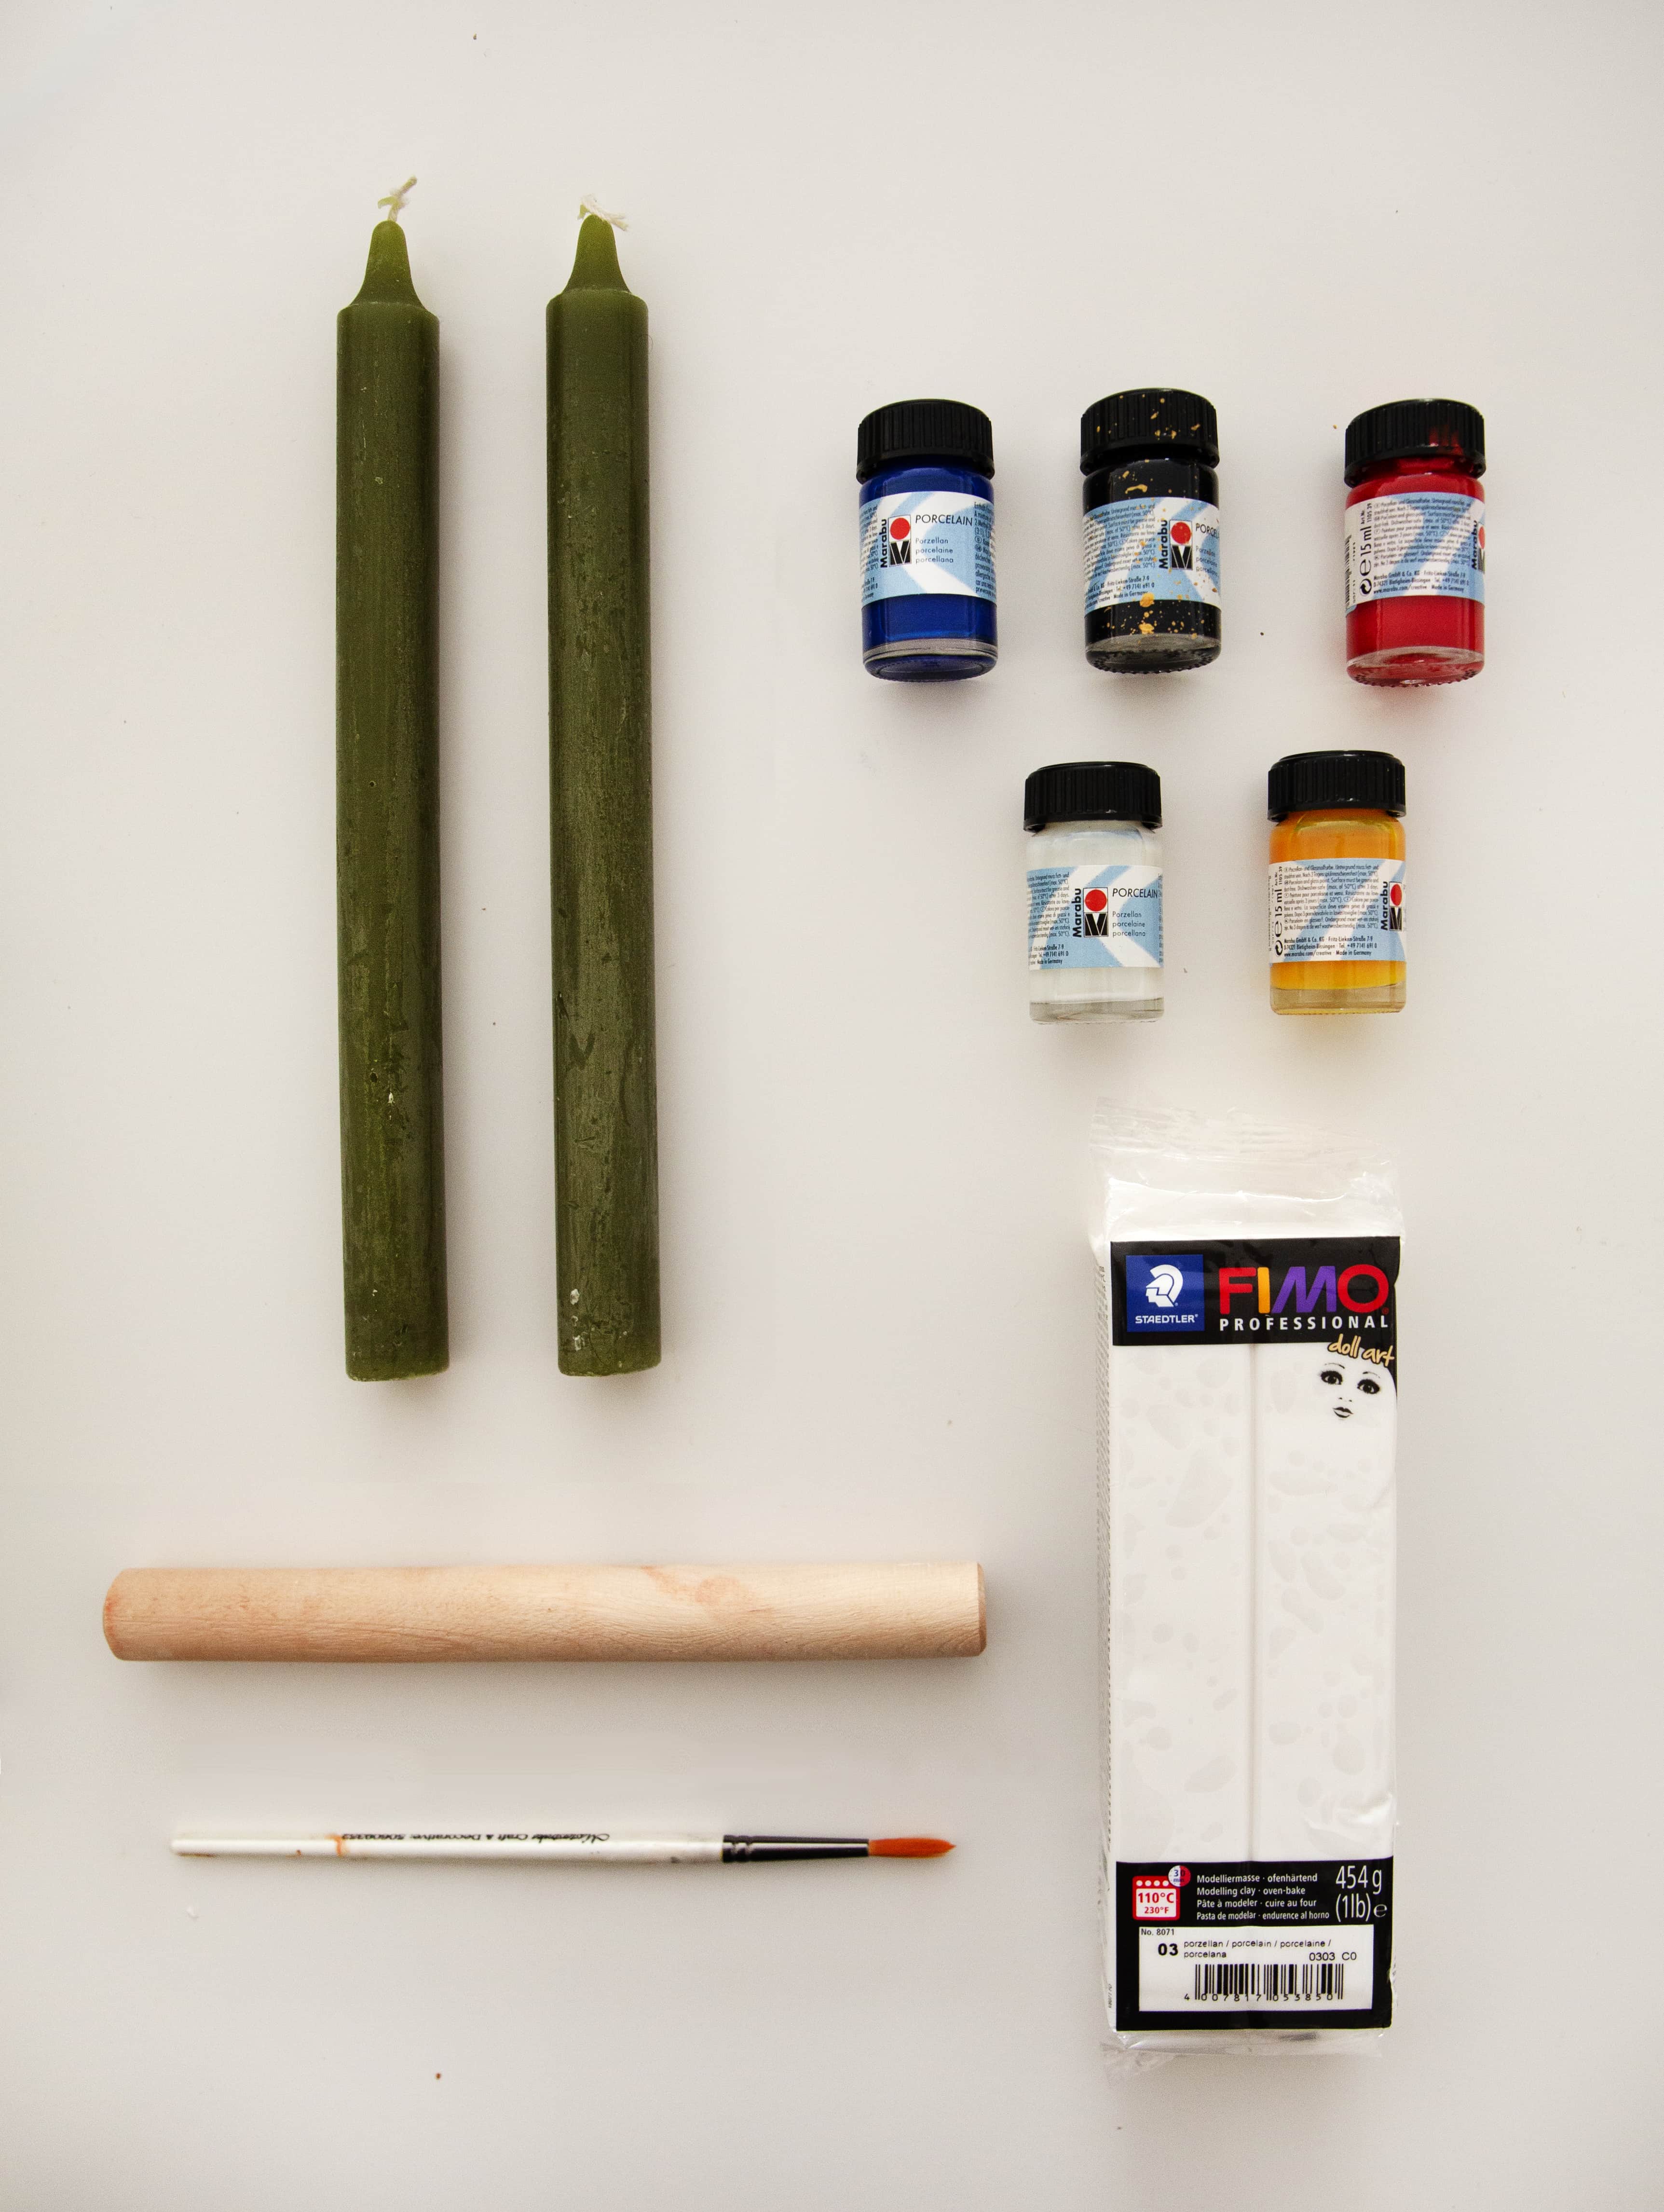
Materials
- Taper candle sticks
- White fimo block
- Rolling pin
- Marabu porcelain paint
- Paint brush
- Craft knife
- Lined baking tray
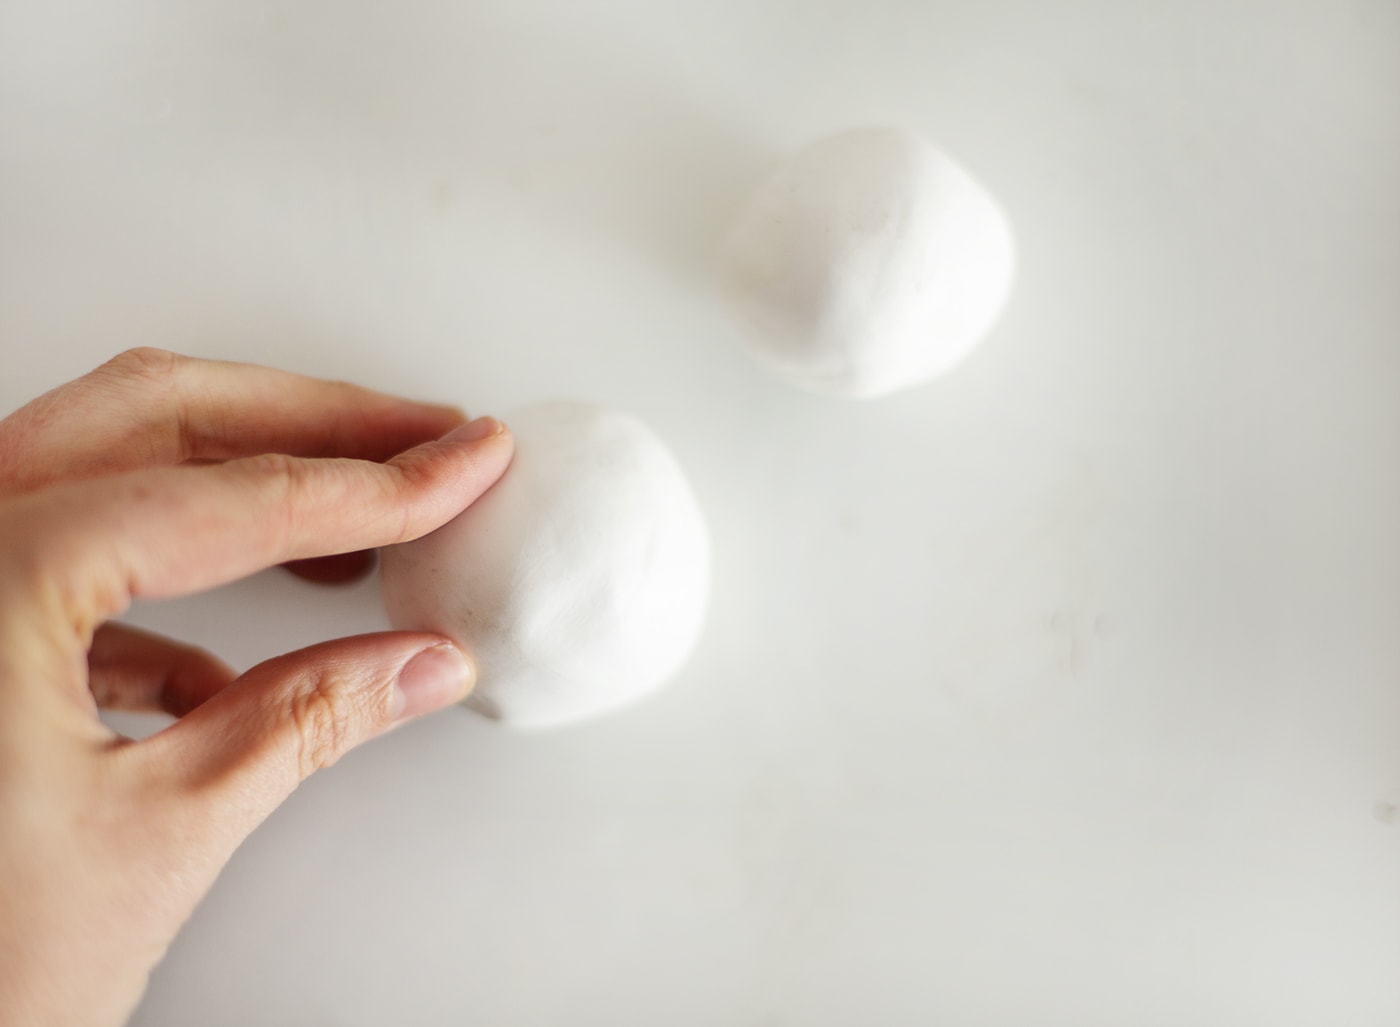
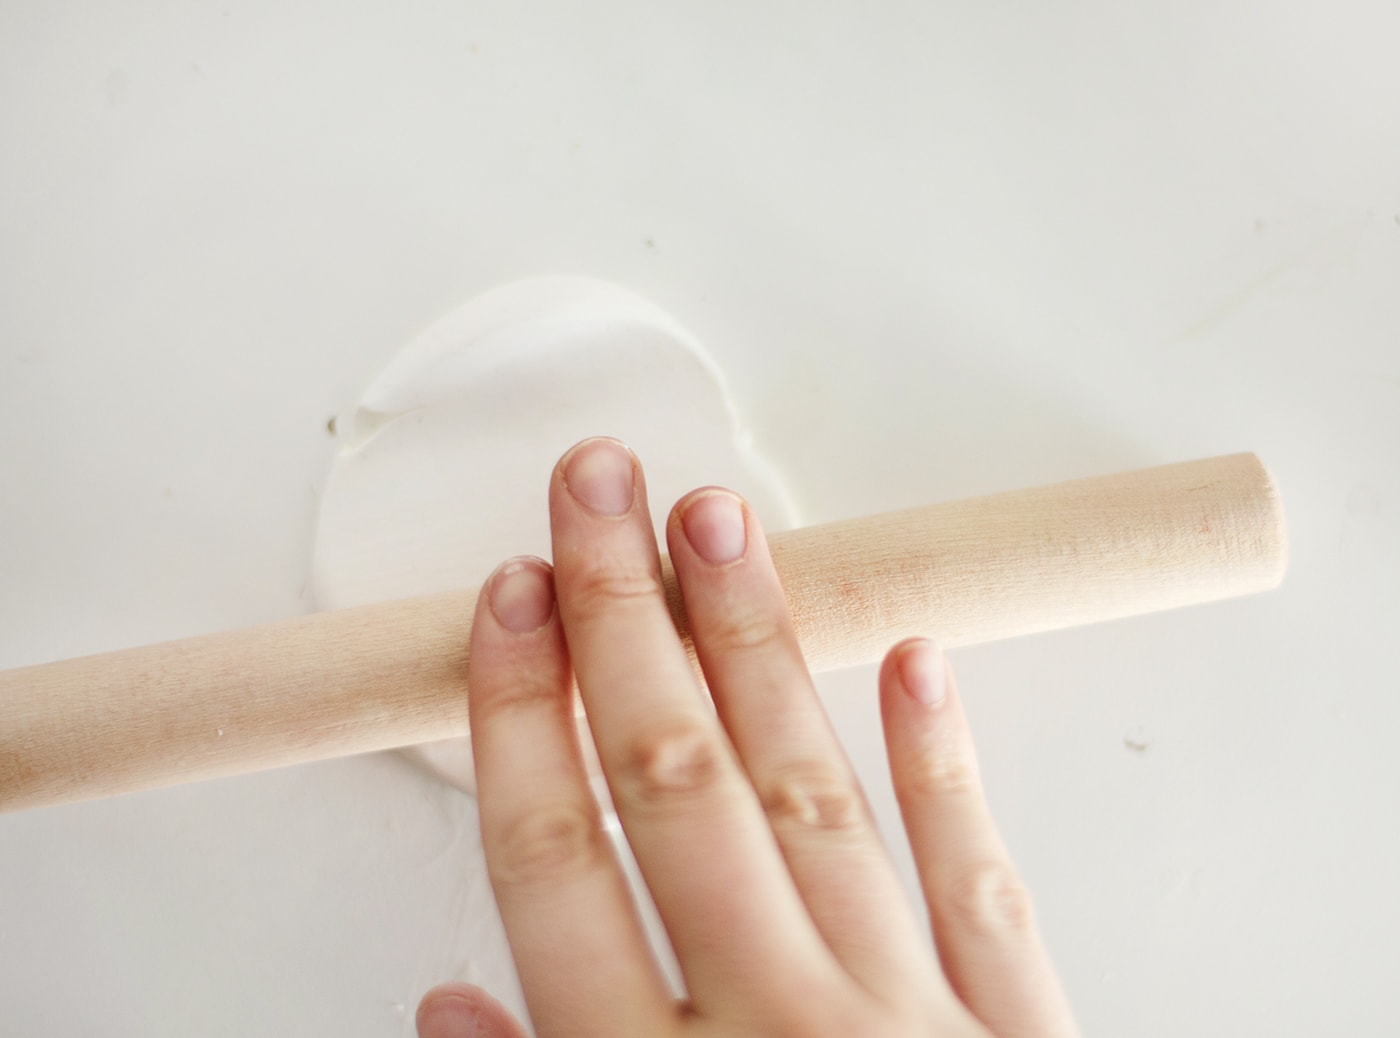
Start by rolling two balls of the fimo clay, one larger than the other.
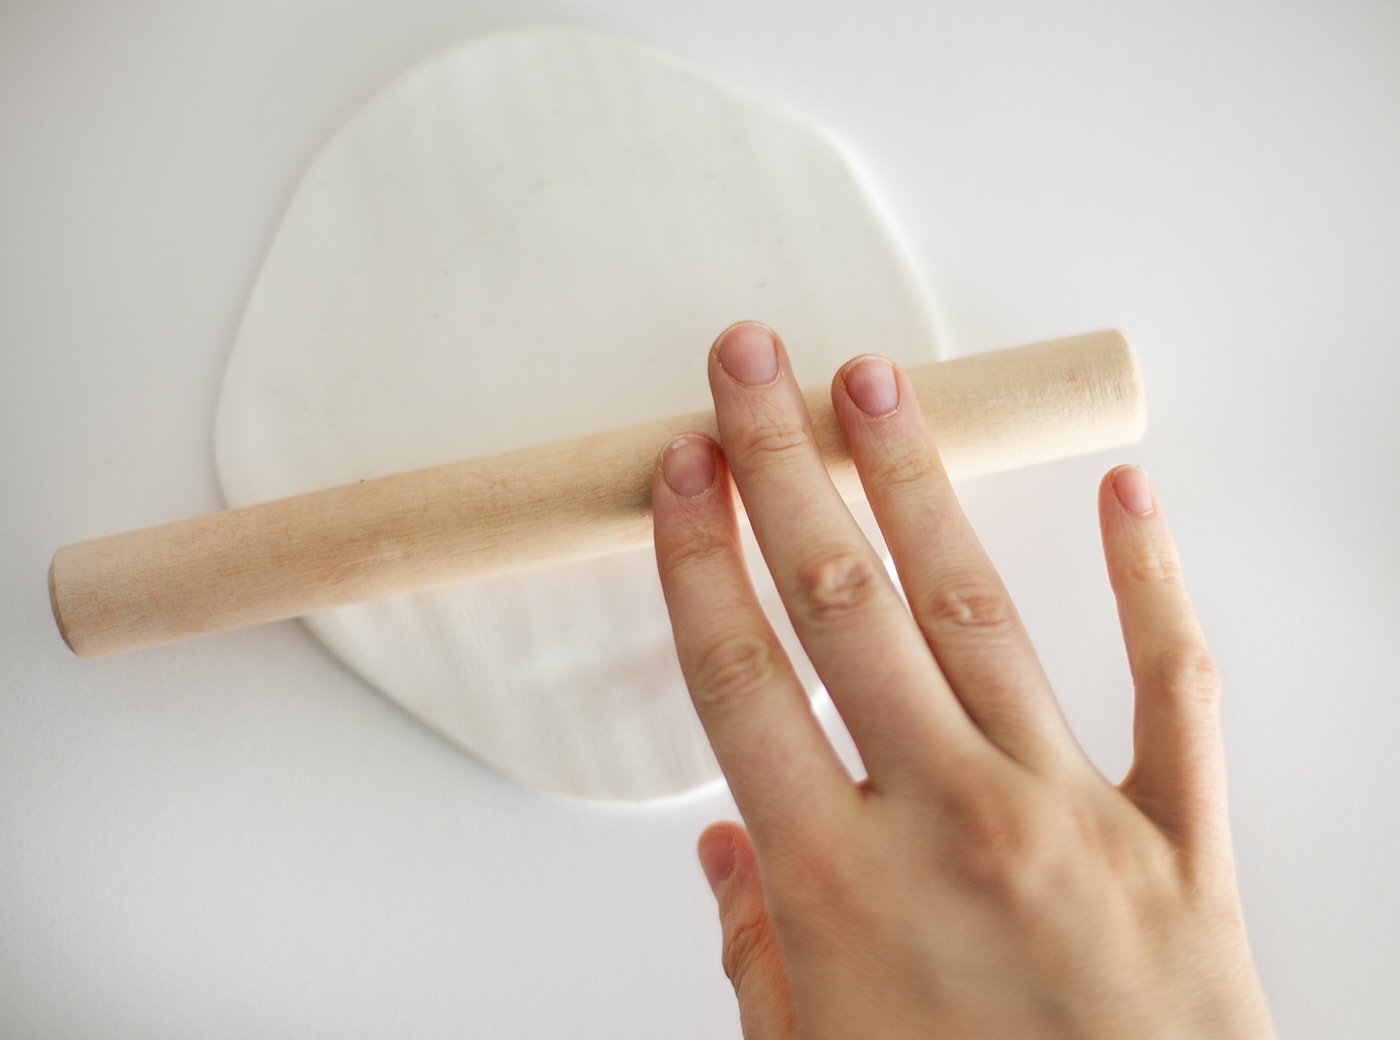
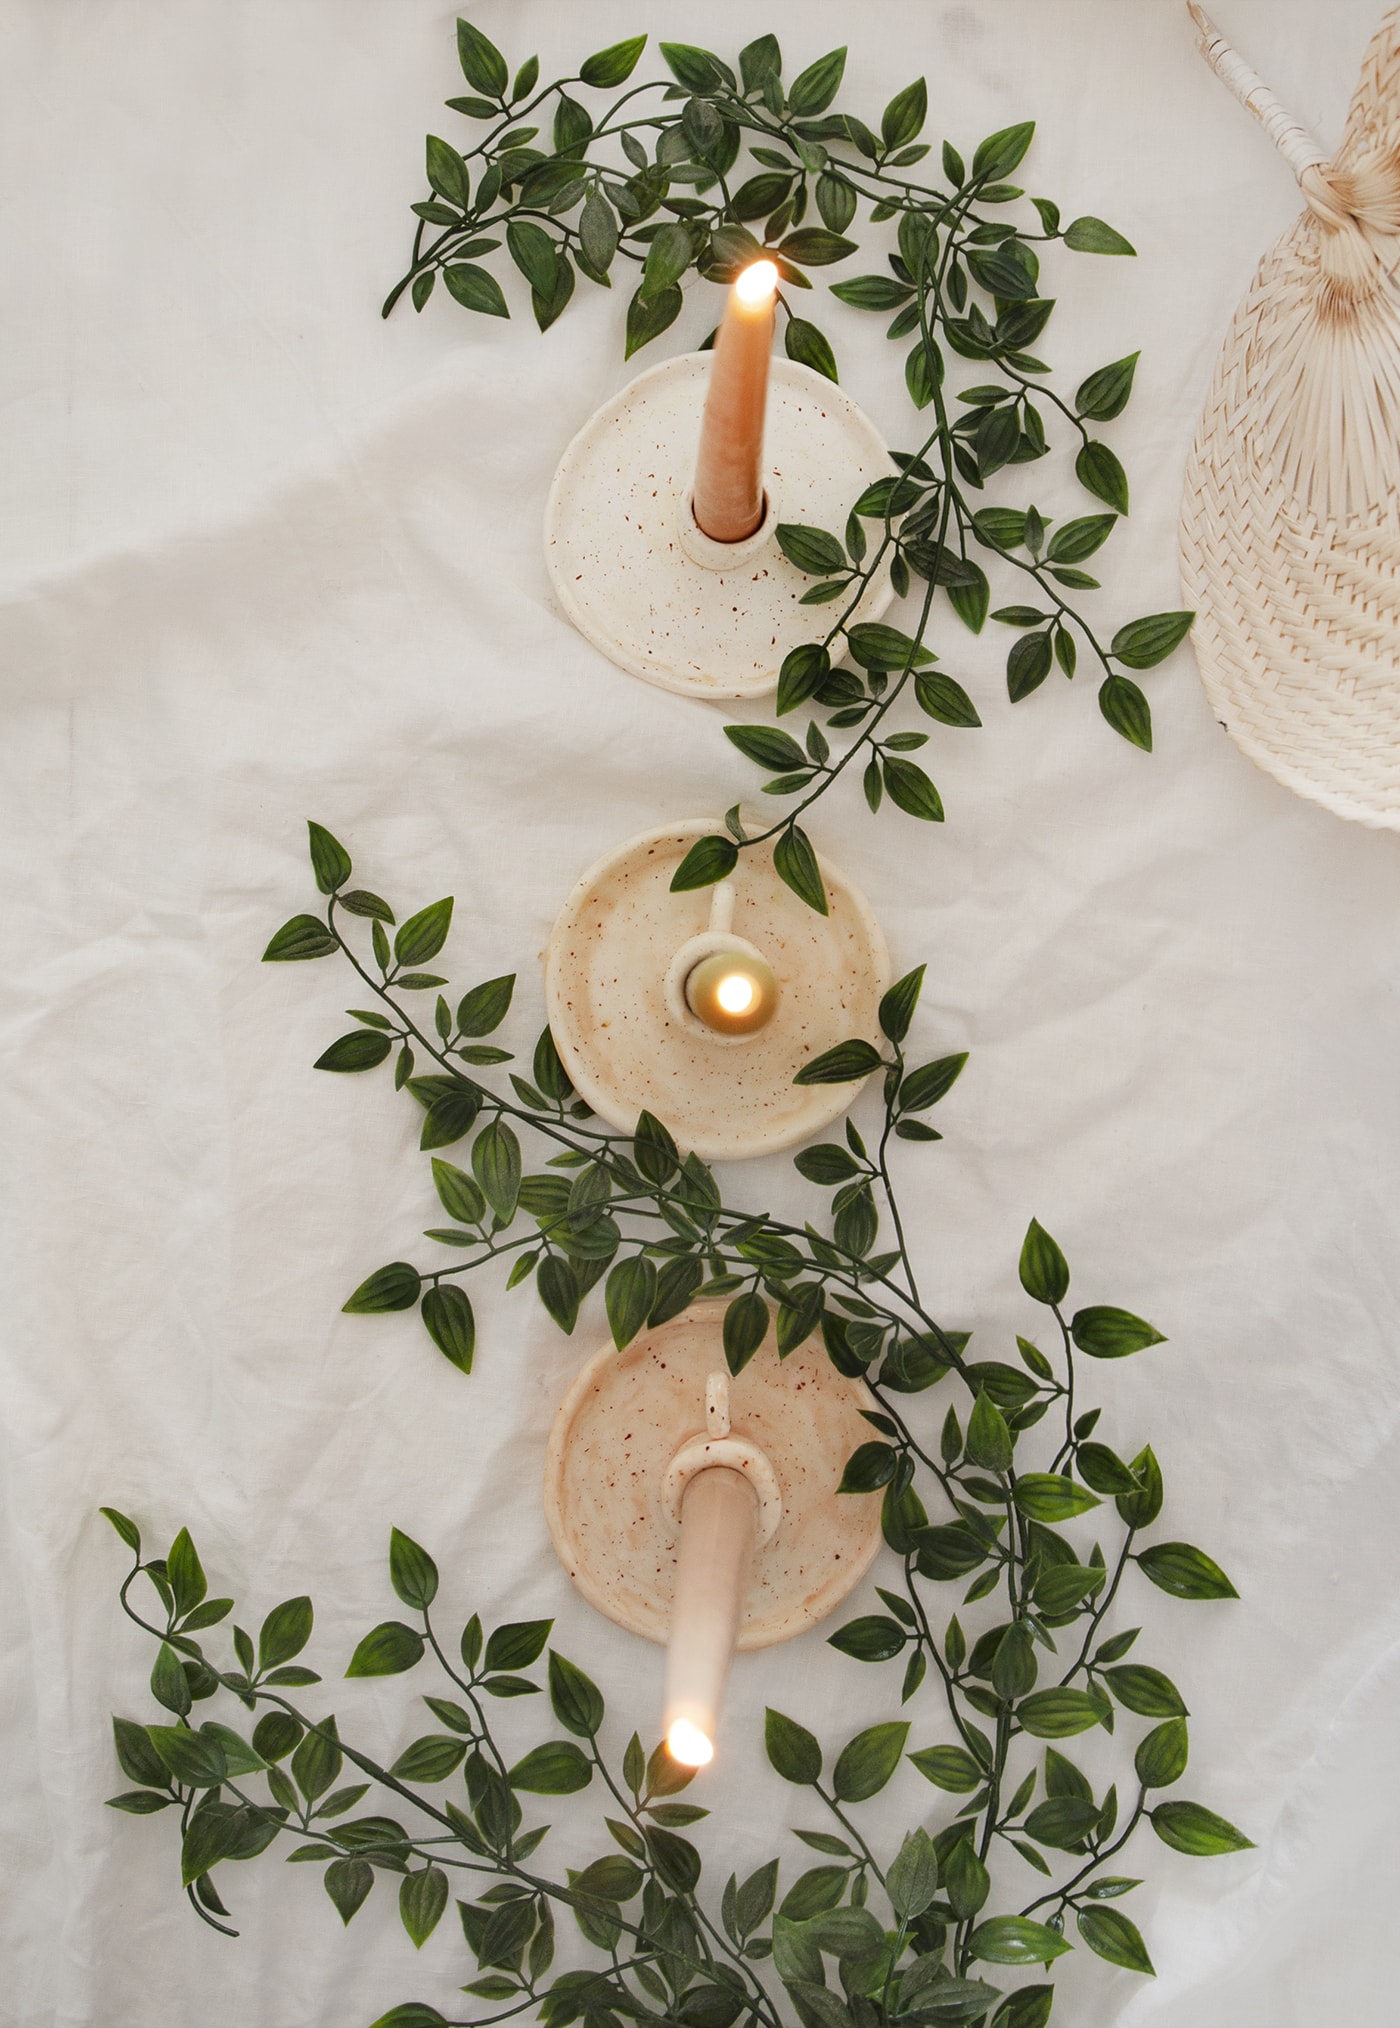
Roll the larger one out to about 1cm thickness to create circle.

Use your fingers to pull up the edges to make a lip all the way around.
Then take your smaller ball of fimo clay and roll out to about 1cm thickness again.
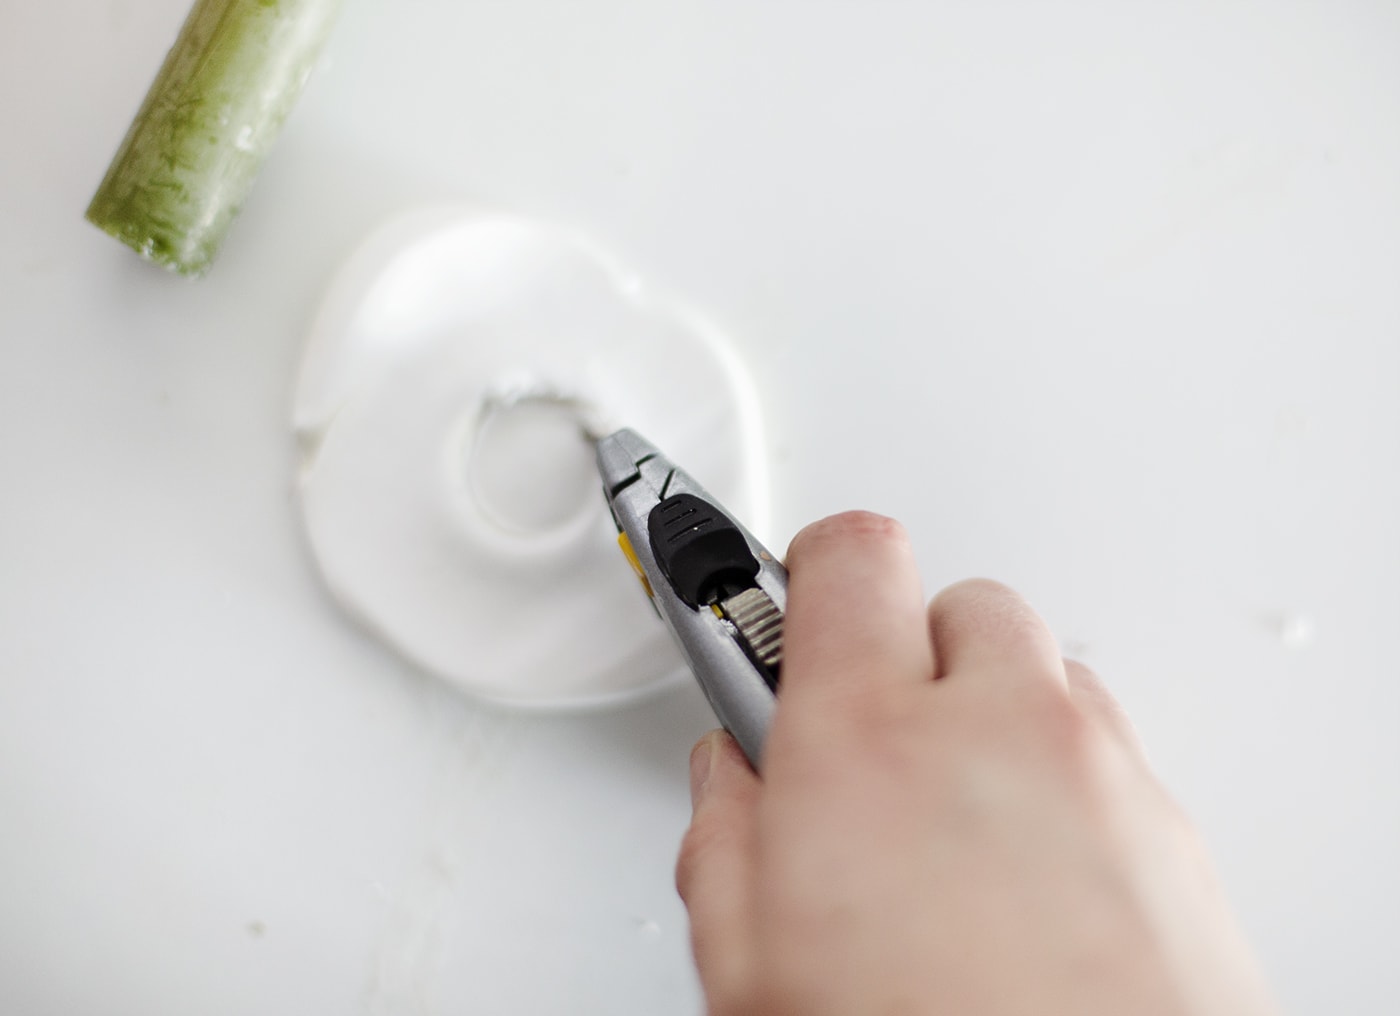
Place the candlestick on top of the clay and draw around with your knife. Then cut through the whole thickness, following that round marking.
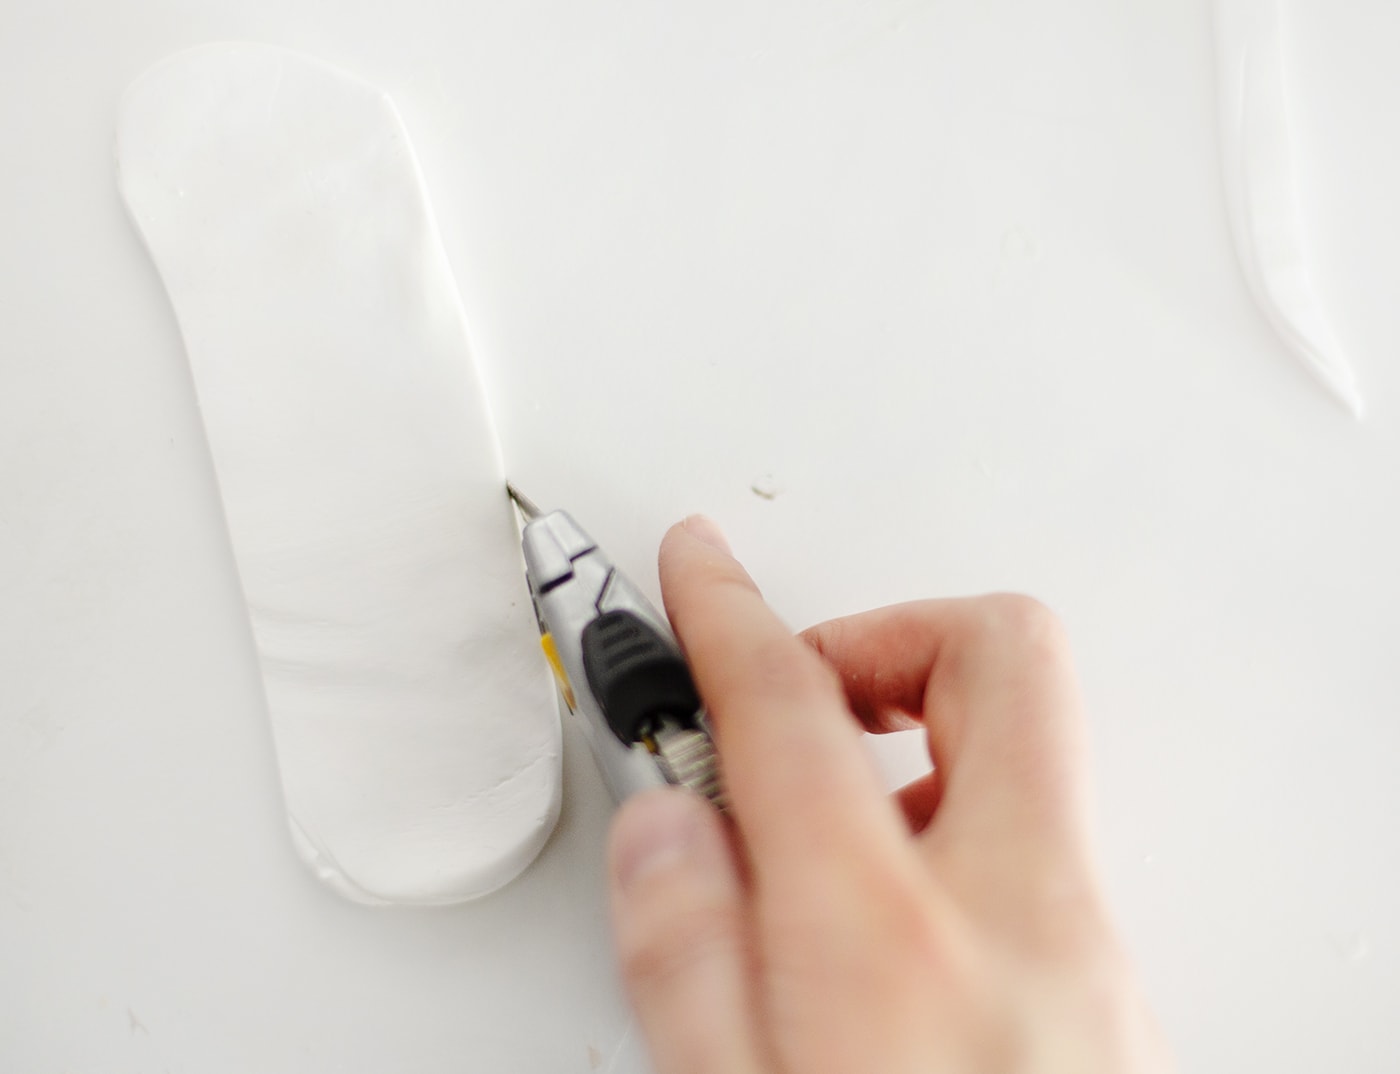
Roll up the excess clay and then roll a long strip to about 1cm thickness, Cut a rectangular shape the the desired height. This will become what the candle is sat in.
Now wrap this rectangular piece around the circular base and cut where it needs to join.
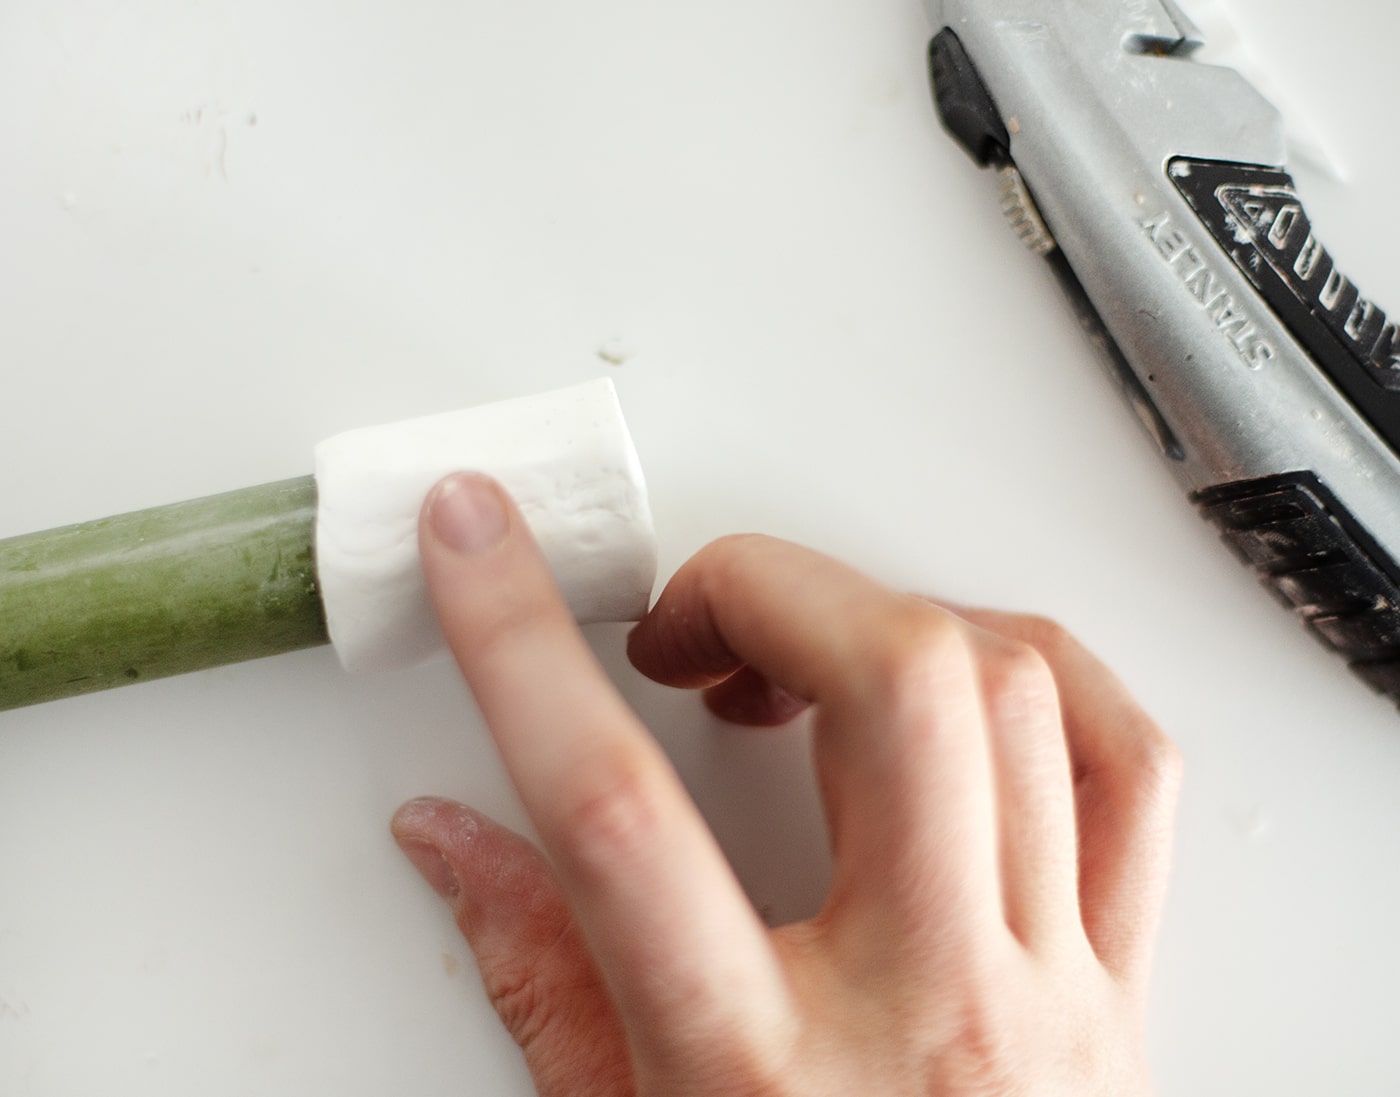
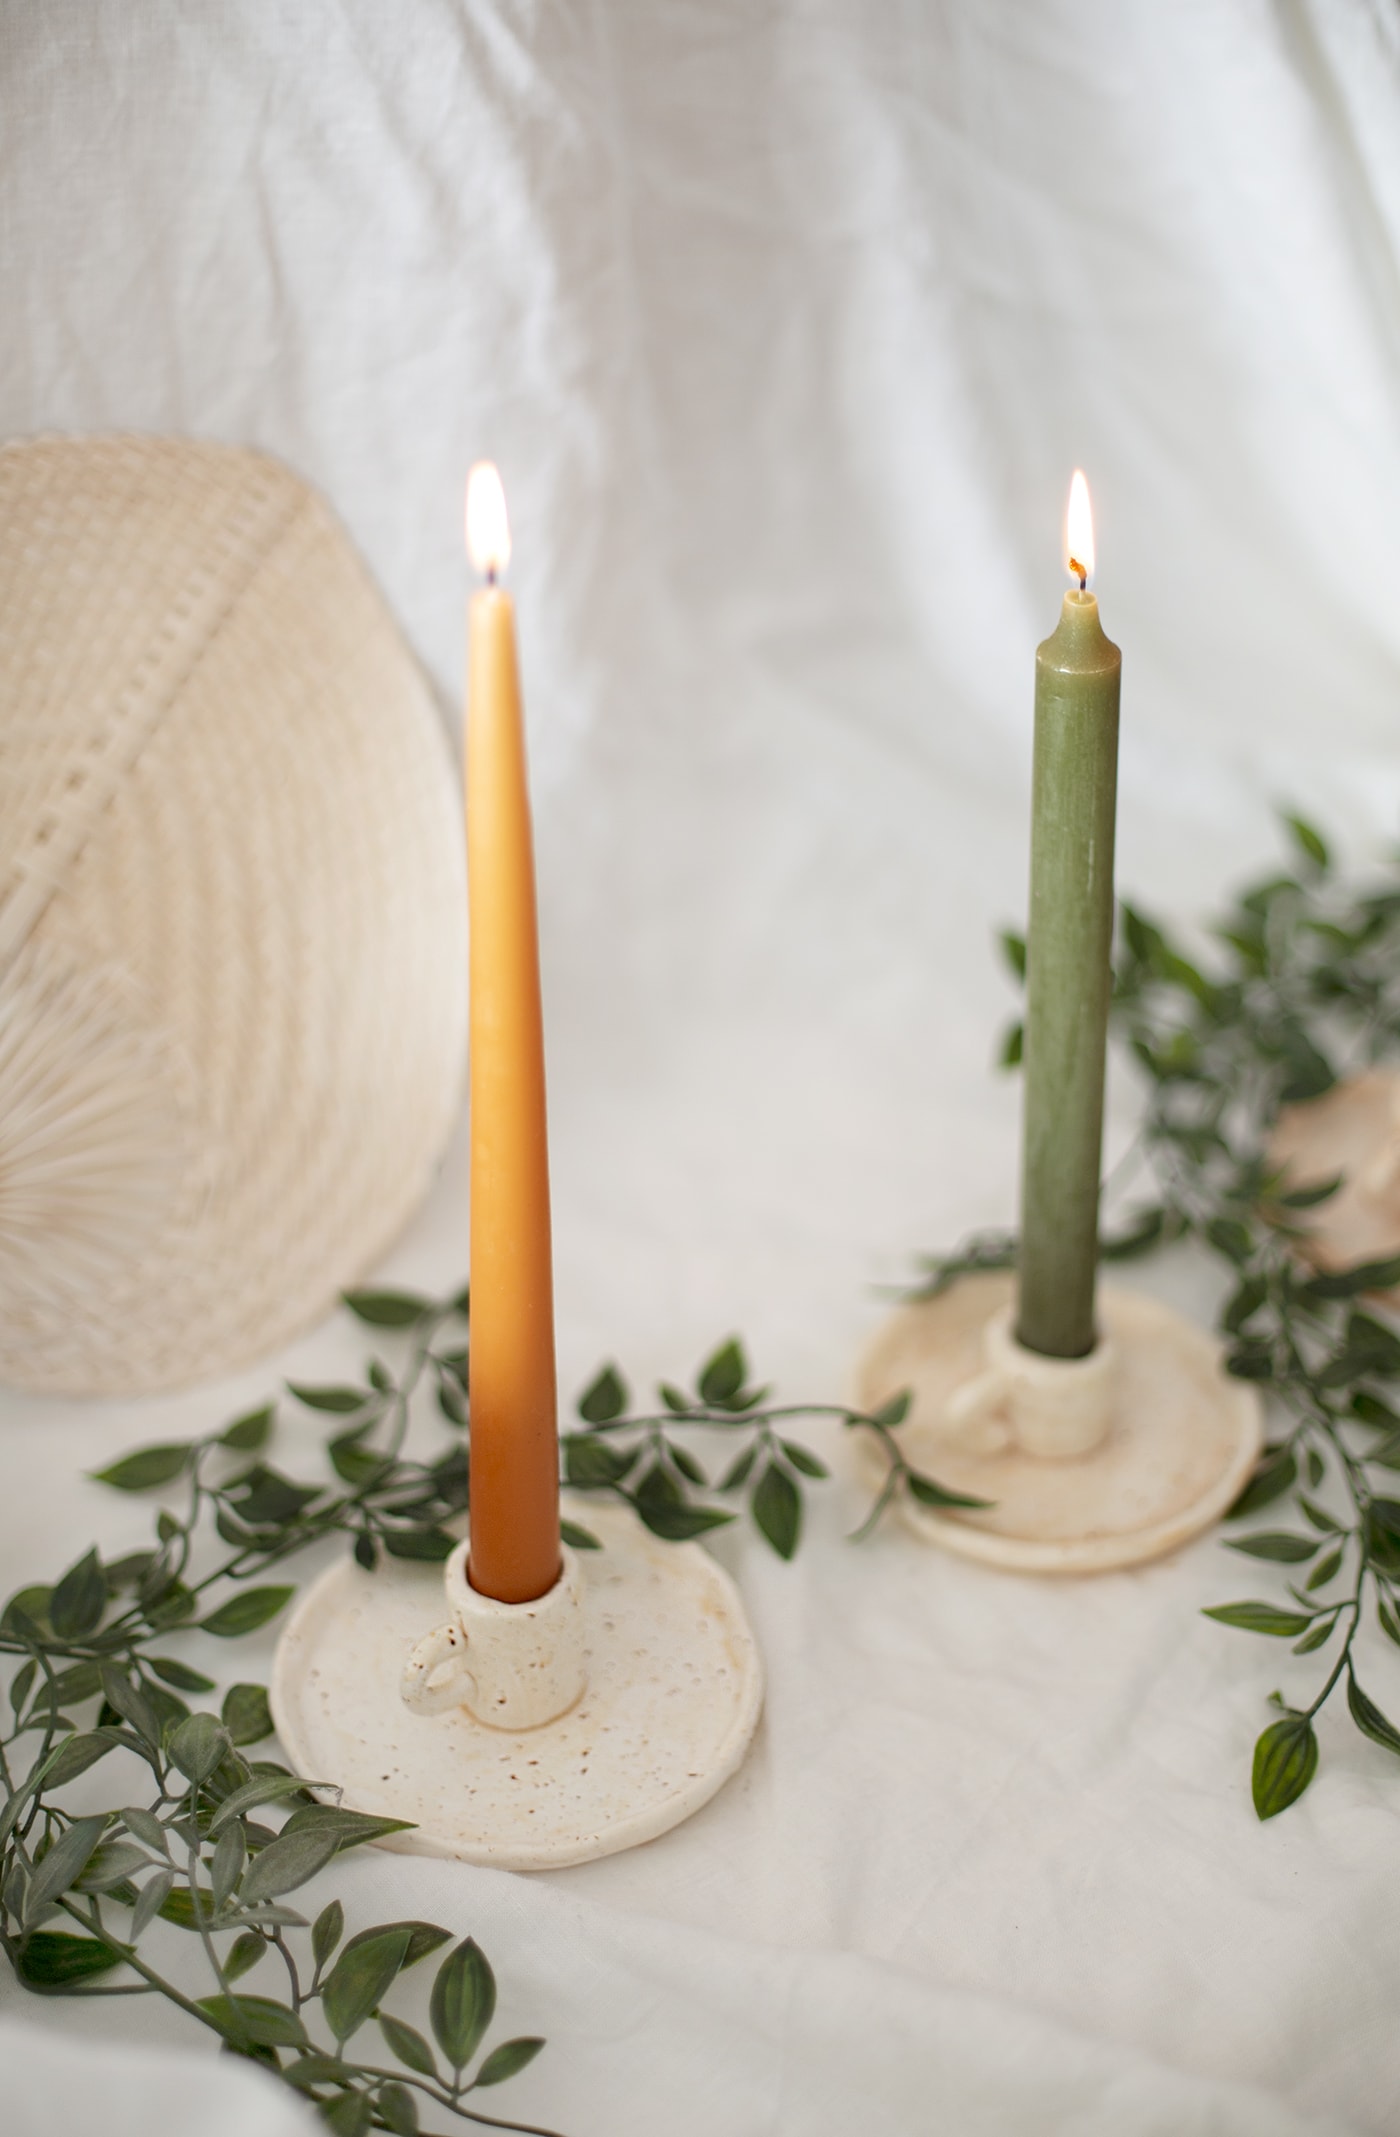
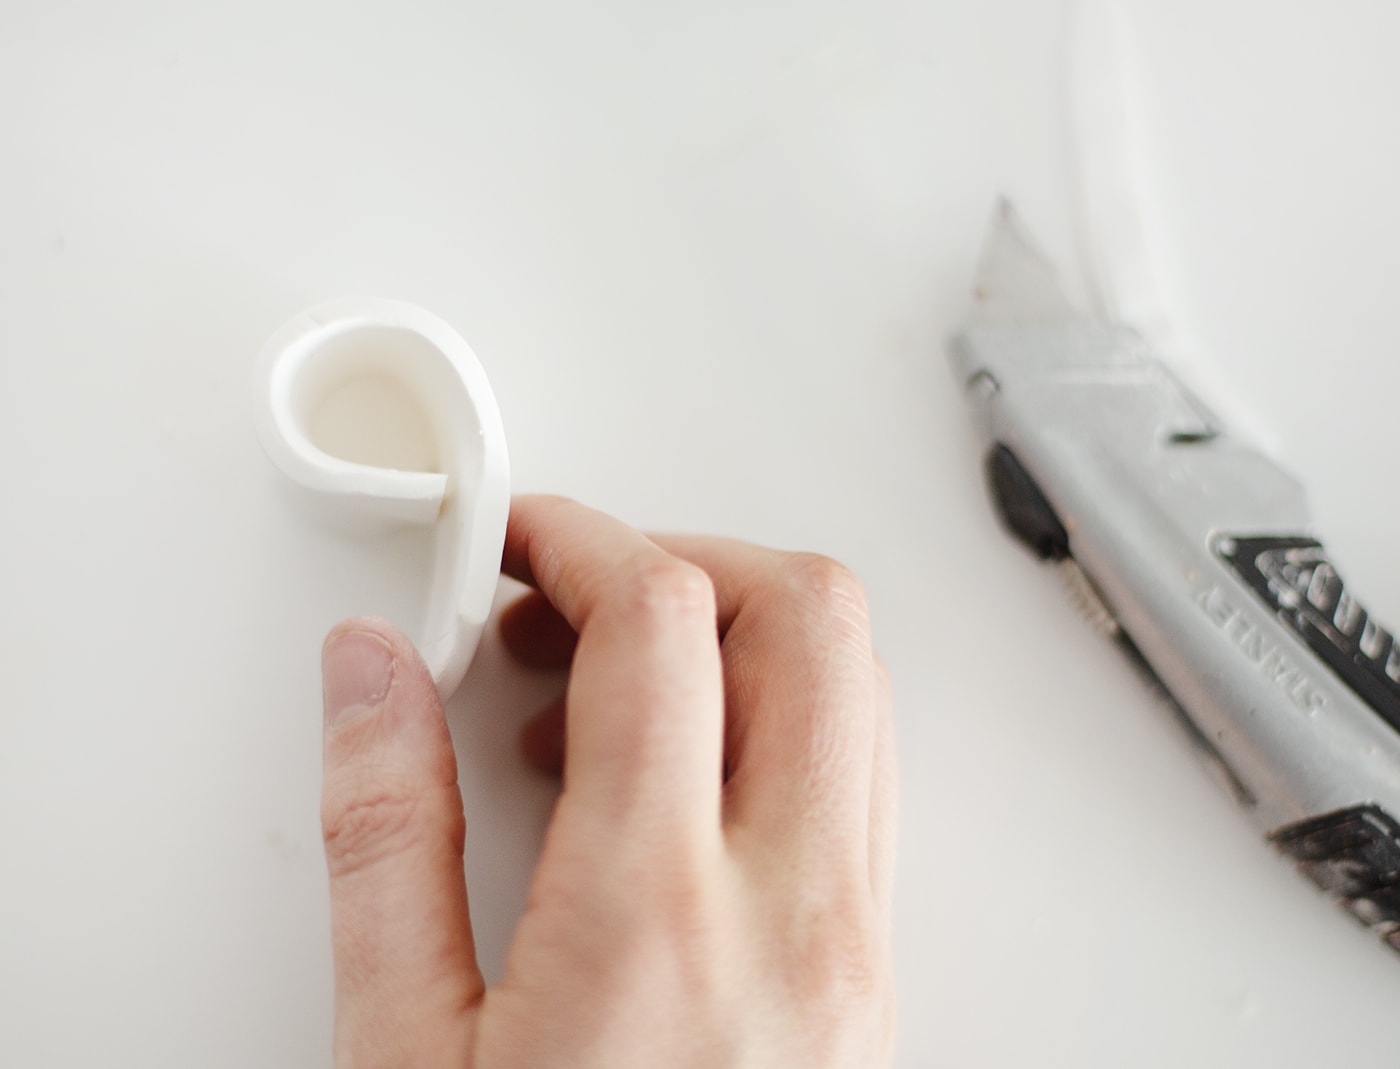
Flatten the two ends slightly and then place your candle inside. Use your knife and fingers to pull the clay together and smooth out the join.
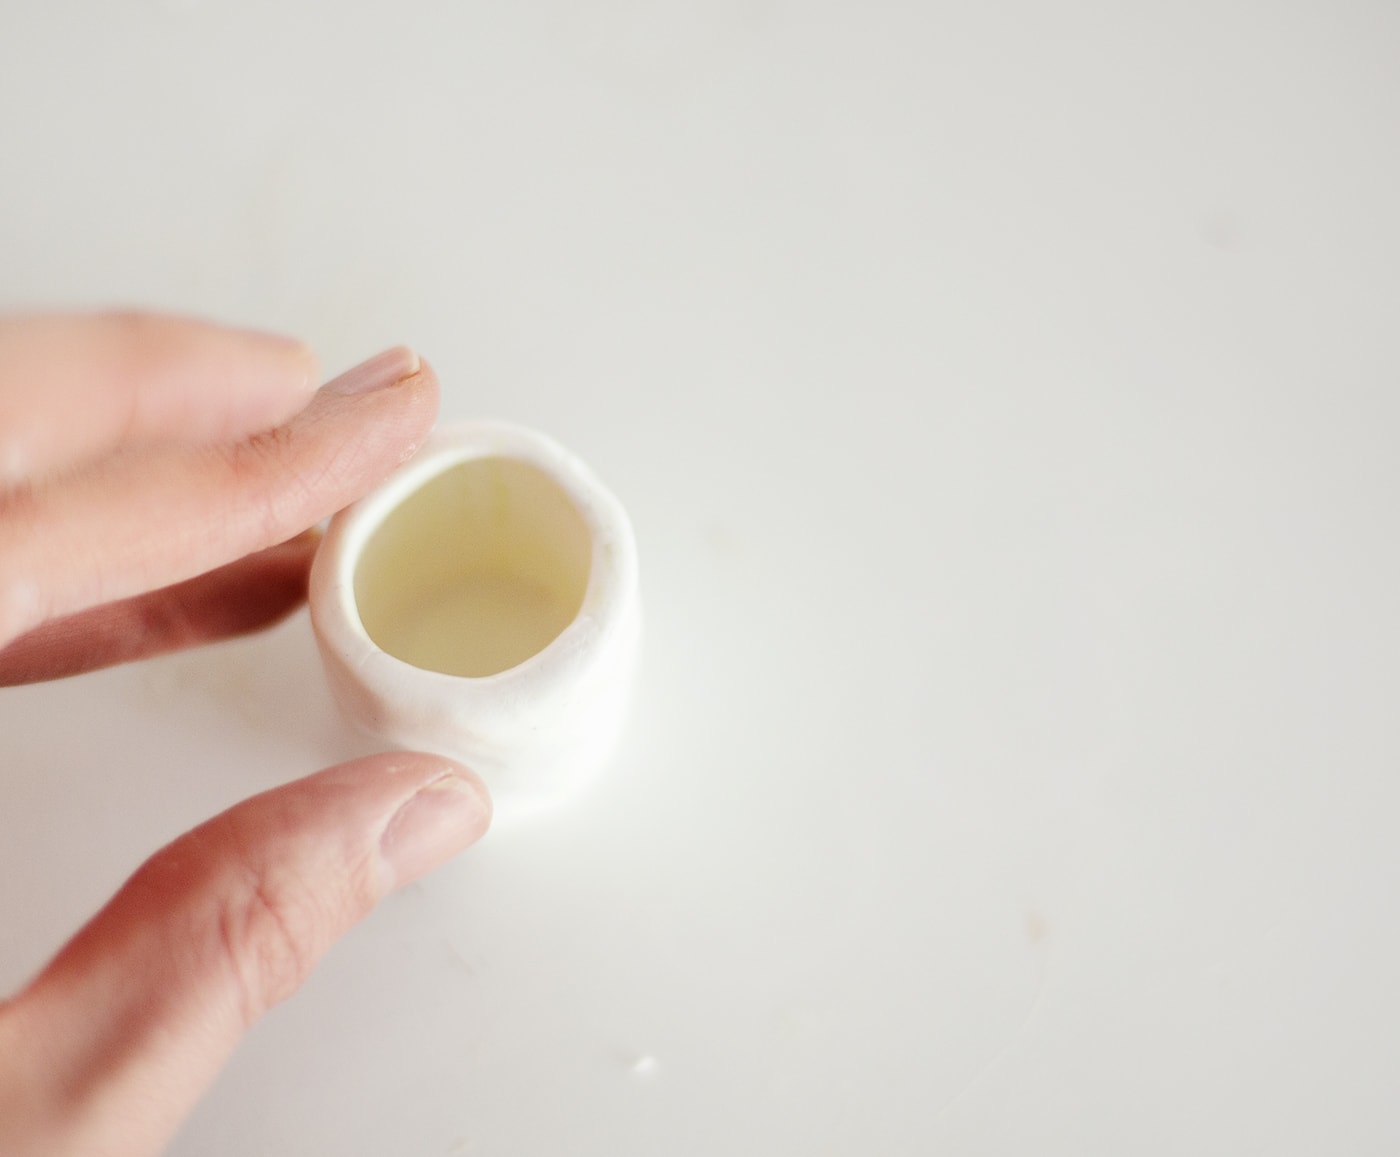
Gently remove the candle and even out if it looses its shape slightly.
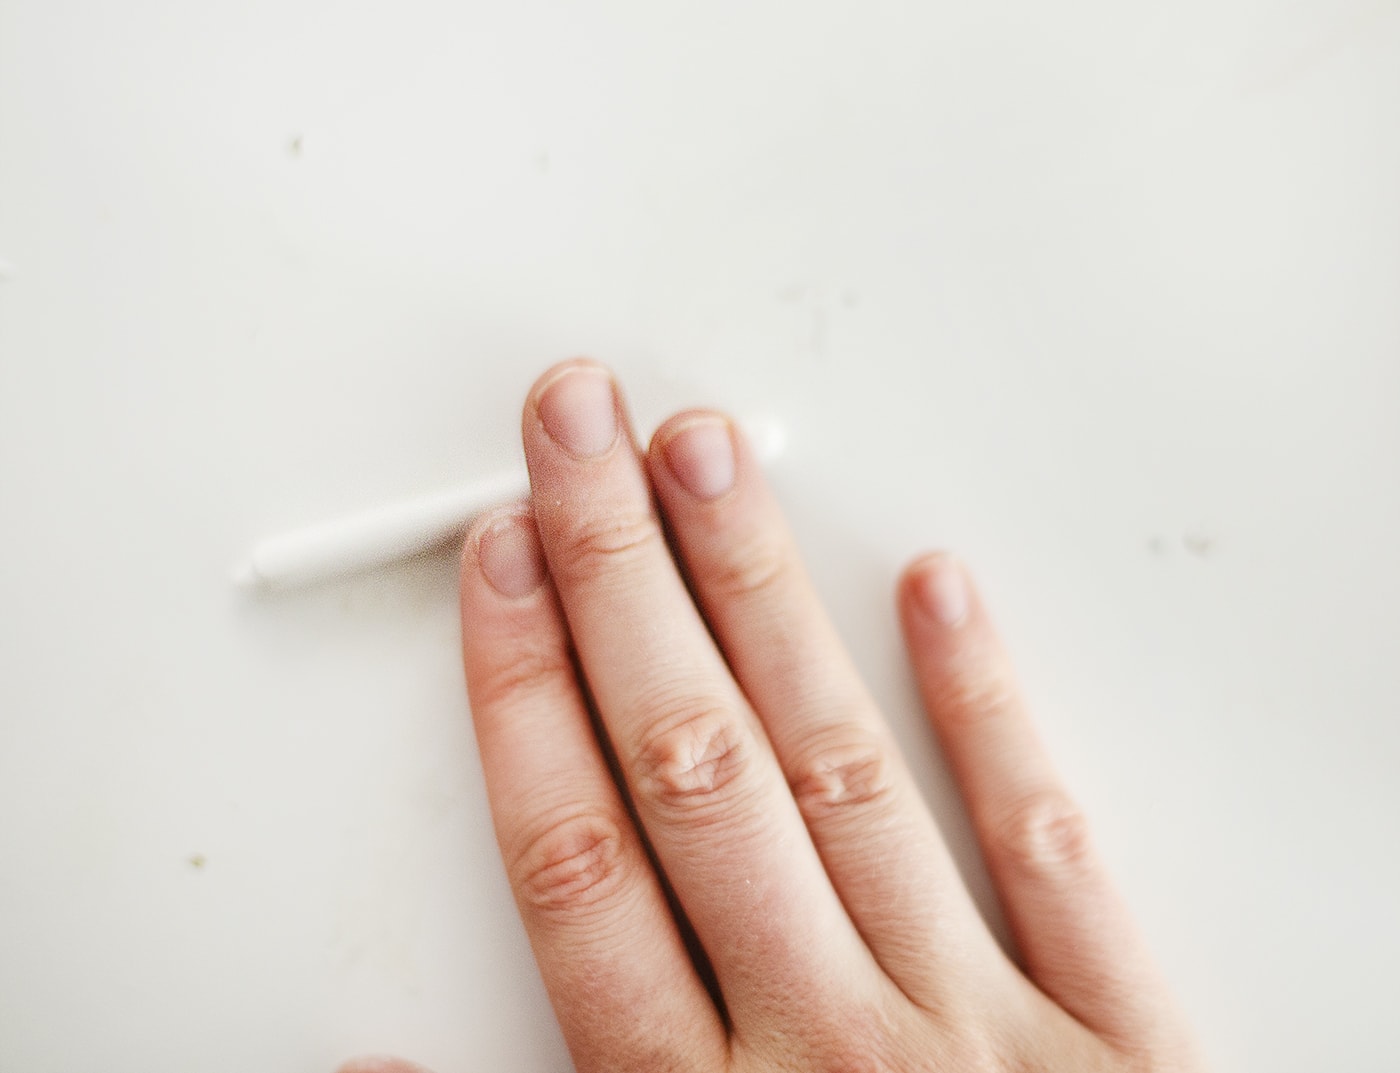
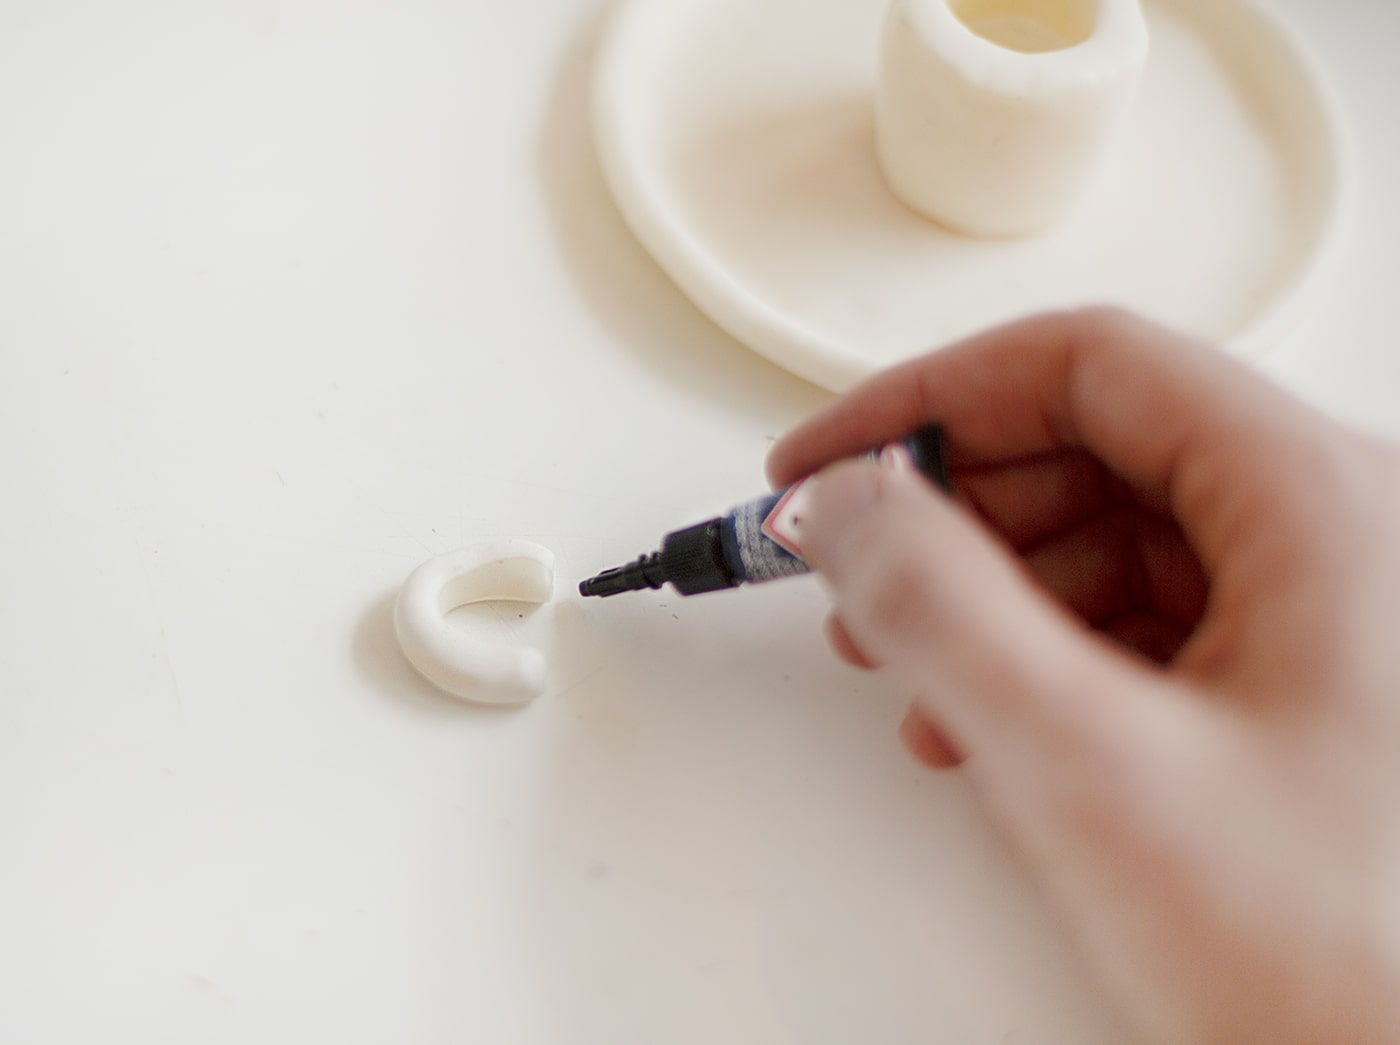
Roll out a fairly thin cylinder to form the handle and cut to the correct length in order to form the right shape.
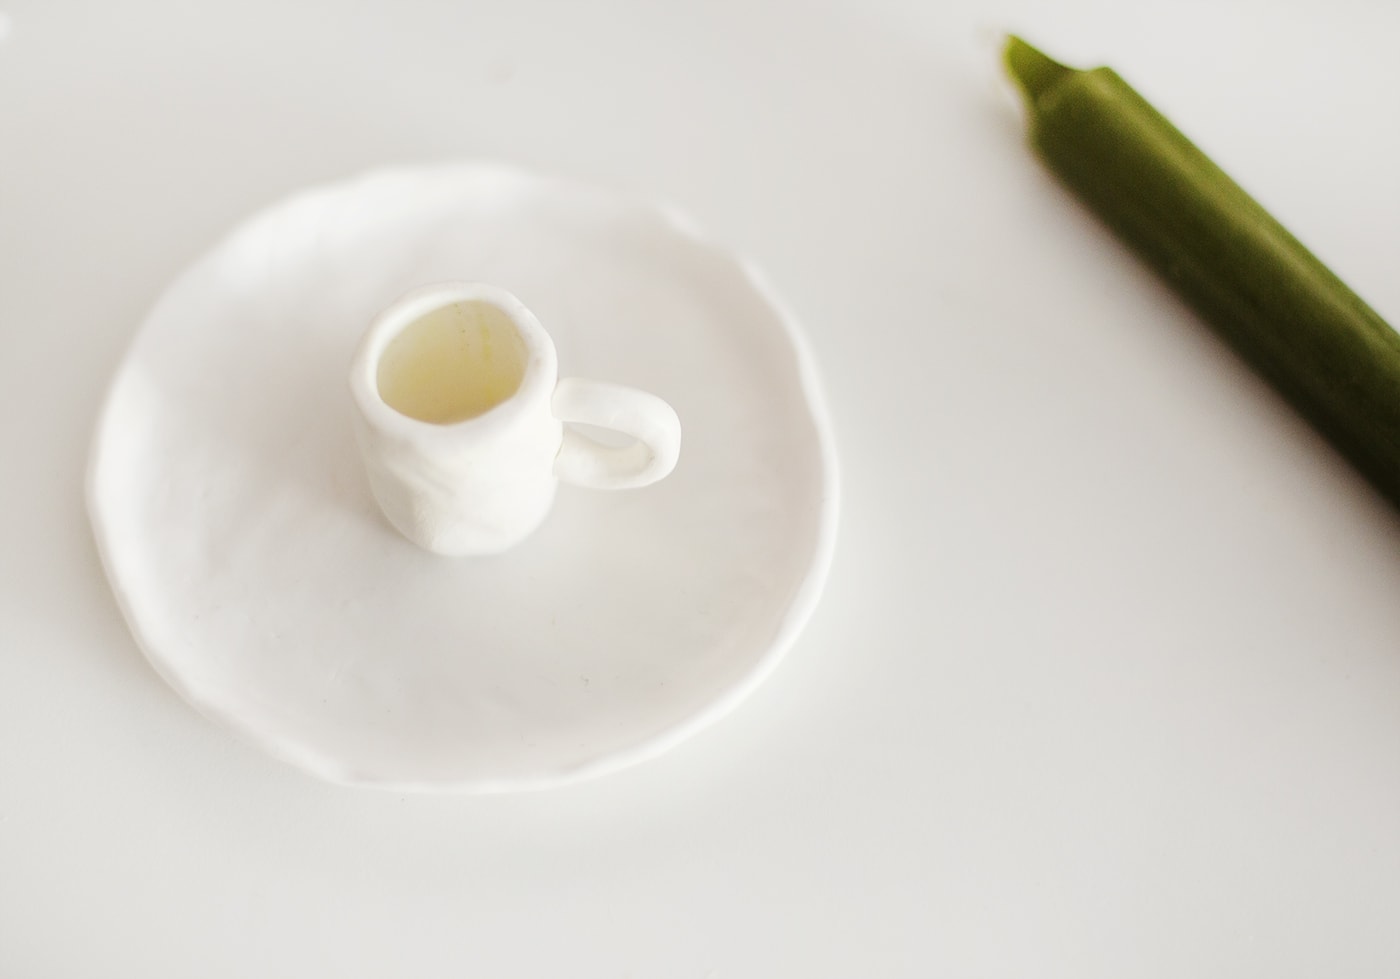
Place each part of the candle holder together and press gently into place but then carefully take each part away from one another to bake.
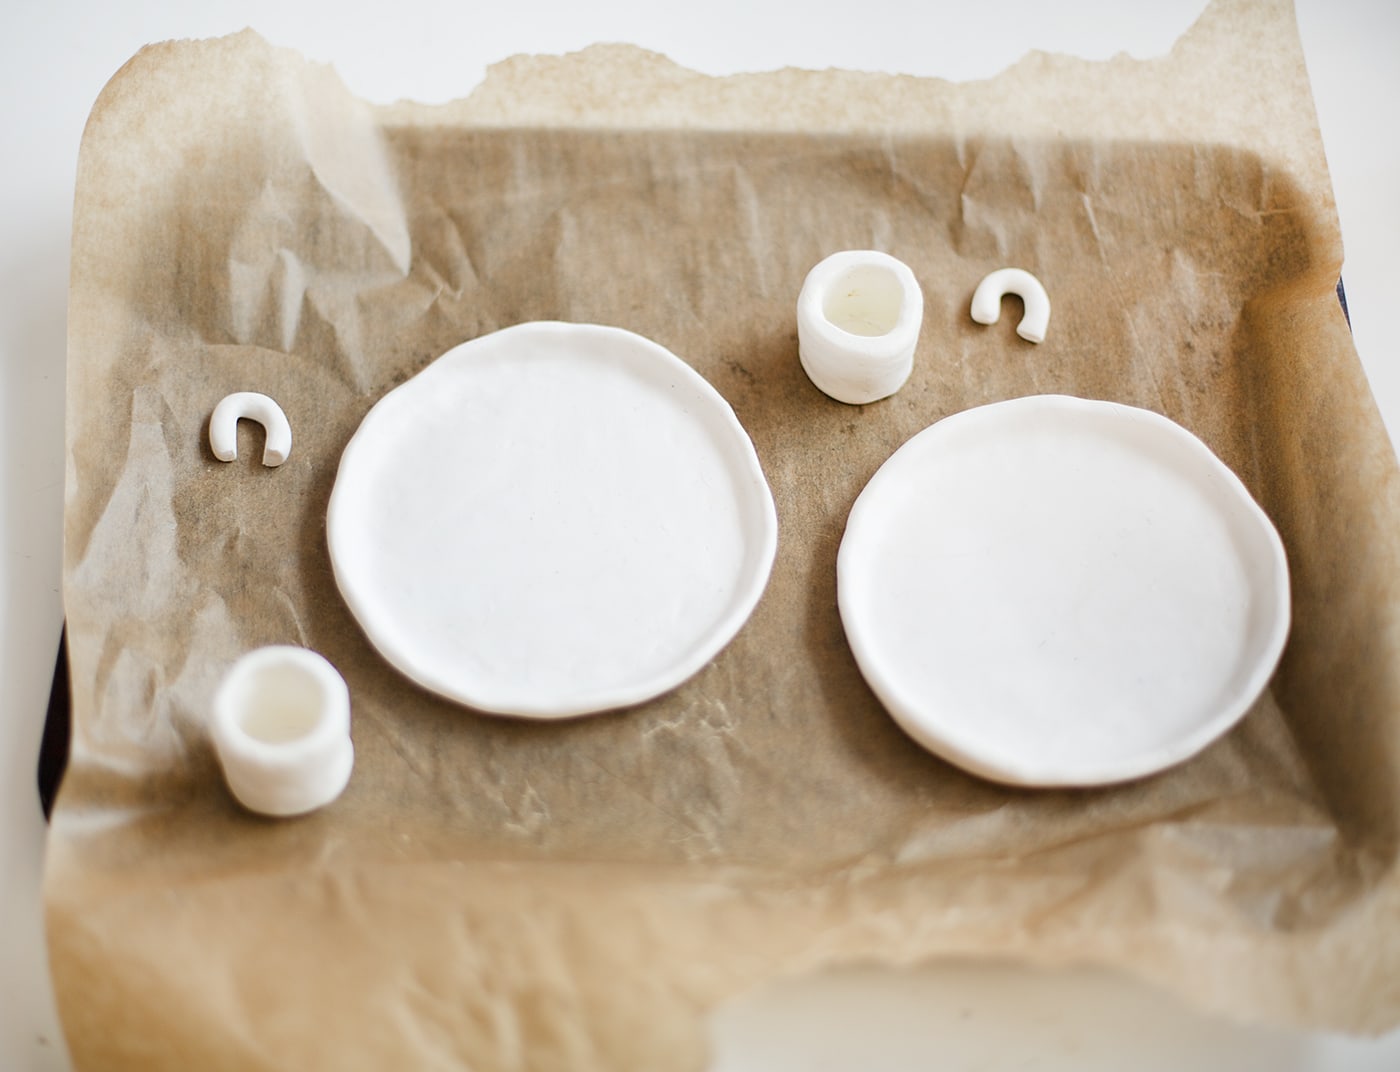
Lay all the pieces out on a baking tray and bake following the instructions for your clay.
Once baked and cooled, use super glue to stick each piece together, holding in place while it fixes.
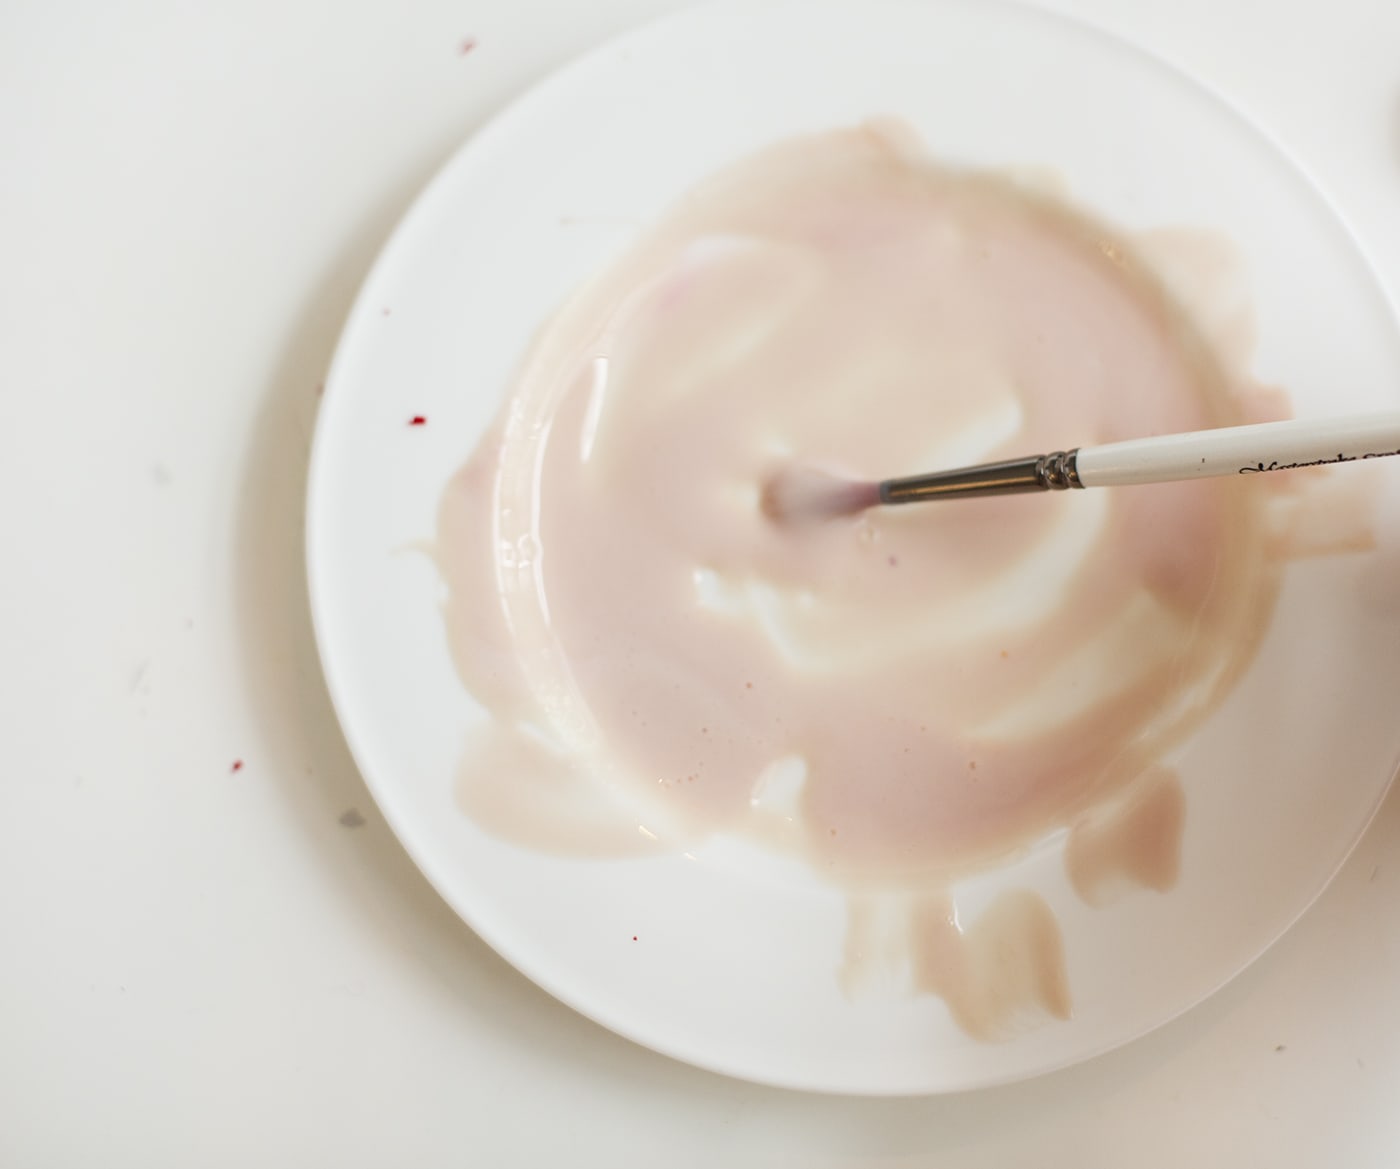
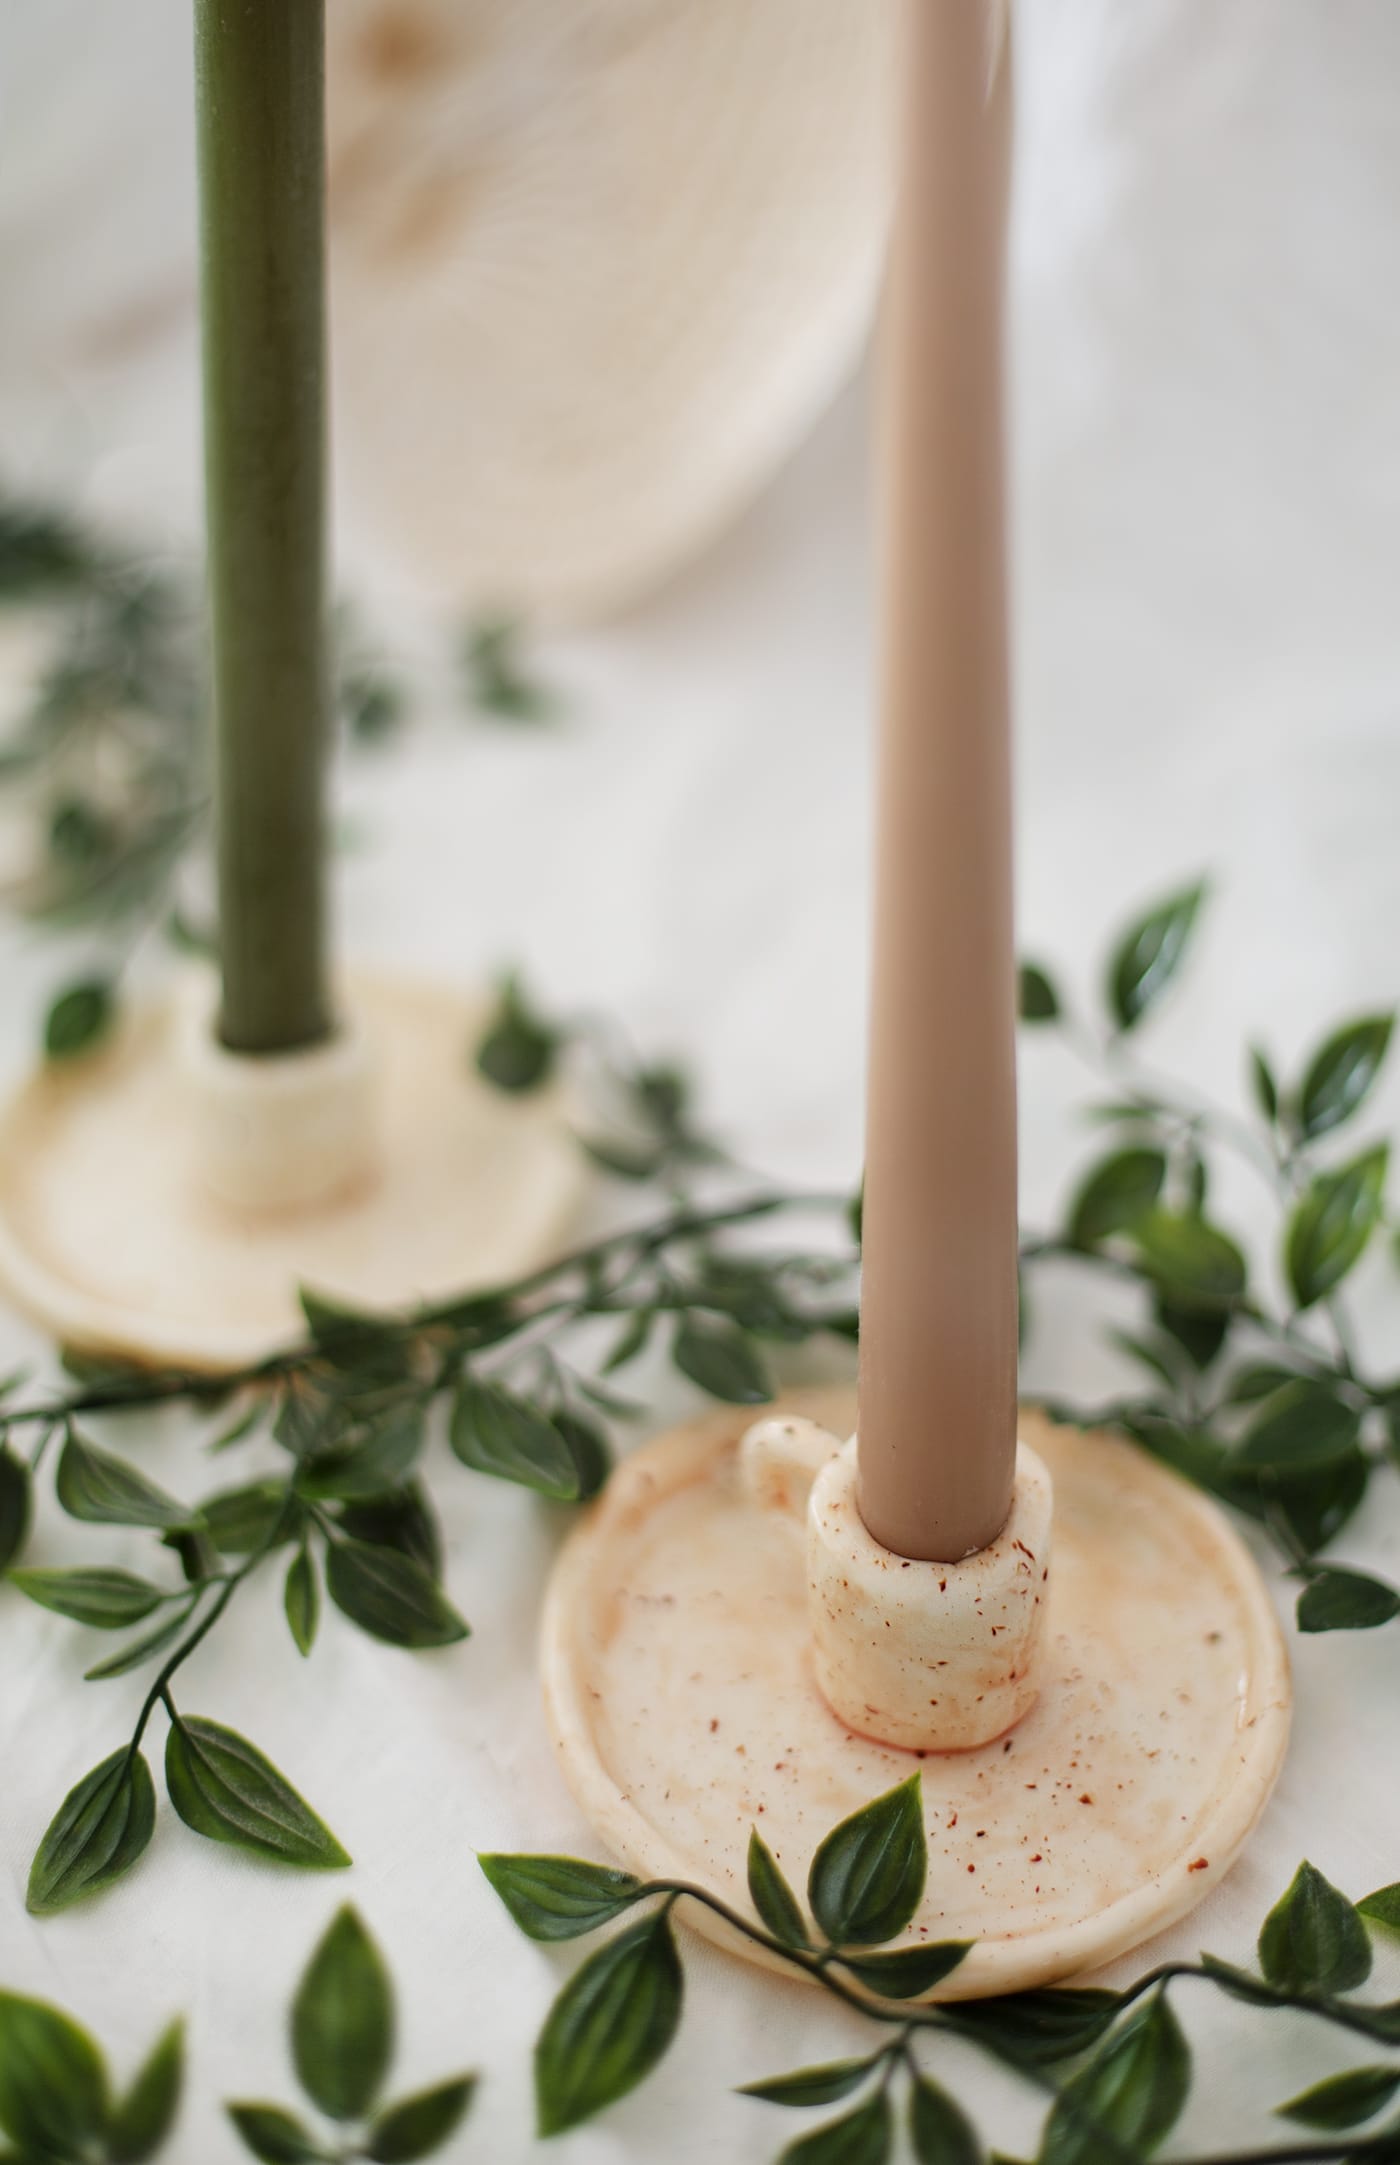
Mix you porcelain paint. Very light colours seem to work the best so start with a base of white and add small drops of other colours to mix. You can even just use the white on it’s own as I did for one of mine.
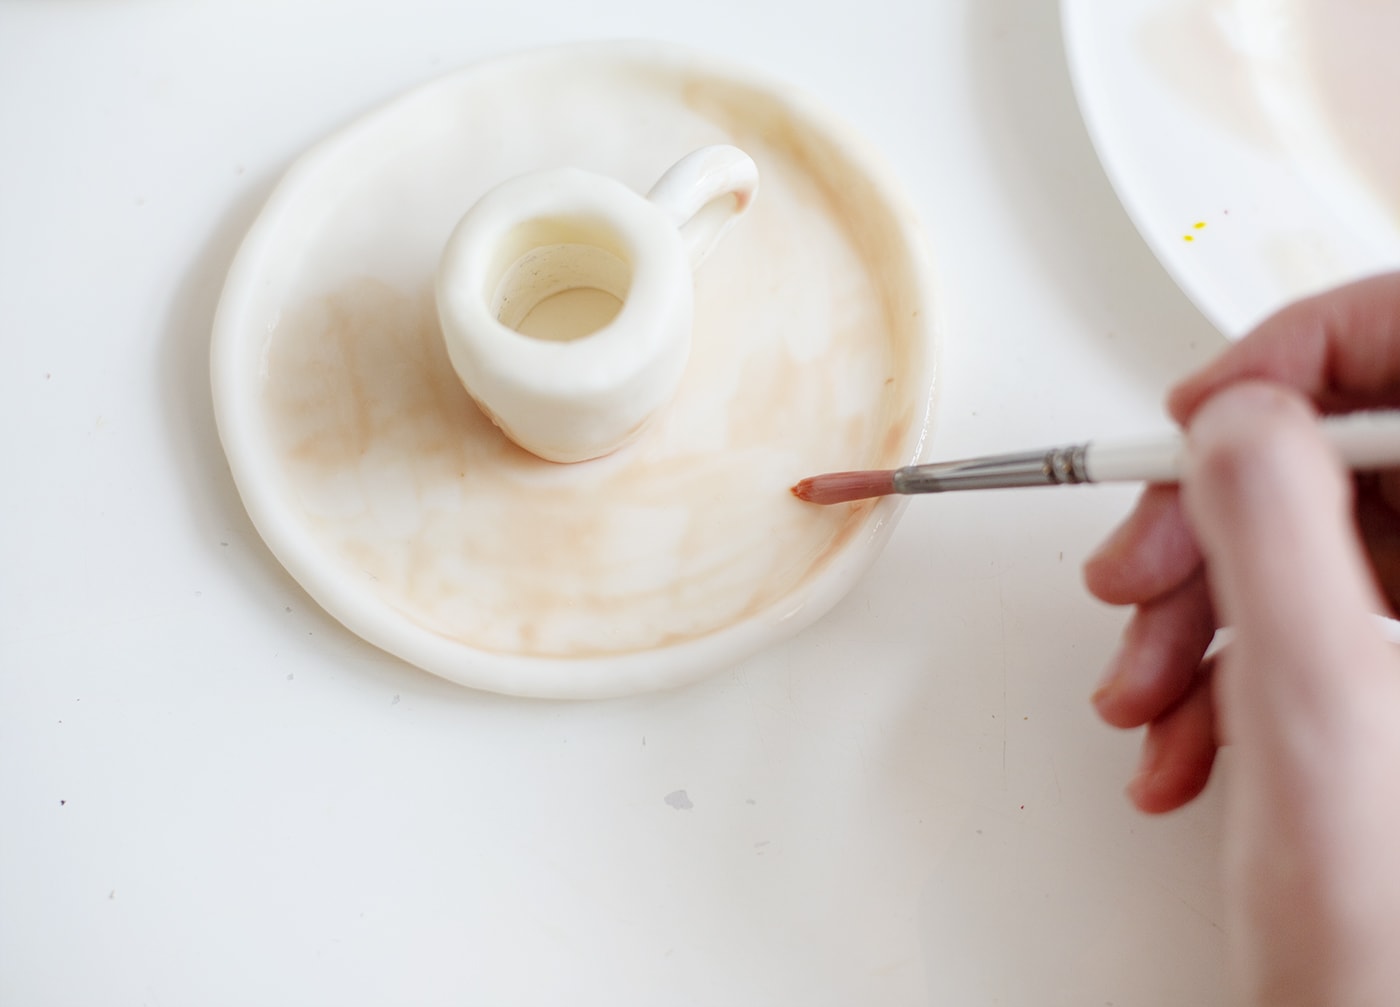
Paint on trying to spread the paint out well but note you will not get a solid colour. This adds to the charm and look. I applied two coats, drying in between.
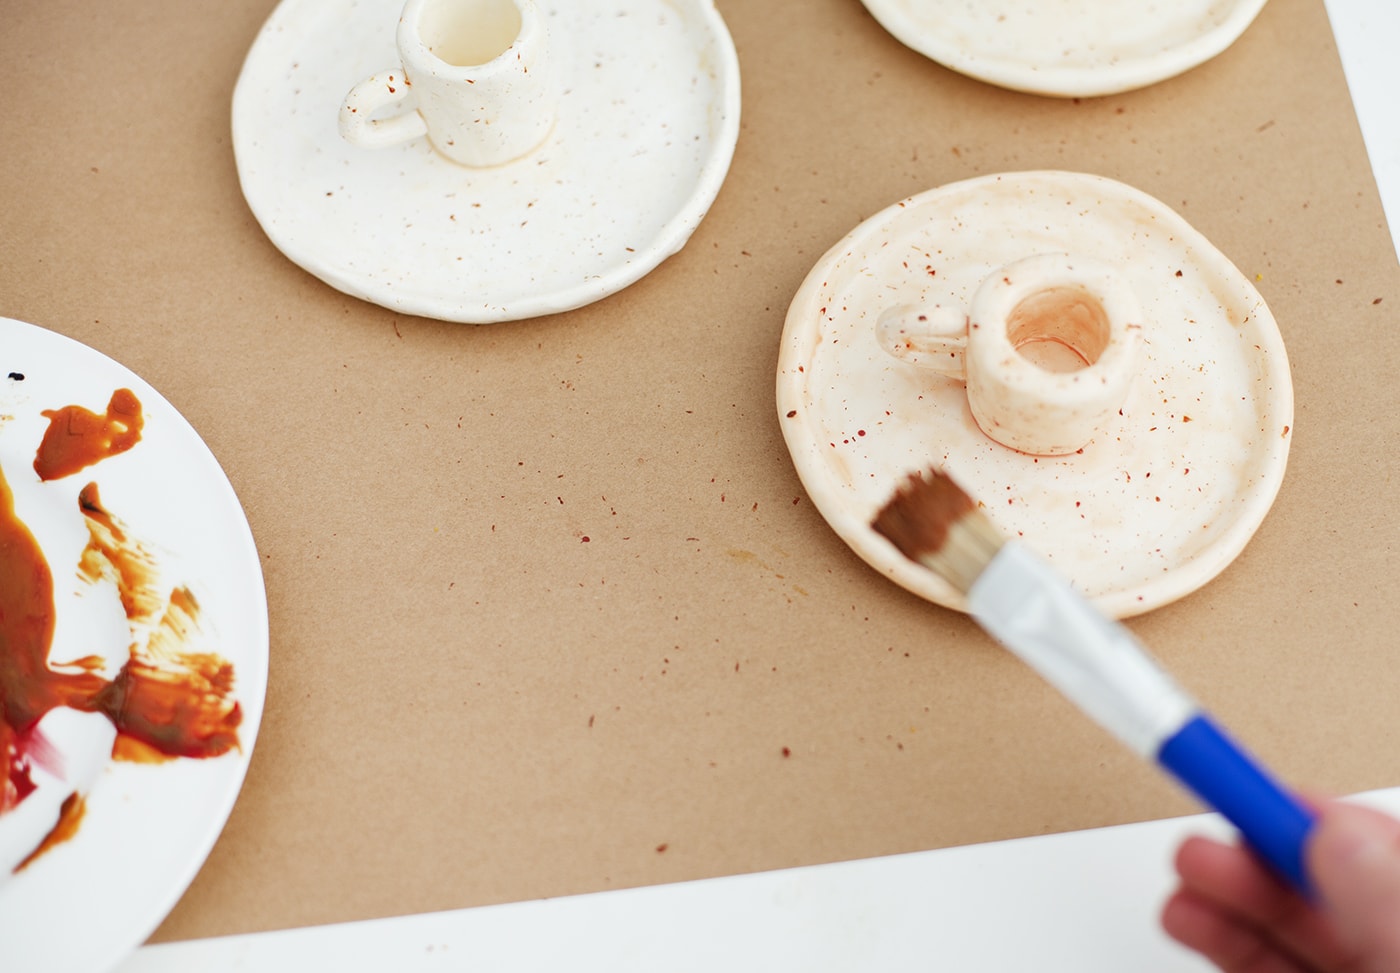
Now mix a darker, more concentrated colour and splatter over the top of the previous layer, once dry. just gently use your finger to spray the bristles at the end of the paintbrush. Leave to dry and there you have it!
You might also like


Meet The Lovely Drawer

Hi, I’m Teri and welcome to my own creative corner of the internet. I blog about interiors, DIY projects, design inspiration and my general life so stick around have a read and say hi.
In the shop

 Quick ViewSelect options
Personalised Cuddly Bunny
£30.00 – £35.00
 Quick ViewSelect options
Orchard Days
£20.00 – £25.00
Work with Me
The Lovely Drawer is an award winning blog with a loyal audience that has grown over the years. I love working with brands small and large on exciting collaborations that can bring products alive in my own signature aesthetic.