

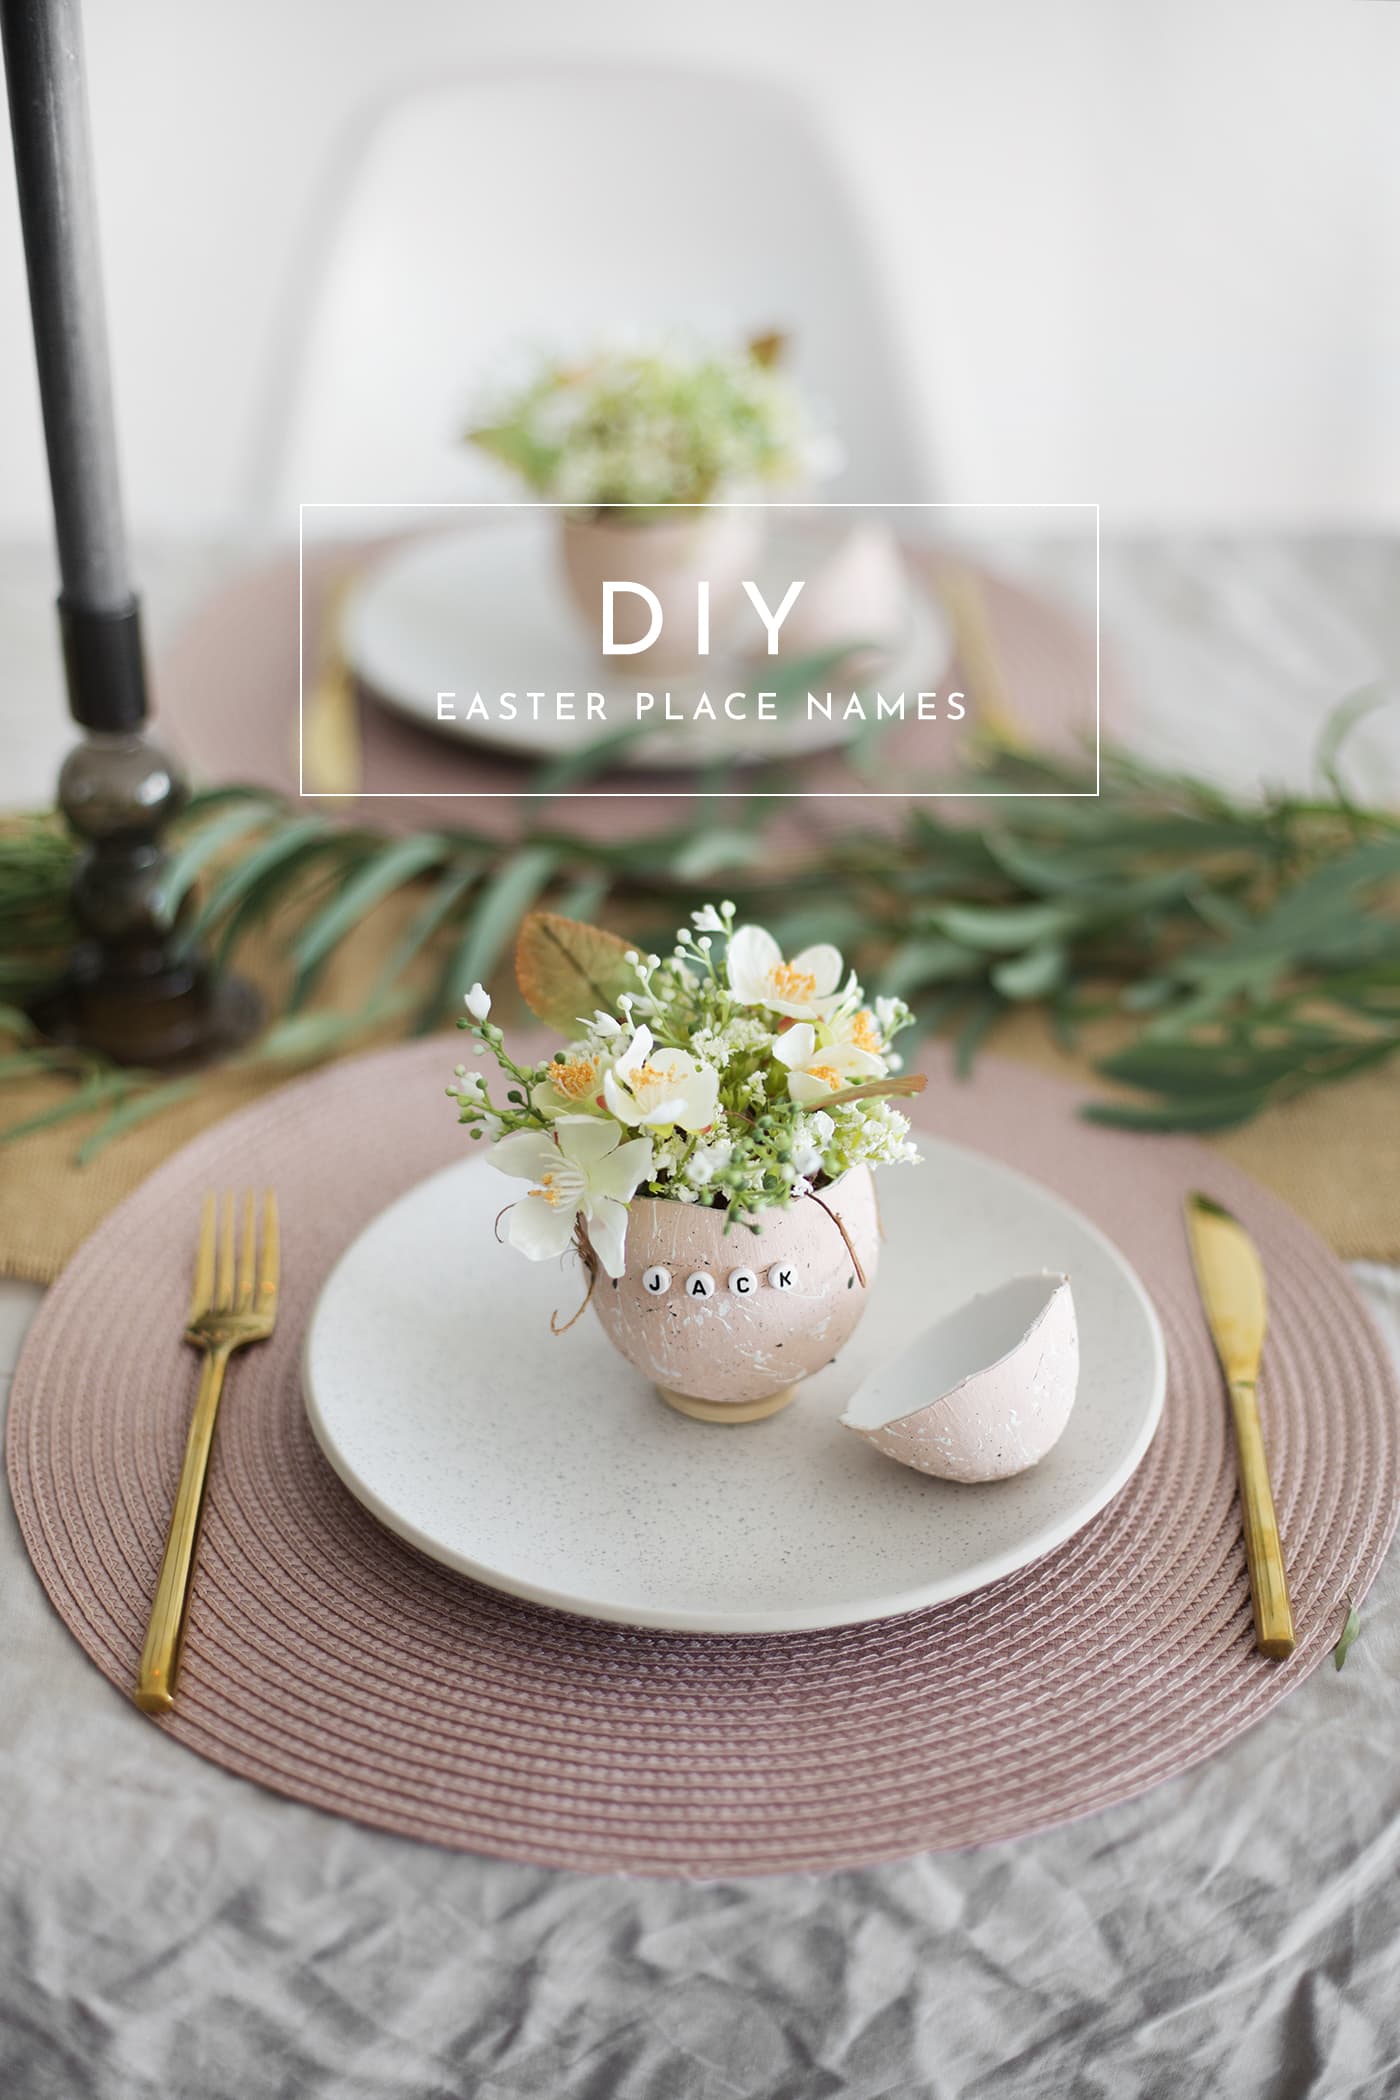
DIY Easter Table Names with Hobbycraft
 This is a paid post in collaboration with Hobbycraft
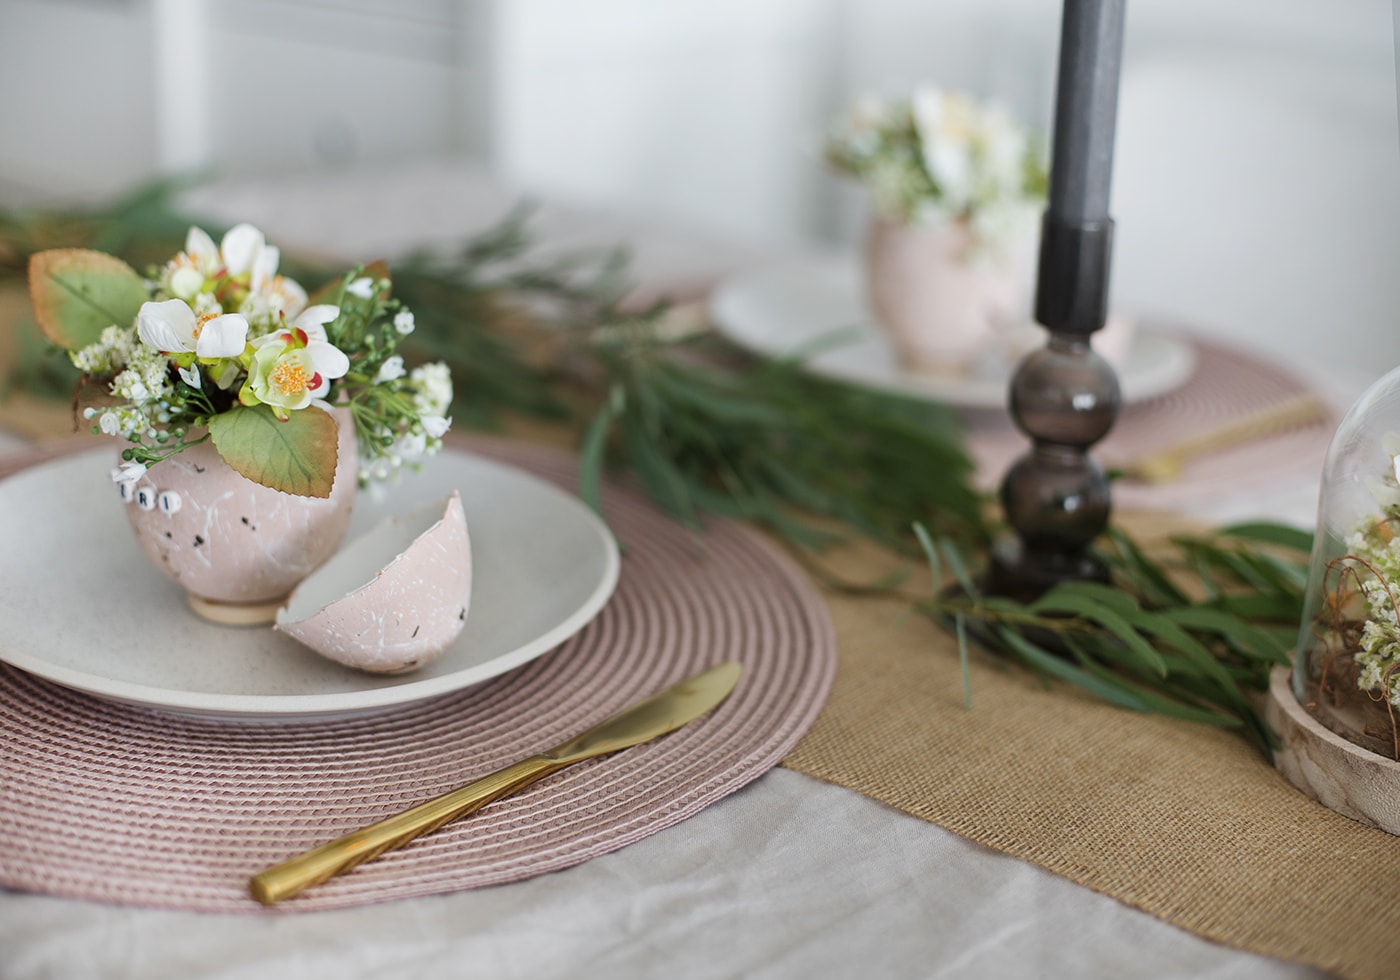
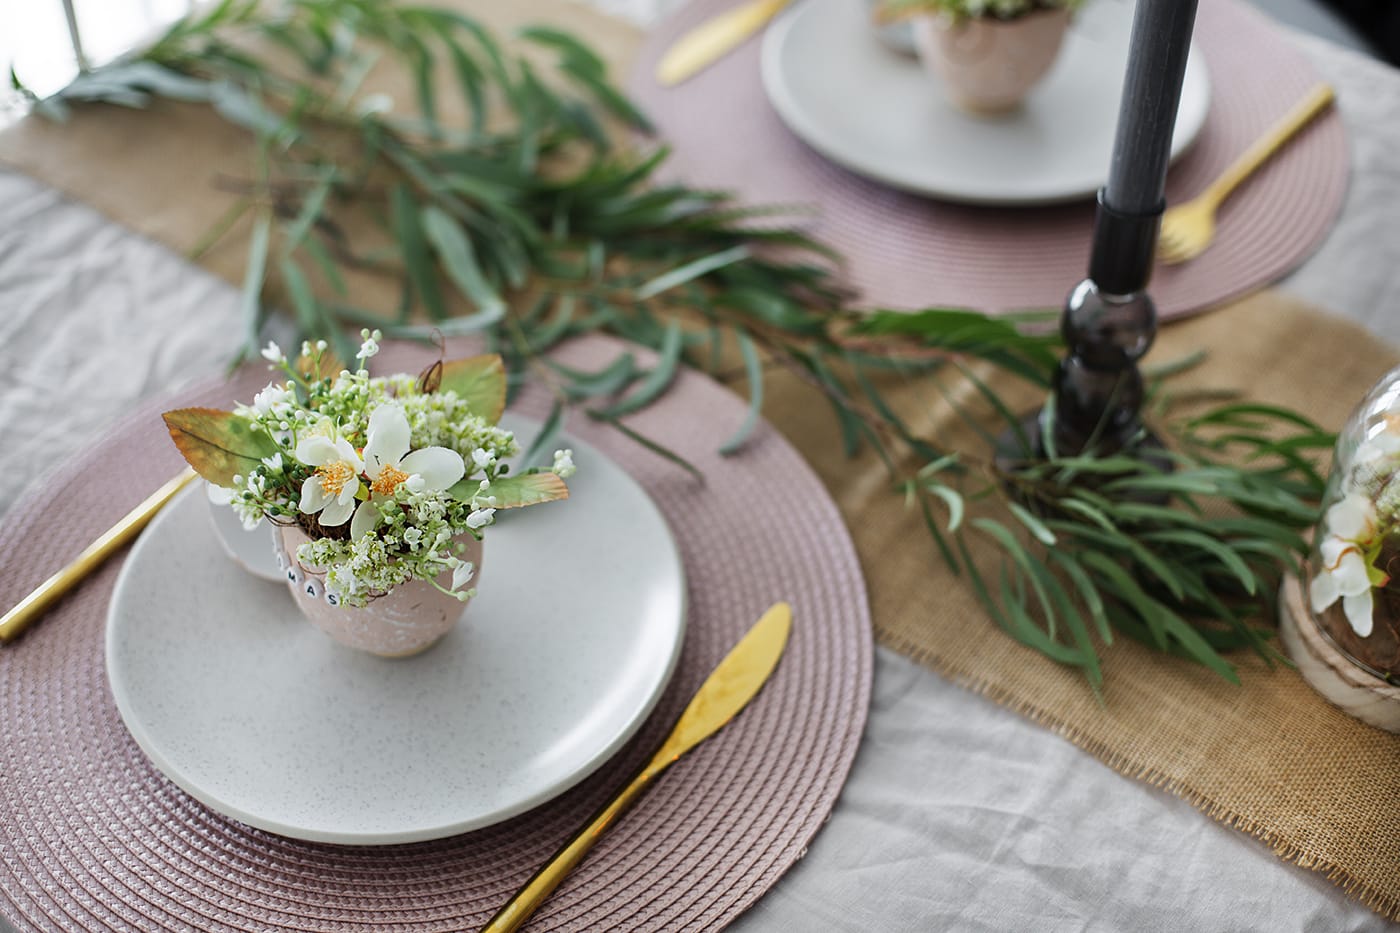
A later Easter this year gives more time to plan your table for the day.If you enjoy having family or friends over for a meal at Easter time then you might be wanting some inspiration on how to add personal touches to make it memorable. How about you take care of the food and I’ll take care of the place settings eh? These sweet filled eggs add a fresh splash of Spring but are also a whole lot more fun than your standard place card. I teamed up with Hobbycraft to bring them to life with their vast array of craft supplies, so here’s what you’ll need…
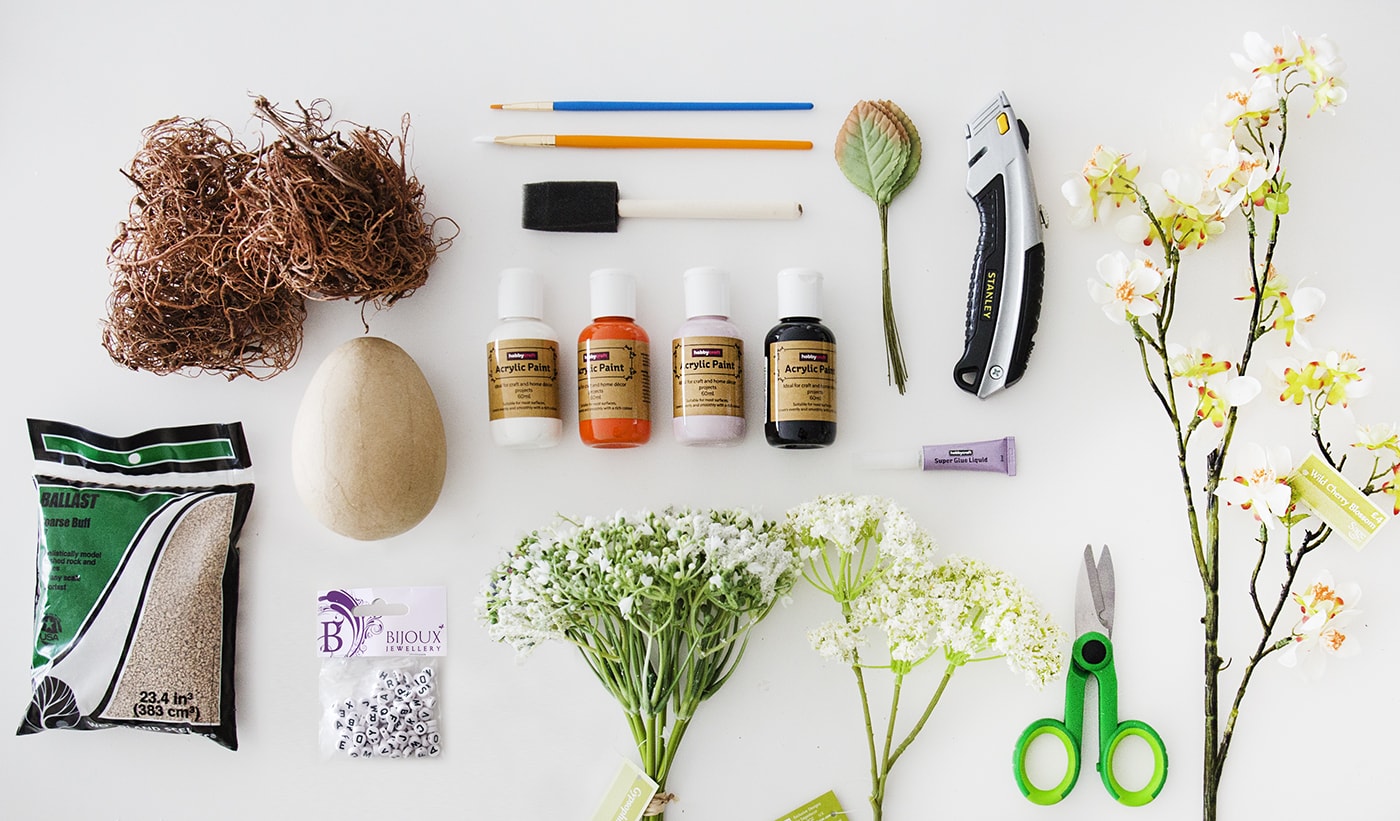
Materials
- Paper Maché eggs
- Acrylic paints in white, barely pink, black & orange
- Craft brush pack
- Course Ballast (I used 2 for 4 eggs)
- Natural curly moss
- Cream lace flower (I used 2 for 4 eggs)
- Gypsophila bundle (I used 1 for 4 eggs)
- Cherry blossom spray (I used 2 for 4 eggs)
- Wired rose leaves
- Floral craft scissors
- Super glue
- Alphabet beads
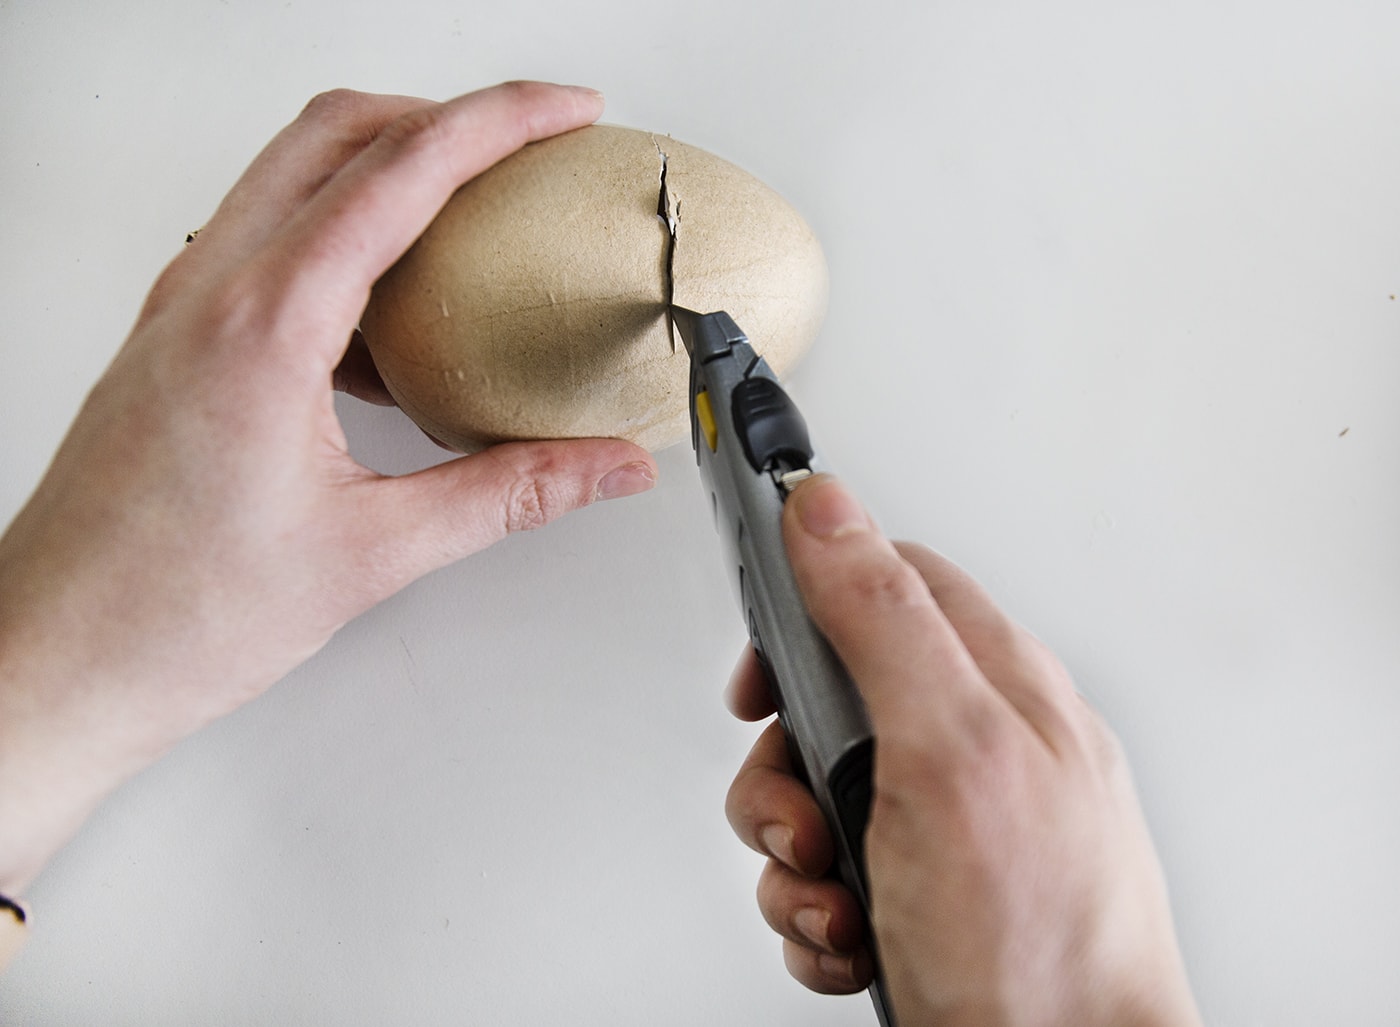
Start by cutting the tops of the eggs. The inner layer is plastic so it’s not as easy as it might seem at first. Carefully hold the egg stable with one hand and then press the craft knife in repeatedly so that each part joins the whole way around. Don’t worry if it looks a little rough as you wouldn’t get a smooth edge on a real egg anyway.
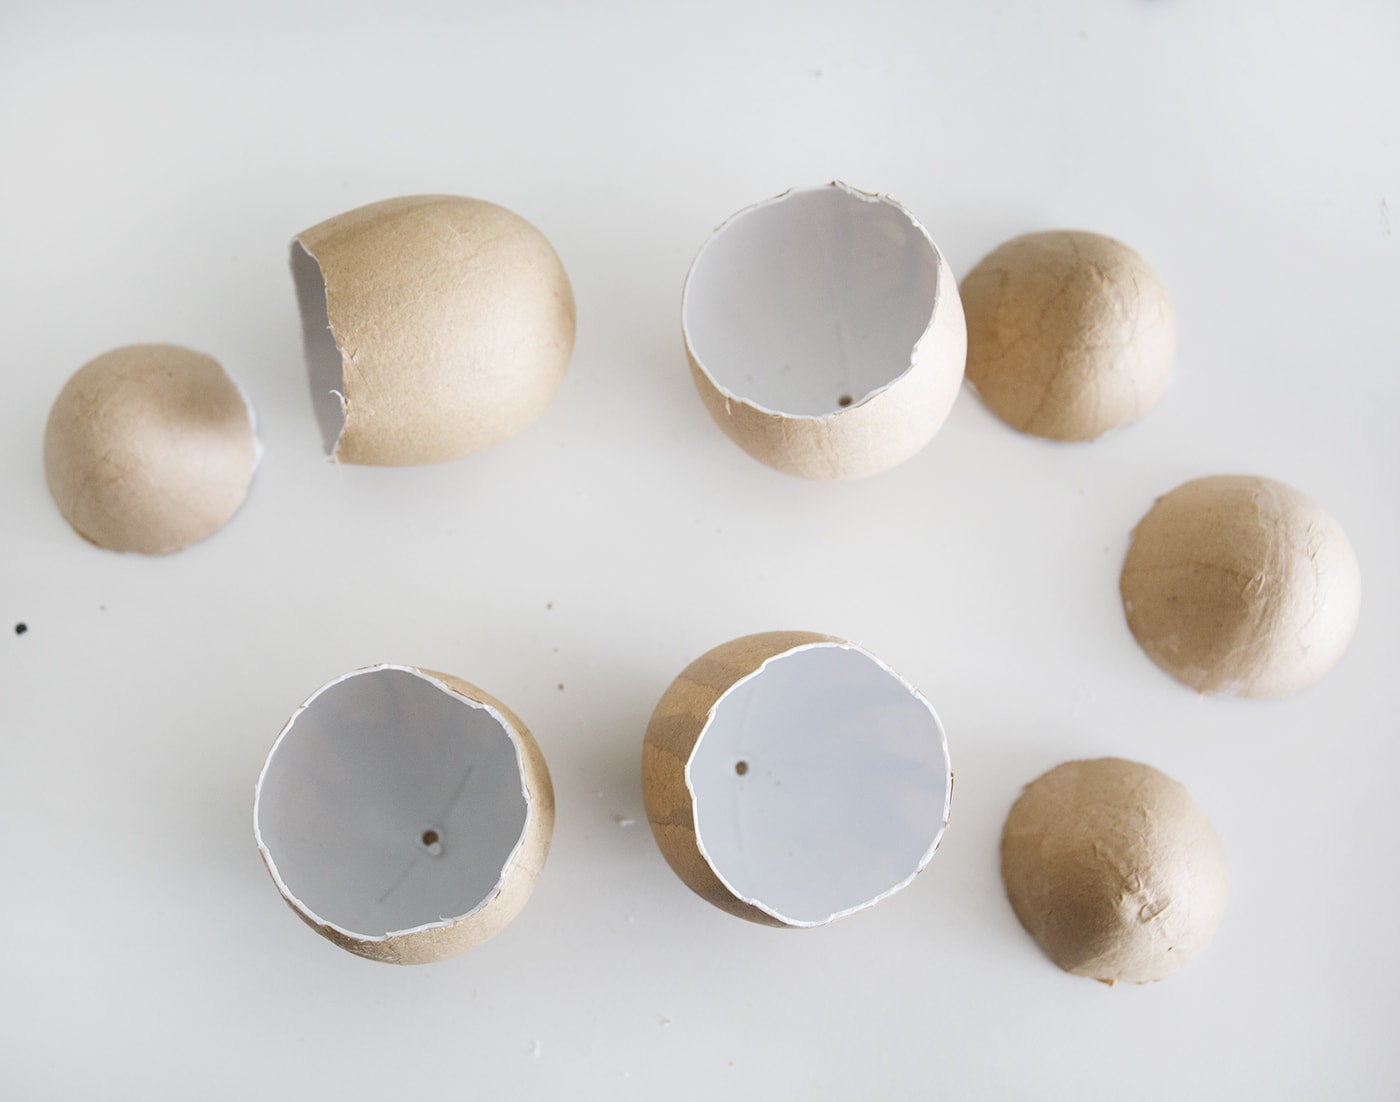
Do the same to all of the eggs you need and then keep the top & bottom pairs together

Mix the paint colour for the base of the eggs. I created this pale peachy, pink colour by using a lot of the white acrylic paint, mixed with a drop of the orange, the tiniest drop of black to dull the hue slightly and then a more generous amount of the pale pink. Mix until you reach your desired colour.
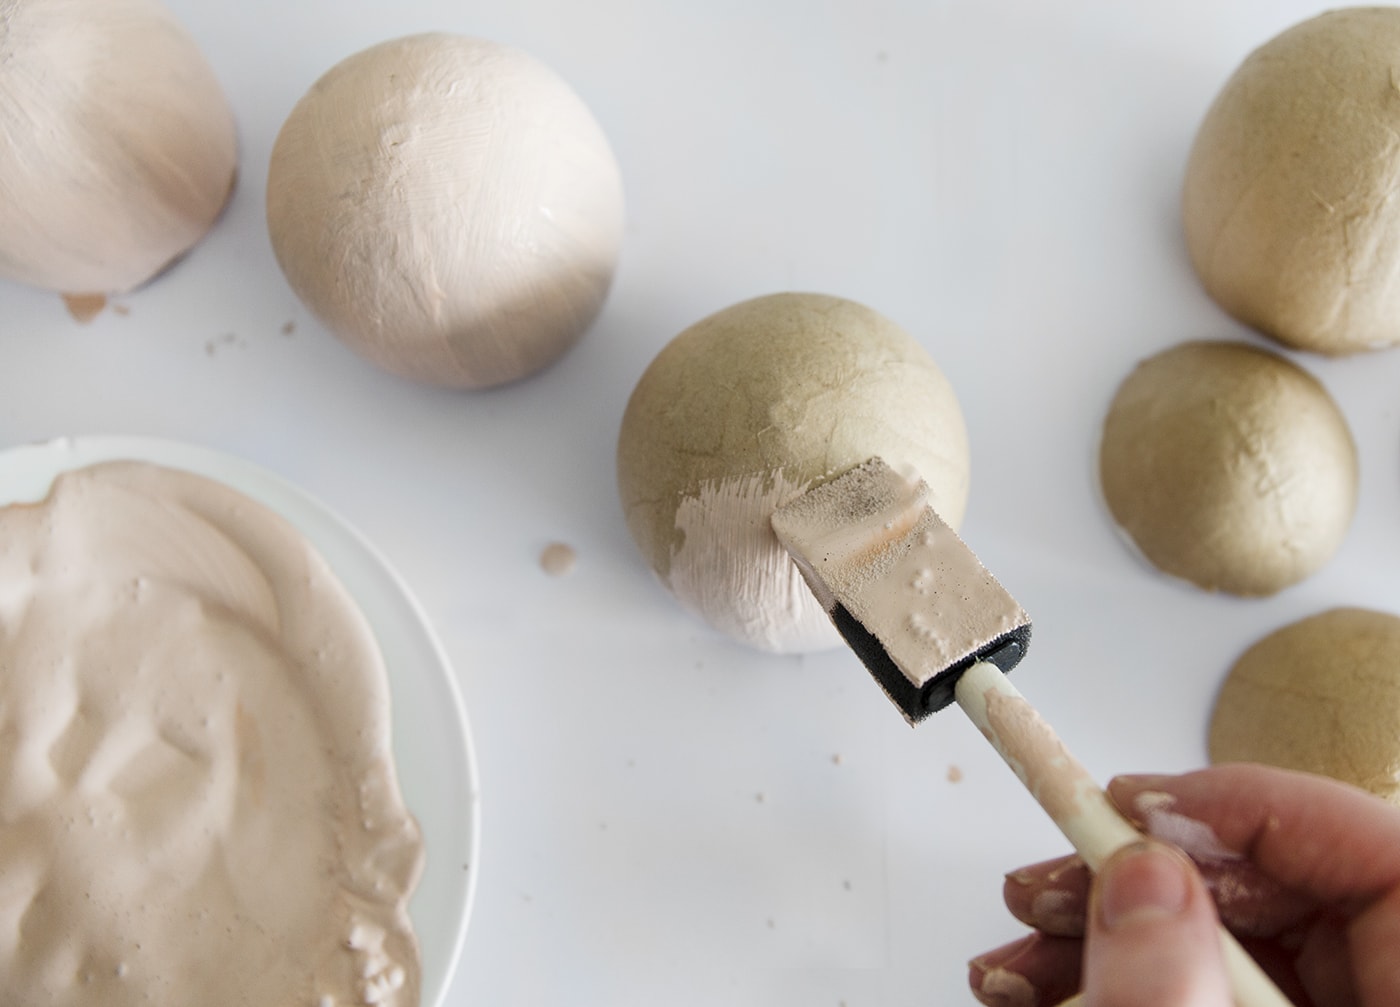
Using the sponge brush from the set, paint all over the egg sections. Keep them sat on the protective paper to avoid having to hold them and just stabilise by placing your finger on the top if needed. Apply two coats to get a solid colour.
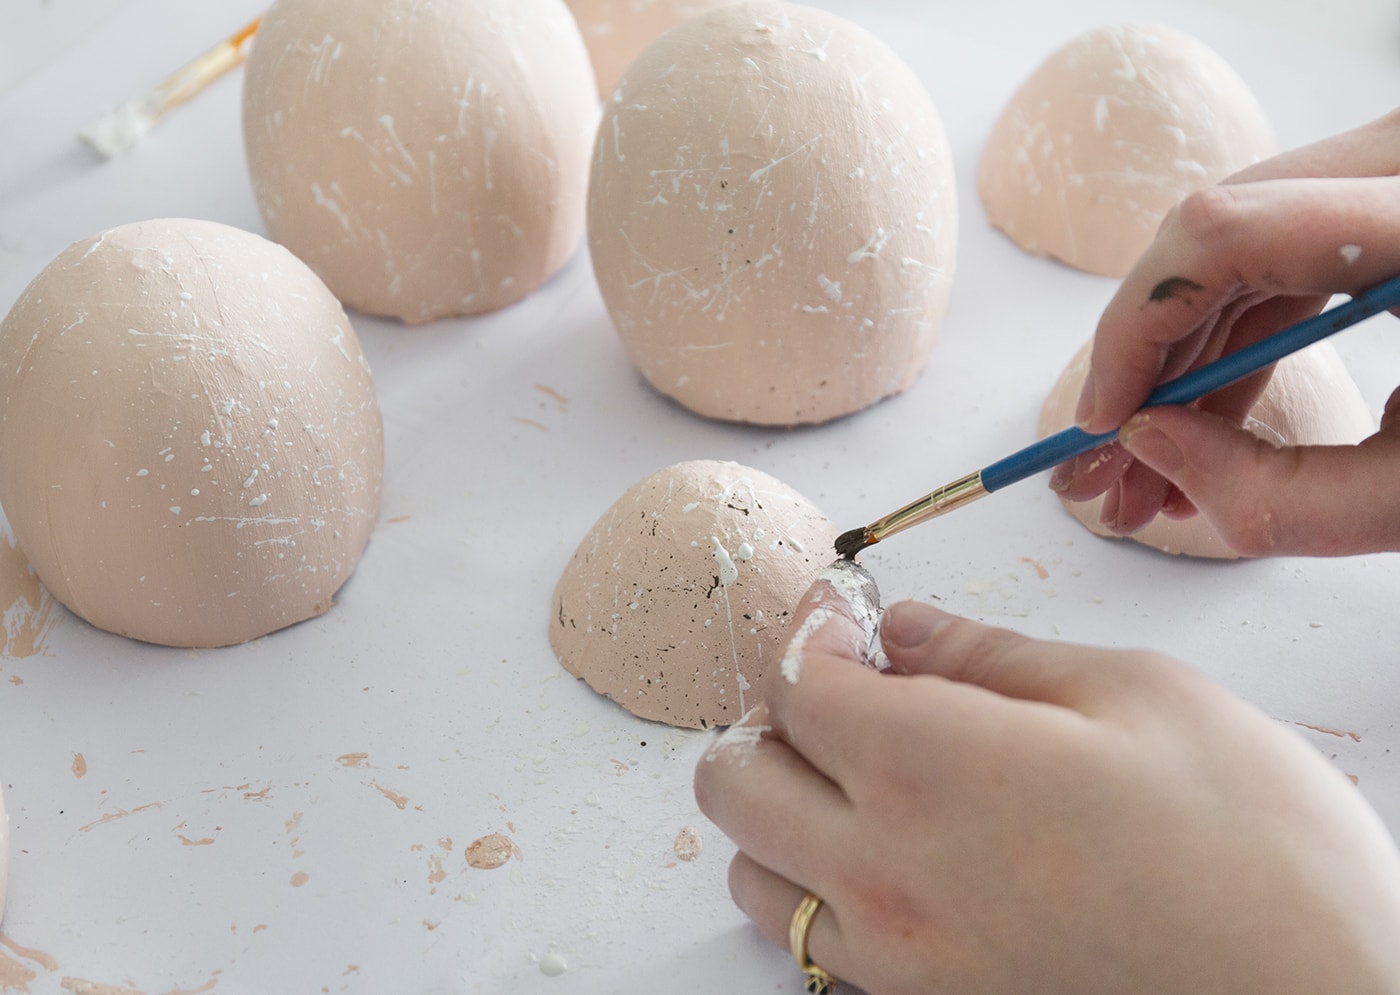
I then used a smaller flat paint brush to speckle white acrylic all over the eggs. Use your finger to brush against the tip of the brush gently, trying to achieve a light splattering. I then mixed some orange acrylic with a dot of black to form a brown which I then used in the same way over the top of the white.

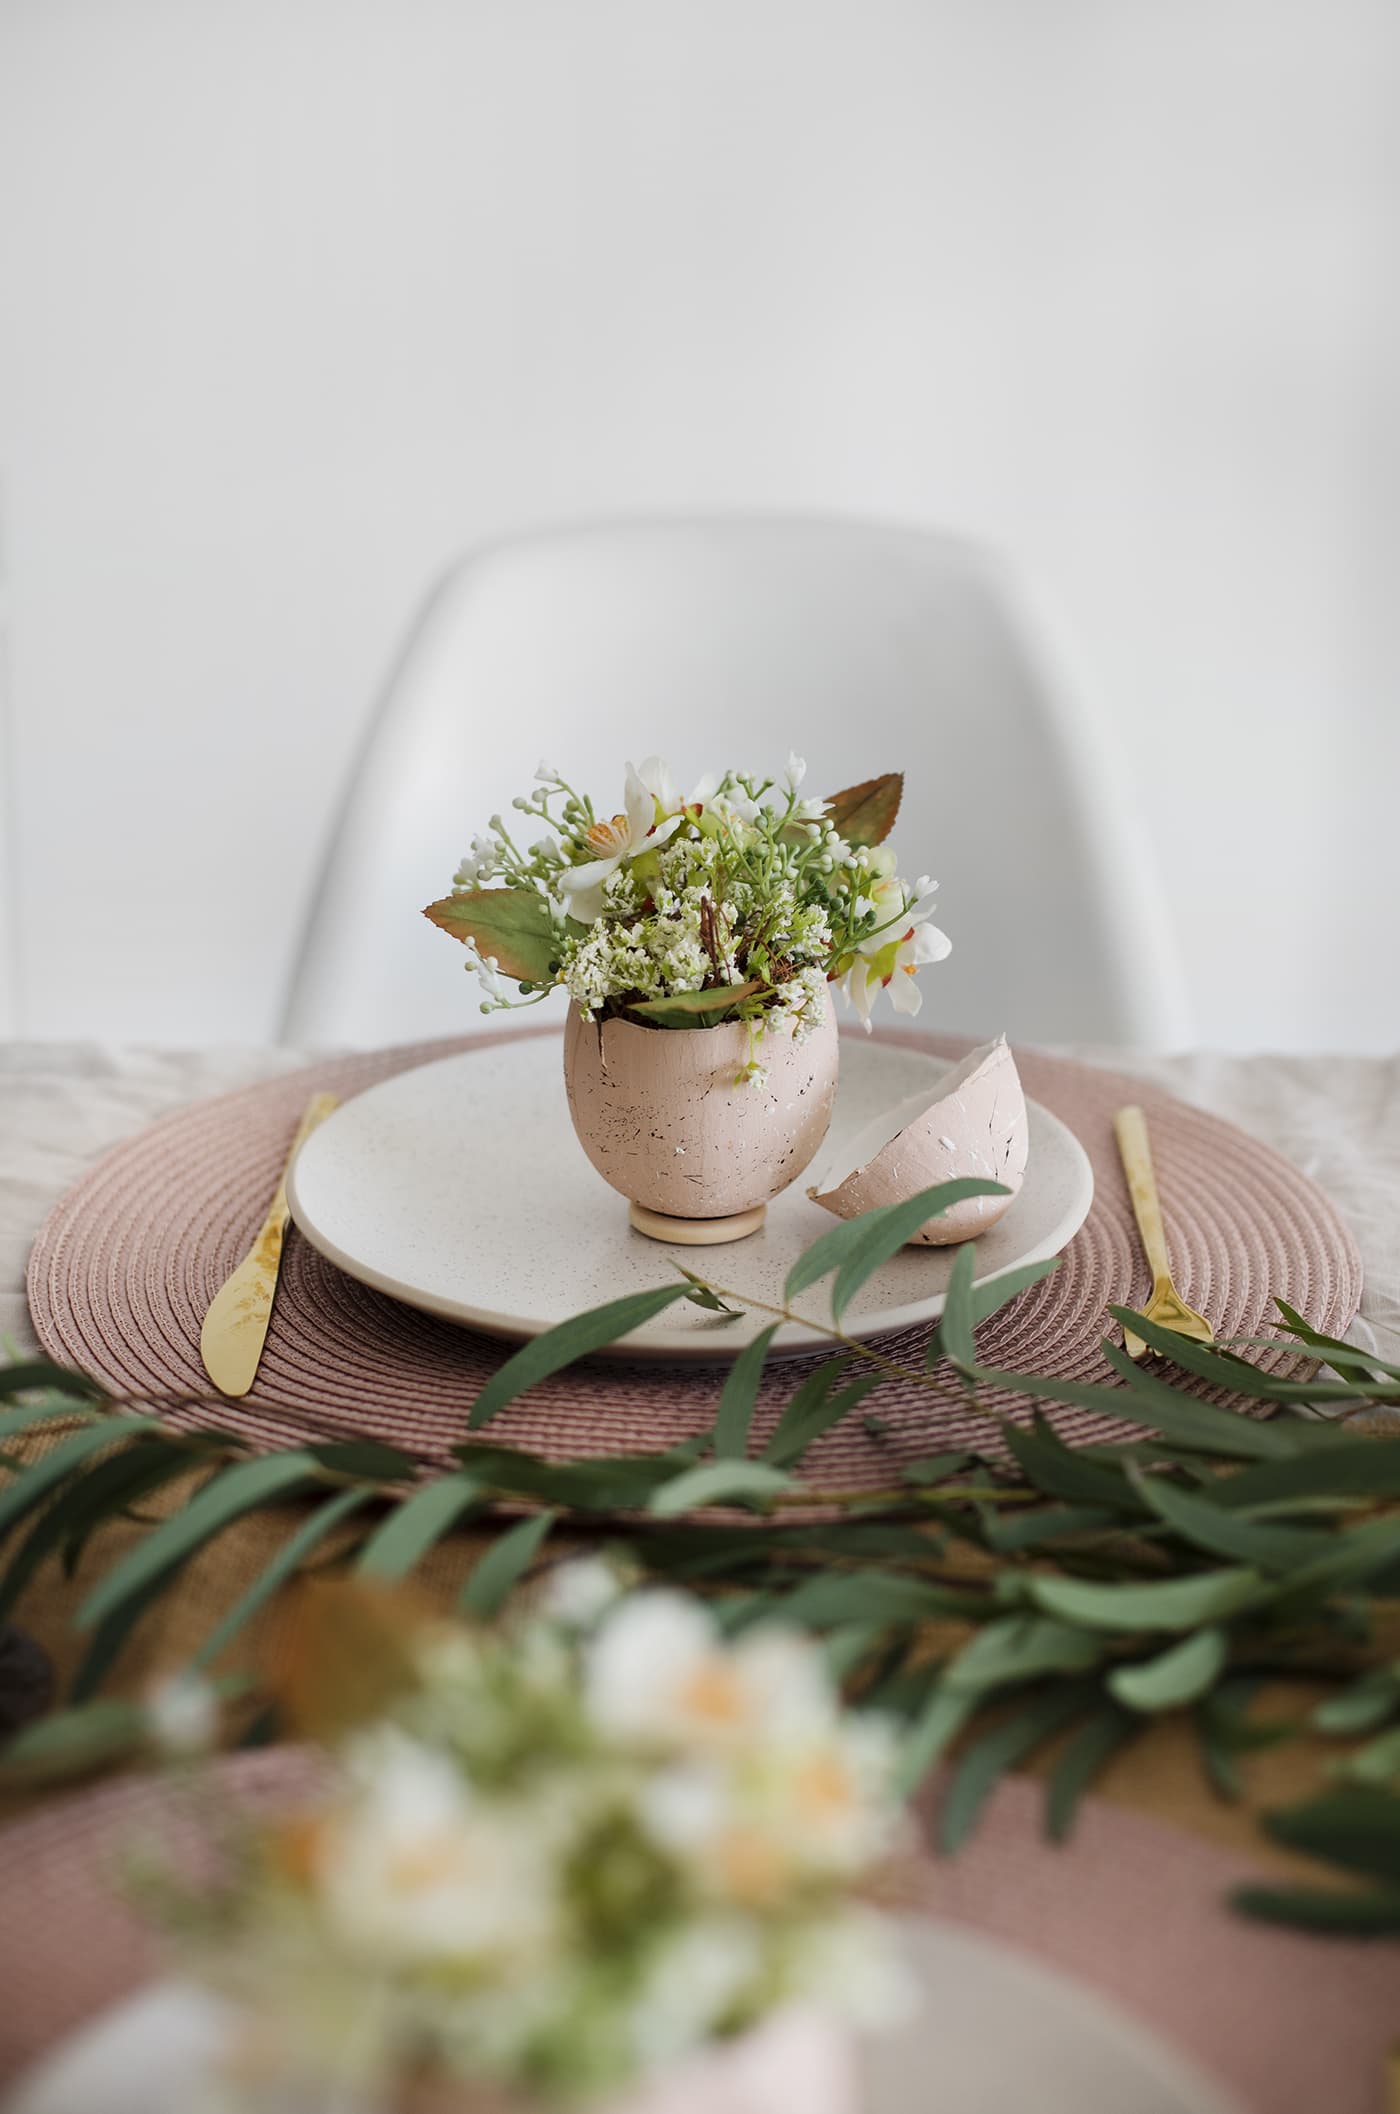
Once complete, find something to sit your egg bottoms on so they don’t roll. I used some wooded rings. Now your eggs are ready to fill.
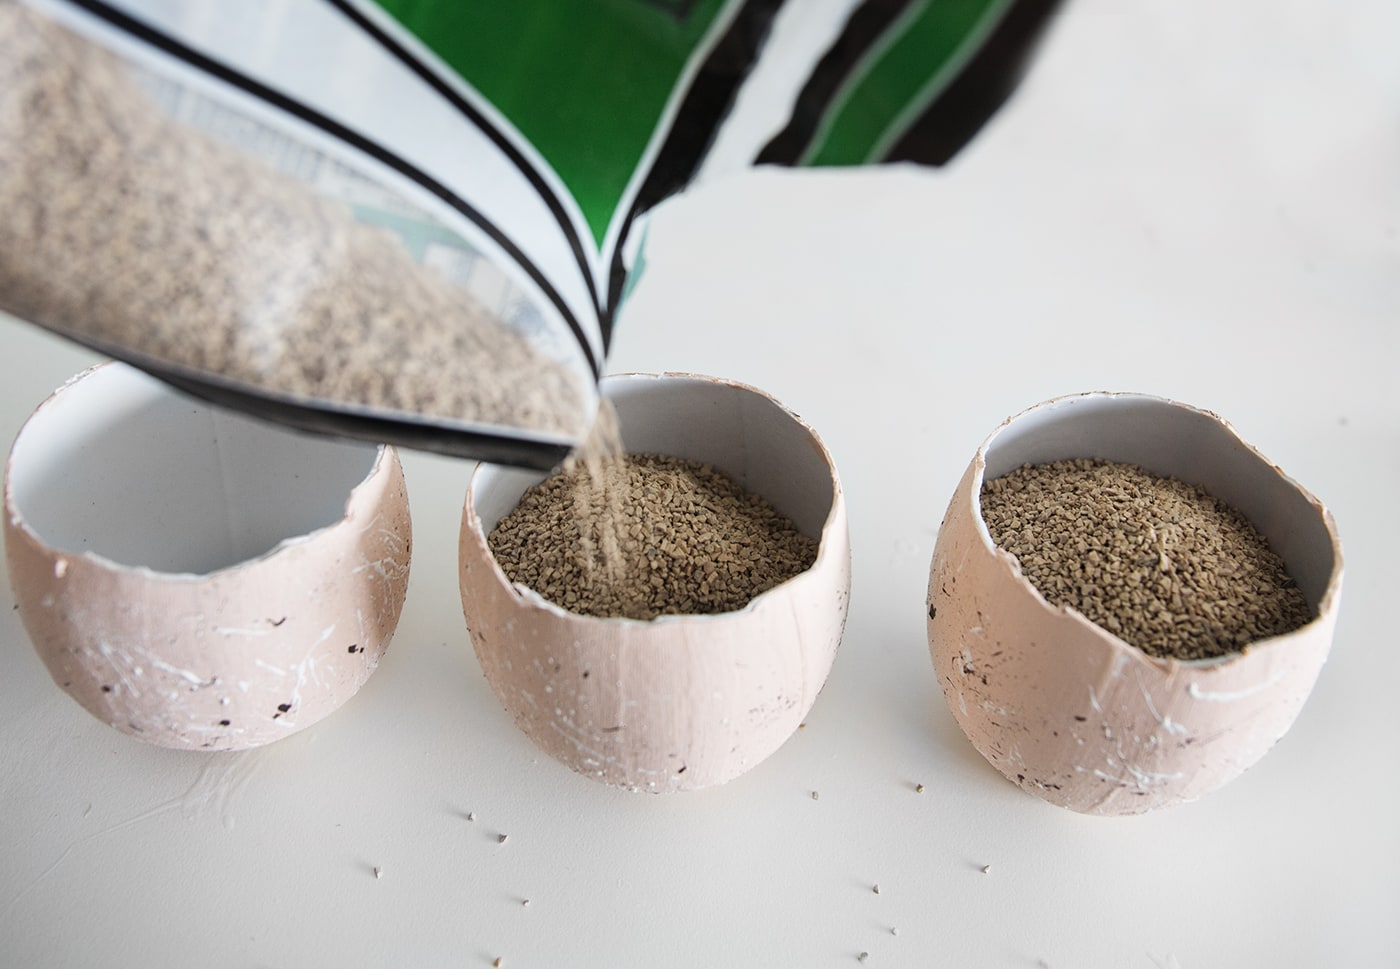
Start by pouring the ballast stones into each bottom, filling most of the way to the top.

Then separate some of the curly moss to lay on top of the ballast. Pull bits over the edge so it looks like it’s spilling out of the egg.
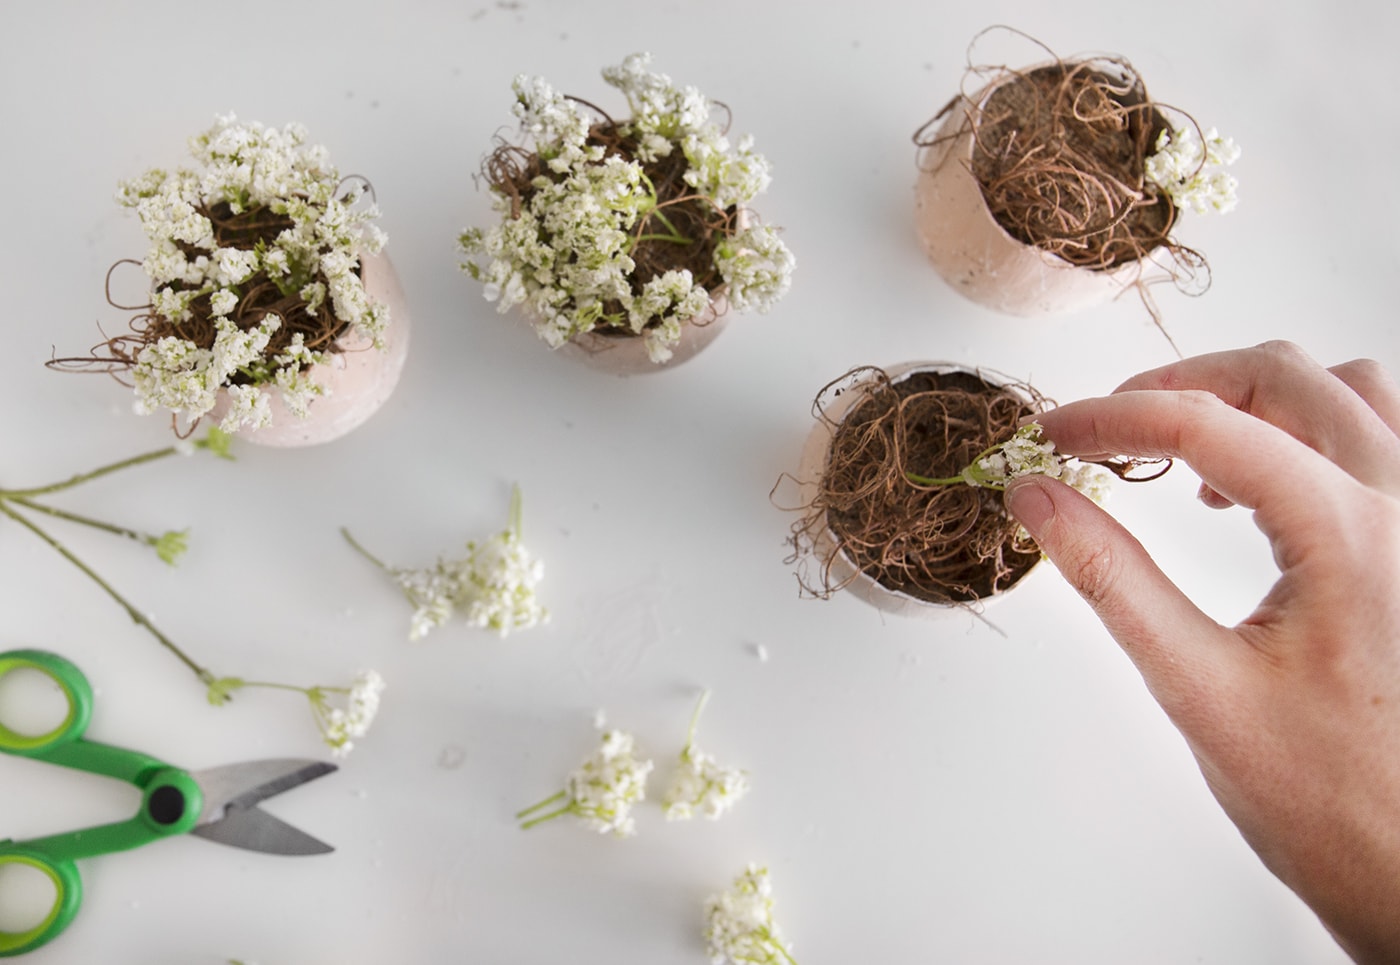
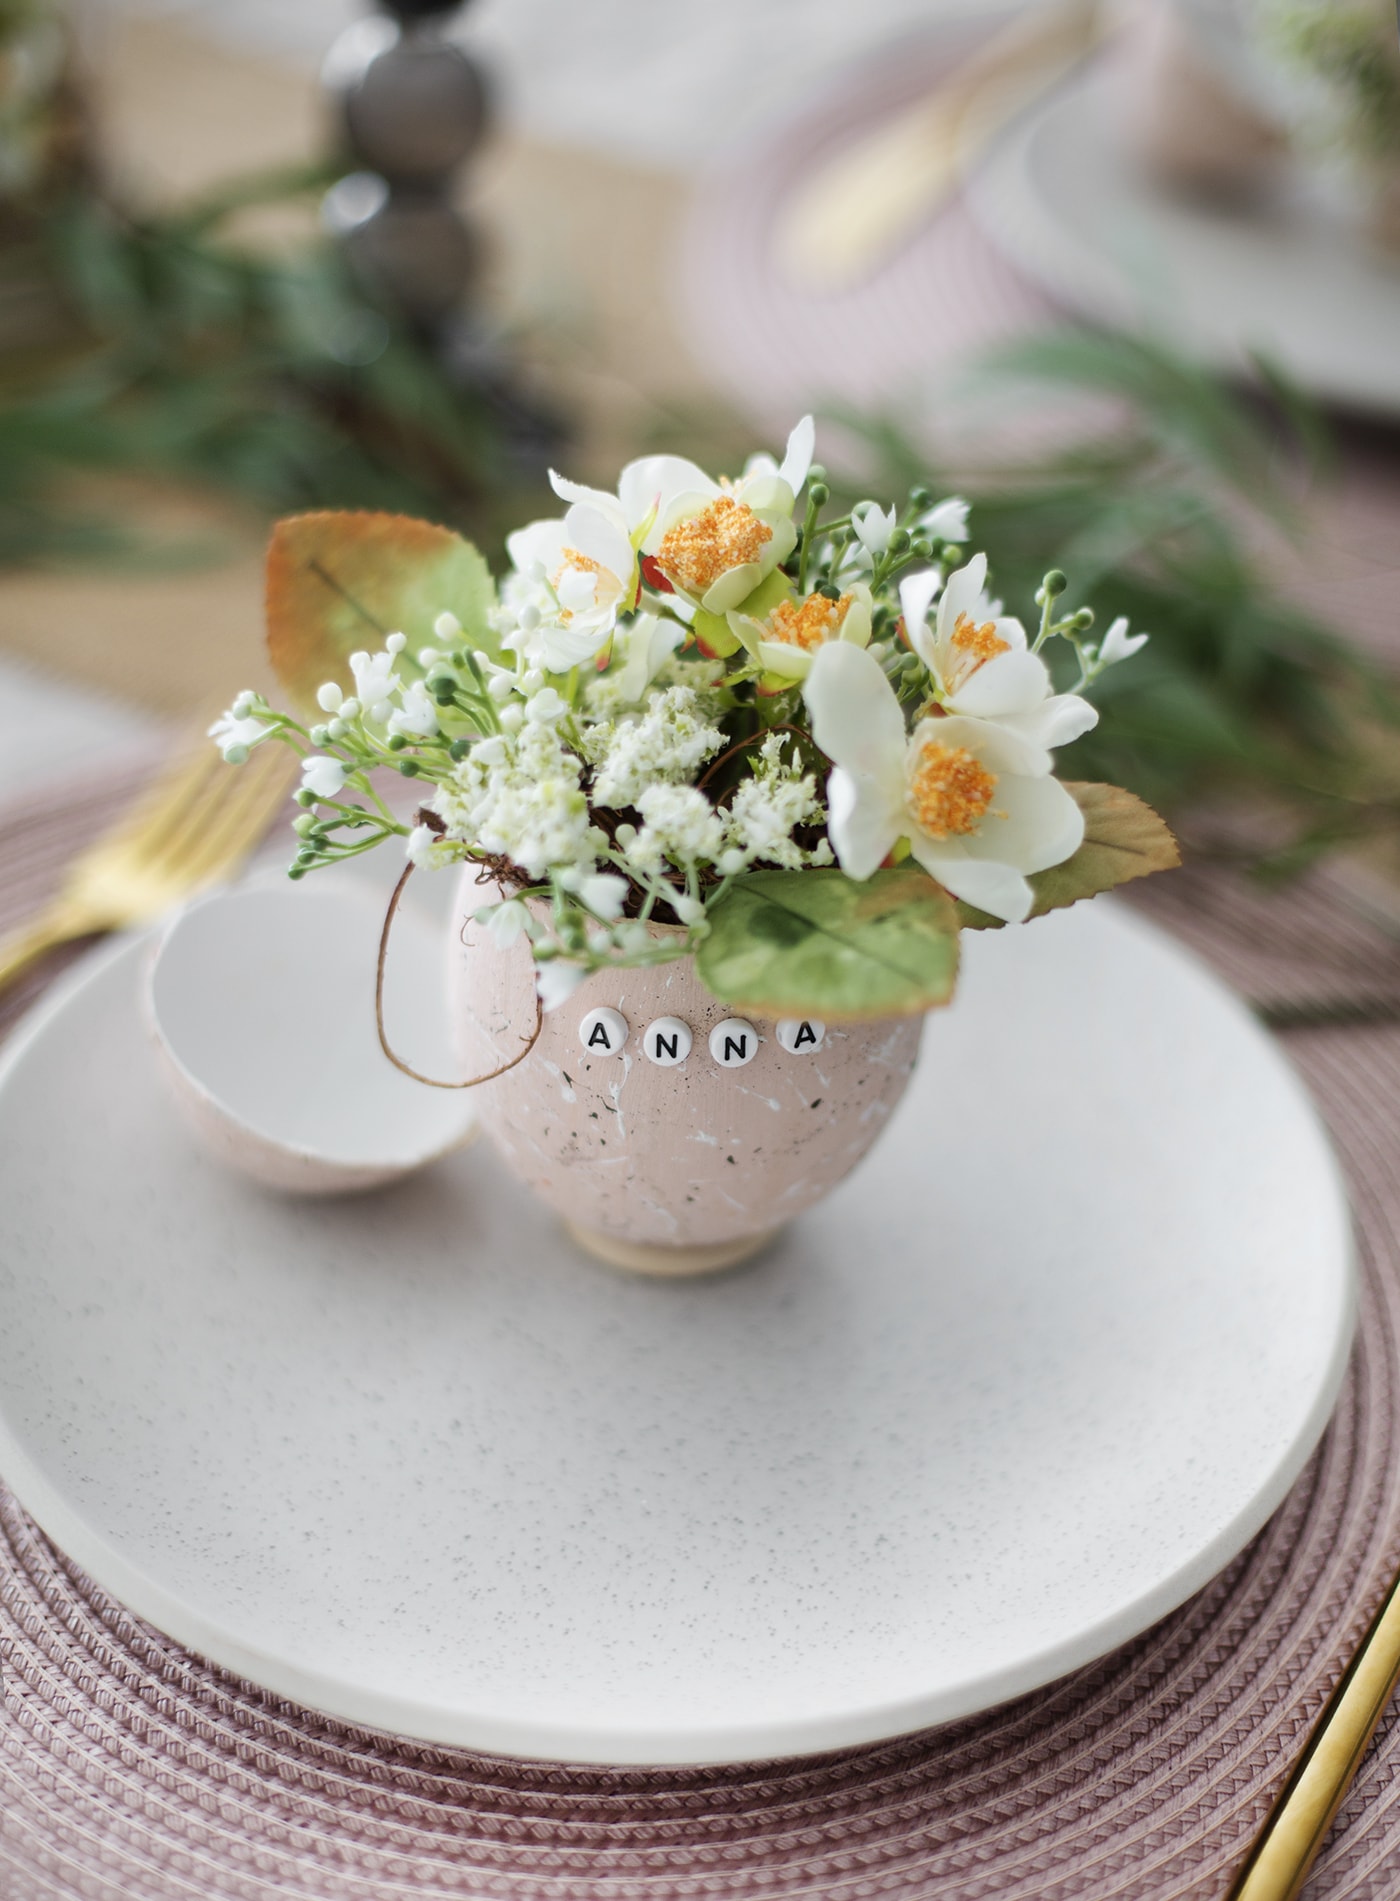
Now it’s time to fill with flowers. Use the floral craft scissors to cut the white lace flower stems from each head. This will mean there will be no wire cutting involved. Start pressing each smaller stem into the ballast, through the moss and build up your first layer.
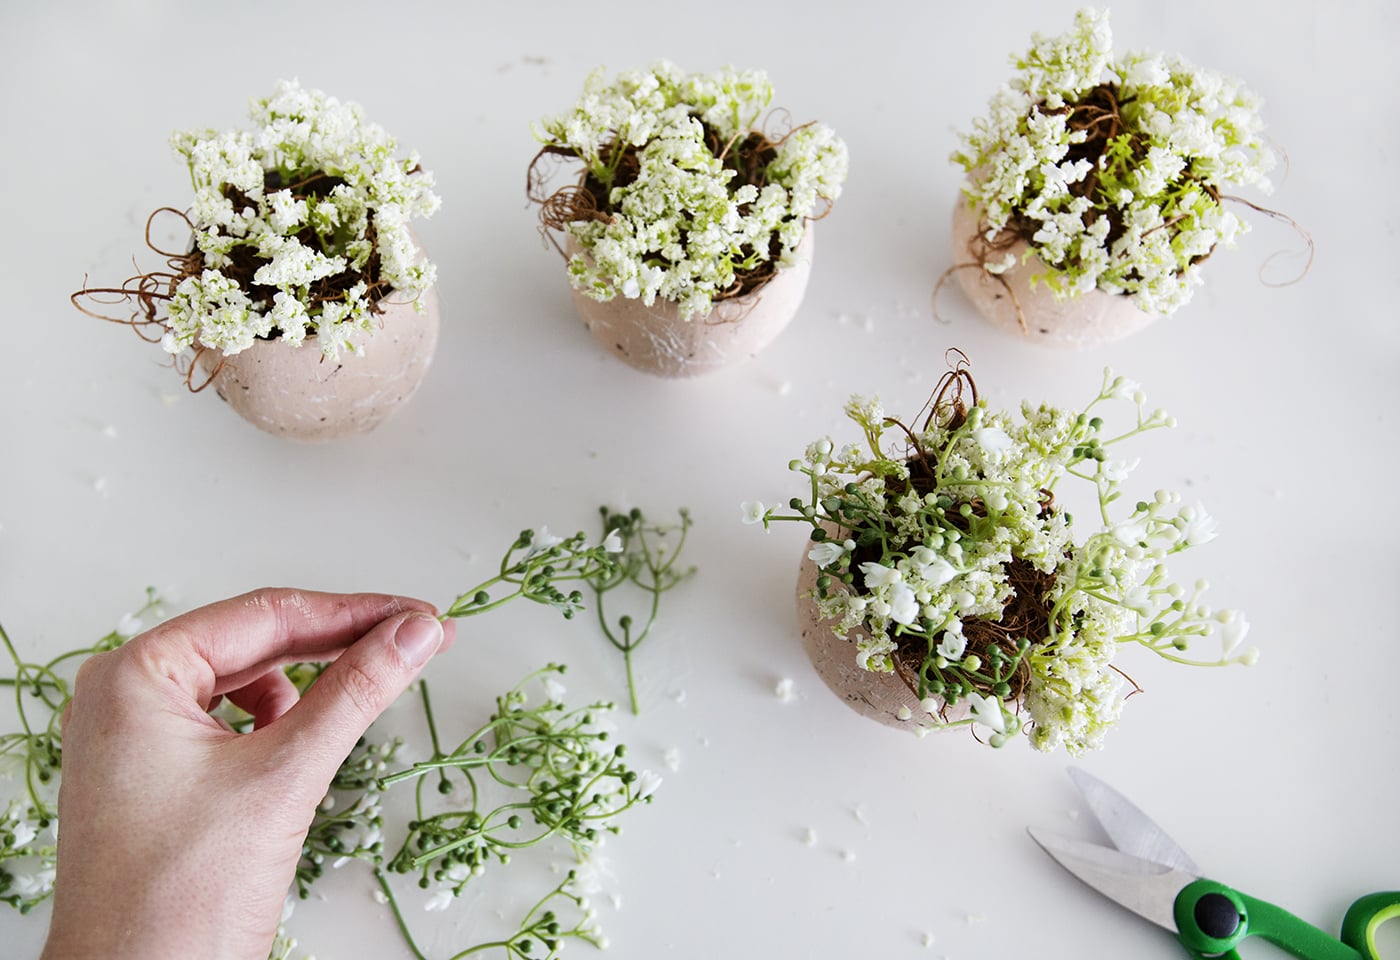
Next do the same with the Gypsophila, which should produce slightly longer stems. Do the same, pressing them into the ballast.
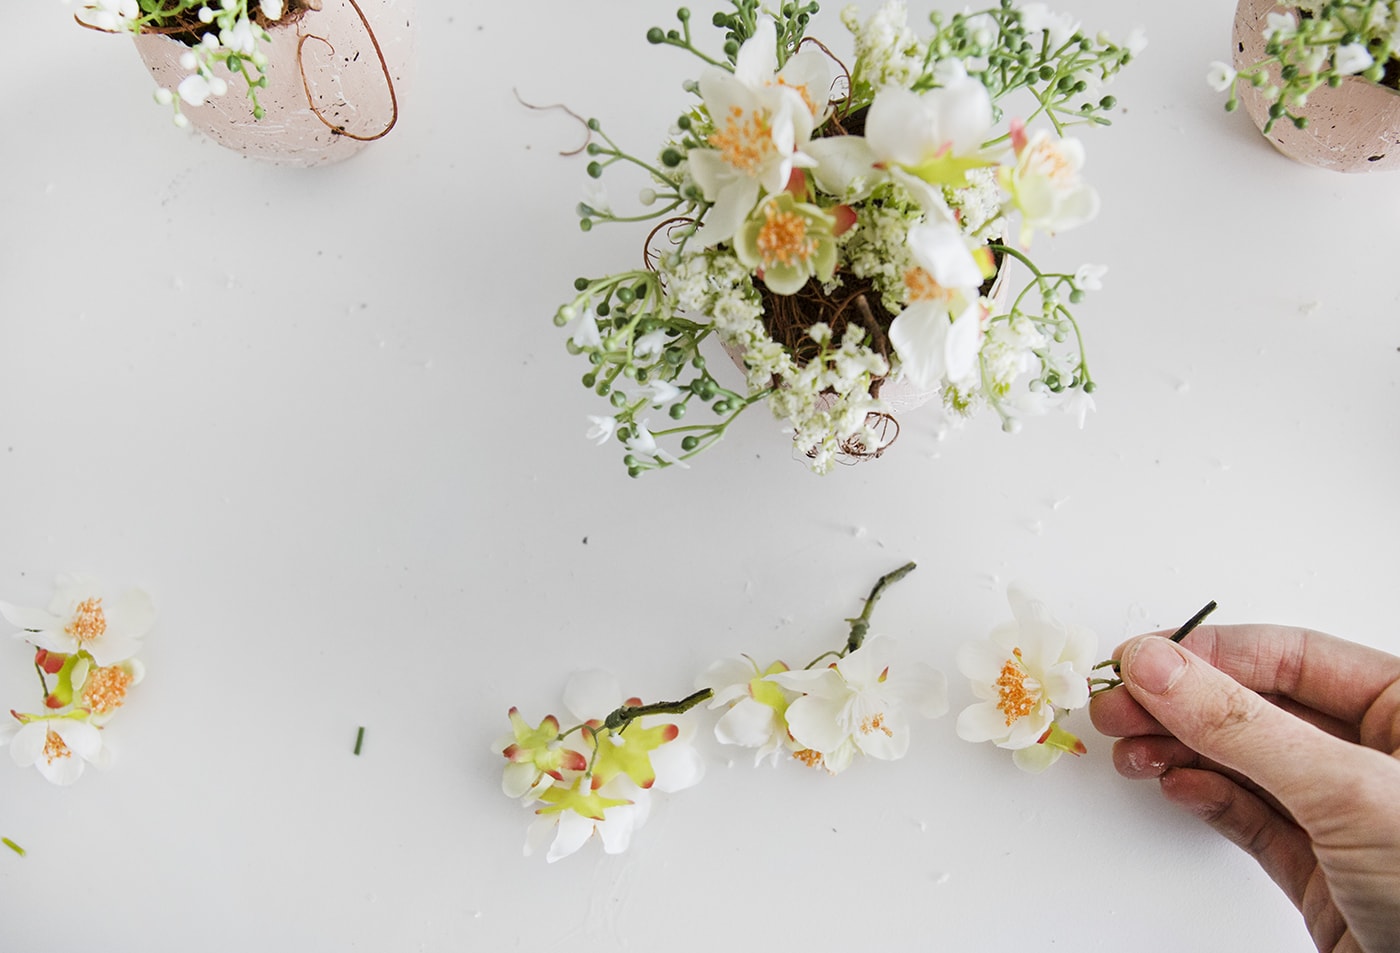
Now cut some of the top sections from your blossom stems. These should once again be taller, which will create added height when you press them into the ballast. I added two or three stems per egg.
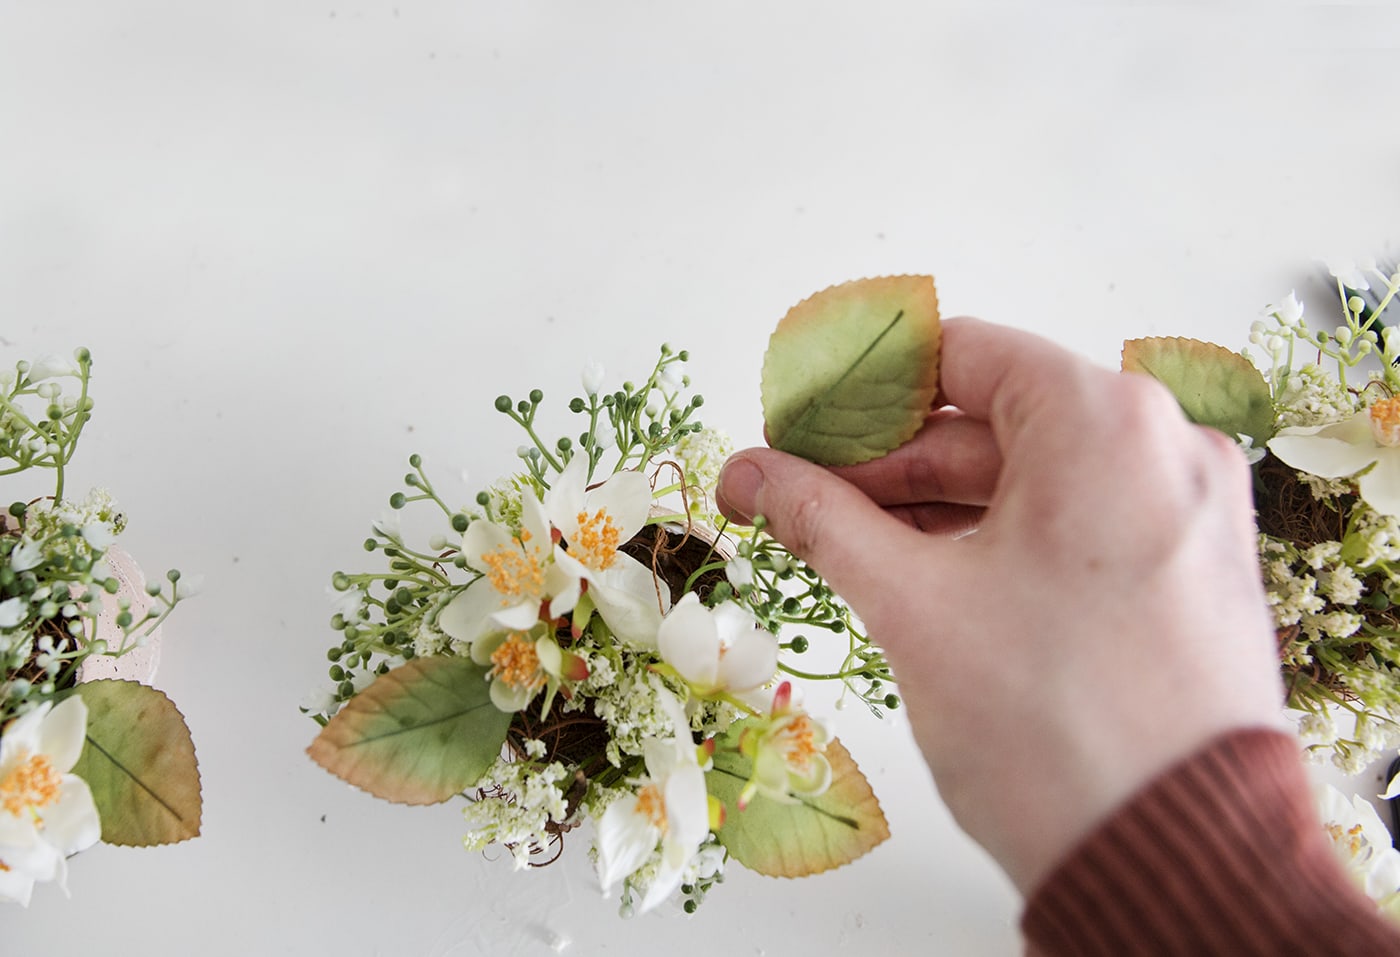
Finish filling your eggs by adding the wired rose leaves around the outside, still pressing into the ballast. Then bend the leaves down ever so lightly so they look a bit more natural.
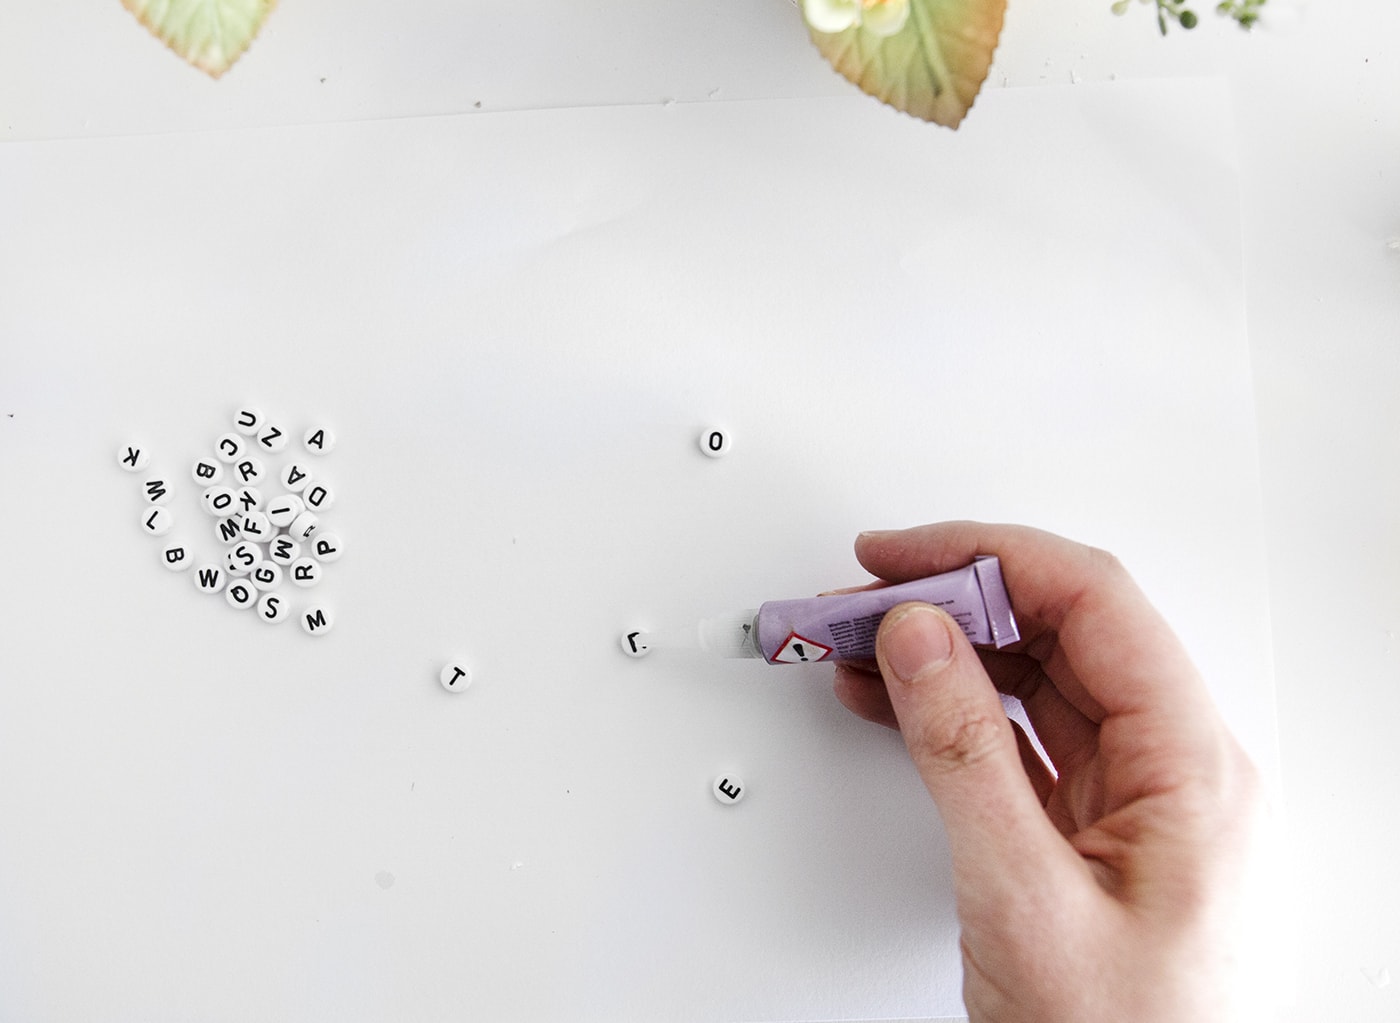
Now to add the names to your place settings. I do this last so I can see a good section, clear of flowers and leaves to add the name so it’s most visible. Find all the letters you need from the alphabet beads, and then one at a time add a dot of the superglue to the backs.
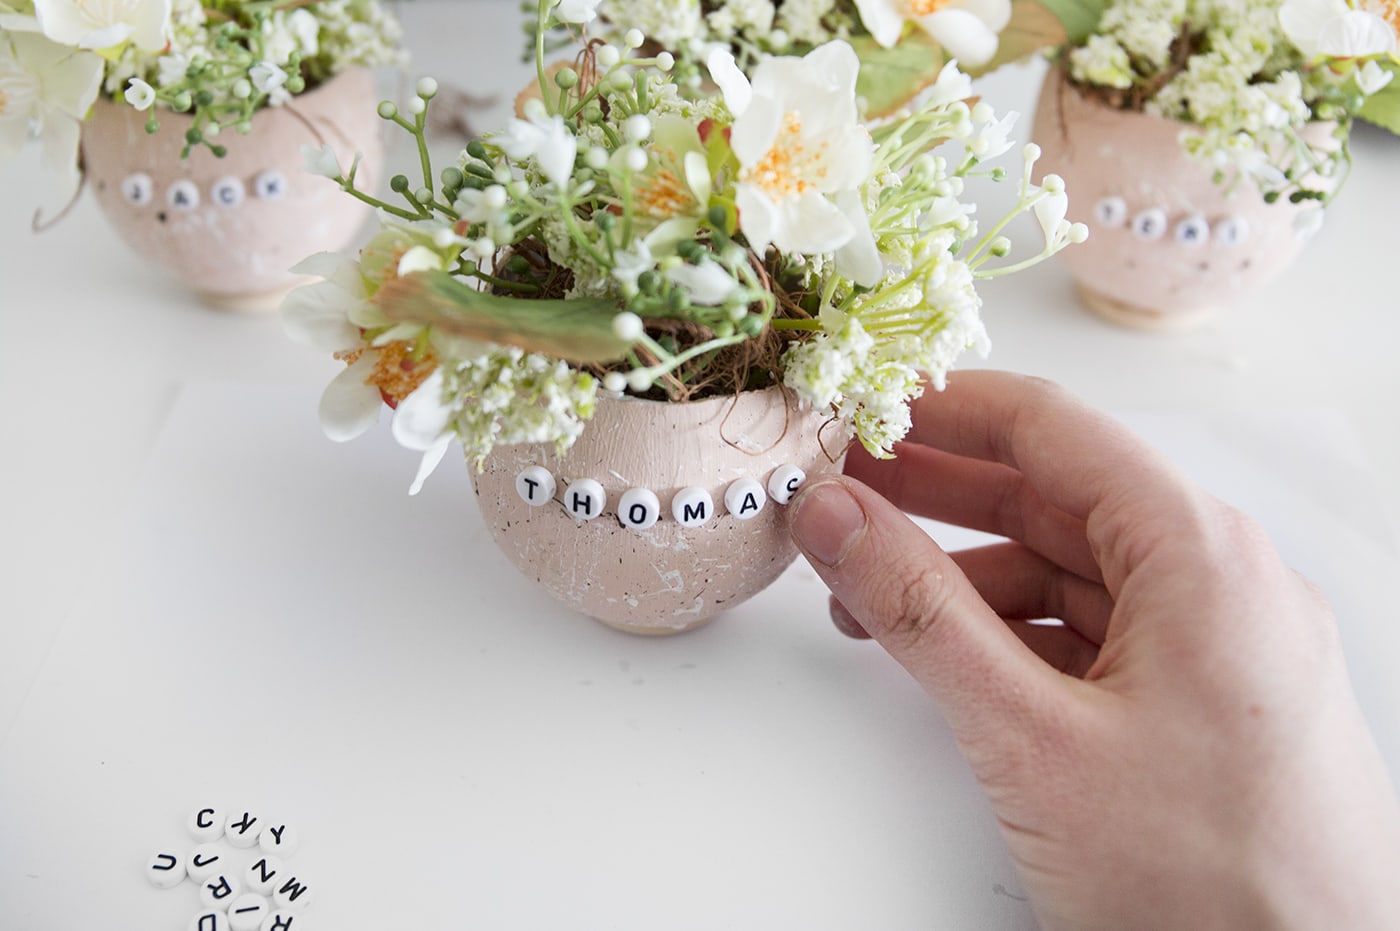
Carefully press into place, holding for a couple of seconds to secure.
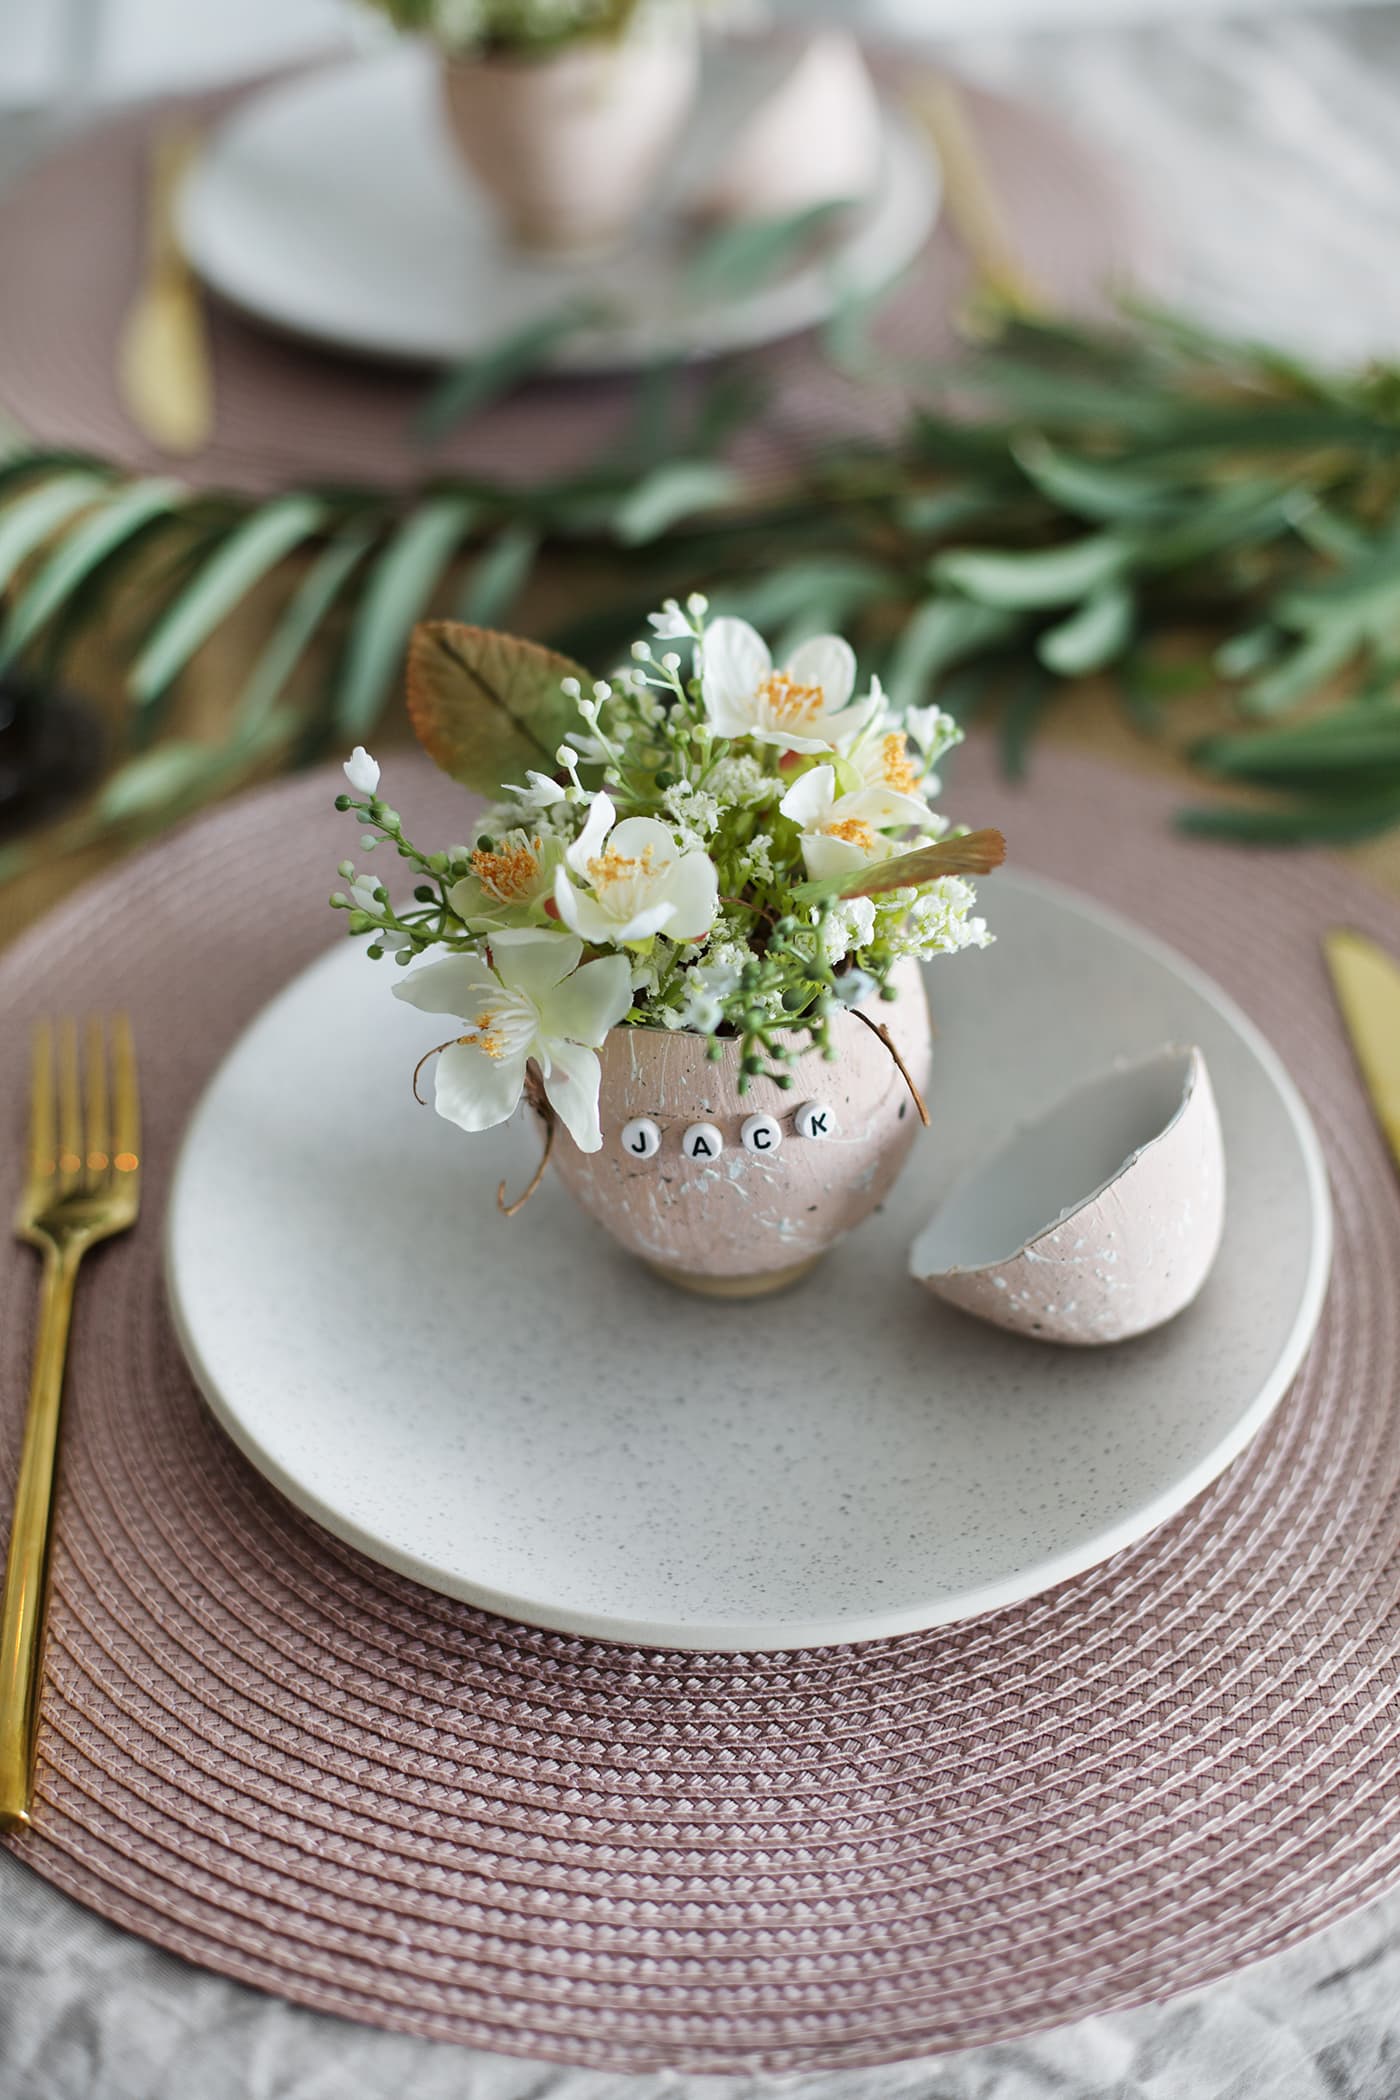
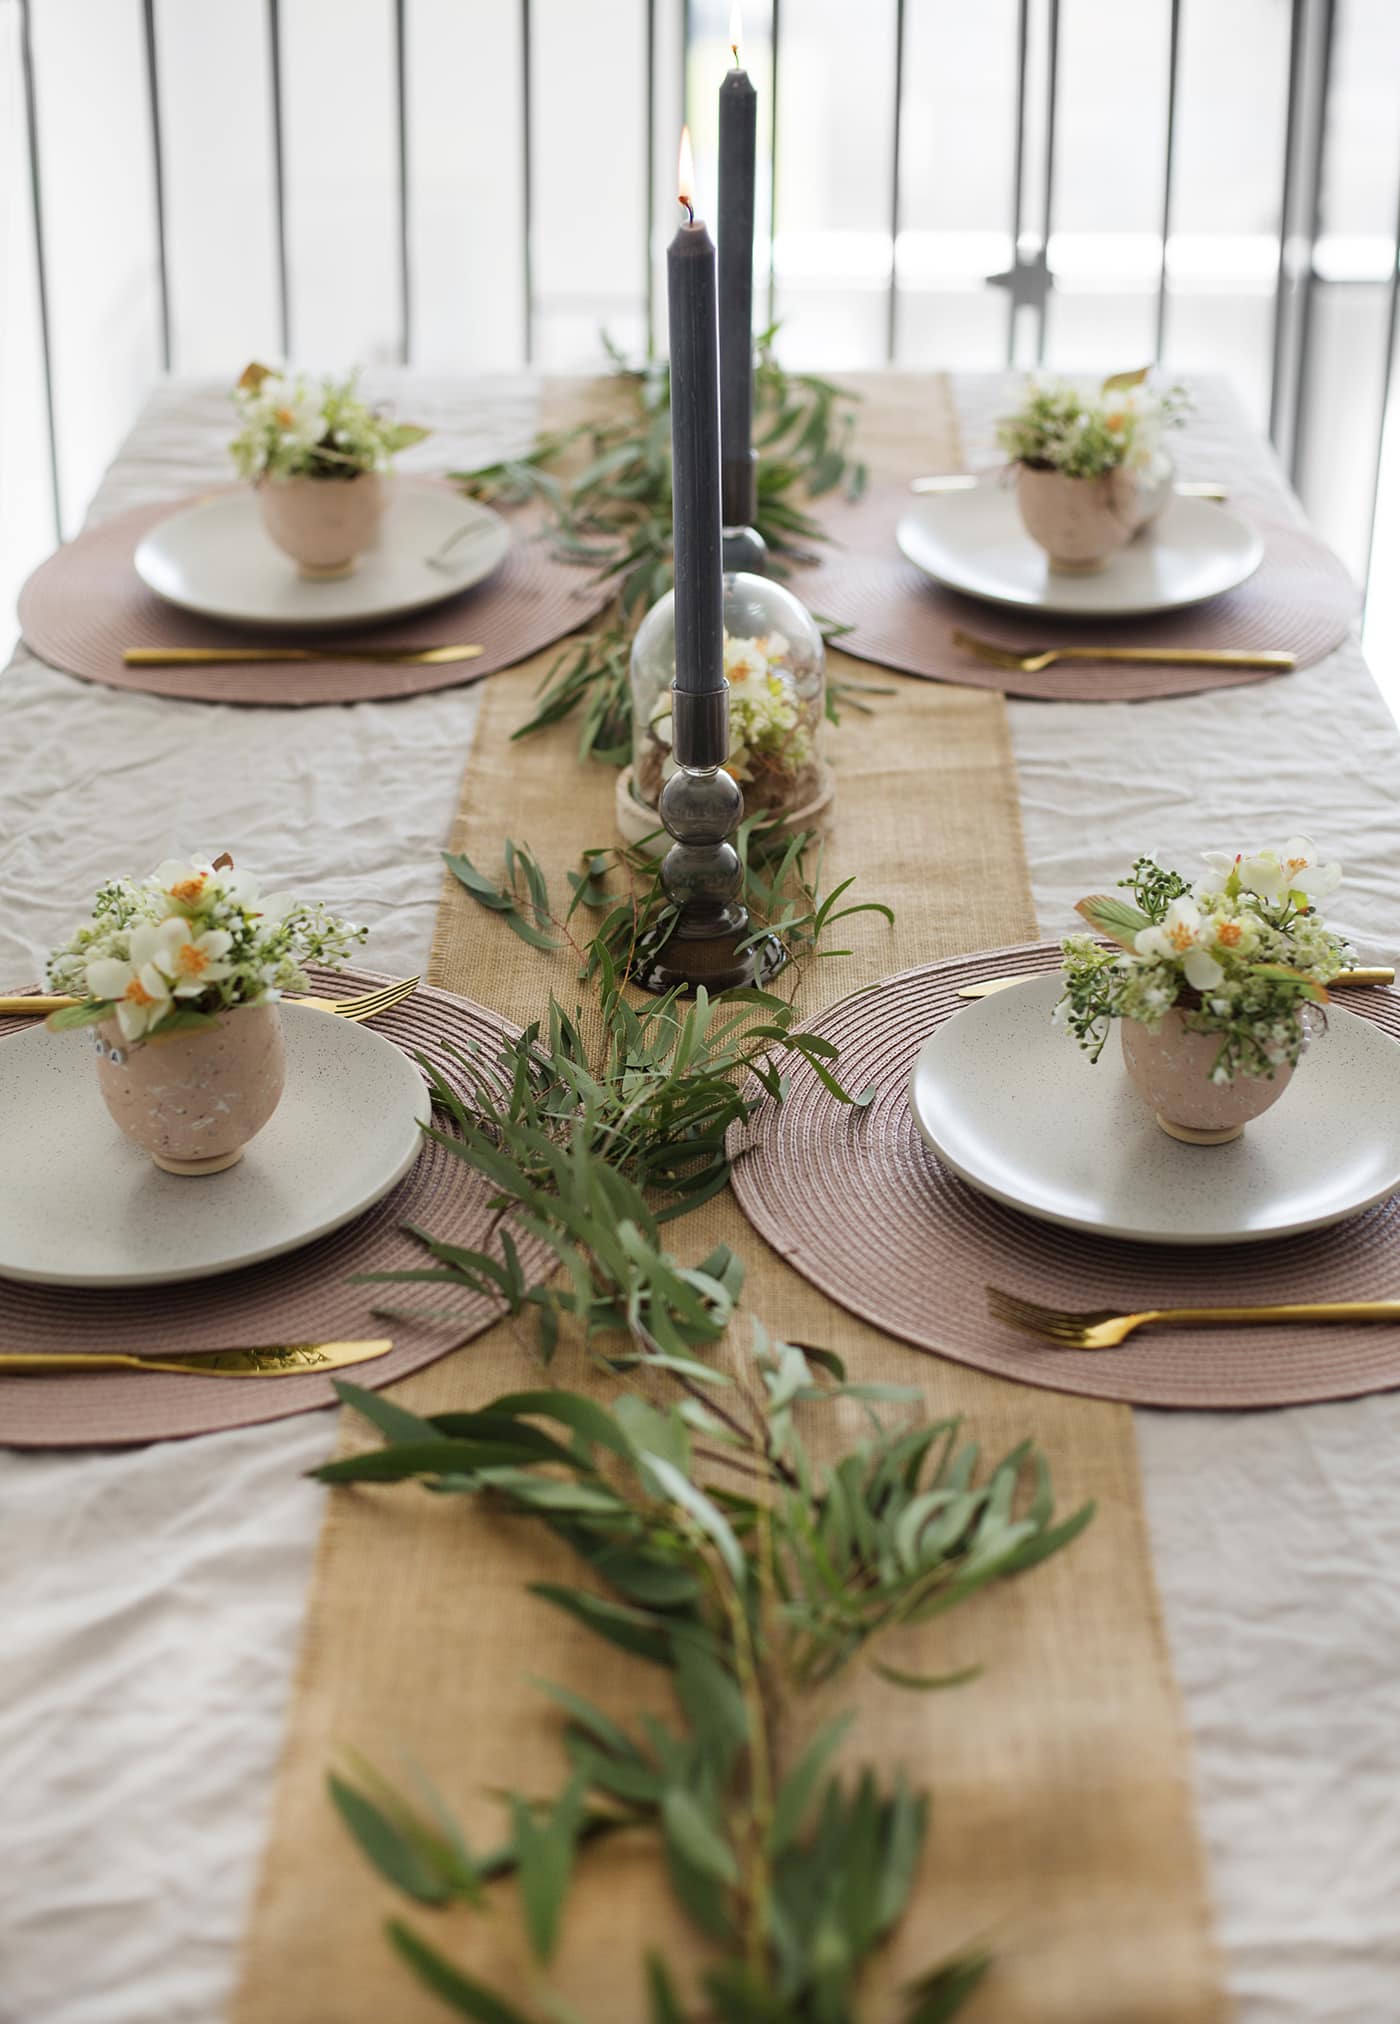
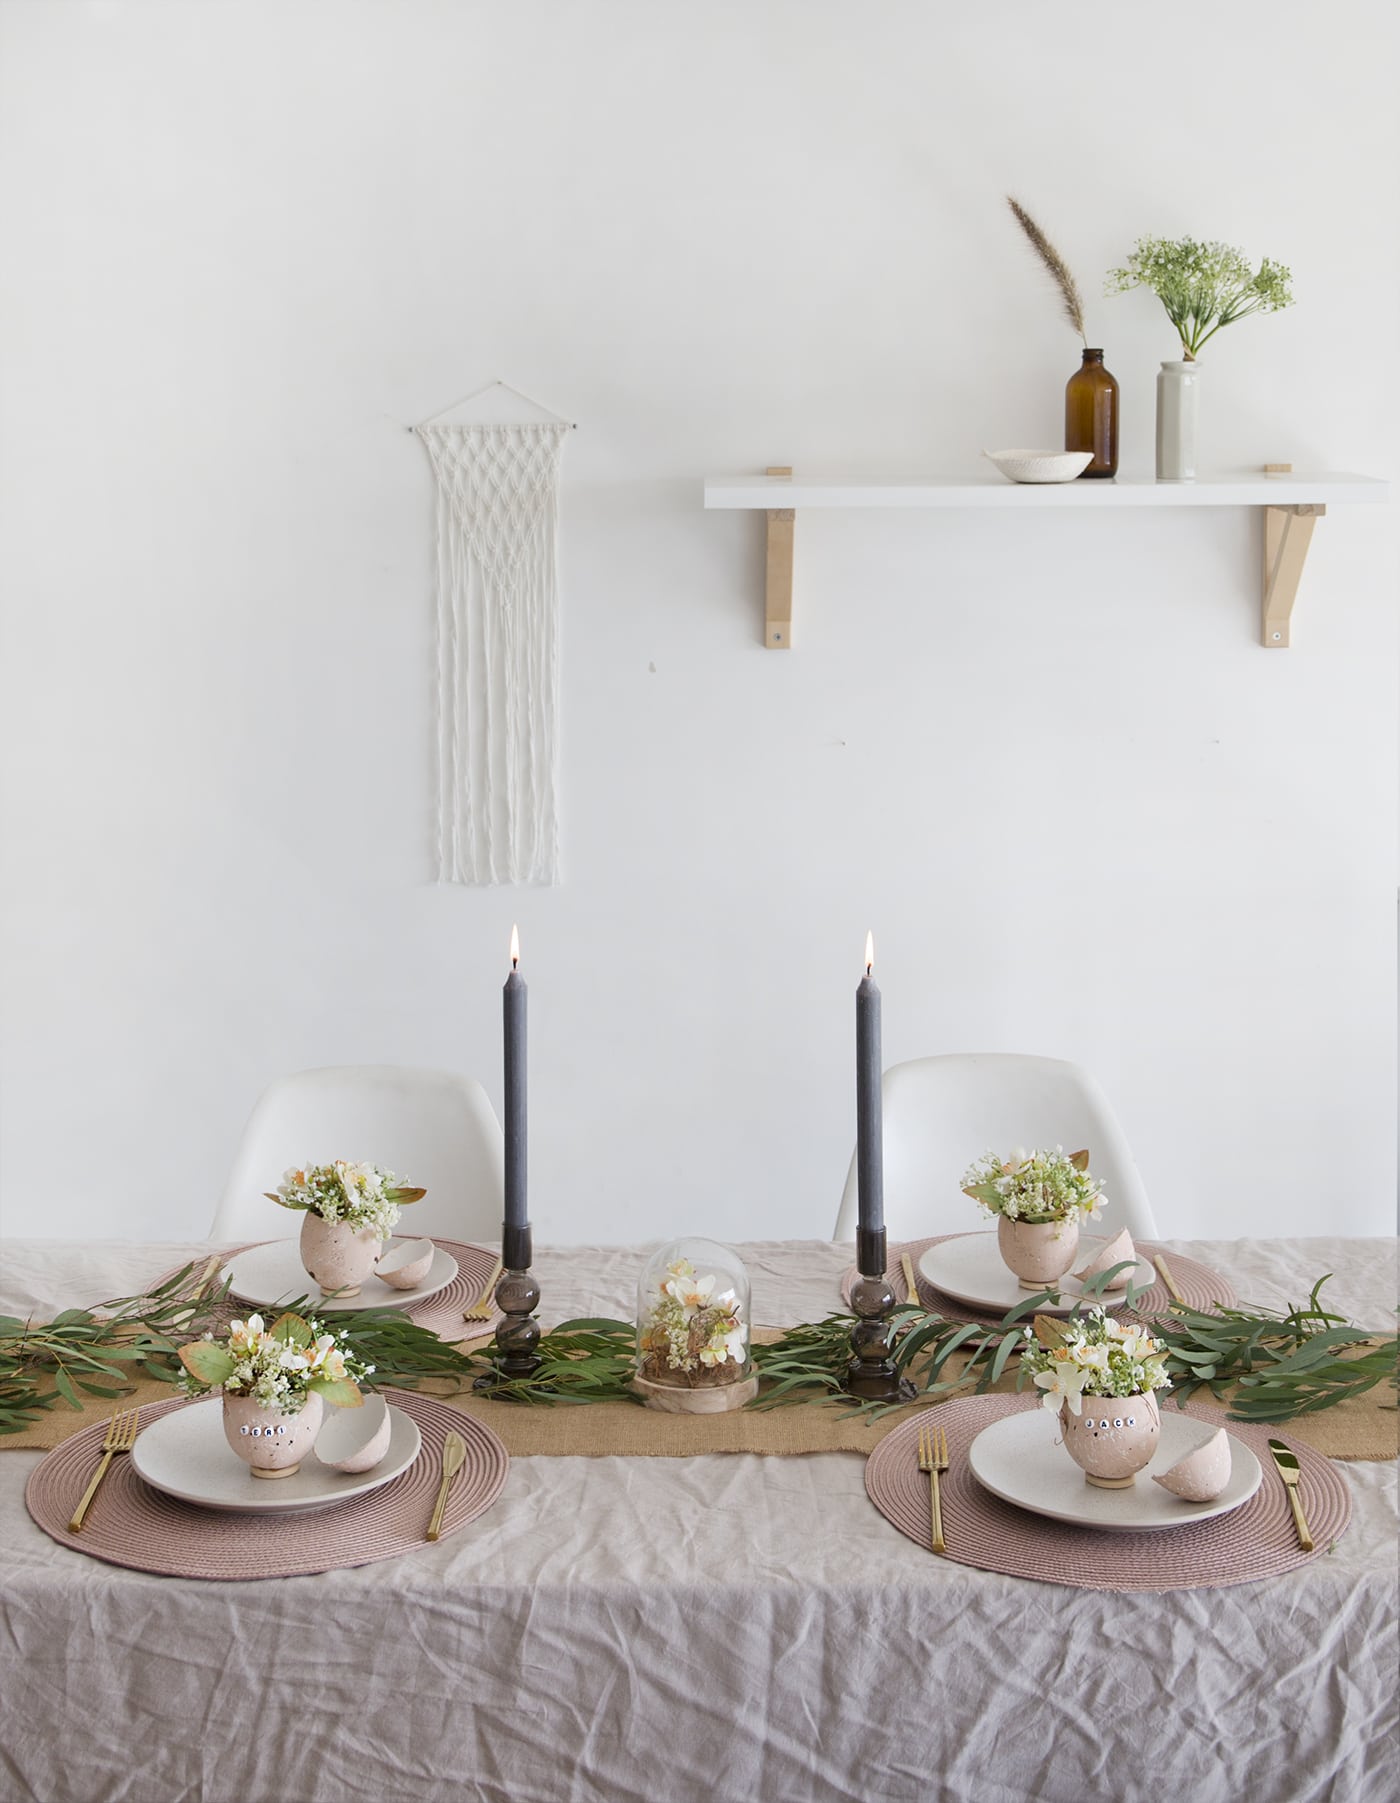
Style your table with a jute table runner, topped with Spring foliage, taper candles and use any excess materials to fill a glass cloche as a focal point. I used some extra moss, gypsophila and cherry blossom to fill mine and it seems to tie the whole look together really well. I’d say keep the rest of the table fairly simple so your place names do the talking.
Hopefully that gives you a dose of inspiration ahead of Easter. Give it a whirl and create a something special for you and your guests.

You might also like


Meet The Lovely Drawer

Hi, I’m Teri and welcome to my own creative corner of the internet. I blog about interiors, DIY projects, design inspiration and my general life so stick around have a read and say hi.
In the shop

 Quick ViewSelect options
Terrace 1
£20.00 – £25.00
 Quick ViewSelect options
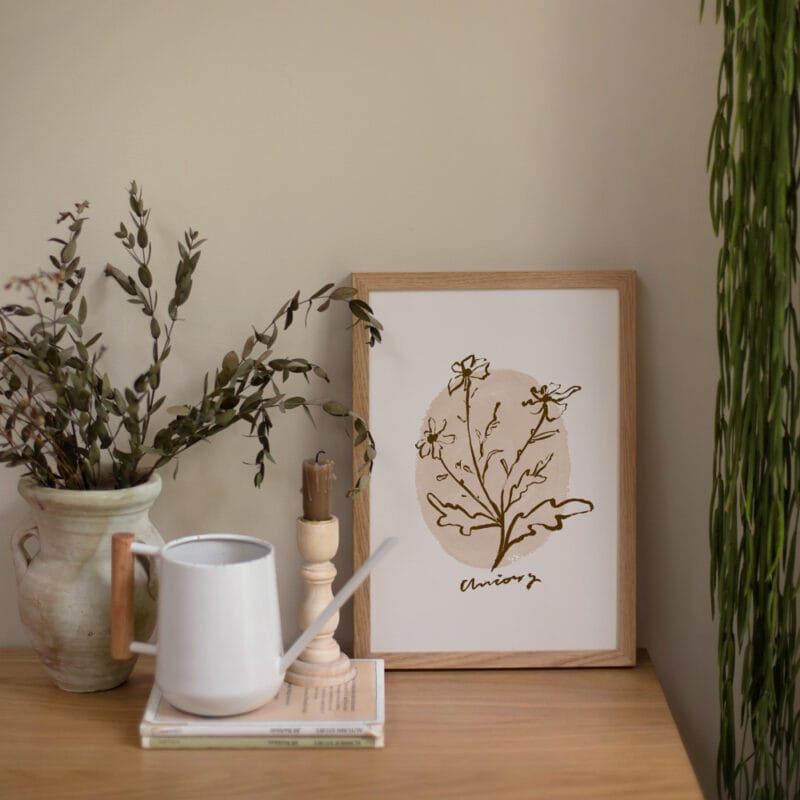
Chicory
£20.00 – £25.00
Work with Me
The Lovely Drawer is an award winning blog with a loyal audience that has grown over the years. I love working with brands small and large on exciting collaborations that can bring products alive in my own signature aesthetic.