

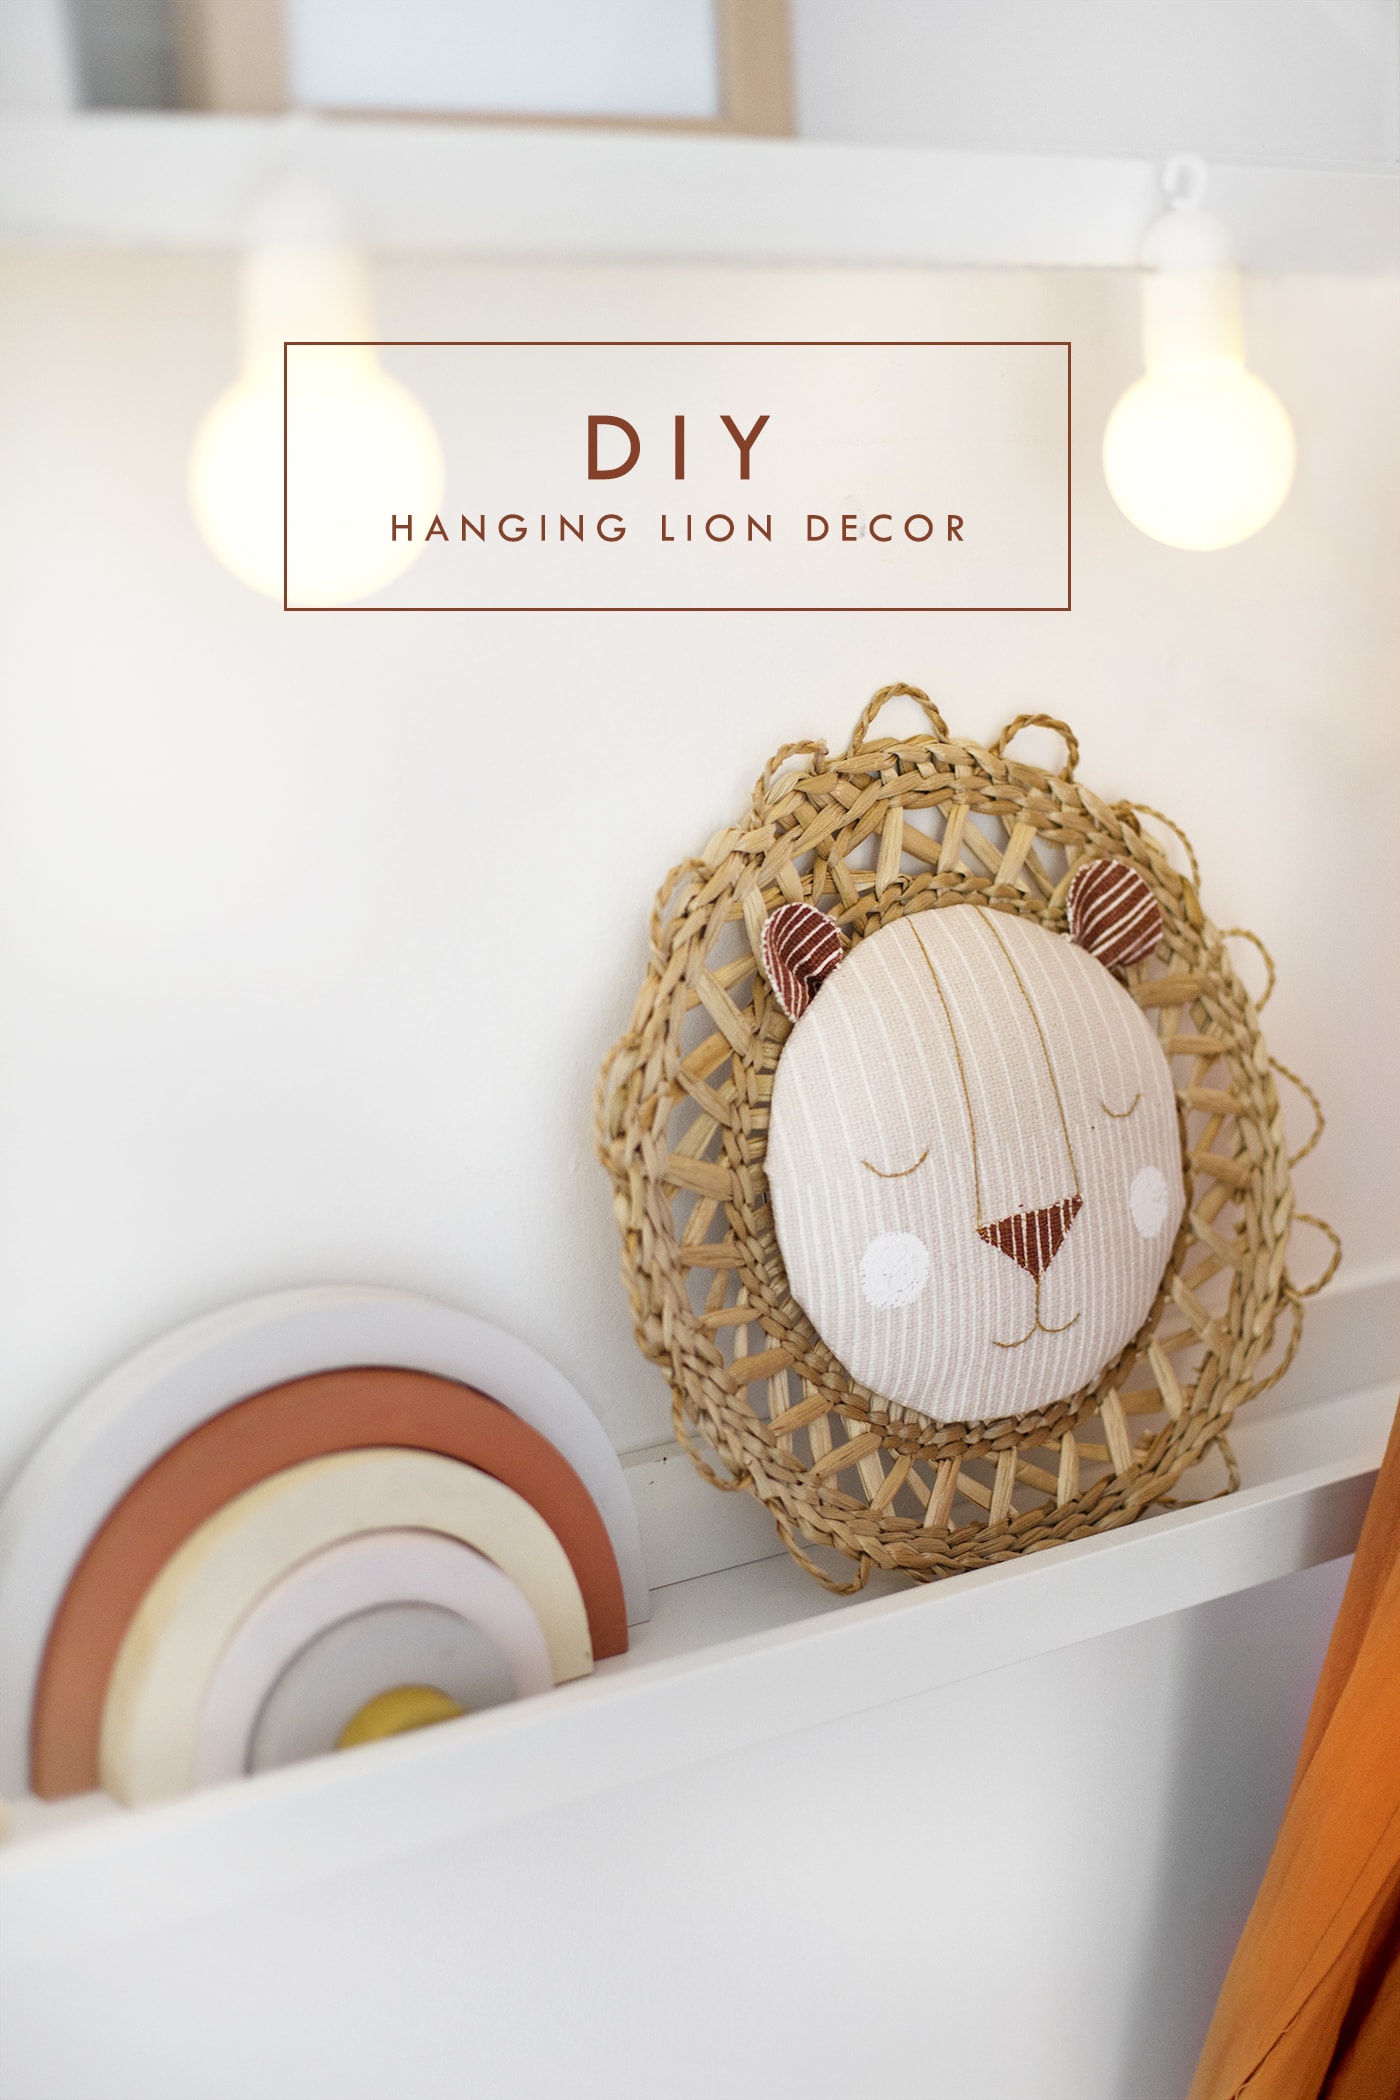
DIY Hanging Lion Decor

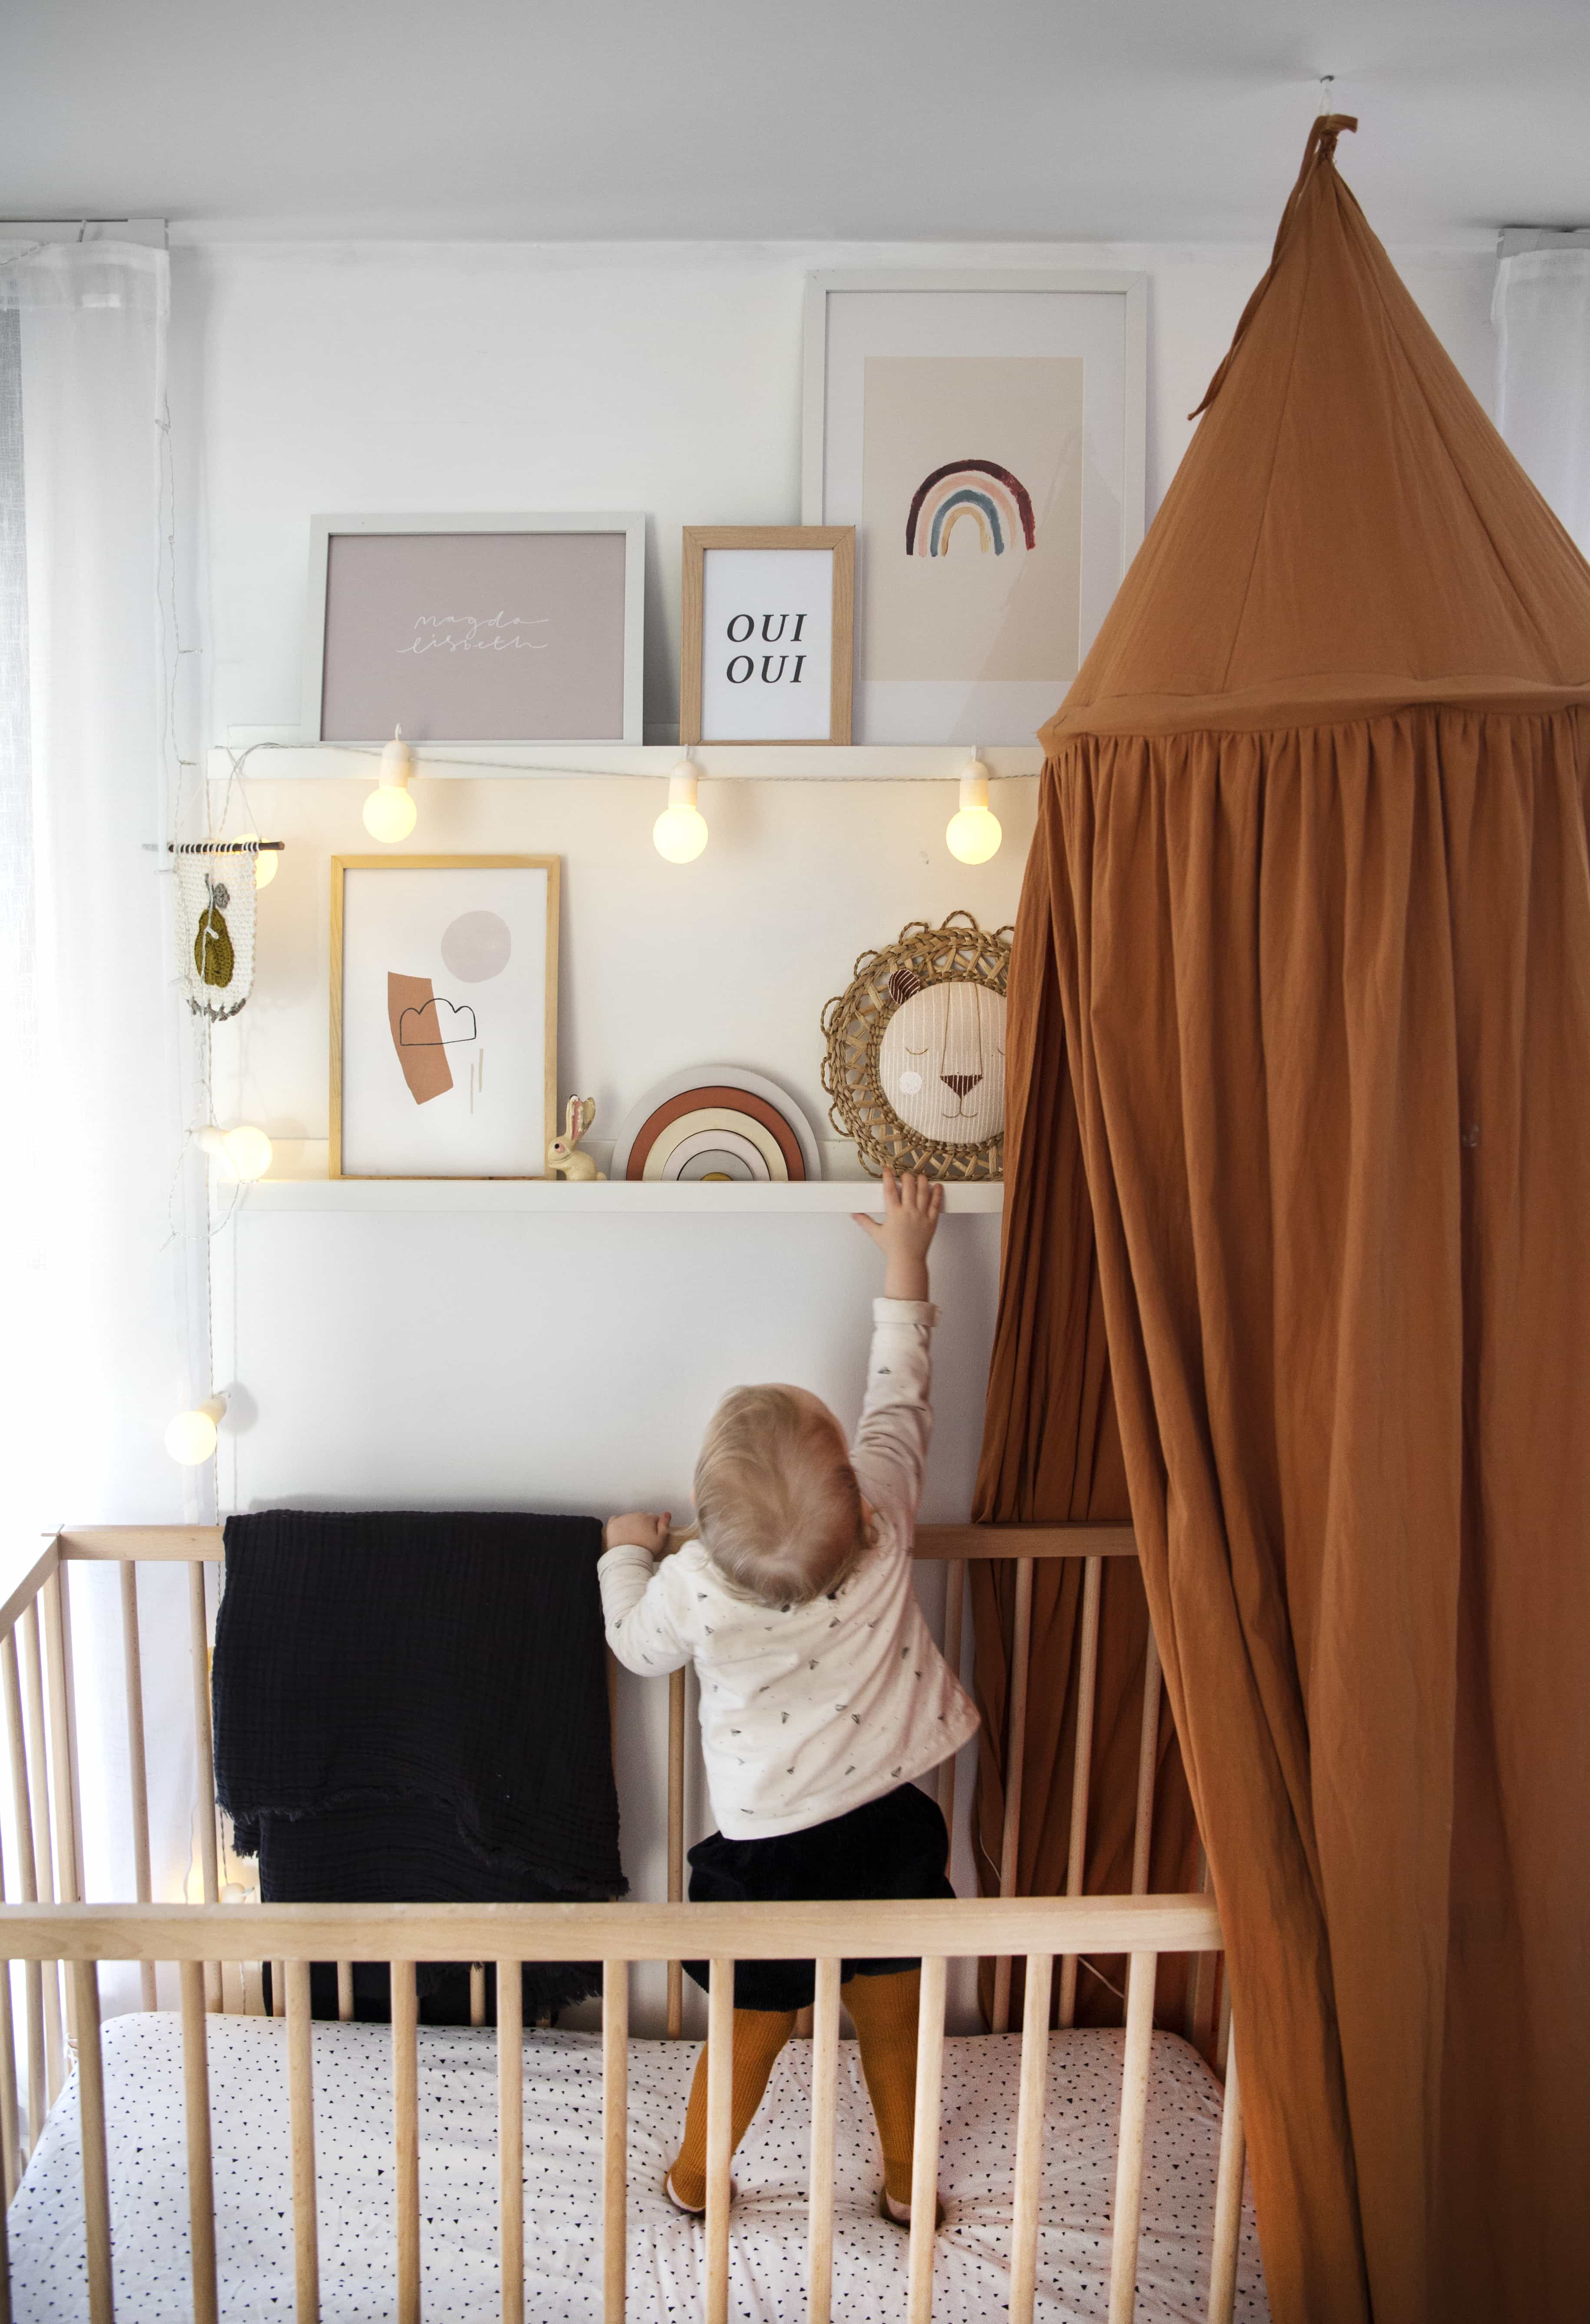
Maggie’s room is possibly my favourite in the whole flat, just because it’s so fun to decorate so I’m constantly adding bits to it.Some might say I’m a little out of control but hey, I’ve got to make the most of having a real say on how it looks before she starts pleading me for pink walls and unicorn bed covers, right?
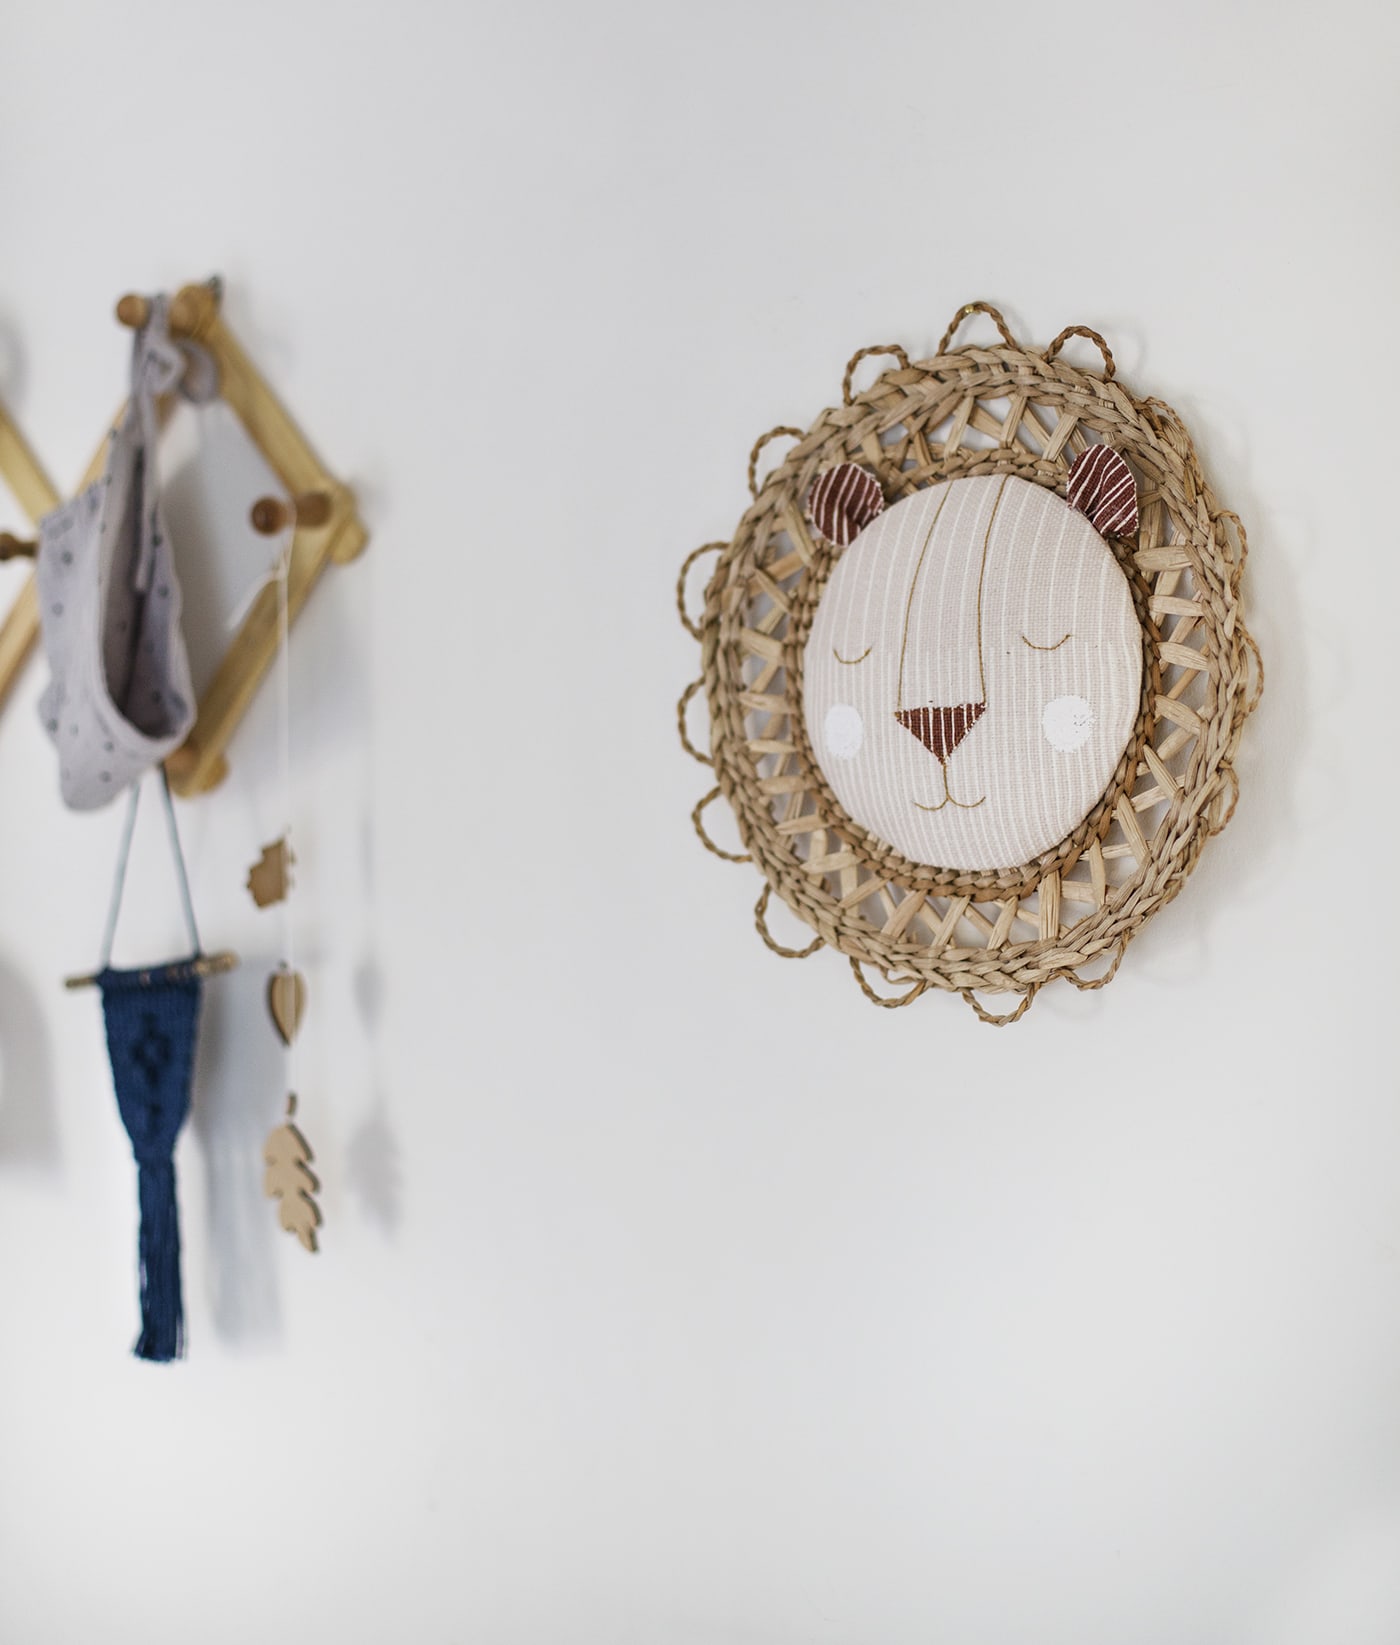
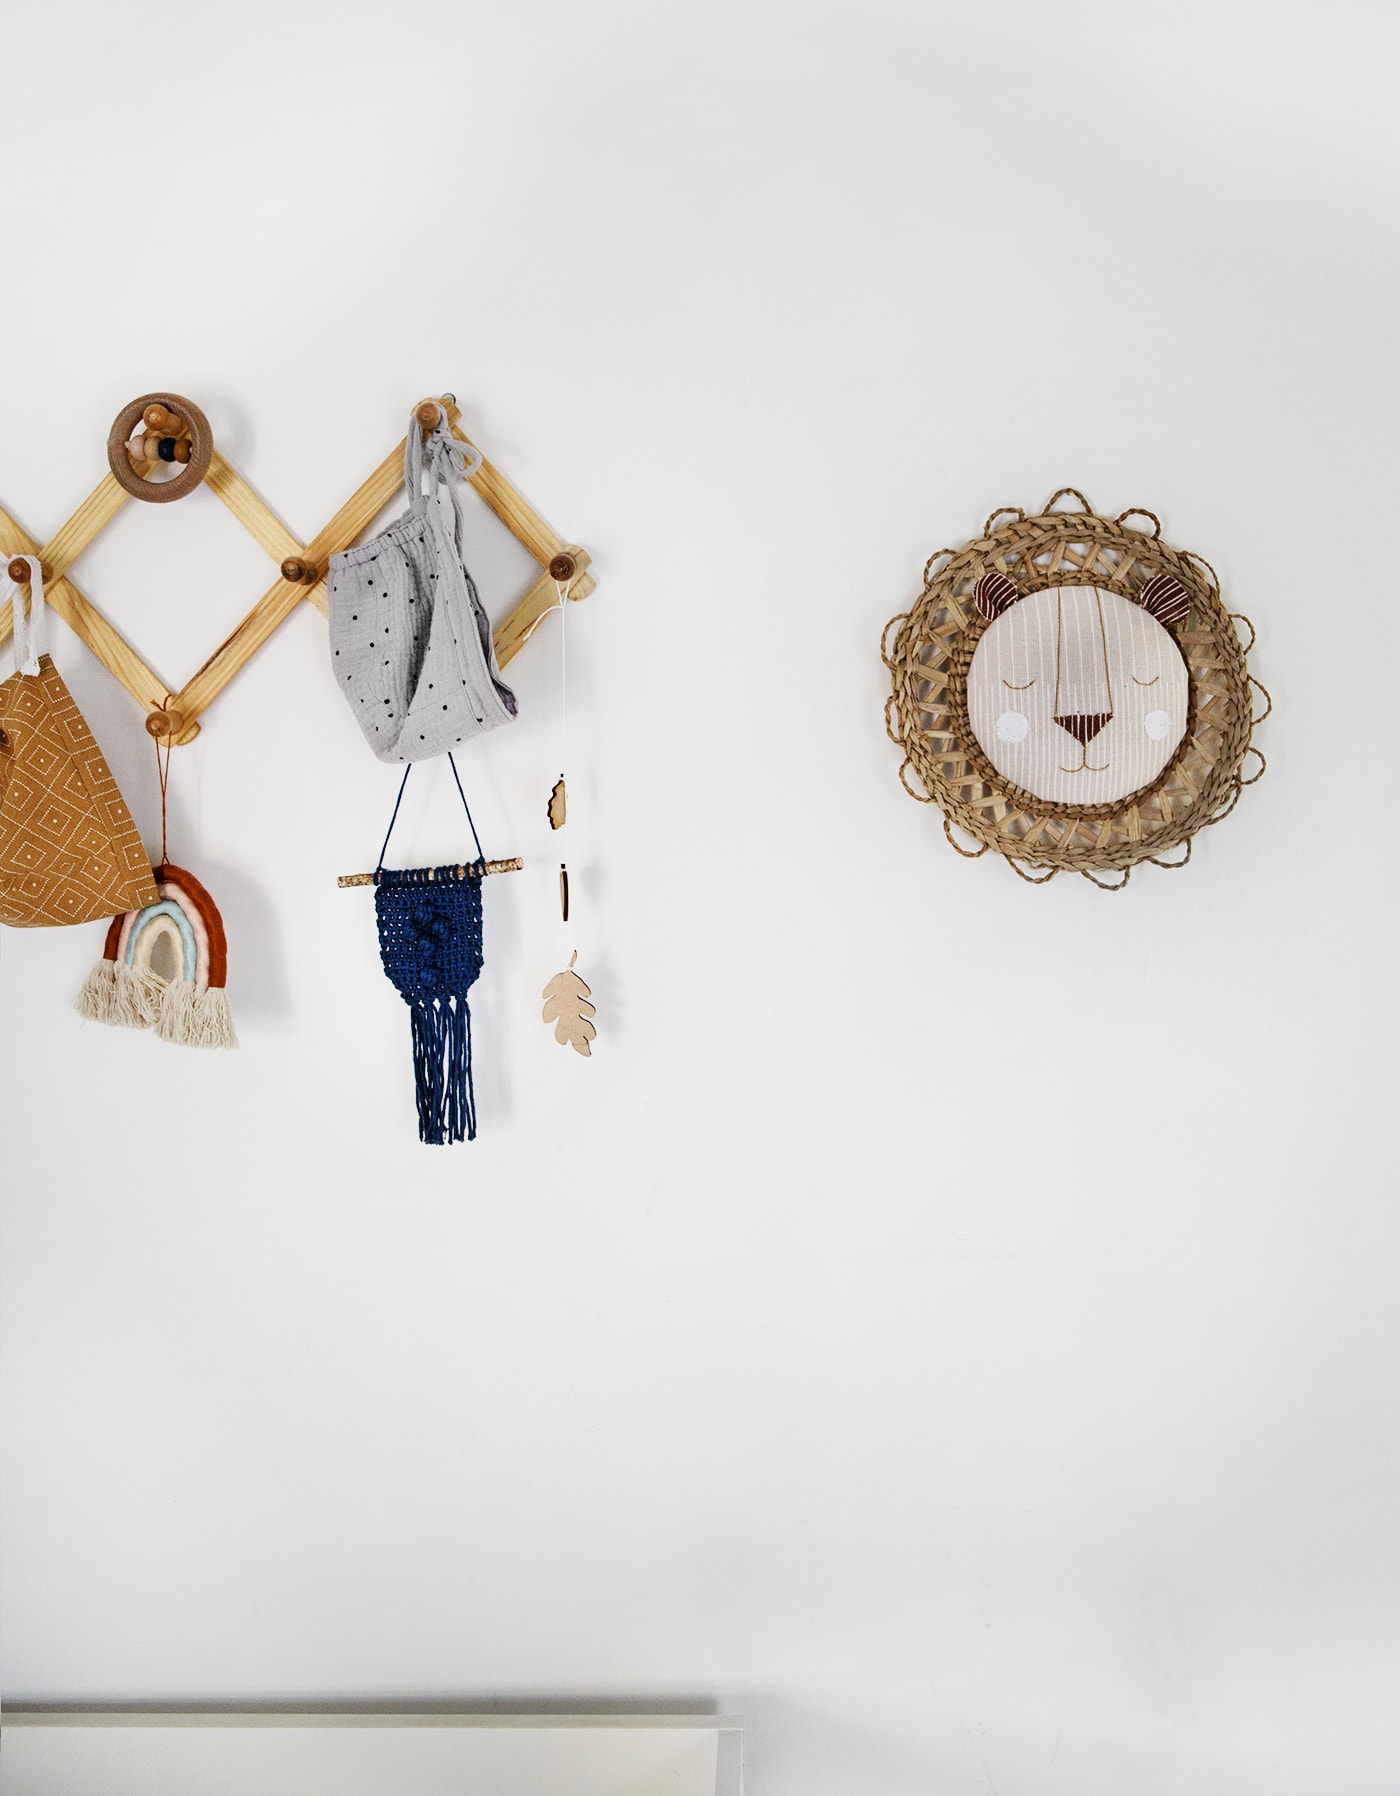
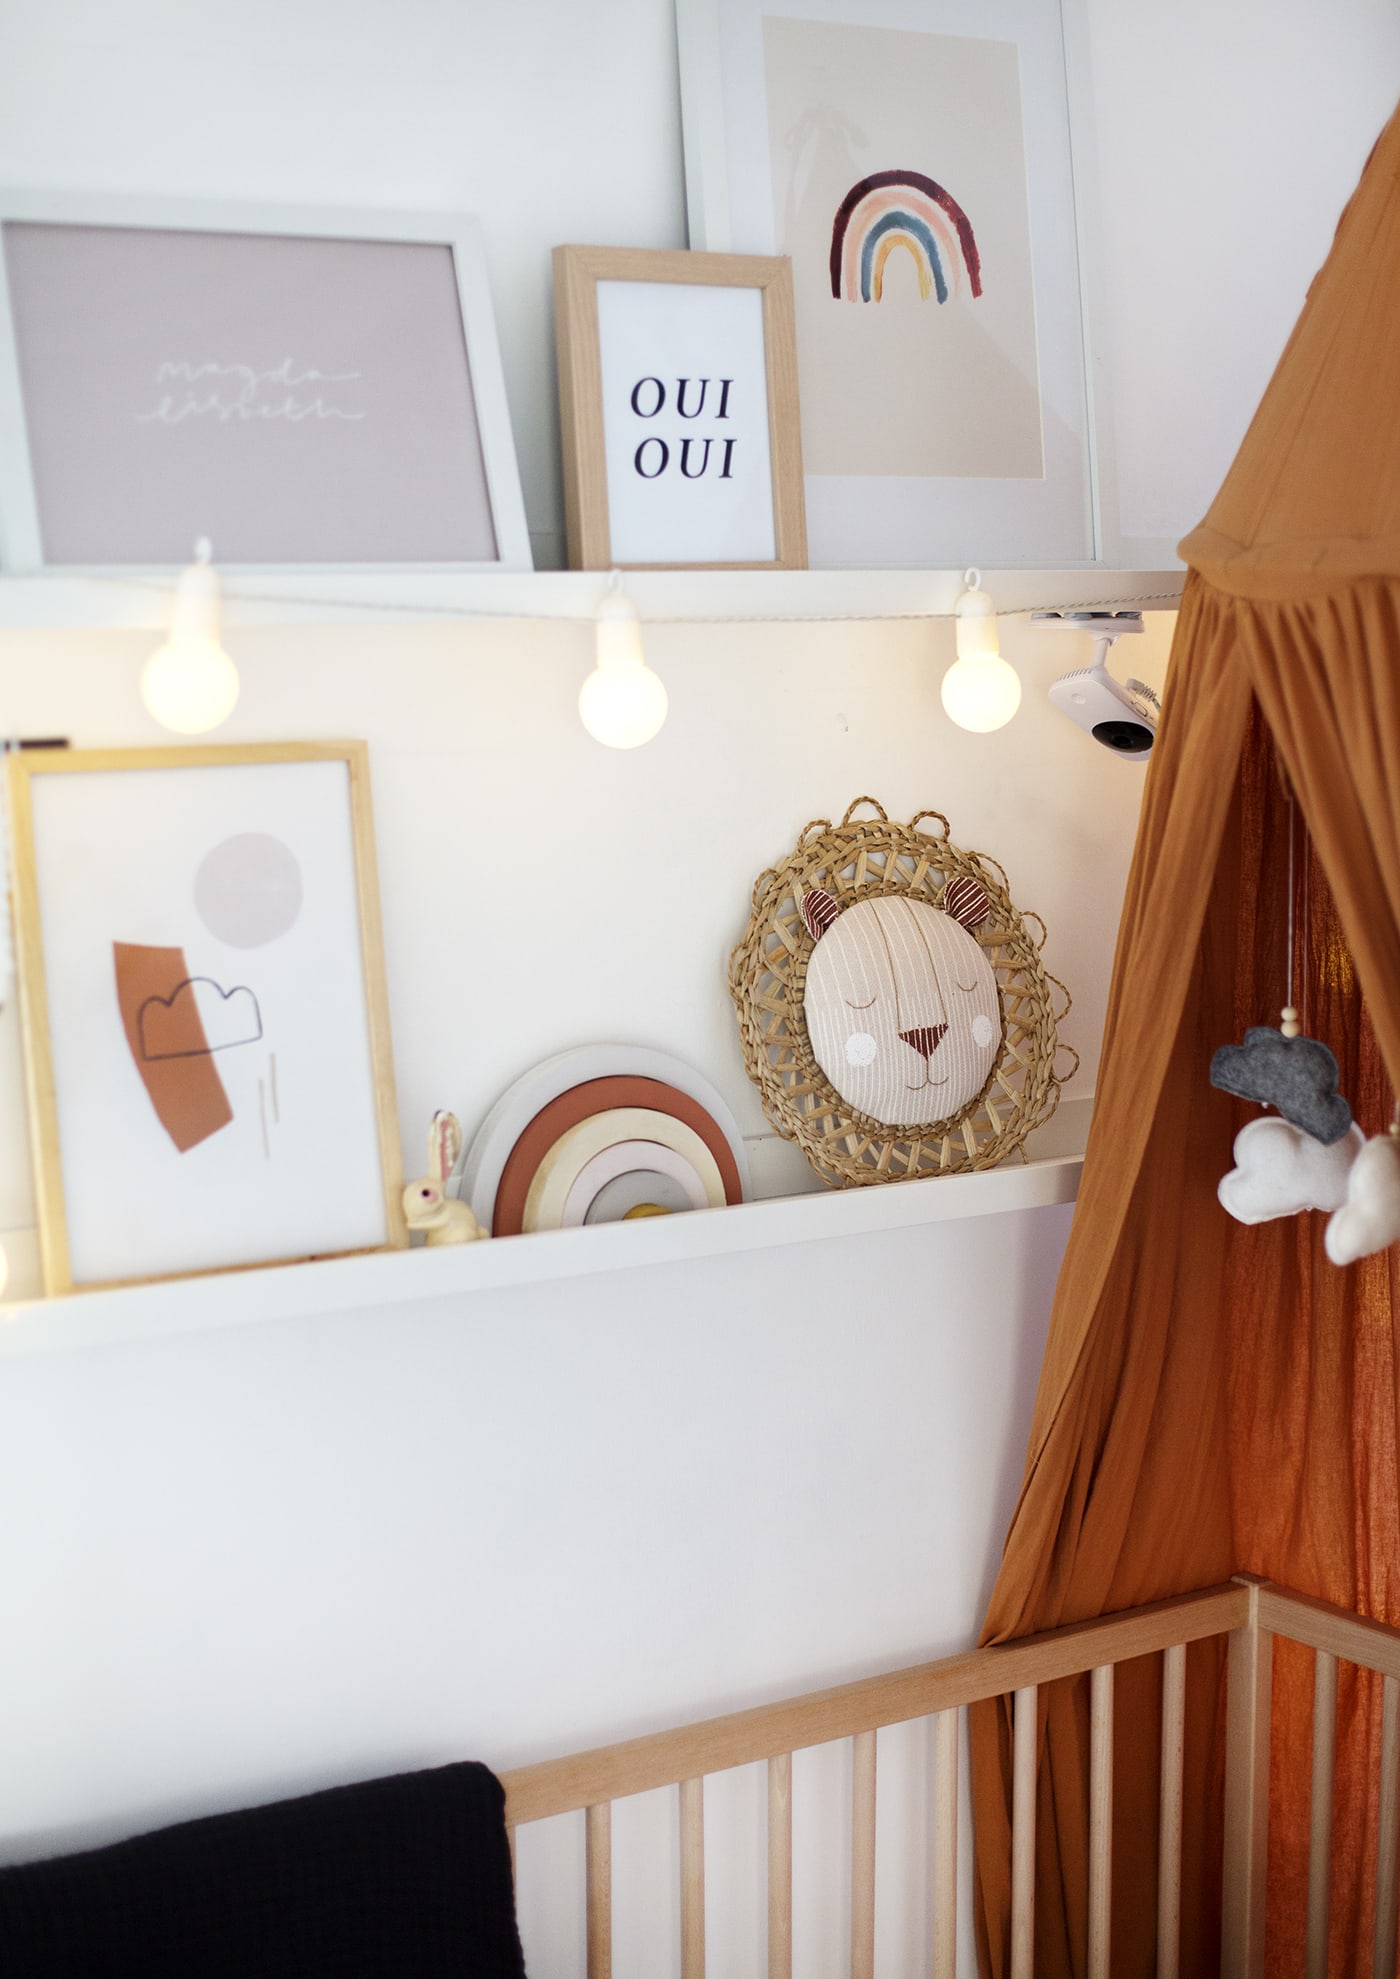
My latest addition to her space is this hanging lion head which might I add, she instantly took to, blowing kisses and roaring at her new room mate with so much glee! This little guy is so simple to make even if you’re not a sewer. You also don’t have to have a sewing machine as the face details can easily be stitched on by hand.
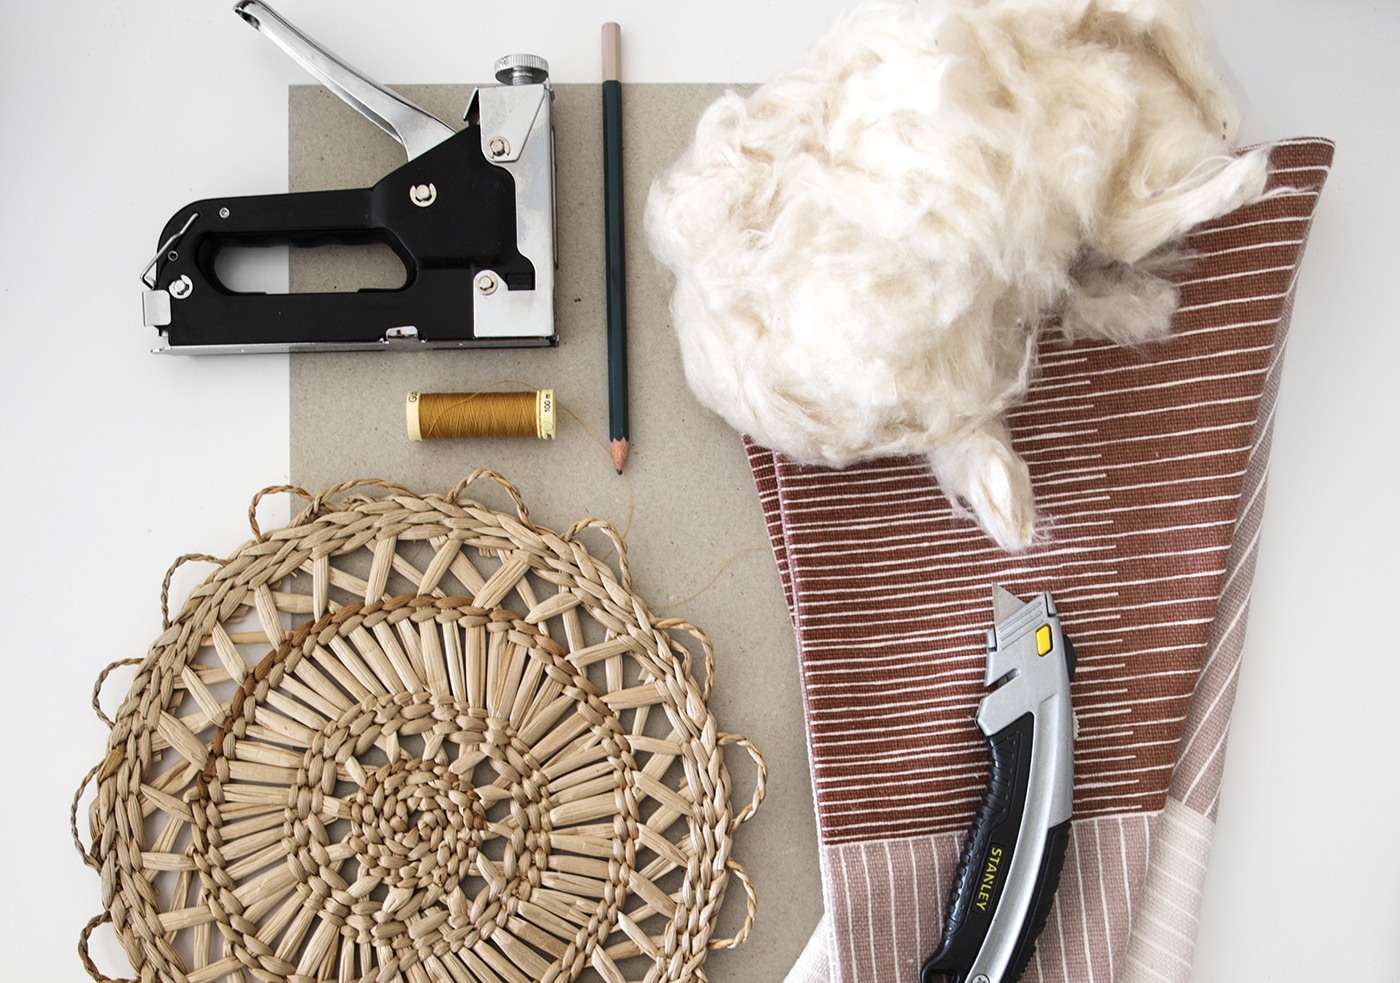
Materials:
- Raffia placemat
- Material of your choice ( I used a cushion cover on sale from H&M which would be my top tip for cheap but nice material when you only need a small amount)
- Craft knife
- Bamboo toy stuffing
- Machine thread in the colour of your choice
- Pencil
- Thick grey card
- Pencil
- Scissors
- White fabric paint and brush if you want to add the cheek details
- Heavy duty staple gun
- Fabric glue
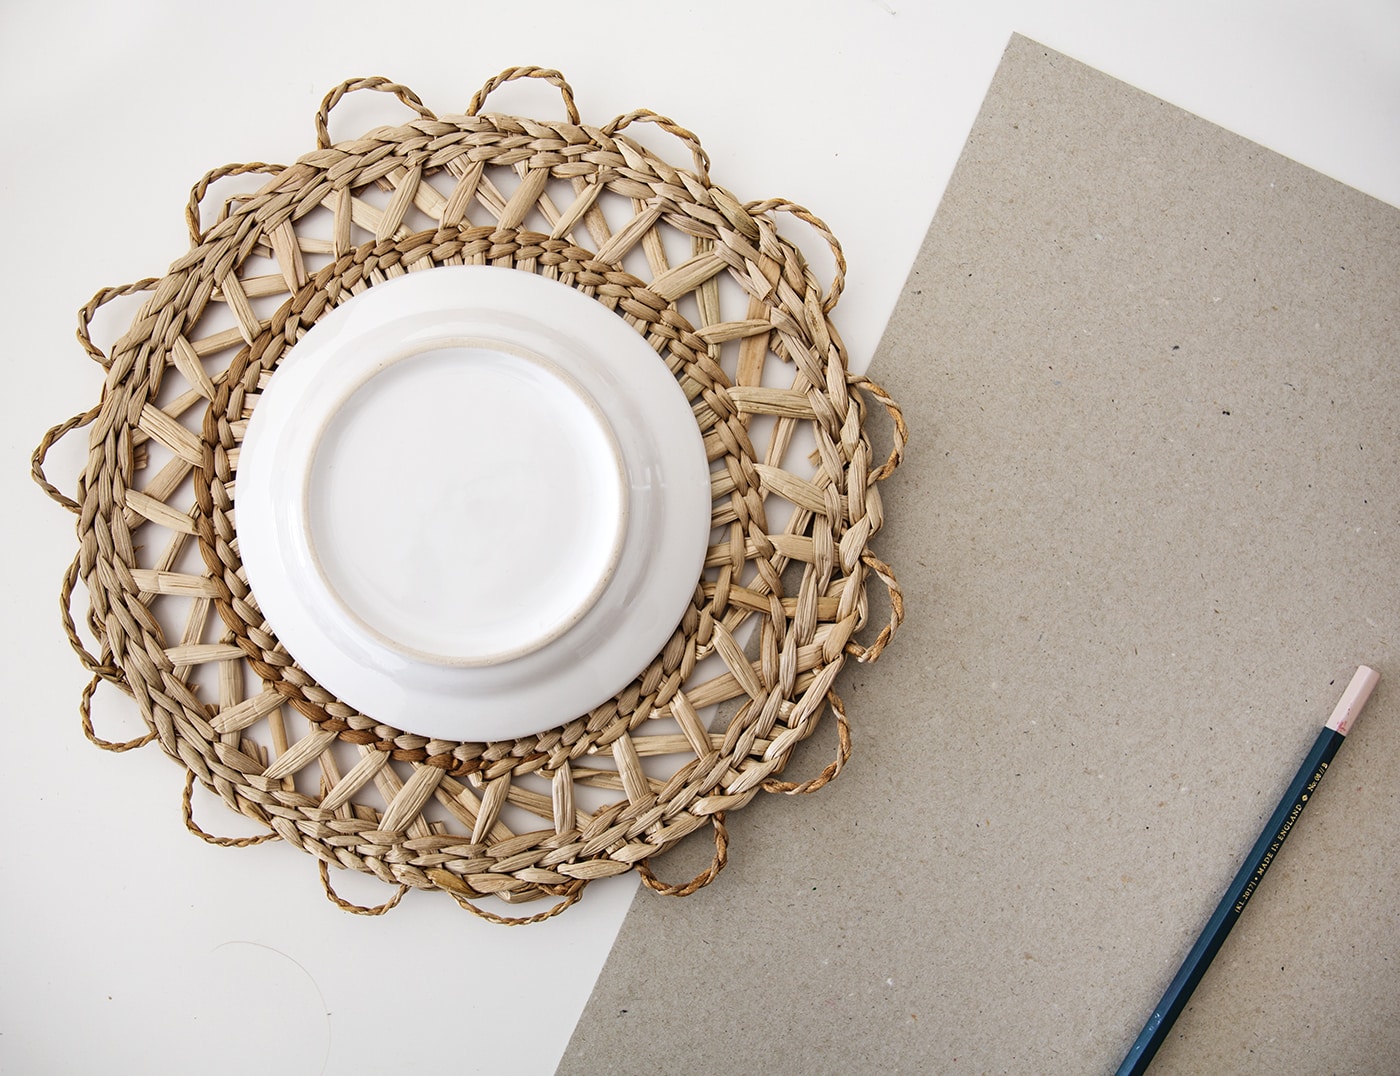
Start by finding a household object roughly the right size for the lion face. I used a little plate and lay it over the top of the placemat to make sure.
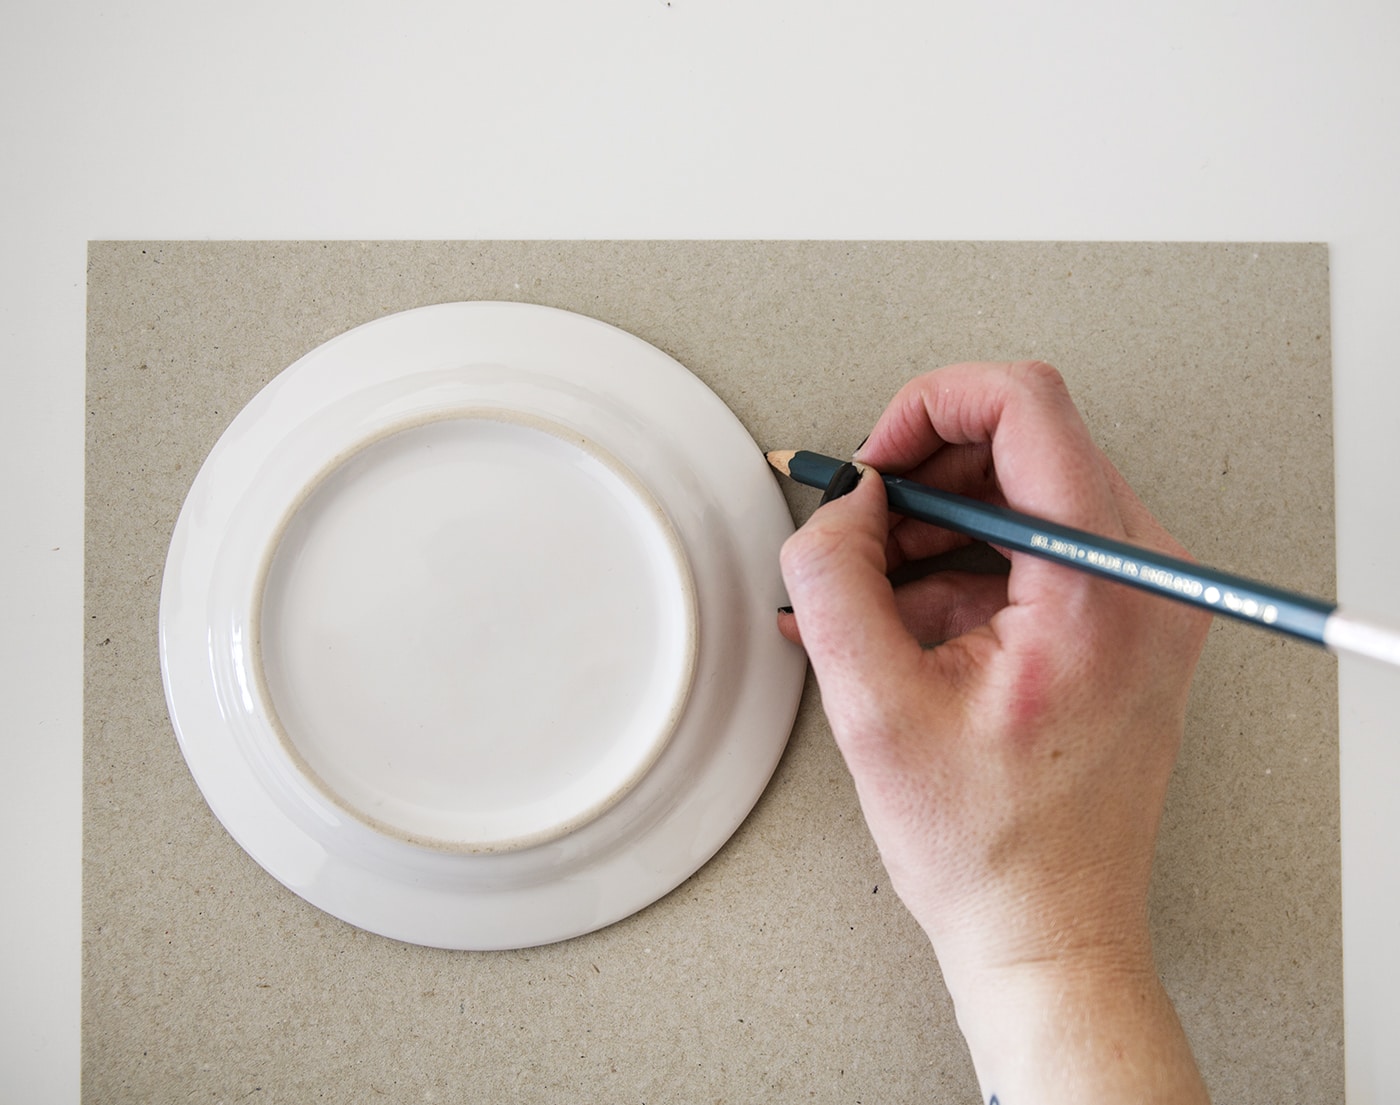
Place the object onto the grey board and draw around to create the shape.
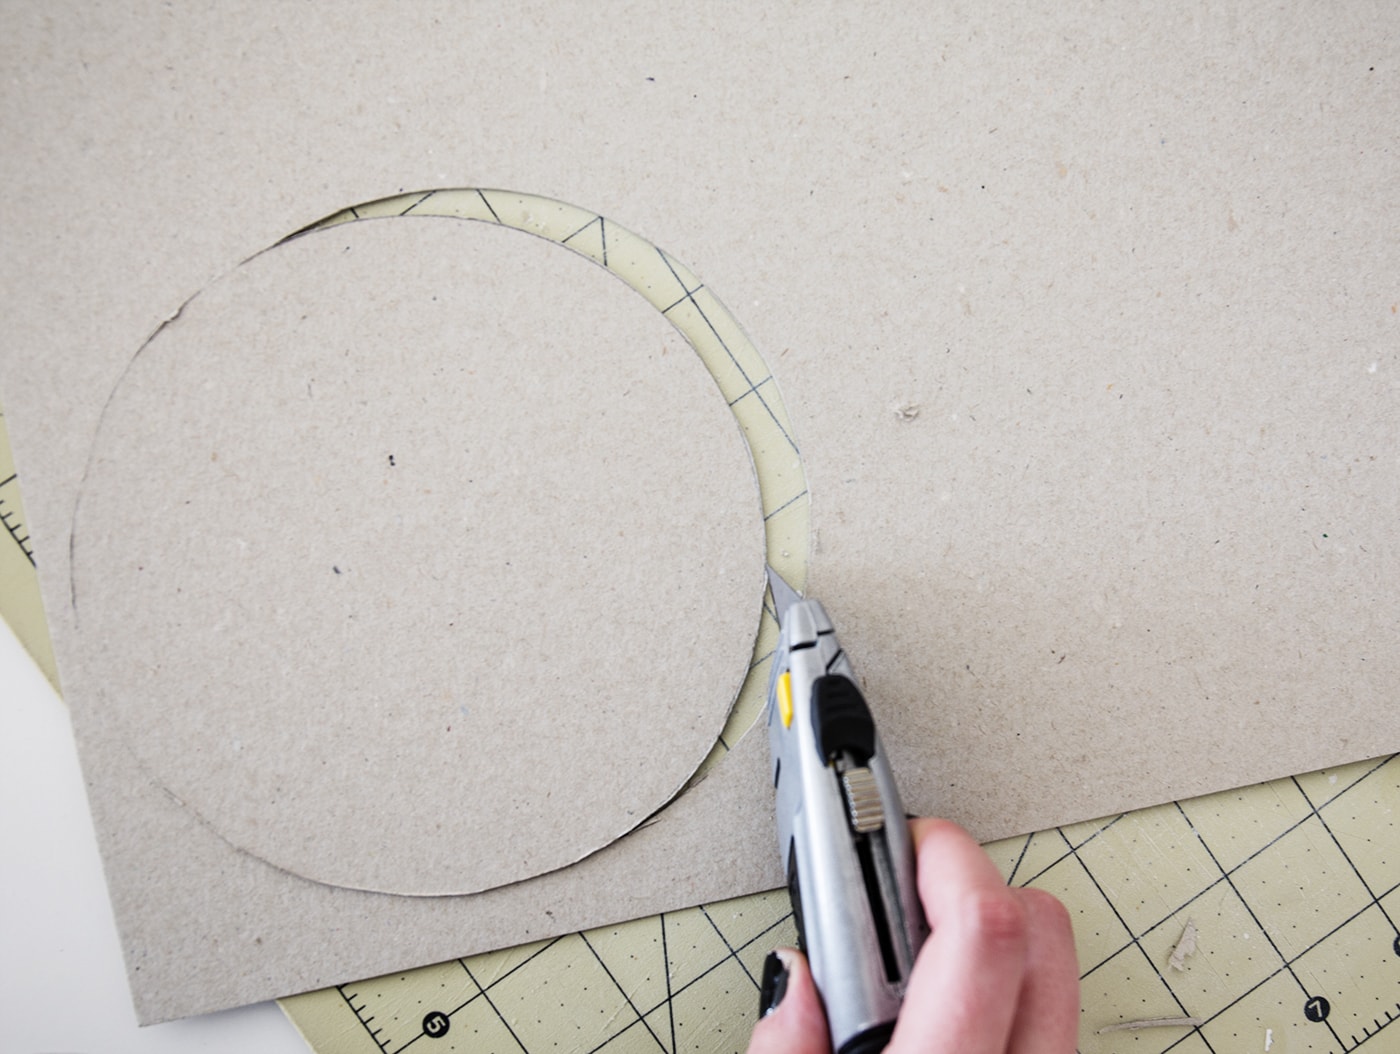
Cut out with the craft knife as neatly as you can.
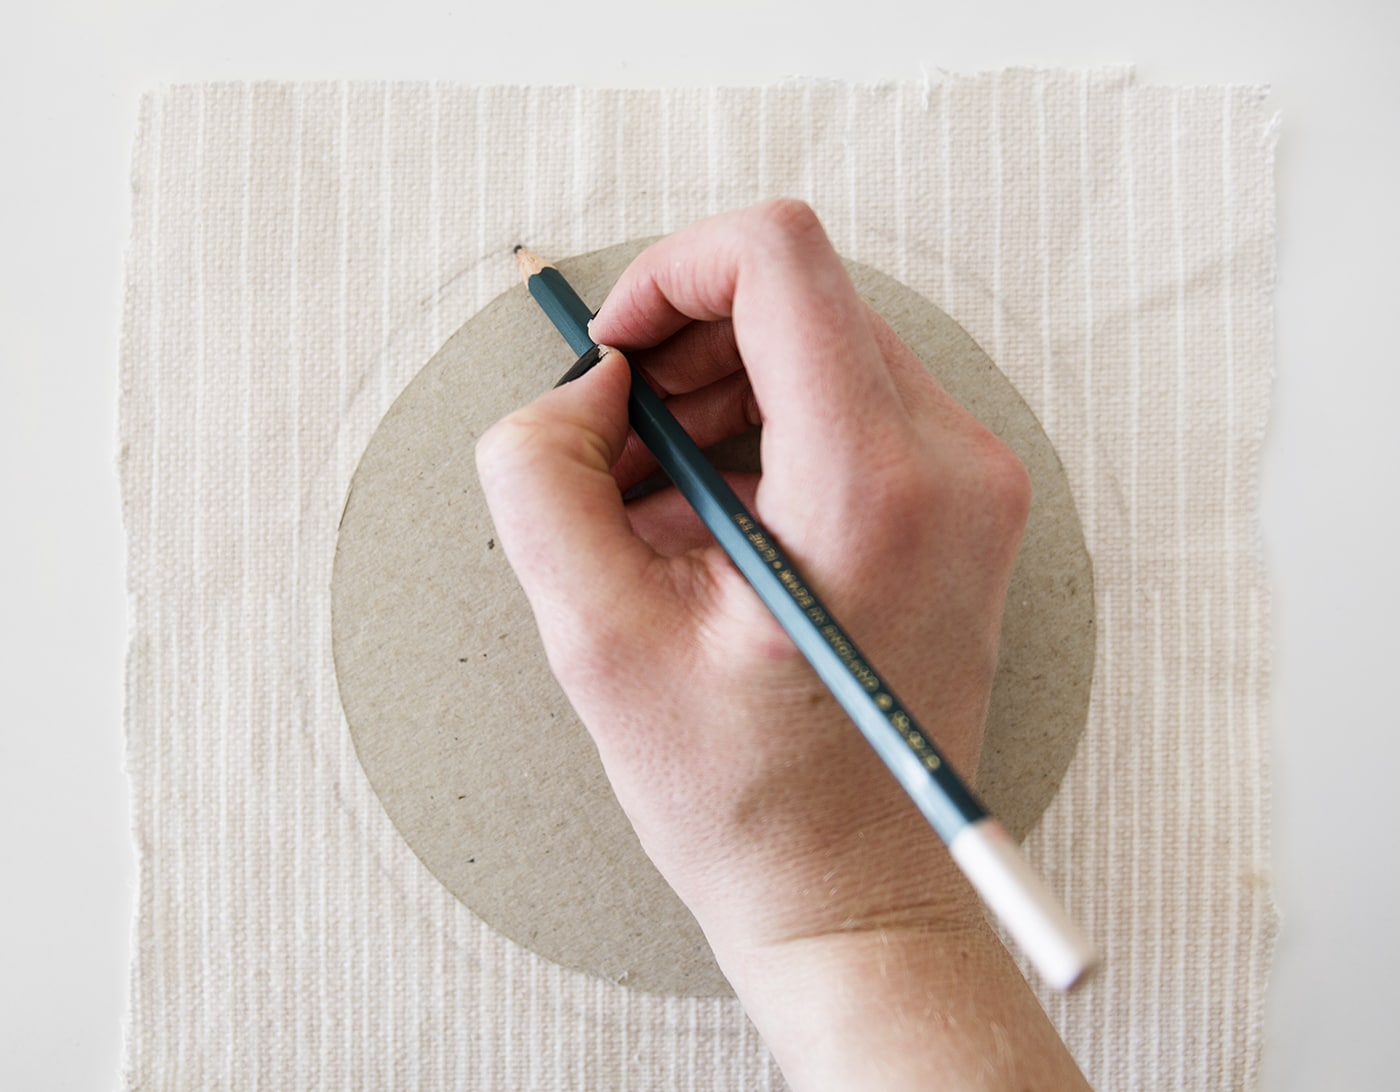
Then place the grey board circle on top of the material and draw a circle bout 1cm larger. This will give you a rough idea how much of the material you will from the front, once stuffed.
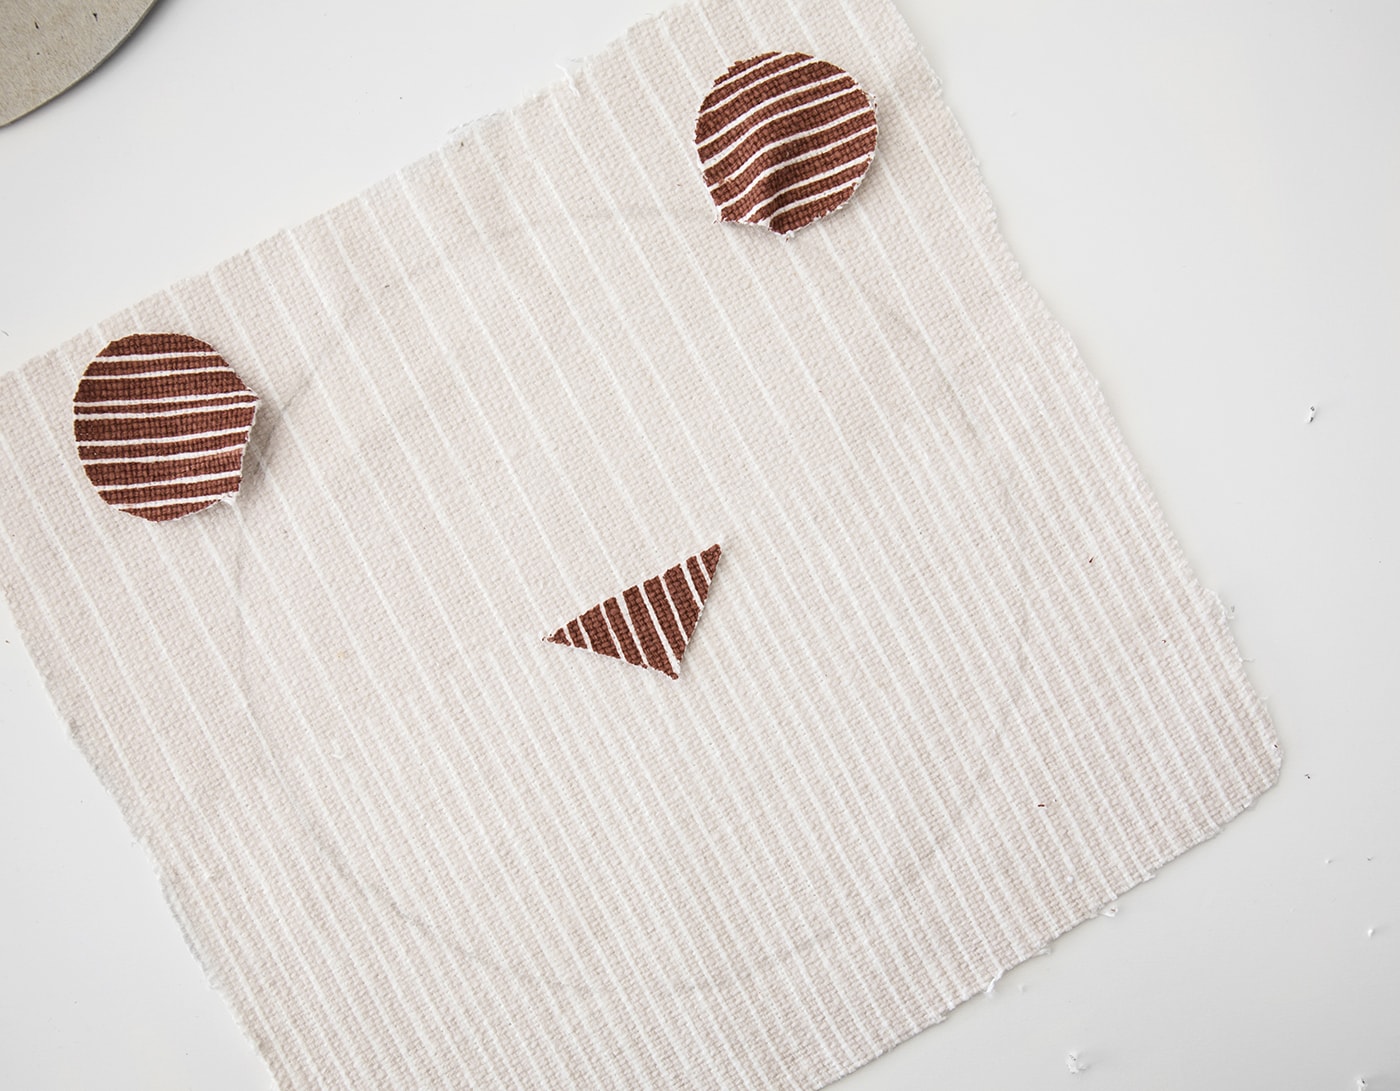
Now cut out the nose and ears and check they work size wise.
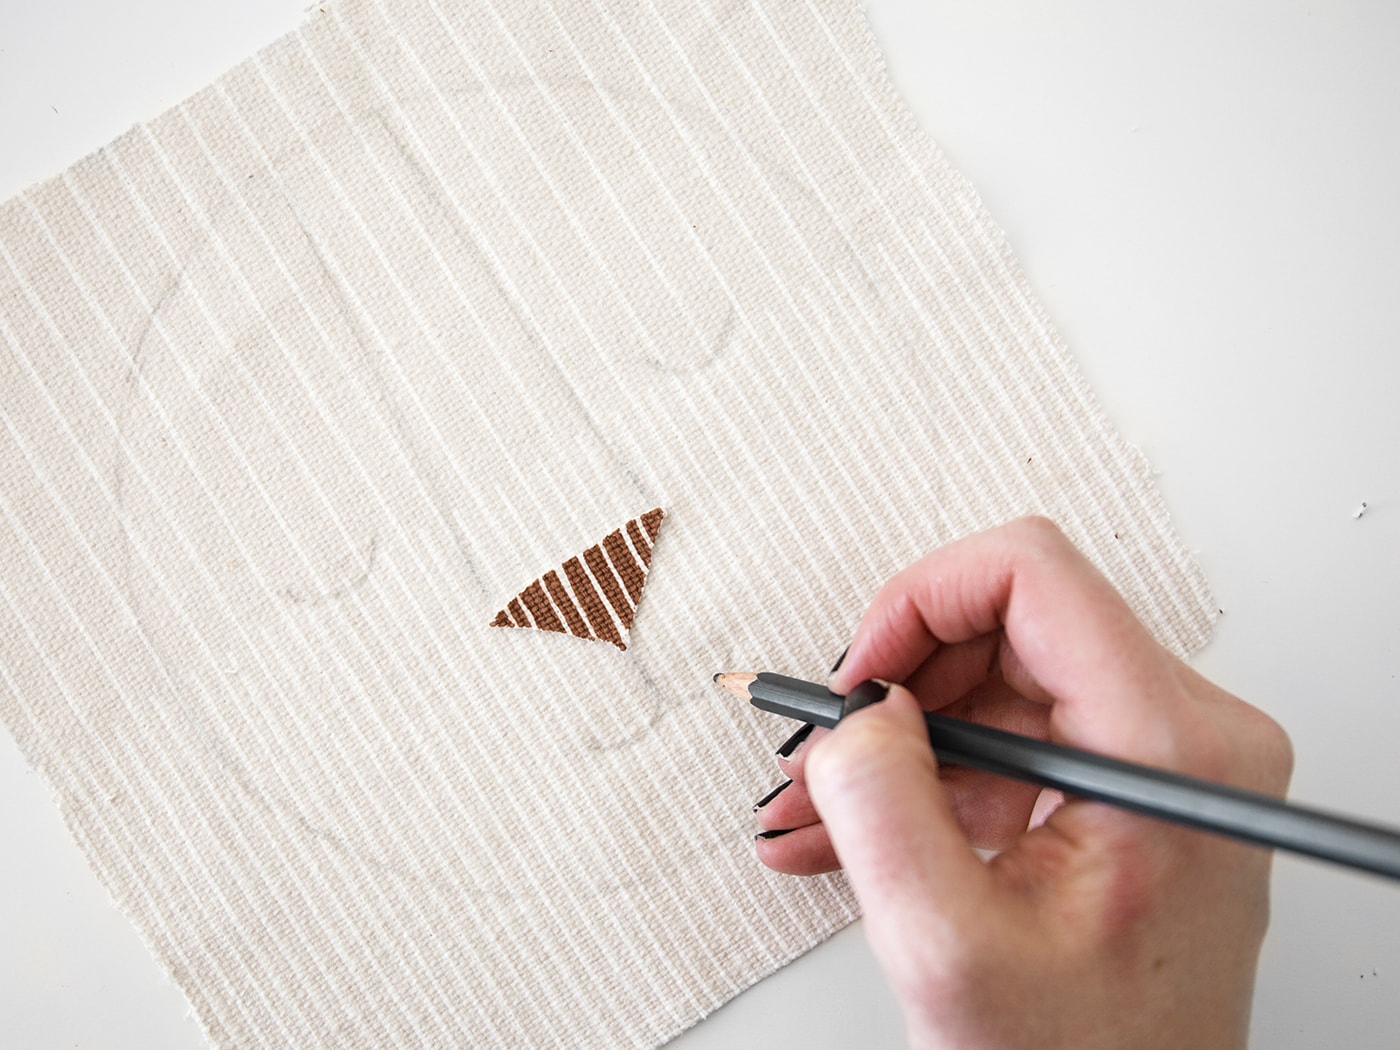
You can stick the nose in place to help you draw on the face details with a pencil. Keep the lines as thin as possible as this will just act as a guide for your stitching.
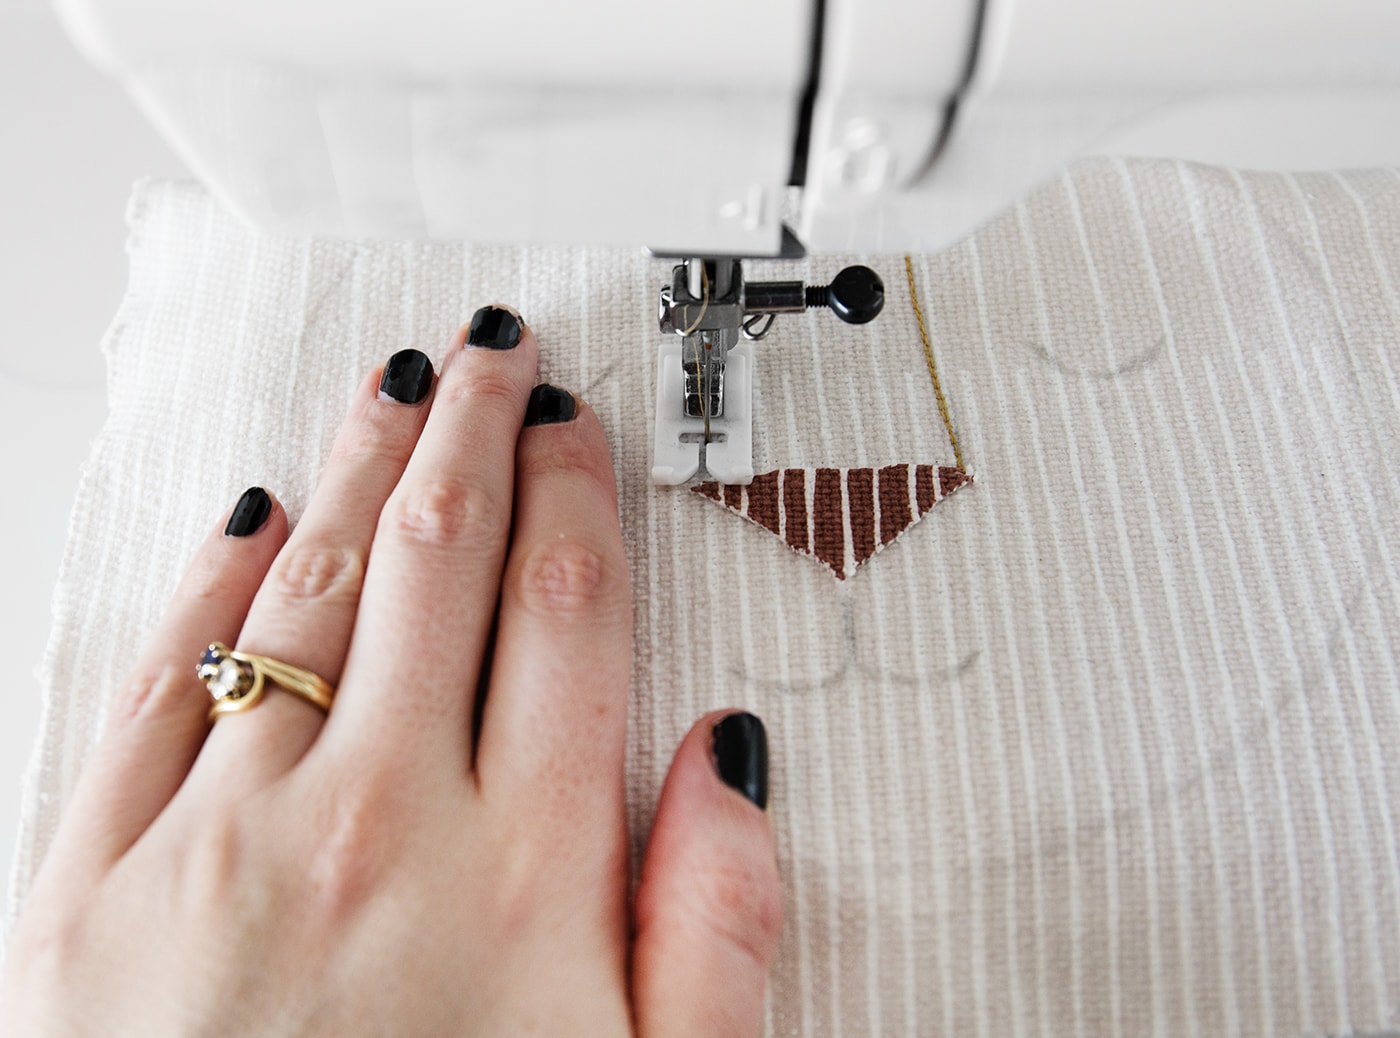
Using a straight stitch either use a sewing machine or by hand, stitch over the top of the pencil face details. I went back over each line with stitching a few times to make it a little thicker.
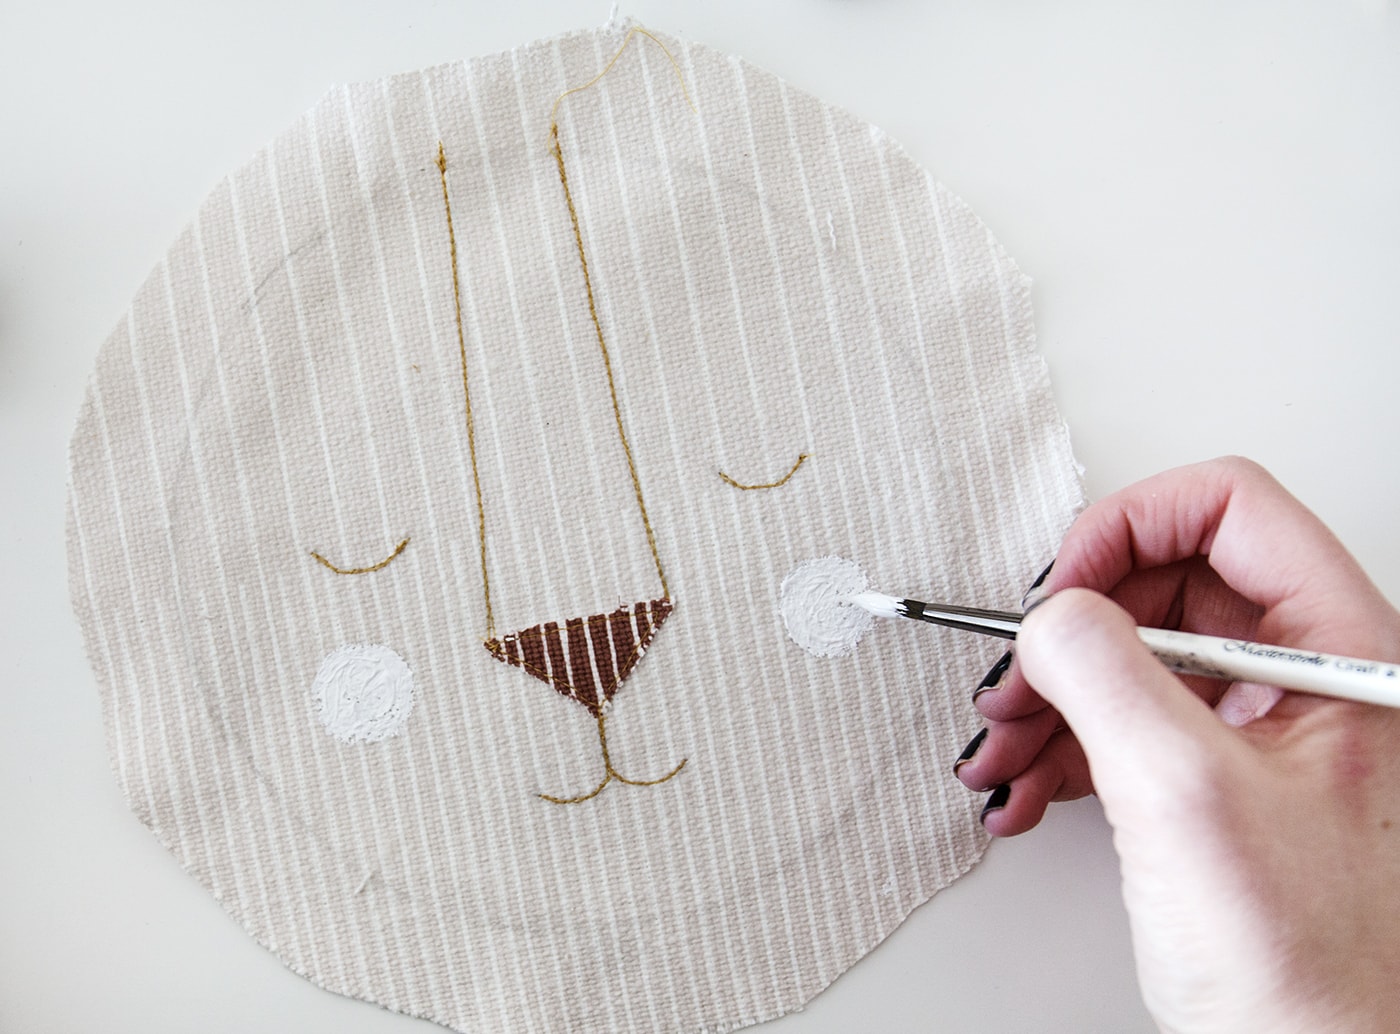
Paint on the cheeks with your fabric paint. These look sweet even when they’re a little rough.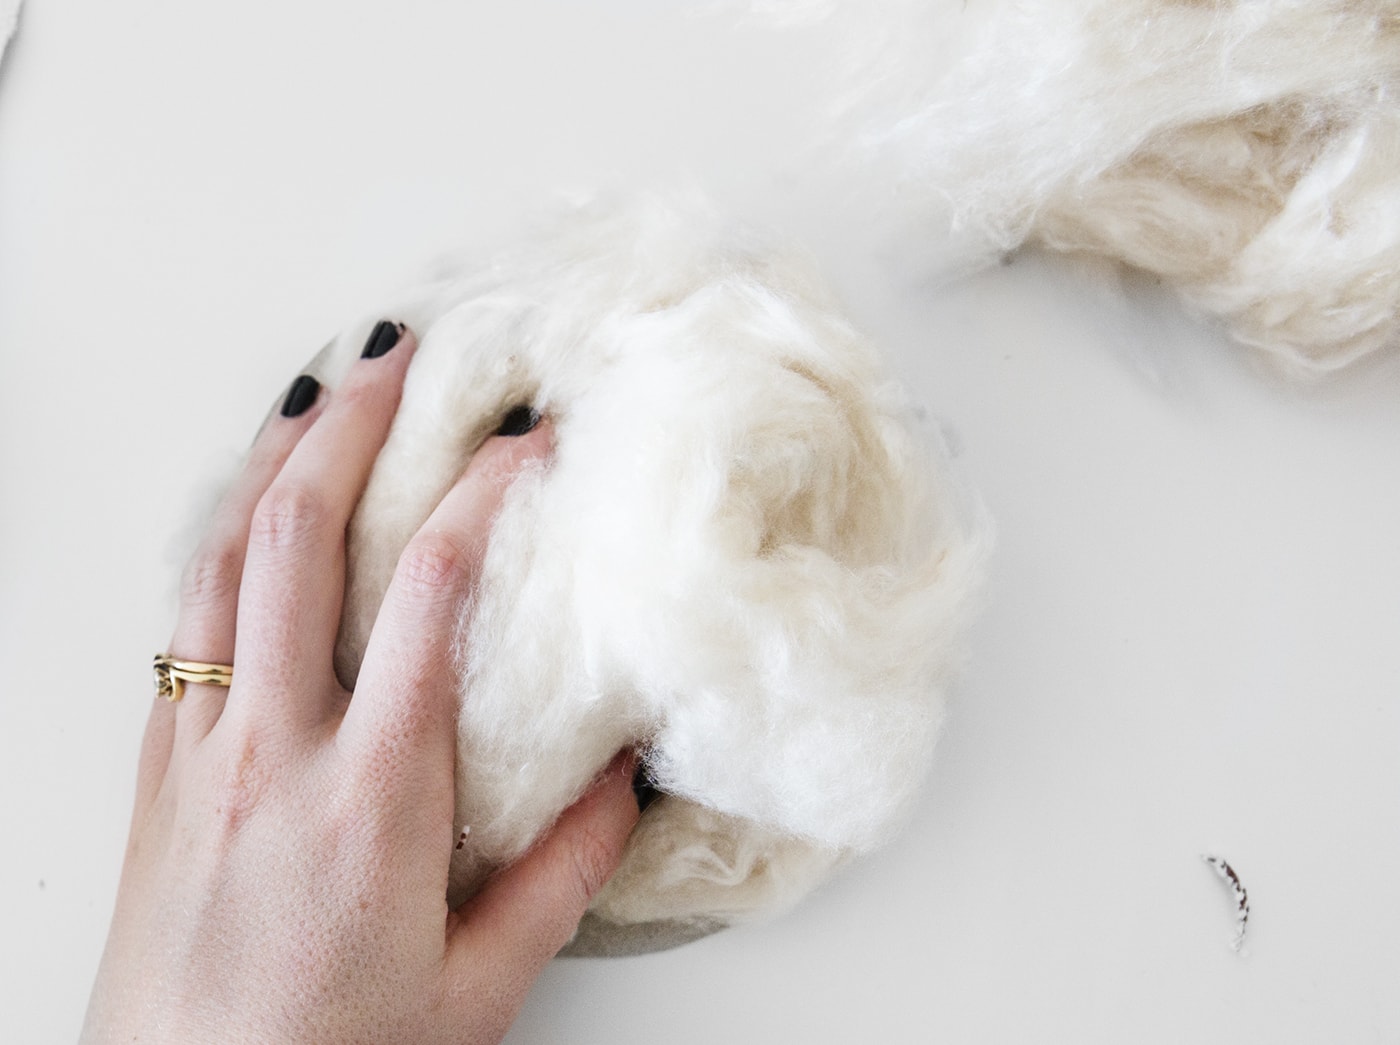
Gather together the stuffing on top of the grey board to see how much you’ll need.
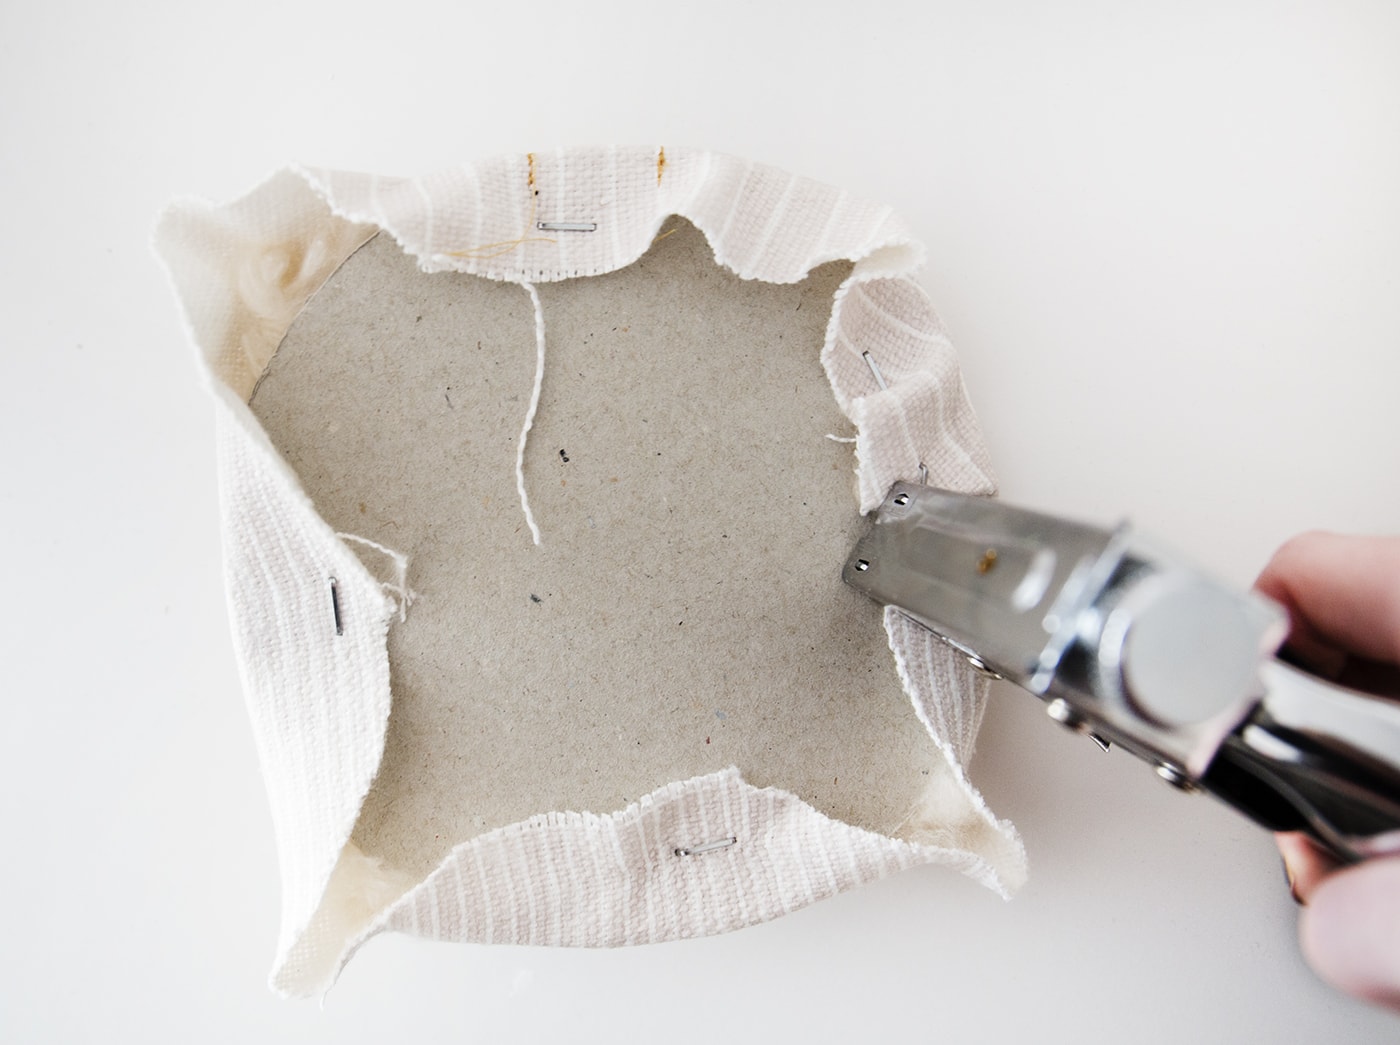
Then add the face material over the stuffing, turn over and pull the material tight, staple at four points (quarters) to hold it place.
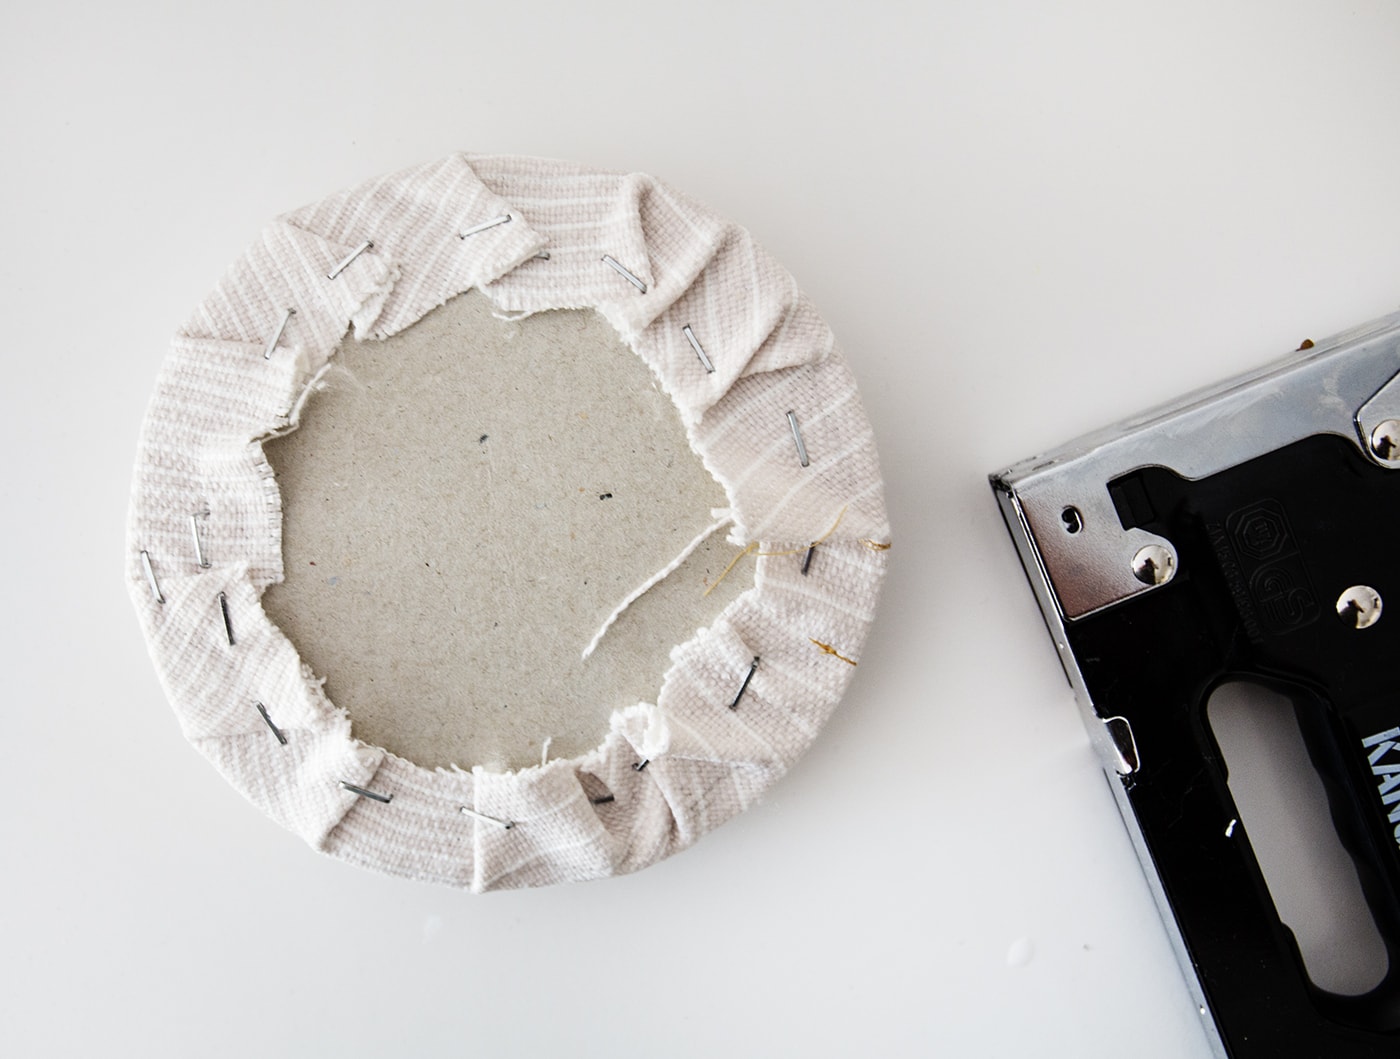
Move on to folding the rest of the material and still pulling tight, staple around the rest of the circle so it’s all secure.
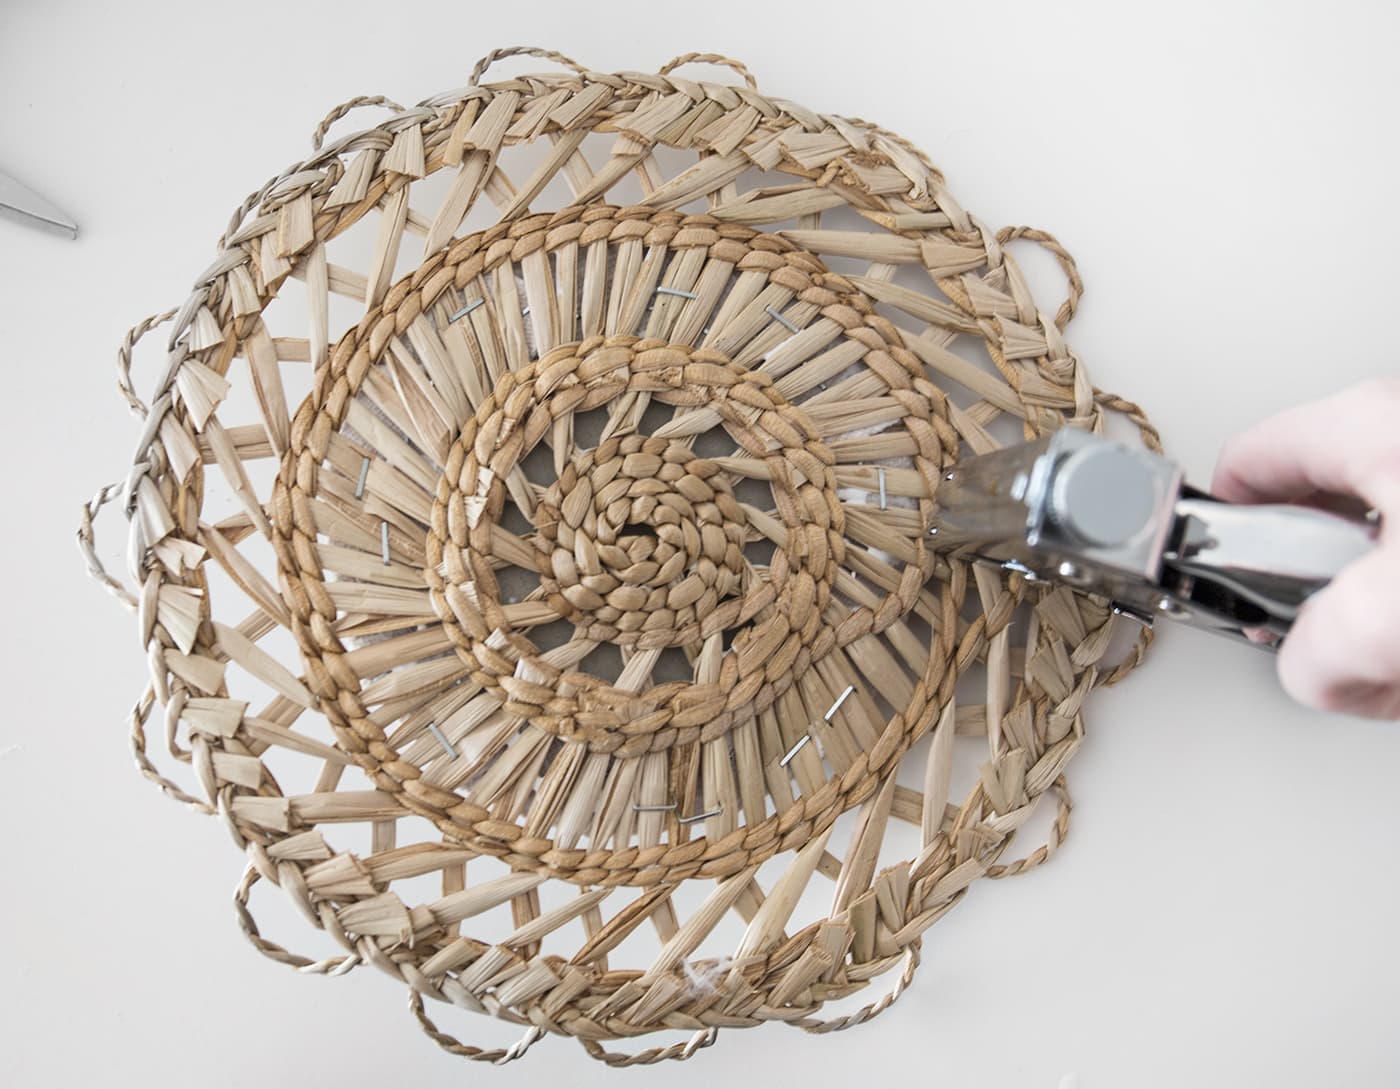
Then place the lion face on the front of the placemat, turn over and start stapling the back, pressing down so you gather bother materials together. Work your way round.
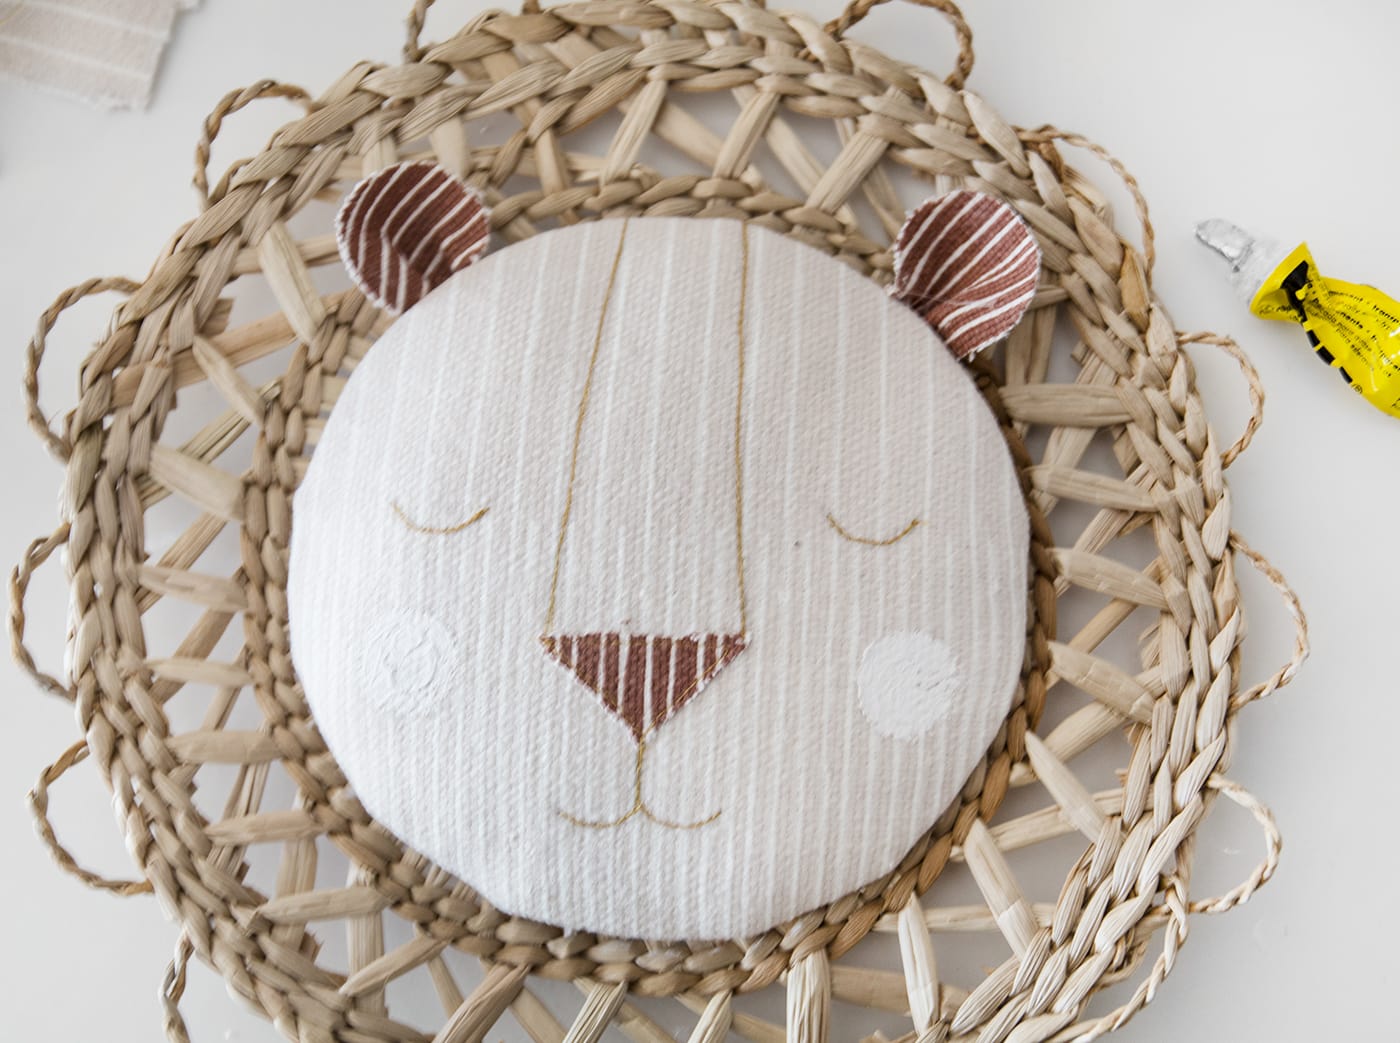
Then glue the ears on. I pinched them together a little and added a dot of fabric glue there before fixing underneath the head.
Then you and your new lion friend are good to go. I made sure one of the raffia loops was at the top when sticking on the face, which means I can hang it easily but if you are using a different placemat then you could easily add some embroidery thread to create a little hanging loop.
You might also like


Meet The Lovely Drawer

Hi, I’m Teri and welcome to my own creative corner of the internet. I blog about interiors, DIY projects, design inspiration and my general life so stick around have a read and say hi.
In the shop
 Quick ViewSelect options
Orchard Days
£20.00 – £25.00
 Quick ViewSelect options
Personalised Cuddly Bunny
£30.00 – £35.00
Work with Me
The Lovely Drawer is an award winning blog with a loyal audience that has grown over the years. I love working with brands small and large on exciting collaborations that can bring products alive in my own signature aesthetic.