

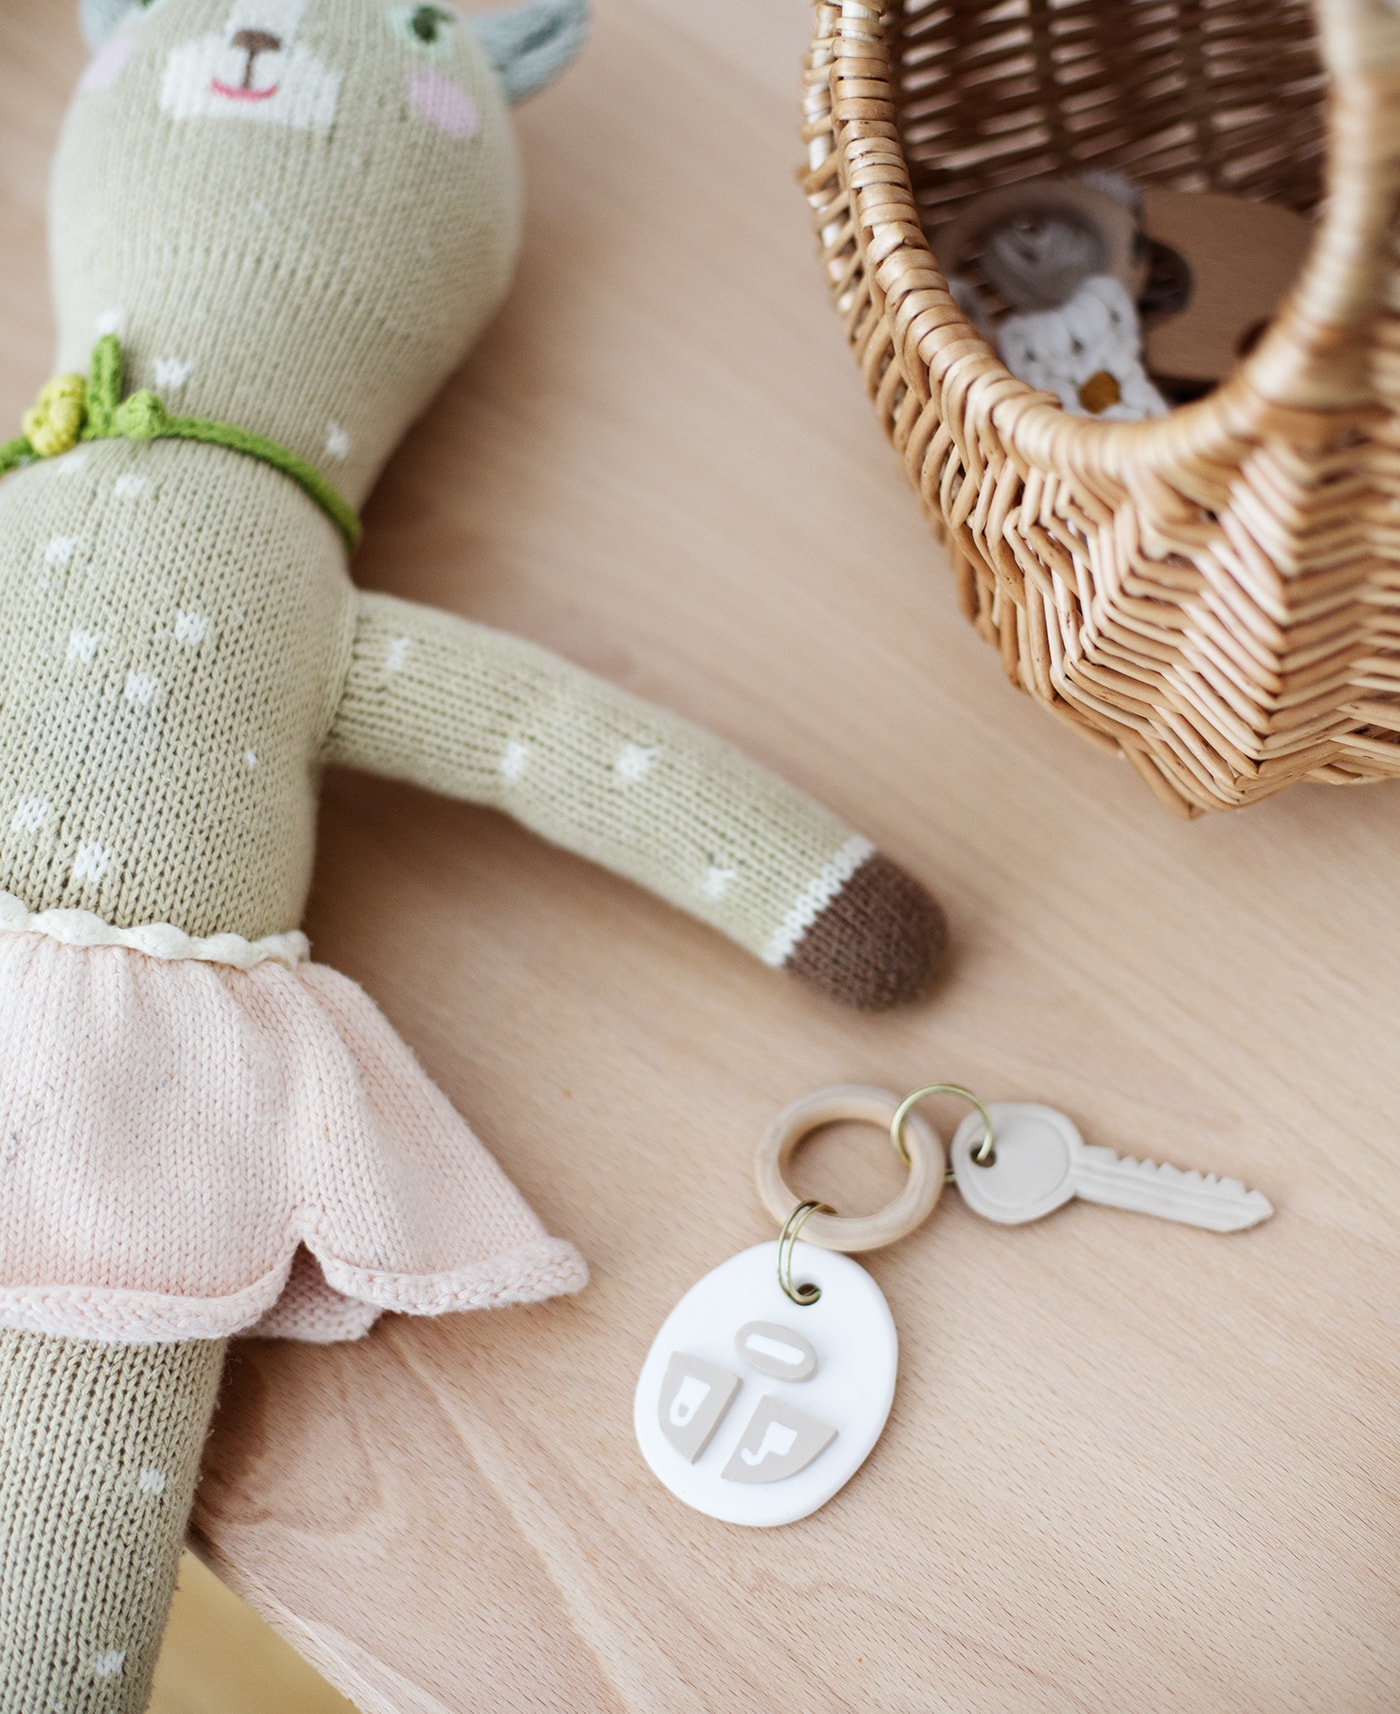
DIY kid’s play keys
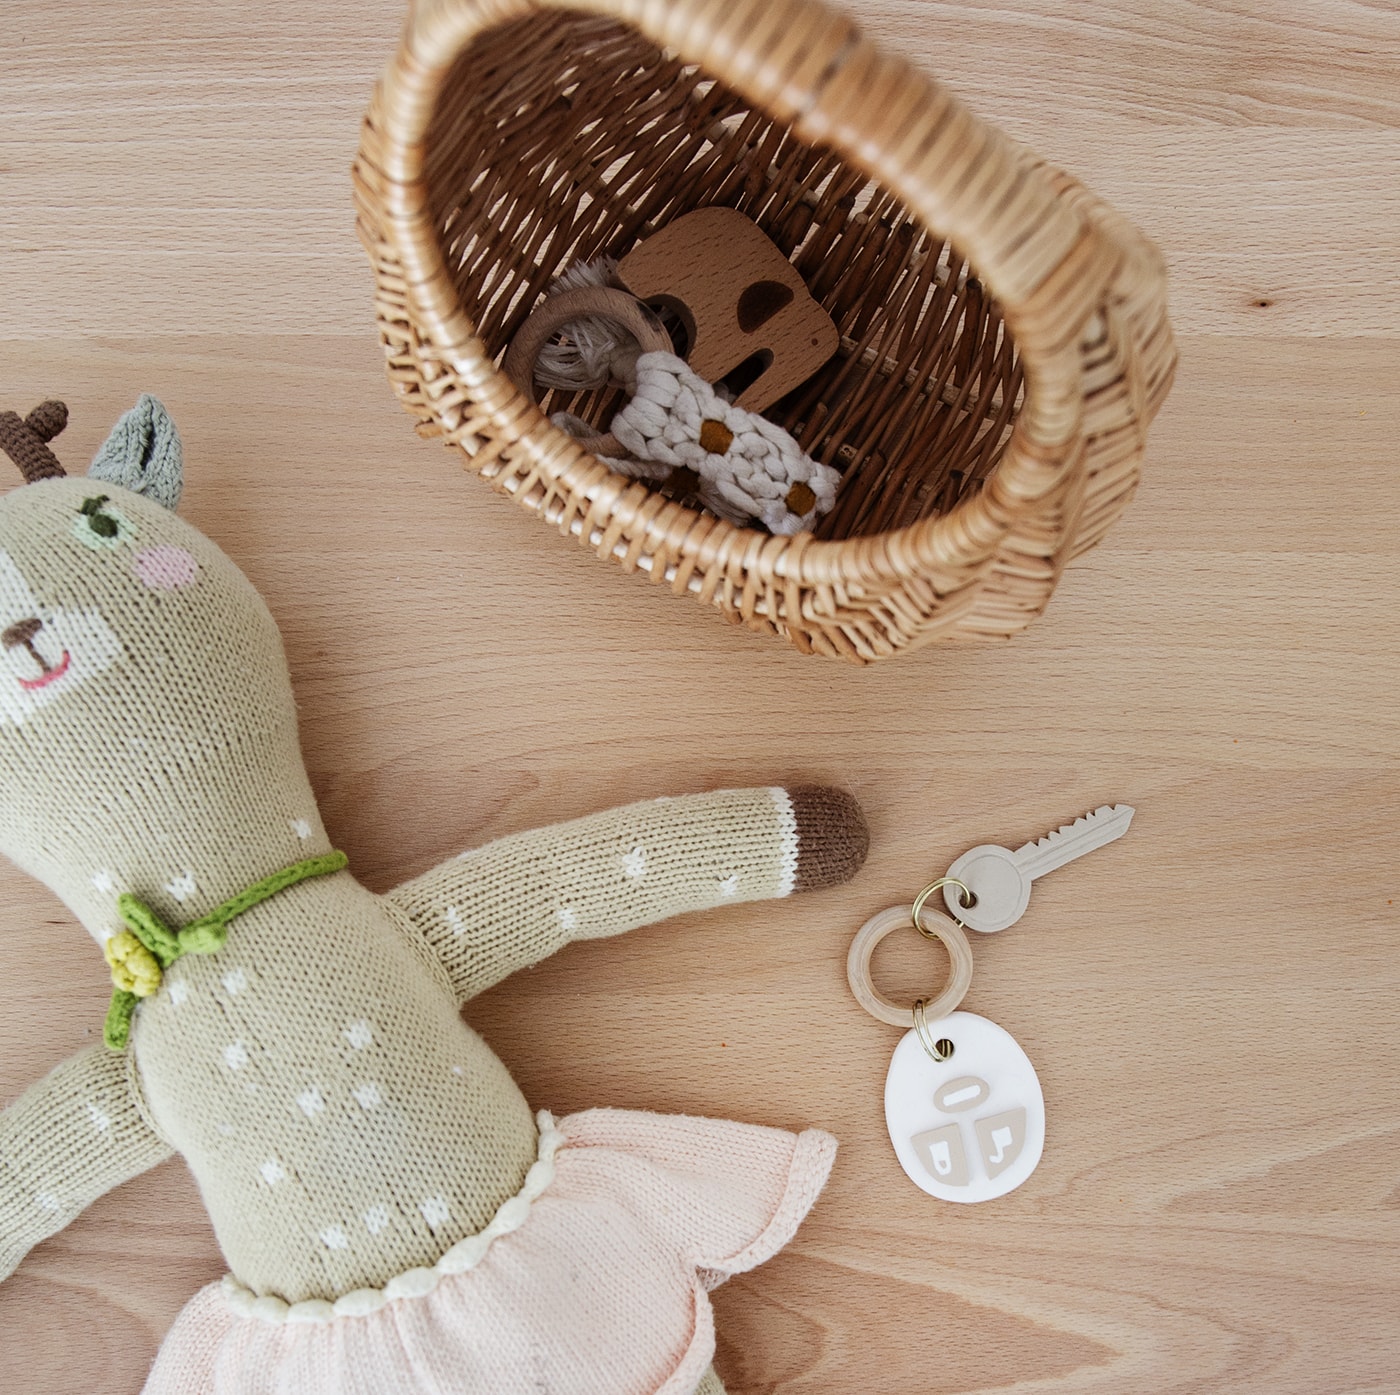
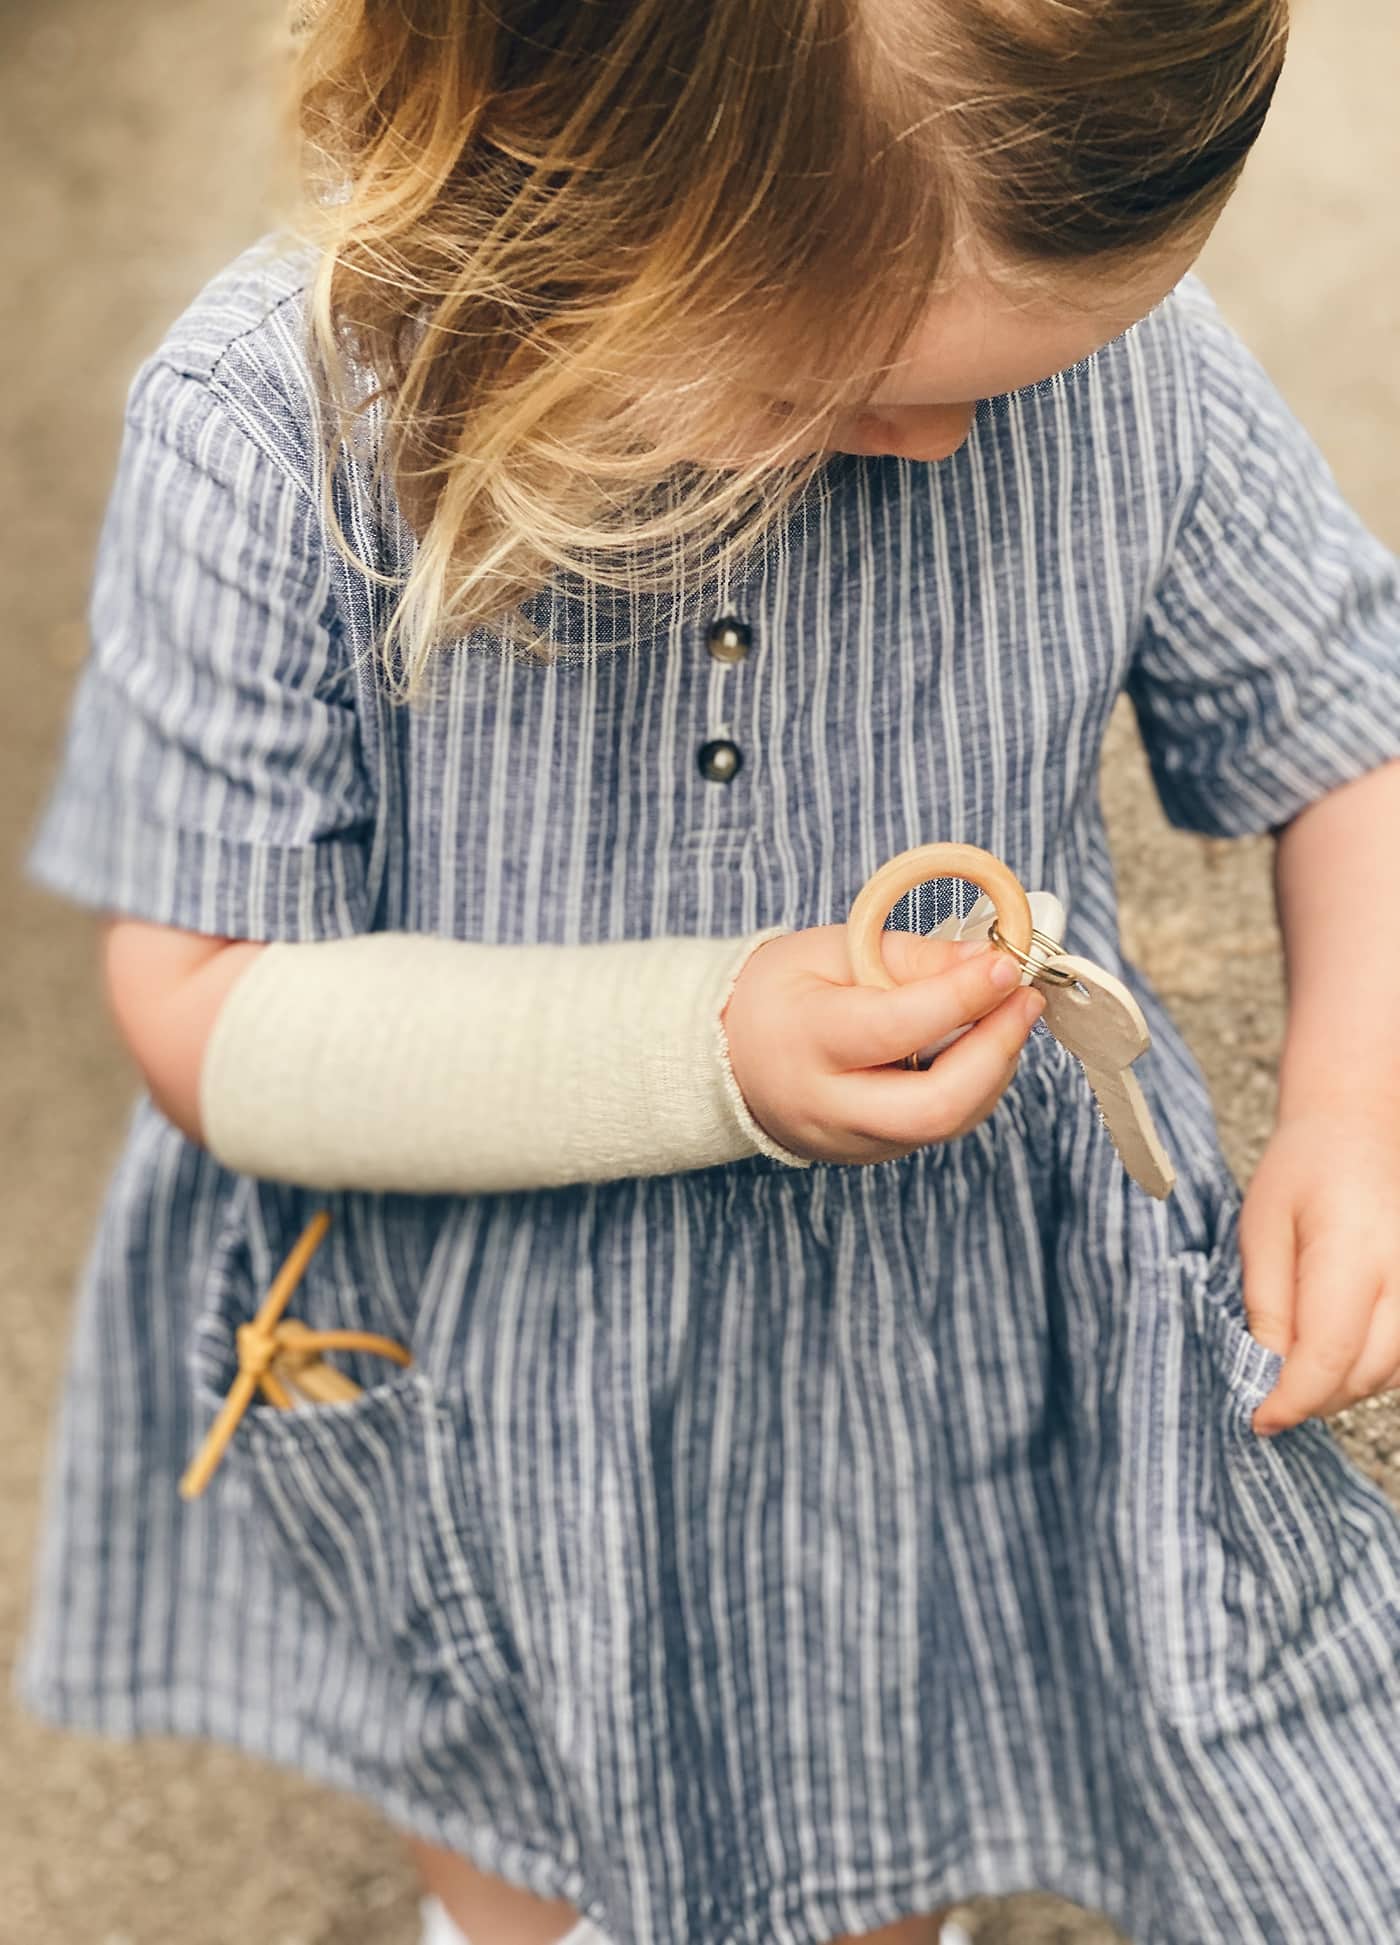
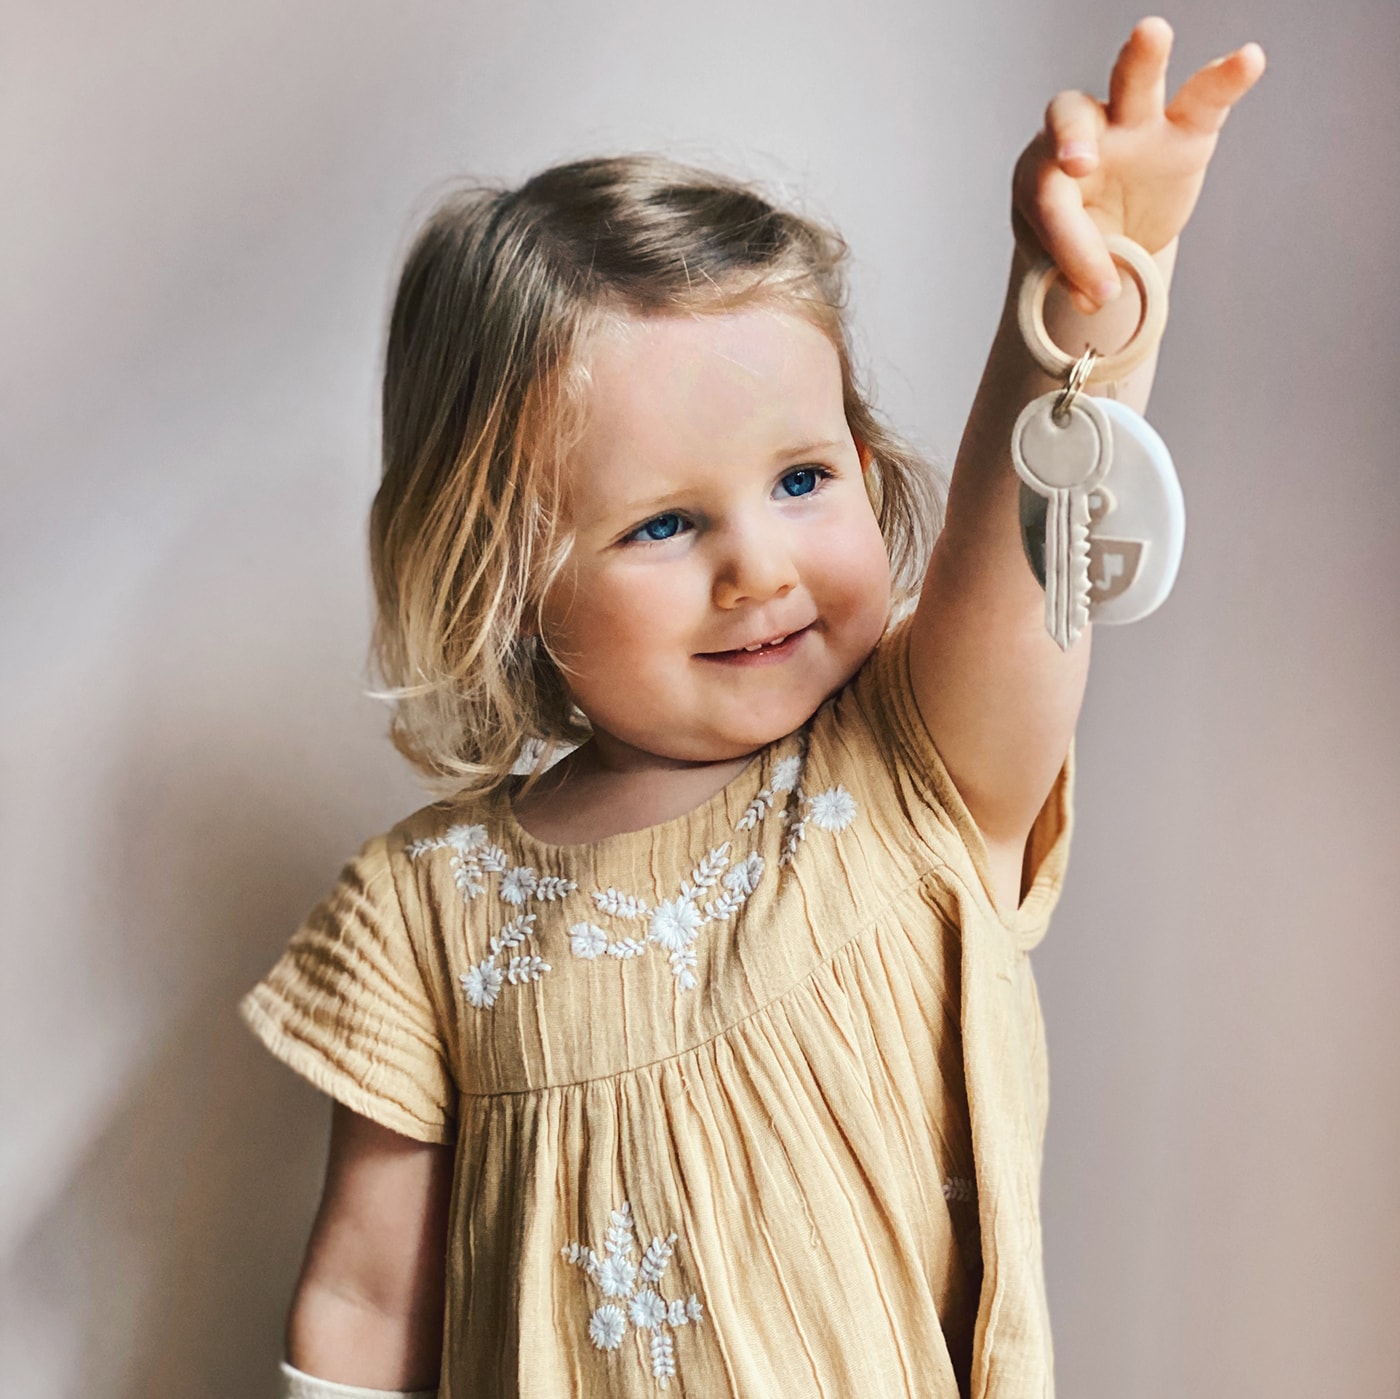
Maggie got a bright pink set of keys as a freebie with a magazine a few months back and she loved them.She was taking them with her in her pocket or popping them in her basket to take ‘shopping’. It was really sweet aside from how disgusting the keys were. I hate plastic tat as you might have guessed so I decided to make a new set that are easier on the eyes. Much better!
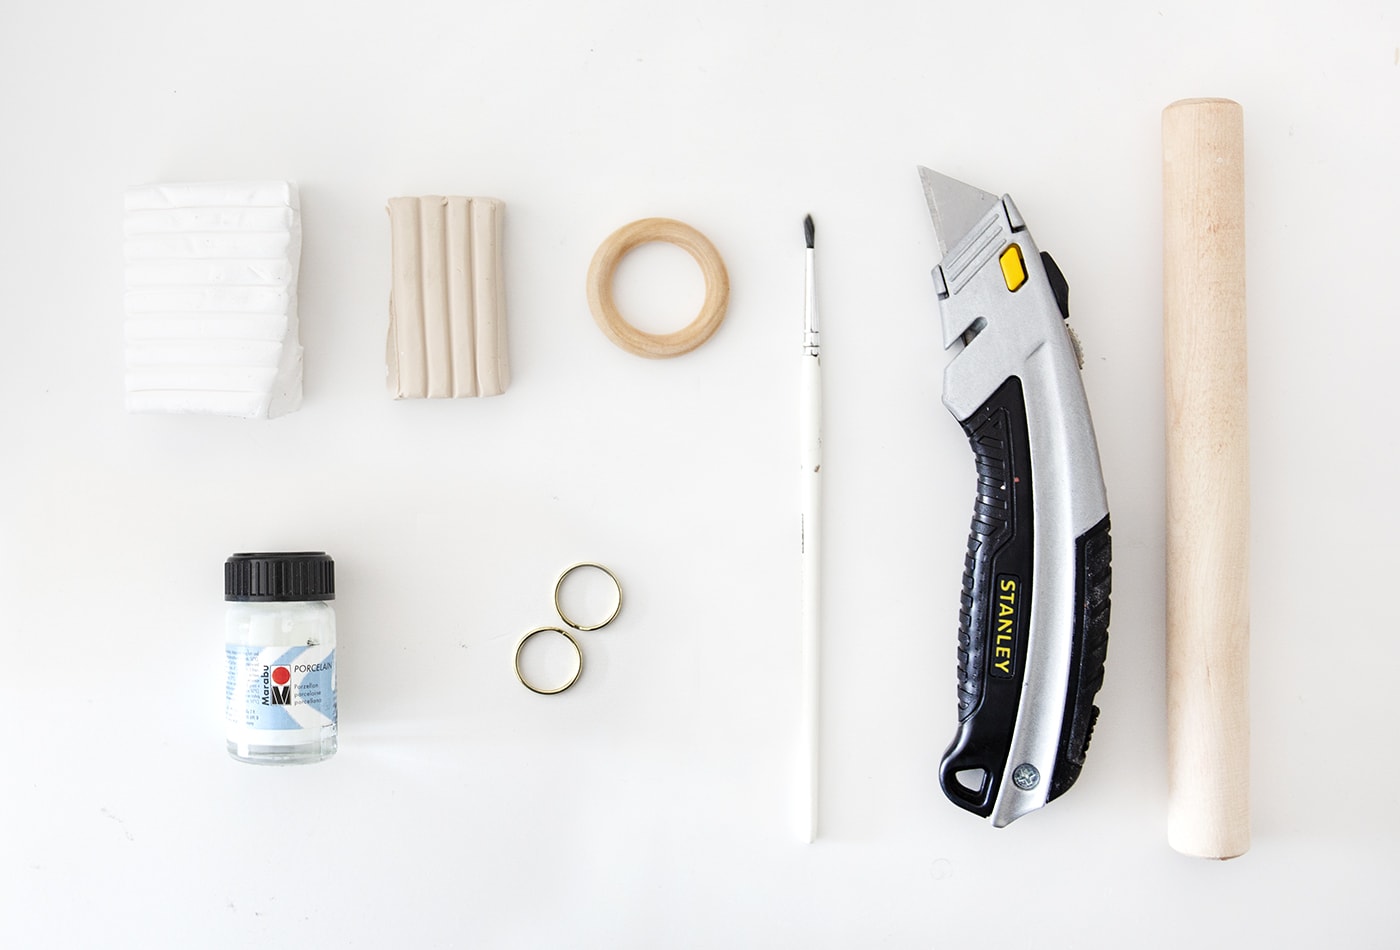
You’ll need…
- Fimo polymer clay in White & Sahara
- Marabu porcelain paint in White
- Small paintbrush
- Scalpel or stanley knife
- rolling pin
- 20mm split rings
- Wooden link (40 x 7mm)
- Pencil and paper/card
- All purpose glue
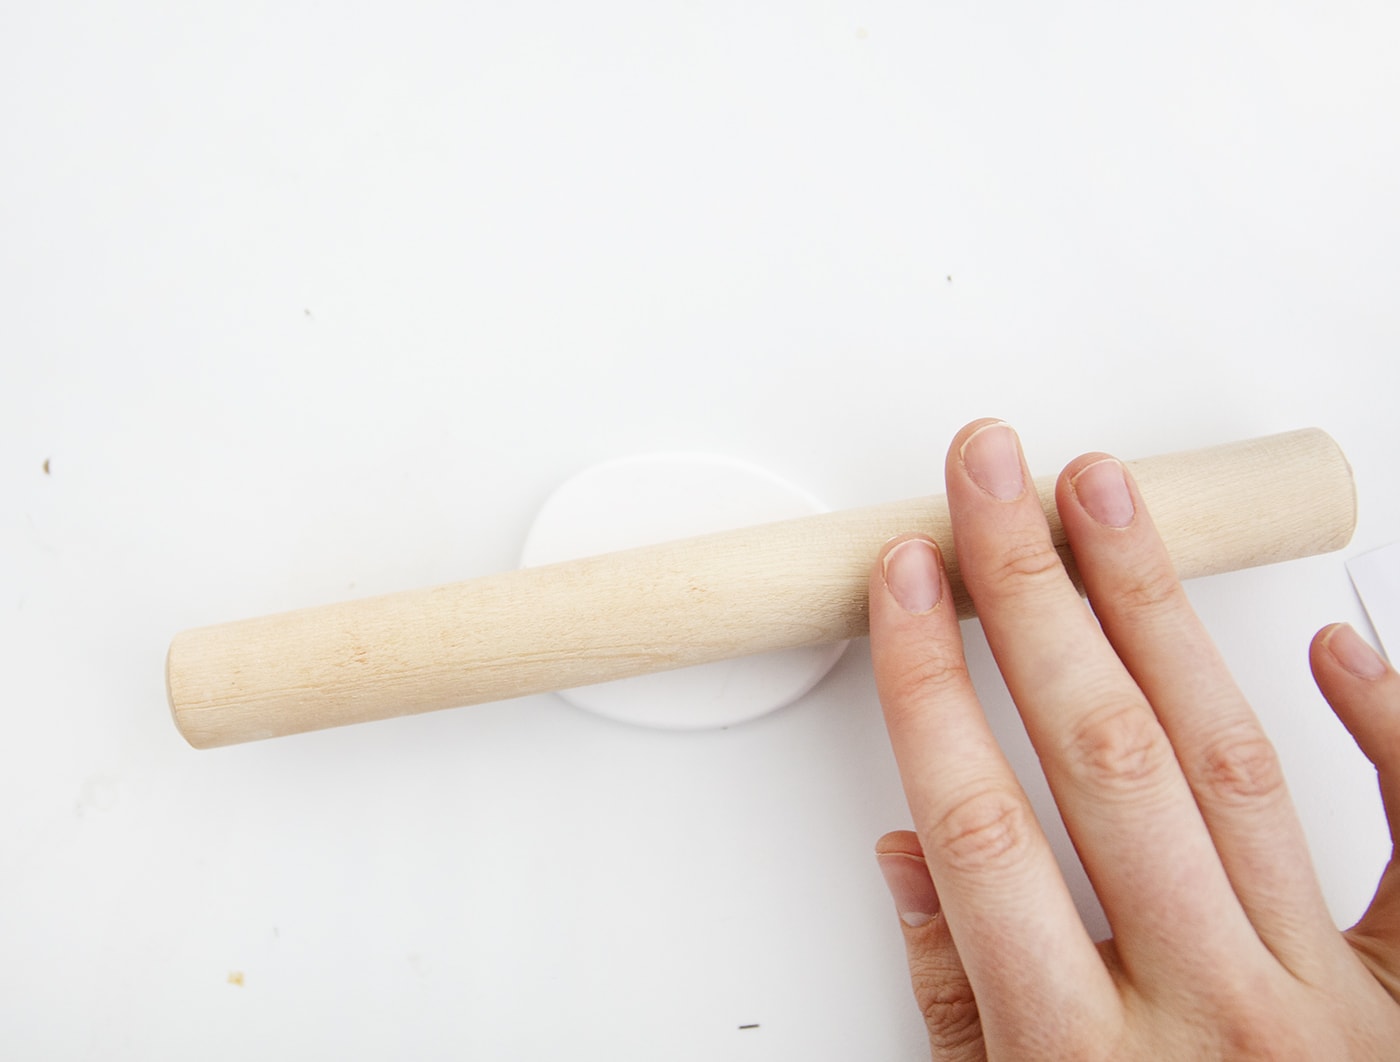
Step 1
Start by rolling out a ball of the white clay to about 3mm thickness.
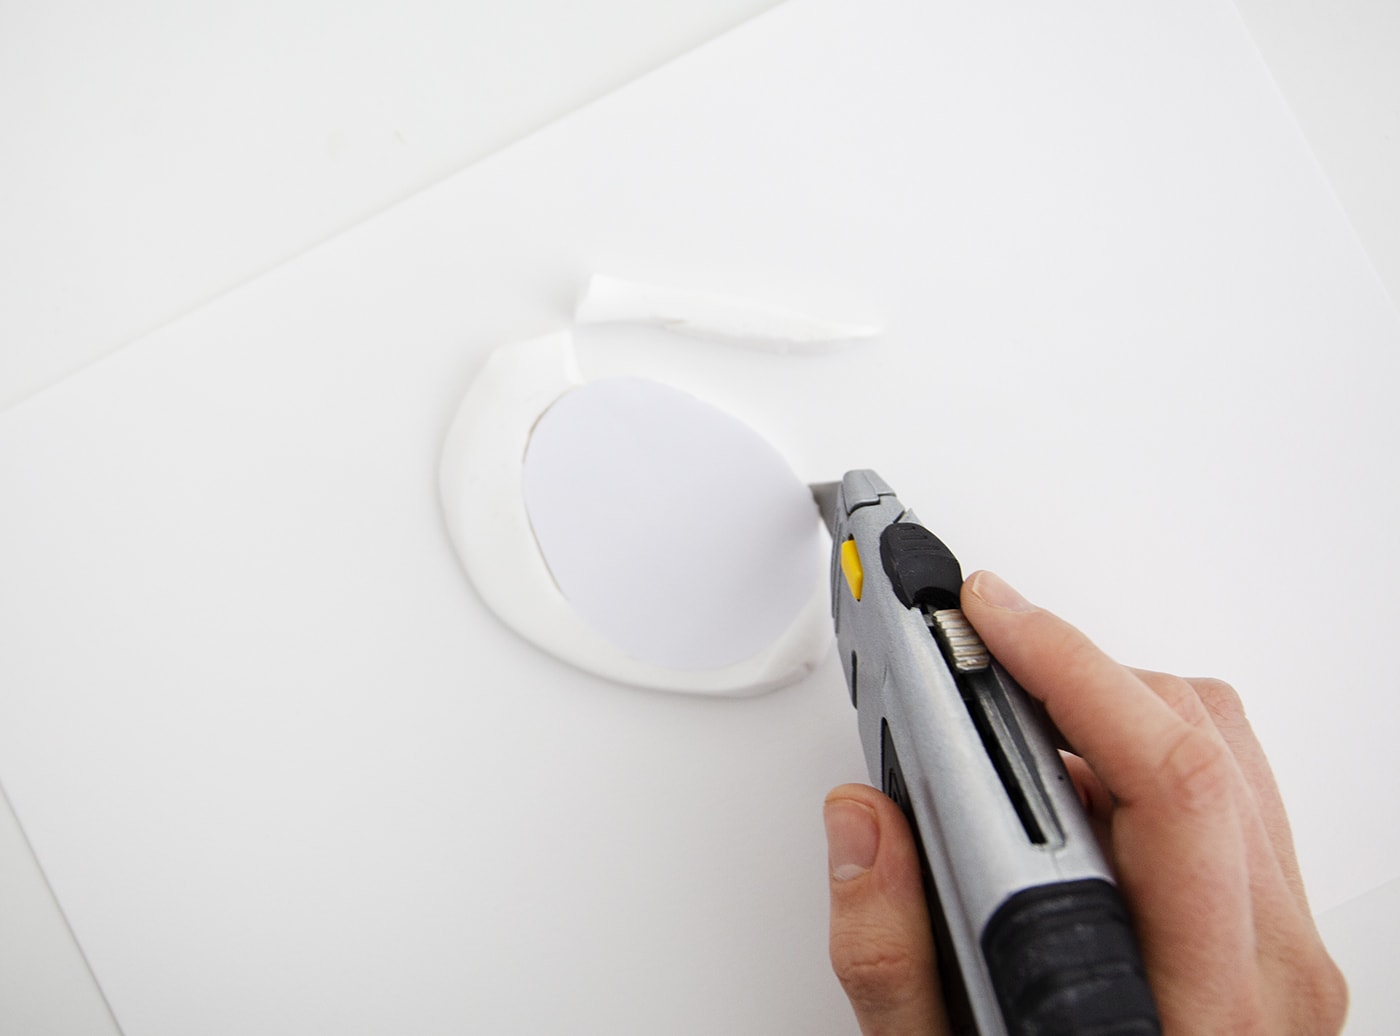
Step 2
Create a little template with card and then trace around this with your knife to get the base of the fob part of your keys. Create hole in the top with the end of a pen or pencil.
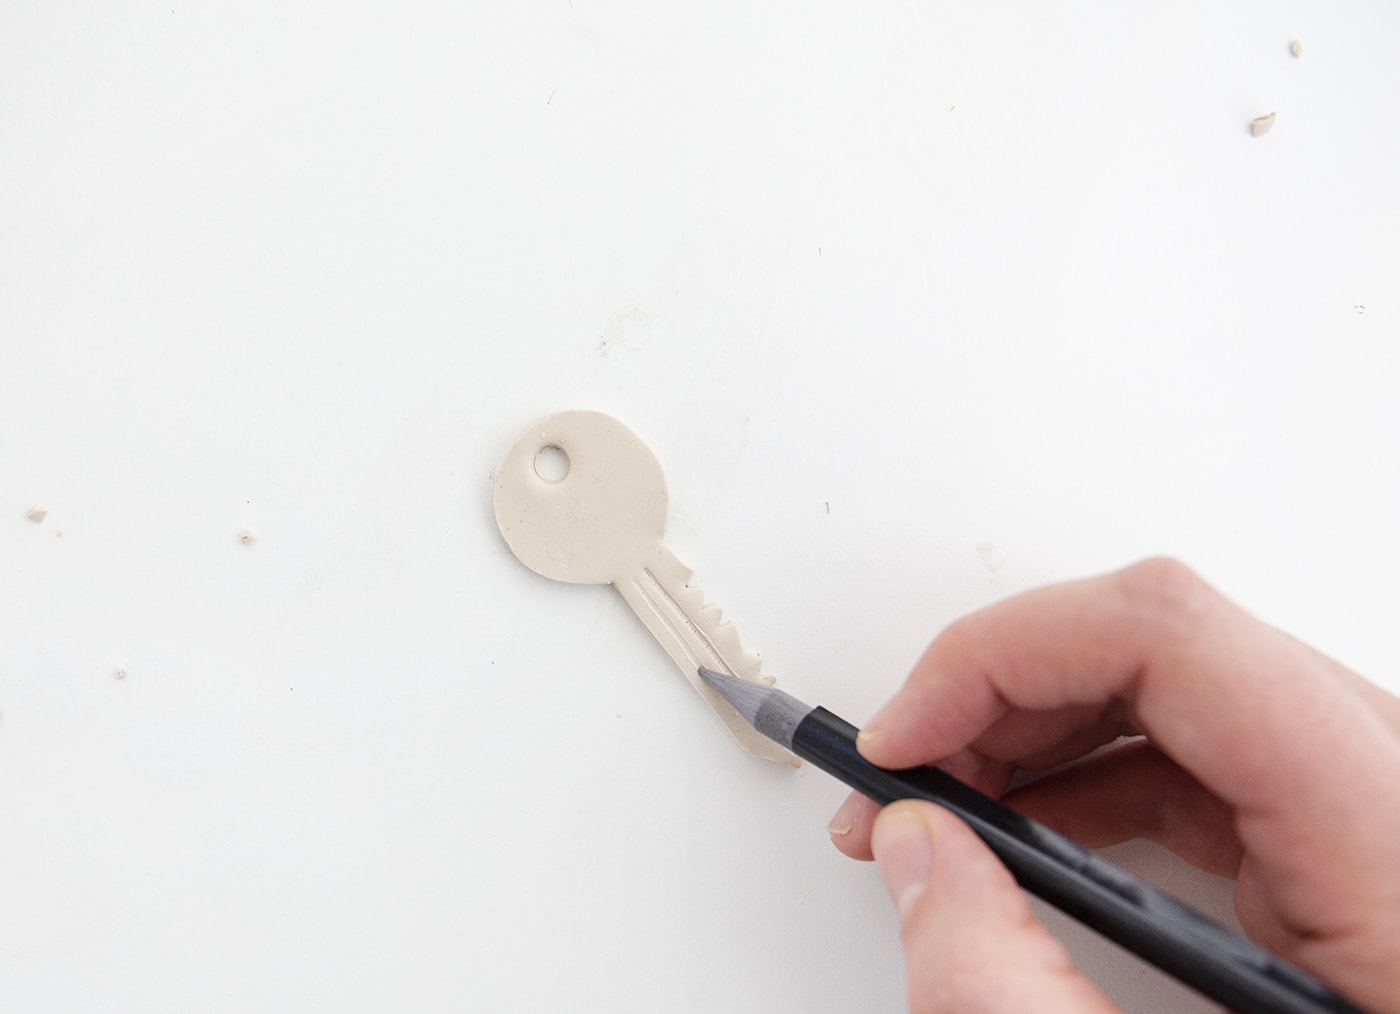
Step 3
Then roll out the Sahara clay to the same thickness and cut out a key shape. Once again it may help to have a template or use a real key as the template. Make a hold in the end and you can use a blunt pencil to add detail. From the left over sahara colour, cut out some buttons.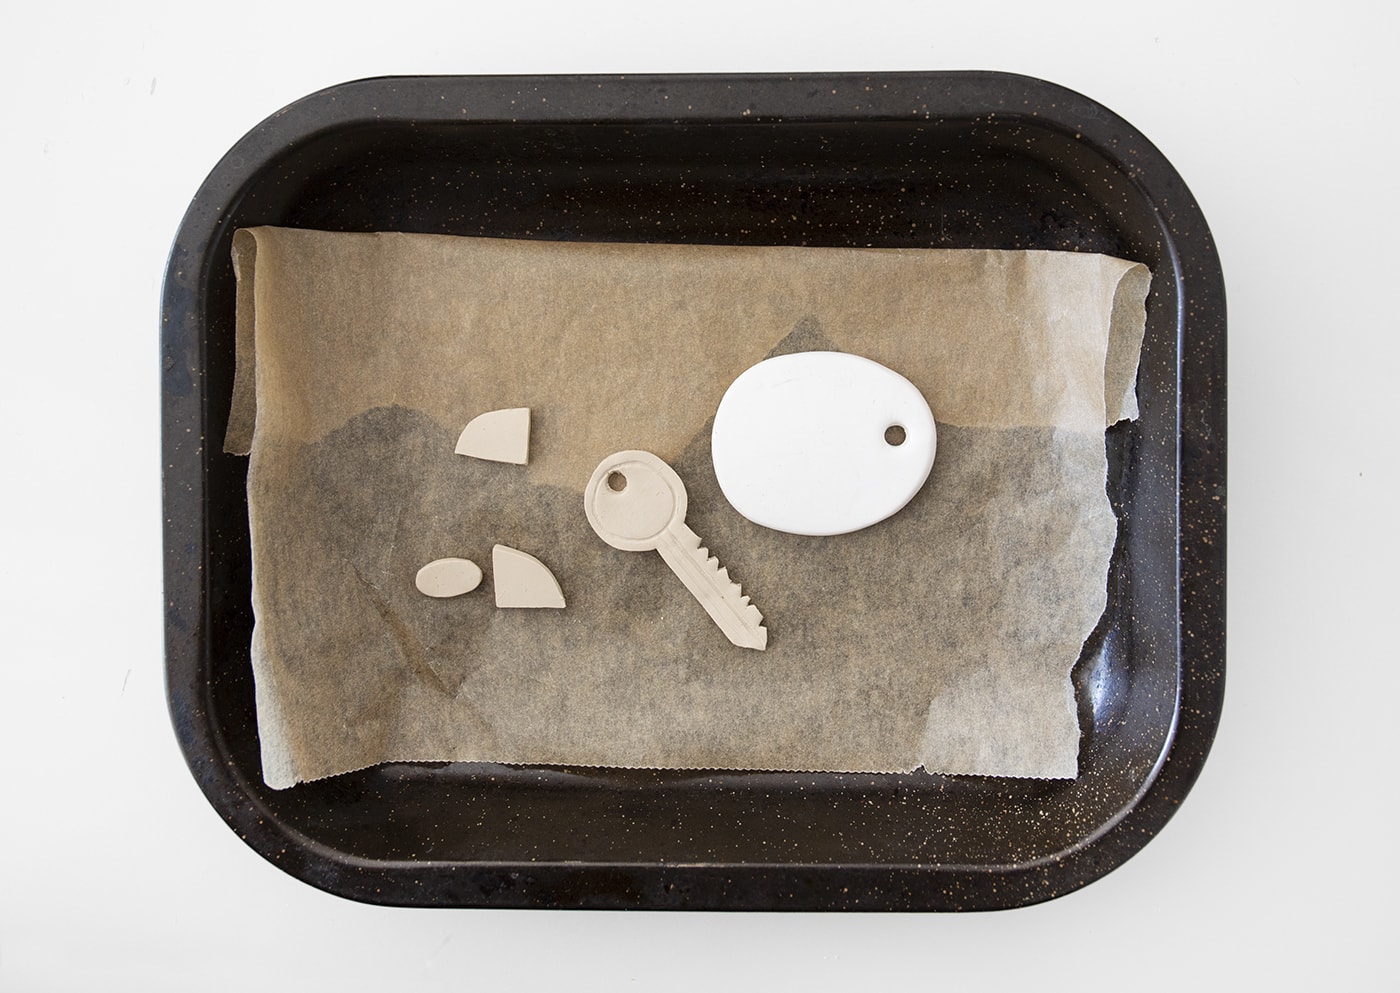
Step 4
Line a tray and bake all the sections in a preheated oven, following the instructions on the packet.
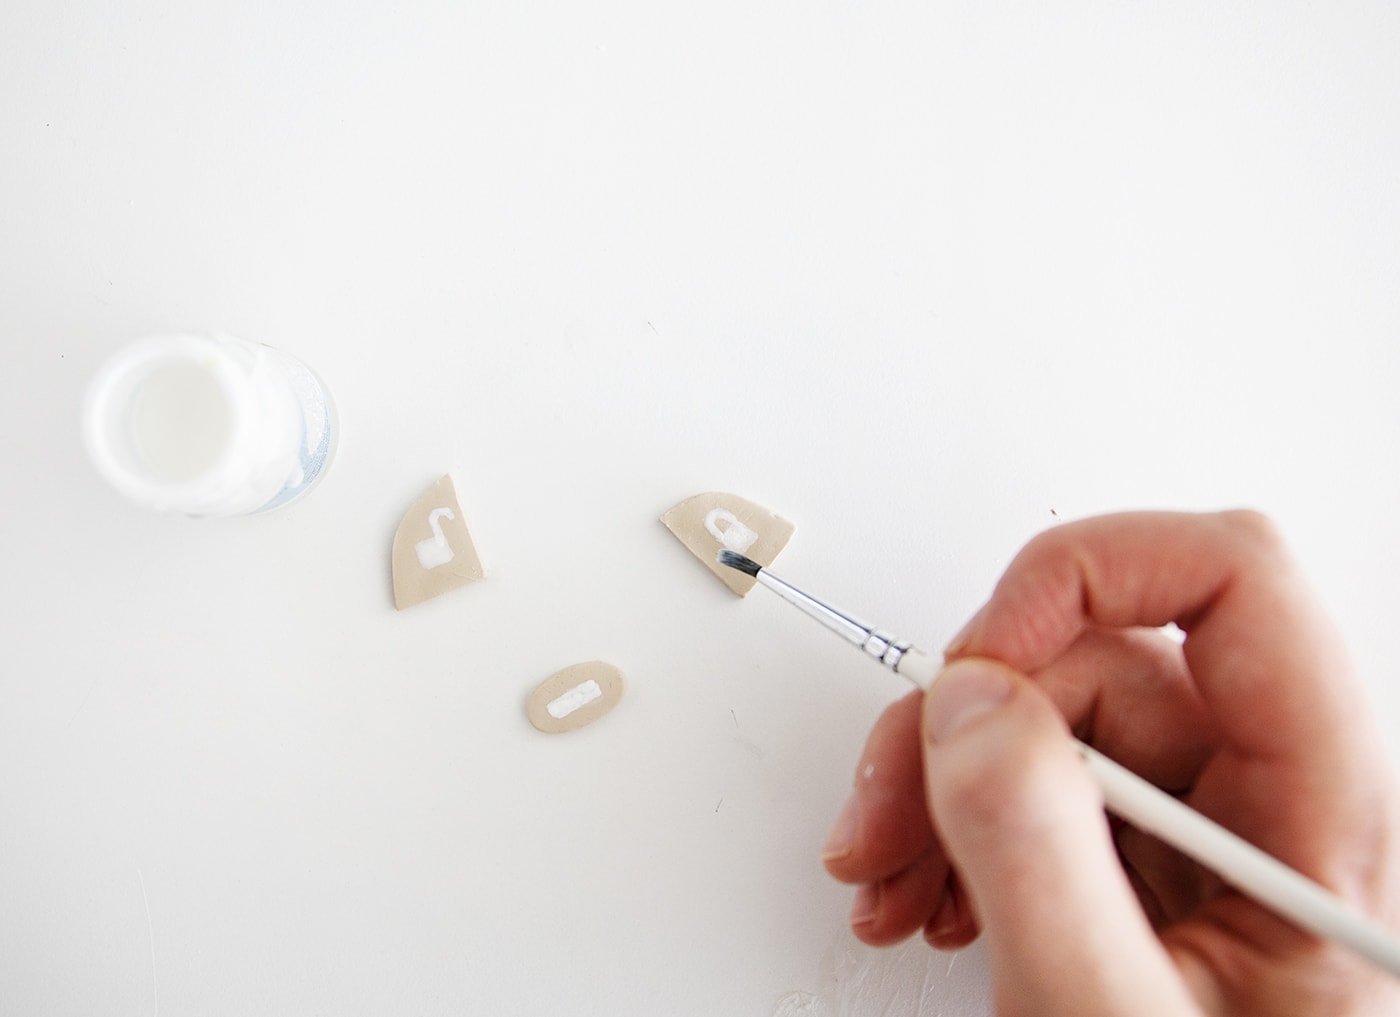
Step 5
Once cooled, paint the icons into the buttons.
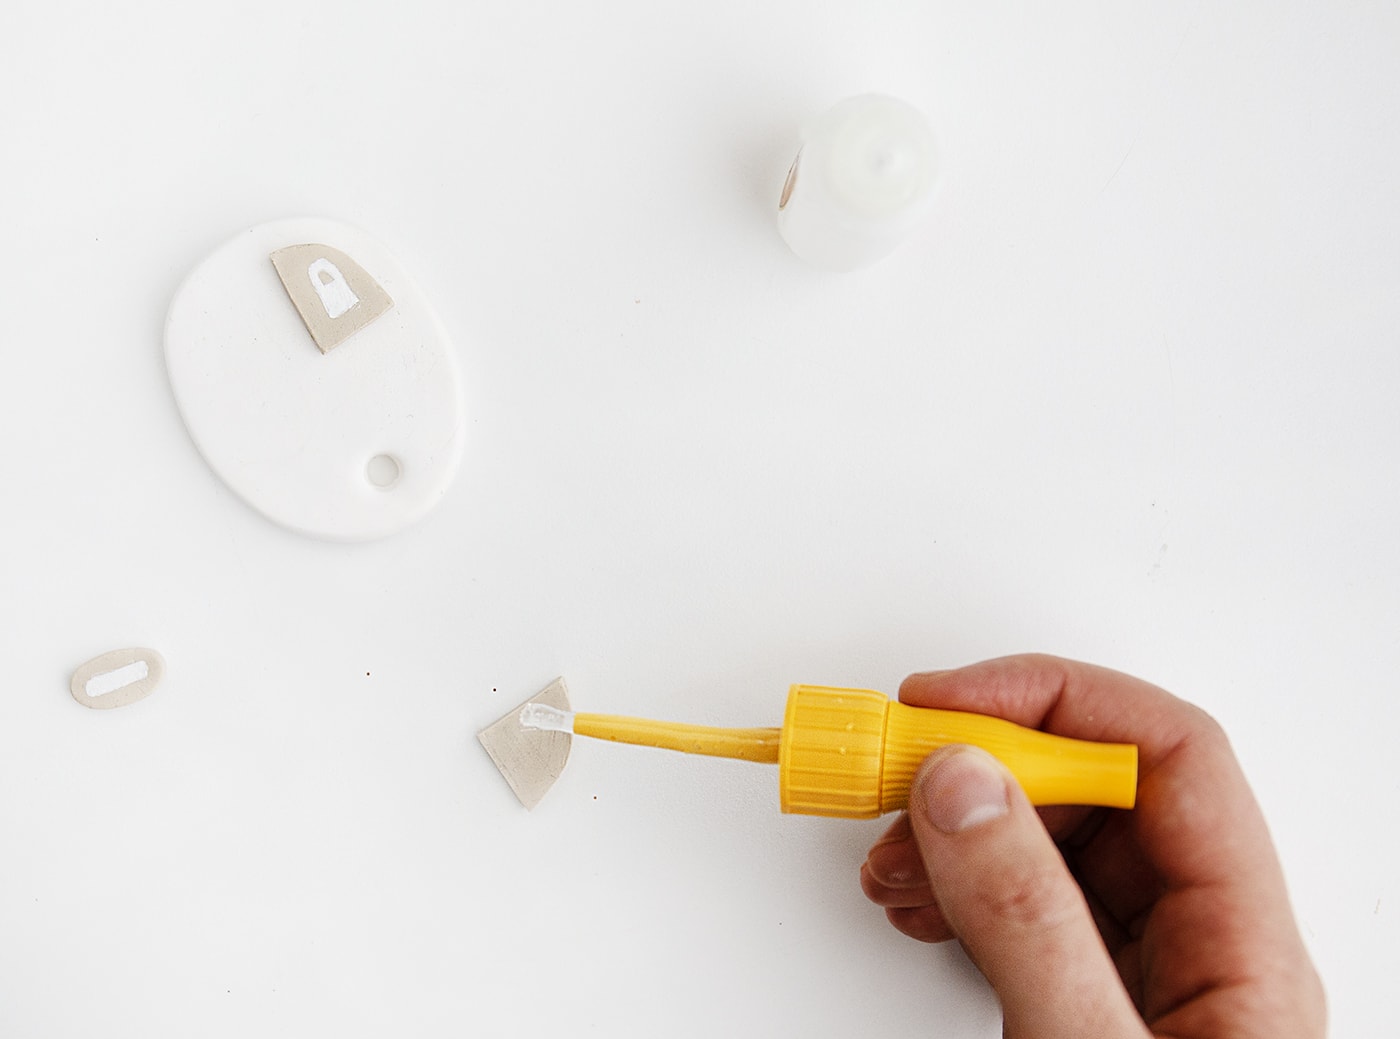
Step 6
Then glue the backs of the buttons and attach them to the base, holding down for 10 seconds each time.
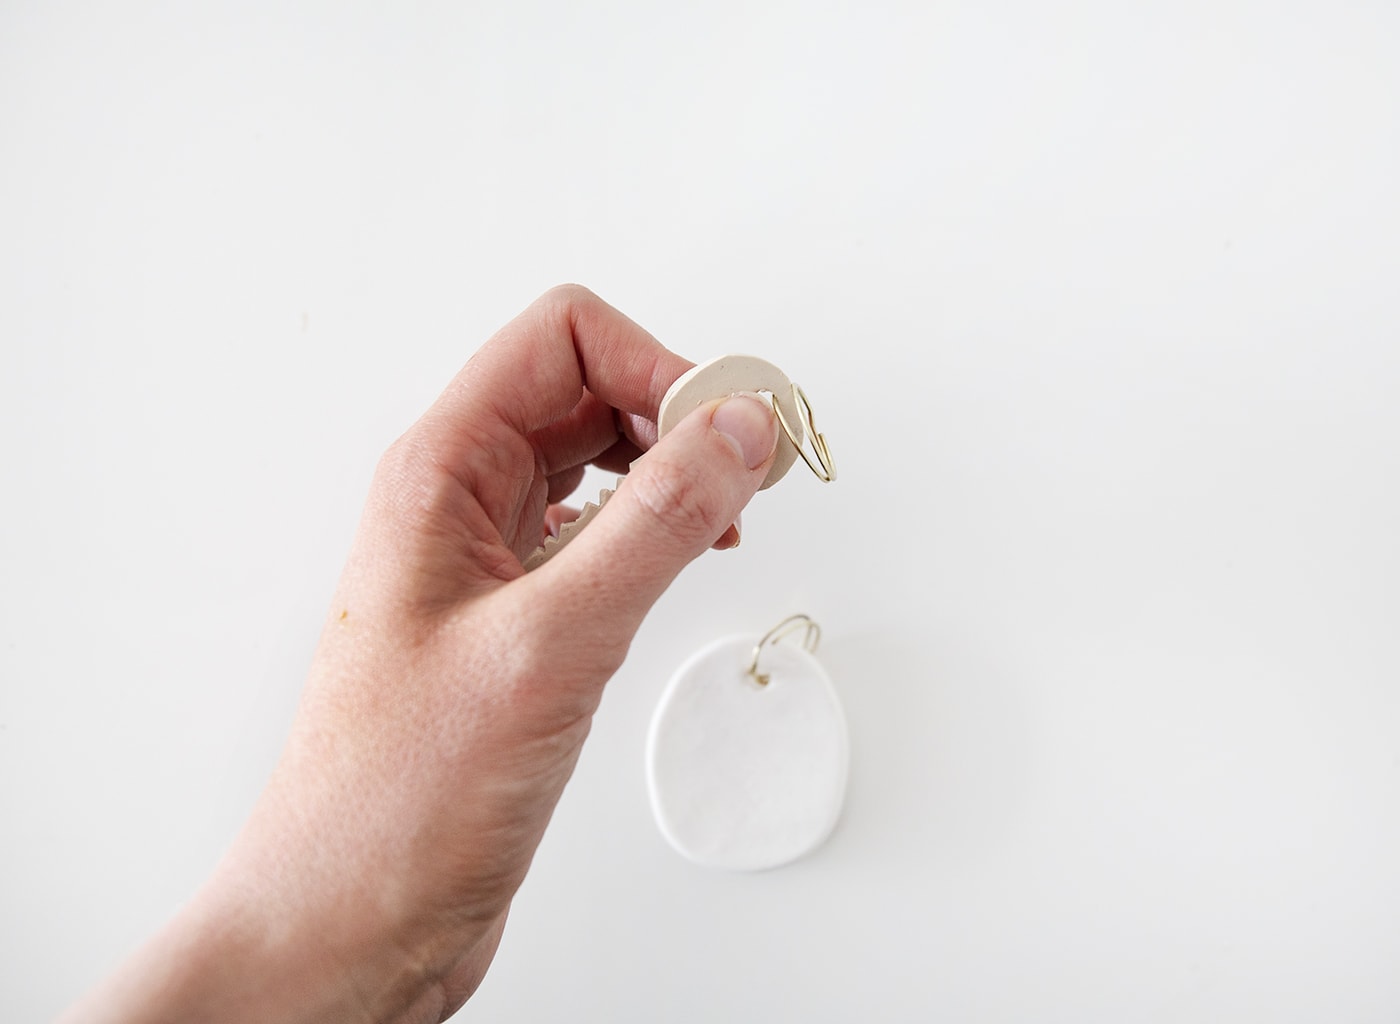
Step 7
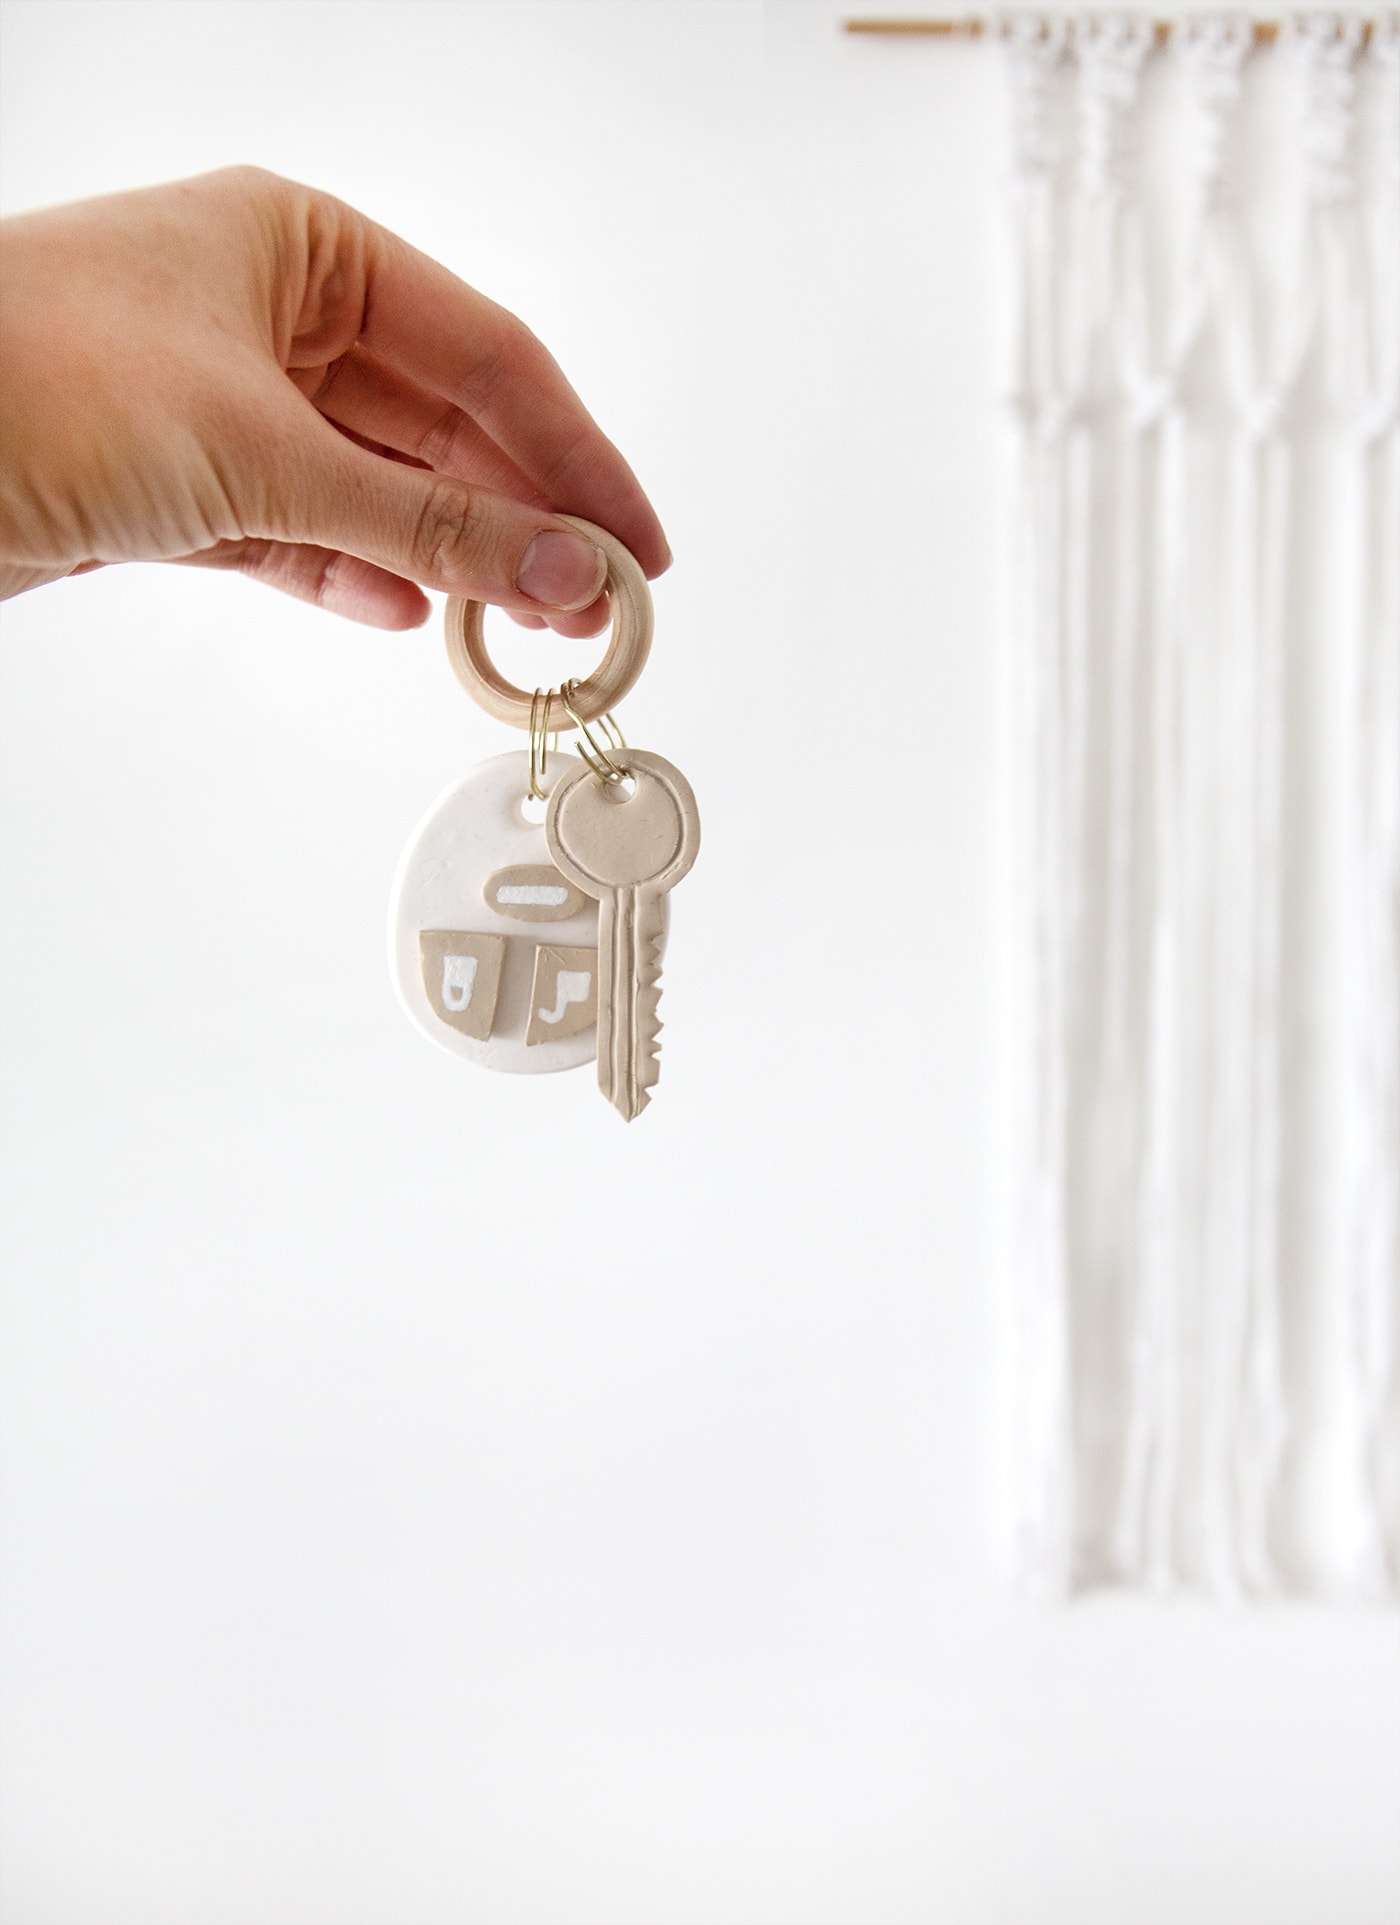
Thread the split rings through the key and the fob.
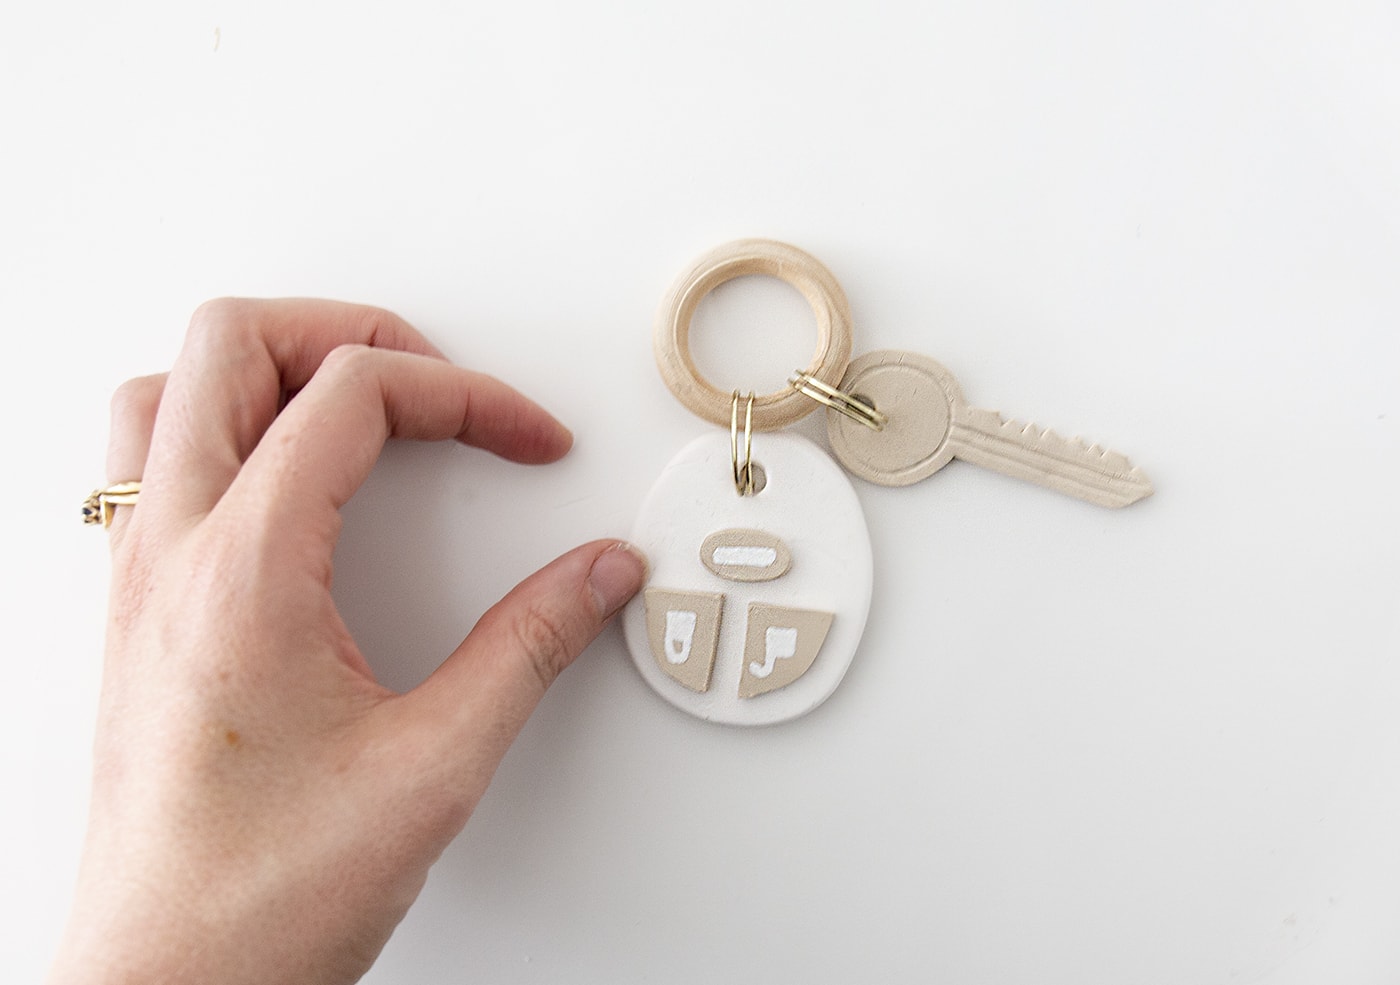
Attach both of the split rings to the wooden link and there you have it!
You might also like


Meet The Lovely Drawer

Hi, I’m Teri and welcome to my own creative corner of the internet. I blog about interiors, DIY projects, design inspiration and my general life so stick around have a read and say hi.
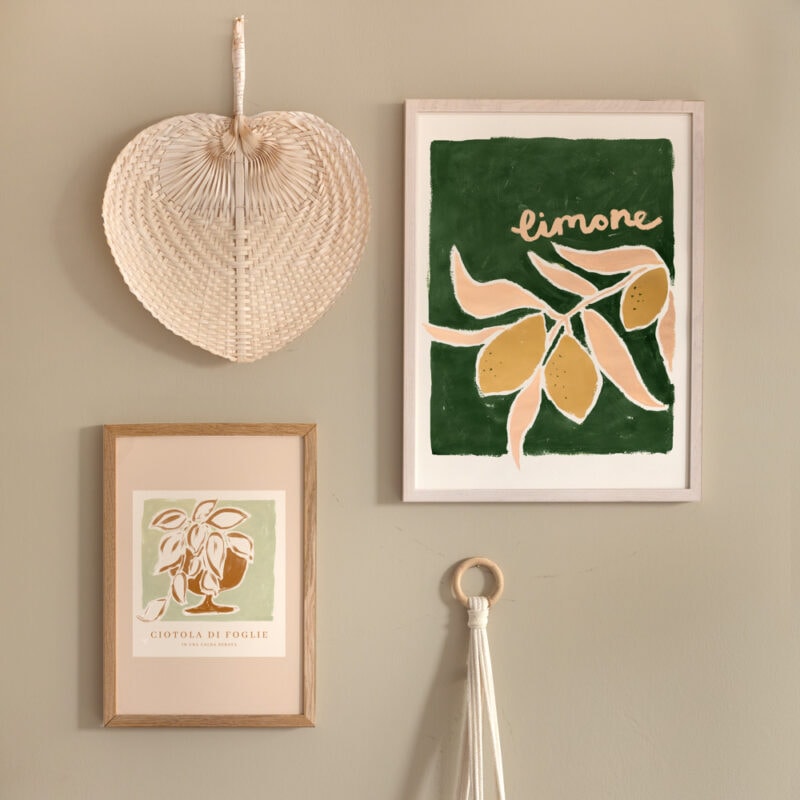
In the shop
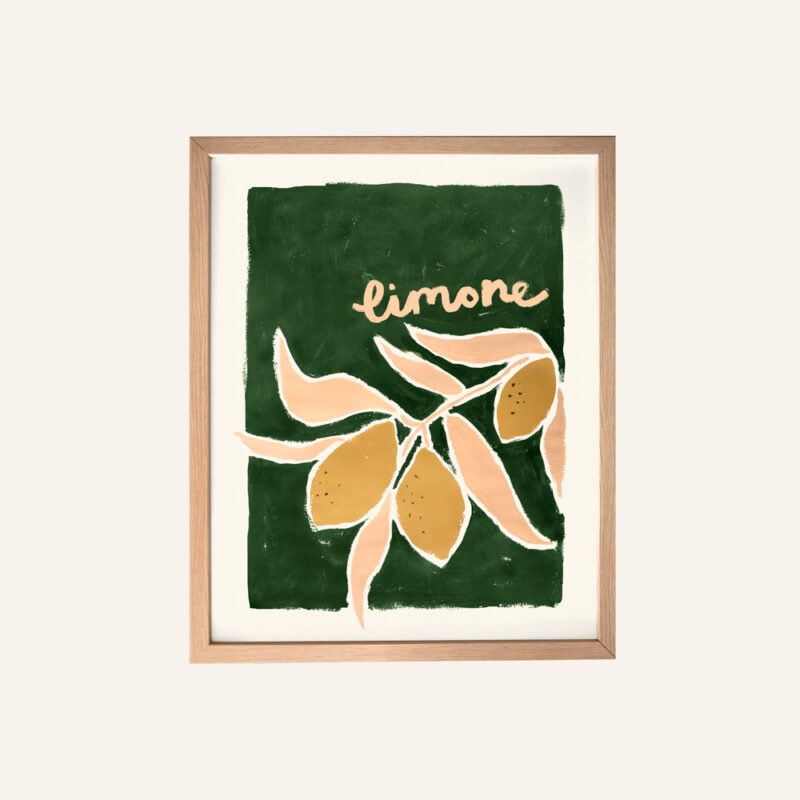
 Quick ViewSelect options
Orchard Days
£20.00 – £25.00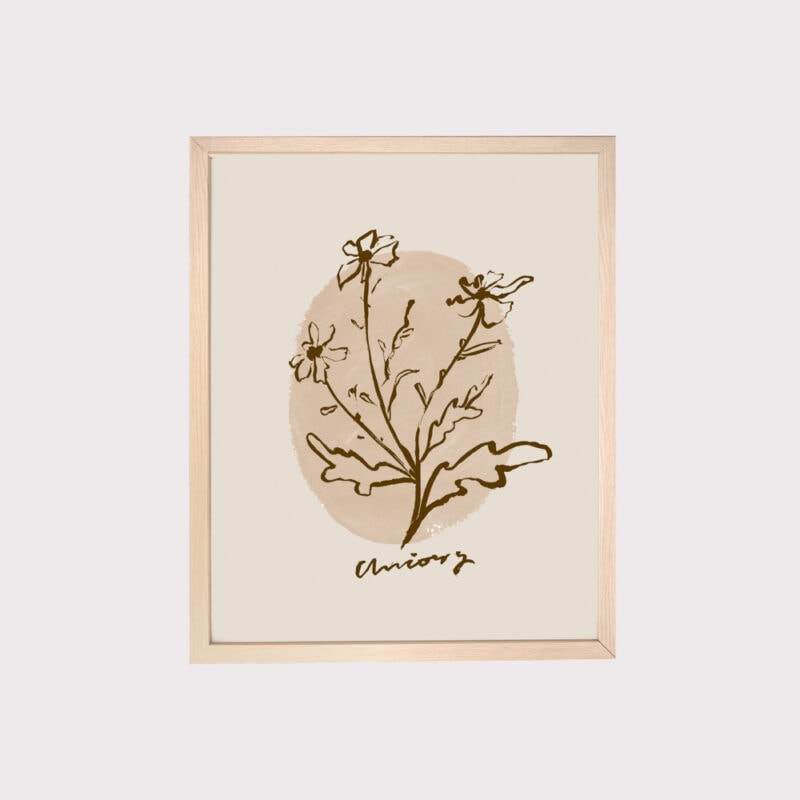
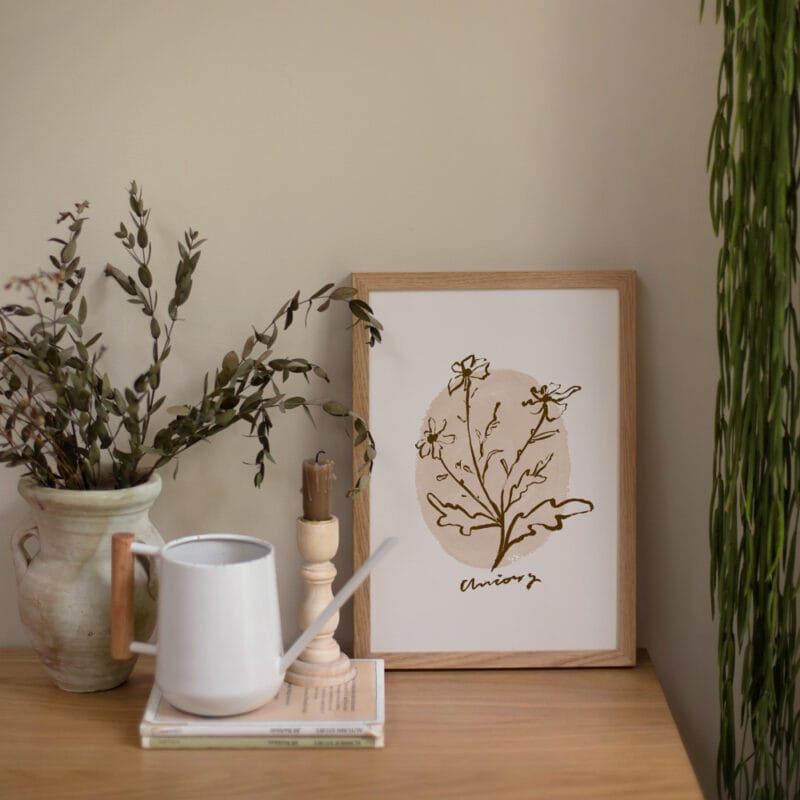 Quick ViewSelect options
Chicory
£20.00 – £25.00
Work with Me
The Lovely Drawer is an award winning blog with a loyal audience that has grown over the years. I love working with brands small and large on exciting collaborations that can bring products alive in my own signature aesthetic.