

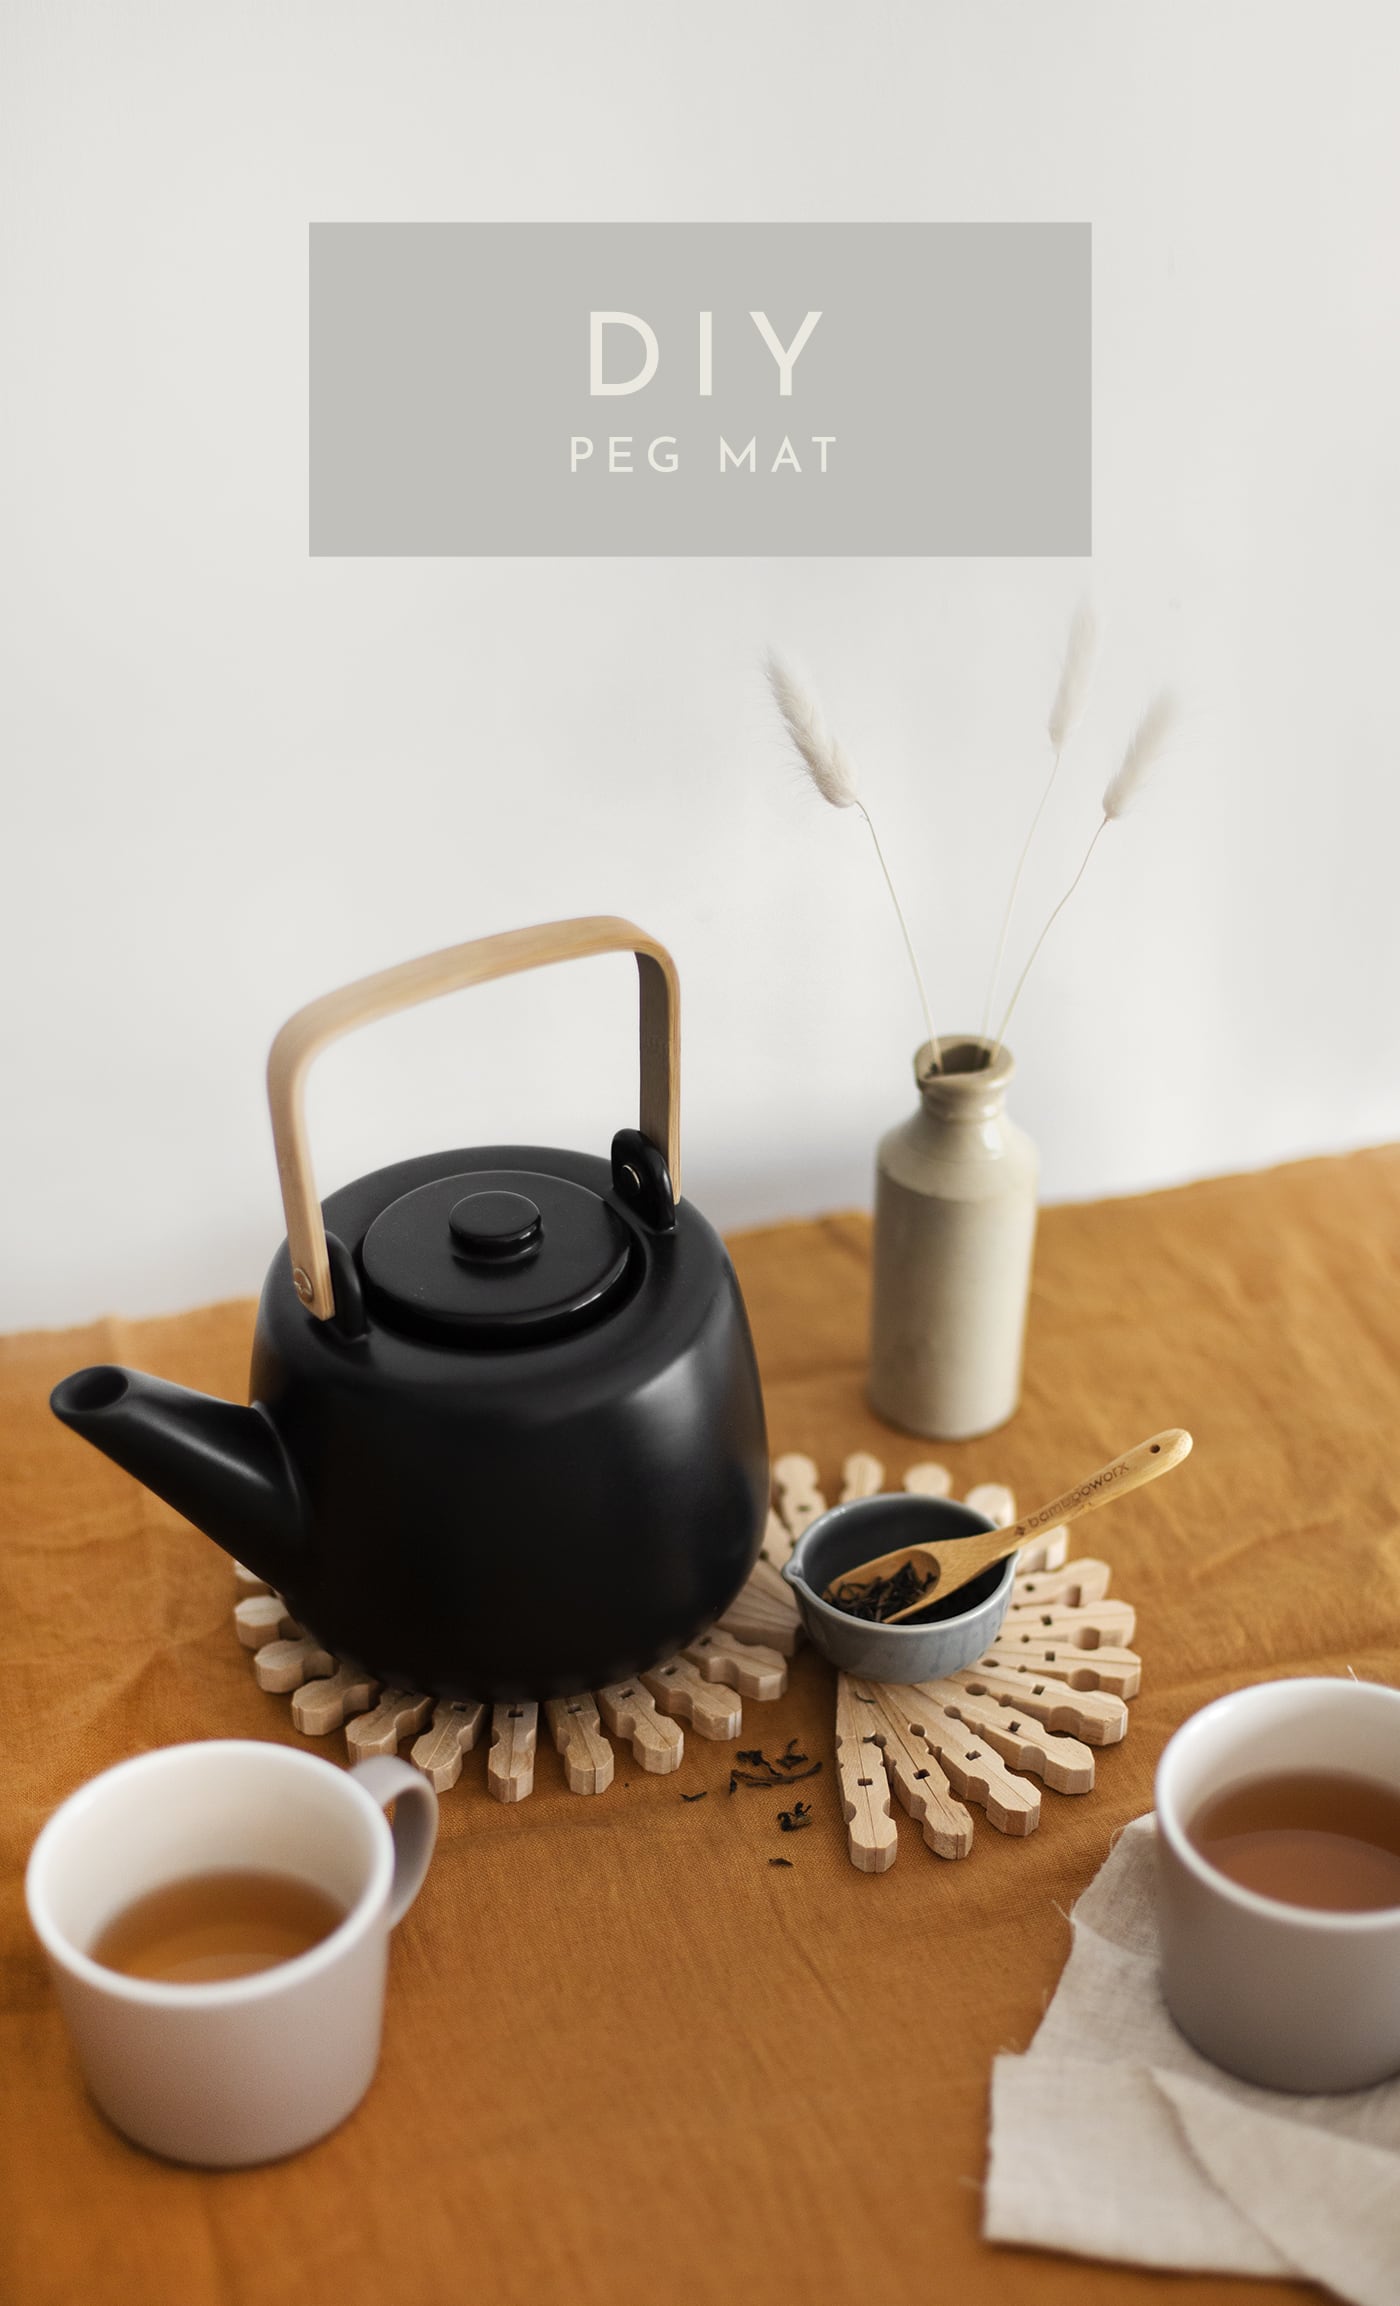
DIY Peg Mat with Gorilla Glue
 AD | This is a paid post created in collaboration with Gorilla Glue Europe Ltd
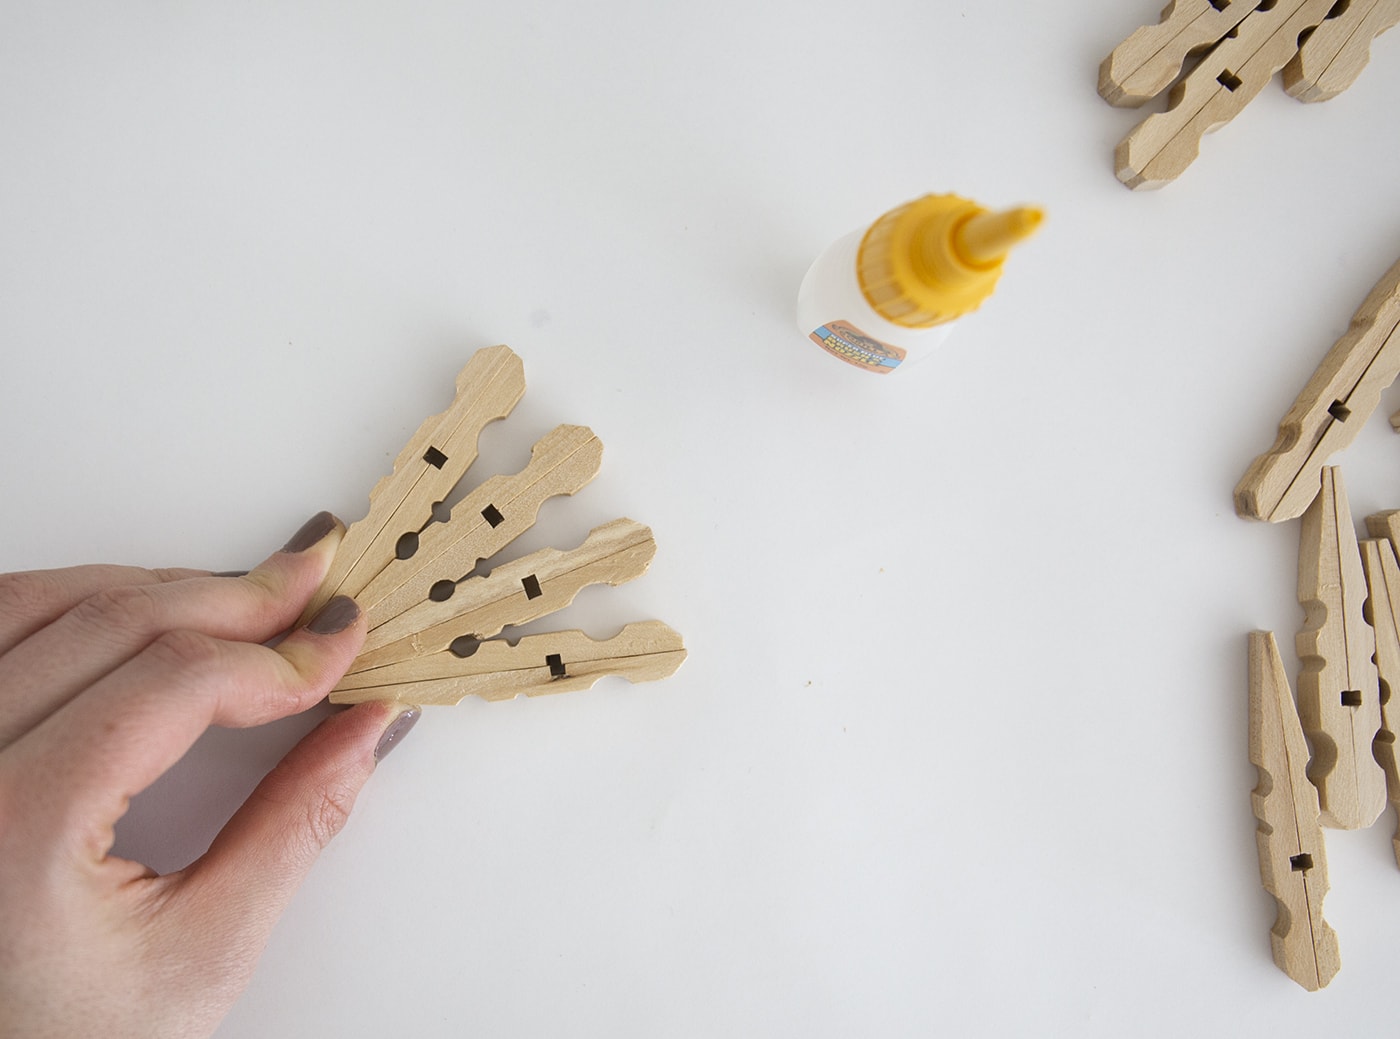
There’s nothing quite like making something new from everyday household items and what’s more basic than wooden pegs? All you’ll need to make your very own stylish mat is the pegs, something to protect your surface and Gorilla Super Glue Brush & Nozzle. You heard right, just three things! The glue brush was great for precision and control, meaning no glue was wasted or ended up on my fingers which I can be quite prone to usually. This super glue works really well on wood, with more than enough hold for this smaller make and the brush option means there’s no pesky clogging.
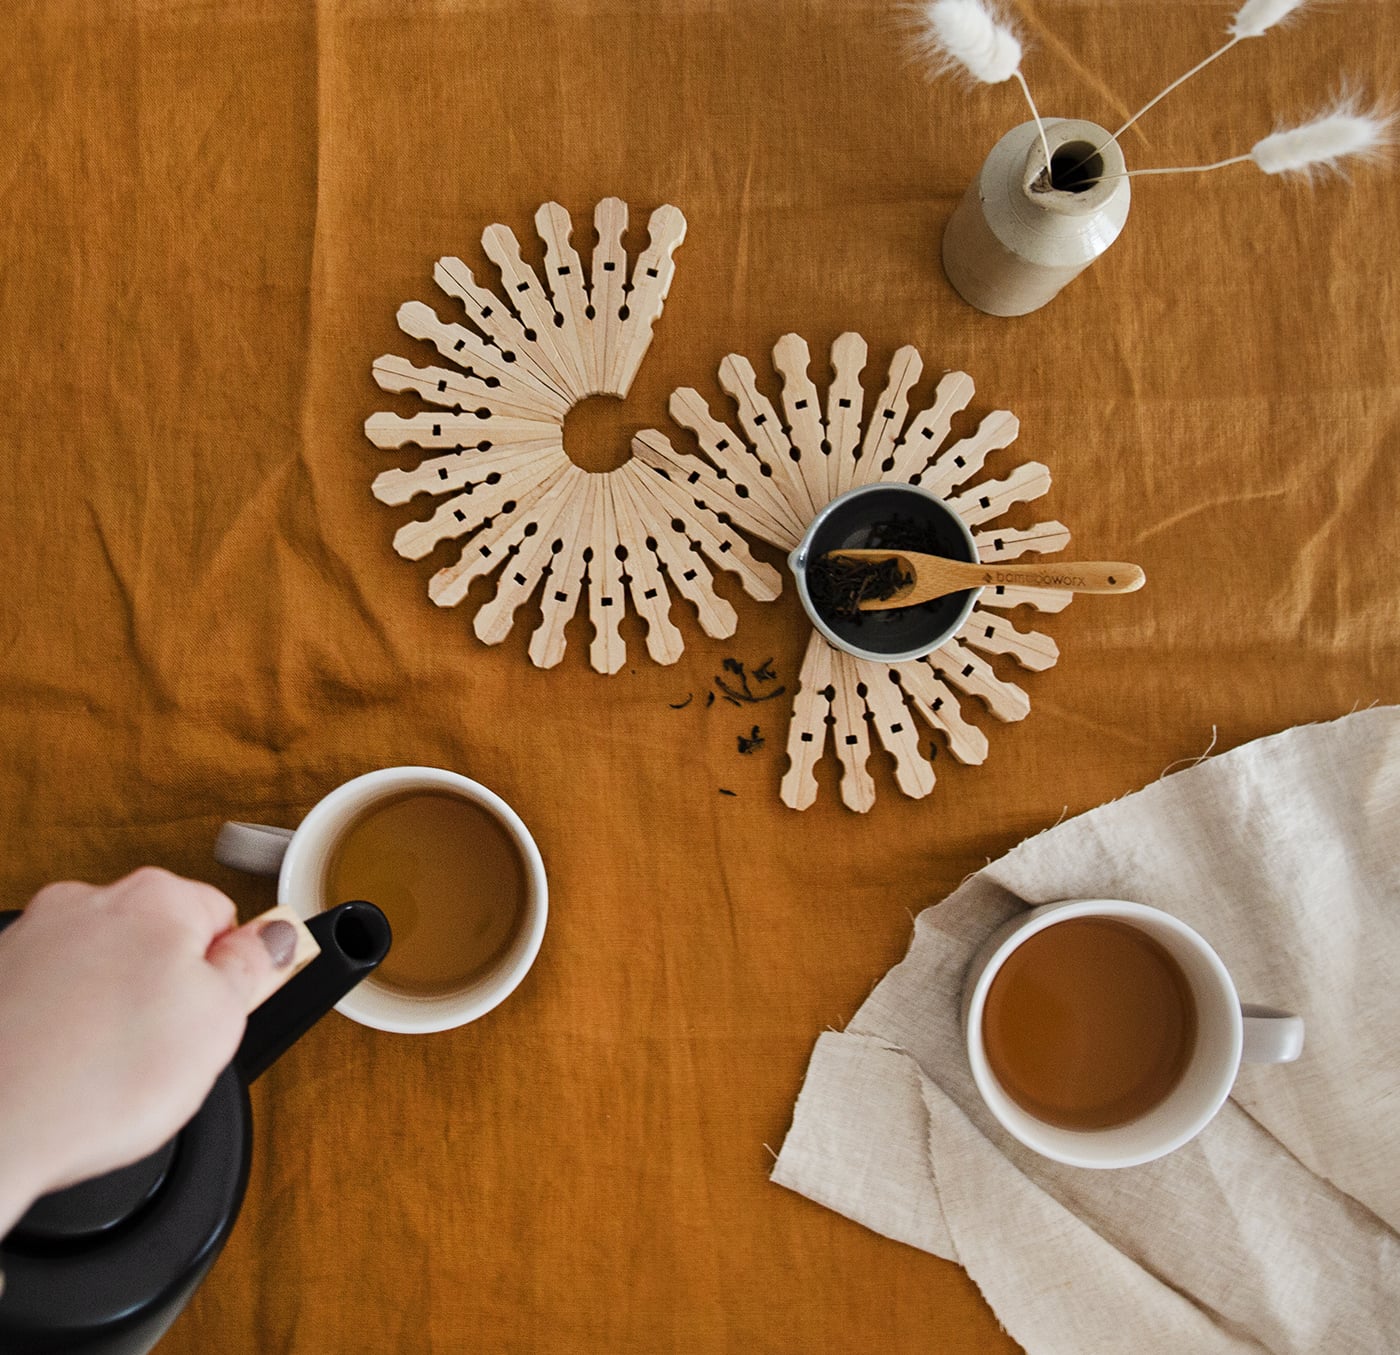
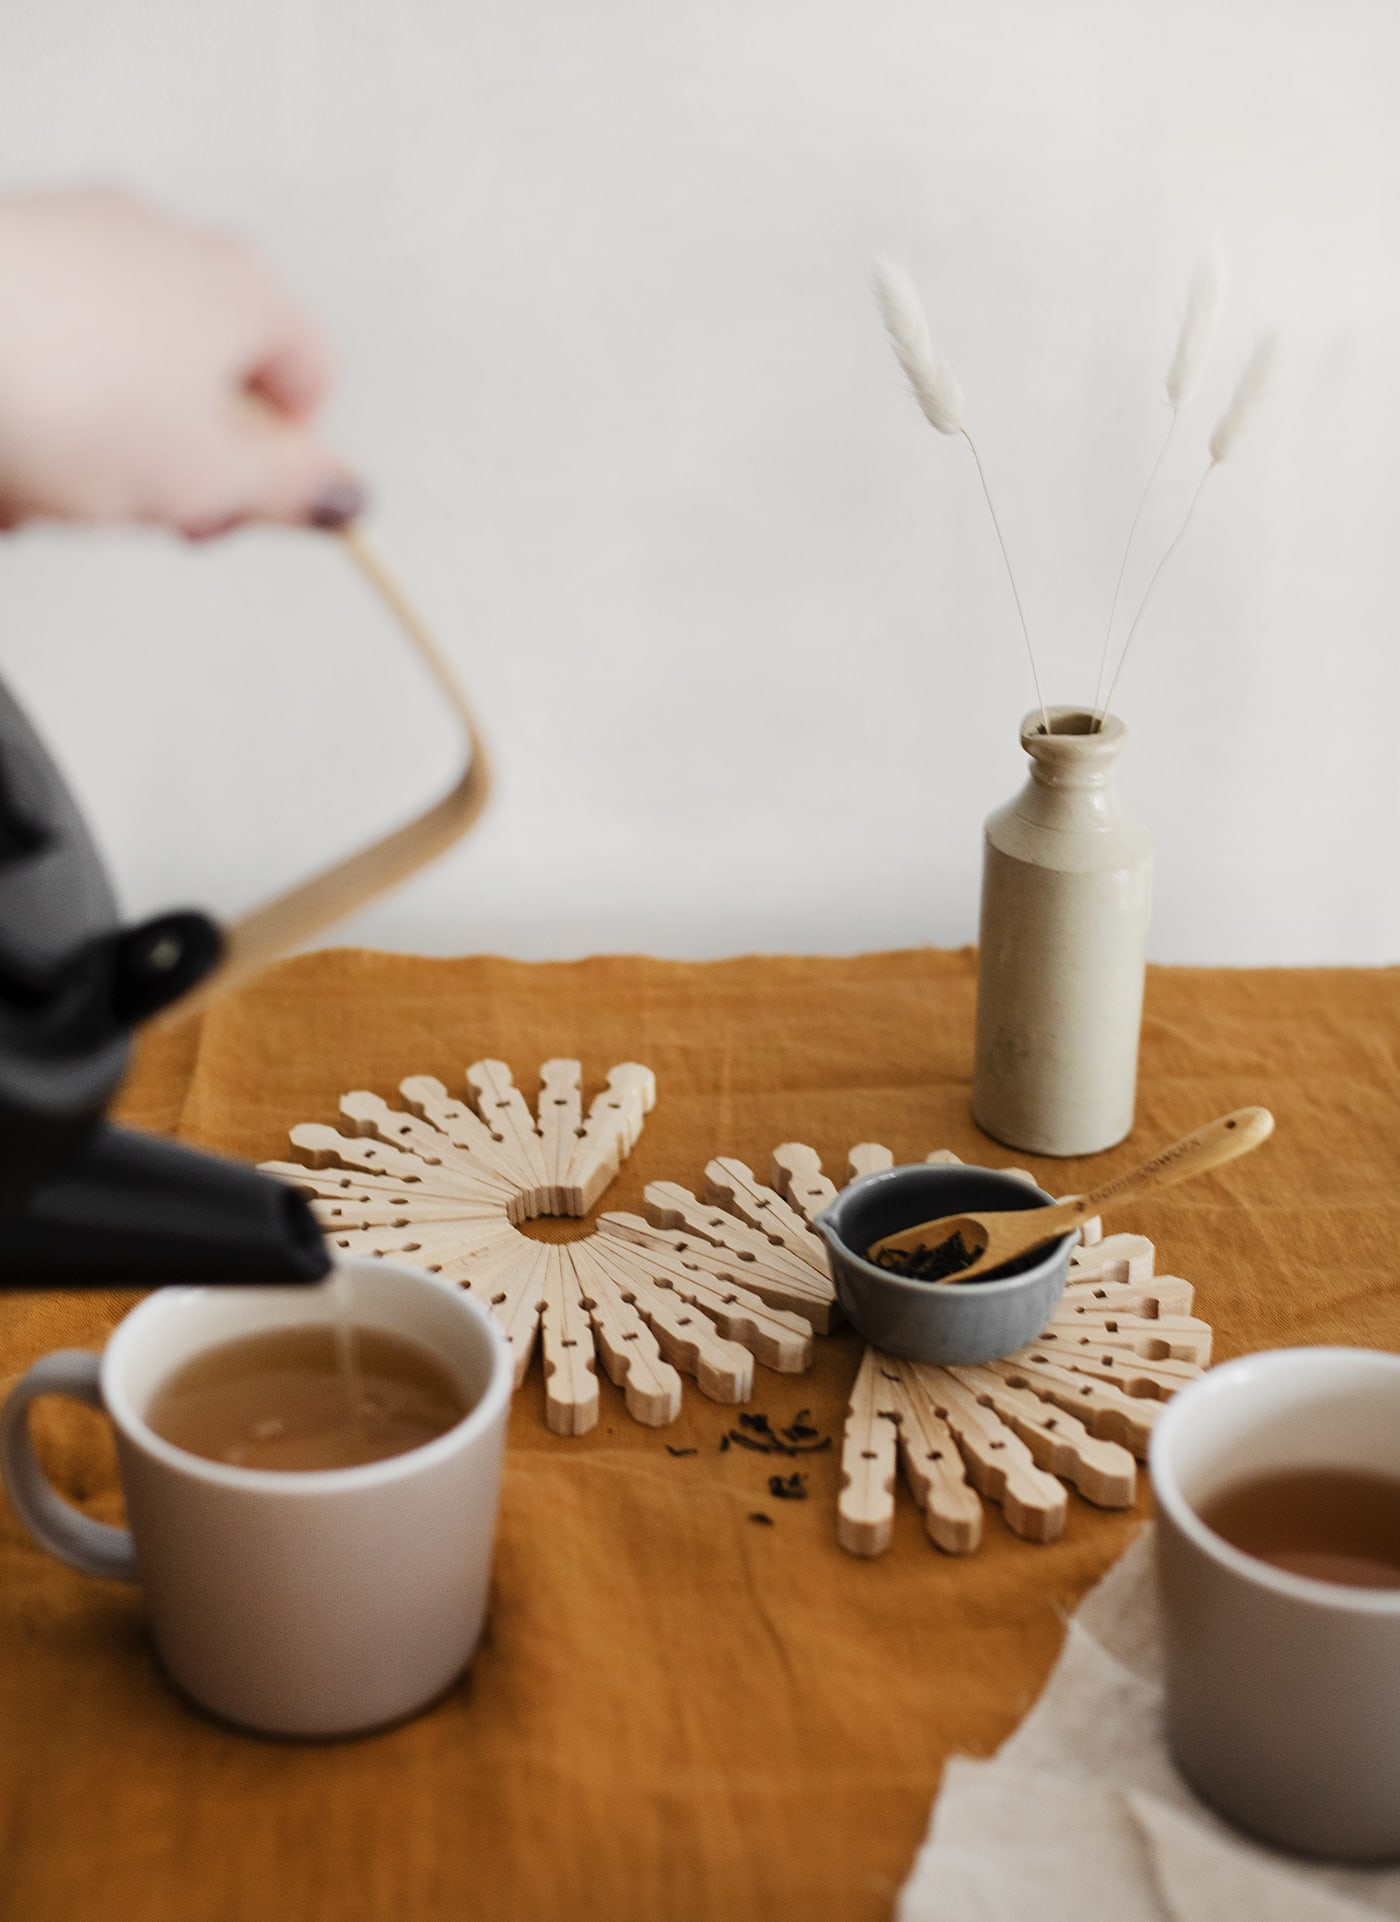
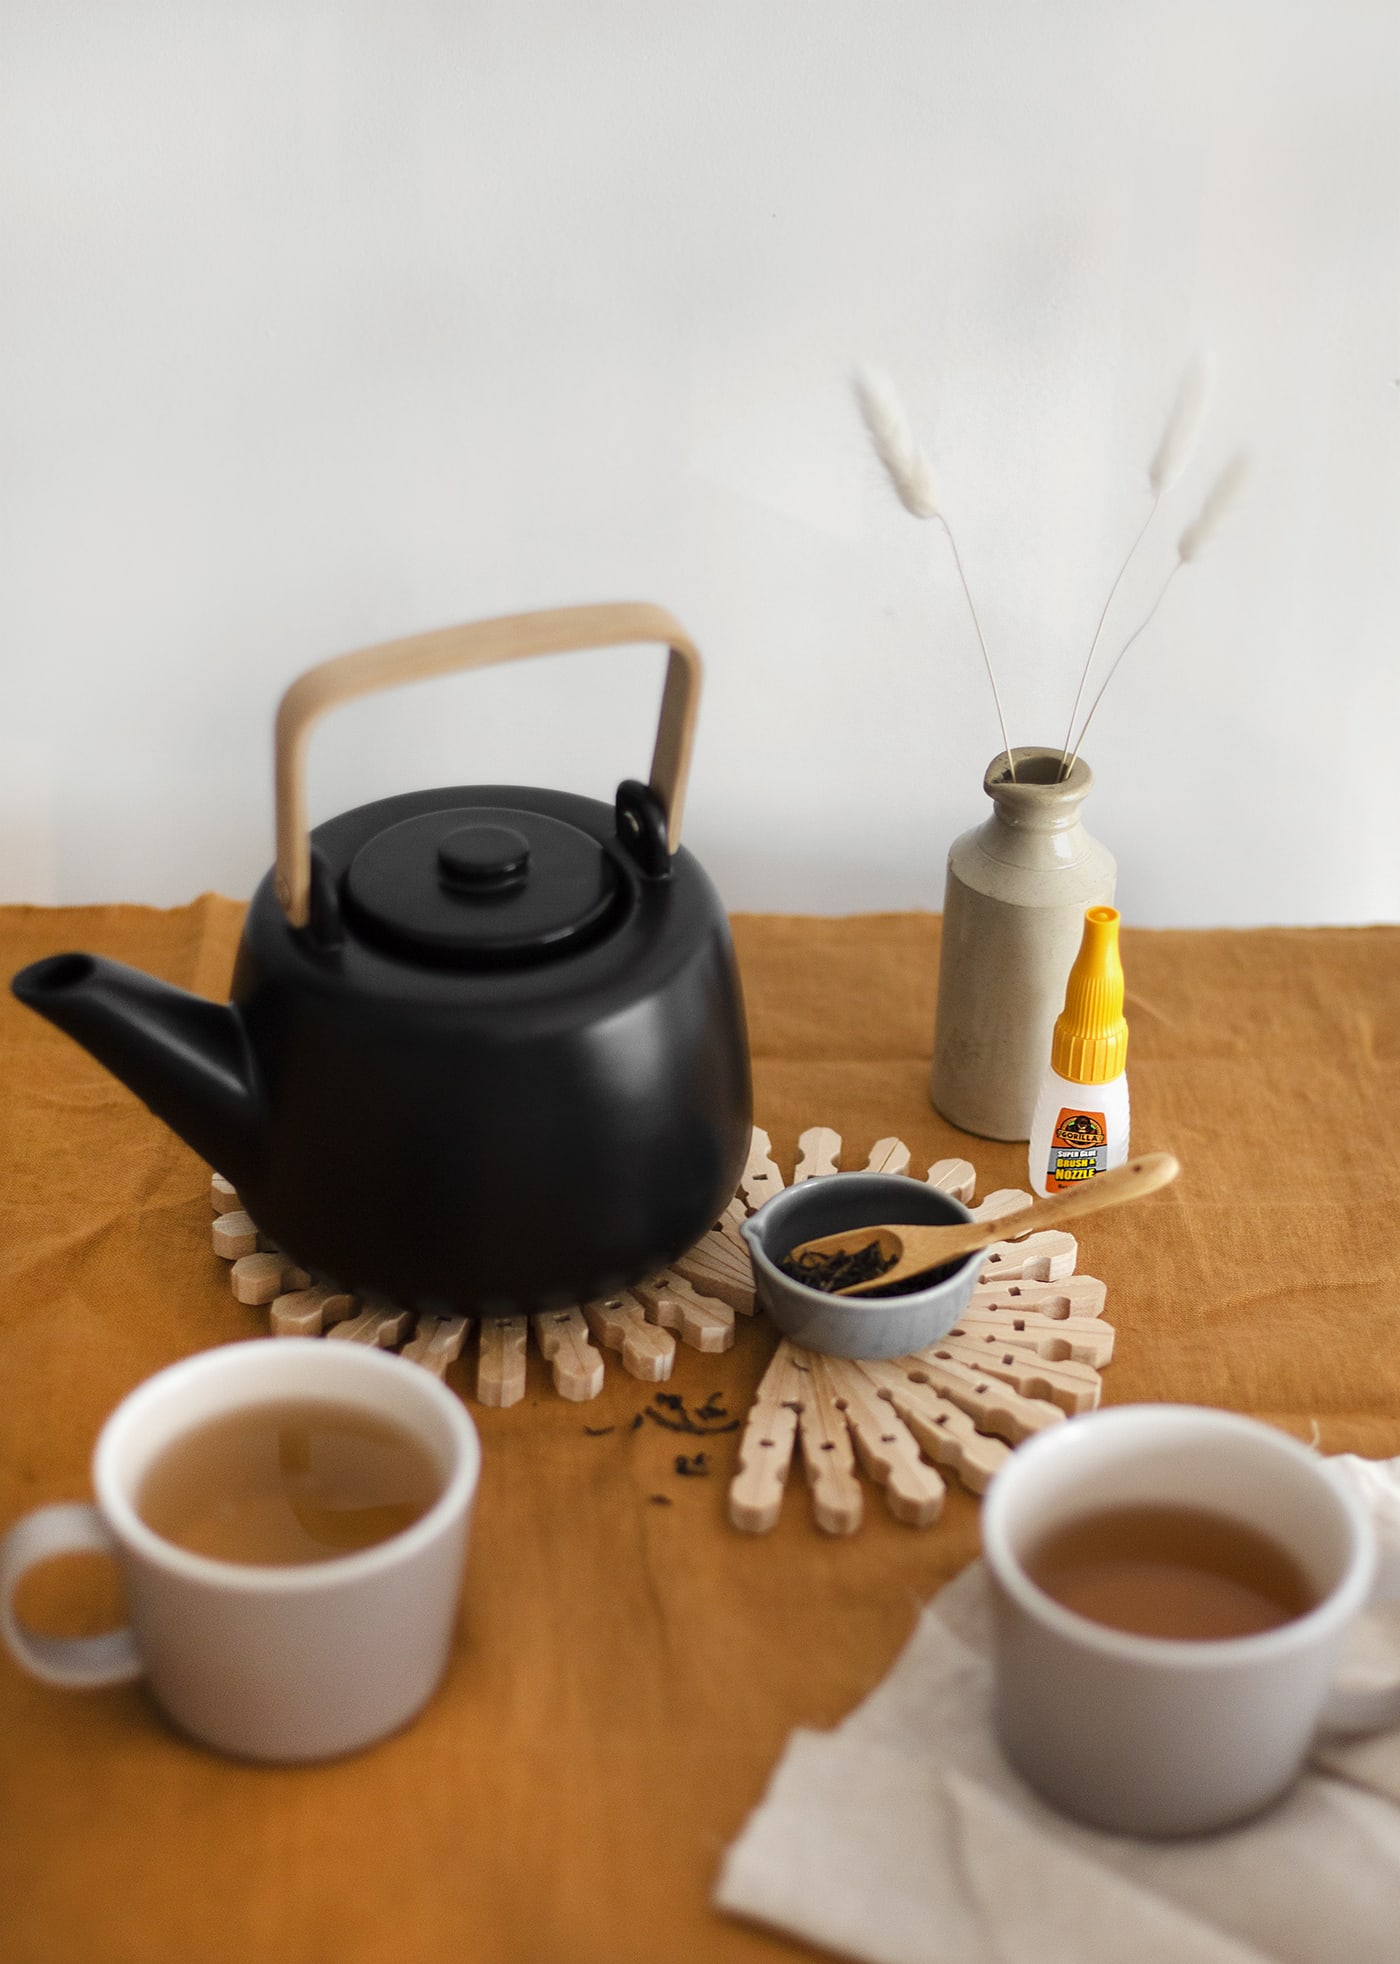
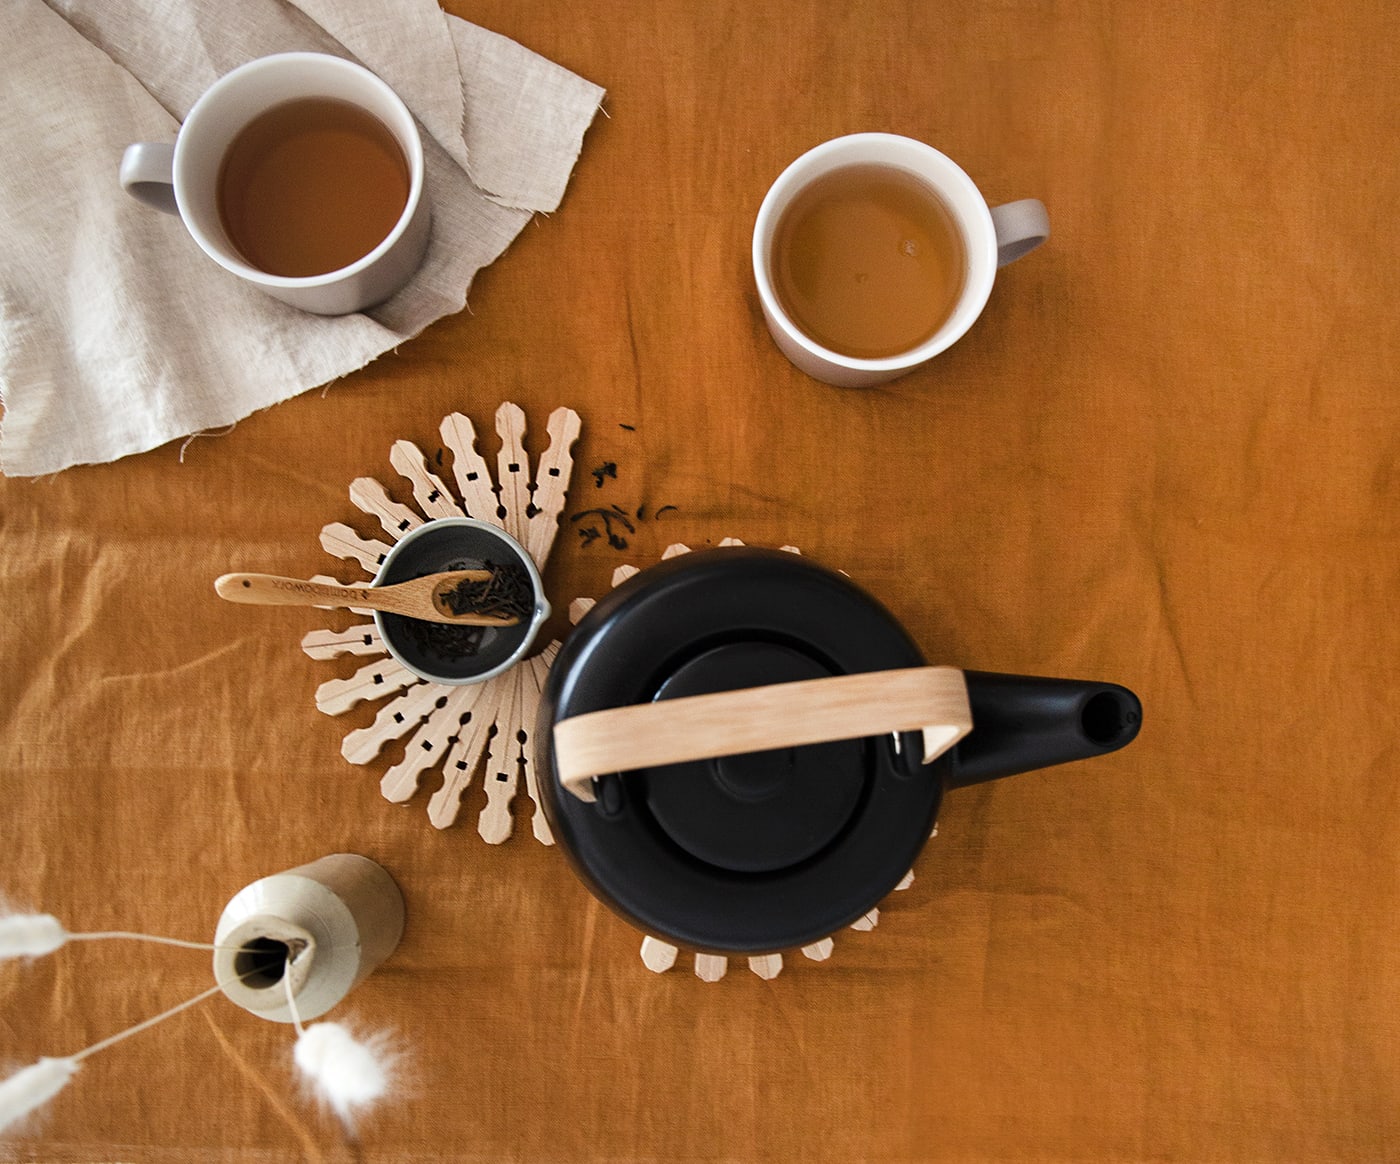
Use the mat for your teapot or mugs when you want to protect your table. You could follow the shape I’ve created or continue to make a larger scale one or even just stick to a circular version. Who knew pegs could look so pretty, and let’s be honest mats usually aren’t that pretty either.
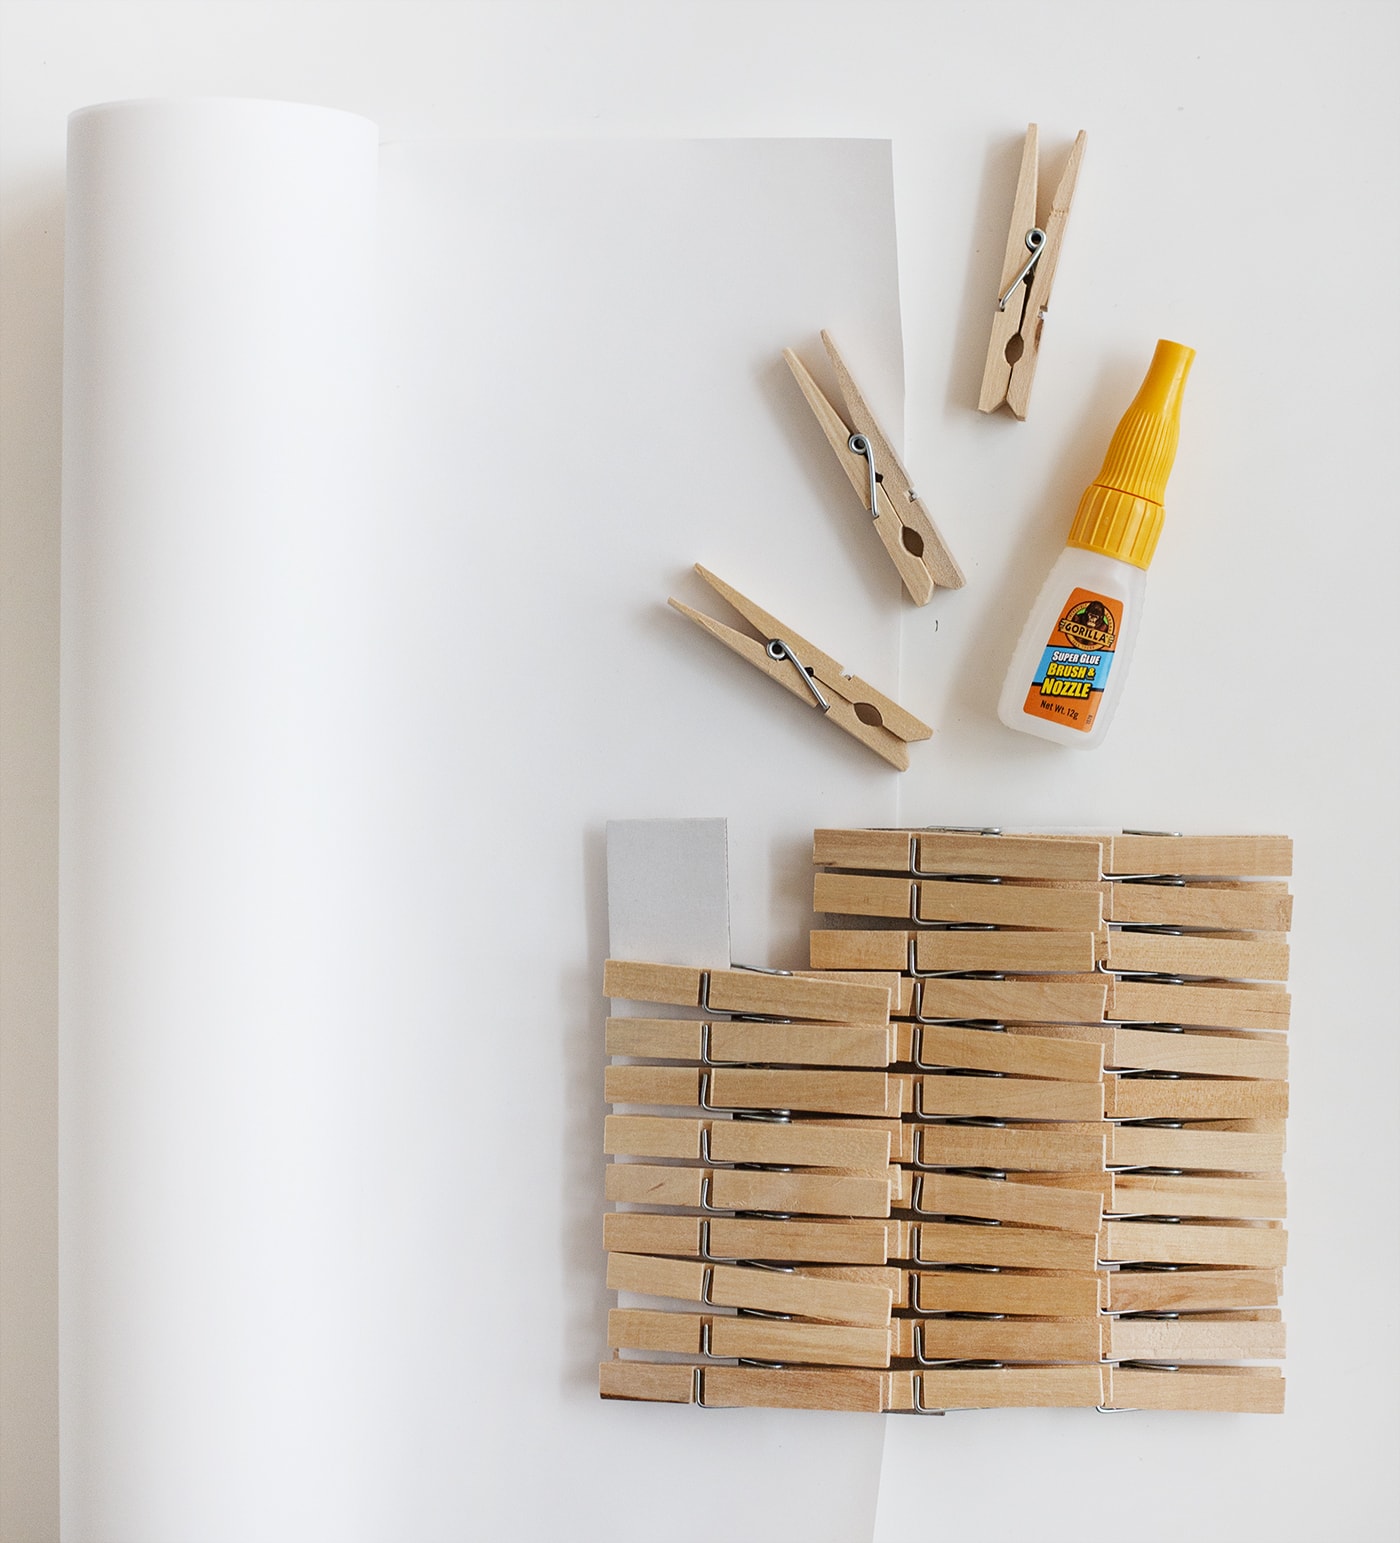
Materials
- Gorilla Super Glue Brush & Nozzle
- Protective paper
- Wooden pegs (I used 36 for this shape)

Step 1
Remove the wire from each peg by twisting the wooden sections. You’ll be left with two separate wooden pieces. Prep the wood’s surface by making sure it’s clean.
Step 2
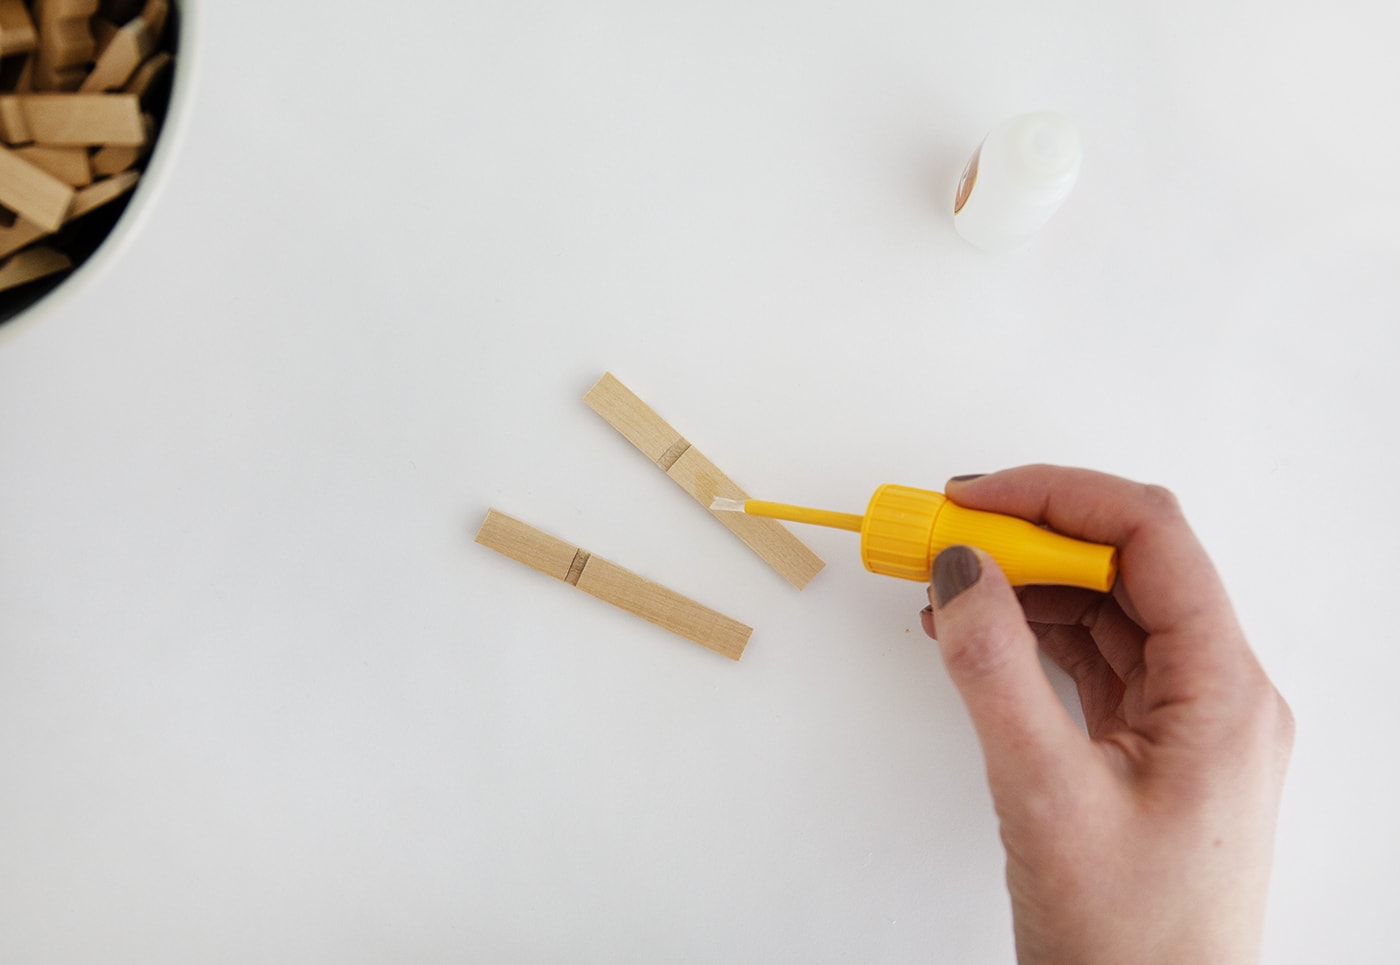
You will then need to glue the wooden pieces together using Gorilla Super Glue Brush & Nozzle.’ Unscrew full cap and wipe the brush on the inner rim of the bottle to remove excess glue. Then apply a small amount to one of the wooden pieces from a pair. Excess glue can mean the bonding process doesn’t work as well so be sparing.
Step 3
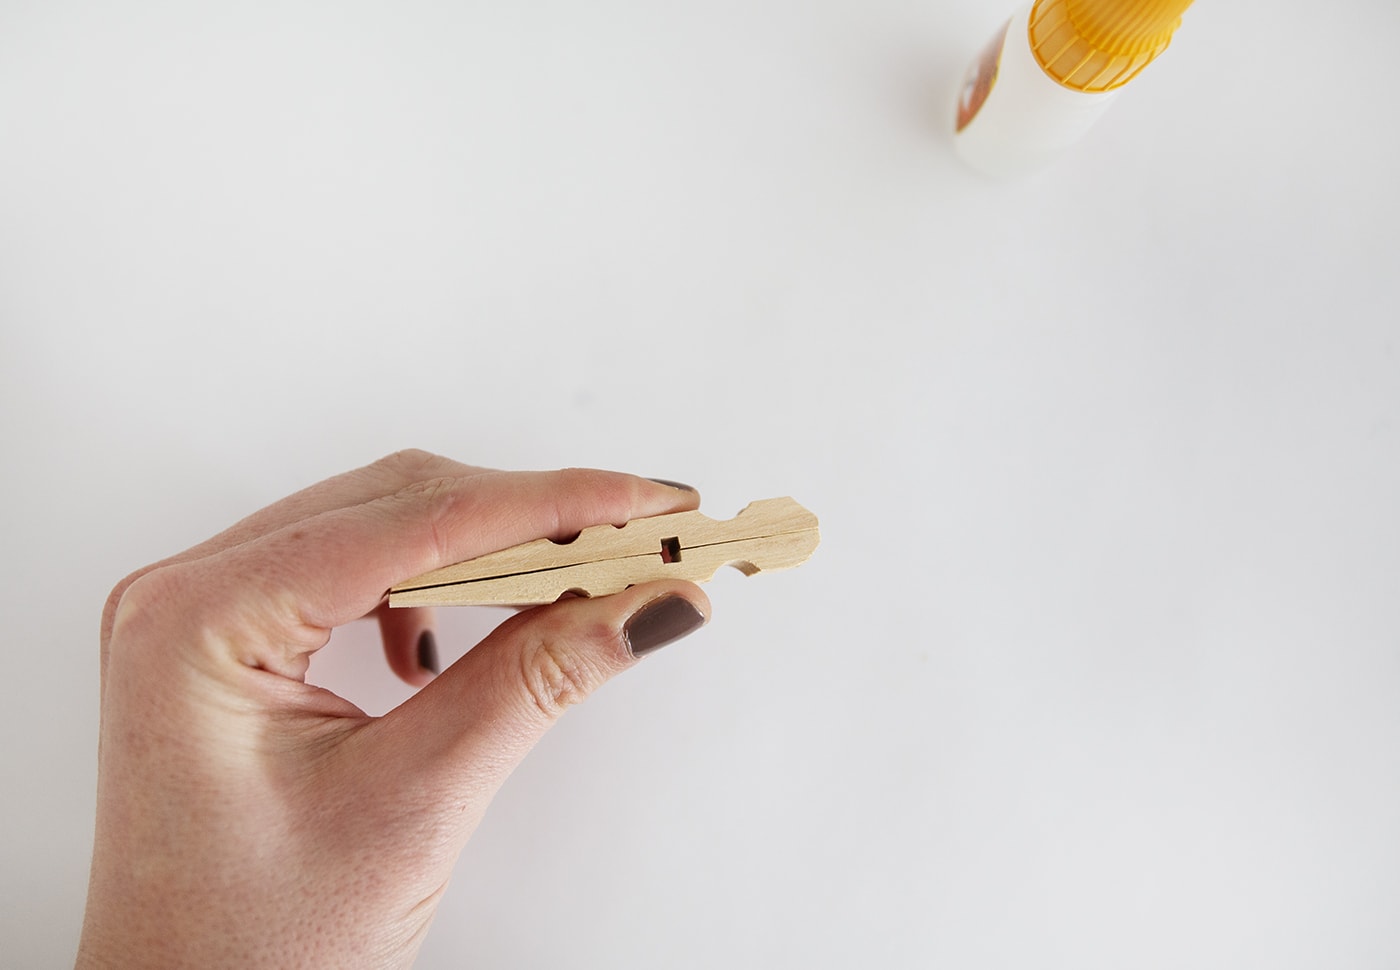
Press both pieces together, making sure to line up the hole in the centre. Hold firmly in place for 10-45 seconds.
Step 4
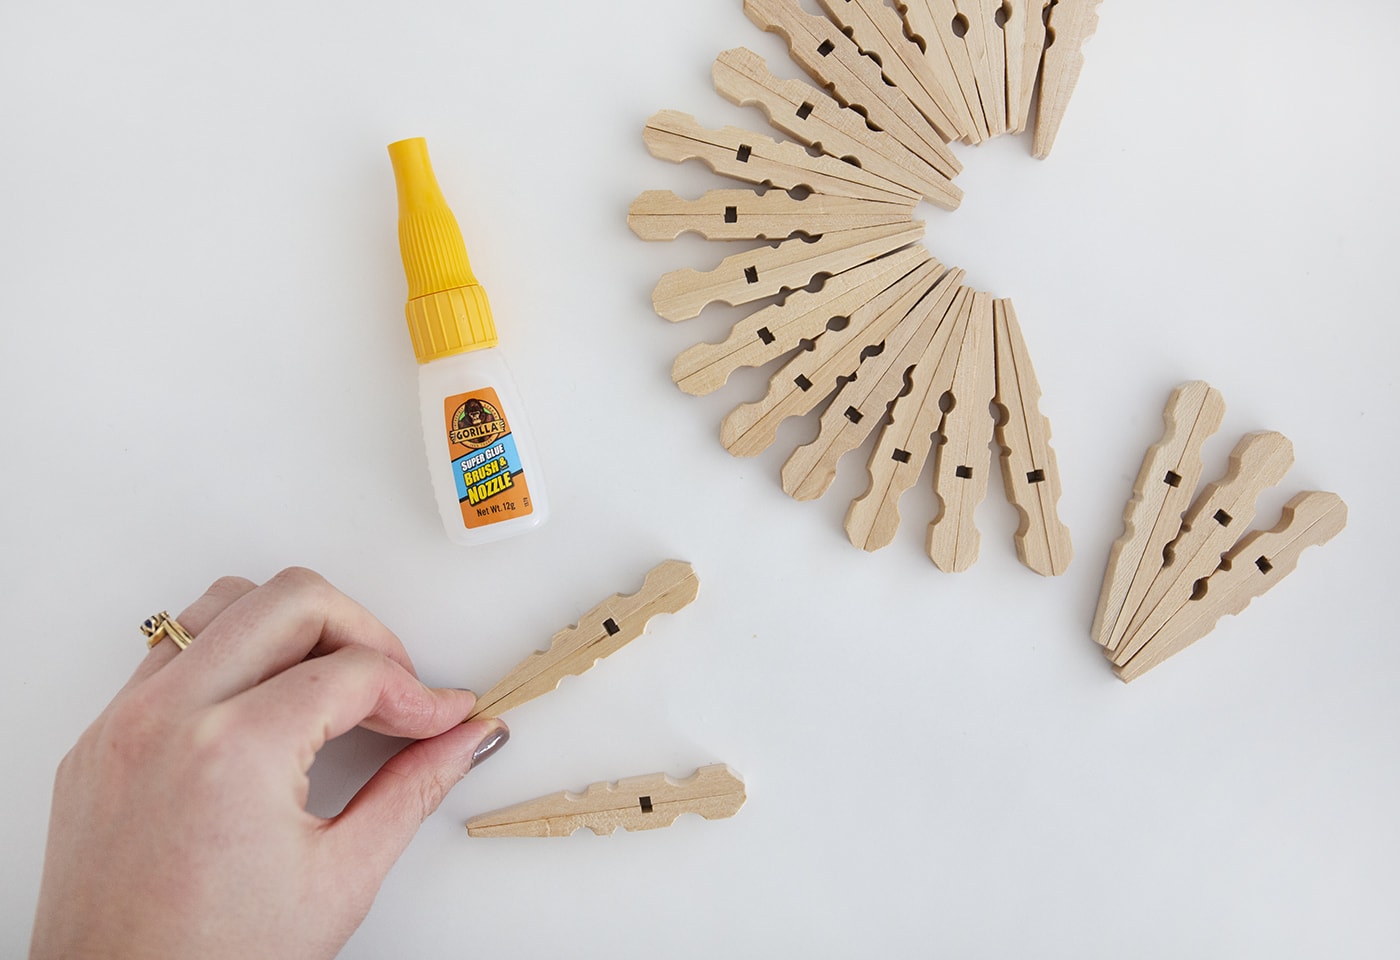
Once you’ve done step 3 for every peg you can start laying them out in the vague shape you want.
Step 5
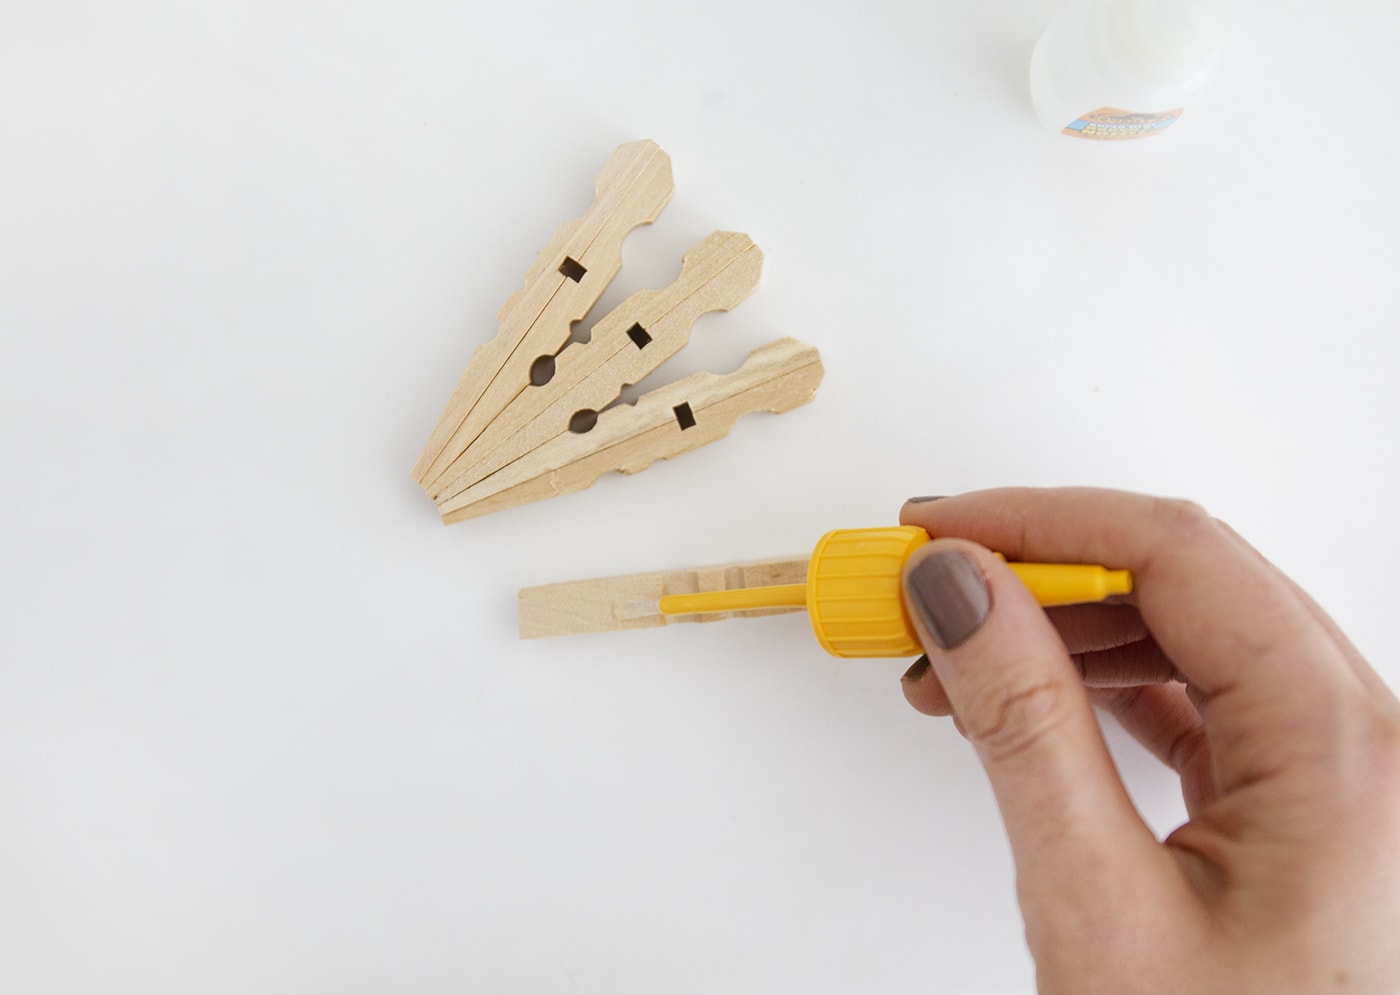
Now start bonding the newly joined pieces together by brushing more of the super glue along the bottom edge, making sure you line up the indents so that the pattern evolves.
Step 6
Each time remember to press the pegs together and hold firmly for 10-45 seconds

Step 7
If you want to create a curve that goes the other way then turn the pegs the other way around. The first join will be the curved top edge and you’ll be able to bond them in two places. Then continue in the same way you’ve been doing in step 5 and 6 until you’re happy with the shape.
And there you have your stylish new mat made from one of the most mundane items in your home. It’s got a rather lovely Scandi look about it if you ask me and would make a unique and inexpensive addition to your home.
You might also like


Meet The Lovely Drawer

Hi, I’m Teri and welcome to my own creative corner of the internet. I blog about interiors, DIY projects, design inspiration and my general life so stick around have a read and say hi.
In the shop
 Quick ViewSelect options
Chicory
£20.00 – £25.00
 Quick ViewSelect options
Terrace 1
£20.00 – £25.00
Work with Me
The Lovely Drawer is an award winning blog with a loyal audience that has grown over the years. I love working with brands small and large on exciting collaborations that can bring products alive in my own signature aesthetic.