

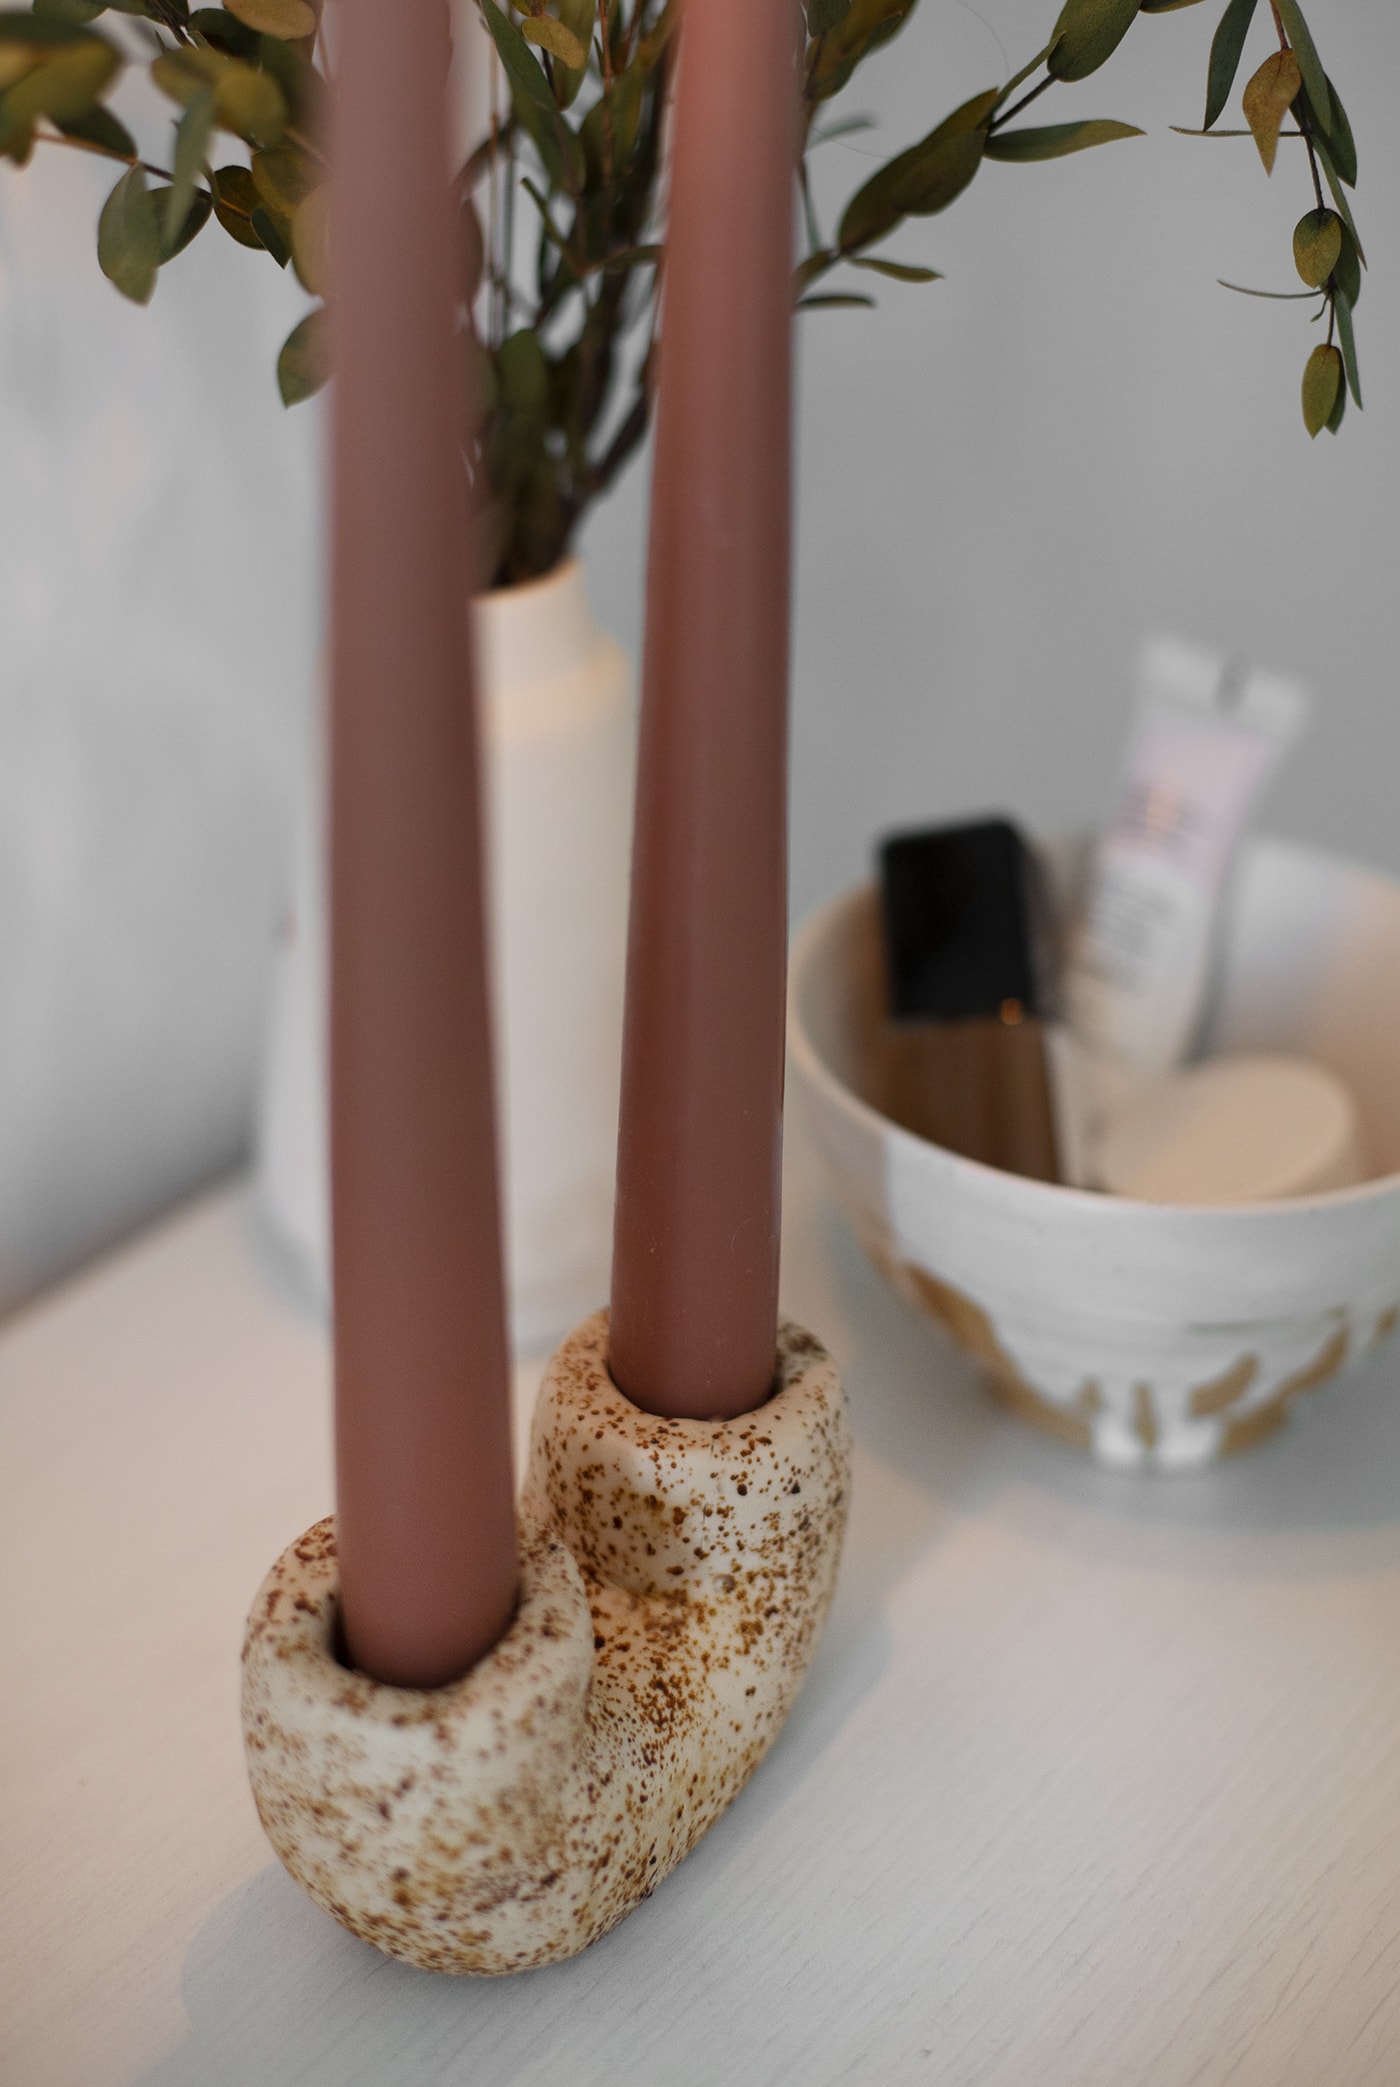
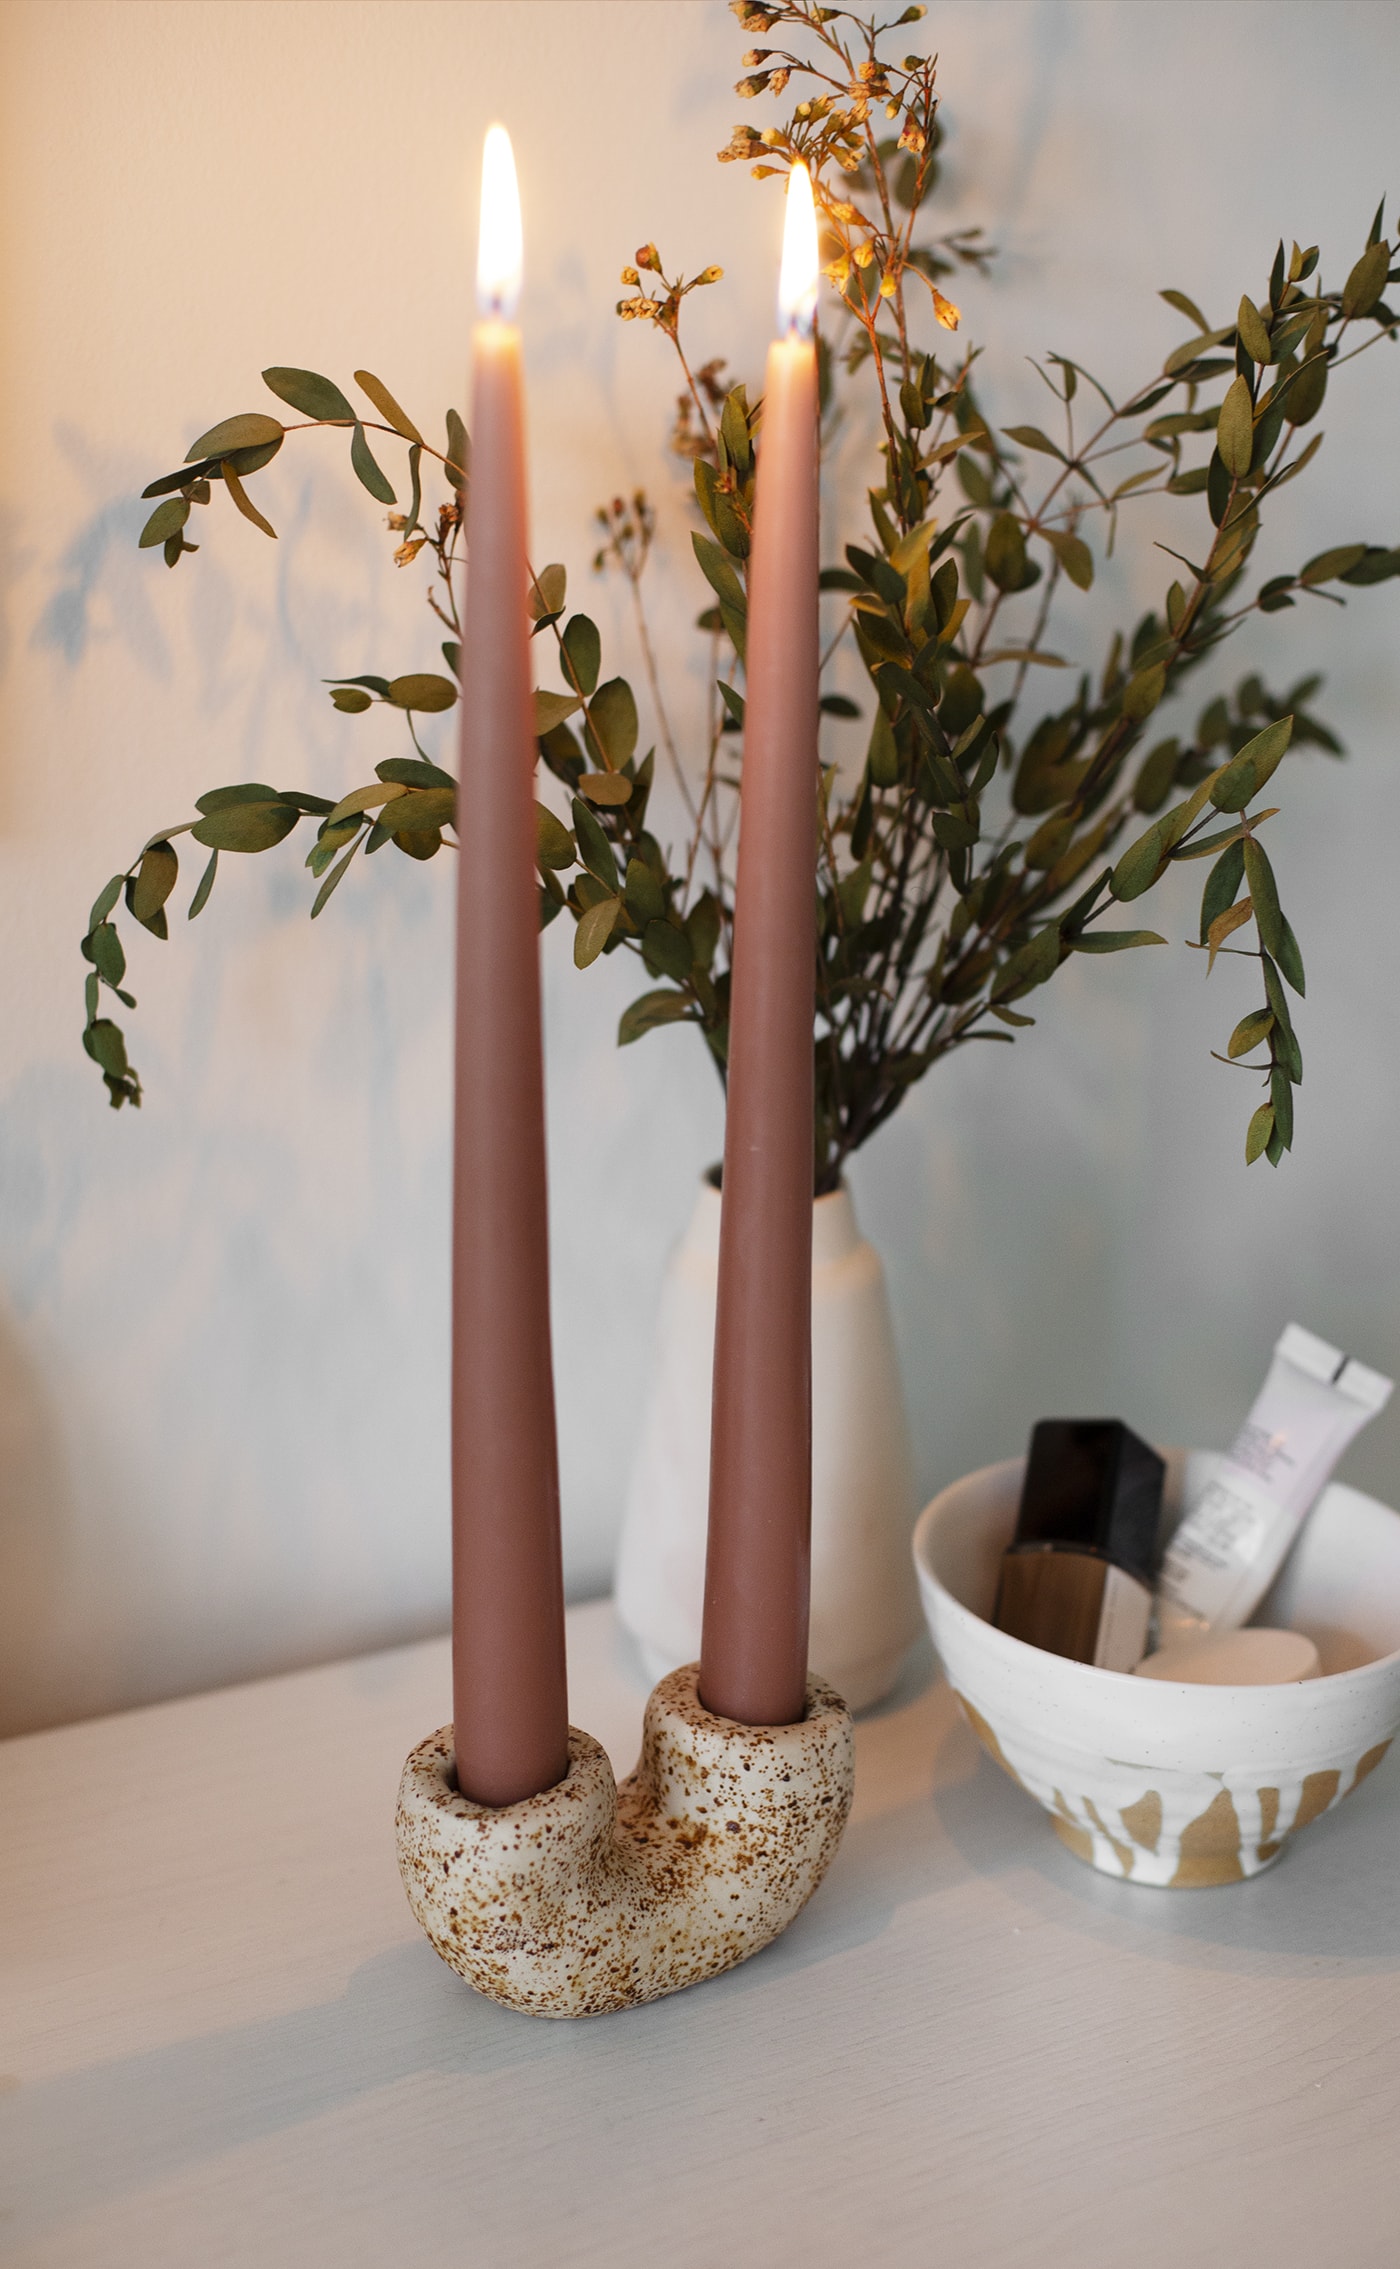
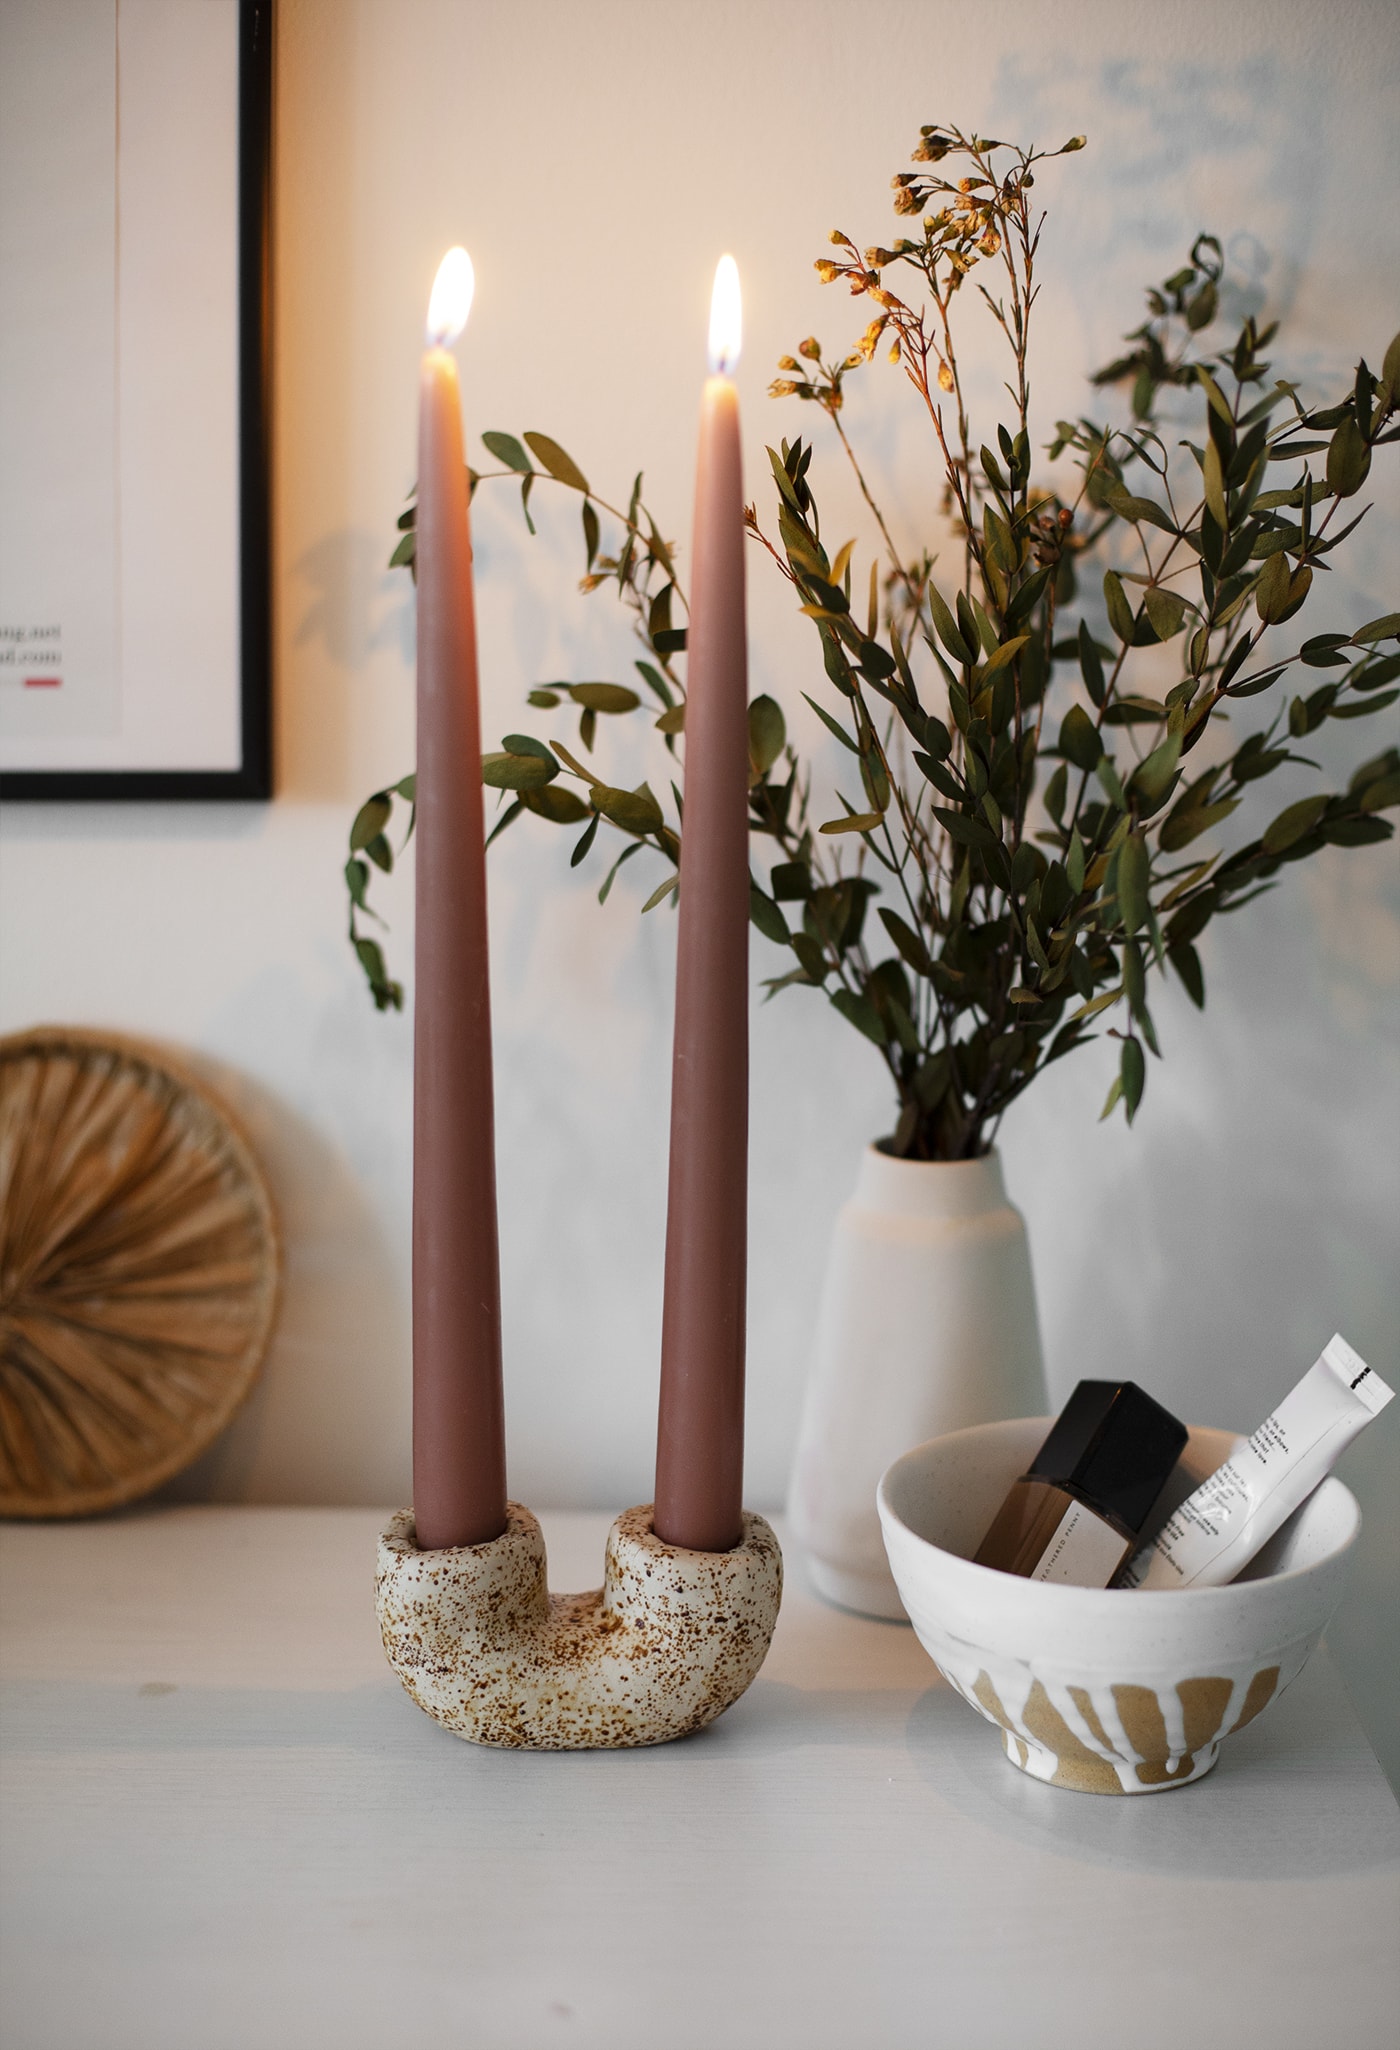
DIY Speckled Candle Holder

Don’t mind me, just continuing to stoke the passion I have for clay over here!This time I’ve tried a new technique which I wasn’t convinced would work but it seems to have all come together perfectly. I’d seen this tutorial from Tine Le Mac using pepper as an effect to add to clay and thought it was genius. It got me wondering if I could use coffee to create a similar speckled effect but in a warmer tone. I came up with this, a candleholder in a stylish shape with a sprinkling of coffee grounds for good measure. It looks almost like a real ceramic creation! My top tip however is make sure you don’t use a paintbrush to seal over the top of the coffee grounds as it will surely just turn into a big, brown, splodgey mess.
Materials:
- 3.5 x 56g packs of Fimo Soft in Sahara
- scalpel / craft knife
- 2 x taper candles
- Finely ground coffee
- Mod Podge Matte Sealer
- Plastikote Matte Spray Sealer
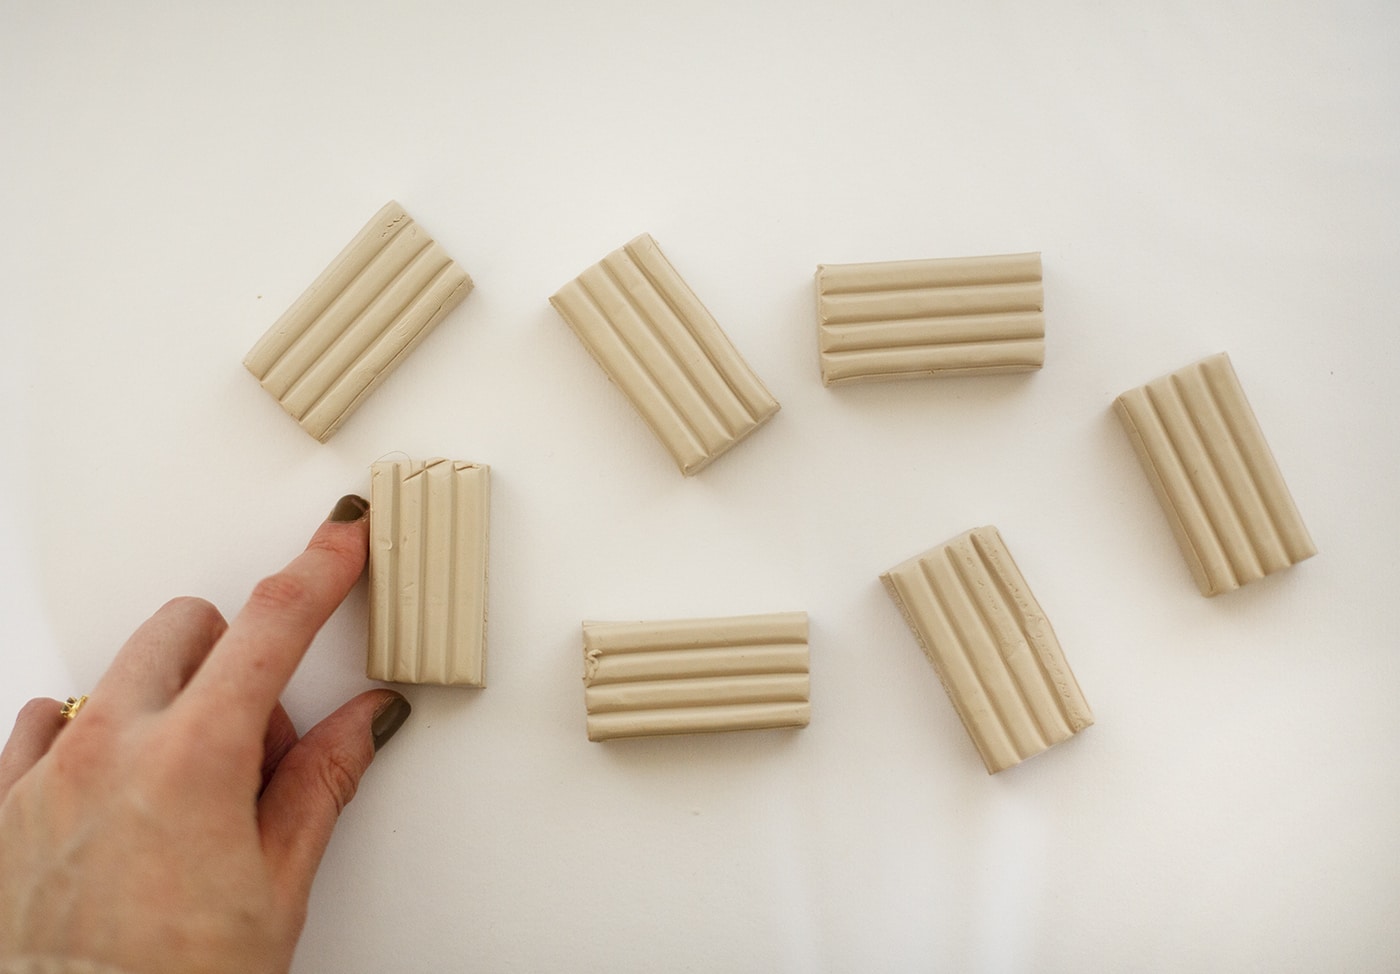
Split your Fimo blocks up and stick together.
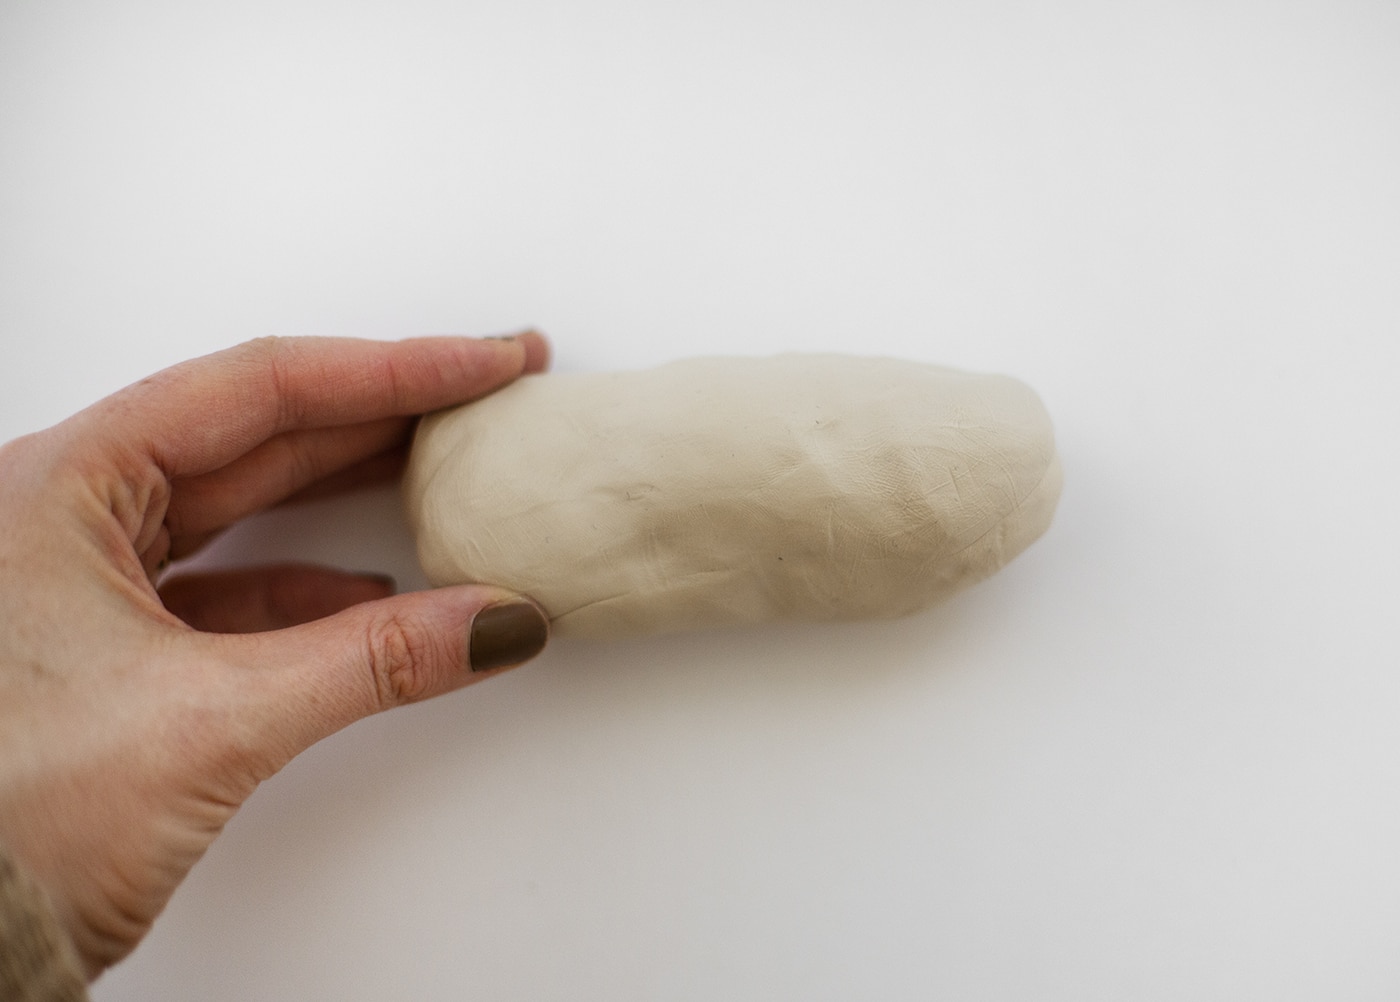
Then work the clay together in your hands to combine, until smooth.
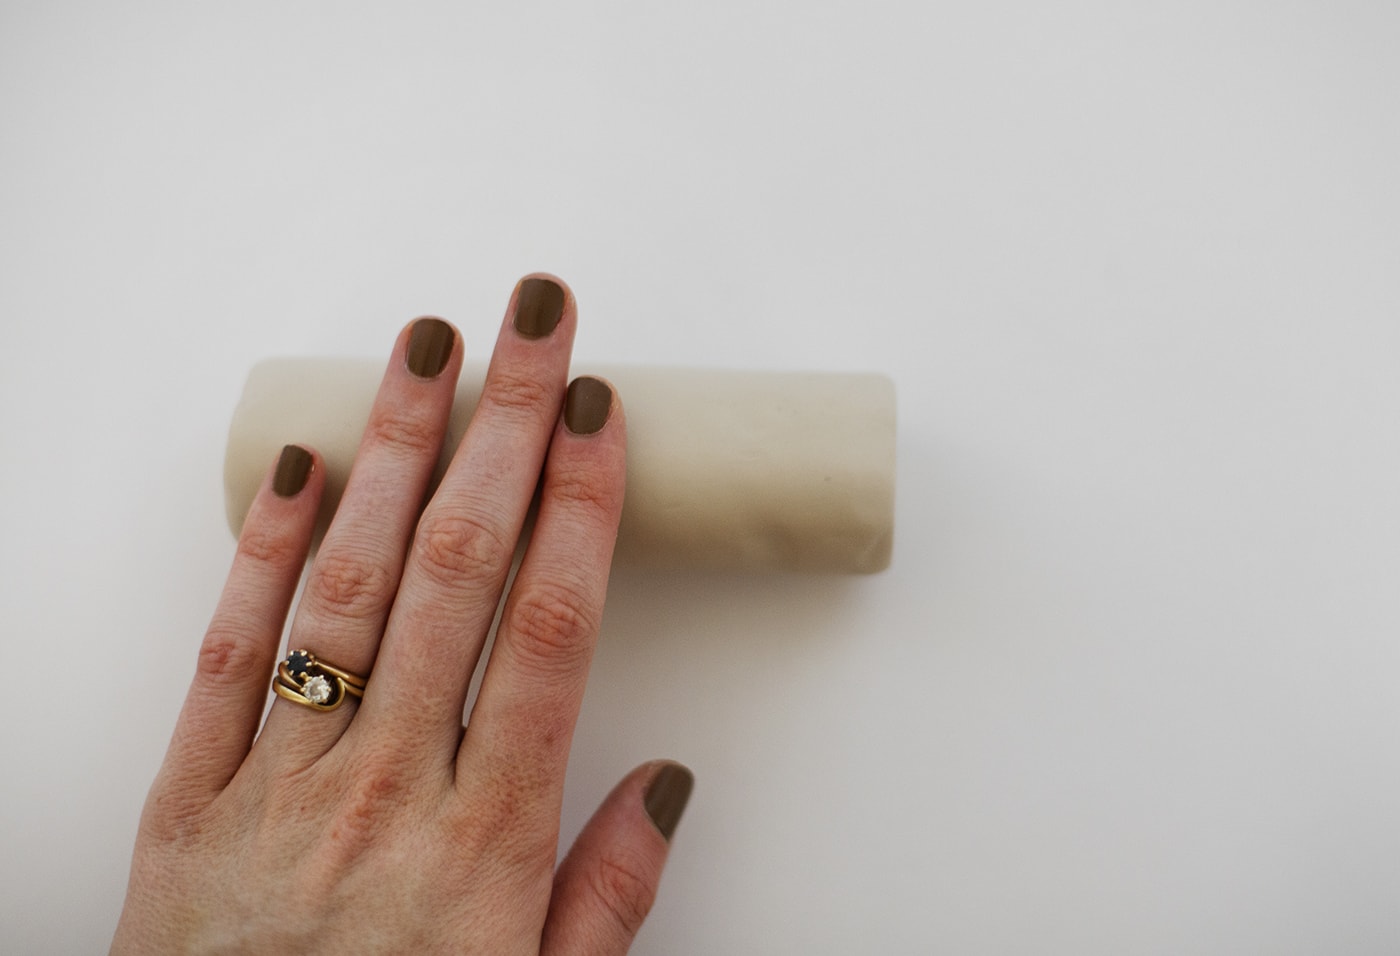
Roll out into a fat sausage shape.
Stand the clay on either and tap gently to create flat ends. You can smooth these out with a bit of water on your fingers.

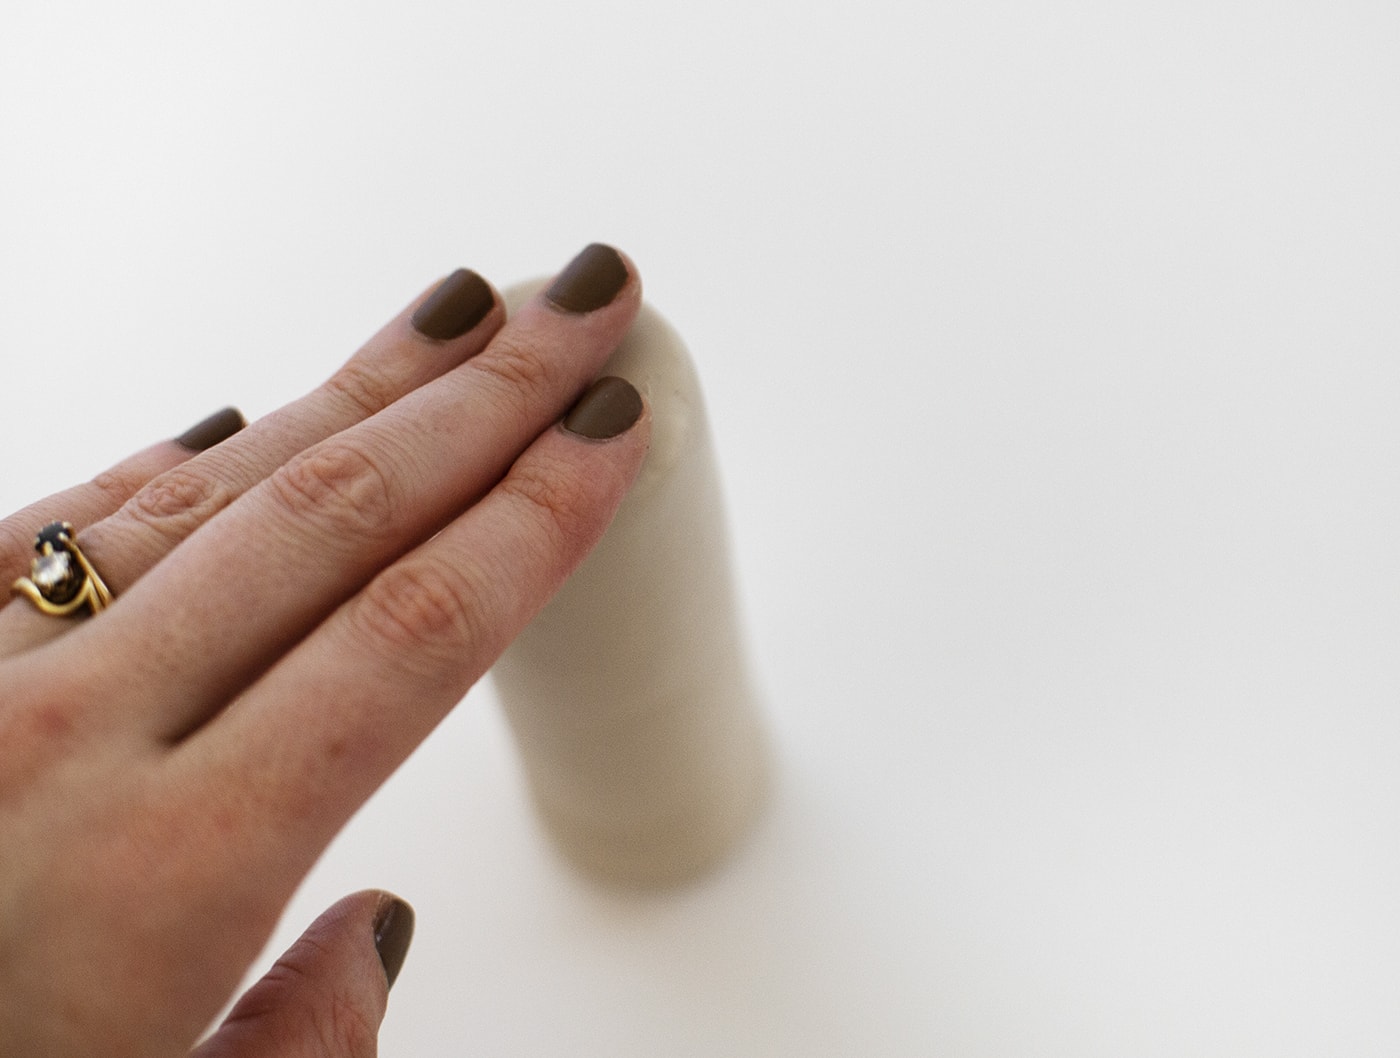
Then gently start to bend the cylinder shape round, using your finger to work the clay upwards. If you get any stretch marks in the clay simply use water in your finger to smooth over these. Make sure you press the bottom of the u-bend so that the final holder will sit flat and not see-saw.
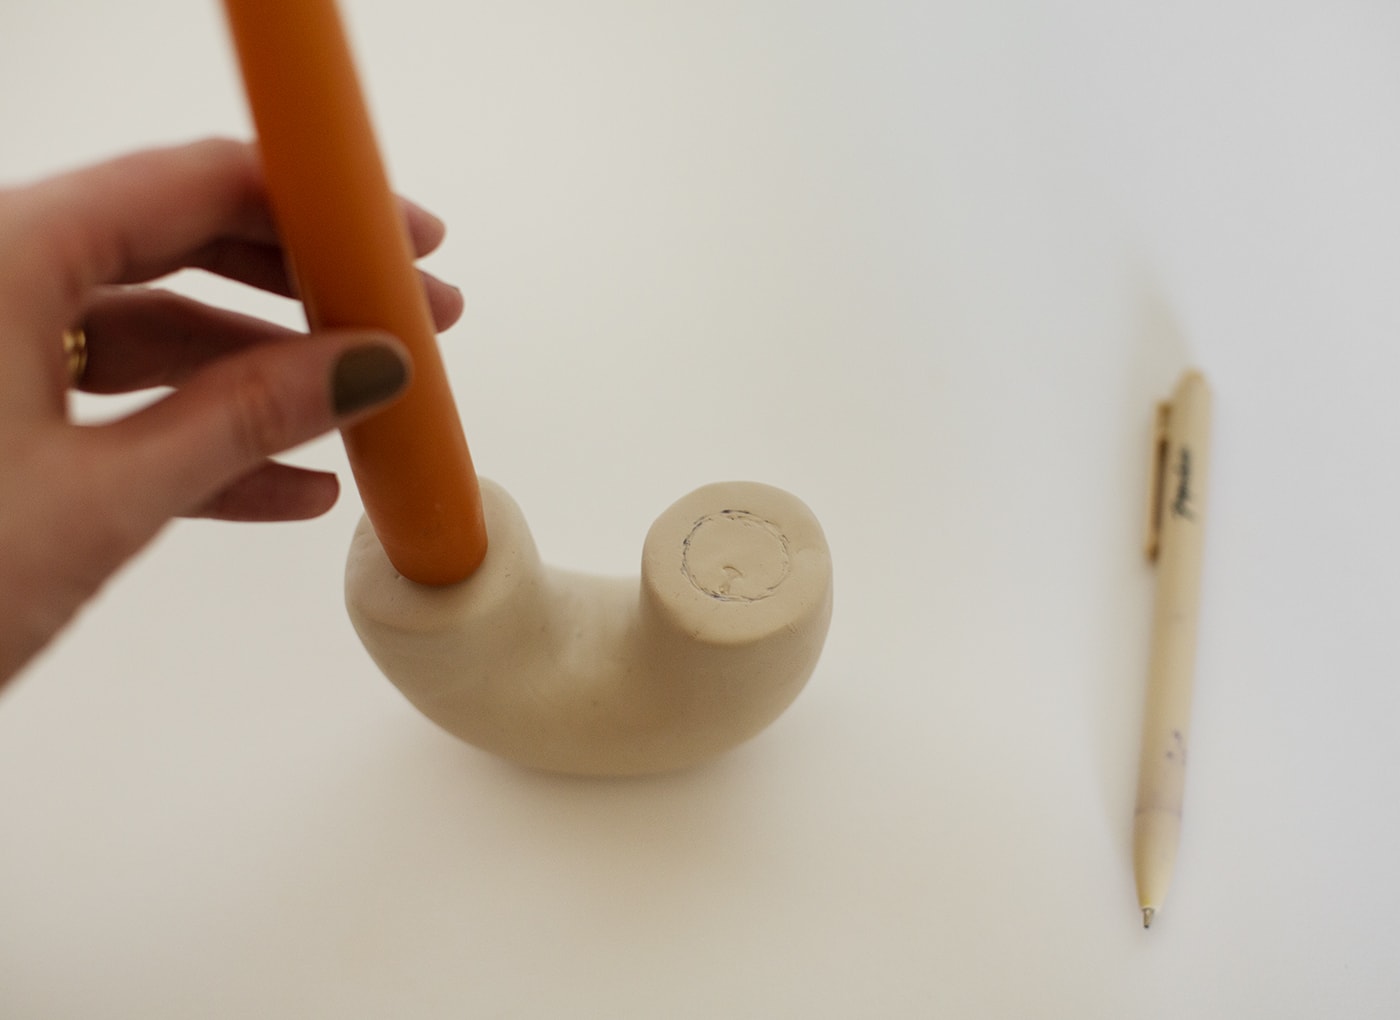
Use your candles to draw around on the top sections.
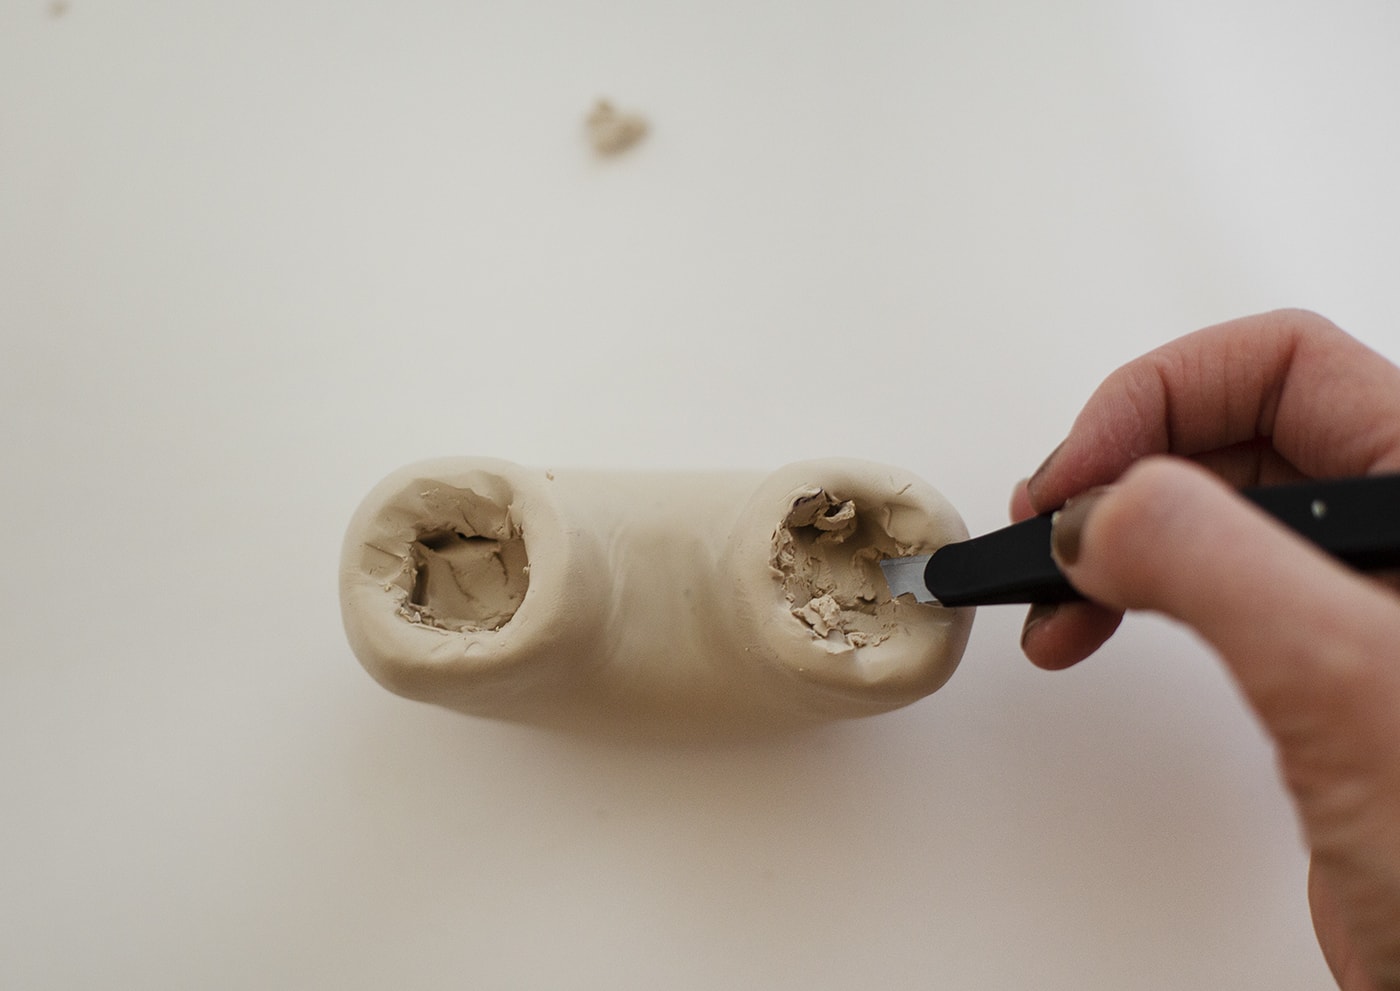
Scrape out the clay using a scalpel / craft knife. It may be easier to cut out quarters of each circle at first to get rid of excess and then work your way around. Keep placing the tapered candles back inside to check if it’s a good fit and to gage how deep you should go down.
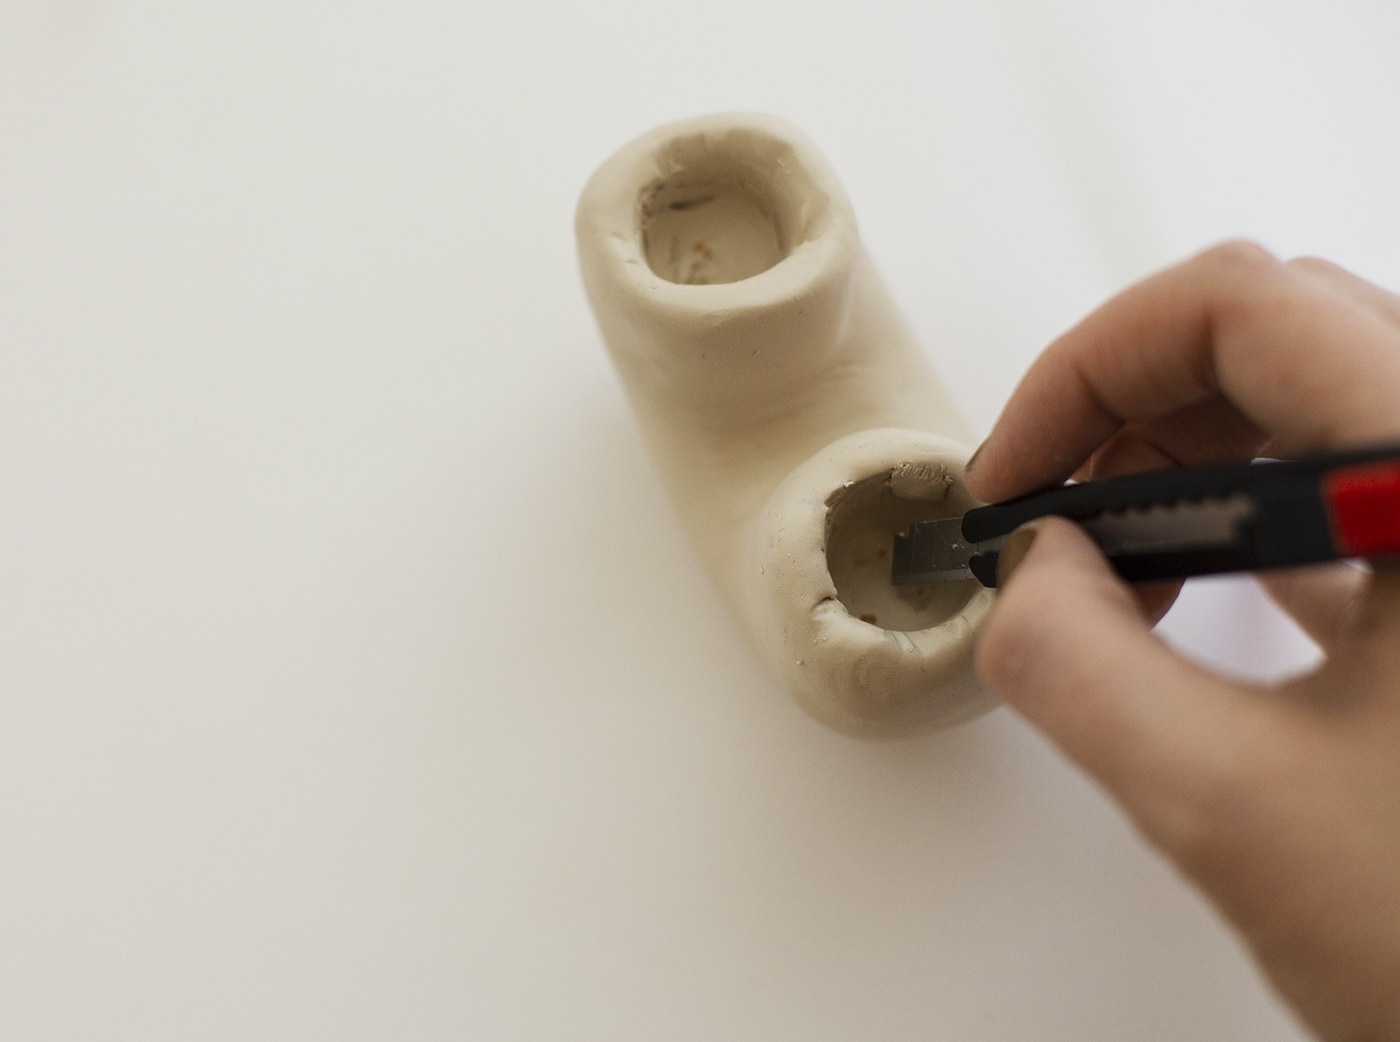
When you’re happy with the width and depth start smoothing the inside with water and where there are cracks you can use your scalpel to add small scores over the top and then use a wet finger to merge the two pieces of clay. If you need to add any offcuts of clay back in to achieve the right shape then do the same as shown above. Use small scores at the joins and smooth over with water.
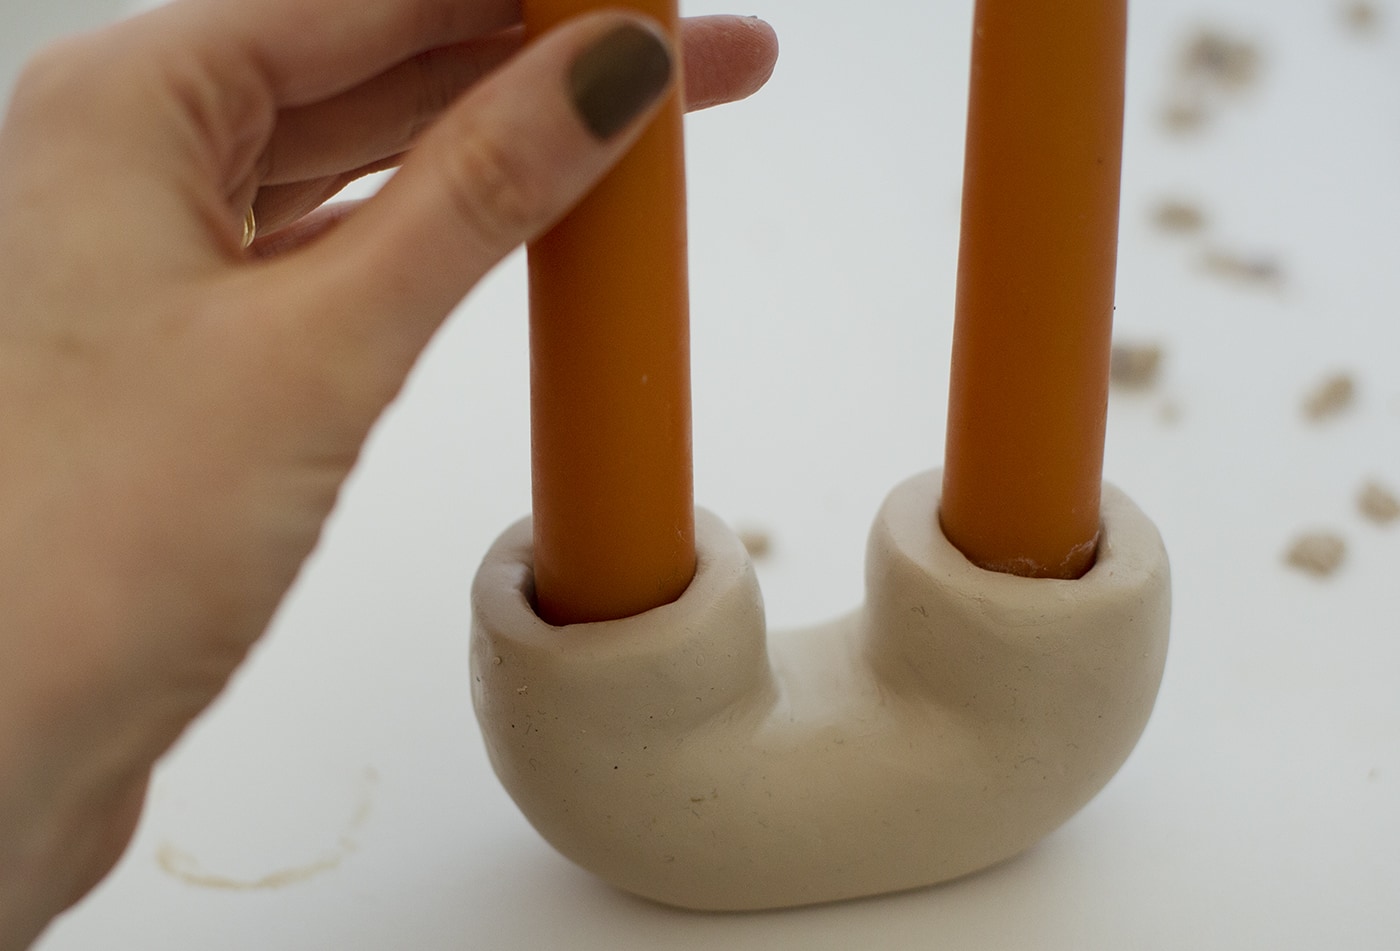
Check again that the candles wit well inside.
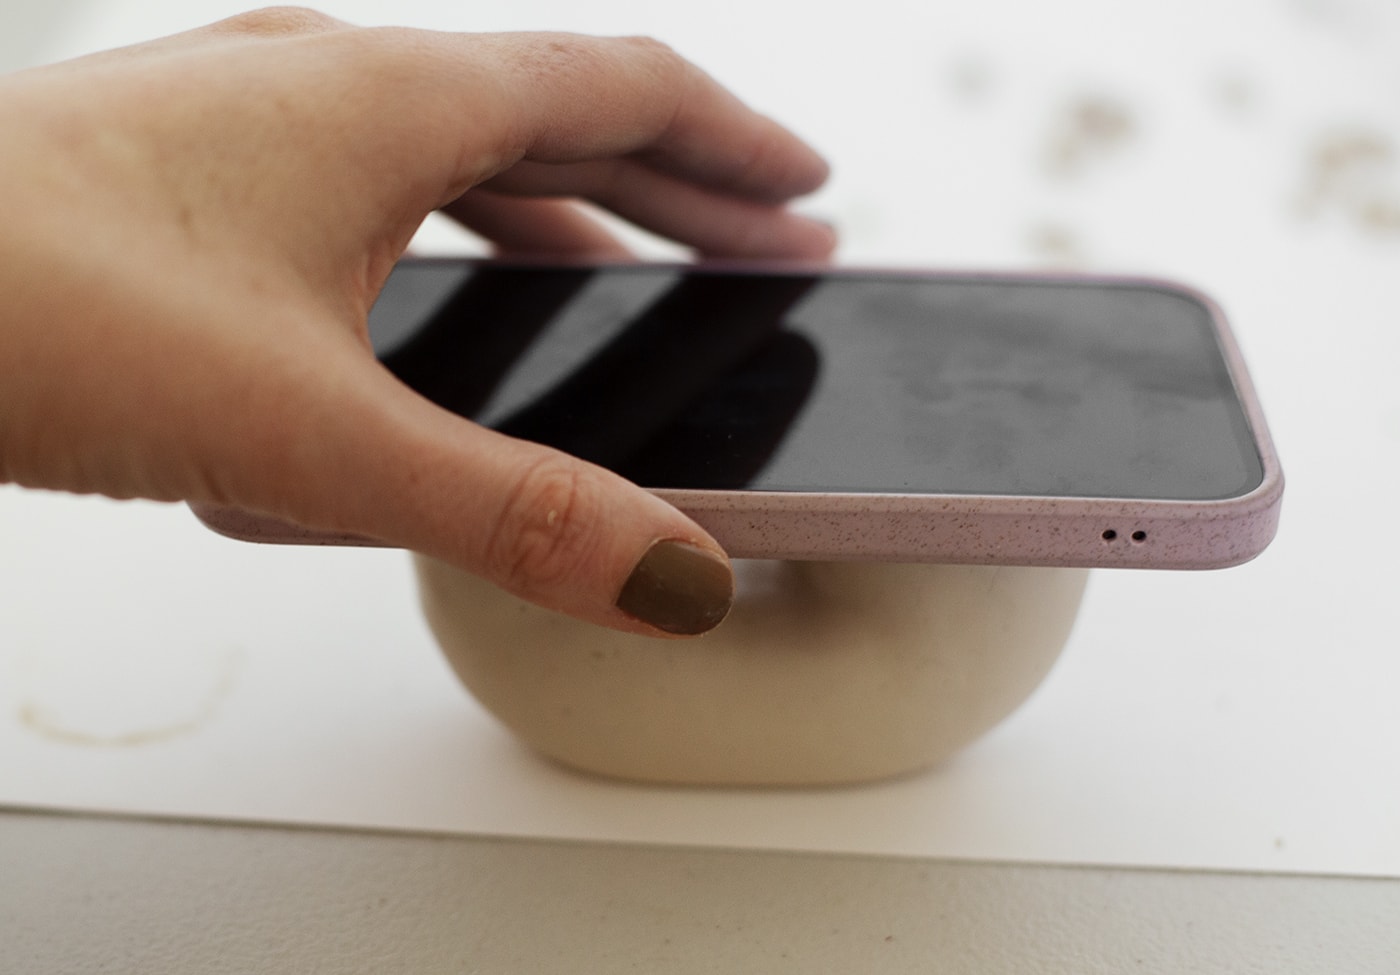
Then take a flat object to just press down on the tops of the u-bend shape to make sure they are as flat as possible. I wouldn’t actually recommend using your phone for this 😉 Place on a baking sheet and bake to the instructions stated on the polymer clay packet.
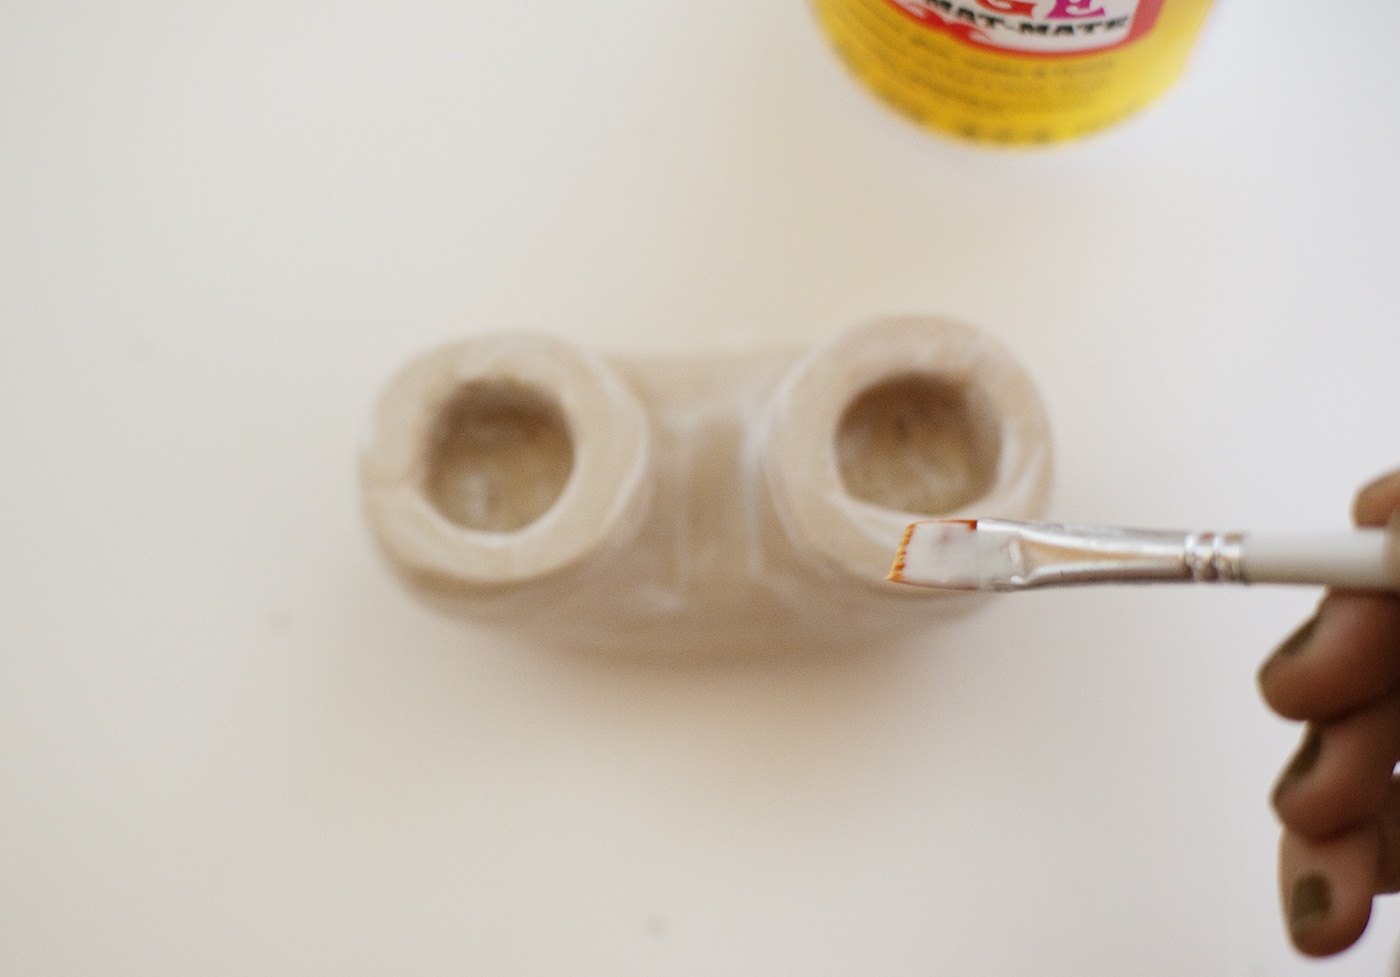
Once cooled, seal the whole peace with a generous coat of the Mod-Podge. This will also act as a glue for the coffee so be speedy before it dries.
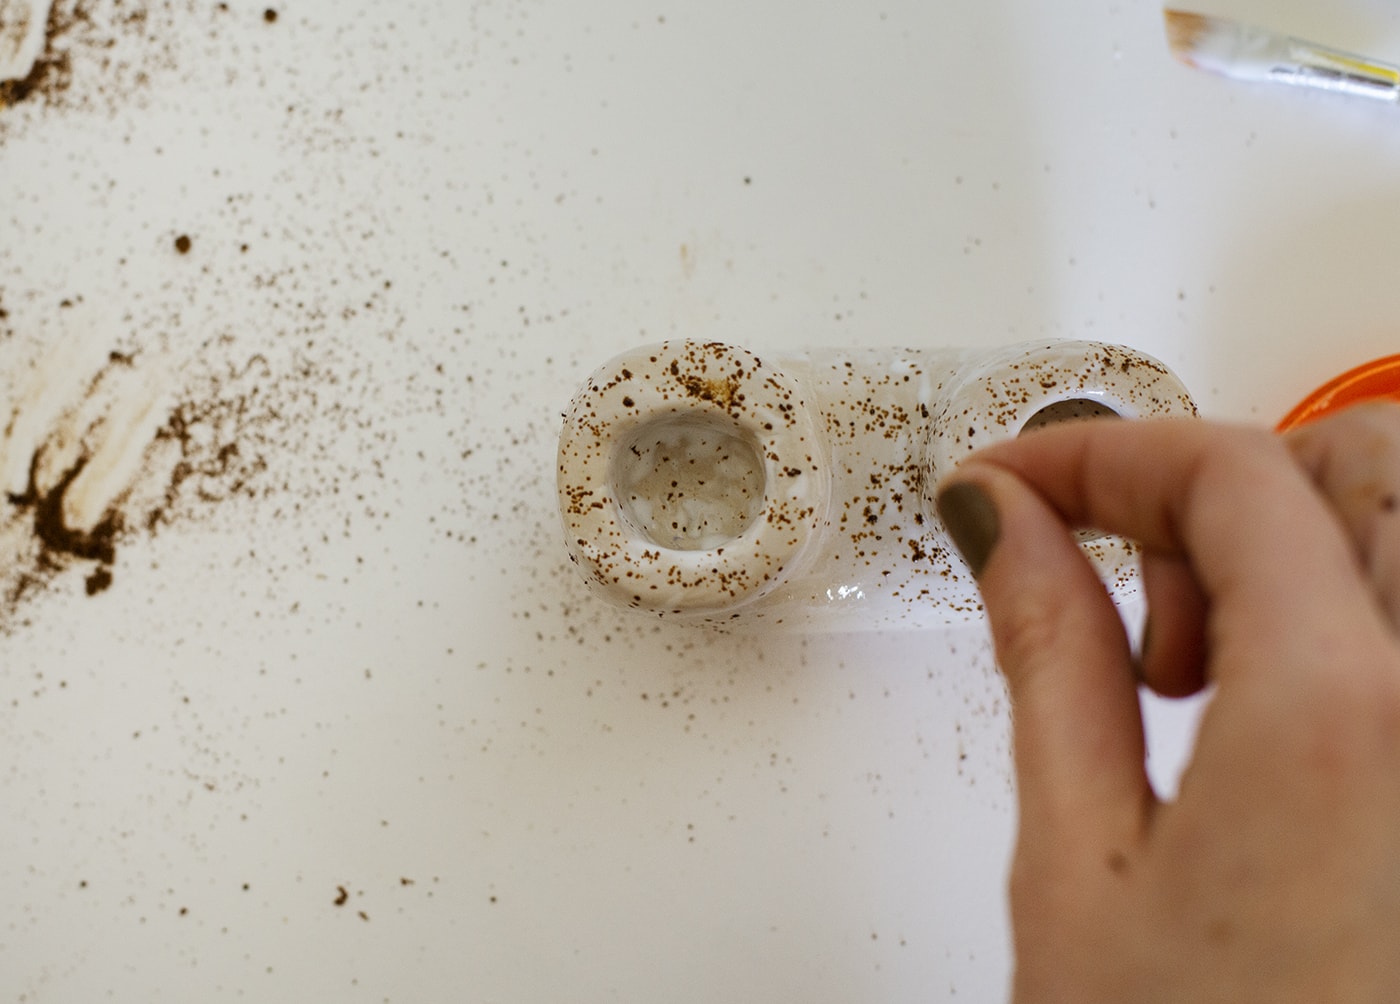
Then grab small amounts of the ground coffee and lightly sprinkle over the clay, first on the top section.
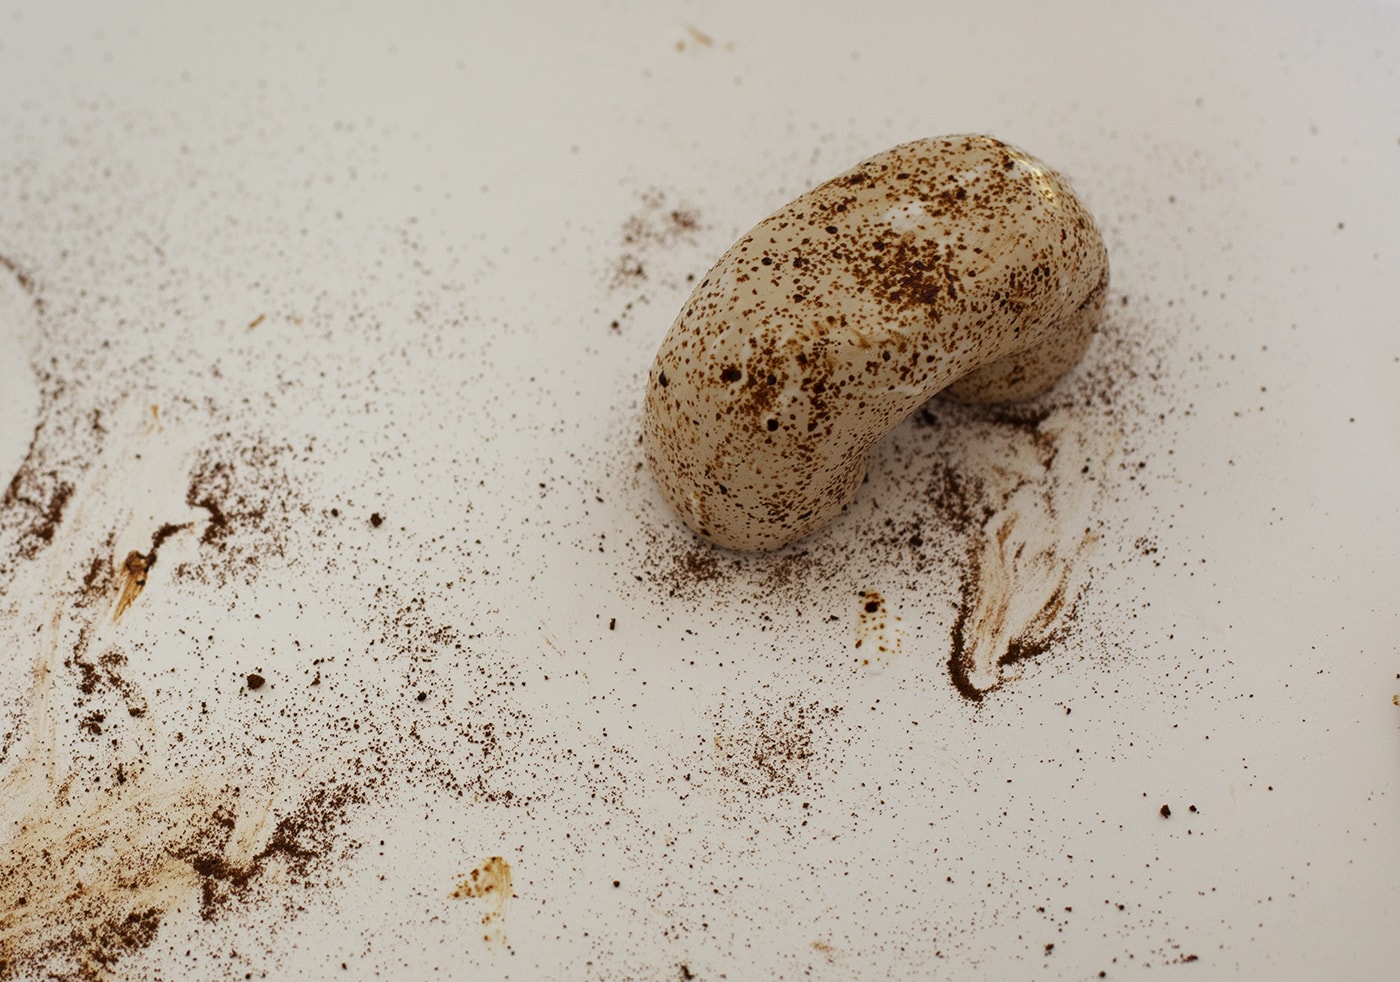
Then you can wait for that to dry and flip over to do the bottom section. be careful not to smudge the grounds before they dry.
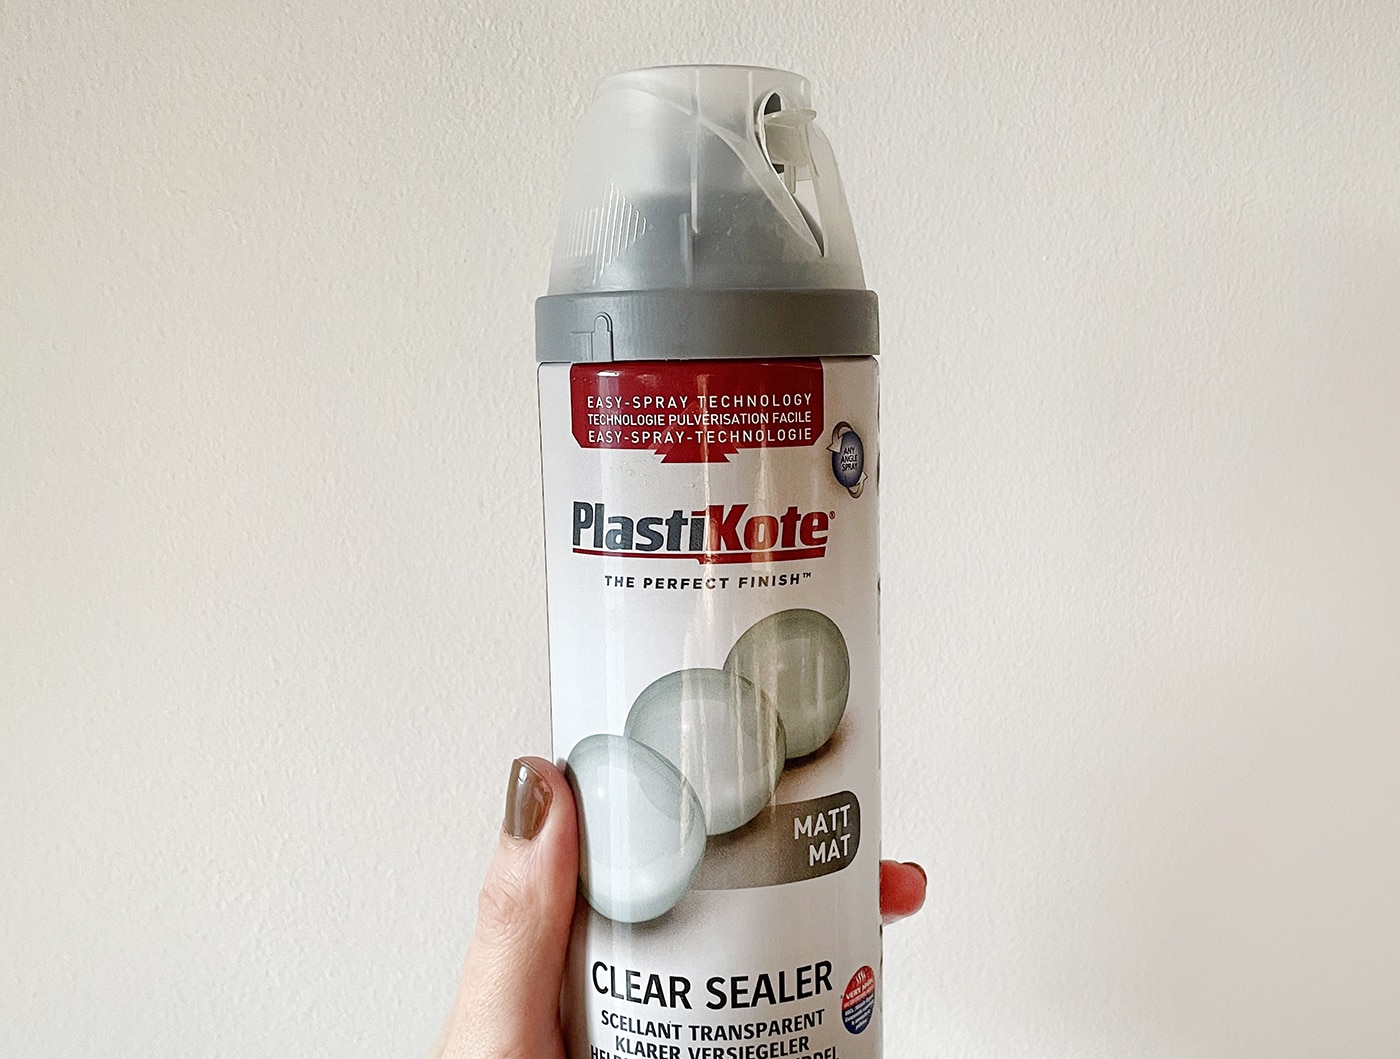
Once completely dry apply a thin coat of the spray sealer to finish and you’re ready to light your candles!

You might also like


Meet The Lovely Drawer

Hi, I’m Teri and welcome to my own creative corner of the internet. I blog about interiors, DIY projects, design inspiration and my general life so stick around have a read and say hi.
In the shop

 Quick ViewSelect options
Terrace 1
£20.00 – £25.00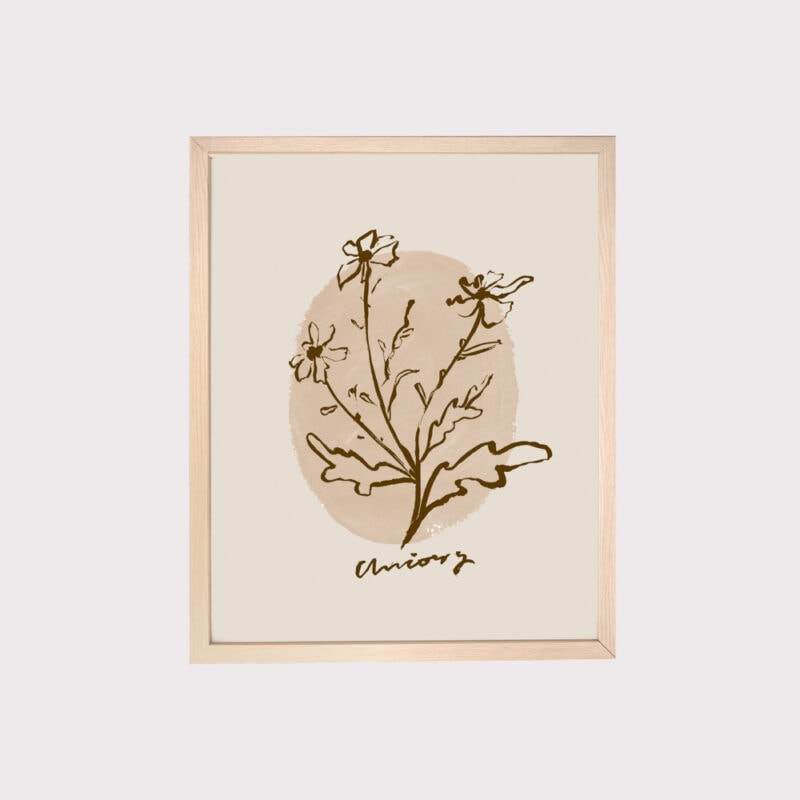
 Quick ViewSelect options
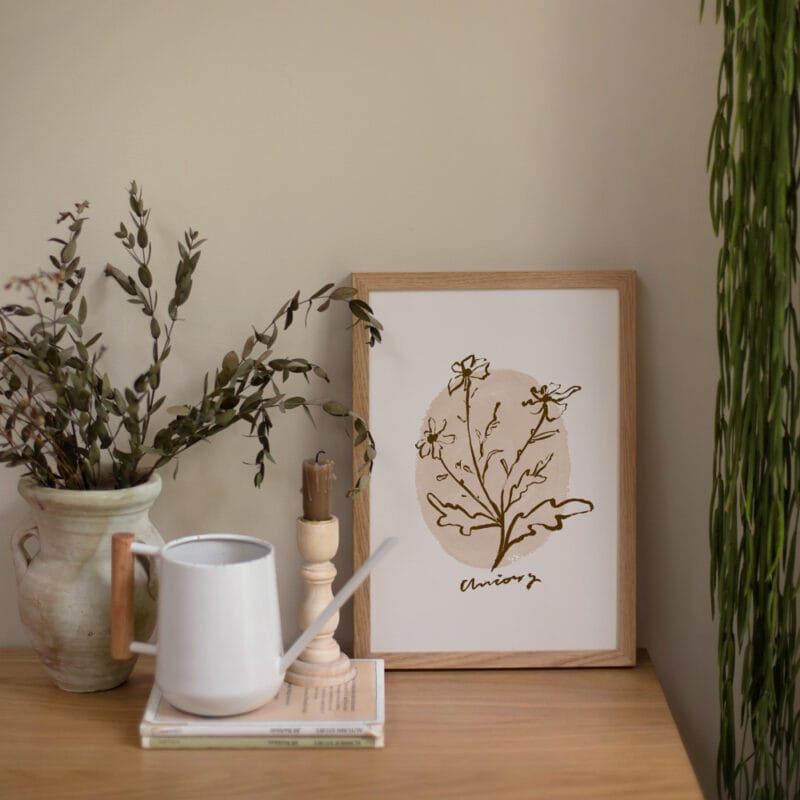
Chicory
£20.00 – £25.00
Work with Me
The Lovely Drawer is an award winning blog with a loyal audience that has grown over the years. I love working with brands small and large on exciting collaborations that can bring products alive in my own signature aesthetic.