

Easy DIY Plant Pot Makeover
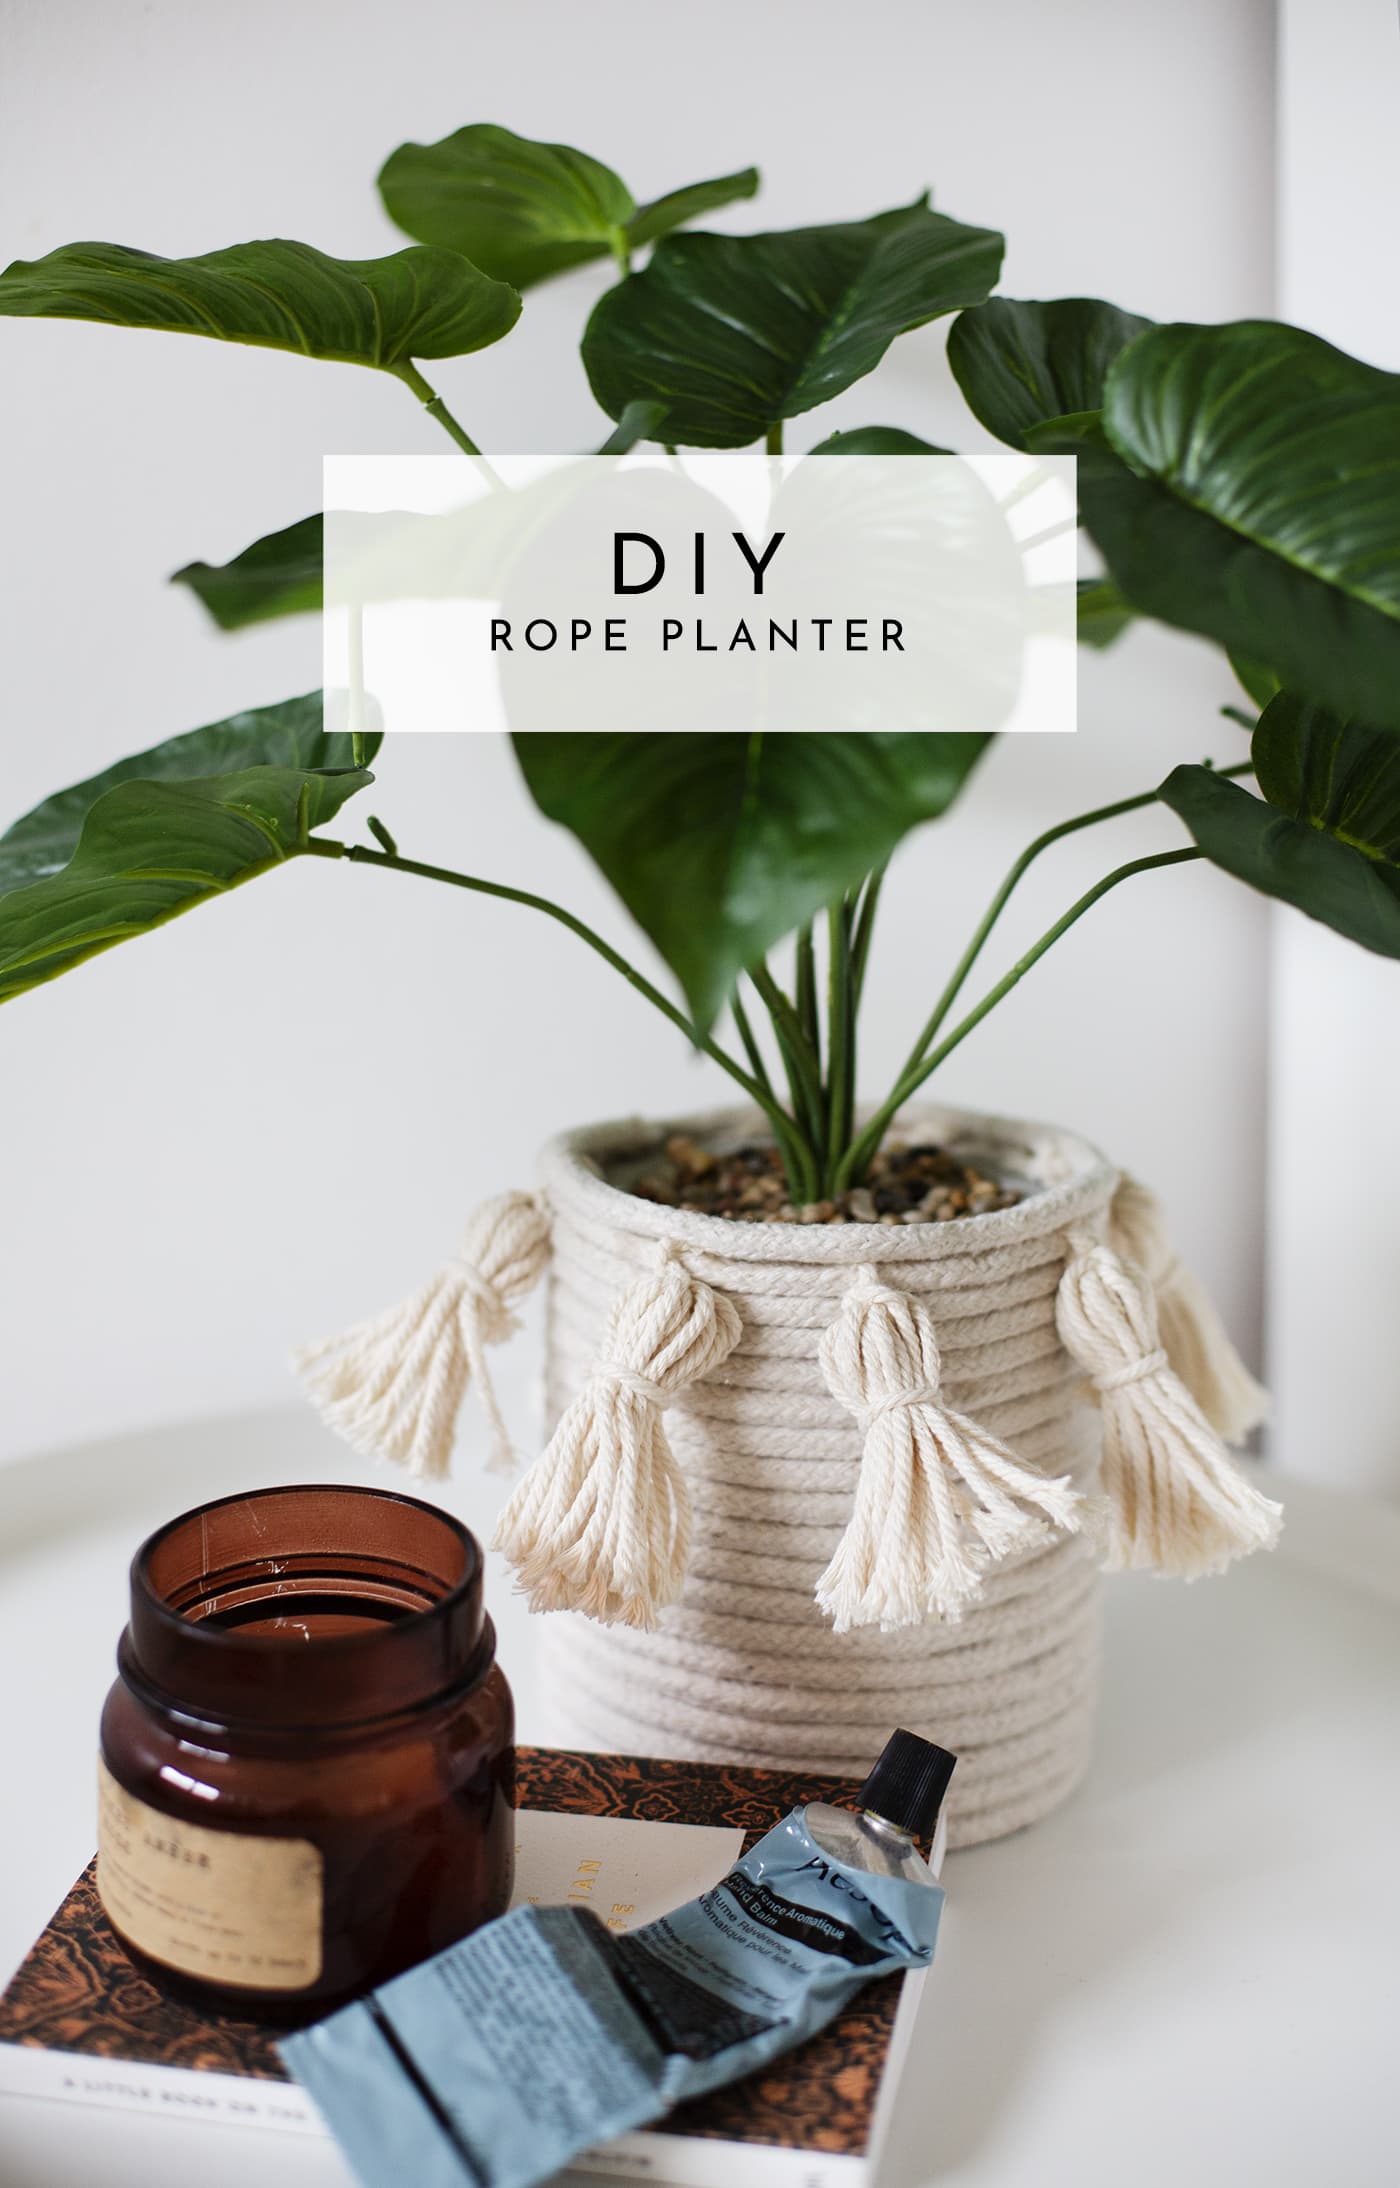
Oh how I love a simple straightforward craft project.That’s about as much as my pregnant temperament can handle right now! Pregnancy or no pregnancy I’m very into textures and neutrals right now so I decided to up cycle an old plant pot that I was no longer a fan of. This was actually part of an artificial plant but you can easily just use a plant pot on its own. Don’t disregard it if you’ve gone off it’s vibe, instead give it a new lease of life!


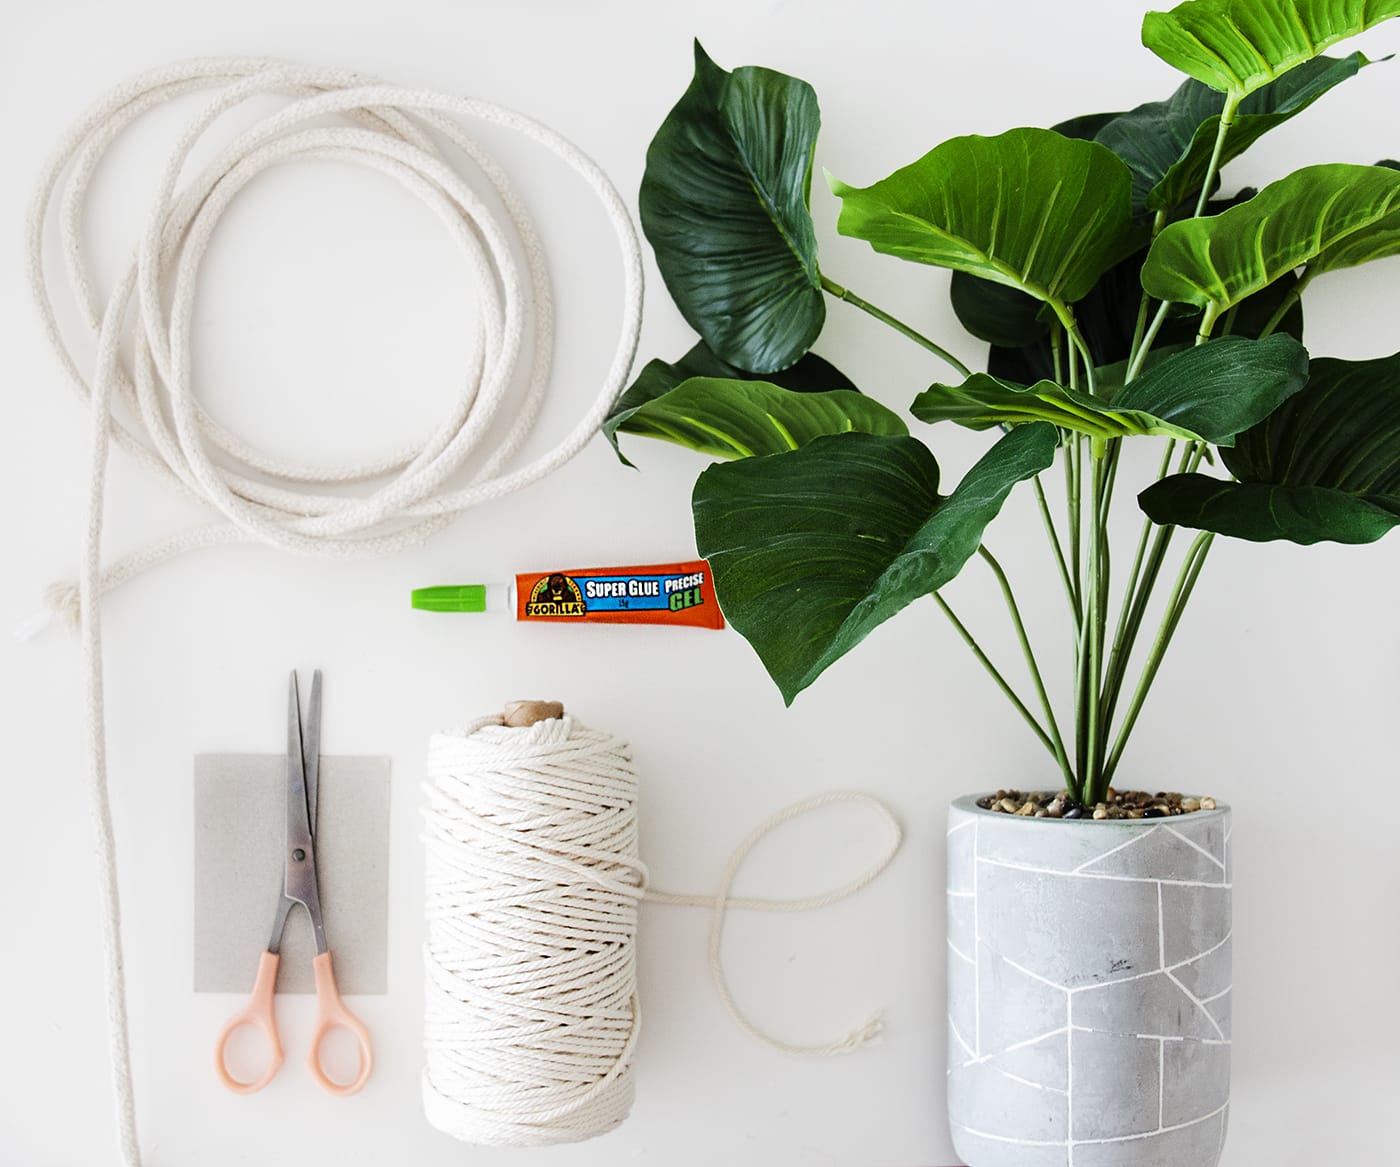
Materials:
- Plant pot of any kind but much easier with straight sides
- Unwaxed natural cotton sash cord (I would overbuy in length. I had 10m but only used about 7 for this size)
- Super glue
- Natural string / macrame cord
- Scissors
- Sturdy card rectangle
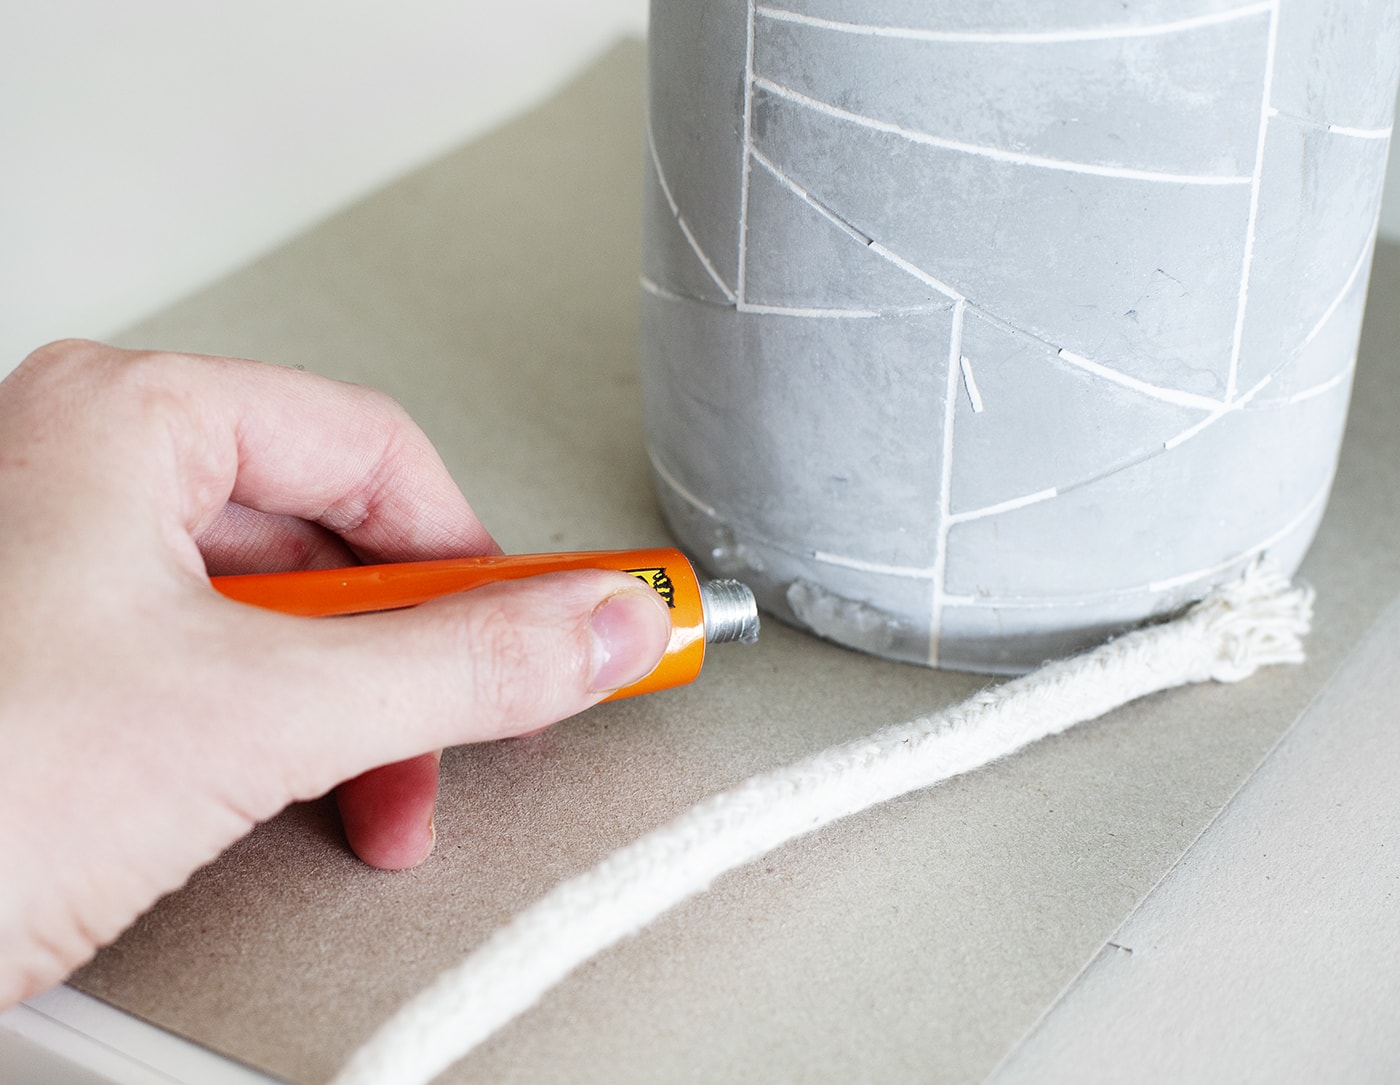
Start with a blob of super glue to attach the cord. Make sure this is right at the bottom of the pot so that you can’t see any of the pot peeping out from underneath. Then pull the glue around and wrap the cord over the top. Press down each section for about 10 seconds.
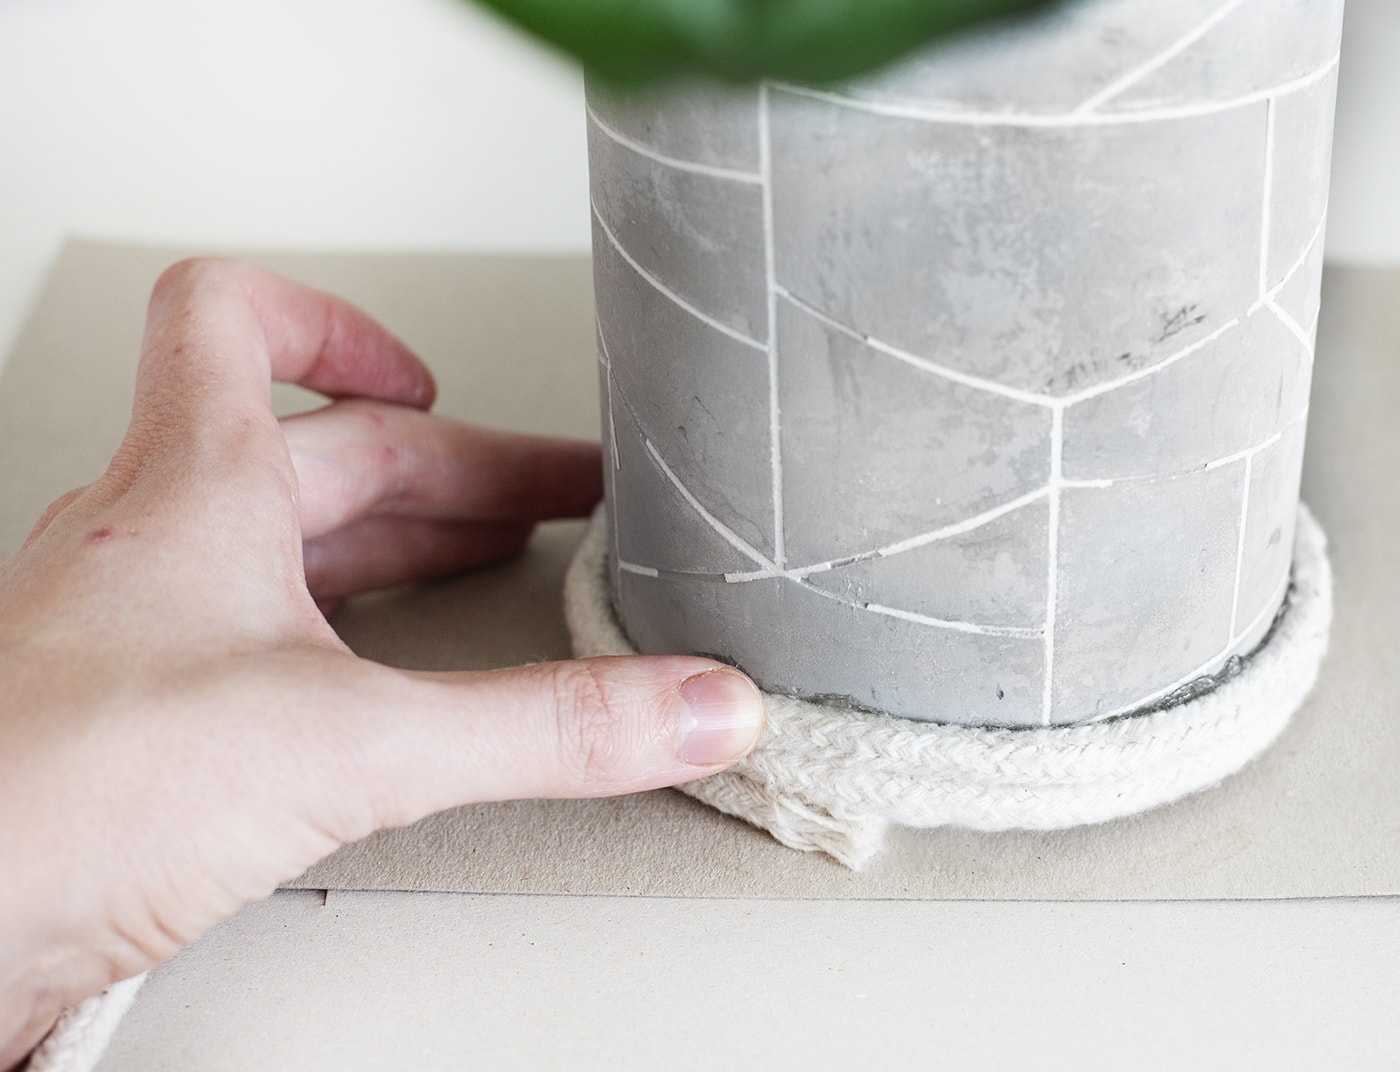
Continue to adhere the cord, following around the pot and making sure it’s as tight as possible, once again with no sections of the pot peeping out from underneath.
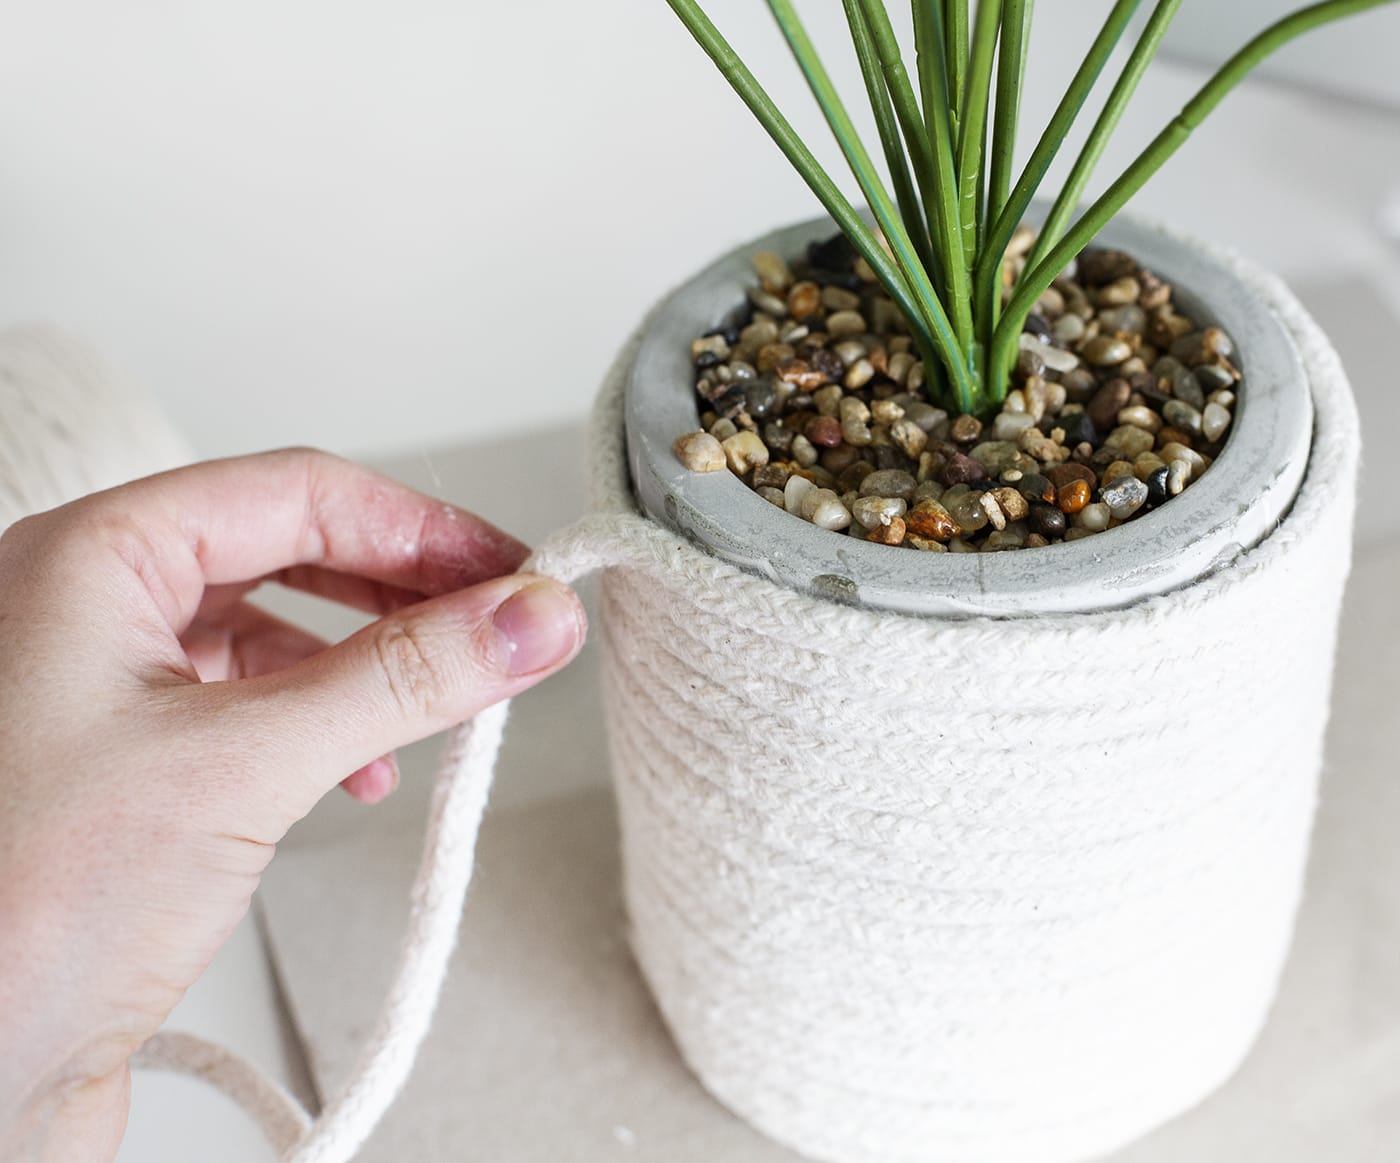
Keep on going until you very nearly get to the top but leave a section free around the rim for now.
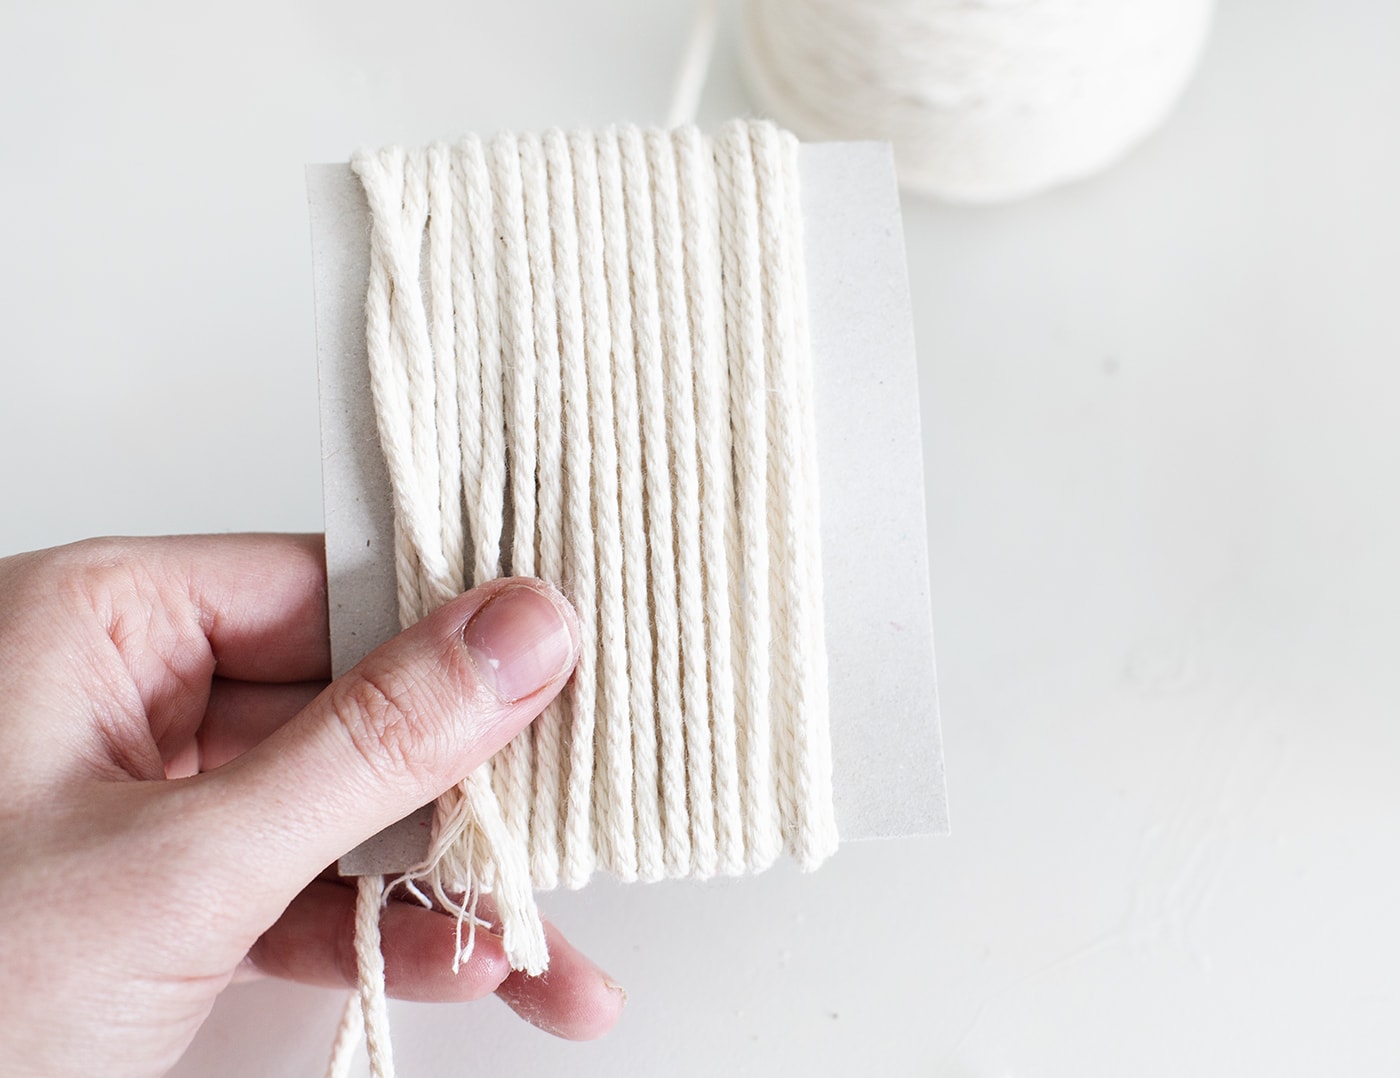
To make the tassels cut a section of card and wrap the macrame string around. If you’re pots fairly small you won’t want huge tassels so don’t go wild with wrapping but obviously if you’re aiming for chunky tassels then go full steam ahead. Perhaps do a trial tassel first to test the size.
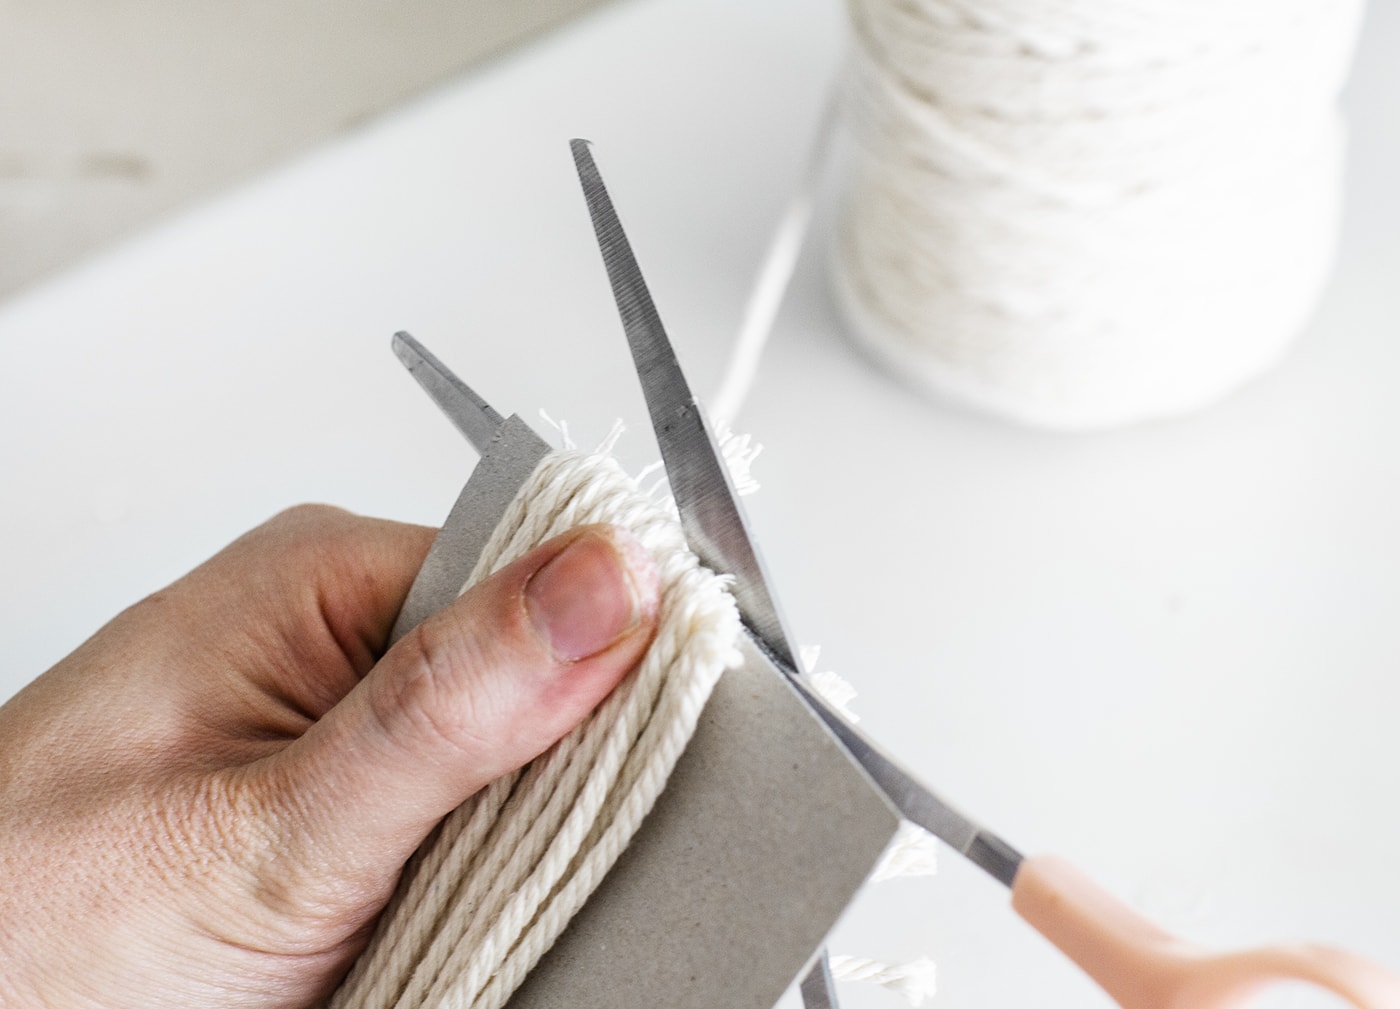
Then cut along one edge.
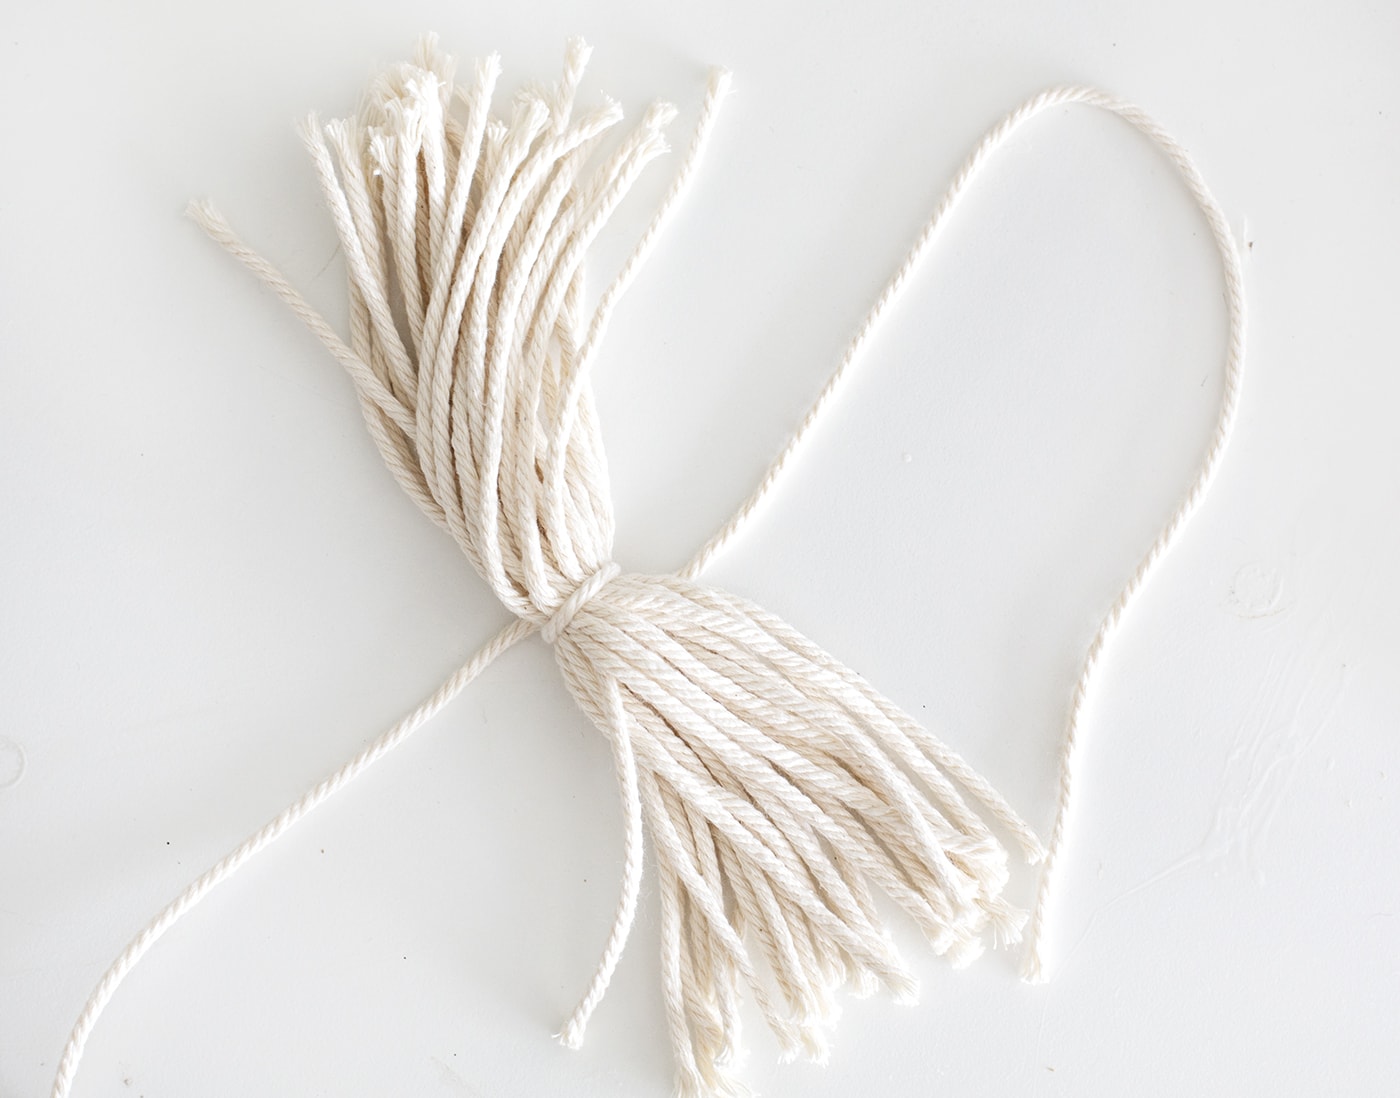
Lay the string out (unfolded) but tie another section of string around the middle in a double knot.
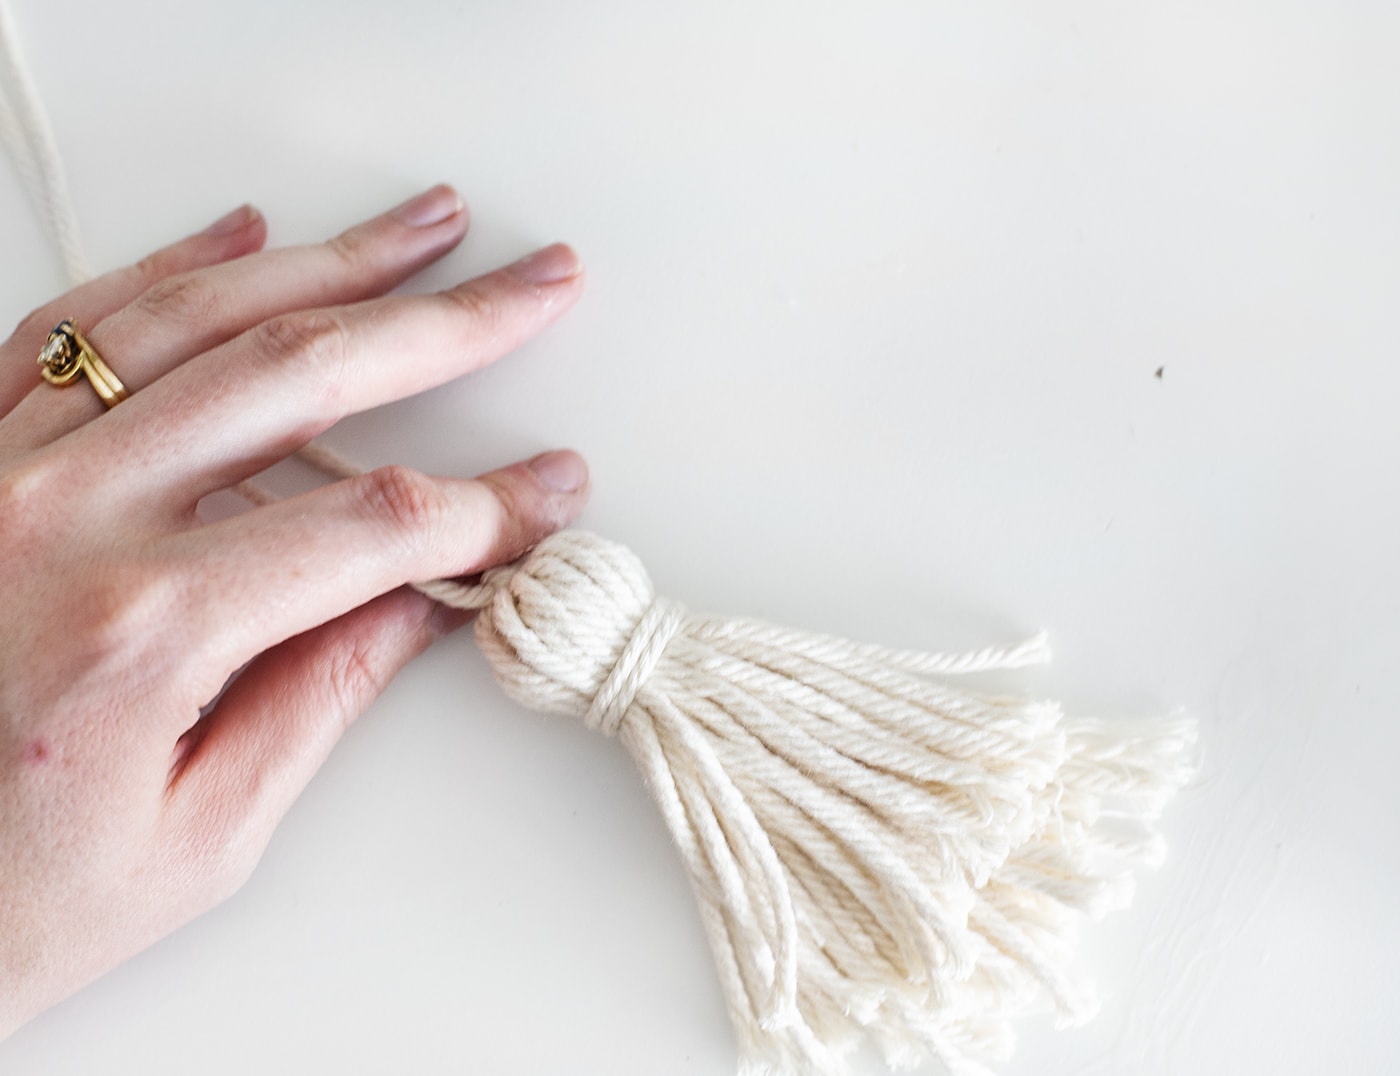
Now keep hold of these strands and pull the rest of the string down to form a tassel shape and wrap another section of the string twice around the top to hold together. Knot at the back and then trim the uneven ends to the length you’d like the tassel.
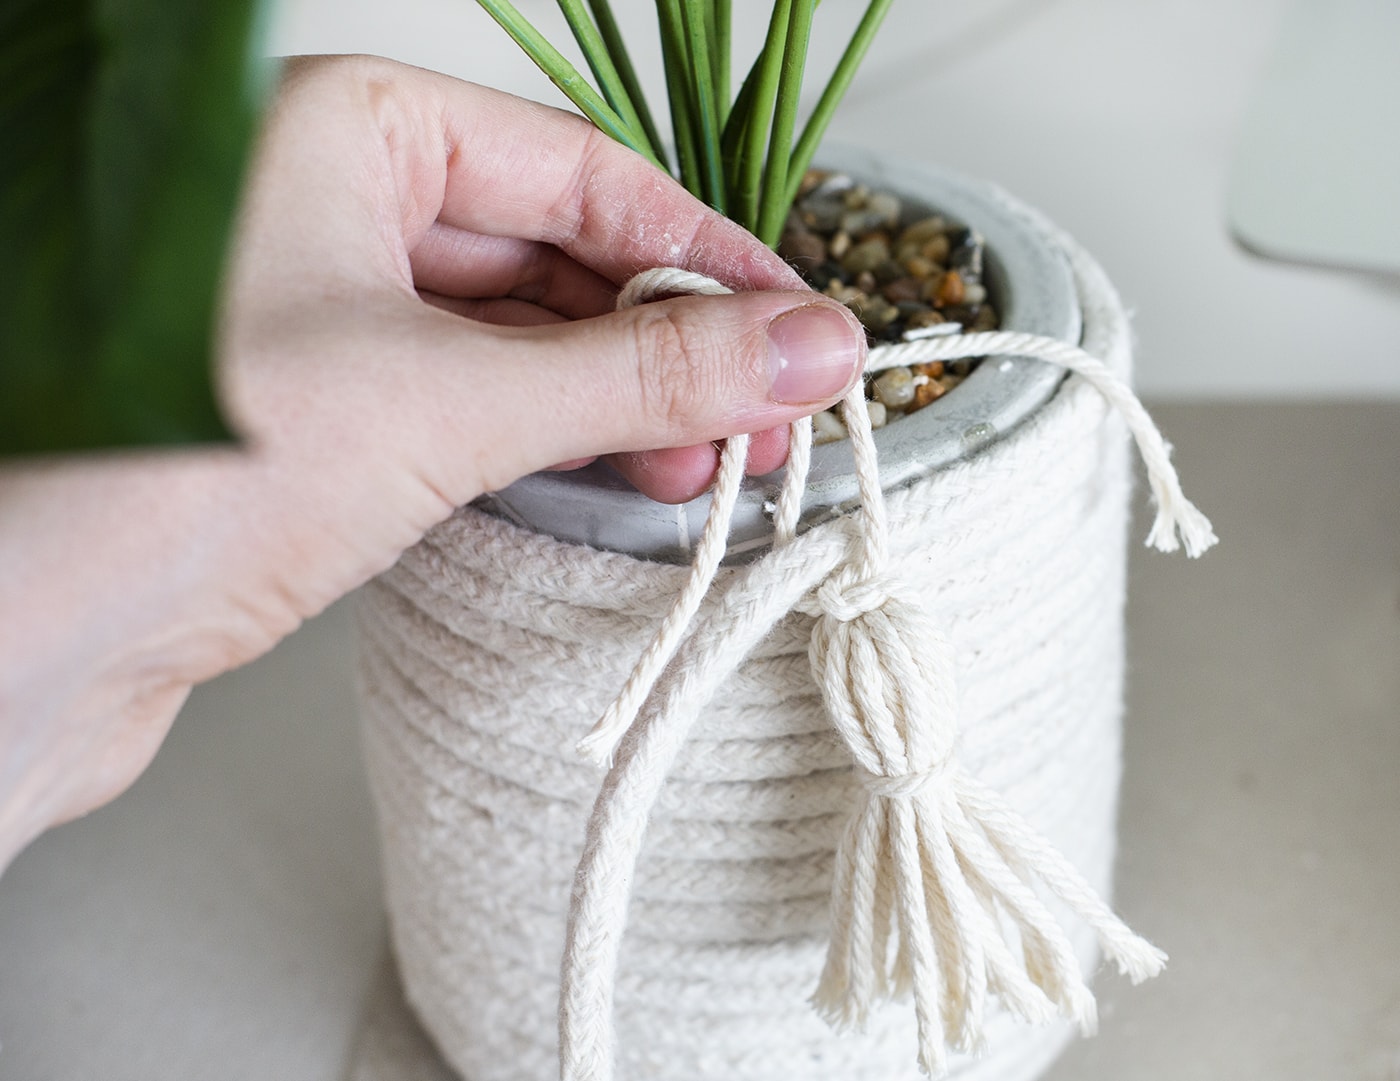
Then continue wrapping and sticking your cord around the put but this time adding your tassels by tying them around the cord in even intervals. Trim the excess after tying.
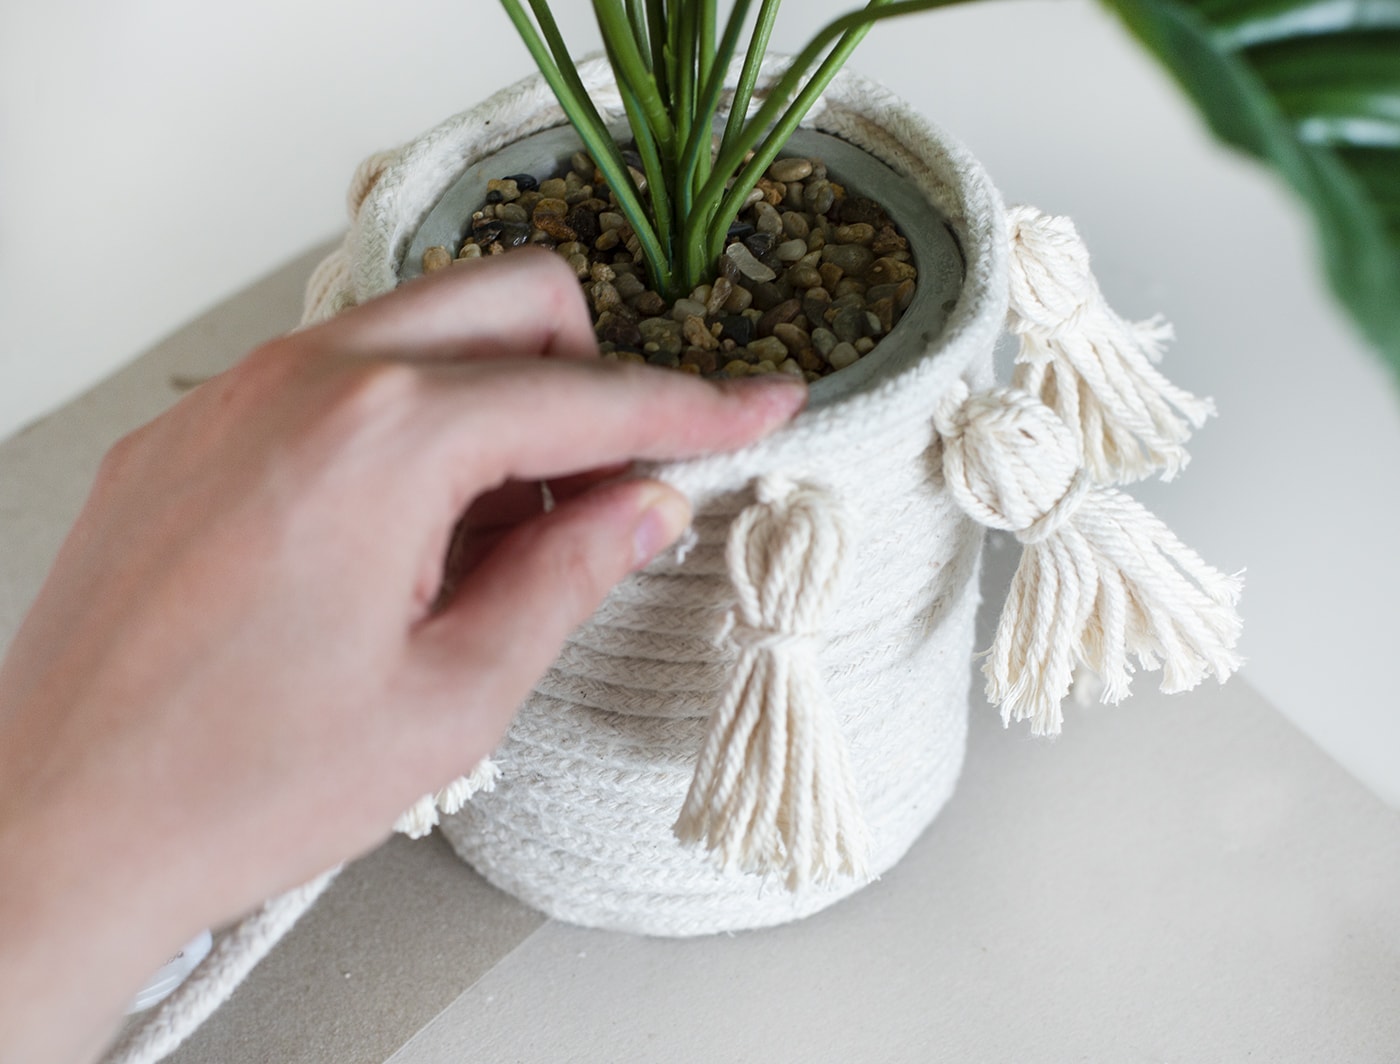
Once you’ve gone all the way around finish with one last loop of the cord, sticking it down with glue as you go. This will cover the knots and voila, you’re all done!


You might also like


Meet The Lovely Drawer

Hi, I’m Teri and welcome to my own creative corner of the internet. I blog about interiors, DIY projects, design inspiration and my general life so stick around have a read and say hi.
In the shop
 Quick ViewSelect options
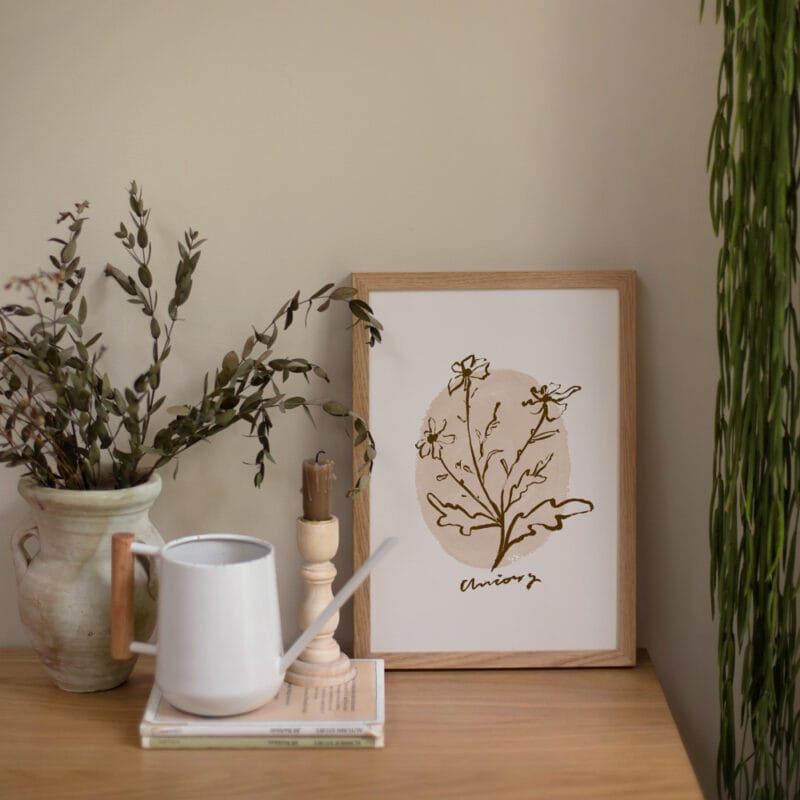
Chicory
£20.00 – £25.00
 Quick ViewSelect options
Personalised Cuddly Bunny
£30.00 – £35.00
Work with Me
The Lovely Drawer is an award winning blog with a loyal audience that has grown over the years. I love working with brands small and large on exciting collaborations that can bring products alive in my own signature aesthetic.