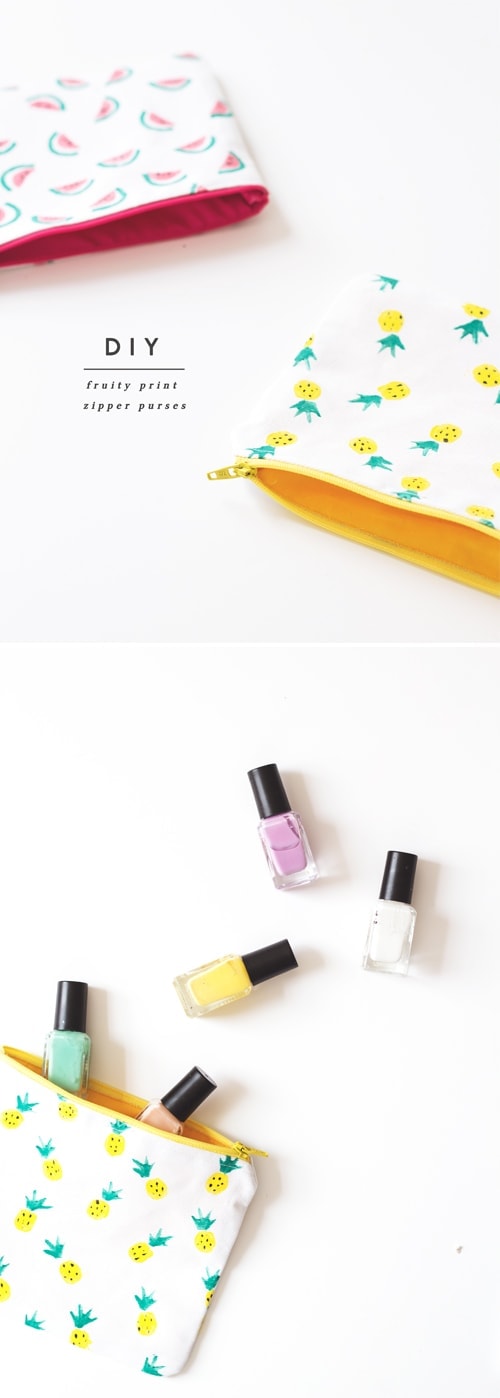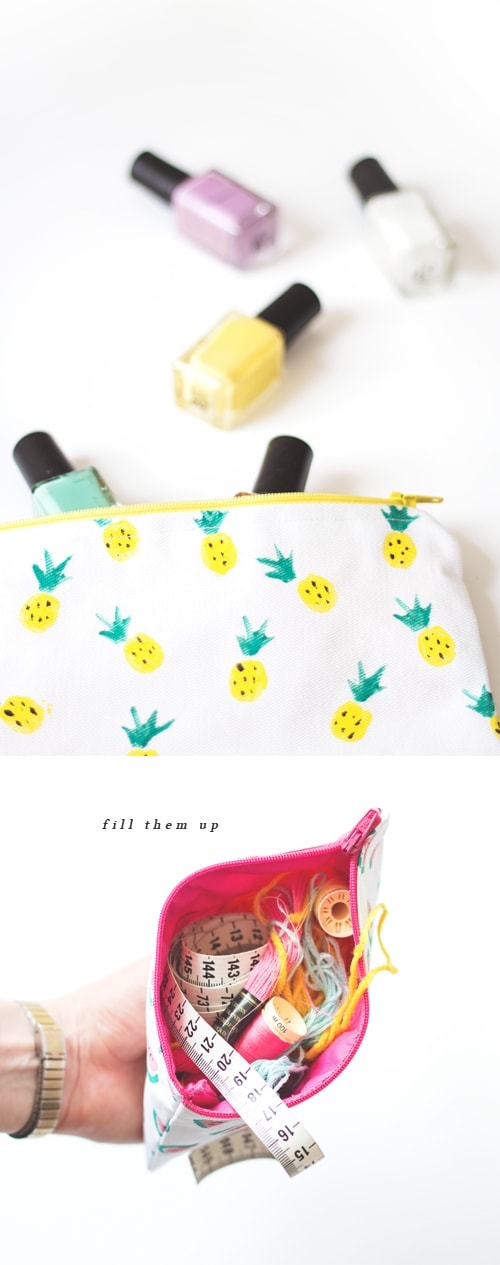
feeling fruity
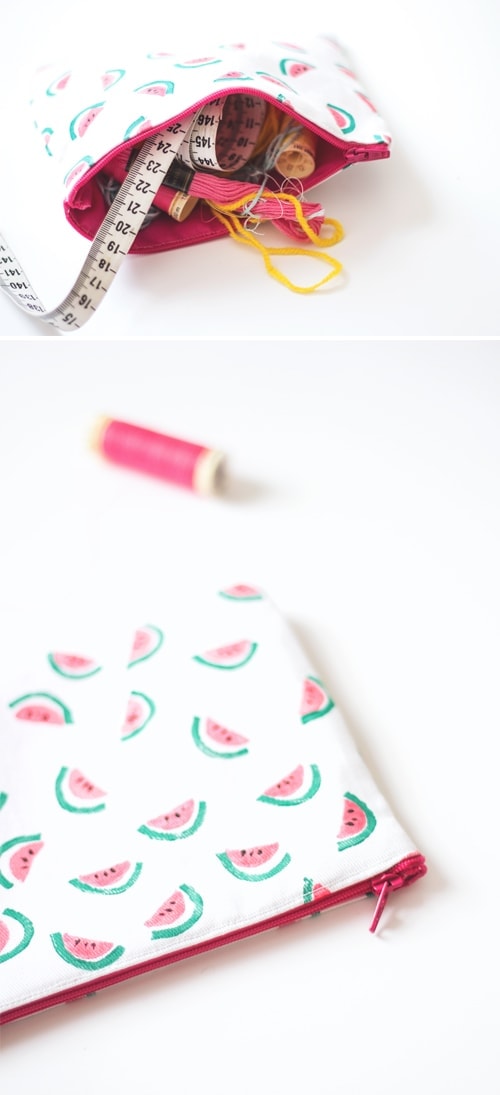
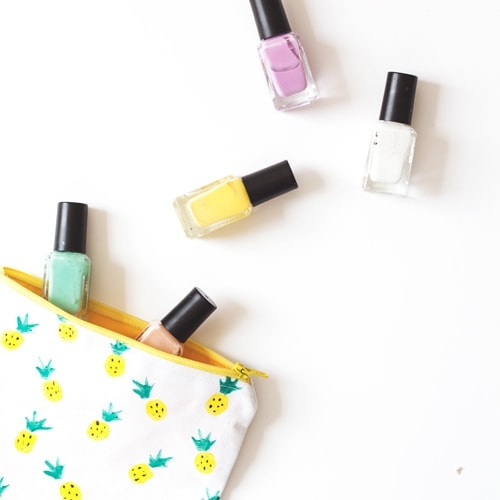
I think its definitely time for another DIY! This one’s been hanging around for a while waiting to be posted and I’ve only just got down to it. After my crazy work stint trying to get my etsy shop up and running I had a a day of light relief in the form of a creative fun Friday, where I came up with these fun fruity morsels, perfect for Summer. My good friend Lora (aka bag maker and sewing whizz) lent a much needed helping hand in constructing the bags and even made a template to follow which I’ve turned into a free download for you. The template can be adapted in size to whatever you fancy filling the pouch with. Don’t panic, you don’t need to be a sewing extraordinaire but I enjoyed having my handy private tutor. Below you’ll find lots of photos and Lora’s instructions to guide you through.
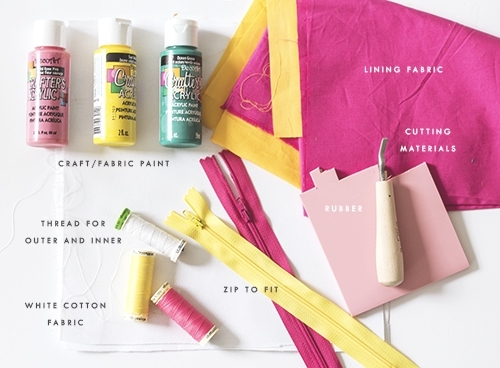
You’ll need…
You will also need some scissors, a pencil, iron, sewing machine, pins, hand needle, paint brush and a printer and A4 paper for the template.
To make…
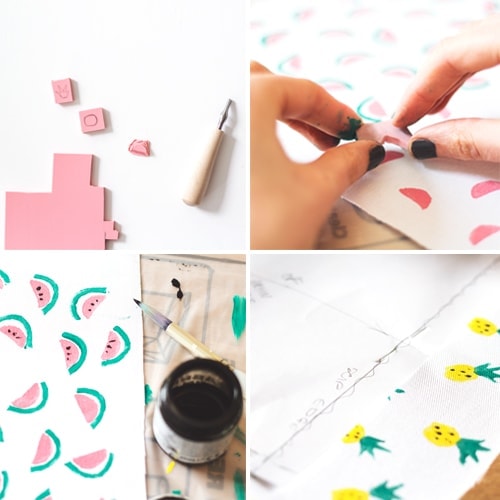
- Cut two squares of white cotton fabric.
- Draw the shapes you want for printing onto the rubber and cut/gauge out with a cutting tool/scalpel.
- Coat your stamp in paint and print to create a pattern for the front and back. Try doing a few practise prints to get a nice even print. Try to space the shapes fairly evenly but don’t be a perfectionist about lining the stamps up. Jaunty angles and small imperfections make for a more movement in the pattern.
- Once dry take a paint brush and use black fabric paint to draw on the details i.e the seeds or texture. Iron all your fabric.
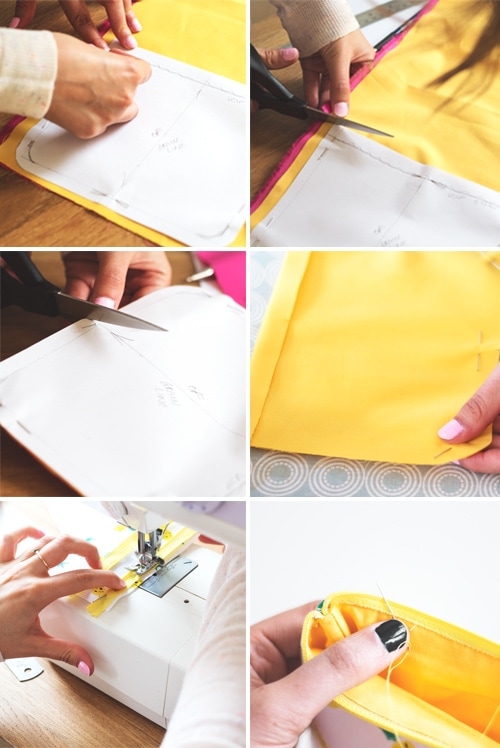
- Download the template here and print and cut out. Then pin this template on top of the two pieces of patterned fabric in line with the grain (use guide on template) and cut around the edge. The flat edge (with no curved corners) is the top where the zip will be. Snip the middle markers so that you can line up your fabrics later.
- Now do the same with the lining fabrics. Pin on template, draw round and cut out, snipping the middle marker.
- Sew the outer fabric and then the lining (right sides together) around the sides and bottom, starting 1.5cm away from too edge and finishing 1.5cm away from top edge.
- Back to the main fabric; unzip your zip so the puller is about halfway along (this will make it easier to sew around it).
- Leaving your bag inside out, pin the zip to the top edges (making sure the correct side to the zip is inside the bag so it is the right way round when you turn it through).
- Sew along the tape and fabric until you reach the puller. Stop sewing but keep the needle through the fabric and raise the foot. You should be able to wiggle the puller past the foot. Once past, continue until the end. Repeat the other side.
- Before turning through, snip into your seam allowance on the curved corners up to about 1-2mm away from the stitch line. This will mean your corners will lay flatter.
- Now unzip your bag fully and turn it through to the right way. You may need to really push through the corners properly with your fingers. Iron it flat.
- Get the lining and fold the 1.5cm seam allowance over an iron it flat all the way along, repeat the other side.
- Put the lining inside the bag (your lining should still be as you stitched it so the seam allowances are on the outside, this means they will not be visible inside your bag).
- Now get a hand sewing needle and tack it to the inside of the bag, along the zip edge. You should have a nice, neat clean edge where you ironed the seam allowance flat.
- Iron your masterpiece and store all the wonders of your pencil case / make up bag/ sewing supplies to your hearts content!
You might also like
Meet The Lovely Drawer
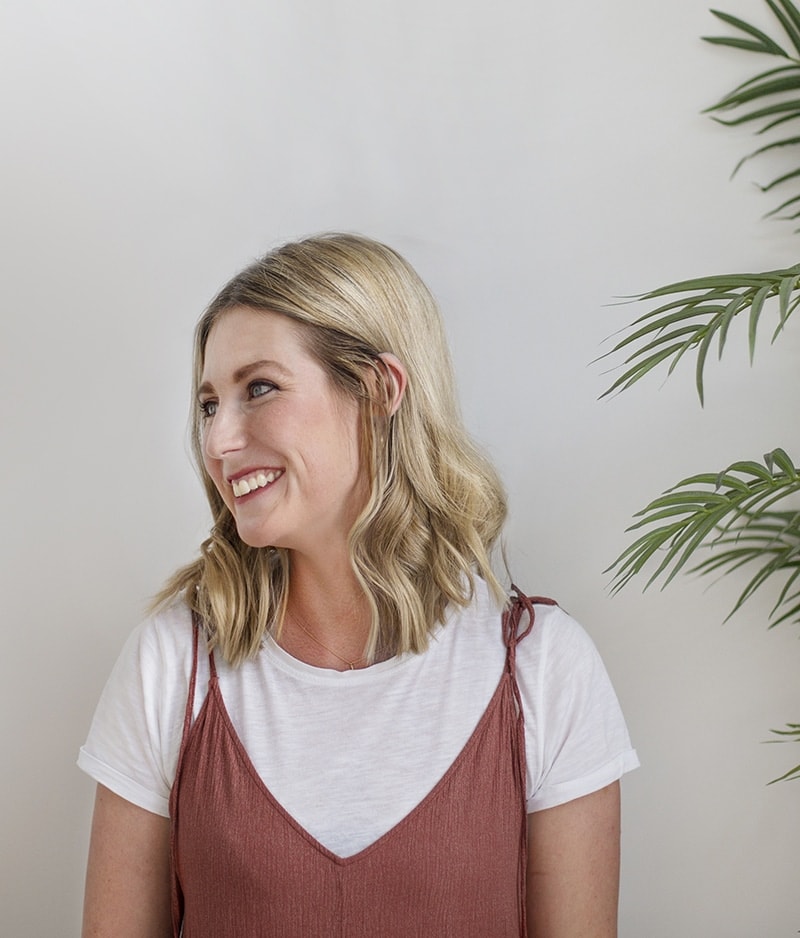
Hi, I’m Teri and welcome to my own creative corner of the internet. I blog about interiors, DIY projects, design inspiration and my general life so stick around have a read and say hi.
In the shop
 Quick ViewSelect options
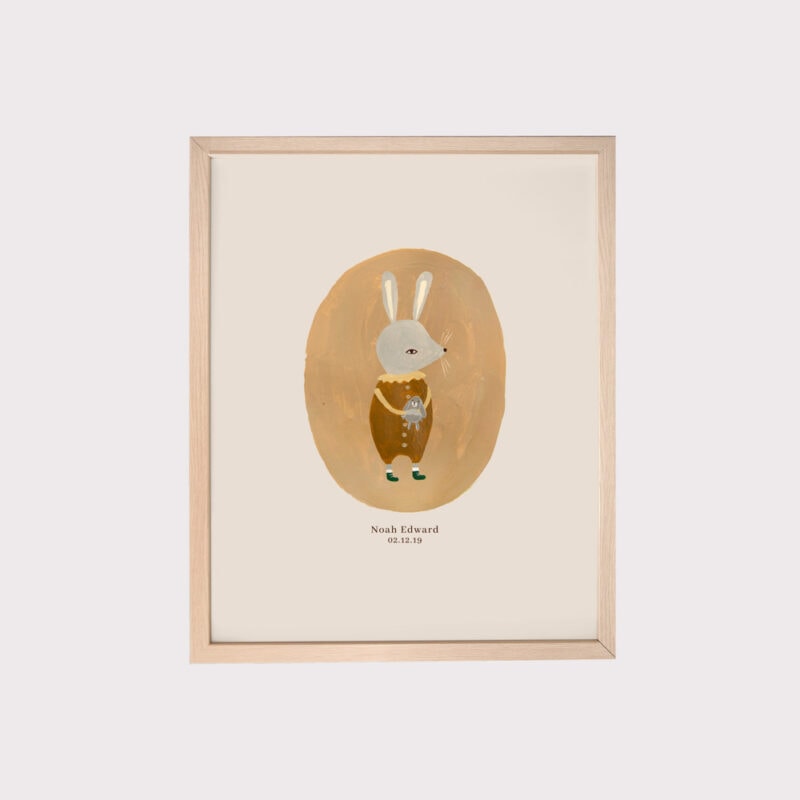
Personalised Cuddly Bunny
£30.00 – £35.00
 Quick ViewSelect options
Terrace 1
£20.00 – £25.00
Work with Me
The Lovely Drawer is an award winning blog with a loyal audience that has grown over the years. I love working with brands small and large on exciting collaborations that can bring products alive in my own signature aesthetic.
