

make a statement
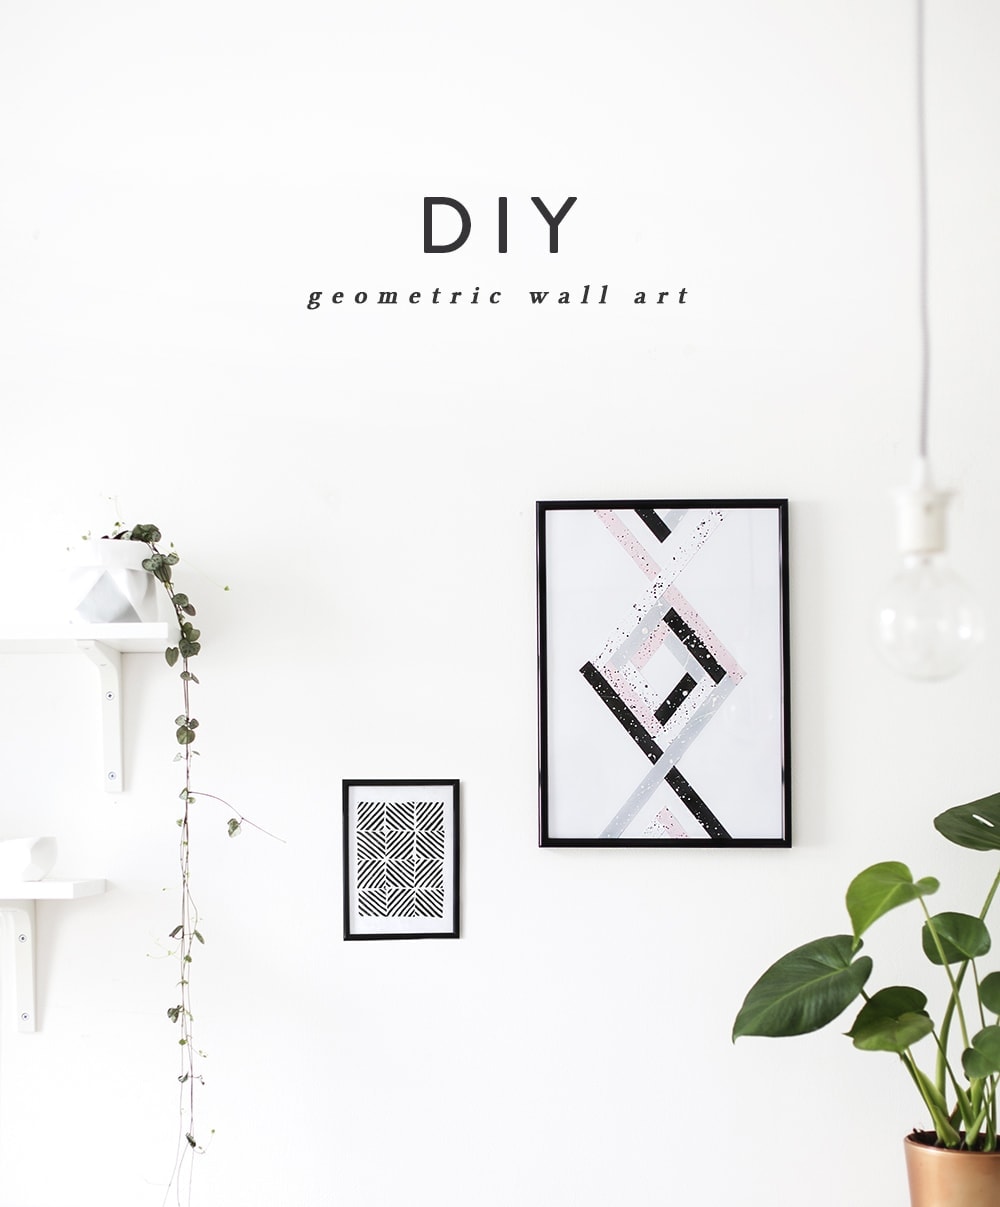
Happy hump day! I’m bringing you an easy but effective DIY idea to fill some space on your wall. I do love myself some statement wall art and this only requires minimal supplies, so why not eh? Try hanging it with a cluster of other lovely wall prints or prop up on a shelf to add a pop! This project really will make you feel like you’re back in primary school, splattering paint all over the place and cutting paper strip brings back the nostalgia of making paper chains. I think it somewhat therapeutic actually! I’ve even made a little downloadable template to make it really simple…simple enough for primary school some might say.
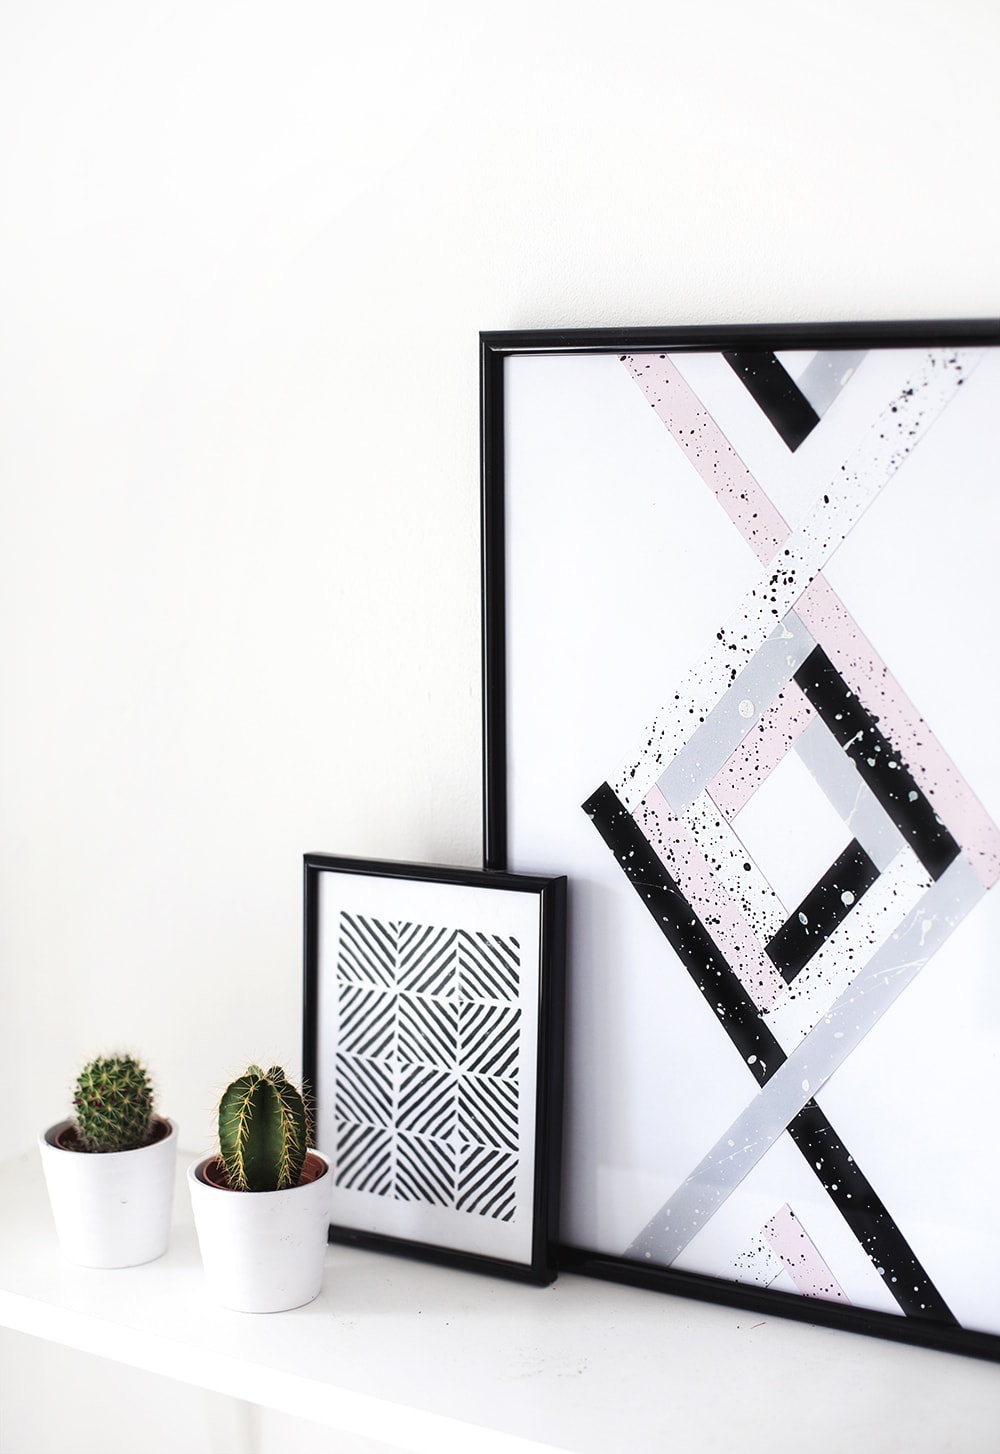
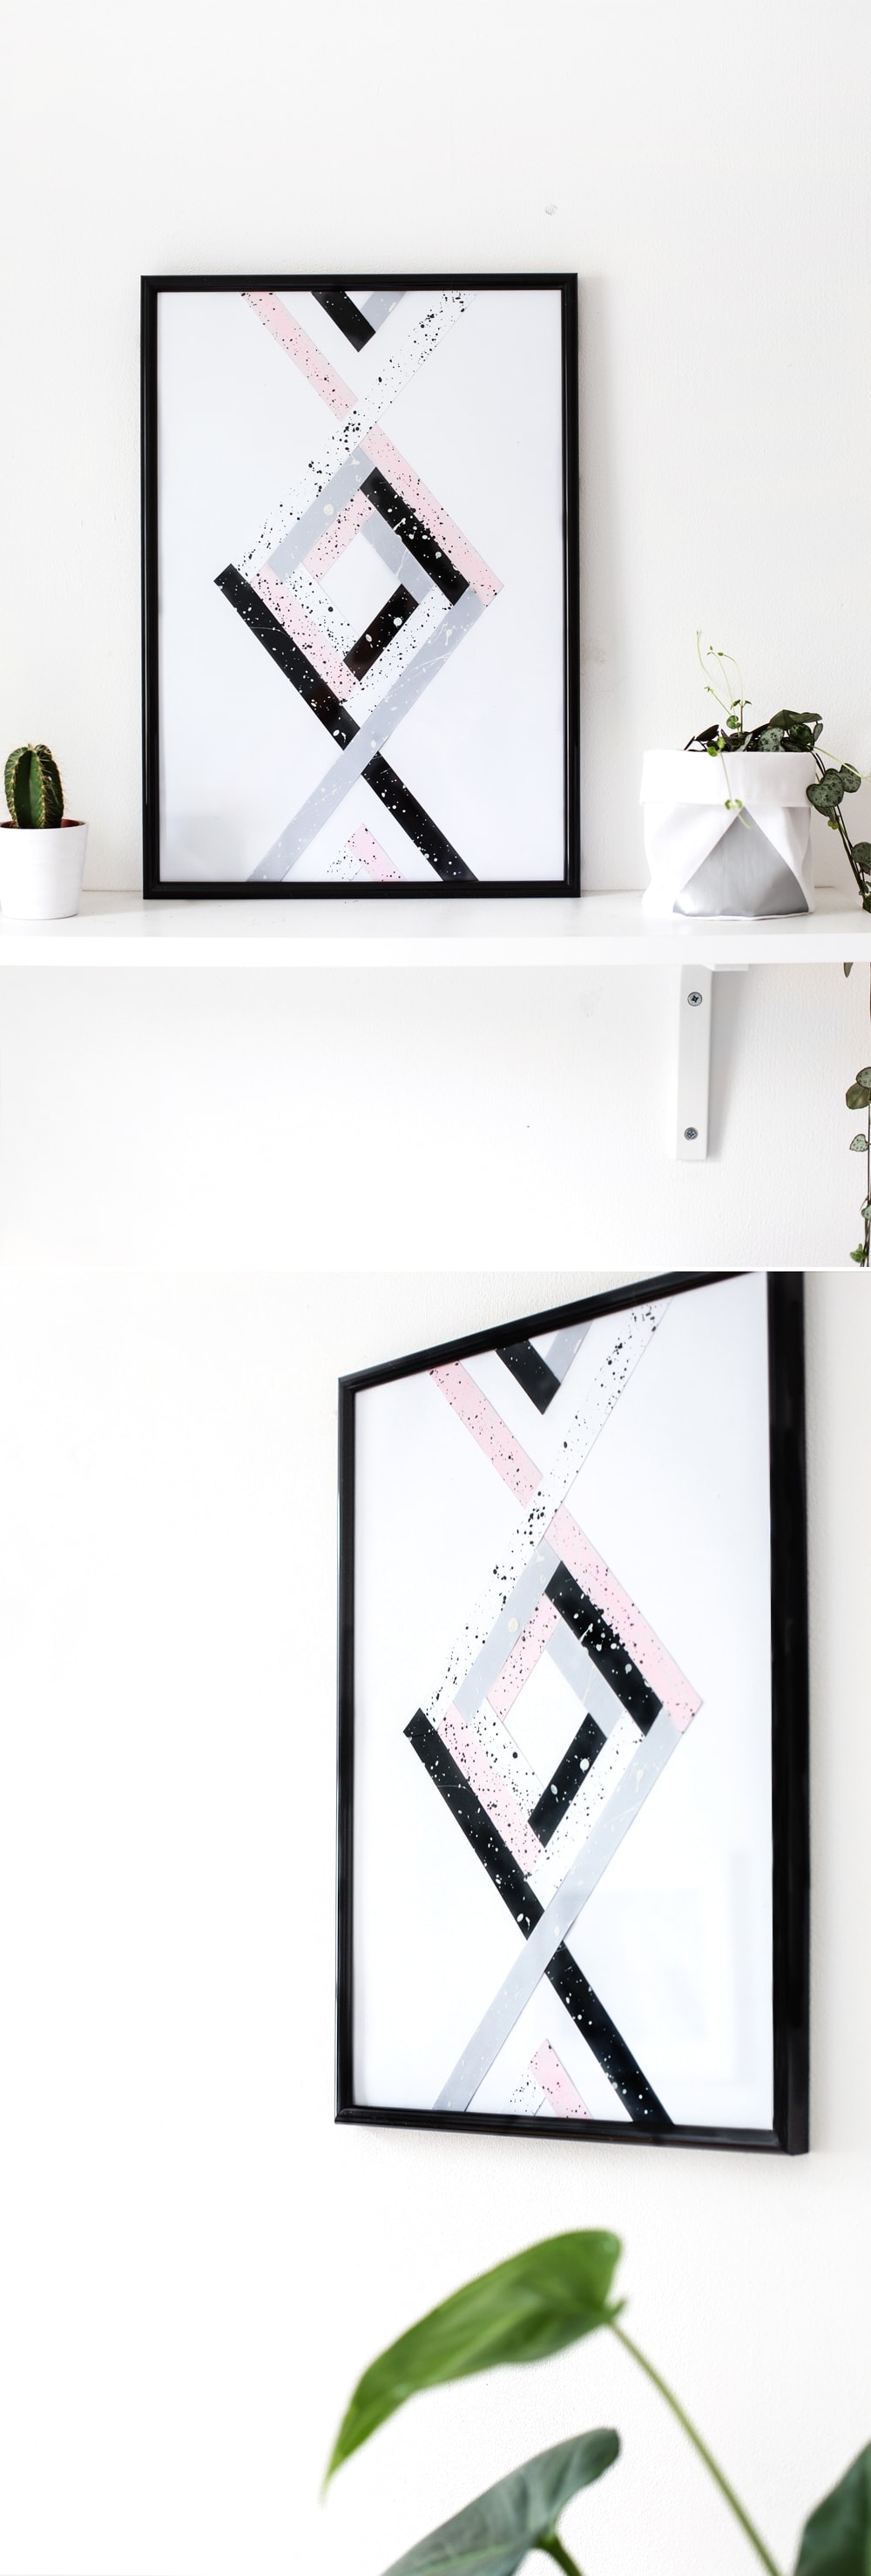
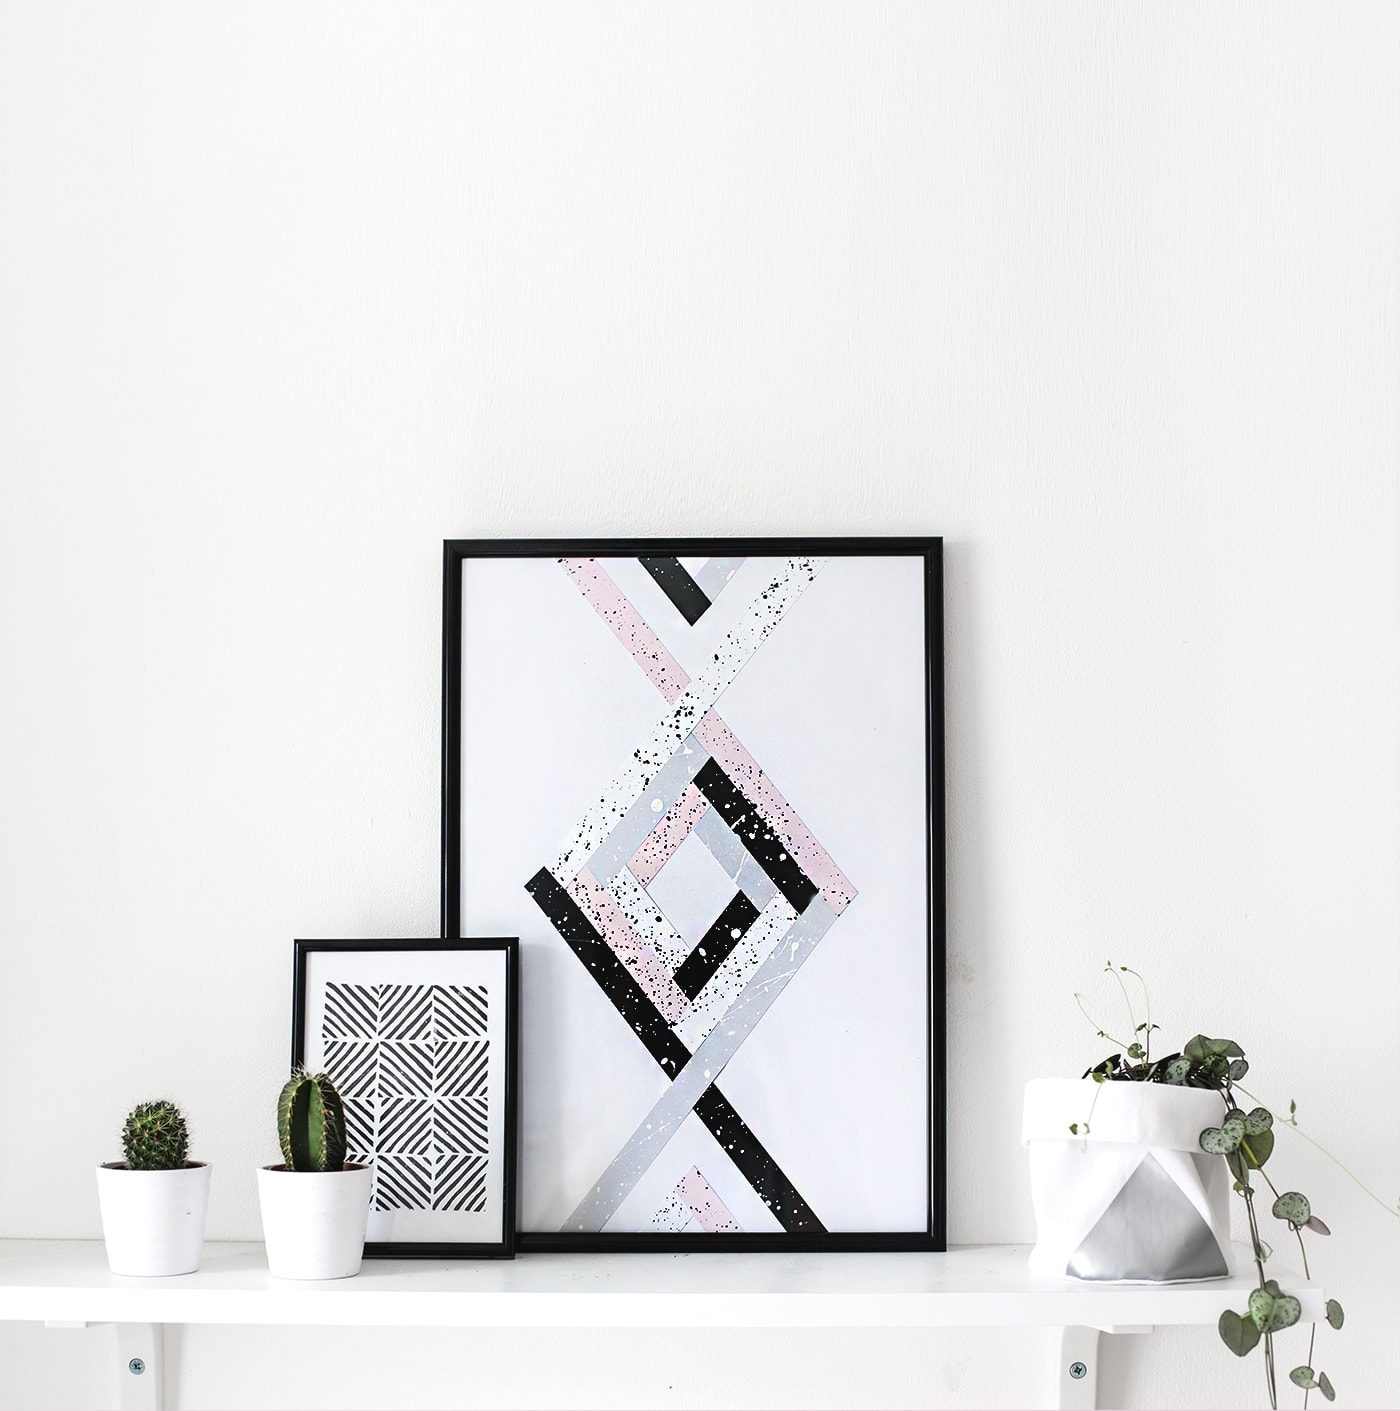
Mount it in a plain black frame for maximum impact and match with other art from your home. I used to be all about white frames but the more I work onto white backgrounds the more I realise how well a black frame can finish off a piece. In all honesty I probably have enough white in my flat as it is (you may have noticed *blush*).
You’ll need…
- Free downloadable PDF template & printer
- A3 white card
- 4 x A3 coloured card or paper sheets ( I used grey, white, black and pale pink)
- Paintbrush
- White & black paint or ink
- Scissors
- Double sided tape
- Black A3 frame

To make…
- Start by getting messy with your paintbrush and ink / paint. Either do this outside or put some newspaper down under your card so you don’t trash your table. Dip your brush into the ink and either dollop or use your fingers to splatter onto the page. Fill each coloured sheet. Make sure you use black ink on the white otherwise it won’t show up when you cut it all up. Leave to dry.
- Download the PDF template and print out. If you don’t have an A3 printer then print half onto A4 and the other half onto another sheet of A4. You only need it so you can cut out the strips as a guide.
- Cut strips, taking note of which colour goes where in the geometric pattern. If a piece says P for pink then use that as the template on your pink paper and so on.
- When you’ve cut all the strips out, start assembling the shape on your white A3 card, making sure it all fits together as it should. Start from the outside and work your way in is probably the simplest way to attack it. You may want to measure in from either side to see if the shape is central on the page
- Take strips off one at a time and tape the back with your double sided tape. Peel away the backing and stick in place. If you do this one at a time you can retain the general shape as you go.
- Now you have your artwork you can place it in the frame and go and find a great spot for it to hang / sit.
I hope you enjoyed this project and just a reminder that if you make any of my DIYs then why not take a picture and tag me so I can see your creativity in action! It really makes my day when I see someone has had a go and doubly exciting, that it worked!
You might also like


Meet The Lovely Drawer

Hi, I’m Teri and welcome to my own creative corner of the internet. I blog about interiors, DIY projects, design inspiration and my general life so stick around have a read and say hi.
In the shop

 Quick ViewSelect options
Personalised Cuddly Bunny
£30.00 – £35.00
 Quick ViewSelect options
Terrace 1
£20.00 – £25.00
Work with Me
The Lovely Drawer is an award winning blog with a loyal audience that has grown over the years. I love working with brands small and large on exciting collaborations that can bring products alive in my own signature aesthetic.