Modcloth Inspired Plant Candy
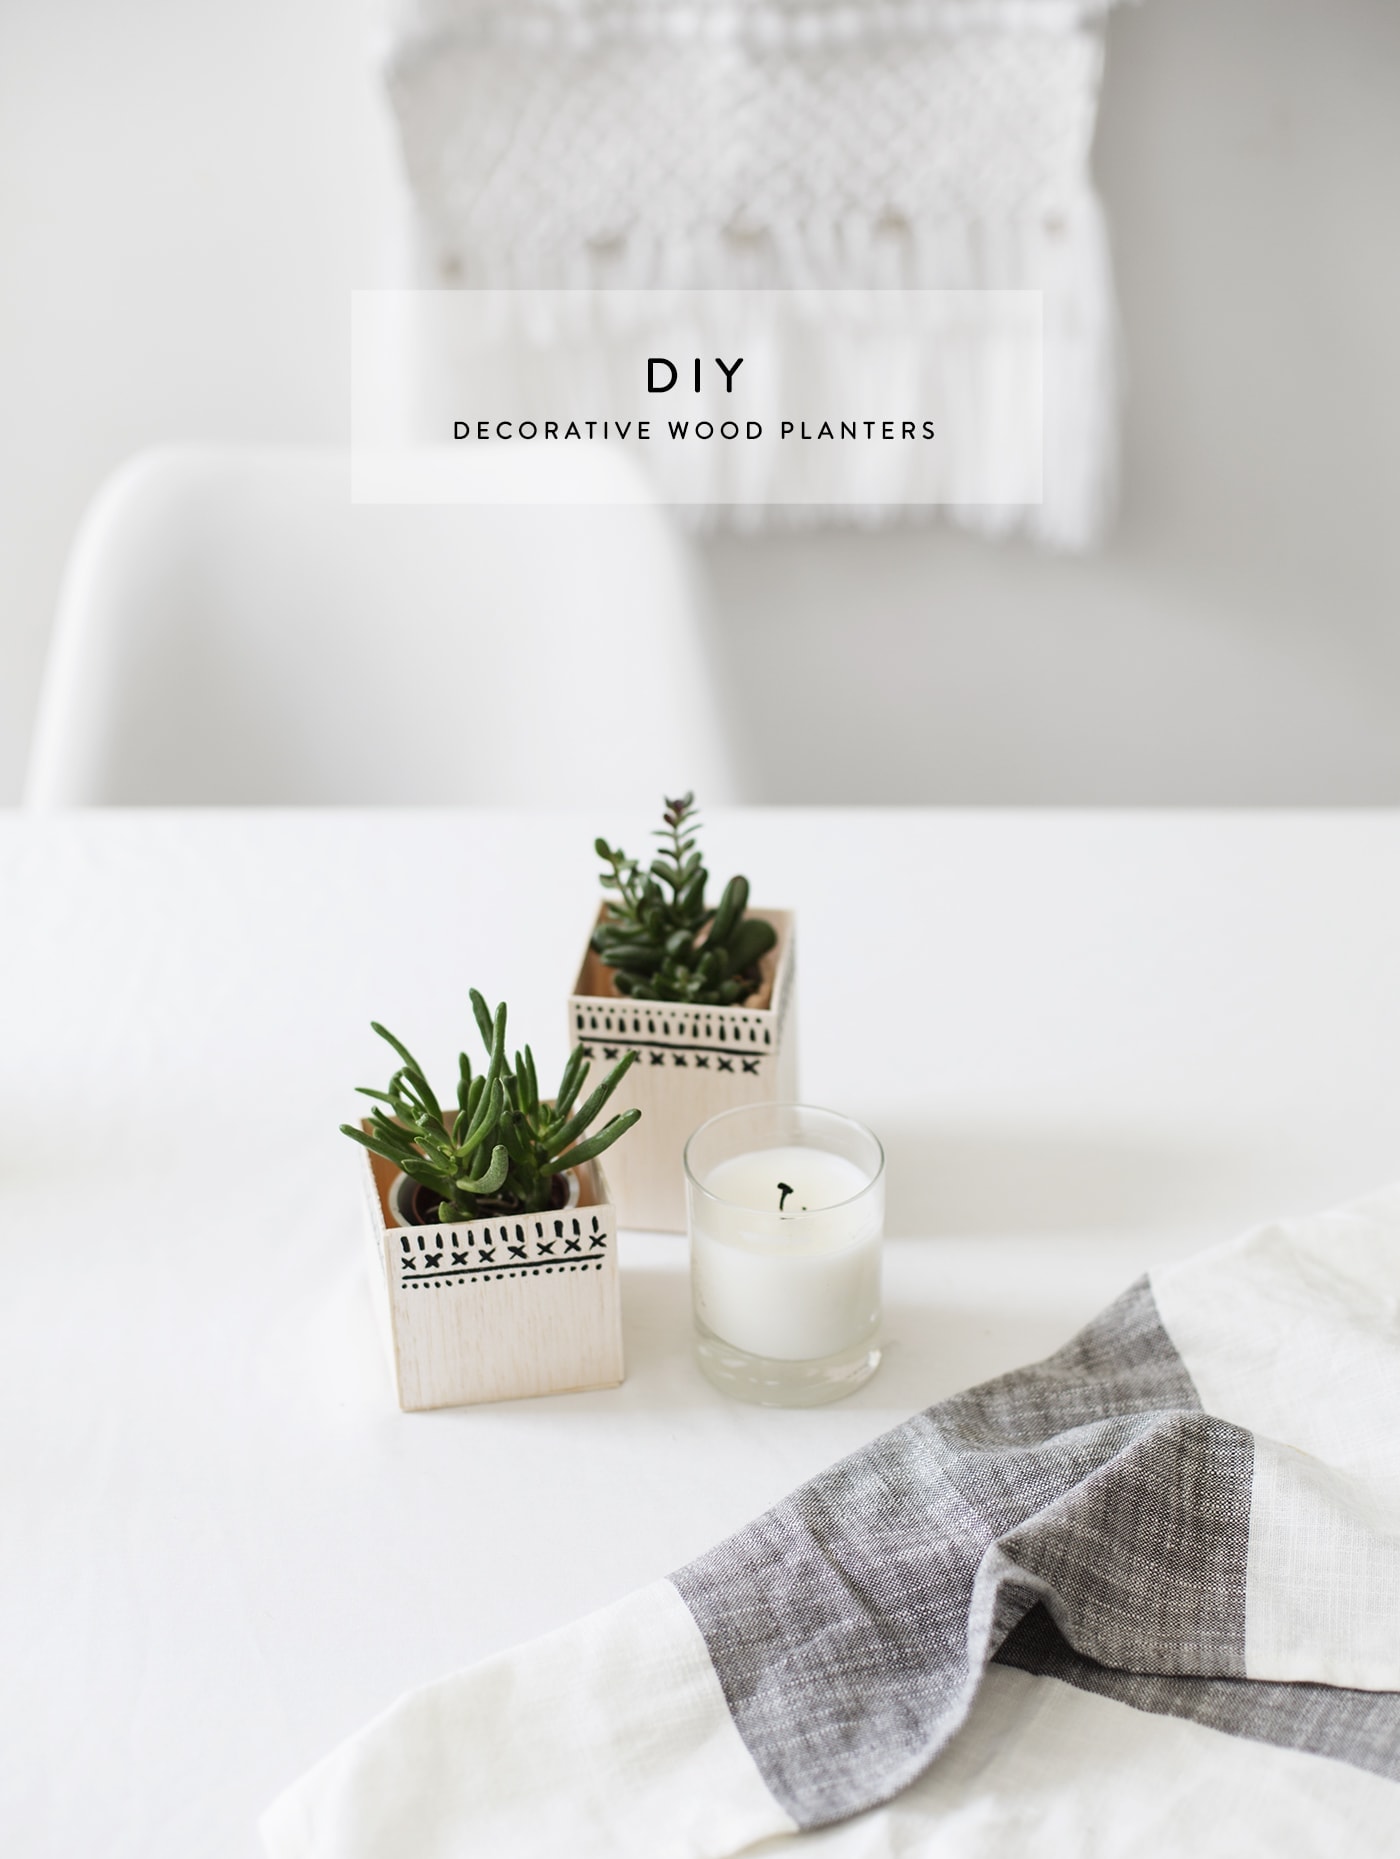
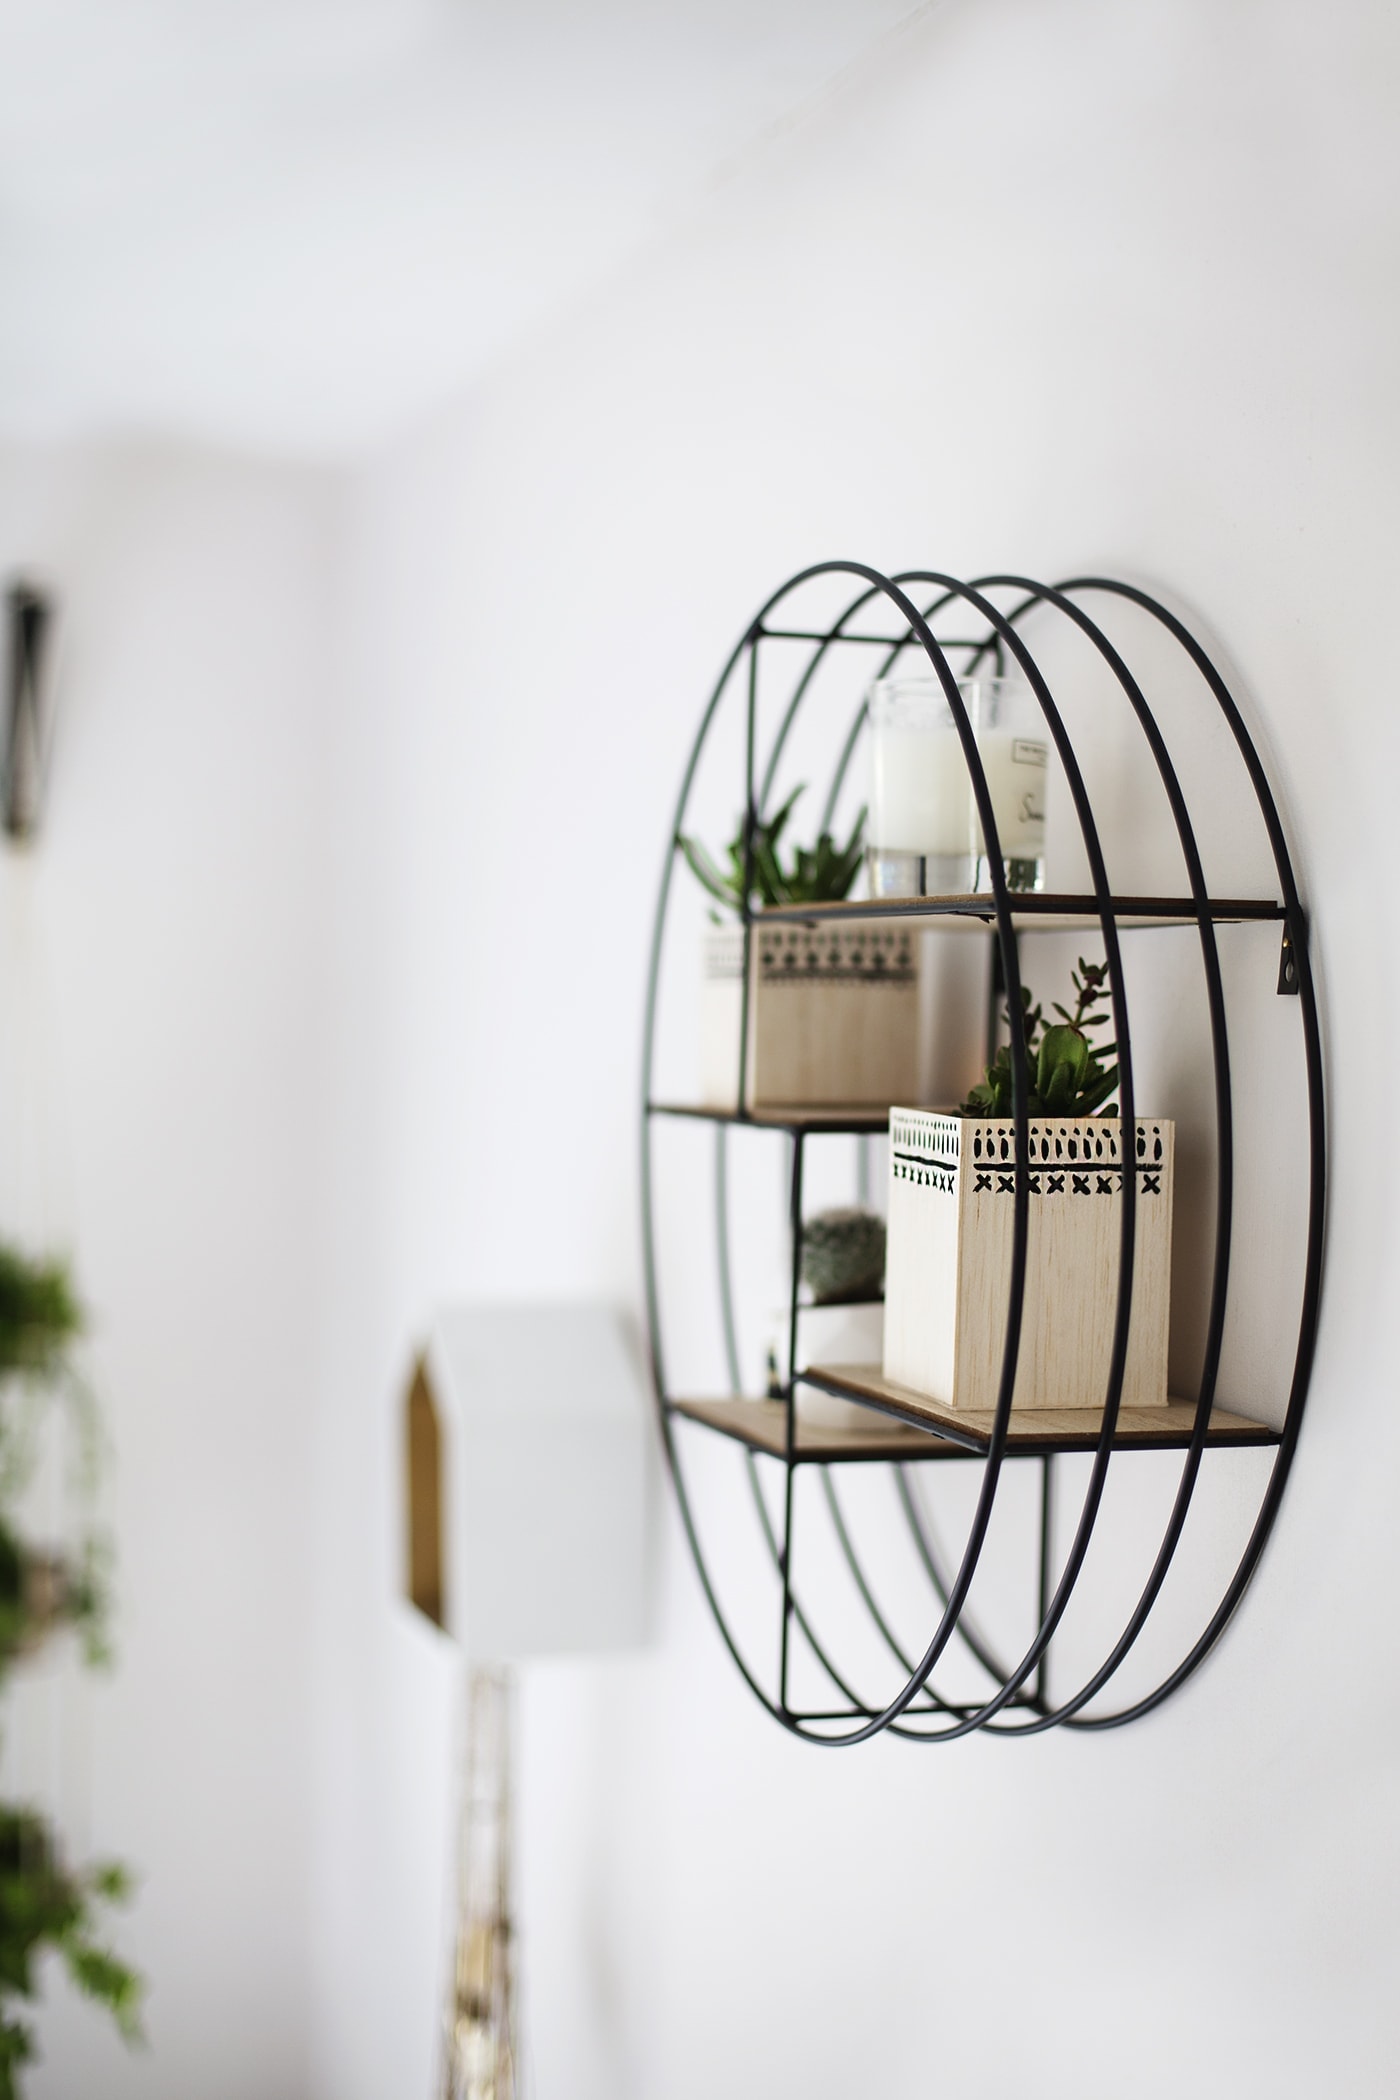
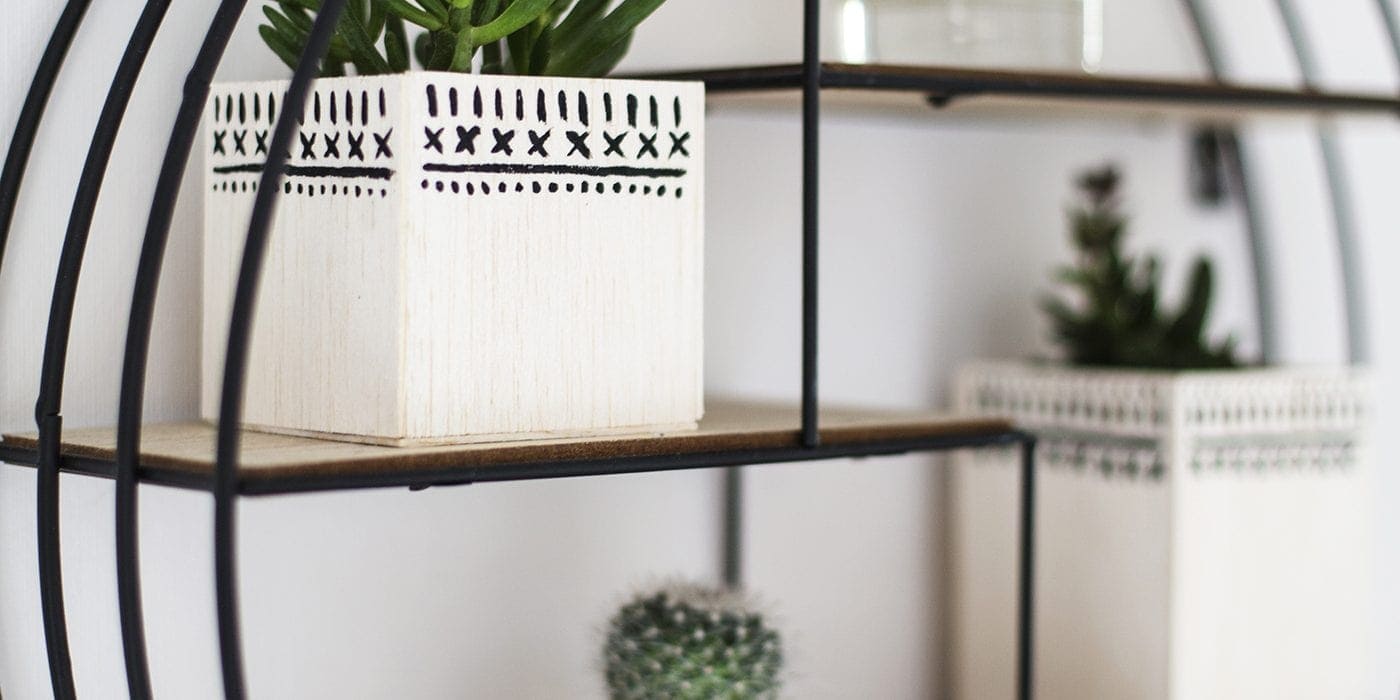
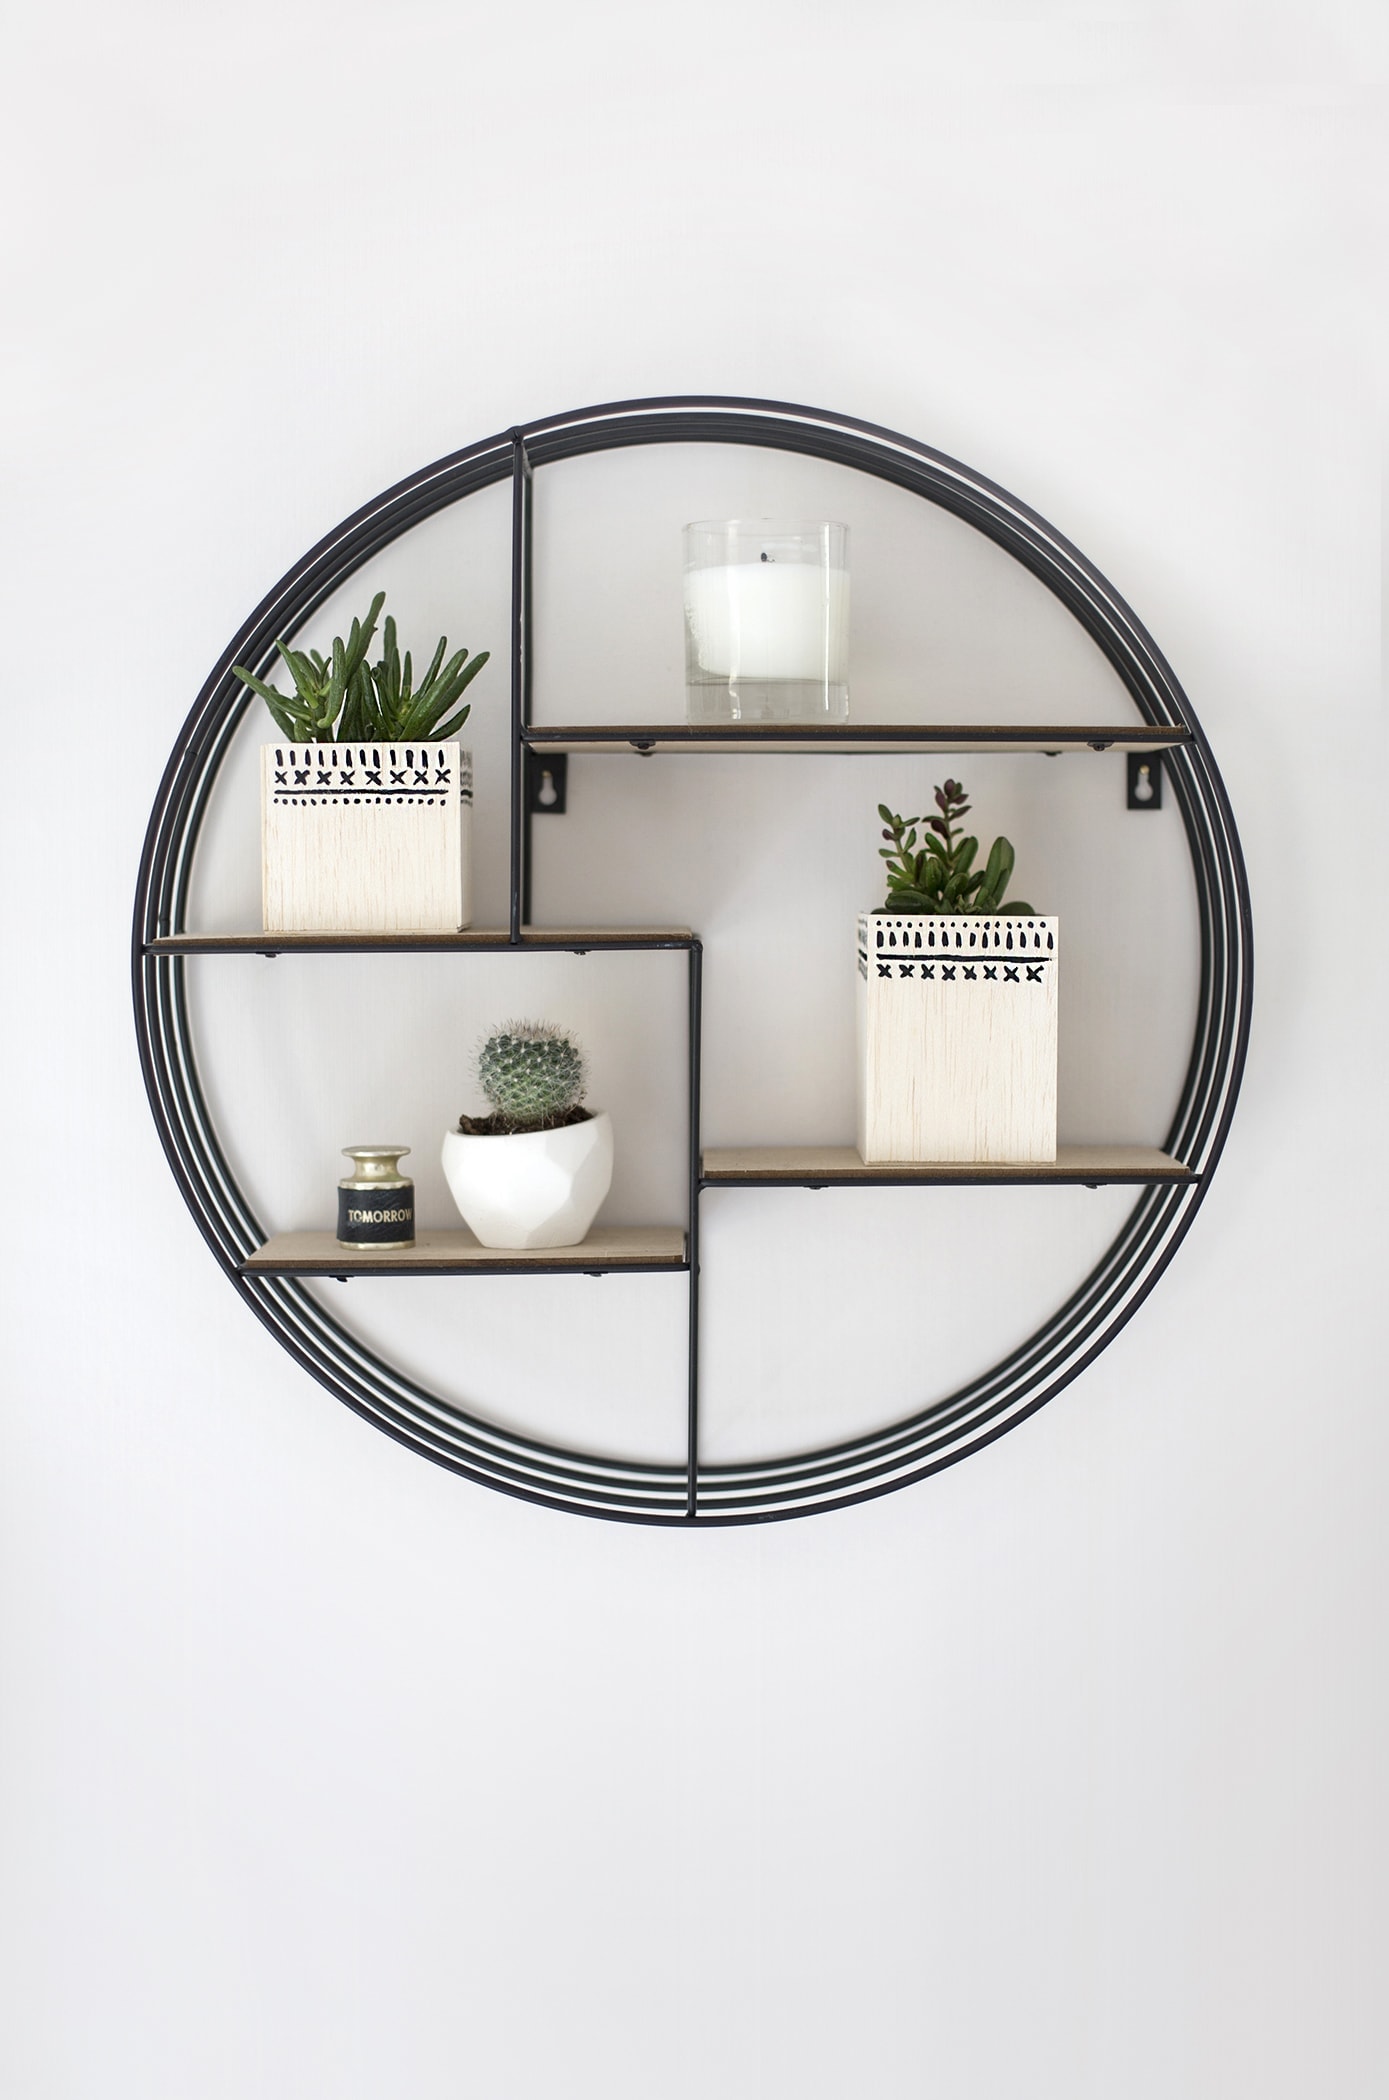
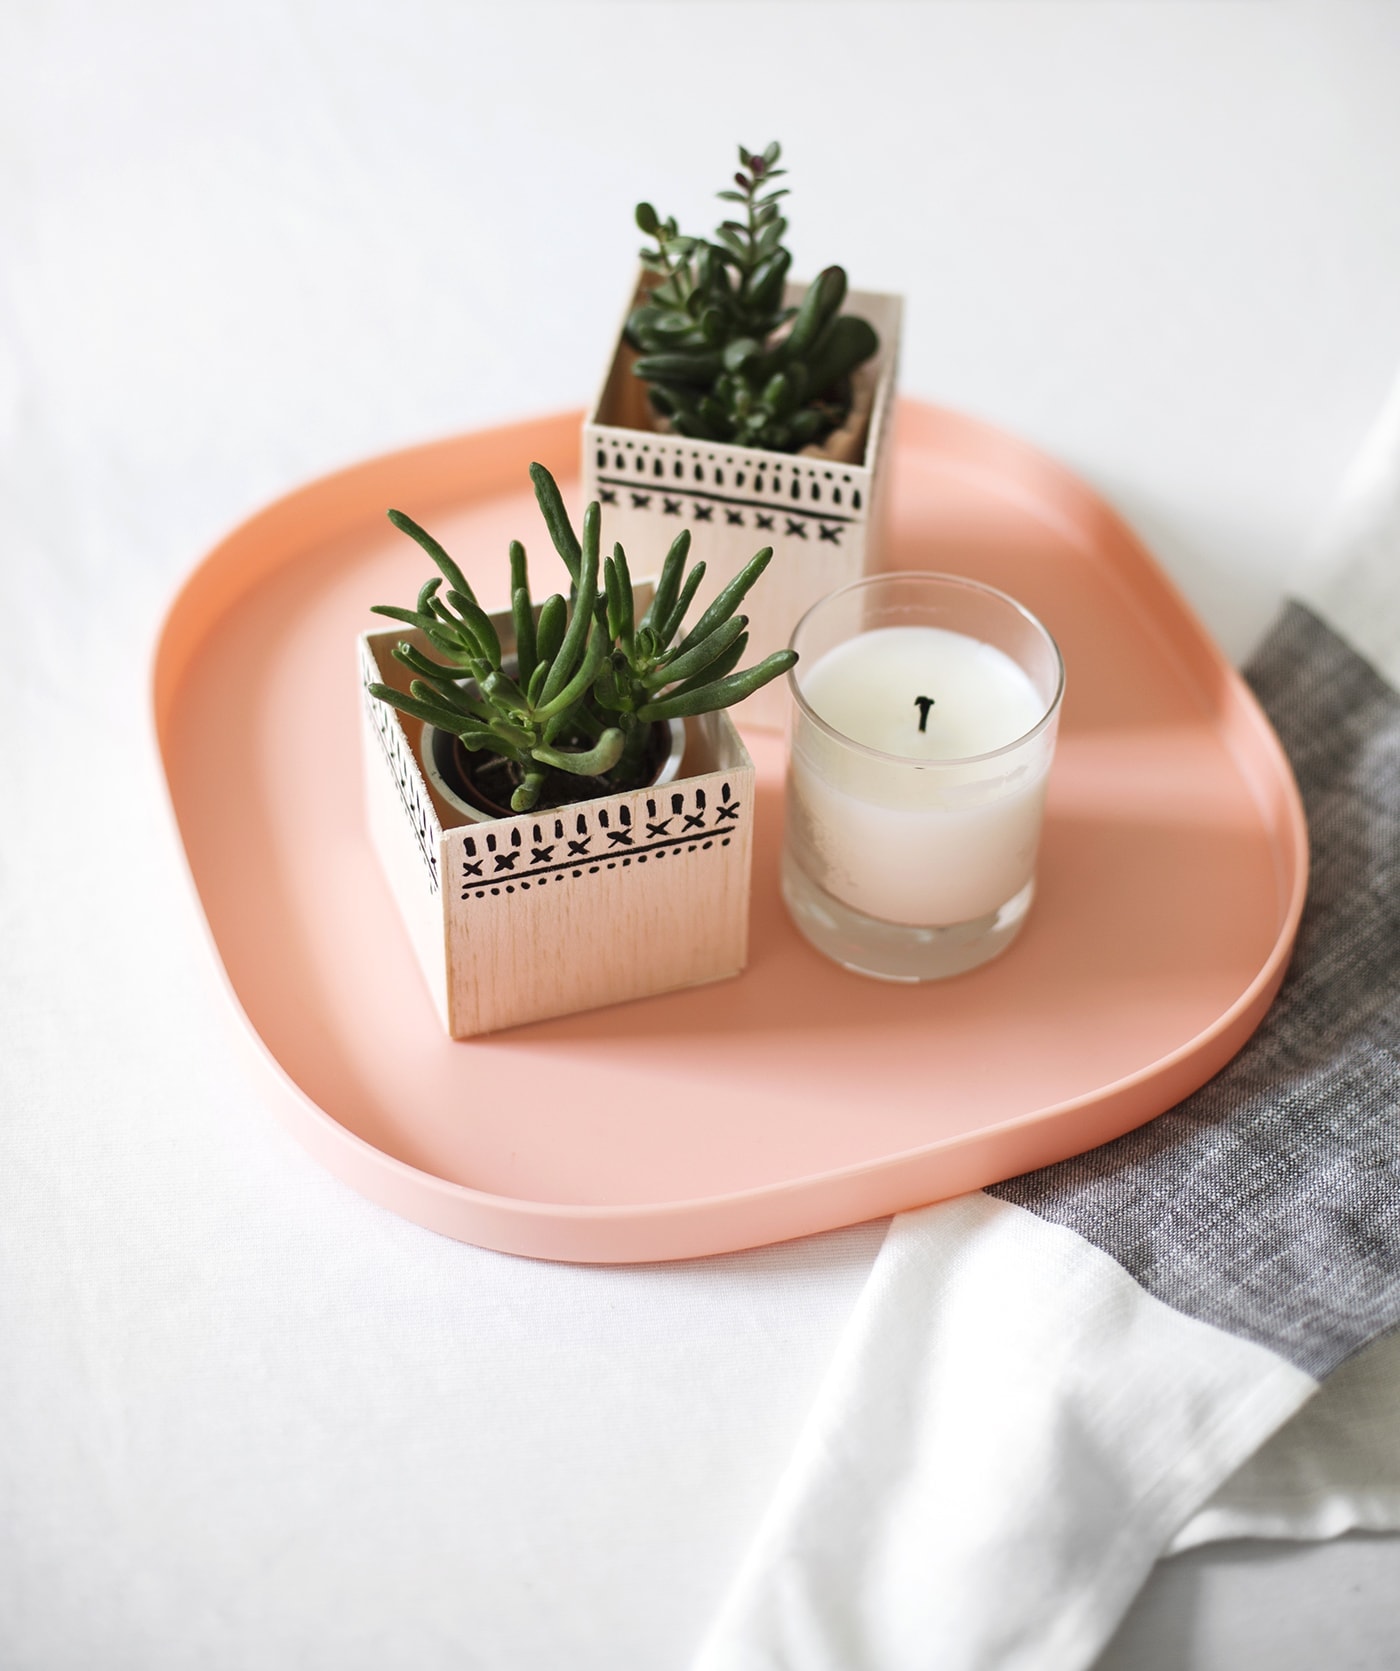
I may be a self confessed plant killer with impressive consistency but I still welcome green friends into my home on a regular basis. I’m always trying to find or repurpose containers to house them in, as I love a bit of variety. I just happen to be really into balsa wood at the moment (can you tell?) so I came up with an super simple DIY to make your own decorative balsa wood planters. You don’t even need to worry about draining for when or if (in my case) you water them as your plastic pot will fit snugly inside so can remove the plant at any time to water and replace when dry.
The painted pattern isn’t complicated either, just a series of dots and lines which is perfect for a speedy craft. Perhaps you could even whip some up for existing plants you have in regrettably ugly containers as they can easily sit inside. One thing I would say is that if you want to create one for a larger plant, do buy slightly thicker balsa wood to take the strain. I’ll show you how to make these pretties…
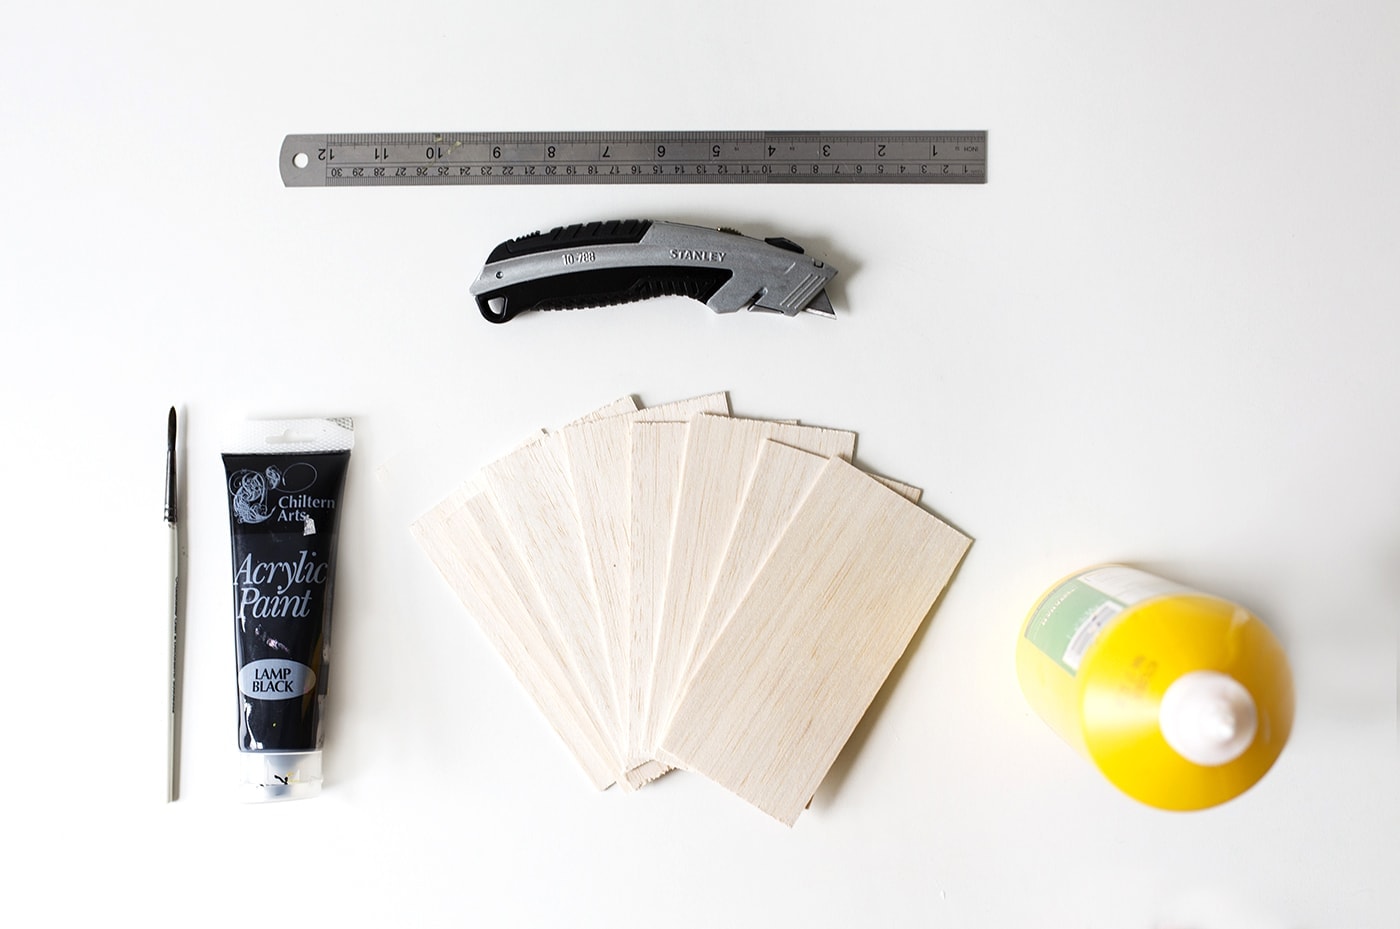
Materials
- Potted plant
- Balsa wood pieces ( I used 1.6mm thickness but go thicker for larger planters)
- Stanley knife
- Cutting board
- Pen
- Ruler
- Strong wood glue
- Black acrylic paint
- Fine paint brush
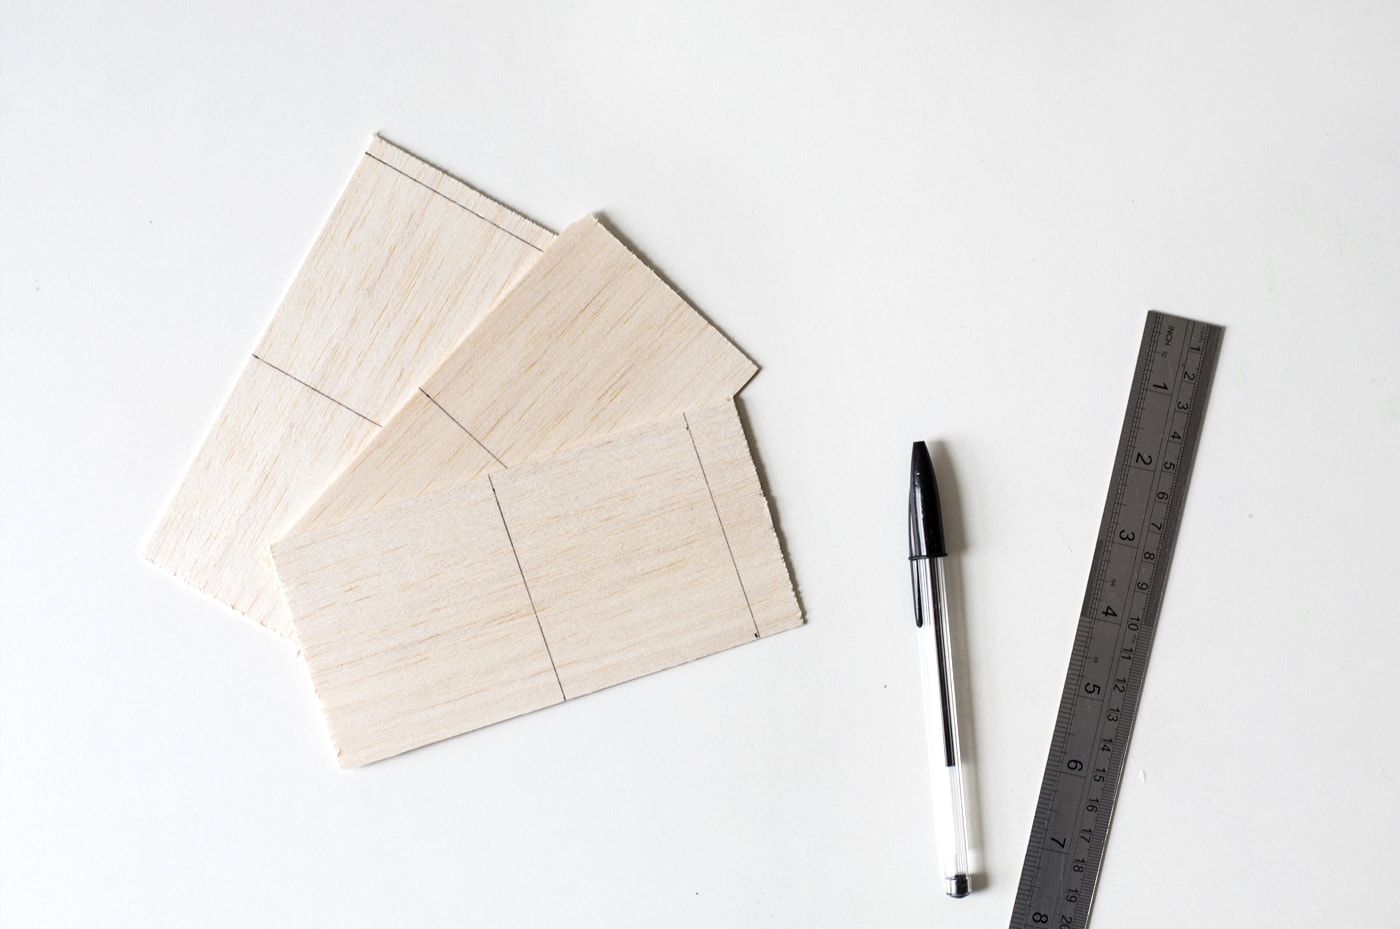
Start by measuring the height and width needed to fit your plant pot and draw this onto the balsa wood. You’ll need four pieces to fit together to surround the plant base.
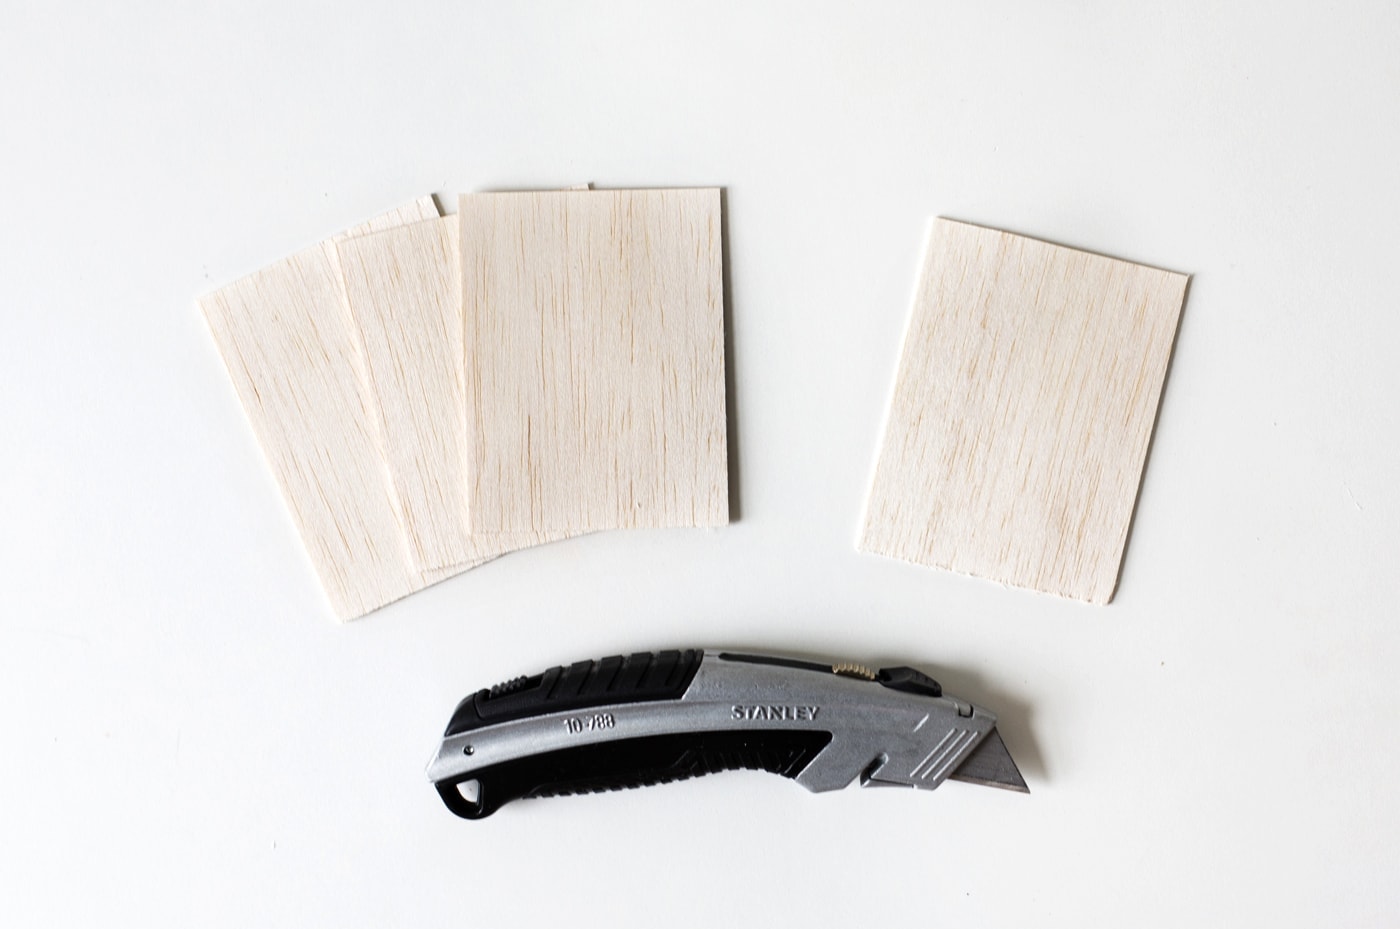
Then use the stanley knife to cut the pieces out
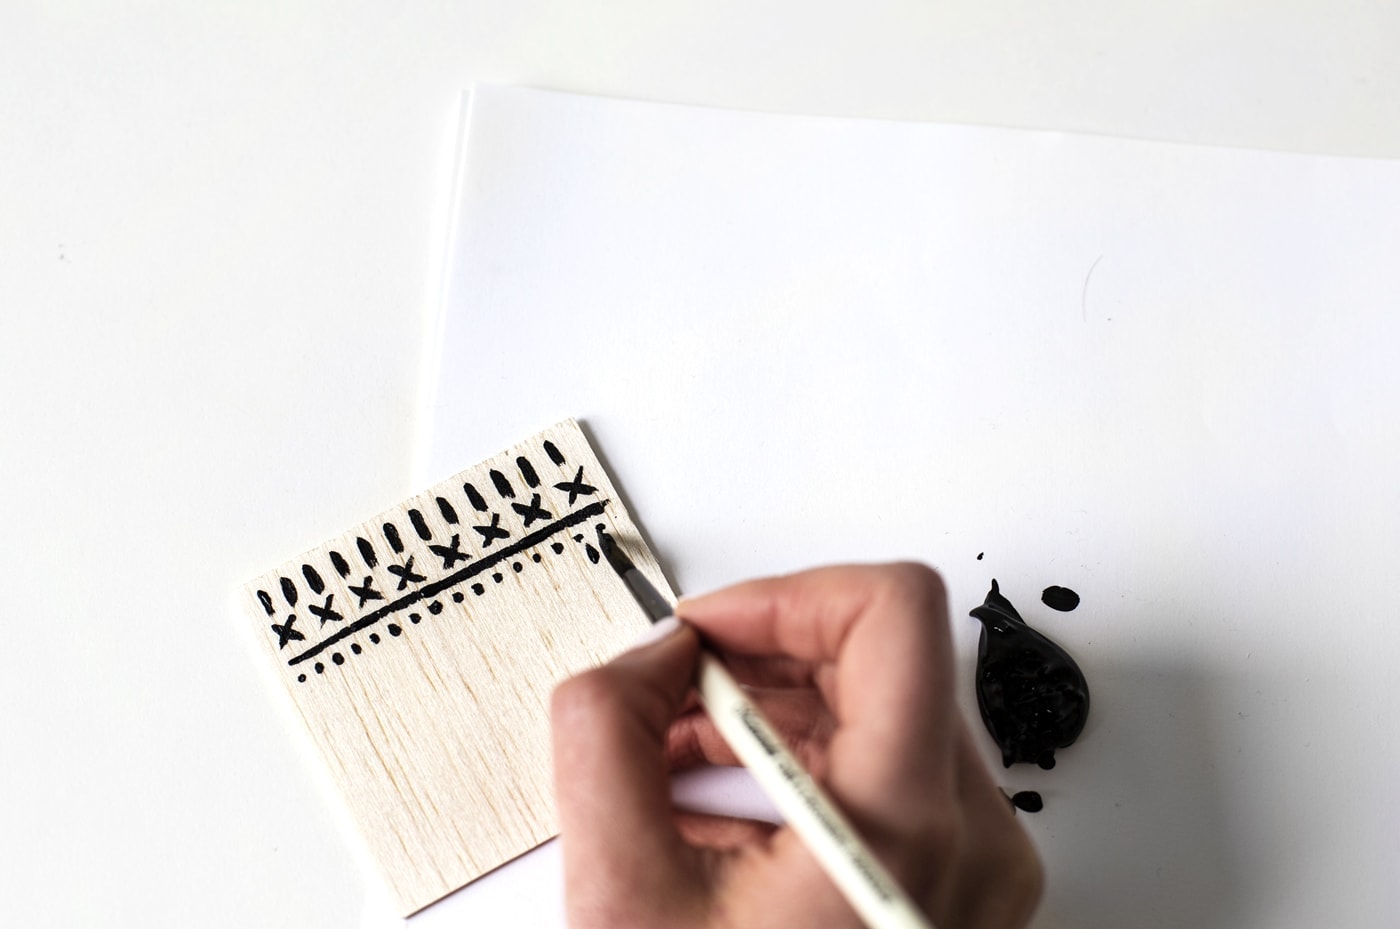
Paint any variation of the design onto the balsa wood, working your way across in rows. Incorporate dots, crosses and lines for a striking effect. Try and make sure the pattern on each piece matches up at the edges by lying them down flat together. Leave each section to dry.
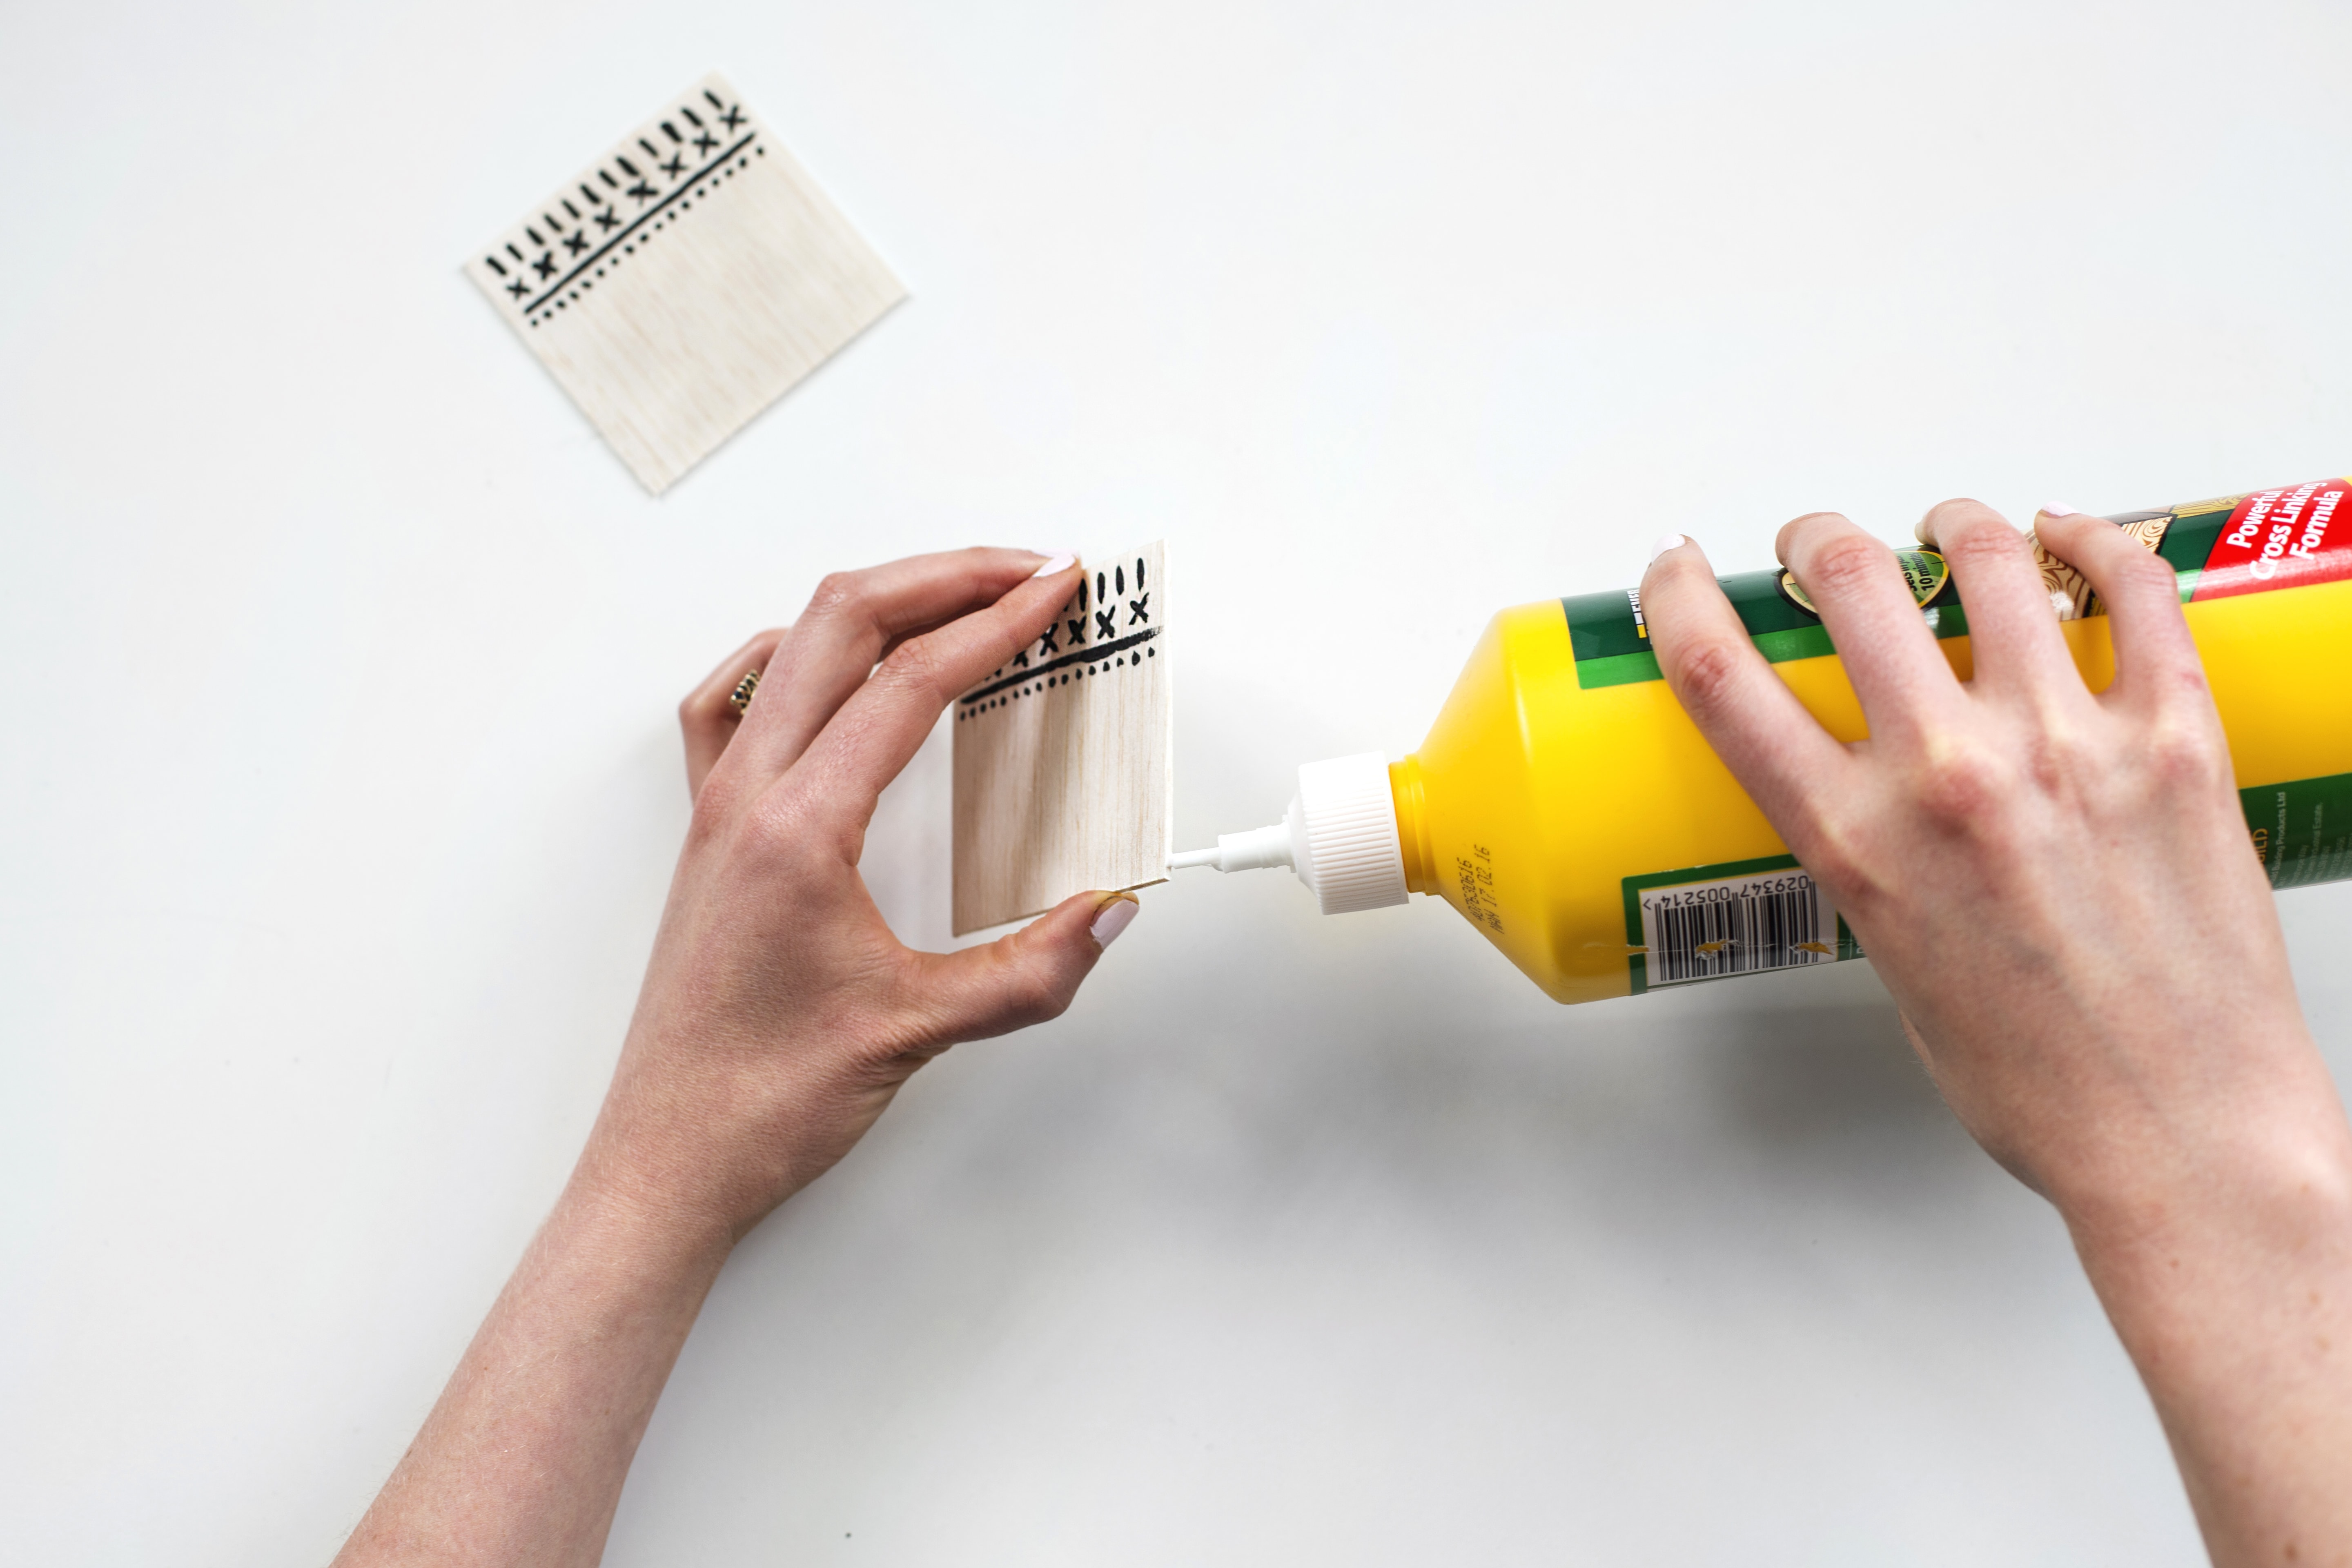
Once dry glue each piece together. Start with the first two by applying a line of the wood glue down the edge of one piece.
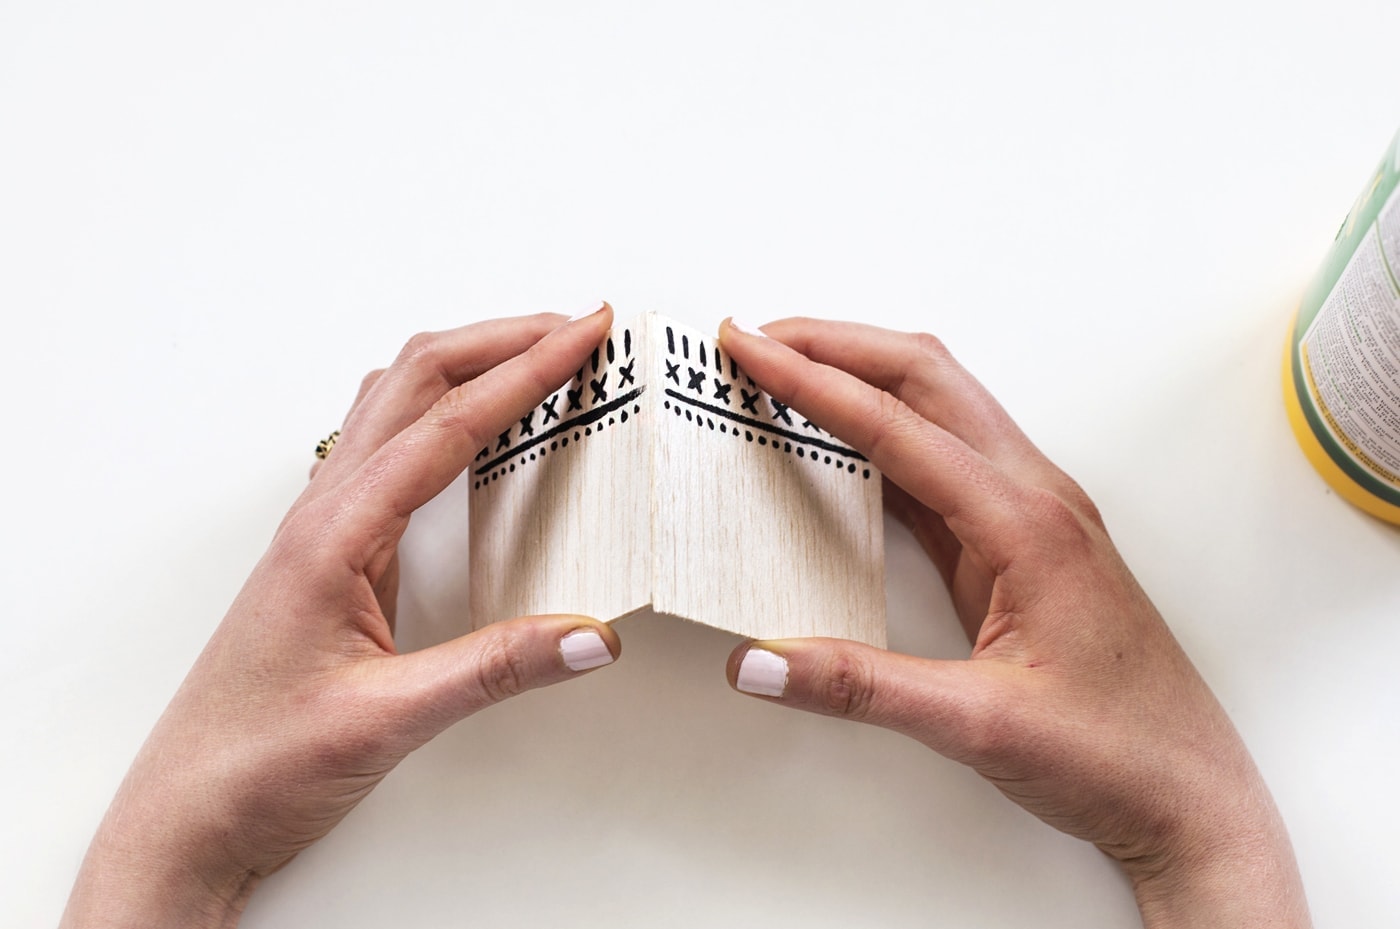
Press this onto the edge of another balsa wood piece. Line up the edge as well as the pattern to create a right angle. Hold this for about a minute or two until they adhere. Then place it down and leave for a further minute. Repeat with the other two pieces of balsa wood. When you’ve got your outside glued, you need to create the bottom. Sit the wood surround upright on another sheet of balsa wood and draw around the bottom gently. Cut this out and add a line of glue all the way around the edge. Sit the surrounding piece on top and push down gently to adhere. Once again hold this for a minute or two.
Leave fully to dry and there you have it! Pop your potted plant inside and it’s all ready to display in your home. Easy as pie!
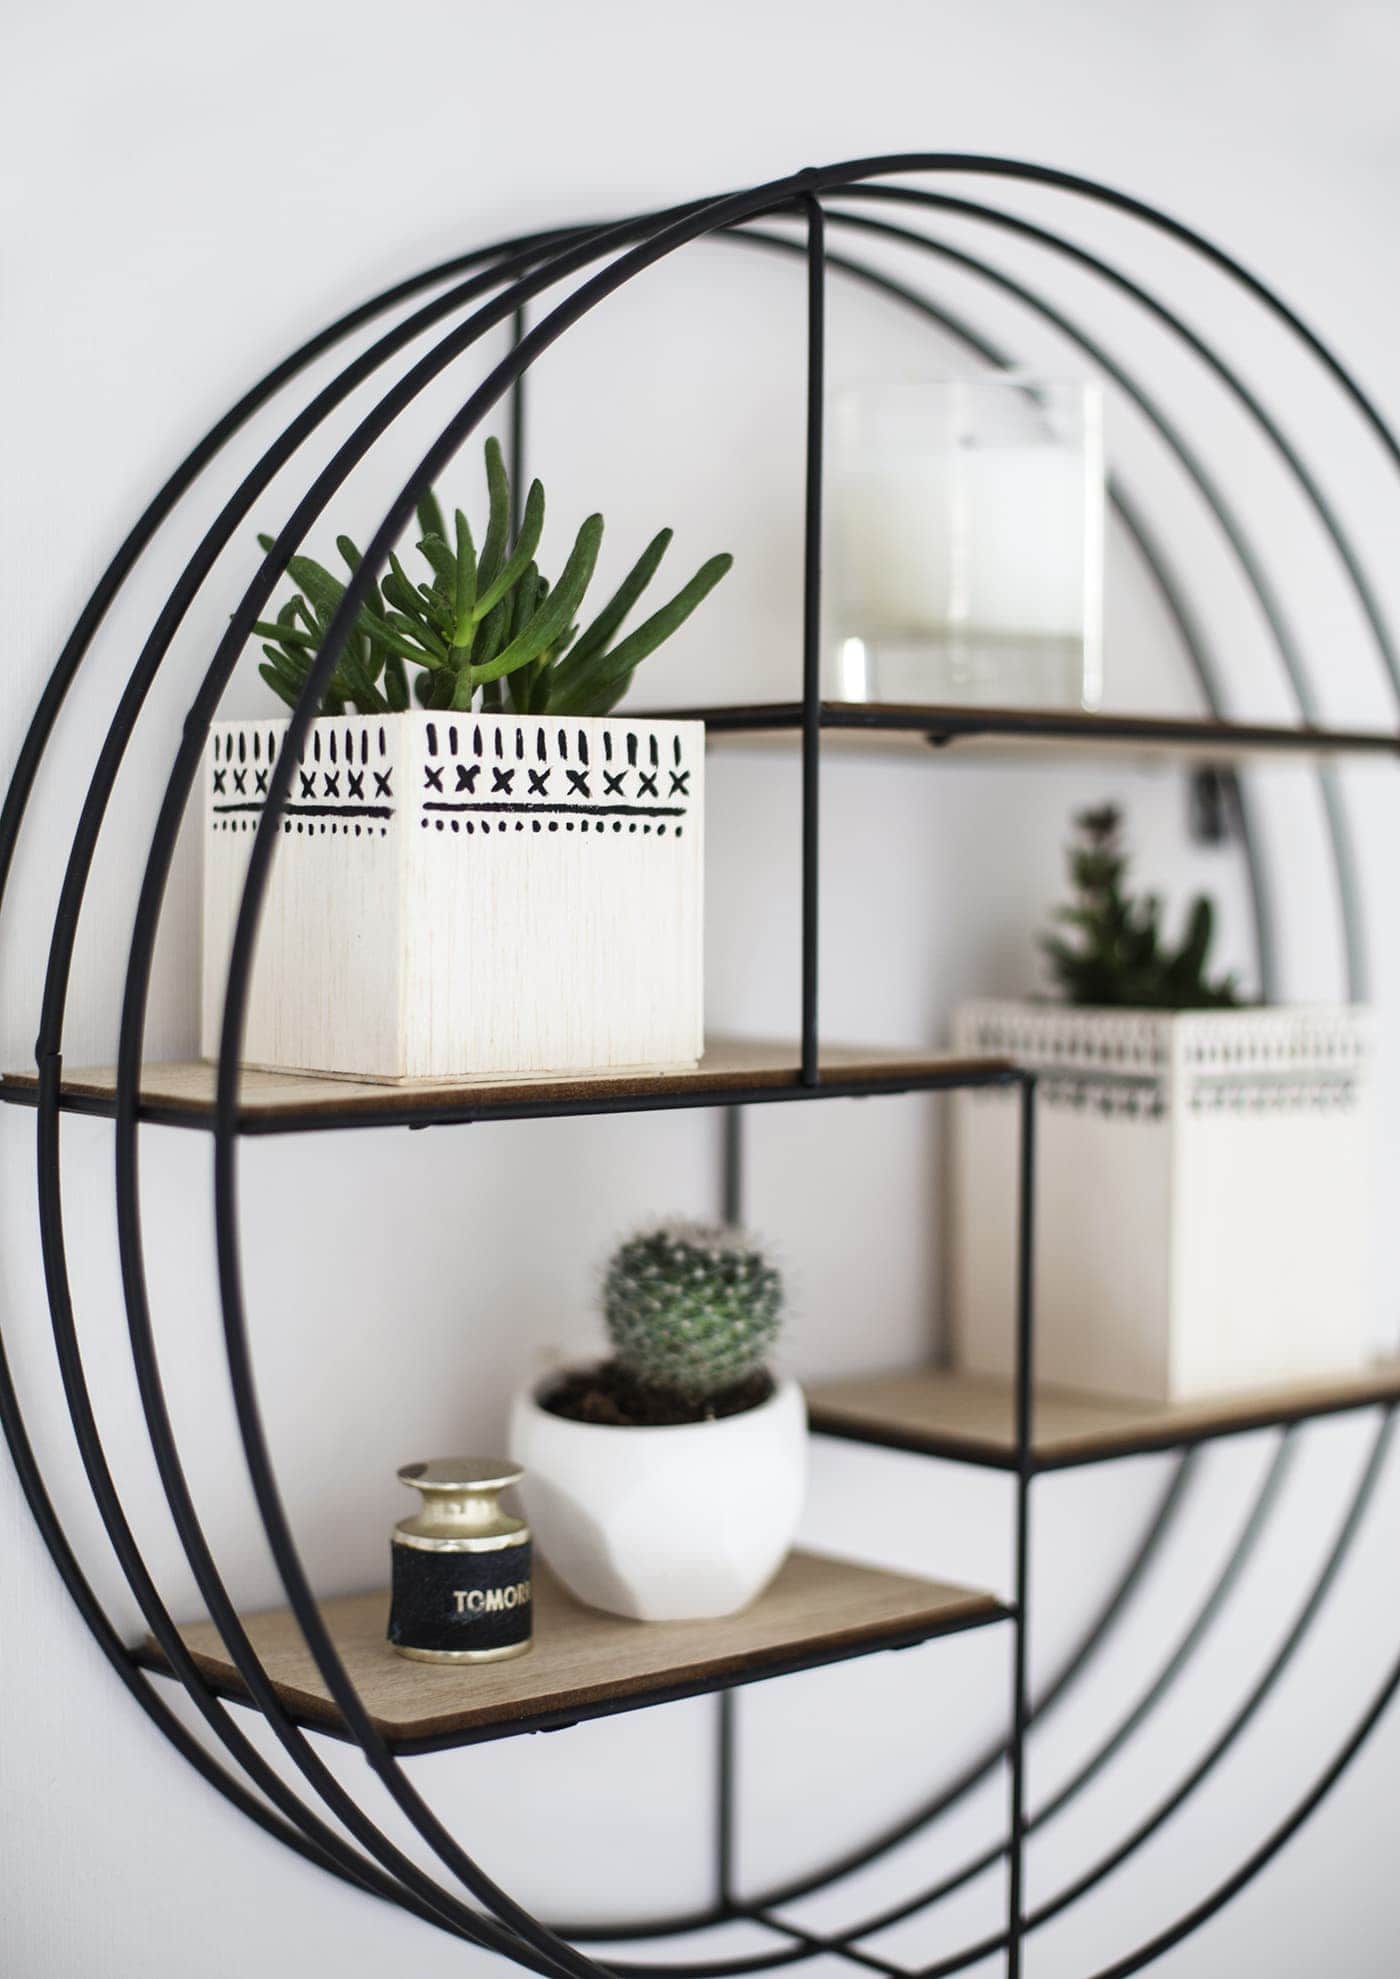
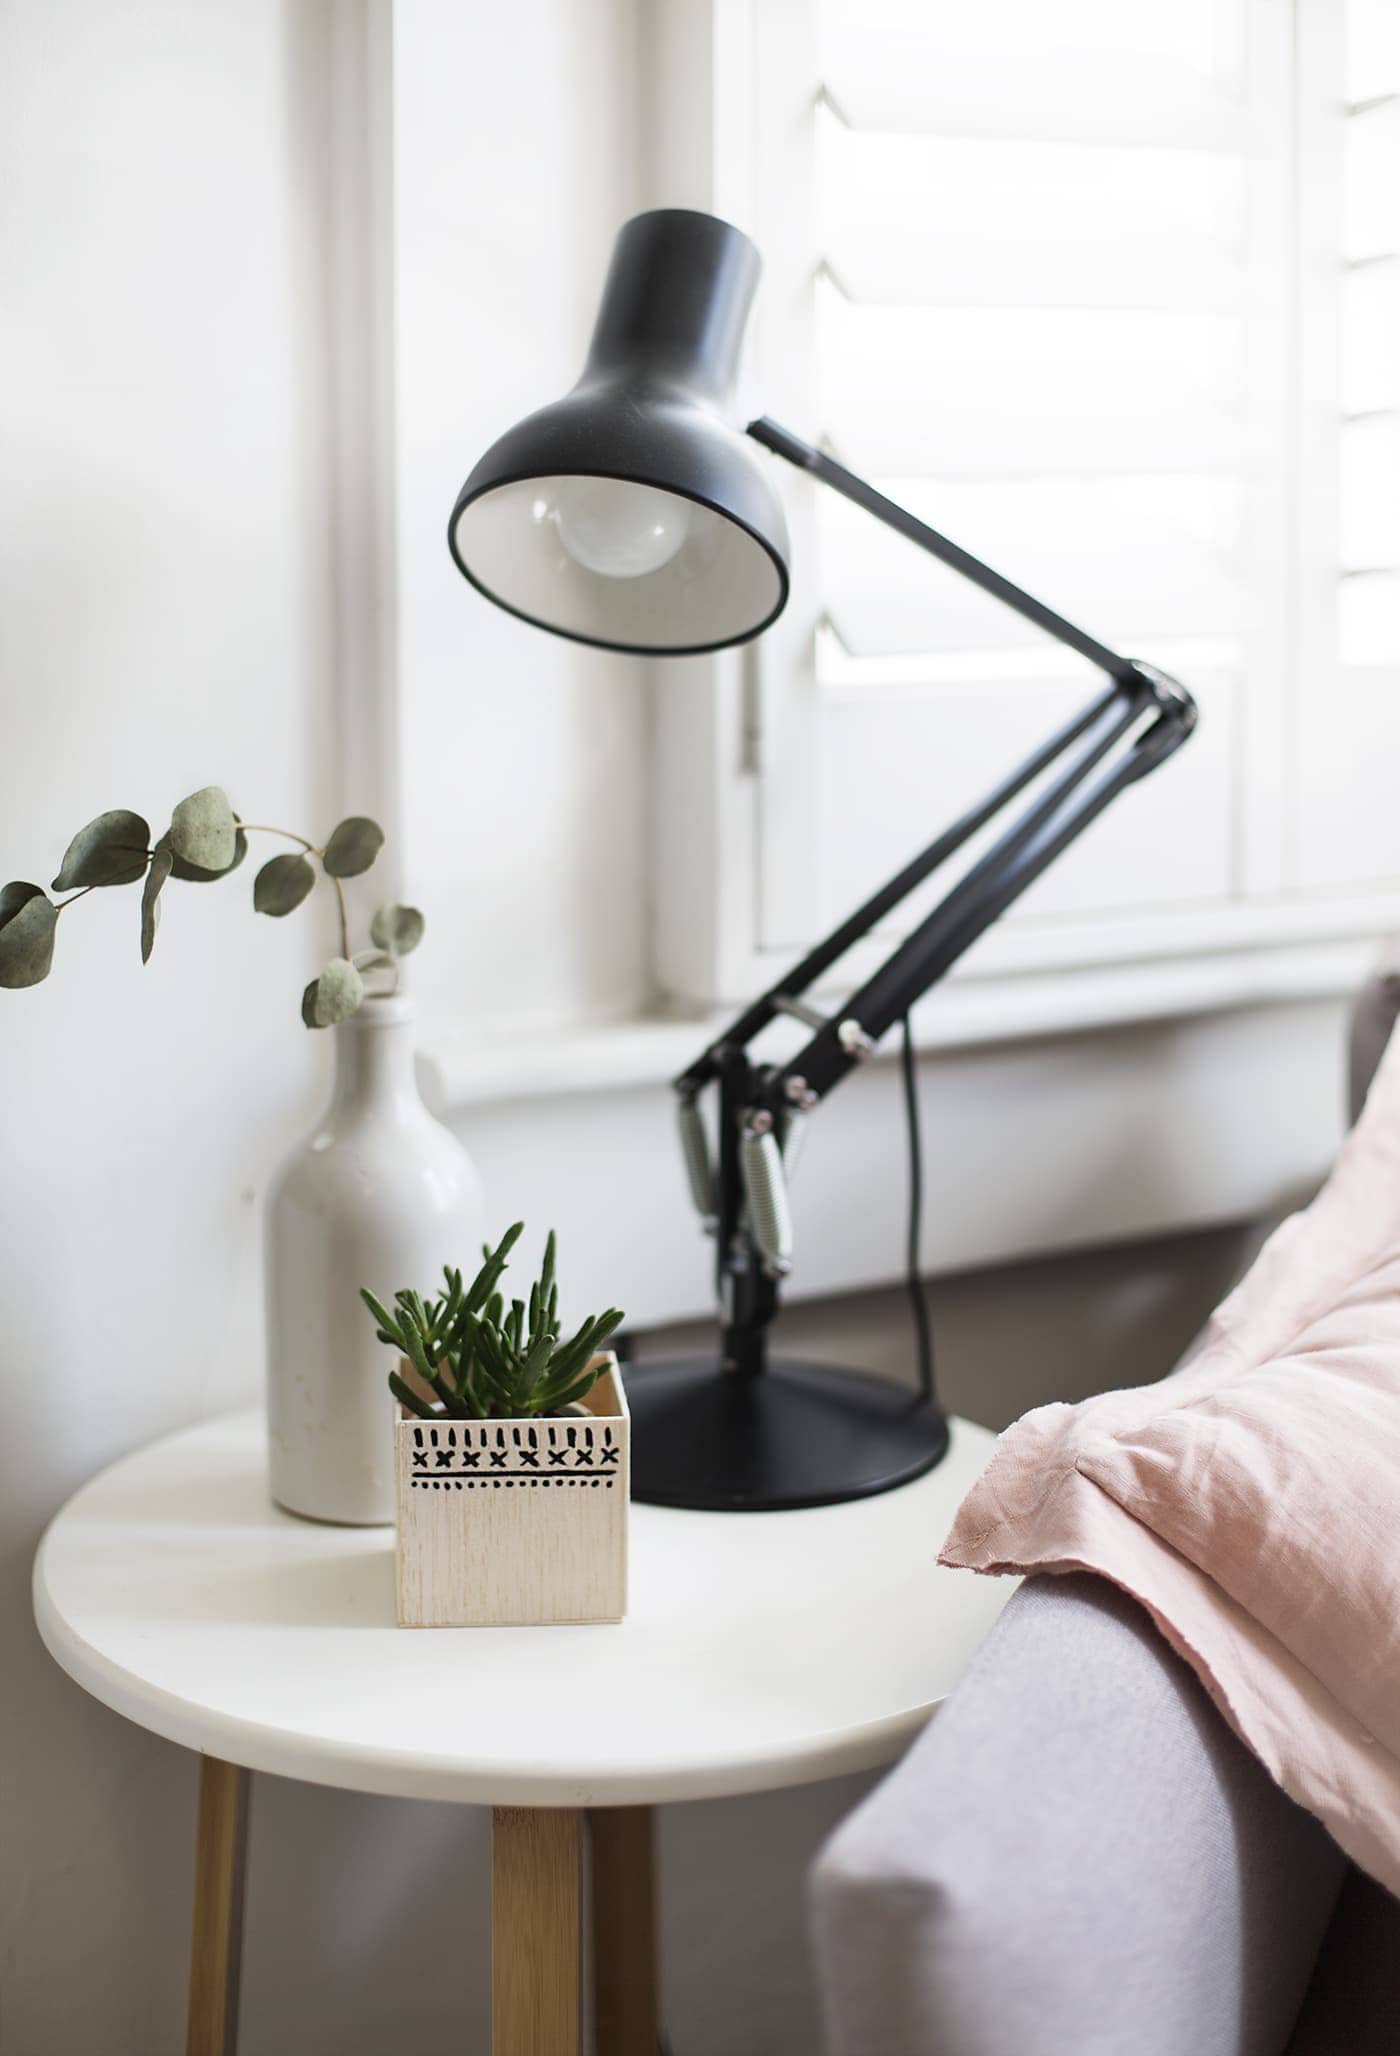
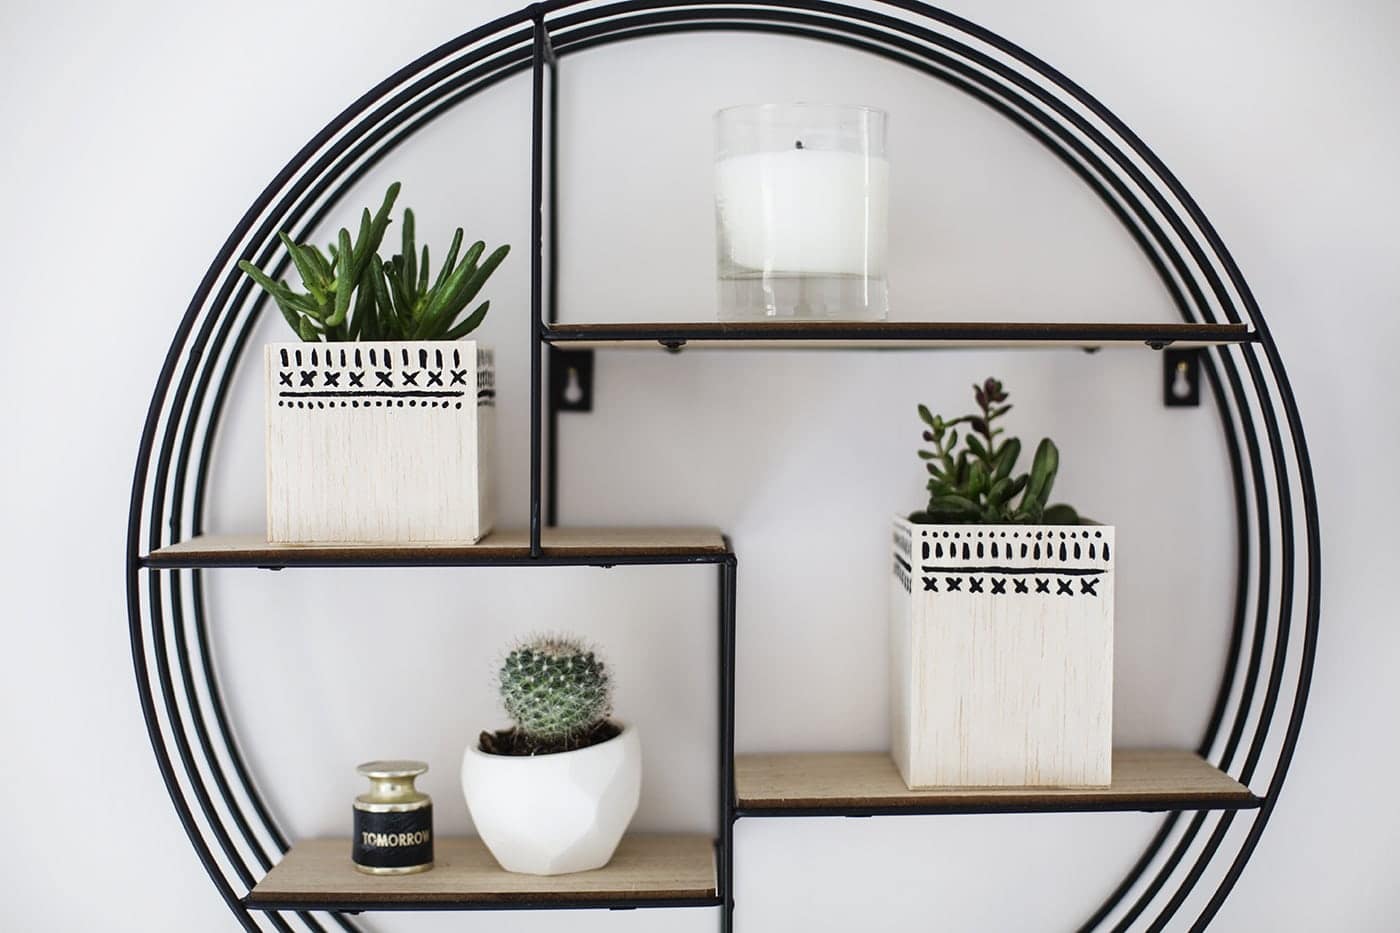
I love the simplicity of the black pattern against the light wood. Do have a little play and experiment. You could even create them to fit small vases so you can pimp your flowers. I have to confess I have even more wood DIYs coming your way so hopefully you’re enjoying them all. Keep a look out!
You might also like
Meet The Lovely Drawer

Hi, I’m Teri and welcome to my own creative corner of the internet. I blog about interiors, DIY projects, design inspiration and my general life so stick around have a read and say hi.
In the shop
 Quick ViewSelect options
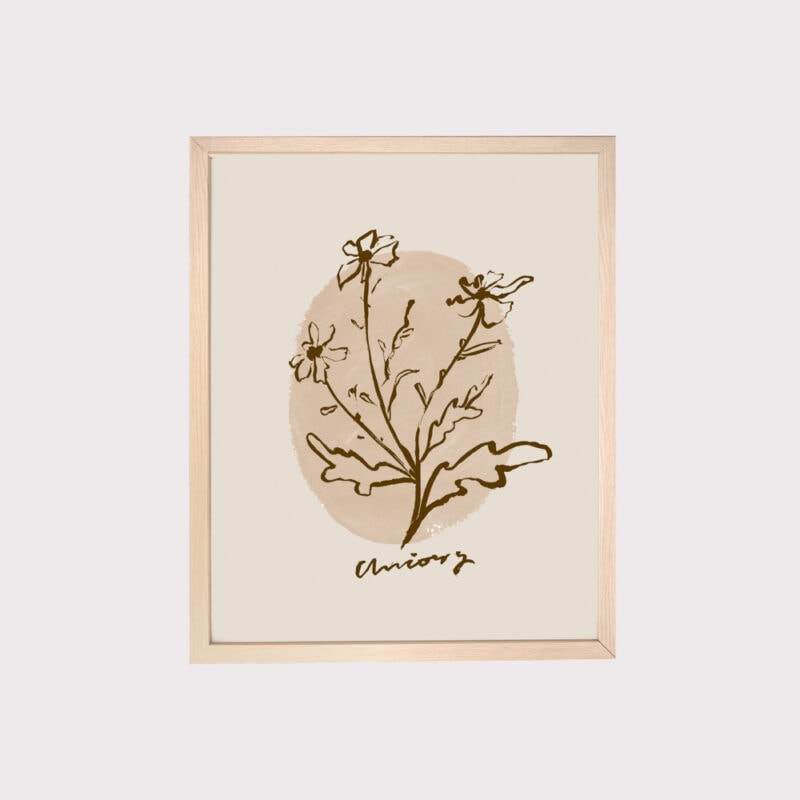
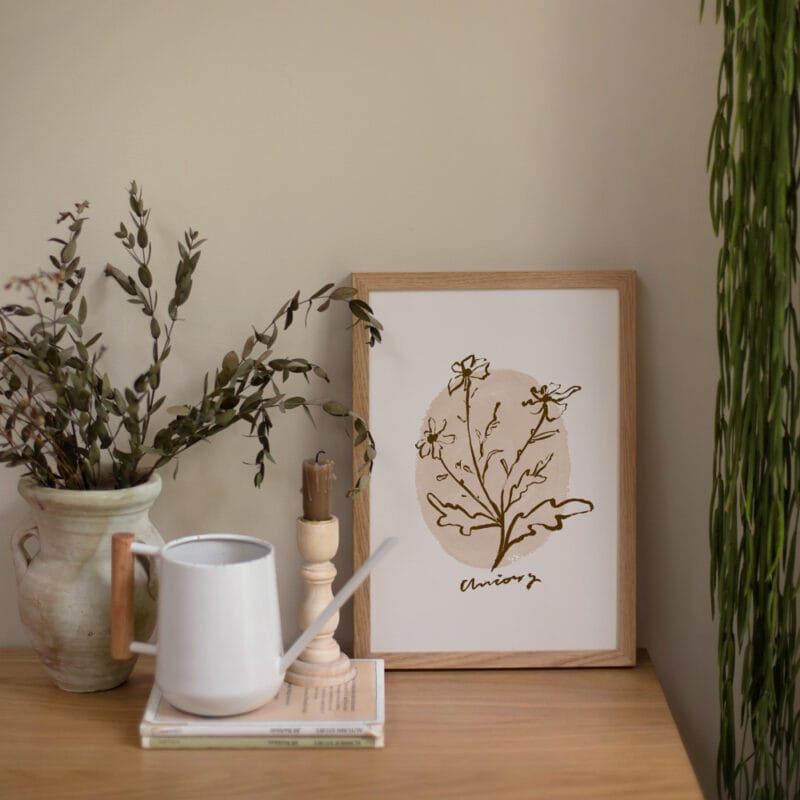
Chicory
£20.00 – £25.00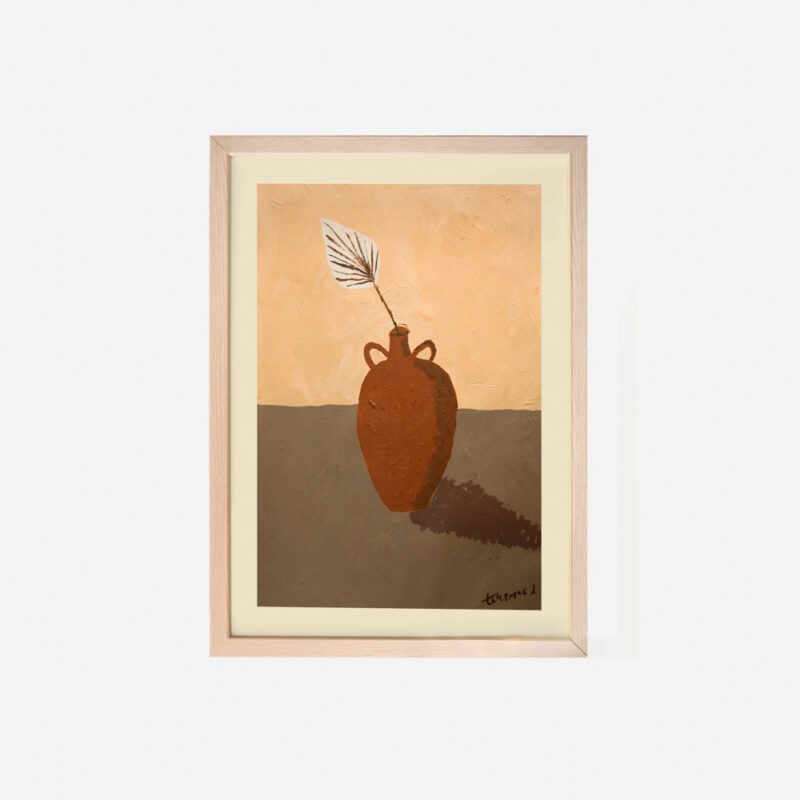
 Quick ViewSelect options
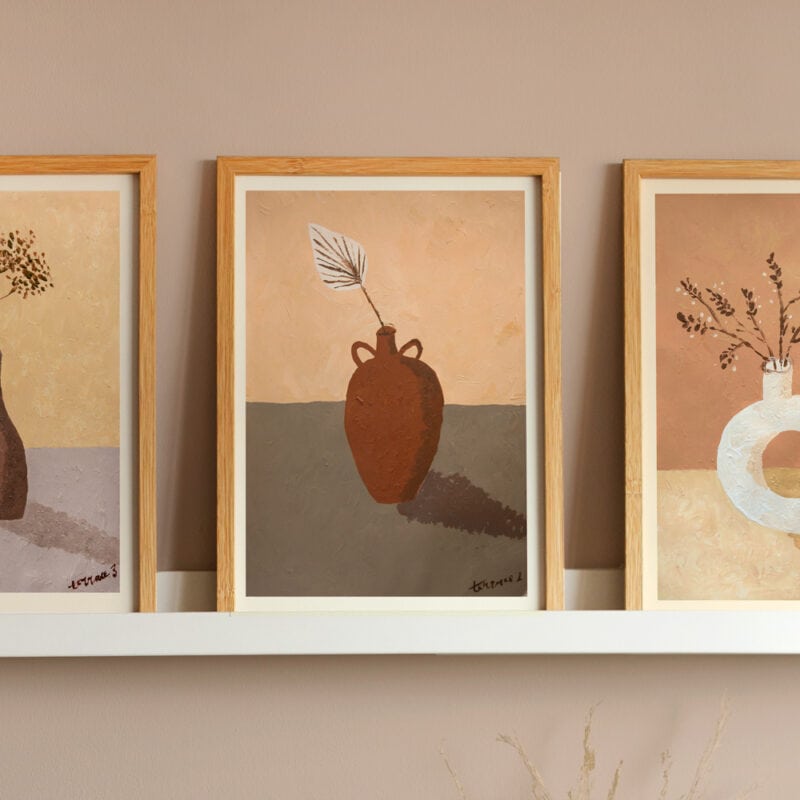
Terrace 1
£20.00 – £25.00
Work with Me
The Lovely Drawer is an award winning blog with a loyal audience that has grown over the years. I love working with brands small and large on exciting collaborations that can bring products alive in my own signature aesthetic.
