

New Year: Let’s get organised!
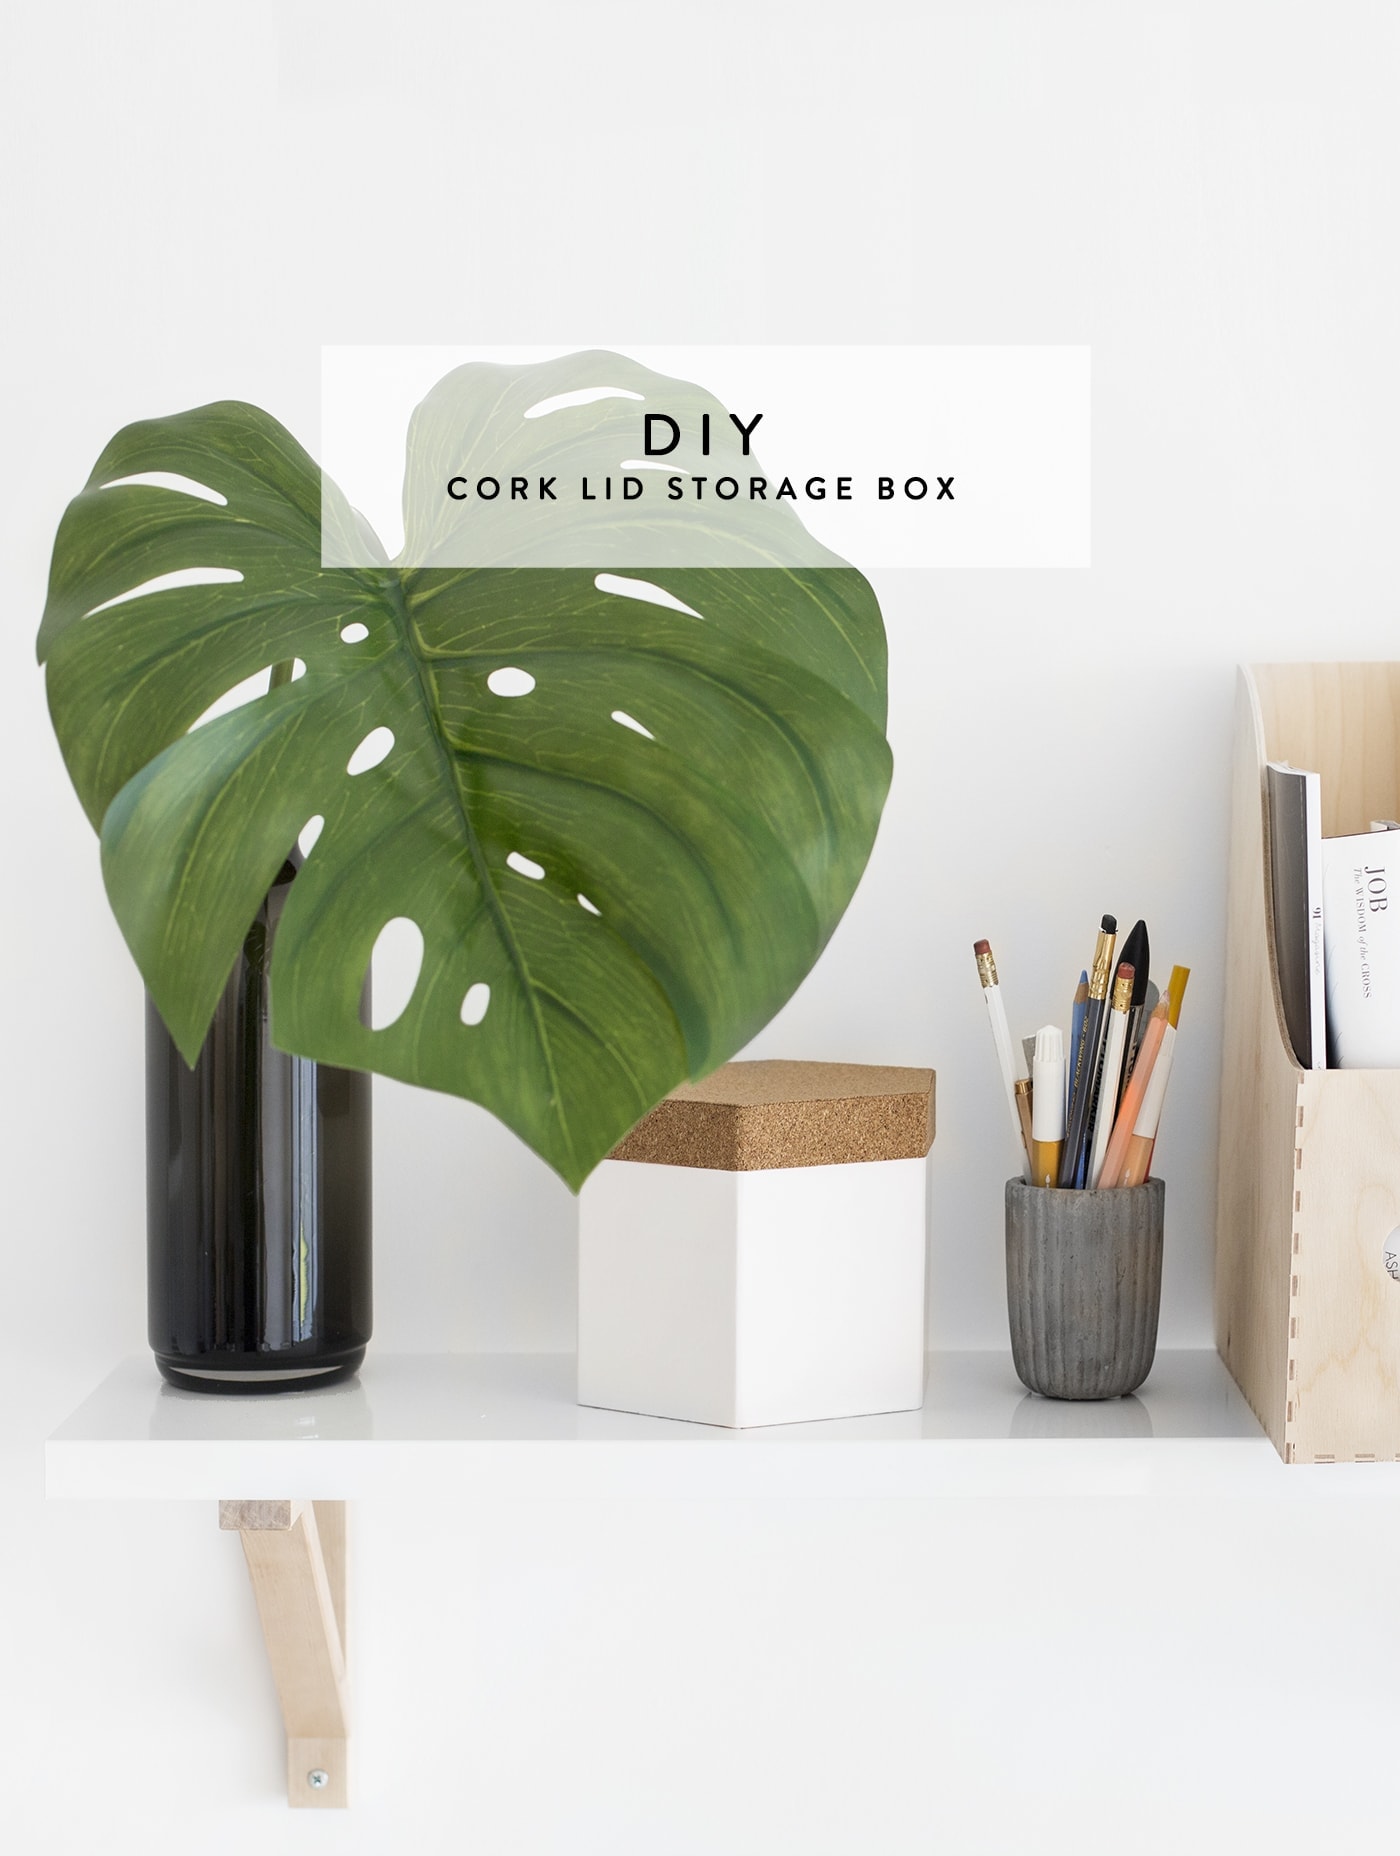

I don’t know about you but Christmas usually brings with it an array of gift boxes in all manner of sizes and shapes. This year was no exception, even receiving this pretty hexagon one and thought it was too nice to throw away. Of course I felt a DIY brewing. I’m loving the cork trend at the moment and so decided to play into that, remembering this super nifty self adhesive cork from a previous project. You can use any size or shape box you fancy but if you like the hexagon vibe, I’ve linked to a place you can get hold of one below.
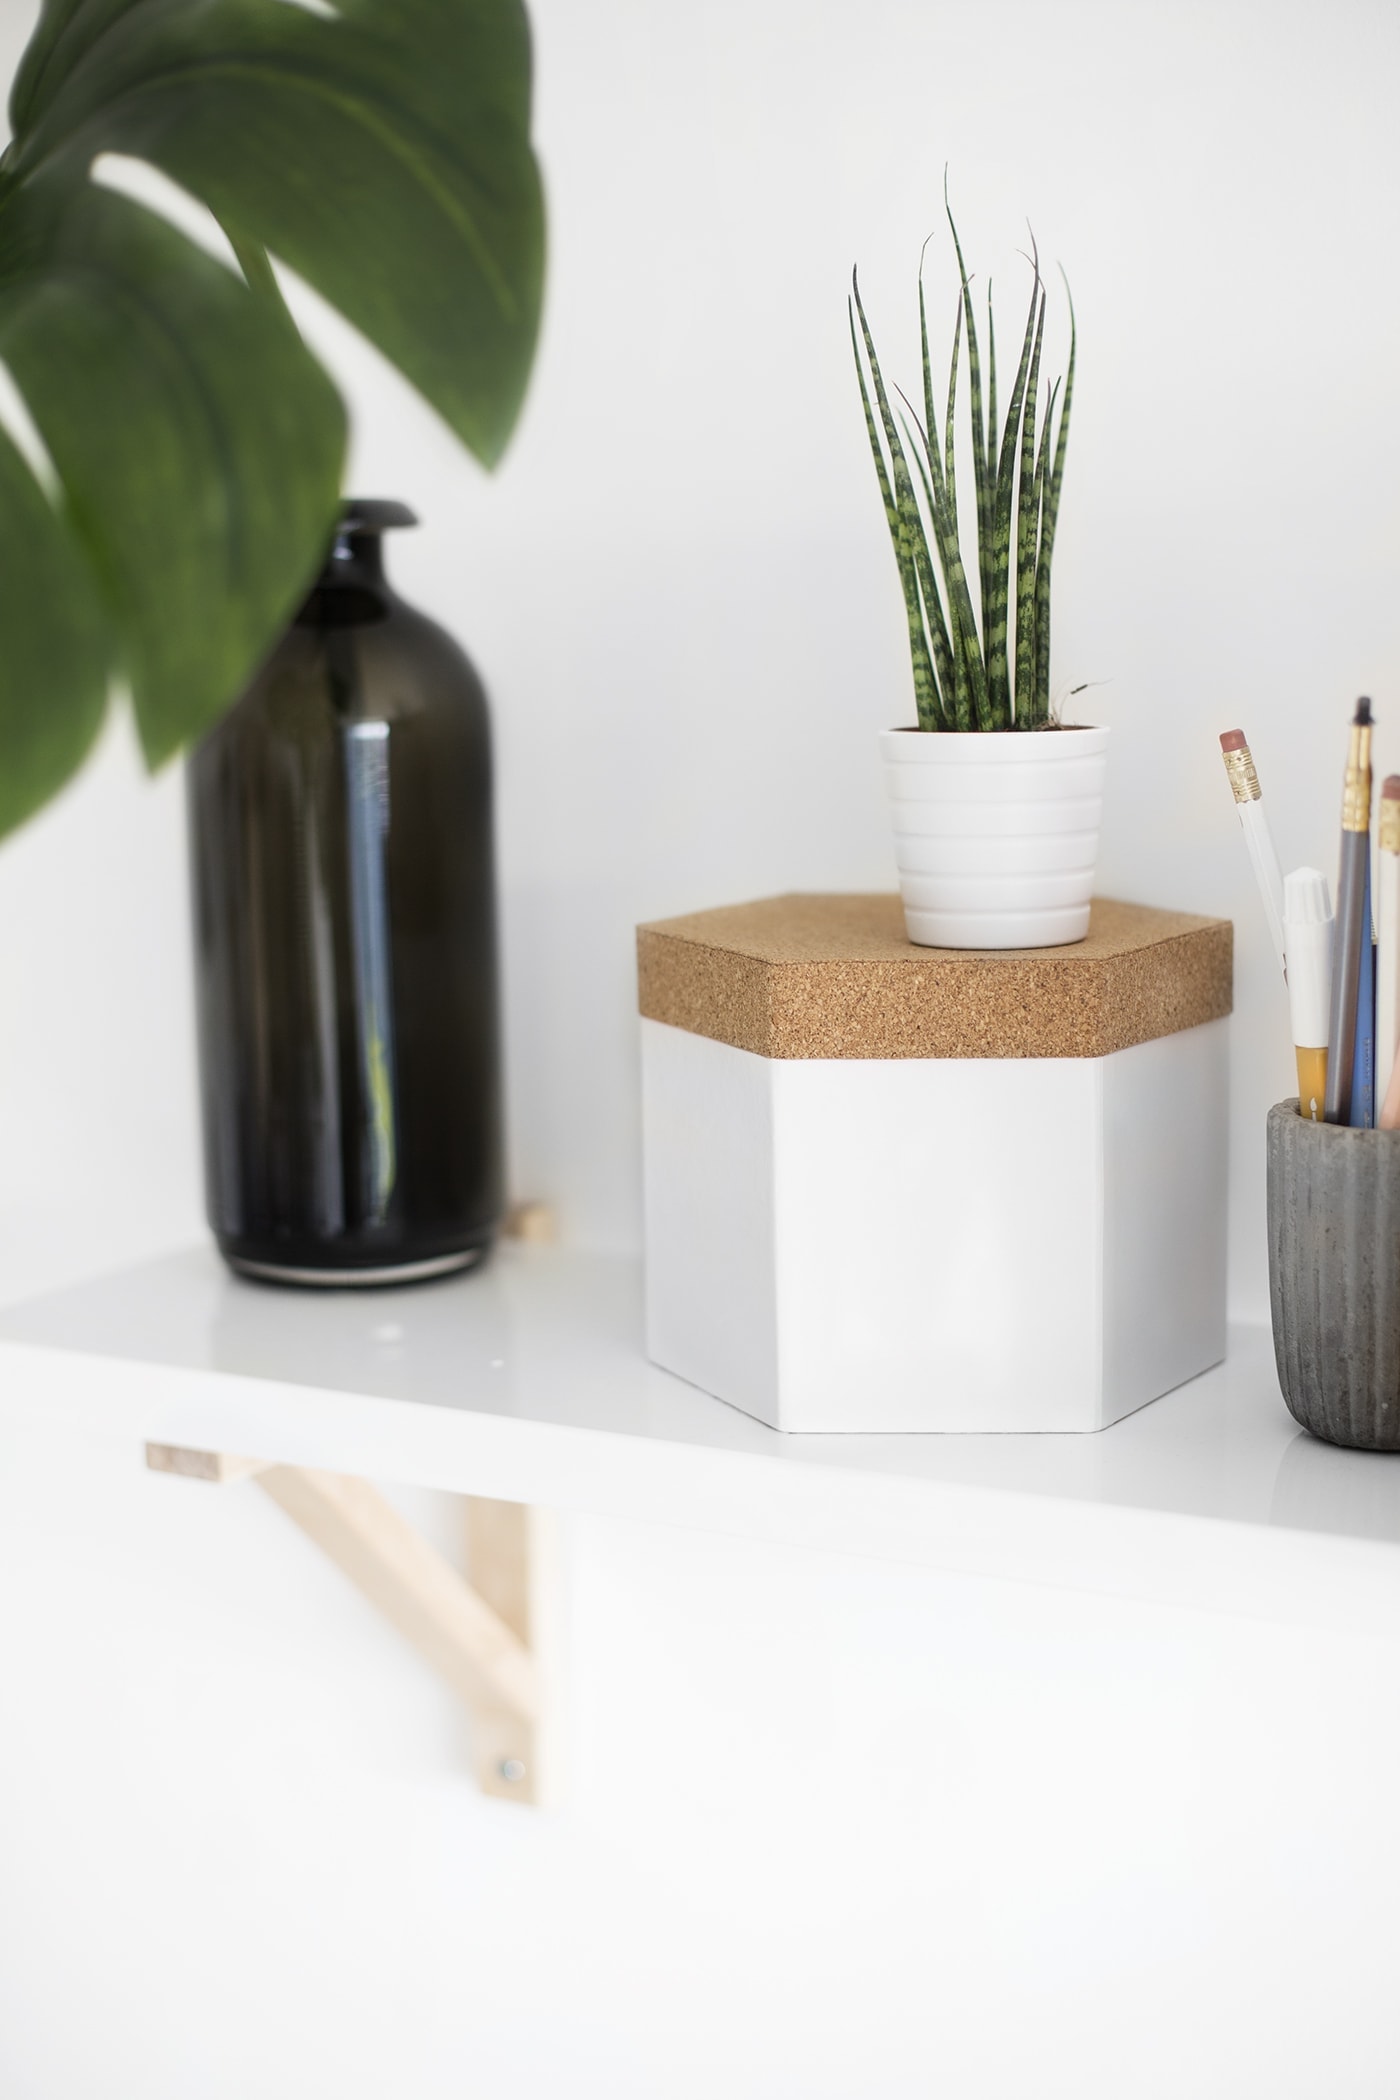
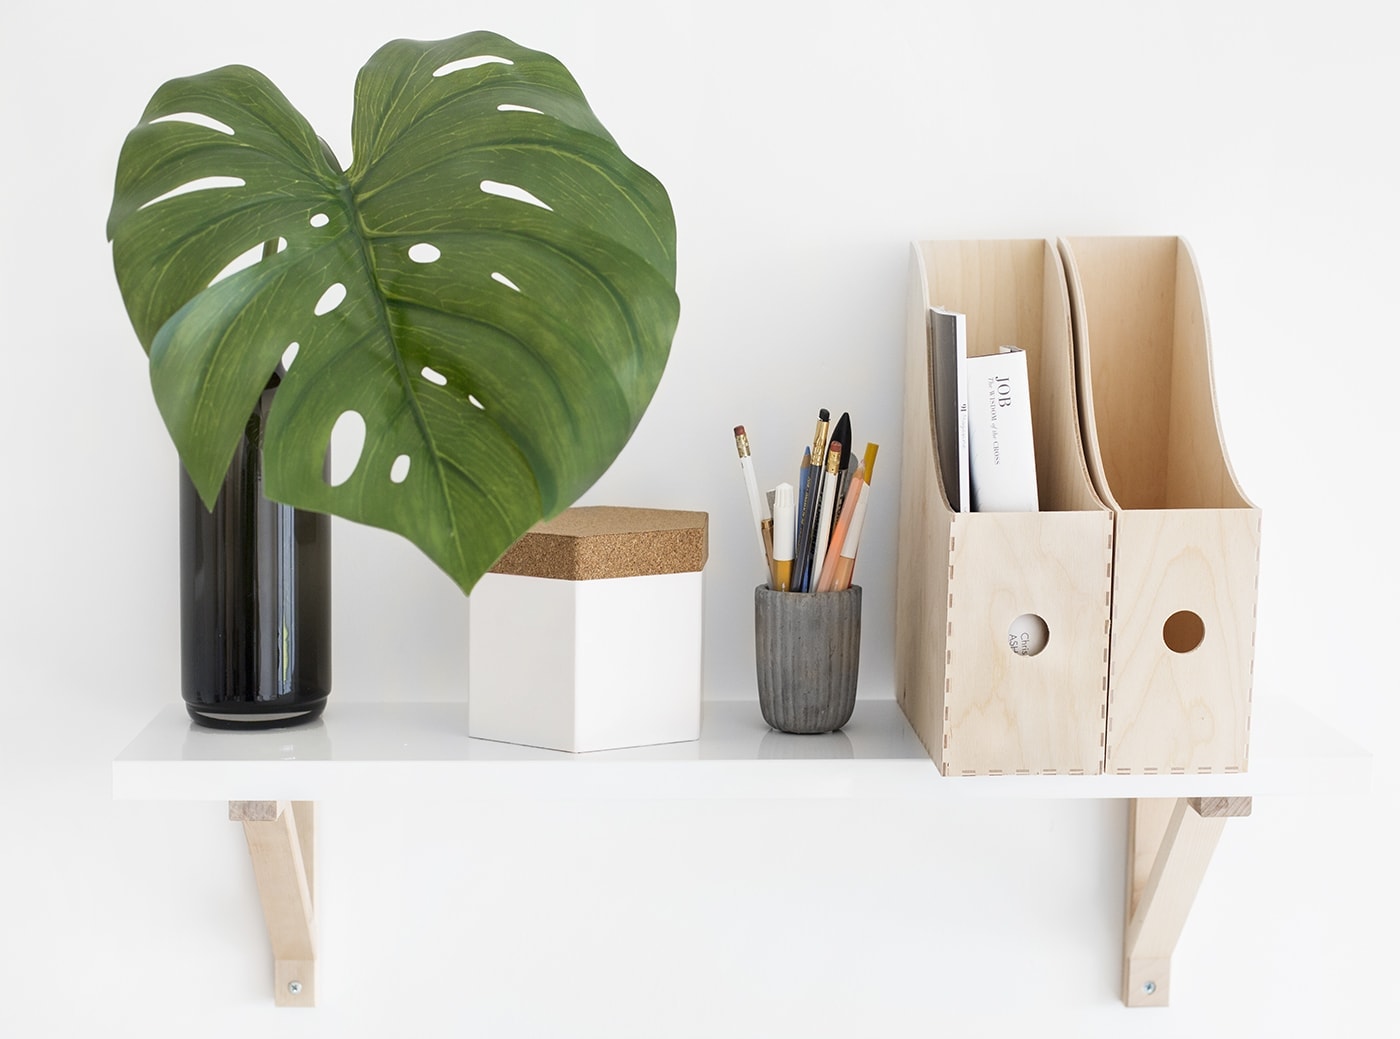
I don’t know about you but usually a new year gets me rethinking organisation across the board and that’s been especially relevant this new year having just finished my new studio. I say ‘I’ but it’s definitely more a case of ‘we’. My husband did a lot of furniture building…and rebuilding. I’m so happy with the way it’s come together and can’t wait to show you guys soon but for now I’ve been having a great time organising my props, my stock and all those stray crafting materials. These boxes are a great idea for minimal desk storage, especially in a few different sizes.
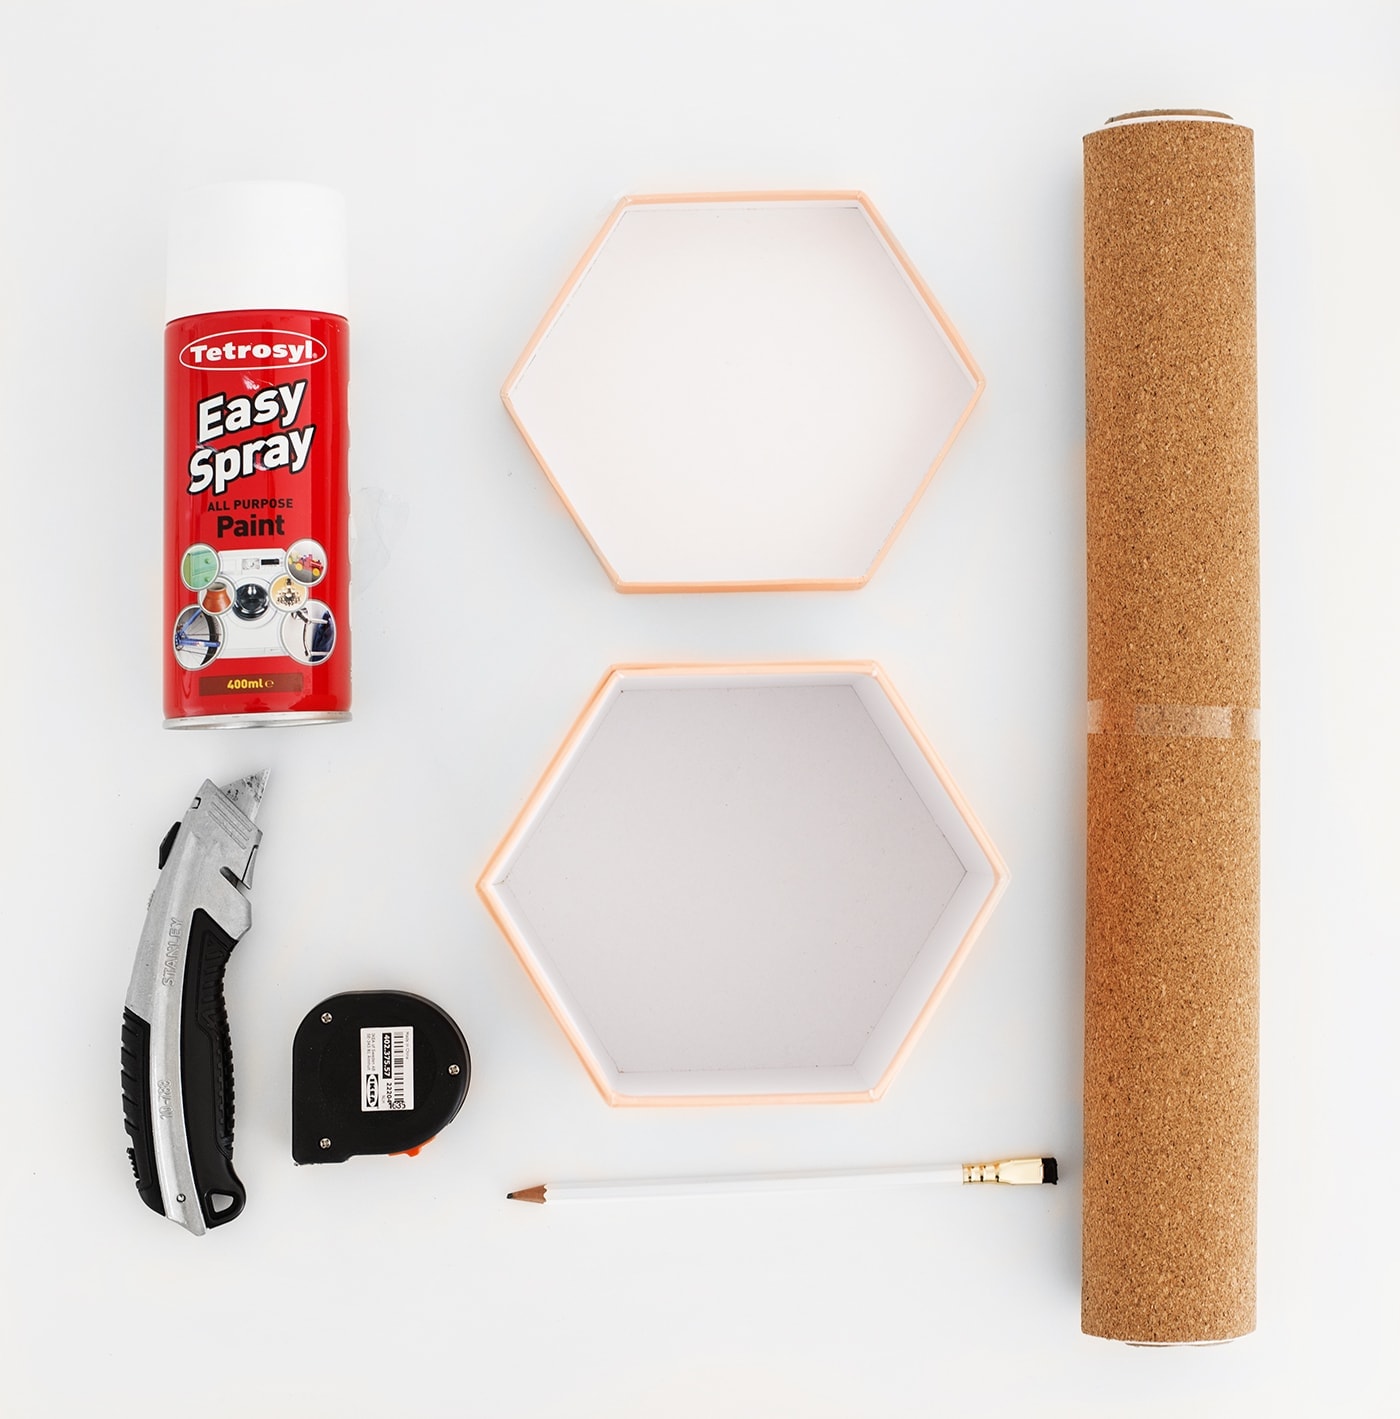
Materials
- Gift box or you can find a hexagon box here
- White spray paint
- Pencil
- Adhesive cork sheet
- Tape measure or ruler
- Stanley knife or scissors
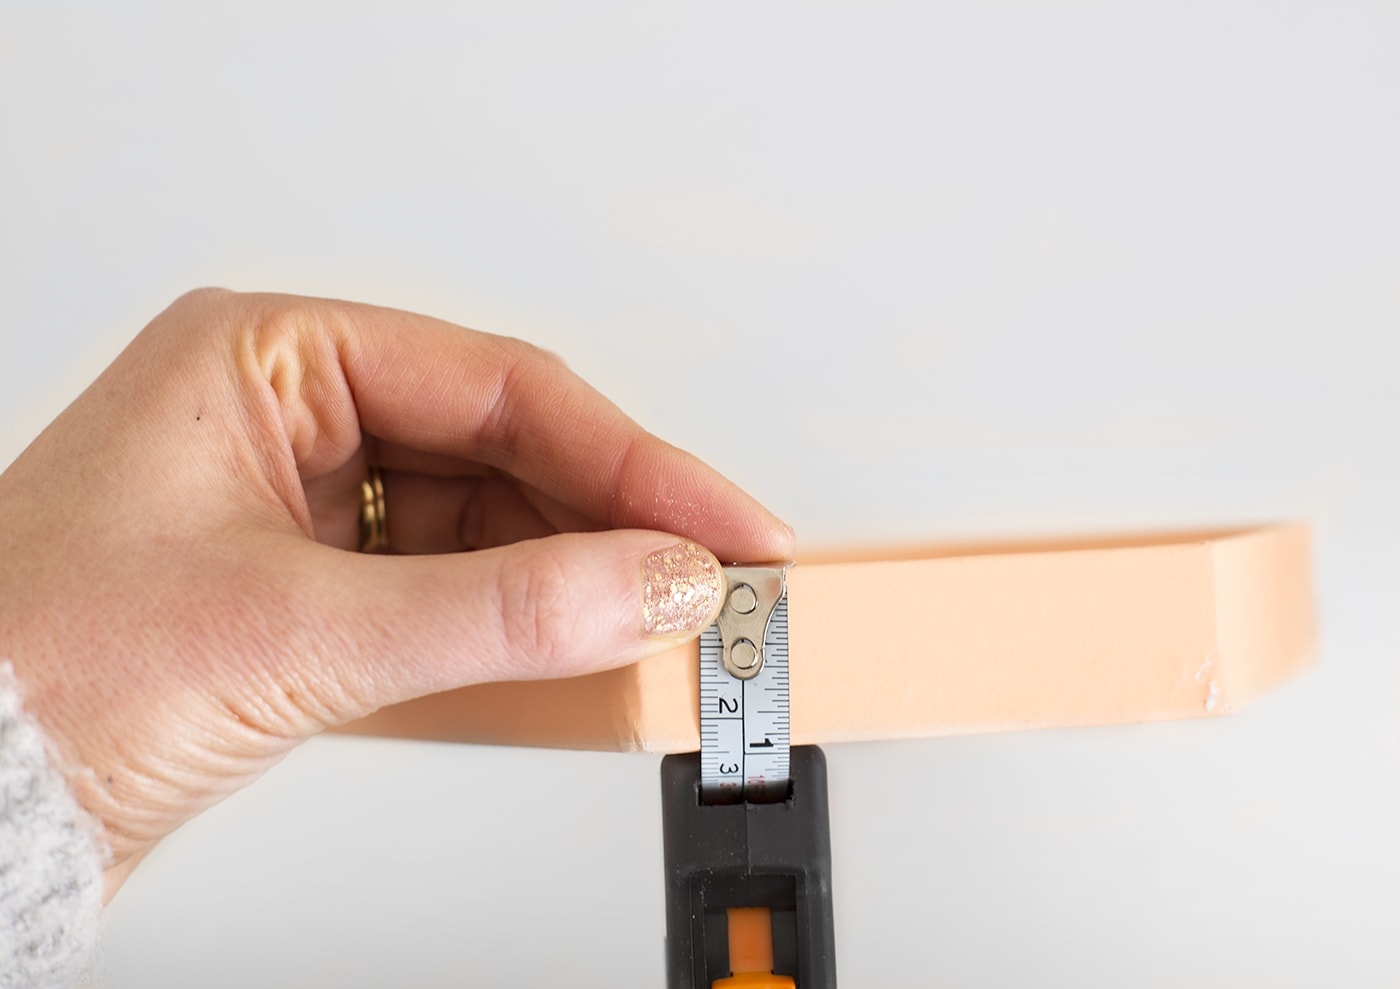
Start by spray paint your entire base white. Make sure to do a few light coats to build up the colour rather than saturate it. While it’s drying take the box lid and measure the width of one of the sides.
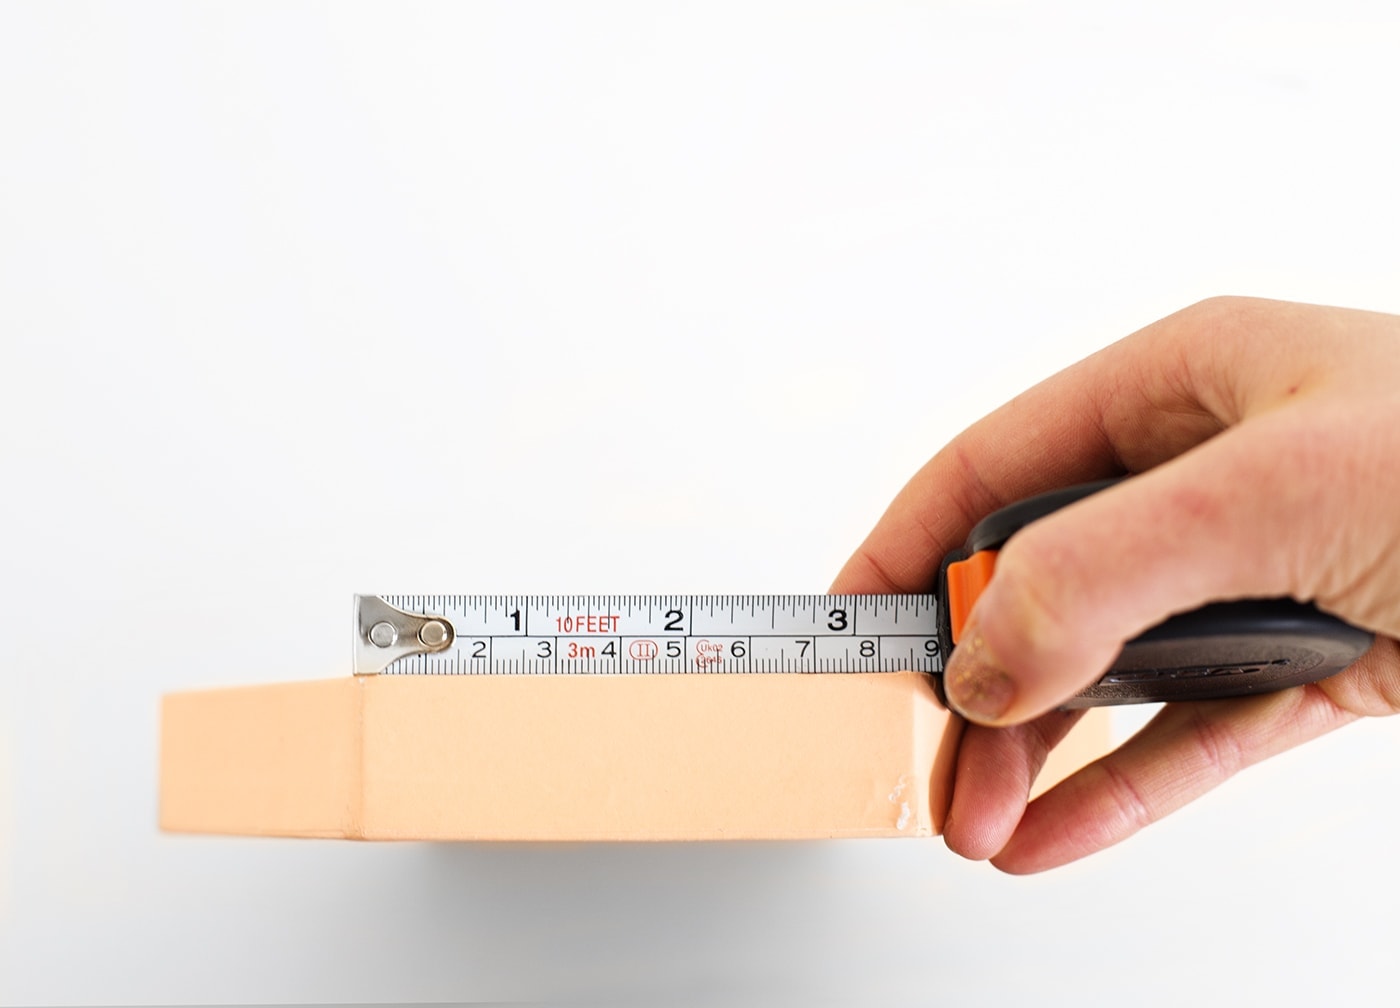
Then measure the length of one of the sides and once you have both measurements x by the amount of sides you have. In this case that was six so I drew a long, continuous length onto the backing side using those measurements. Cut this out.
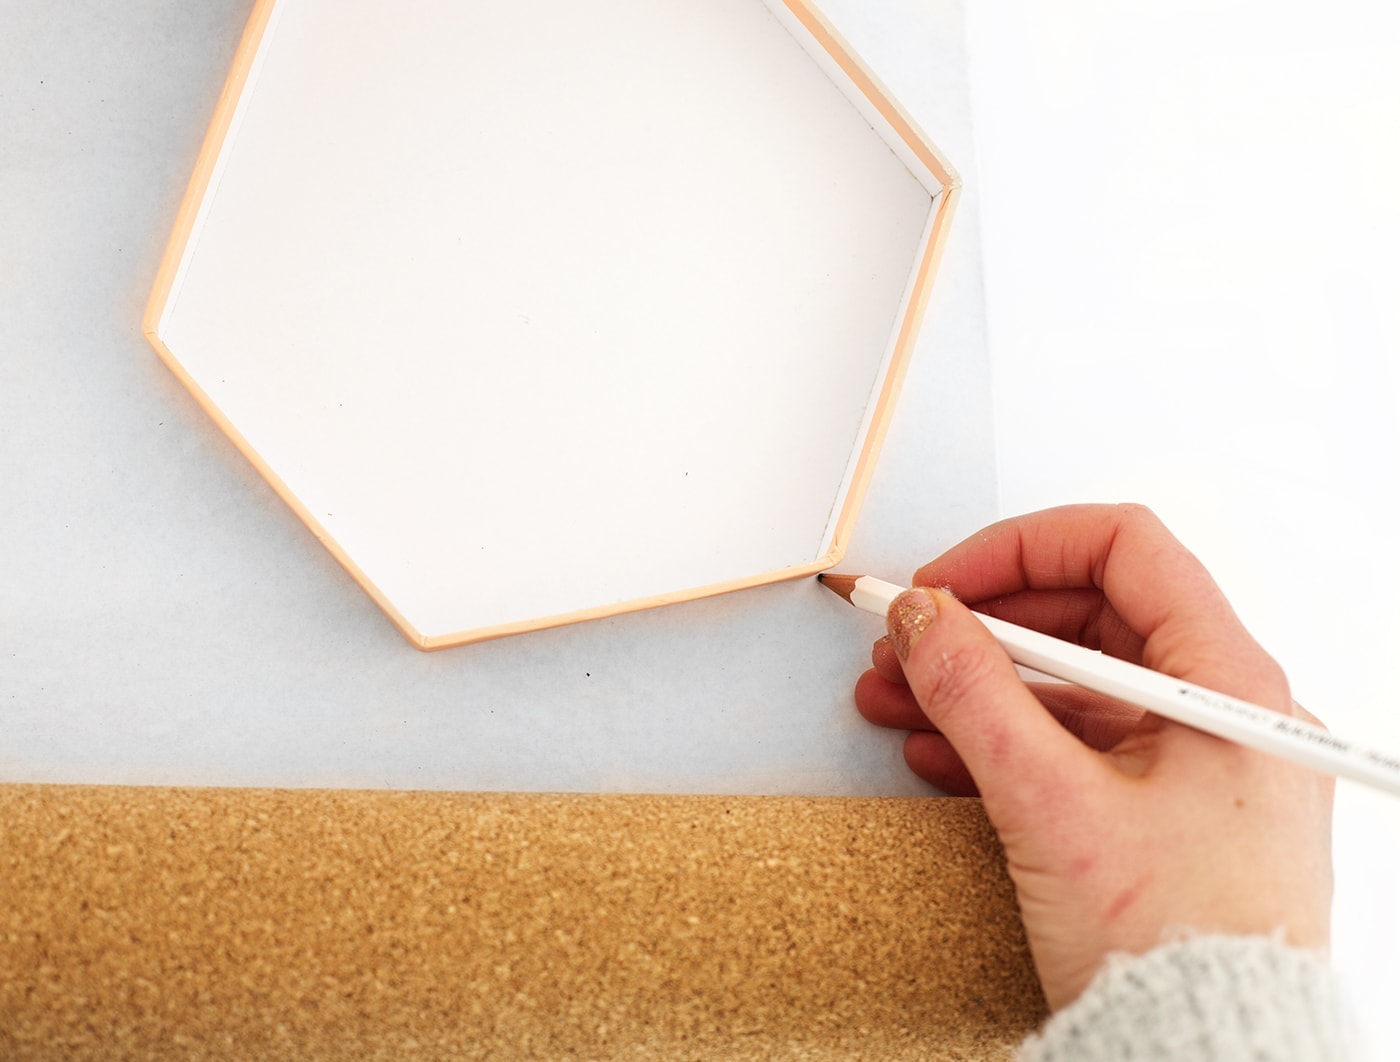
Now use the top side of the lid to draw around onto the cork backing and cut this out.

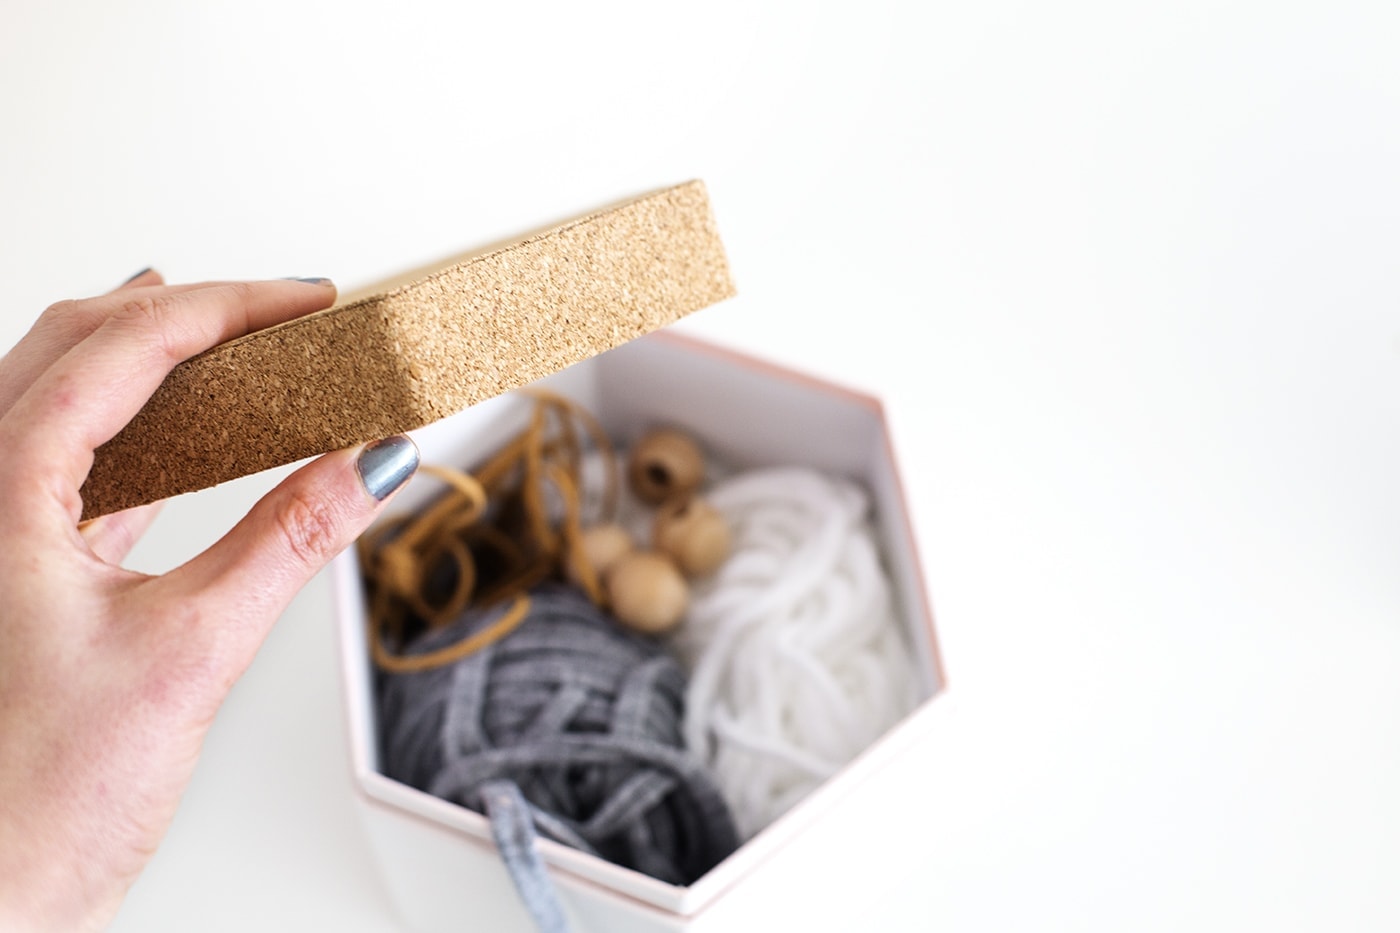
Start with the top of the lid. Peel away a little of the plastic backing and line the corner up correctly. Then gradually continue to peel back, pressing down as you go. If there is any over hang at the end just use the knife / scissors to trim that off.
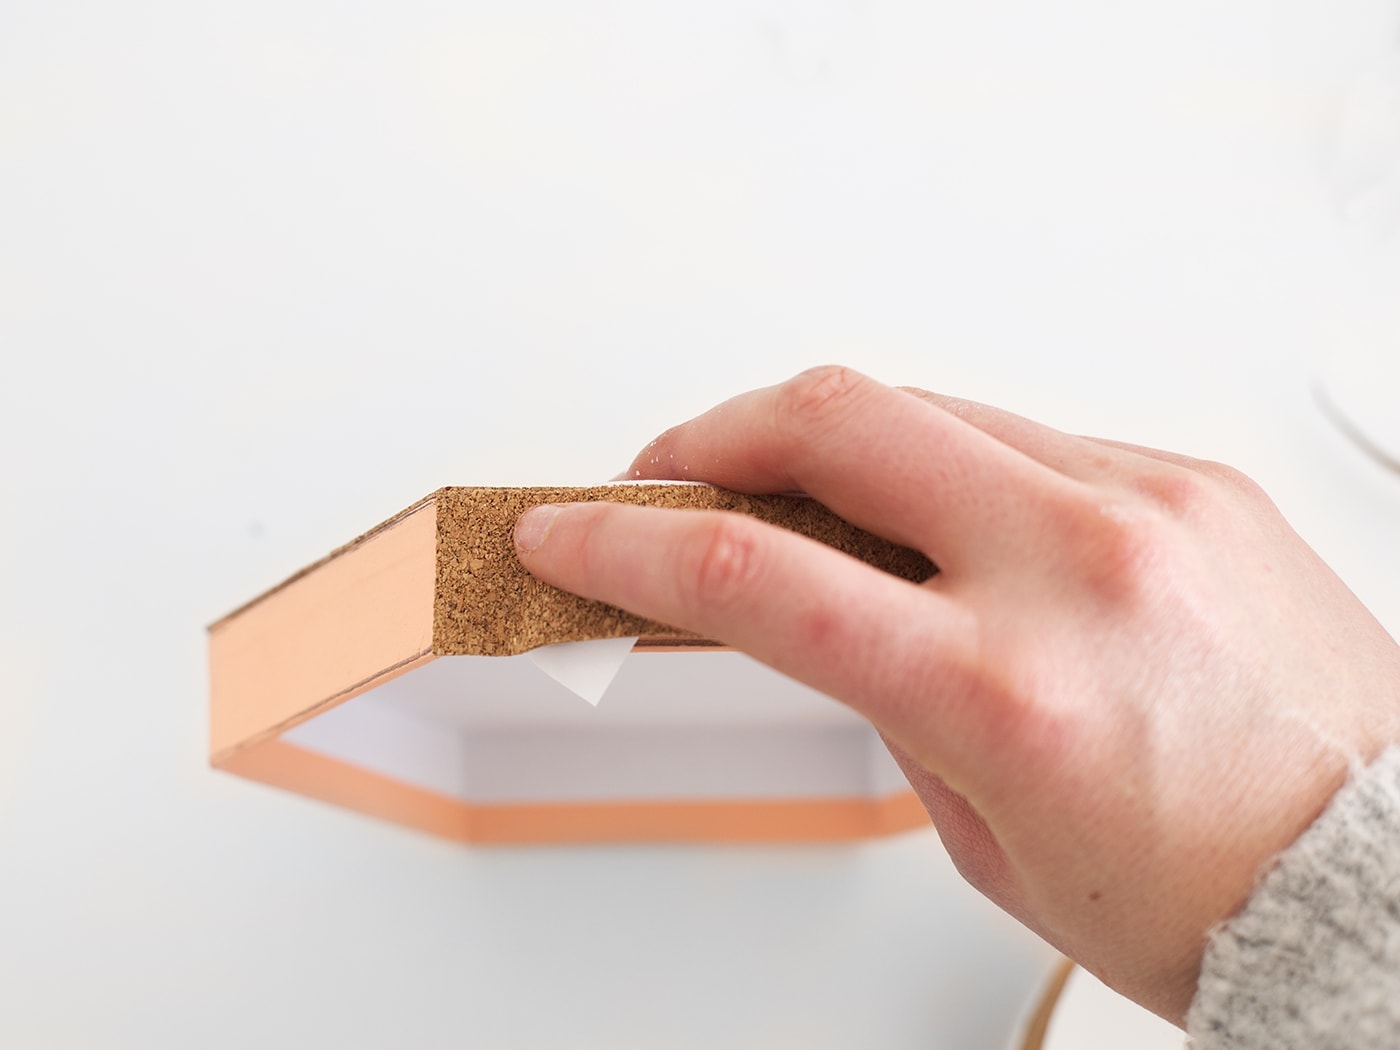
Now doe the same with your longer piece of cork around the sides, making sure you try your best to line it up well, so that both cork edges meet. Push into place and snip off any excess at the end.


Your box is ready to go and why stop there? Why not make a few in different sizes. Use them for your desk or around the home or even go wild and regift the box with a present inside. That way they kind of get a double gift!
I hope you enjoyed my first DIY of 2017 guys! I’m dreaming up more right now!
You might also like


Meet The Lovely Drawer

Hi, I’m Teri and welcome to my own creative corner of the internet. I blog about interiors, DIY projects, design inspiration and my general life so stick around have a read and say hi.
In the shop
 Quick ViewSelect options
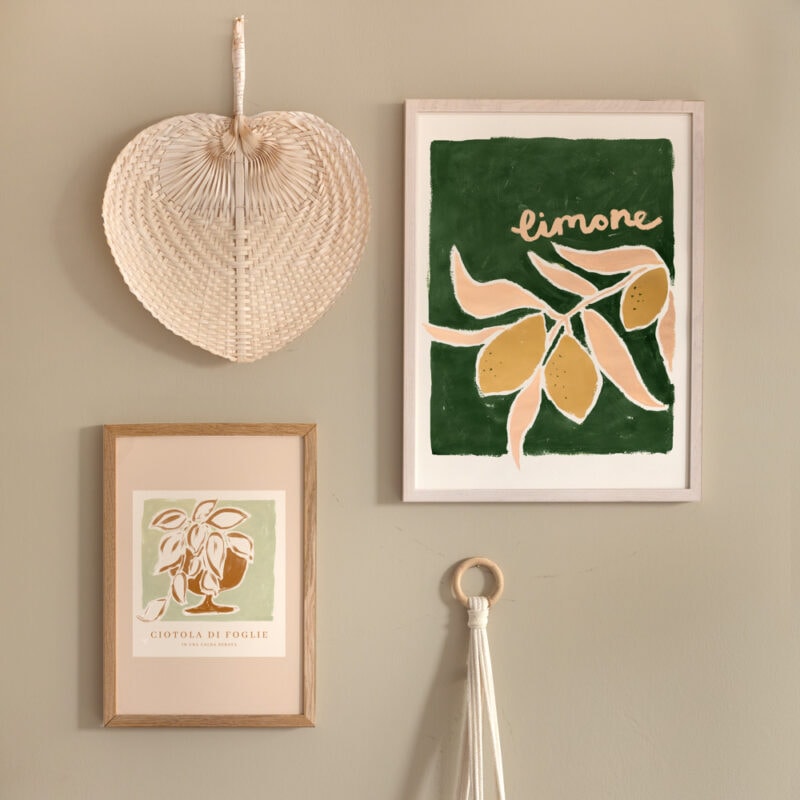
Orchard Days
£20.00 – £25.00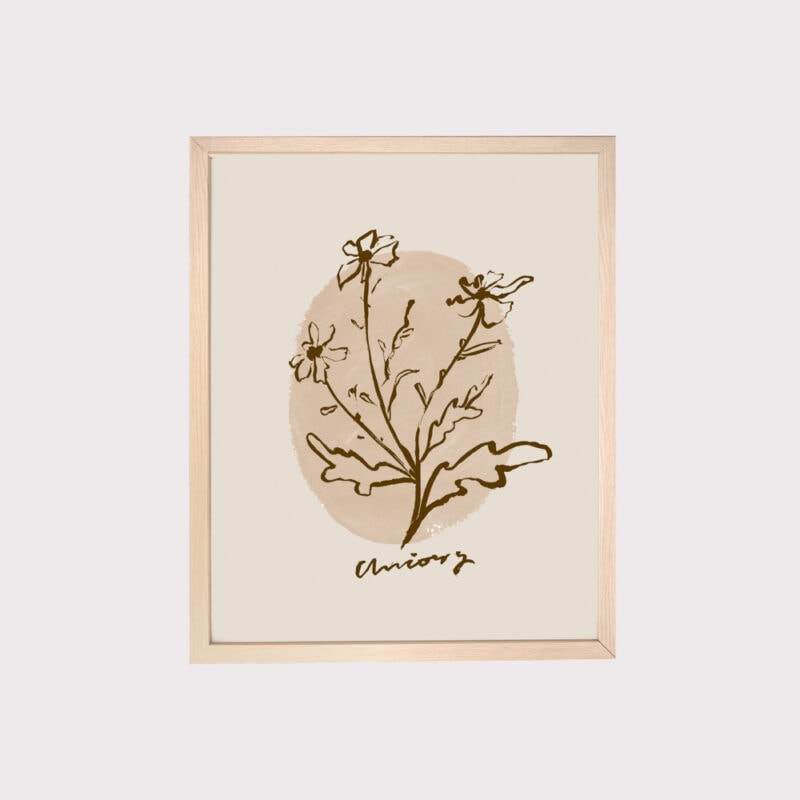
 Quick ViewSelect options
Chicory
£20.00 – £25.00
Work with Me
The Lovely Drawer is an award winning blog with a loyal audience that has grown over the years. I love working with brands small and large on exciting collaborations that can bring products alive in my own signature aesthetic.