

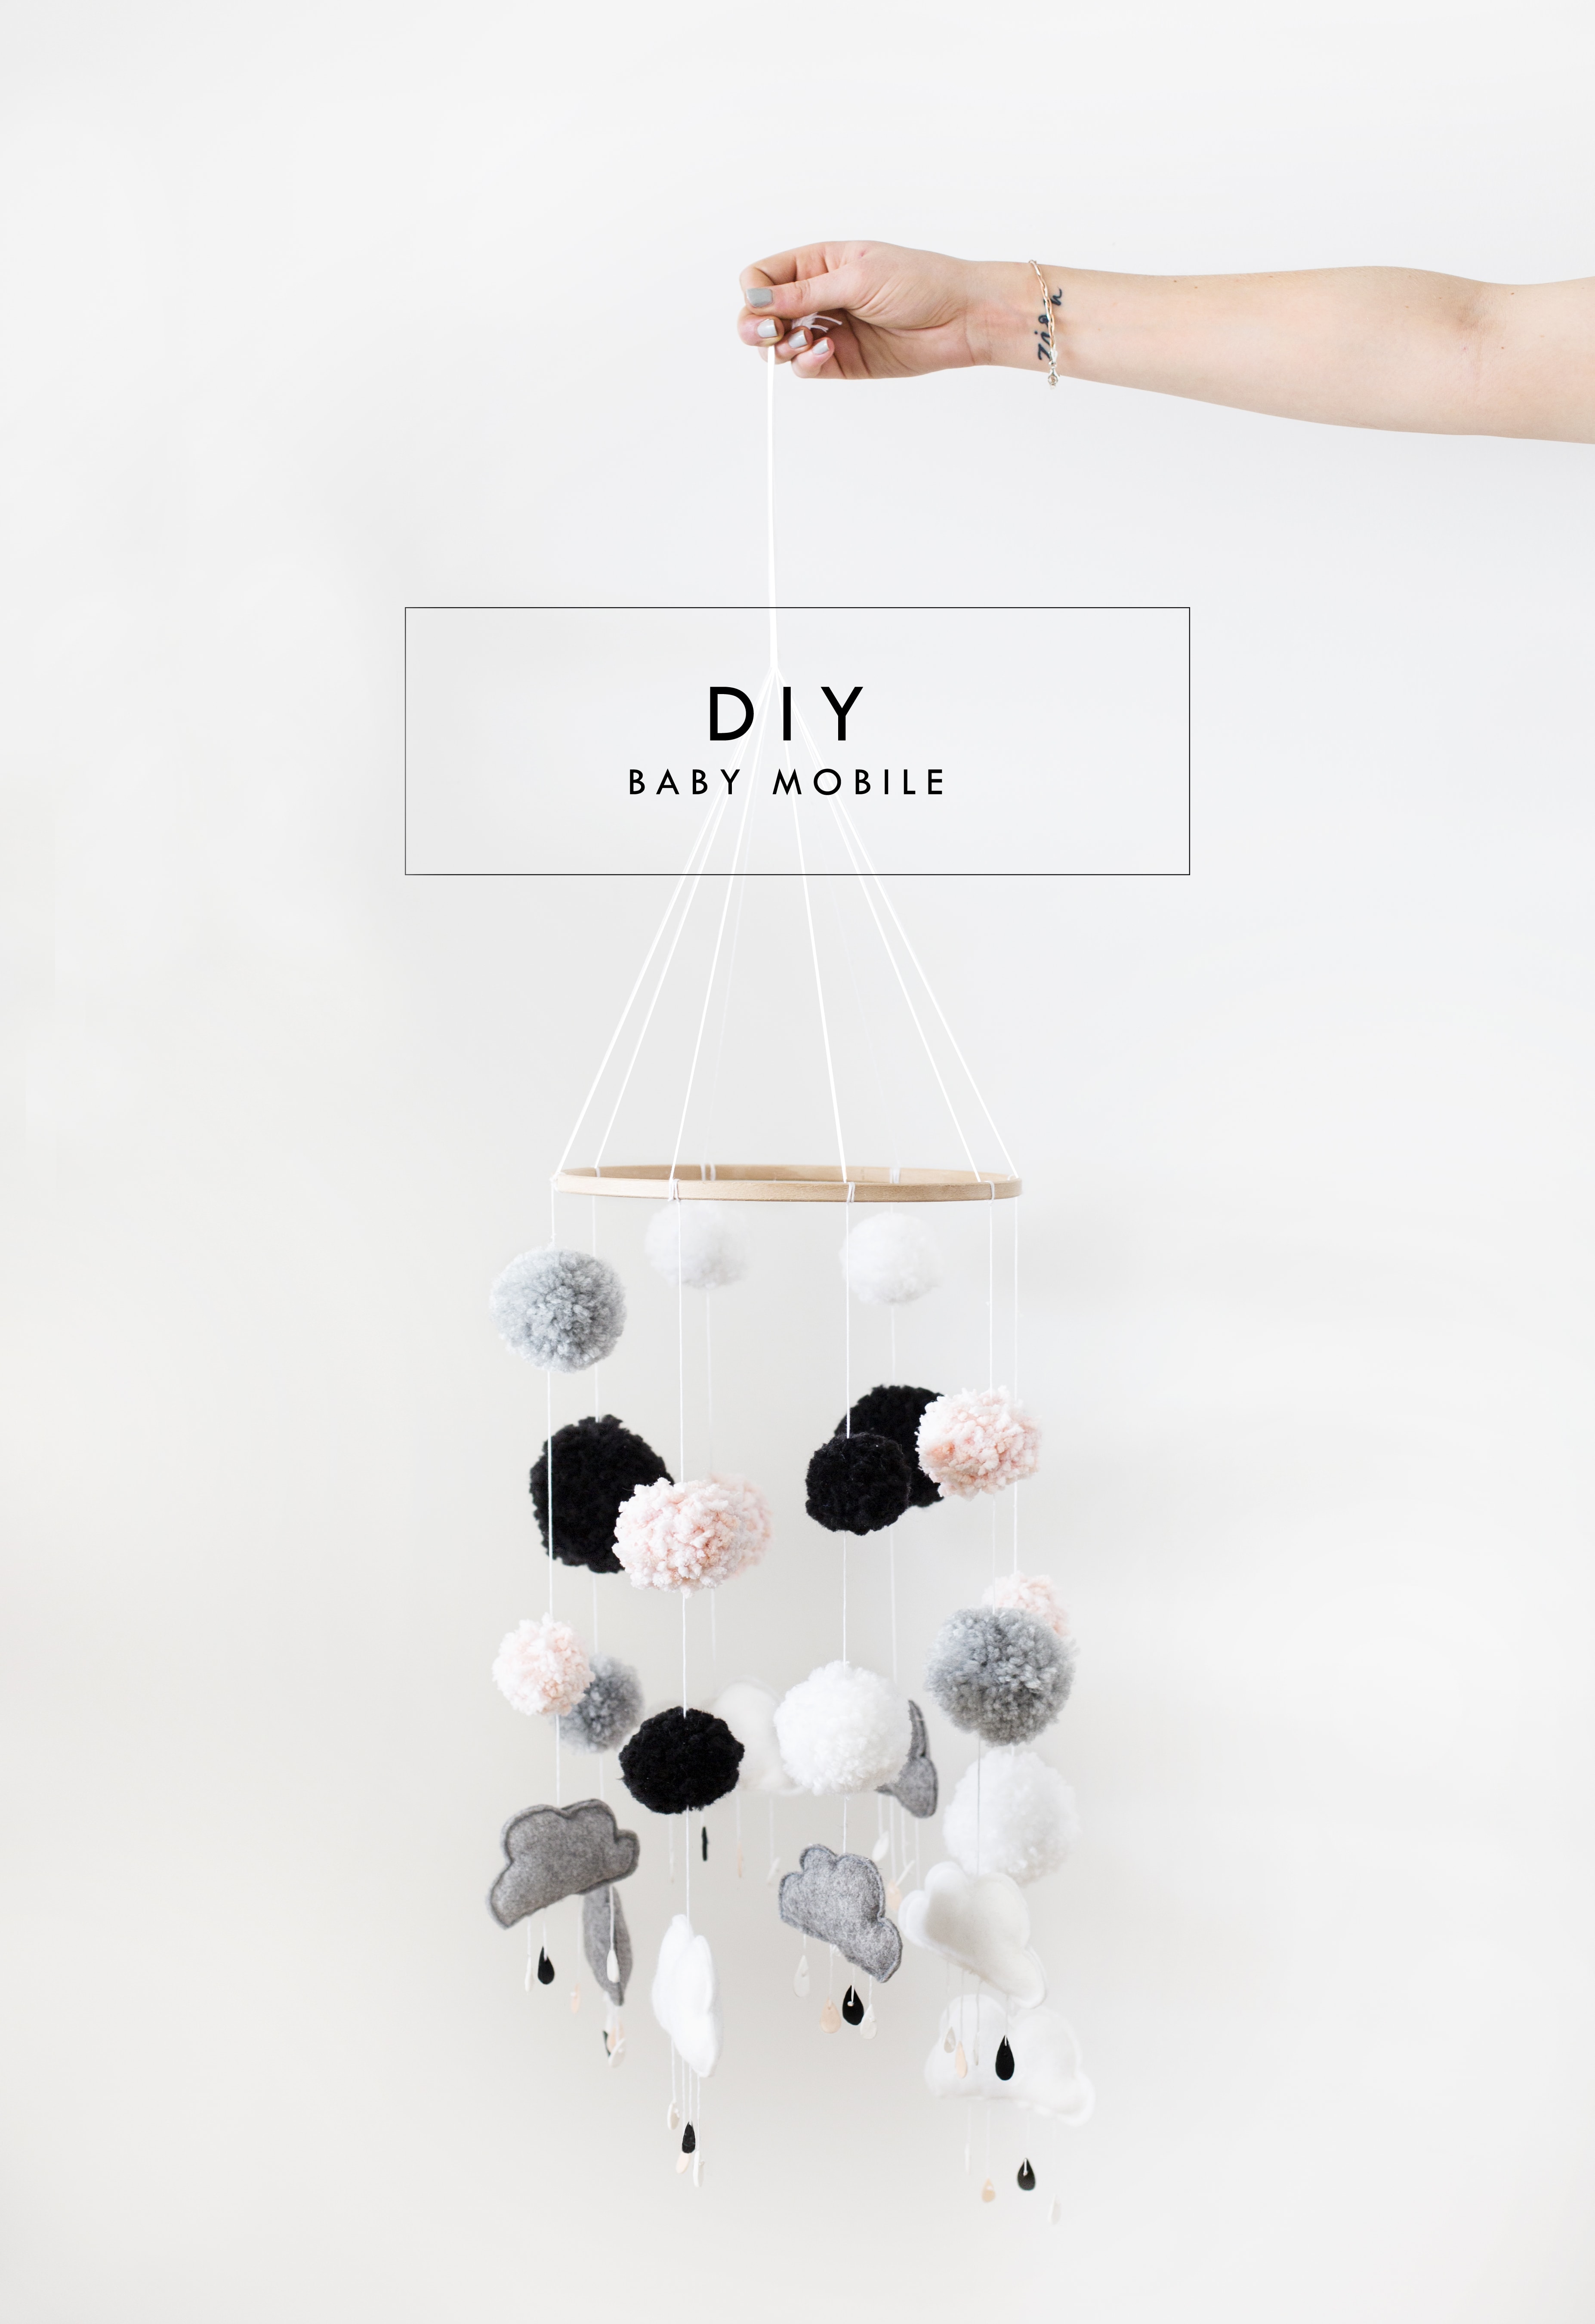
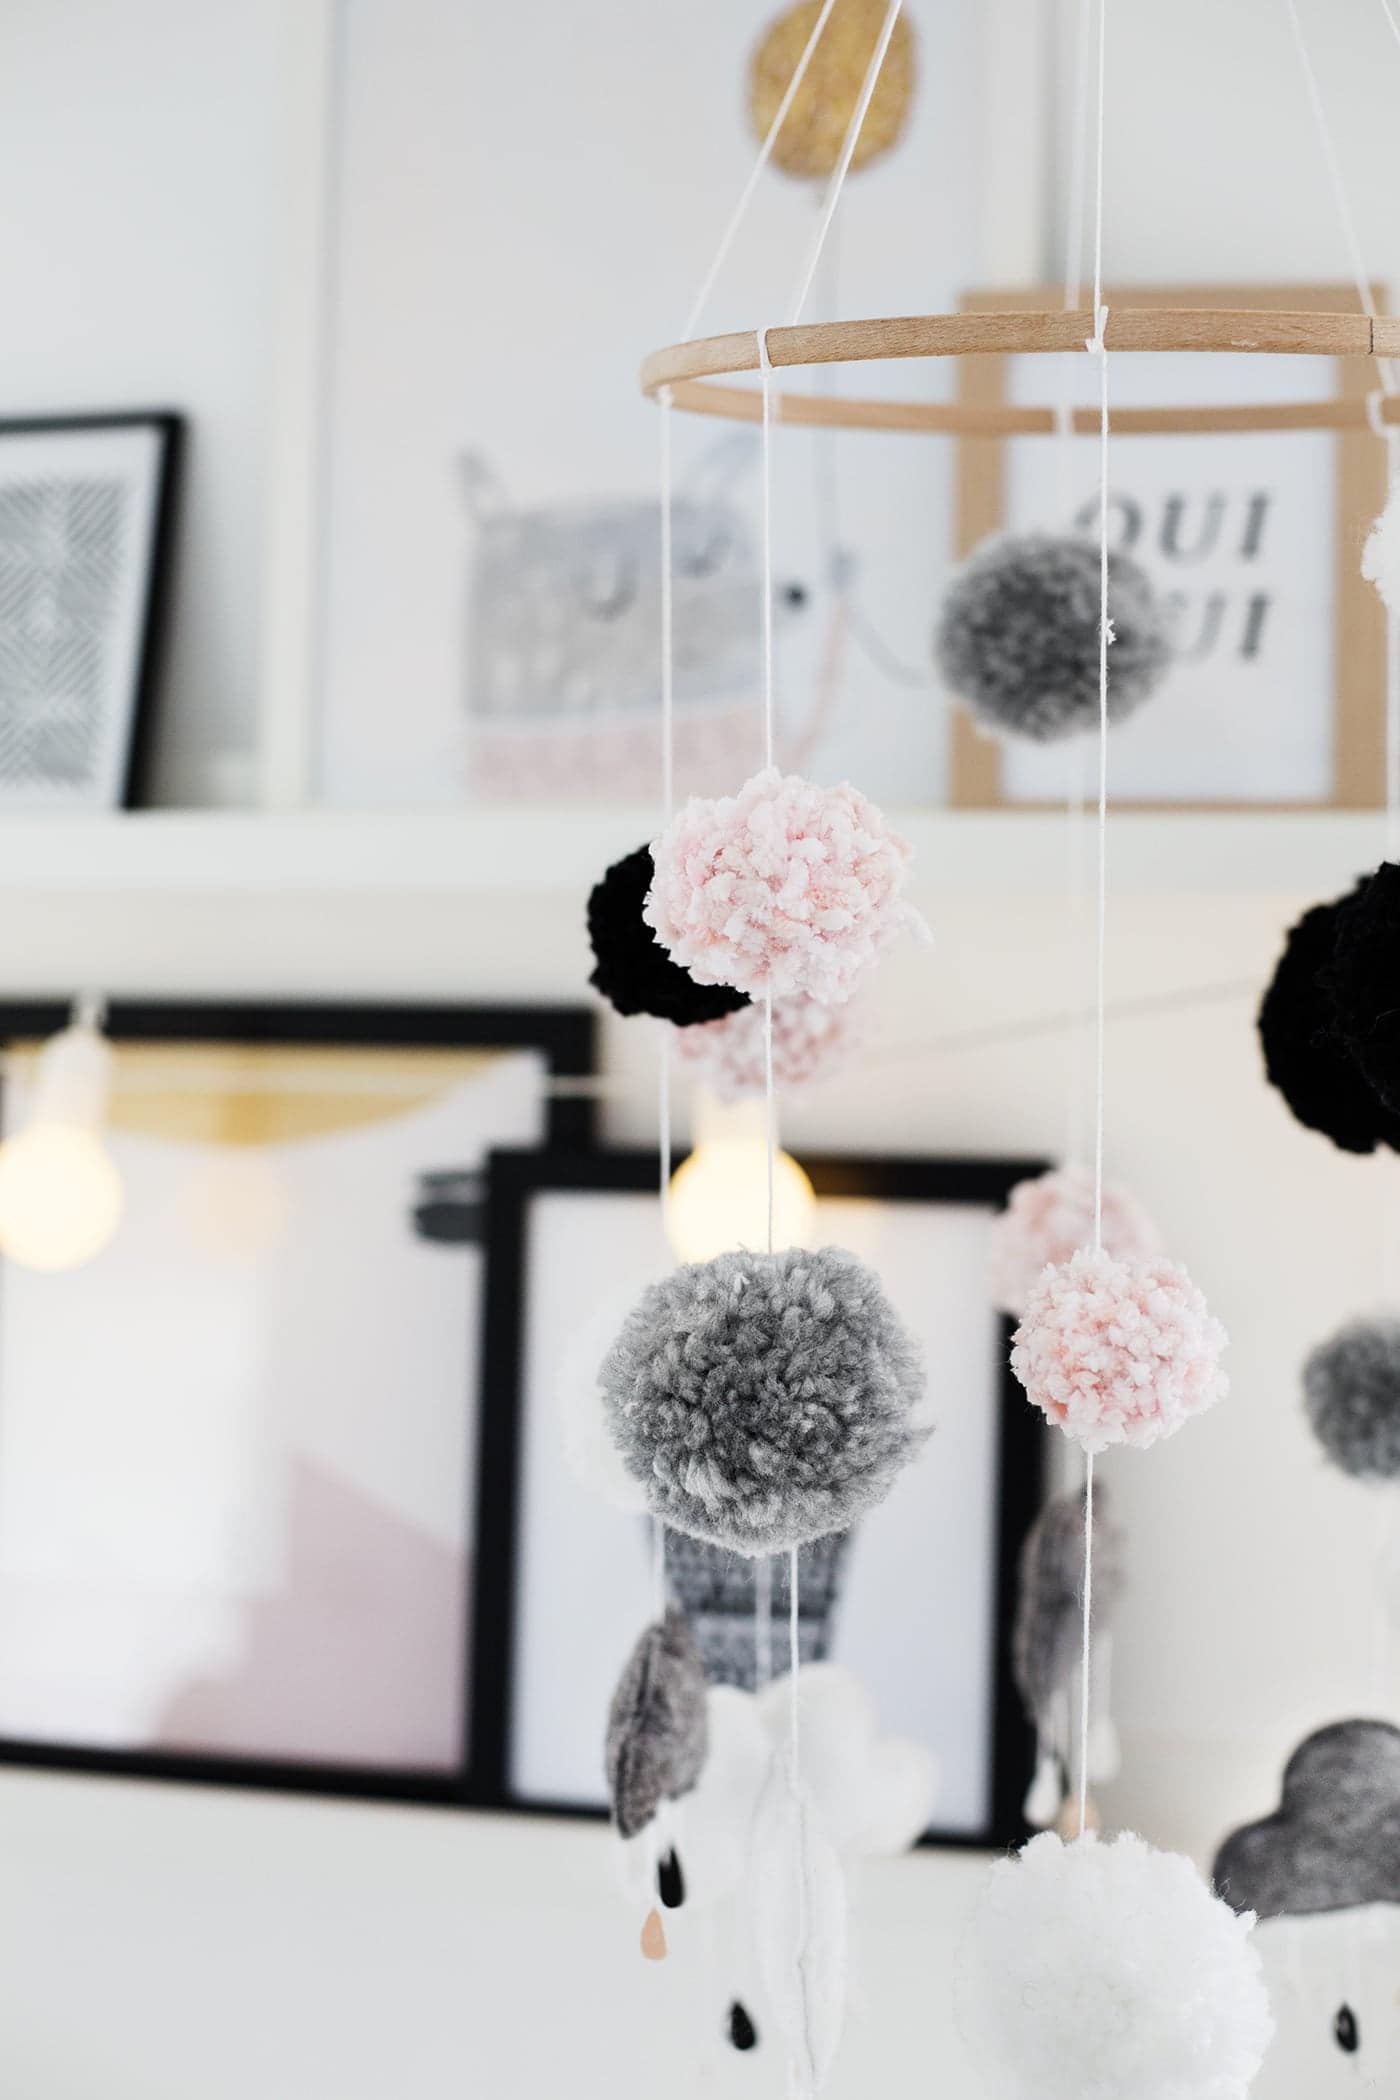
 Obviously in doing up our nursery my head started rumbling with a million DIY projects I wanted to do. Sadly I had to reign in my long list and get realistic about how much time I had. One thing I knew I definitely wanted was to make a baby mobile to go above the cot and along with this knew it was essential for it to include pom poms…because I can’t get enough of them in bubba’s room right now! It’s an irrational obsession. I perused beautiful mobile’s online and ‘ooed and aahed’ over them but they all seemed to cost a small fortune, something we don’t currently have. This option means you can have your own without breaking the bank, as well as picking your colours accordingly.
My blush pink pom poms were made with this gorgeous, super soft wool if you fancy giving that a try. I spent more time rubbing it on my face at first than anything else!

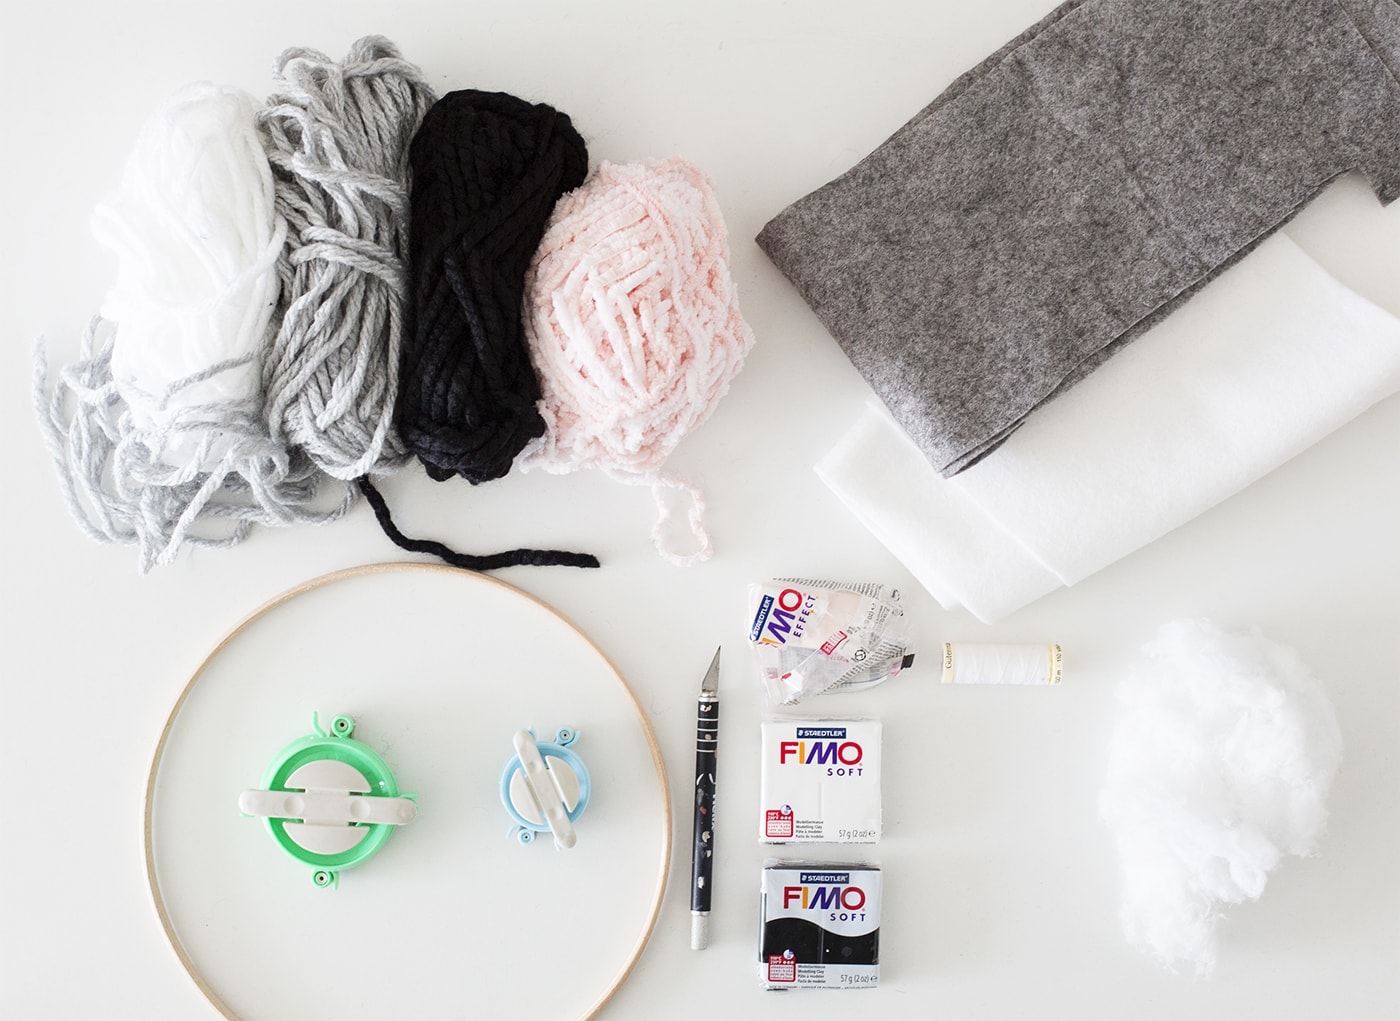
Materials
- Sewing machine
- White Felt
- Grey Felt
- Wodding
- Pins
- Scissors
- Scalpel
- White Embroidery thread
- Fimo – Black, White & Pink
- Pen
- Baking paper lined with baking paper
- 3 x balls of coloured chunky Wool
- 2 x Pom Pom makers in different sizes
- Wooden Hoop
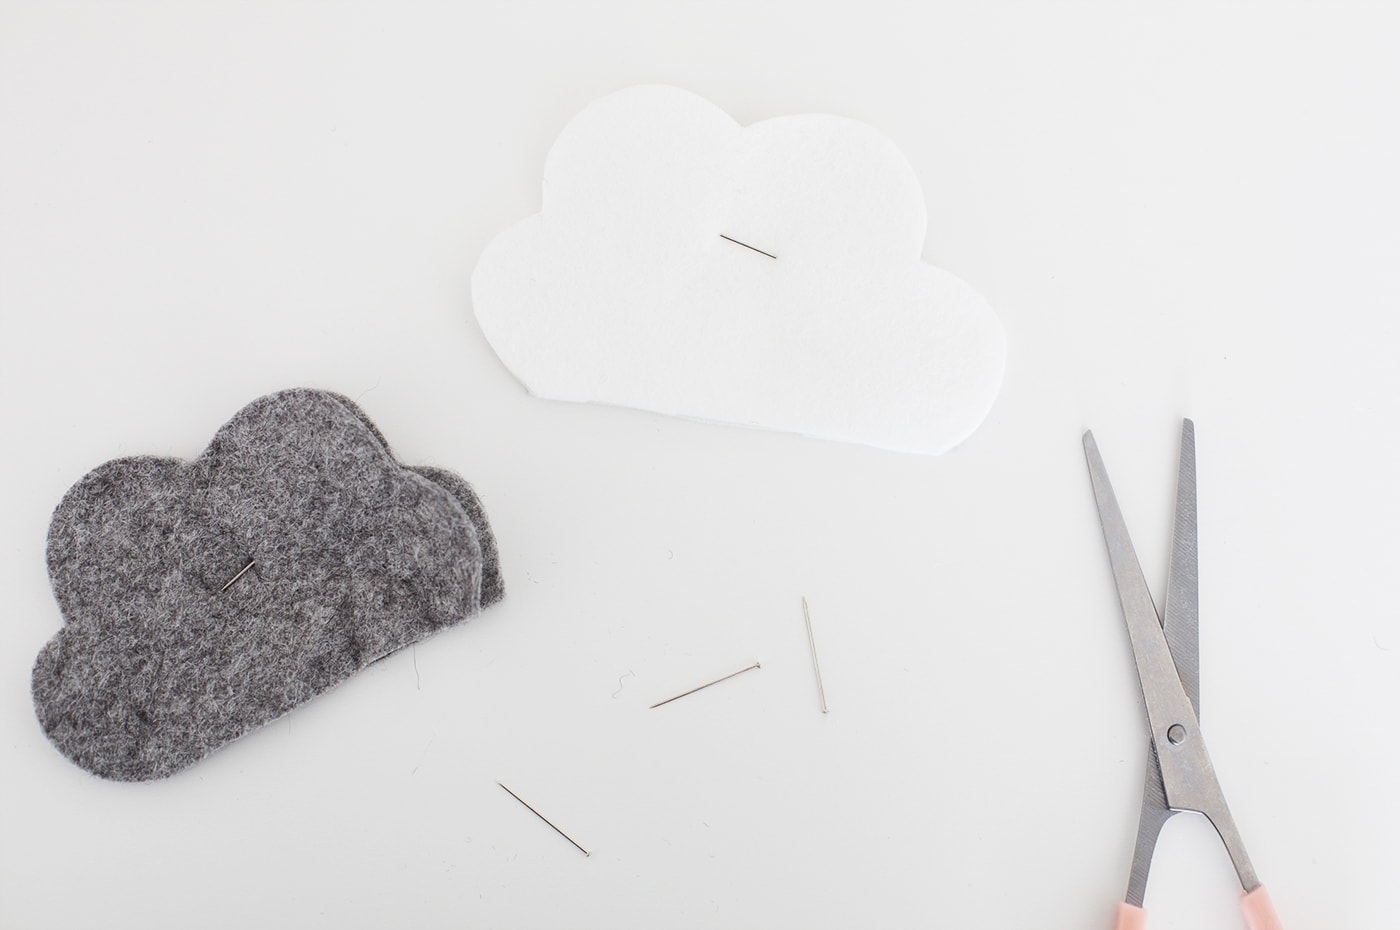 Get your felt and cut out some really simple cloud shapes. You can use a pencil to sketch out the exact shape that you need and when you are ready to sew them together you can turn them over so the pencil sketch is on the inside. You need to then pin these together.
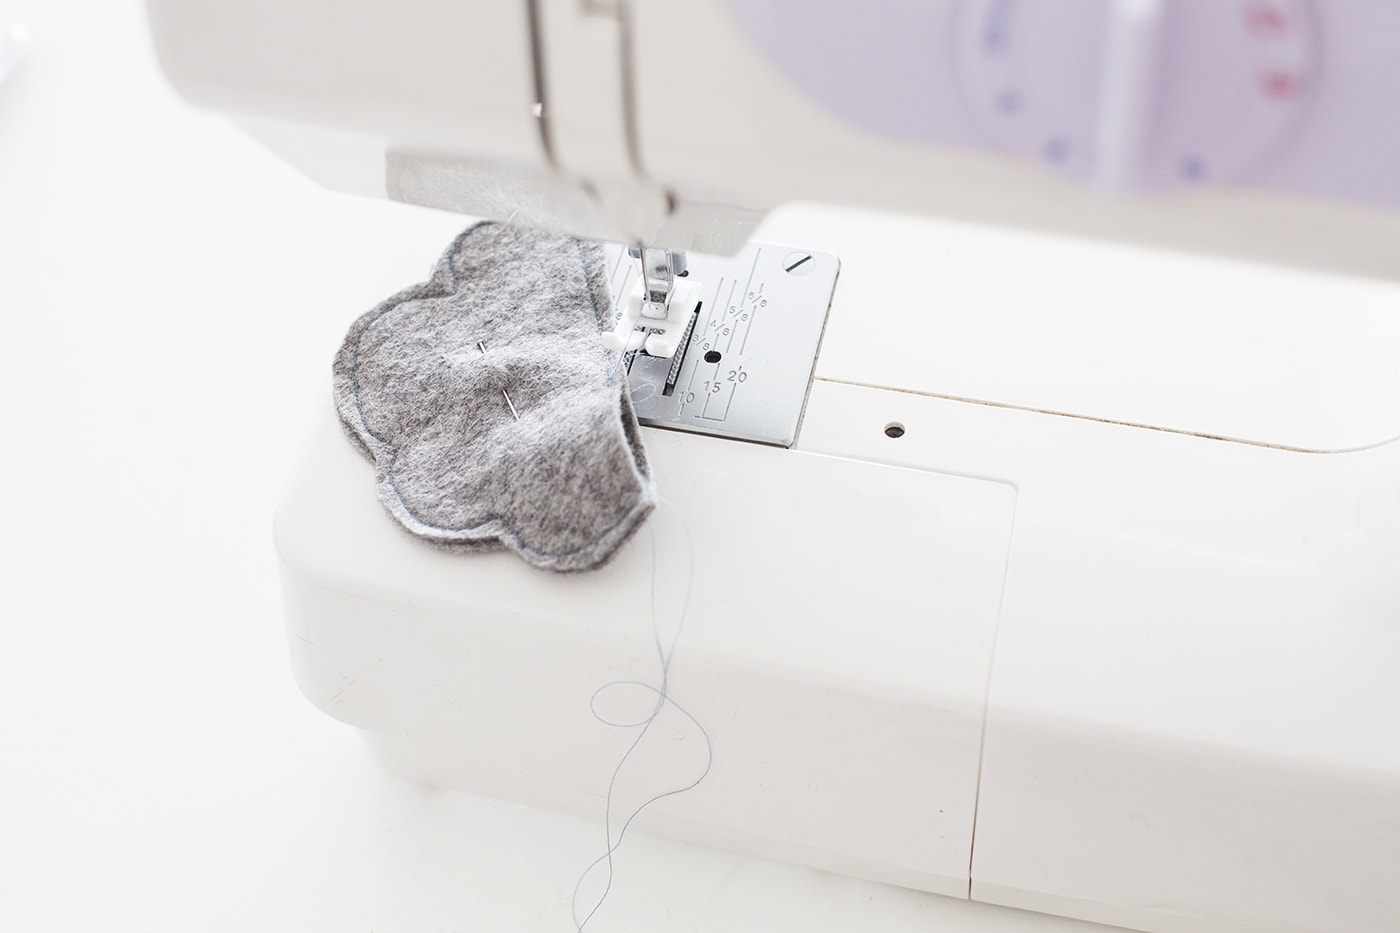 Sew along the edge of the cloud leaving about 5mm between the stitch and the edge. Make sure you don’t seal the cloud, you want to leave a 2-3cm gap so you can stuff the cloud with wodding.
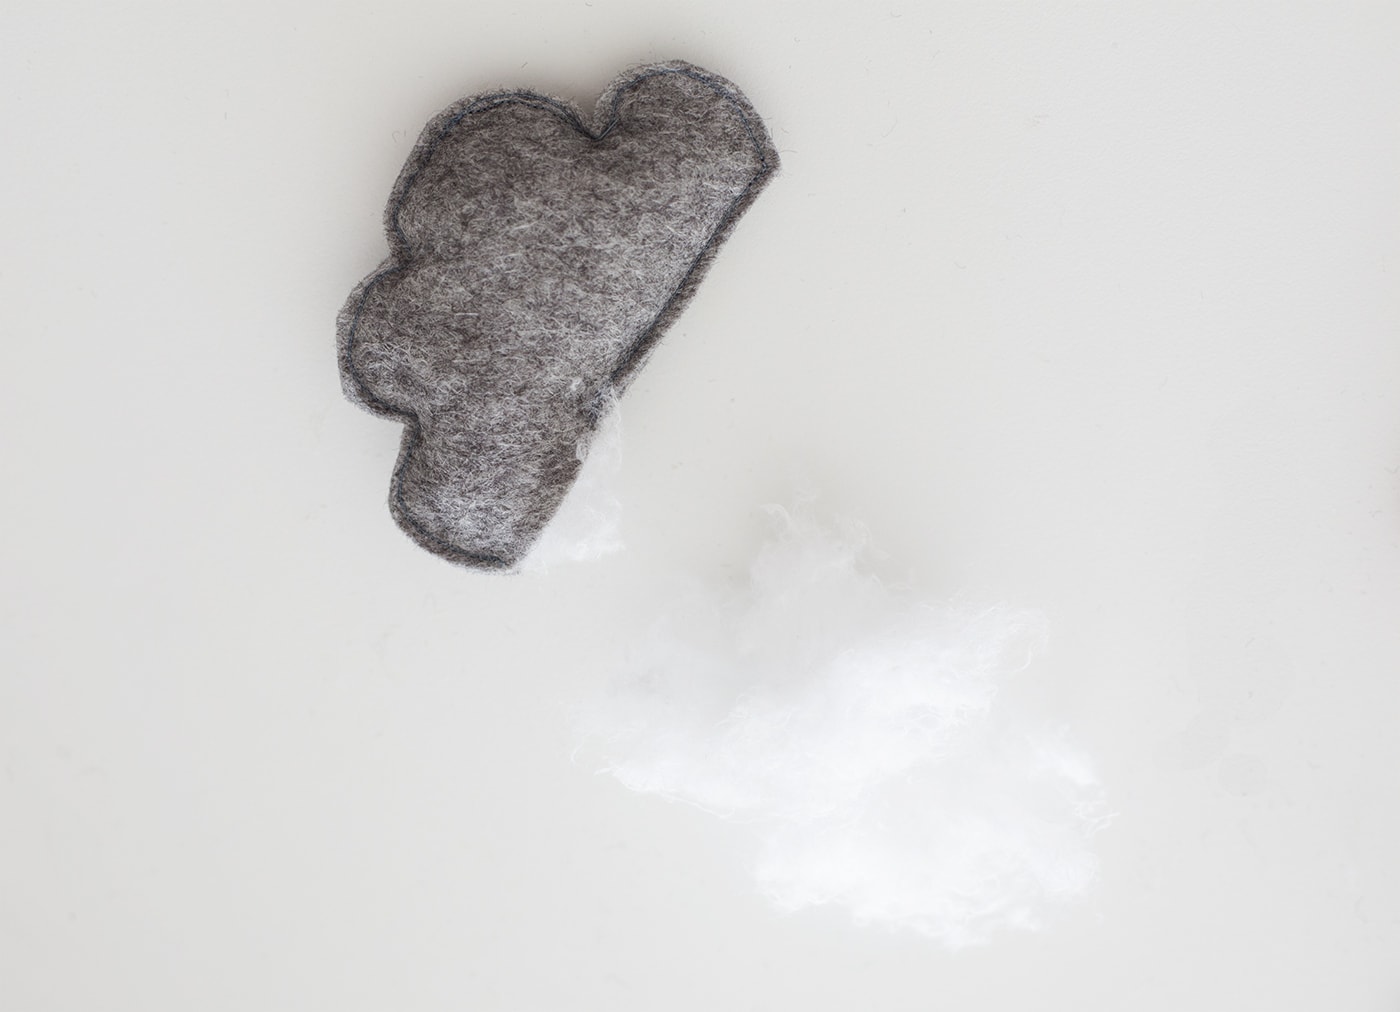 Stuff the cloud before taking it back on the sewing machine and sewing along the rest of the cloud to seal completely. Repeat steps 1 & 2 so you have 4 white clouds and 4 grey clouds.
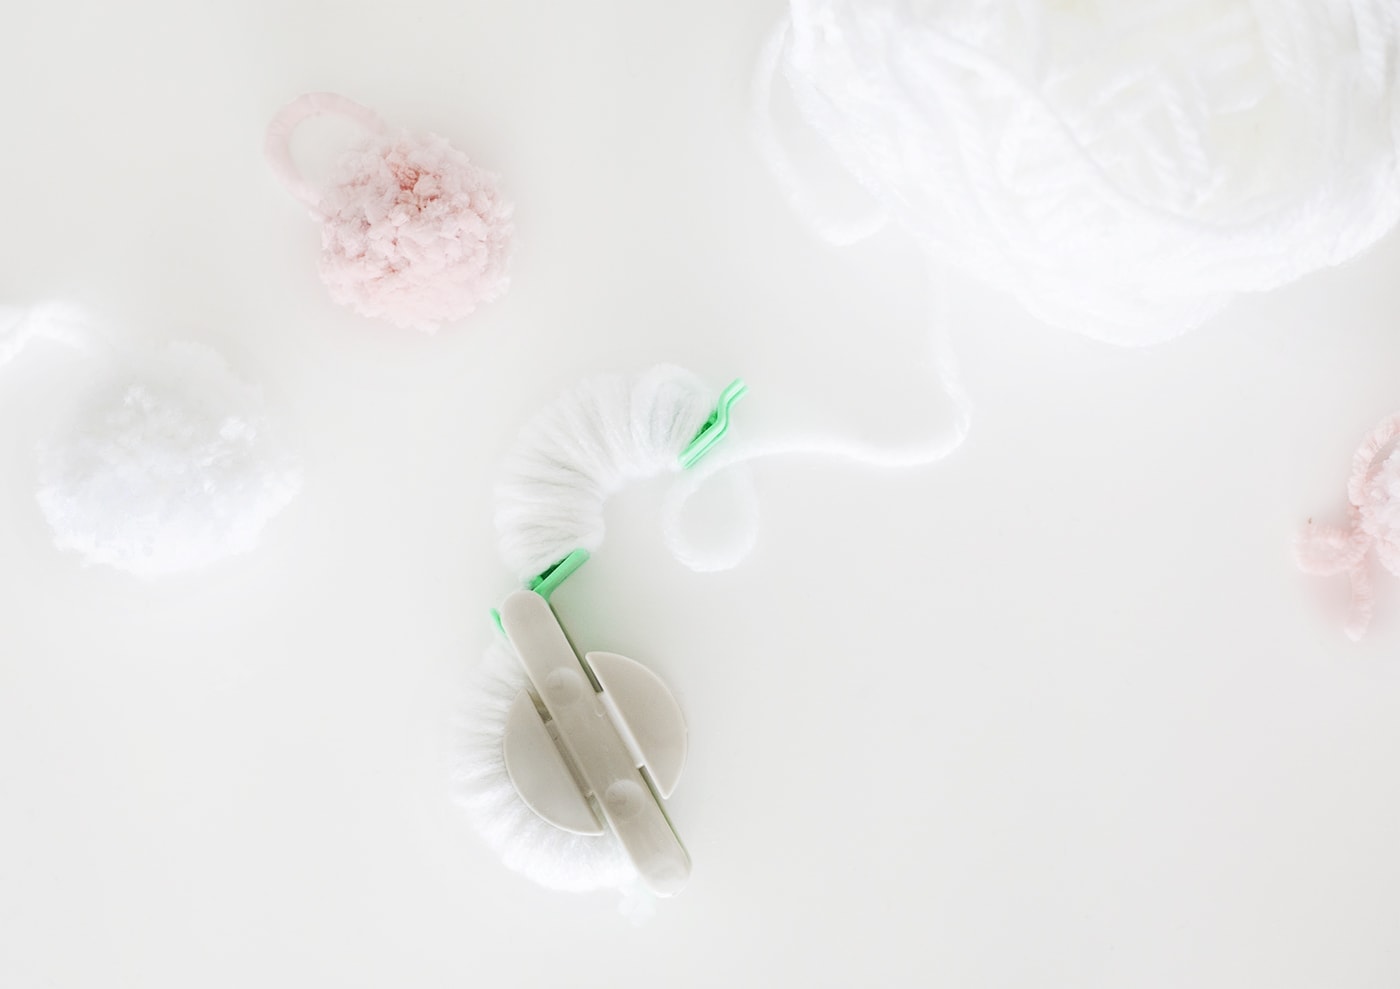 To create the pompoms, I used 2 pompom makers of a medium and small size. Open up the pompom maker’s legs and keep them aligned together while wrapping your choice of wool around. Once you’ve covered one of the legs you can close that side of the pompom maker and begin to wrap around the other legs. Once both sides of the pompom maker are covered with wool and you’ve closed them in, you can grab some scissors and cut along the rim. Make sure your pompom maker stays closed and with an extra piece of wool tie a knot around the centre of the pompom maker to secure the pompom. You can then open up the legs of the pompom maker and separate the two sides to reveal your pompom. Use the scissors to neaten up the edges and create a lovely round shape. Repeat this step to create as many pompoms as you want.
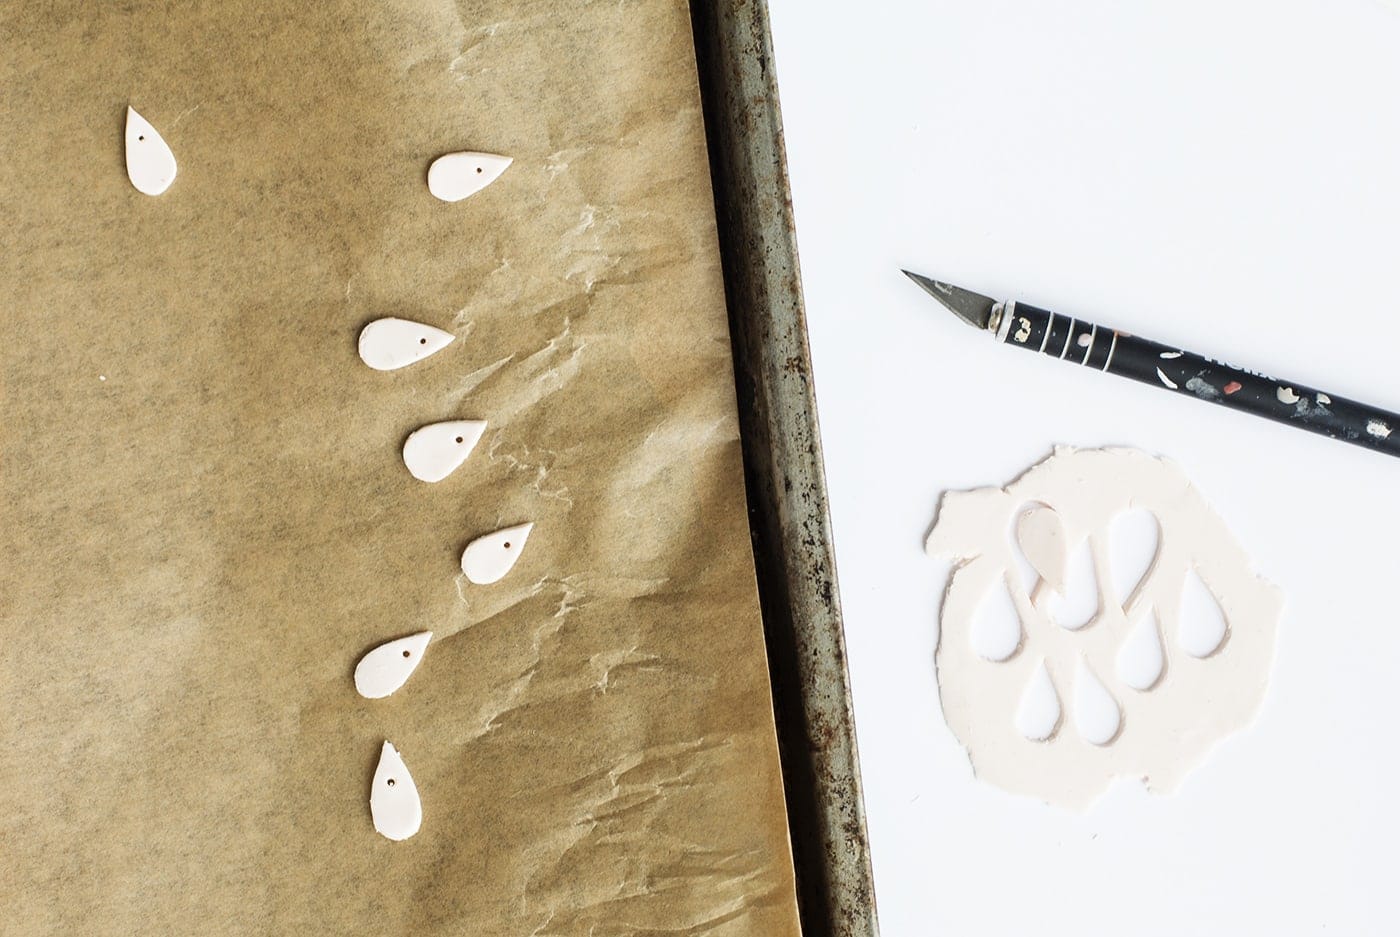
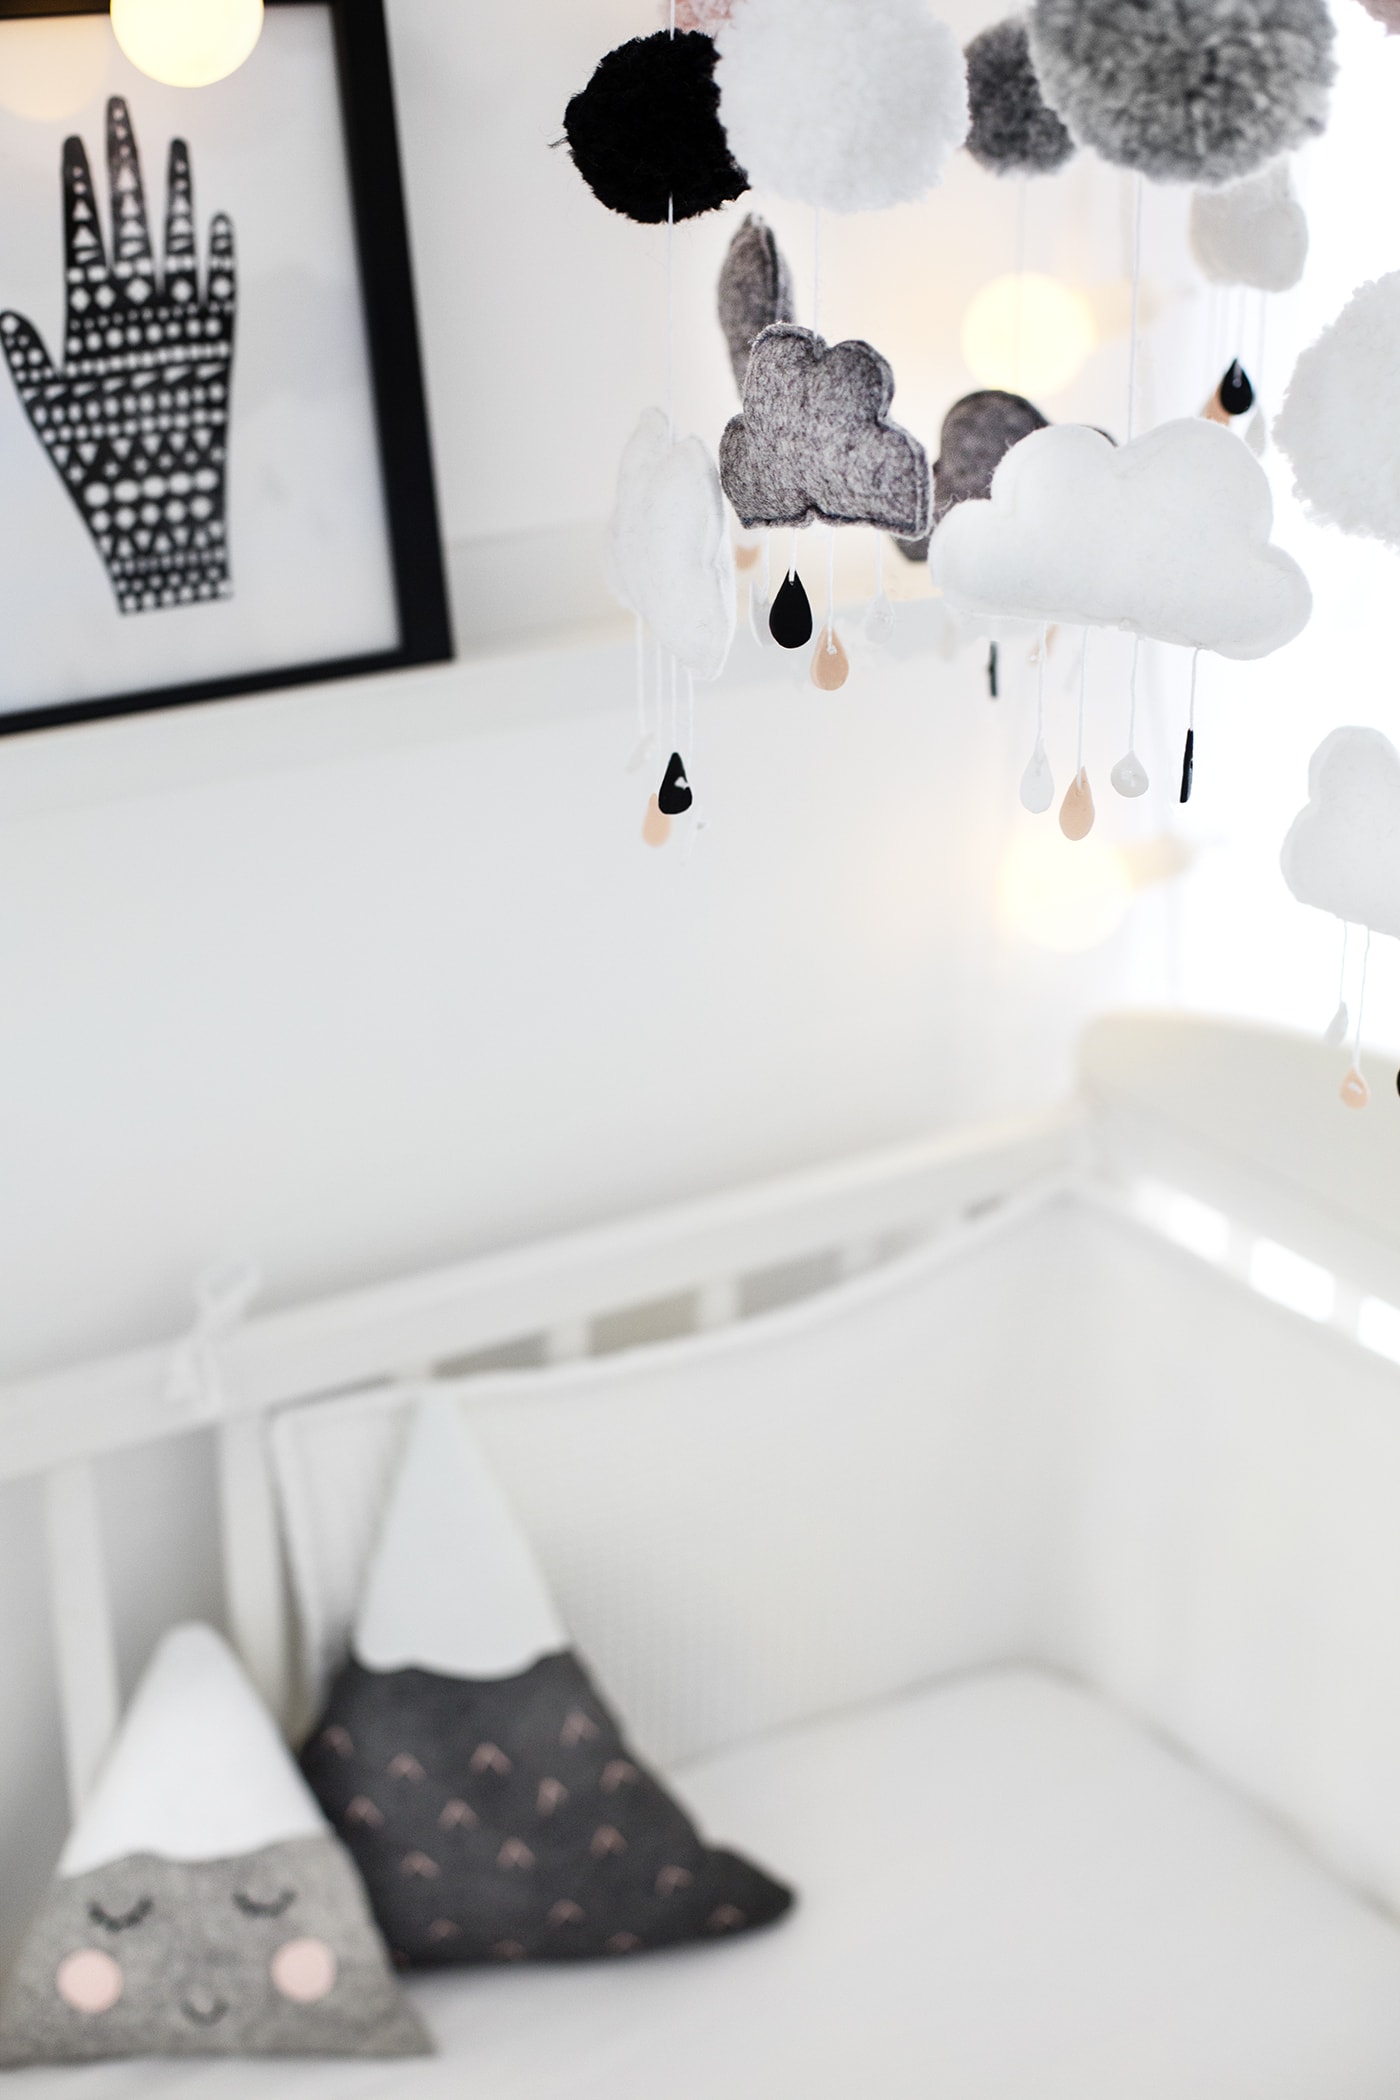
To create your rain drops you will need to get your fimo, scalpel and rolling pin. You can always pre-heat the oven at this point so it’s ready for your fimo after you have cut out all your shapes. Roll out the fimo so that it is about 2-3mm in thickness and then begin to cut out your rain drop shapes carefully using your scalpel. I used 3 colours and created 16 x white, 8 x black and 8 x pale pink. Use your scalpel to create a hole at the top of each raindrop big enough for your embroidery thread to fit through. Use a pen to widen it up, making sure it’s roughly the same size hole on both sides. Once you have all of your fimo shapes ready, transfer to the baking sheet and very carefully use your scalpel to neaten up any edges and straighten up lines. Bake following the fimo packet instructions. Now your rain drops now to be attached to the clouds. Get your needle with embroidery thread. Thread the embroidery thread through the hole you created on your rain drop and tie around the top in a double knot and trim. At the base of the cloud you want to put the needle up and then back out through the seam. This will hide the knot. Adjust the length of each rain drop by pulling the thread to make it longer of shorter and then tie a knot and pull it tort so it is hidden in the seam. You can then cut off any excess thread to neaten it up. You will repeat this 4 time on each cloud.
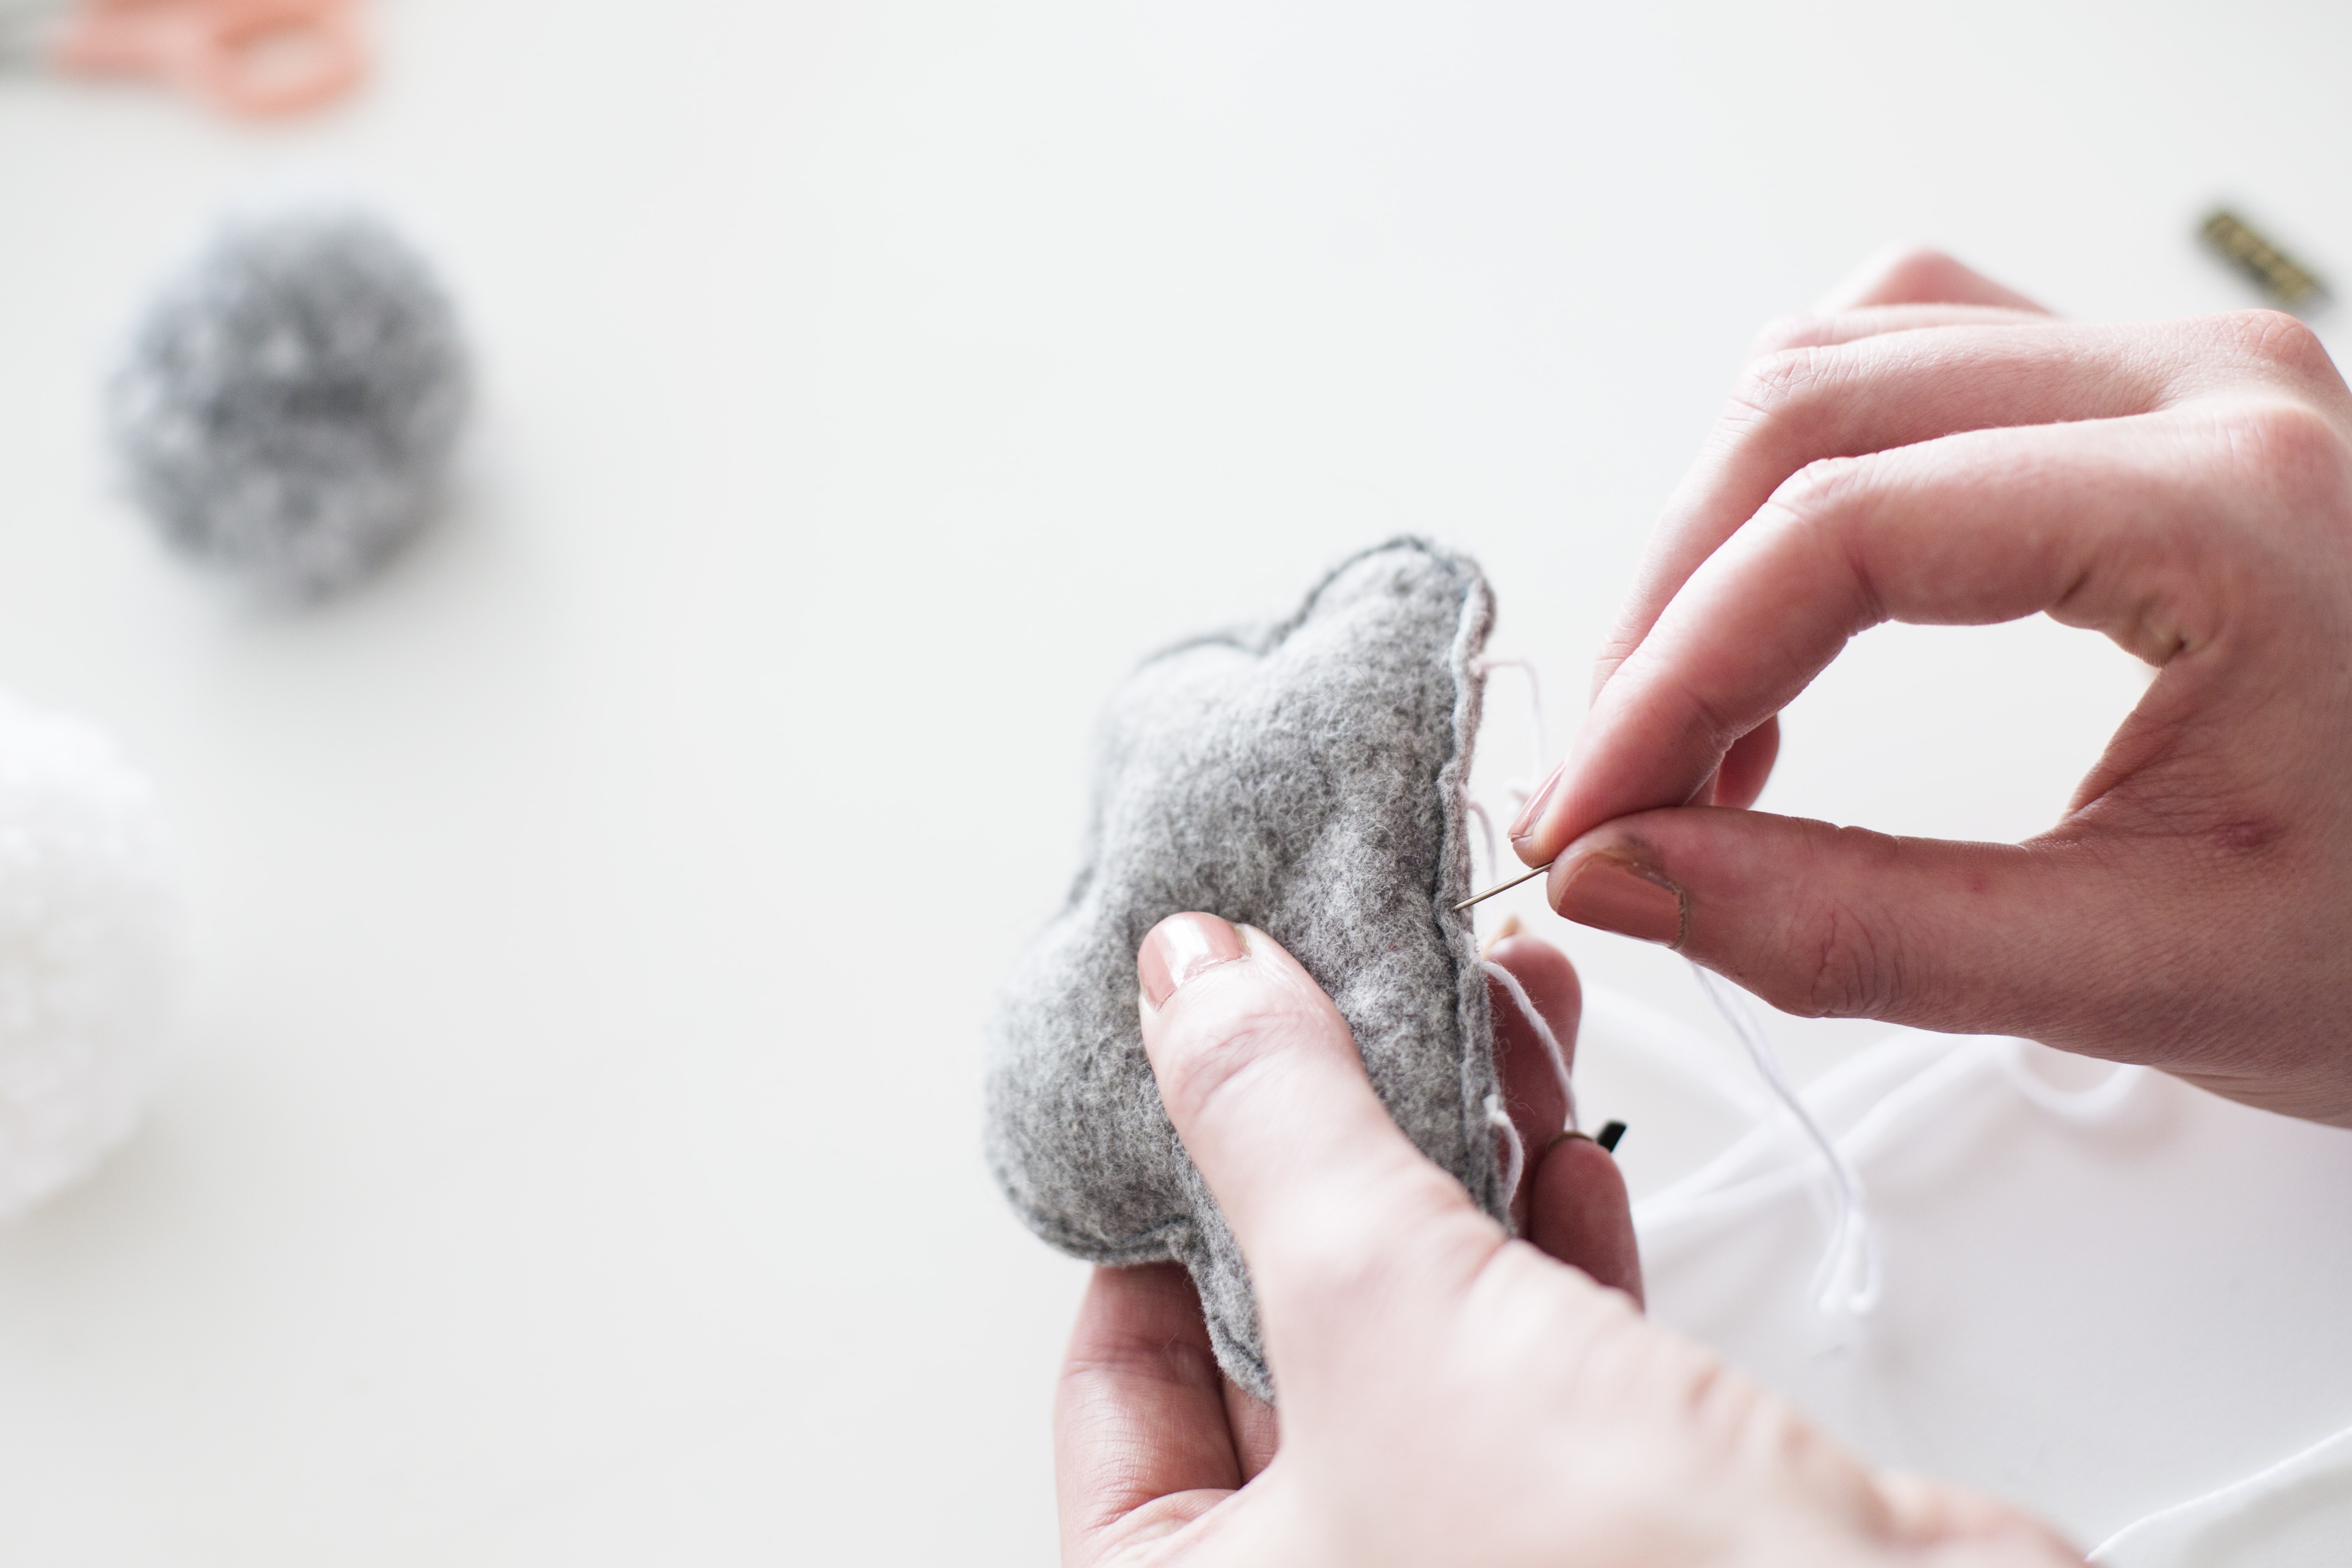 At this stage measure out 8 pieces of embroidery thread that are the same length and place your coloured pom poms on top and your clouds at the bottom of the thread to map out how your mobile will look when completed. Now you’re ready to attach your clouds to the long pieces of embroidery thread you prepared earlier. Firstly, you want to create a knot at the bottom of the thread and then attach your needle to the opposite end. Thread directly through the centre of the cloud going from seam to seam, this will keep things very neat and allow the clouds to hang evenly rather than at an angle.
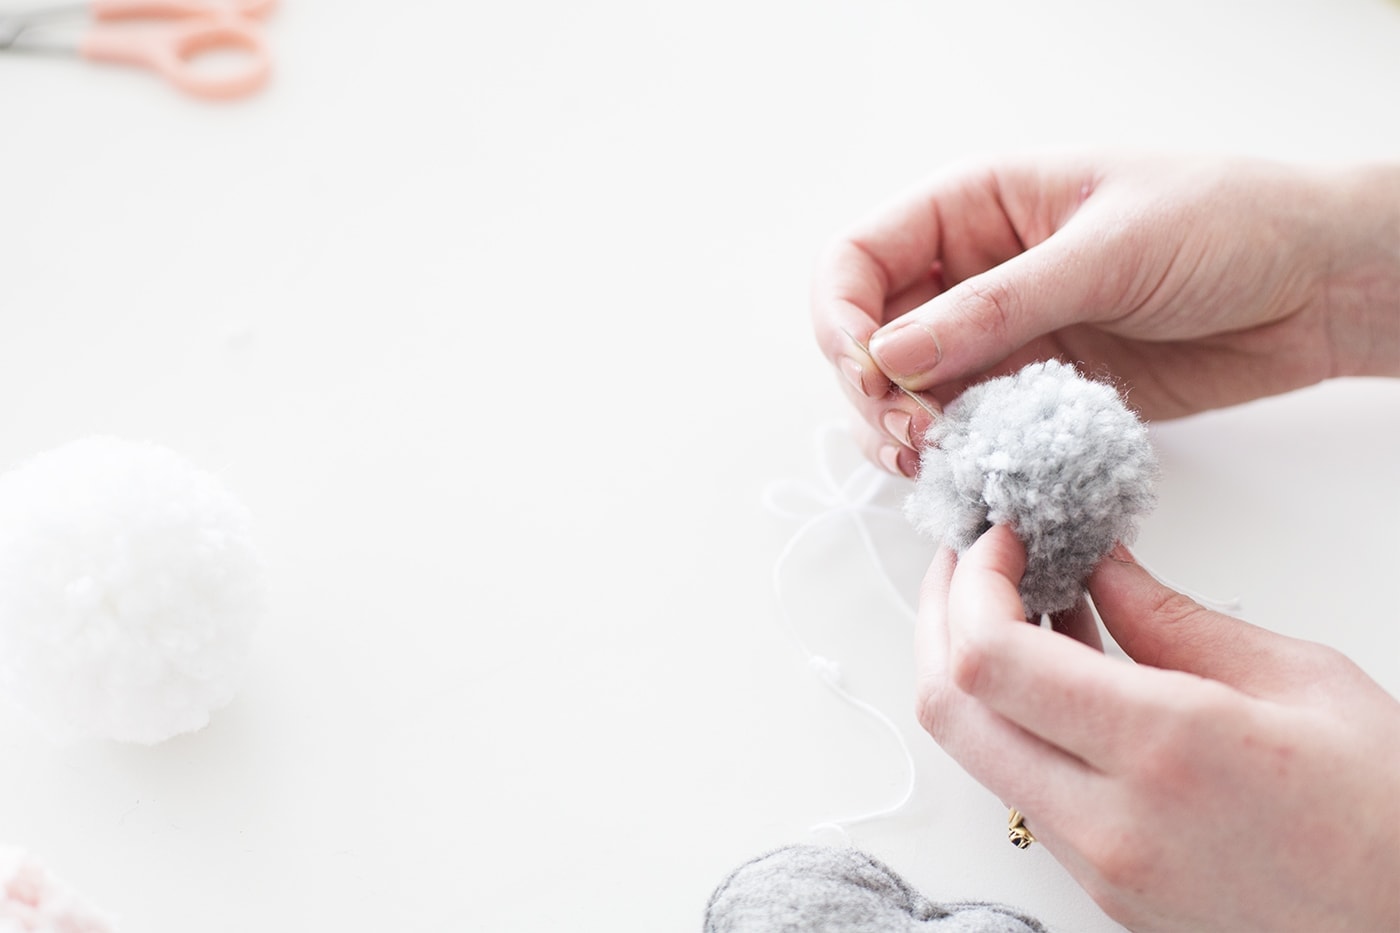 When you have your cloud securely attached to the long piece of embroidery thread create a knot along the length of the thread to secure a pom pom on top of it. Attach your needle to the end again and very carefully sew through the first pom pom to secure it above the knot. You can attach 2 or 3 pom poms depending on how full you would like your mobile to be. Complete this step for all 8 clouds, threads and with the pom poms you have created.
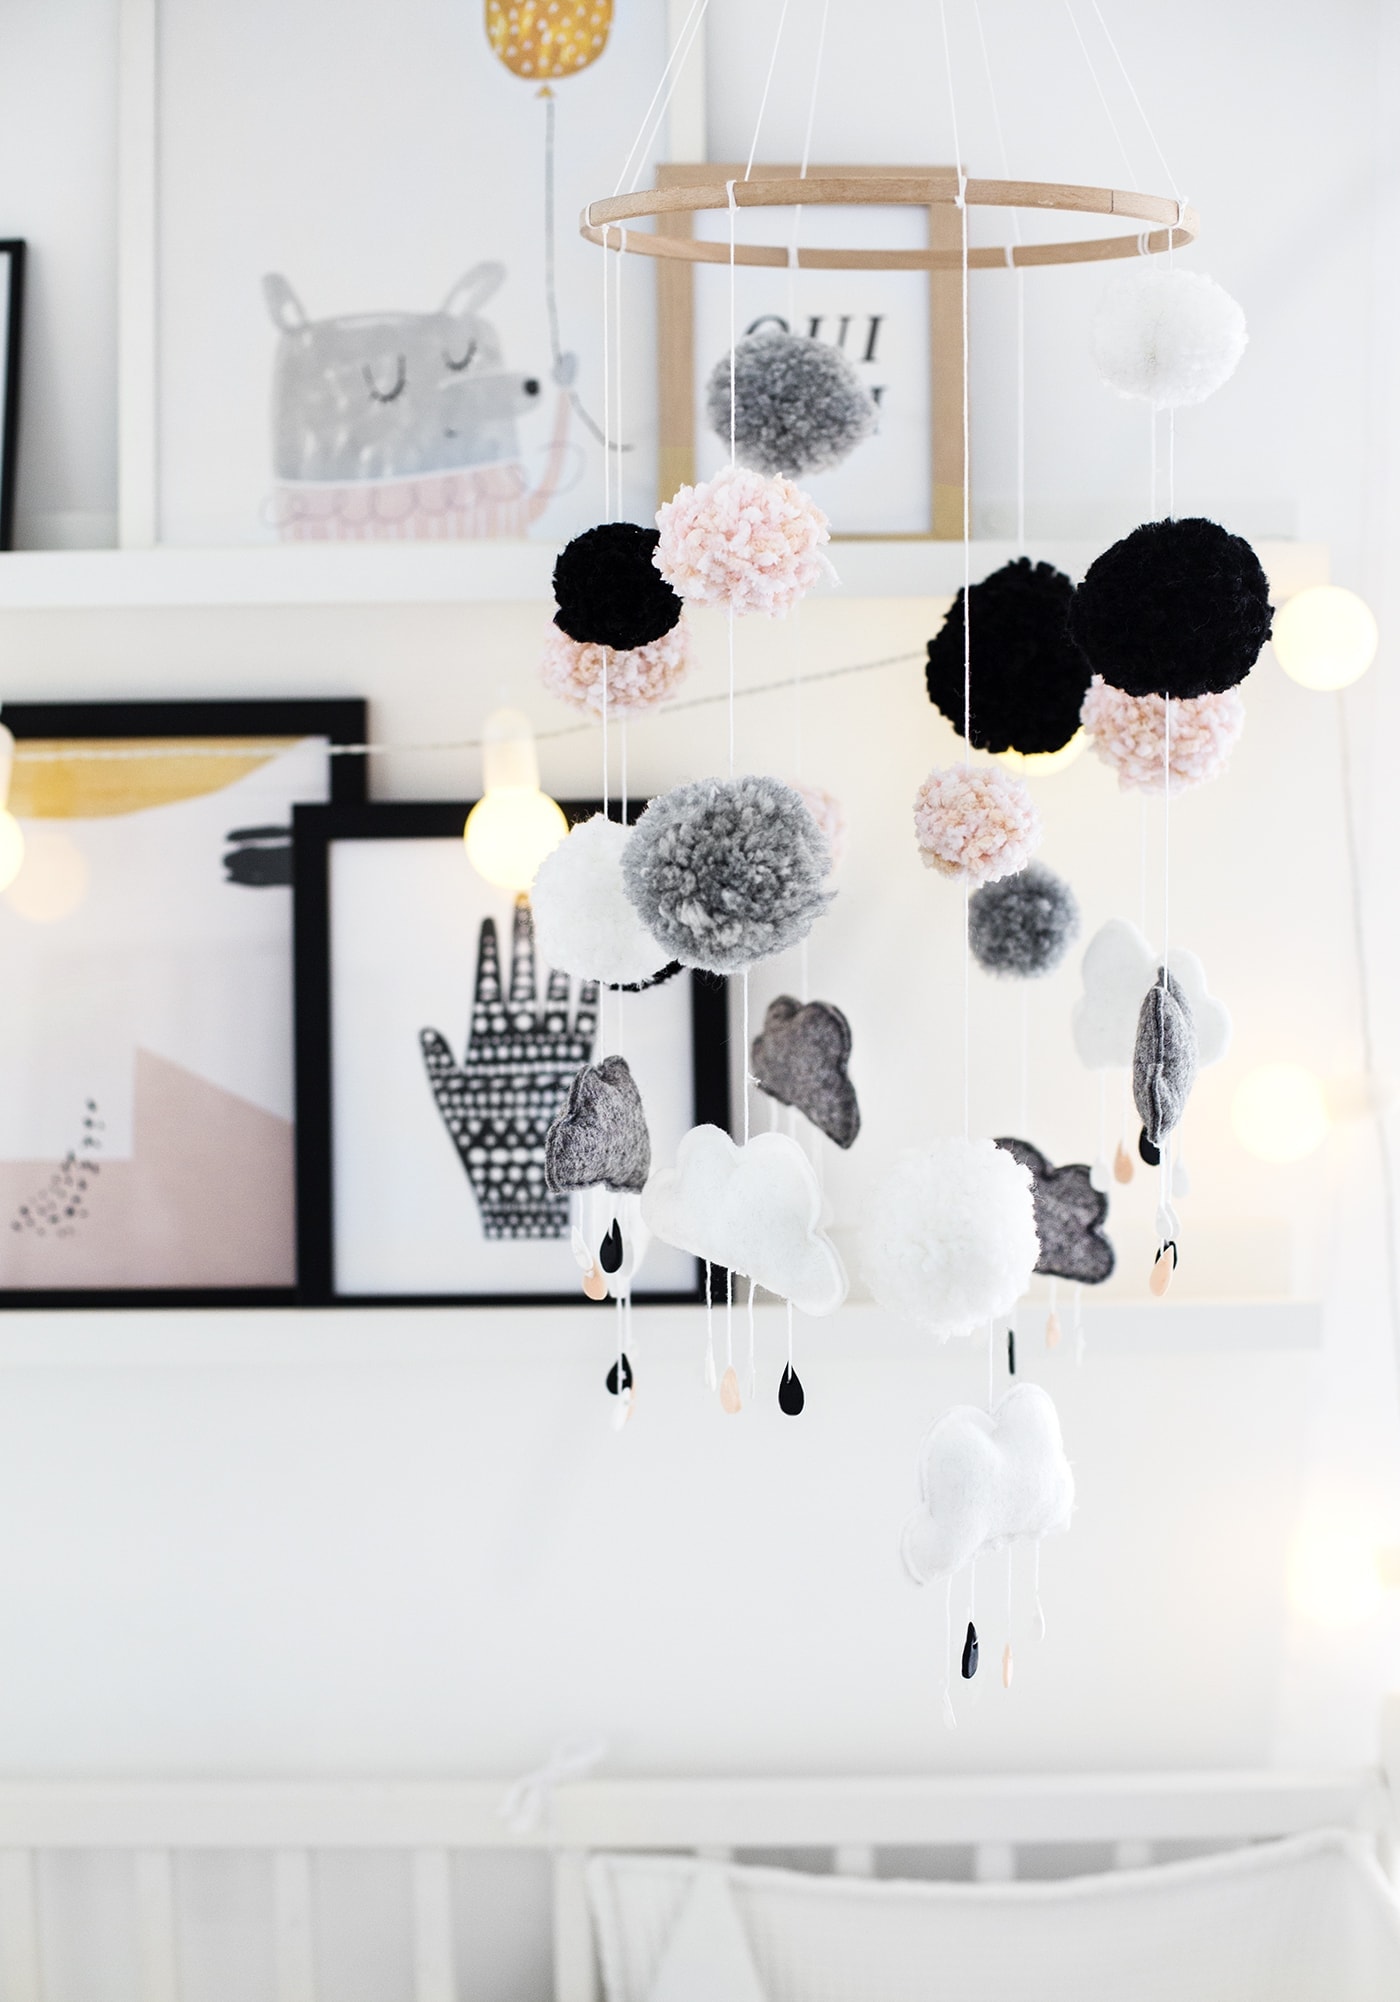
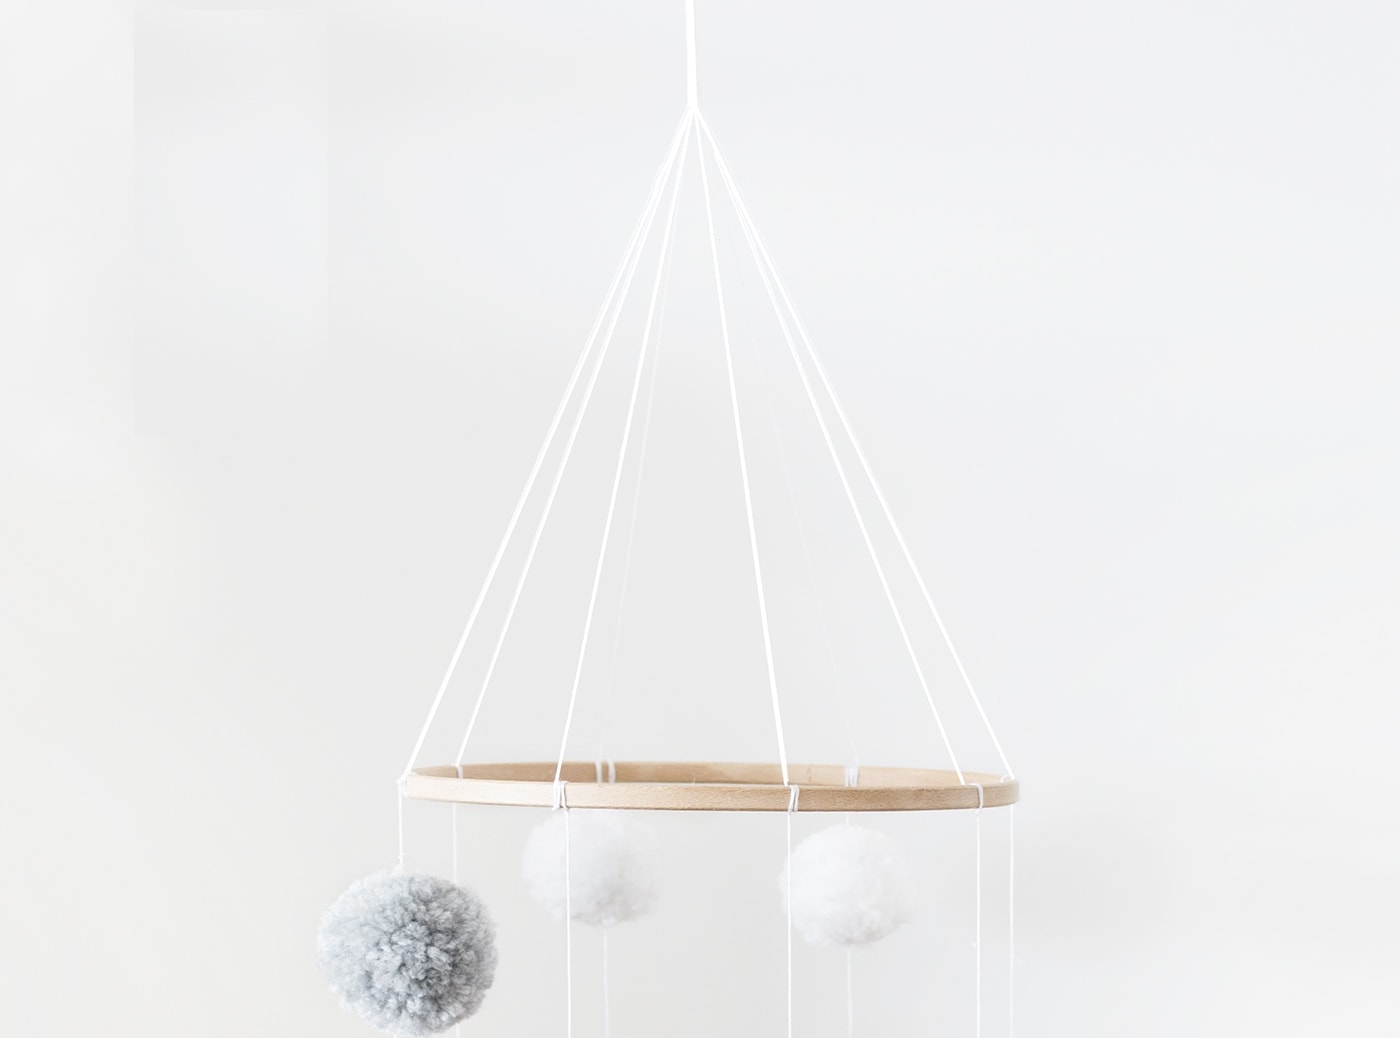 When you’ve completed all 8 tassels for your mobile, you’re ready to attach them to the wooden hoop with a simple double knot. Make sure you stagger them so that all the clouds are a different height and trim the ends. Then cut another 8 lengths of embroidery thread and tie each one to the same 8 knots of the hanging strings. Double knot these and pull each one to a point, testing it to make sure the hoop sits flat when it’s hung. Tie all 8 threads in one large double knot and now you’re ready to hang your mobile.
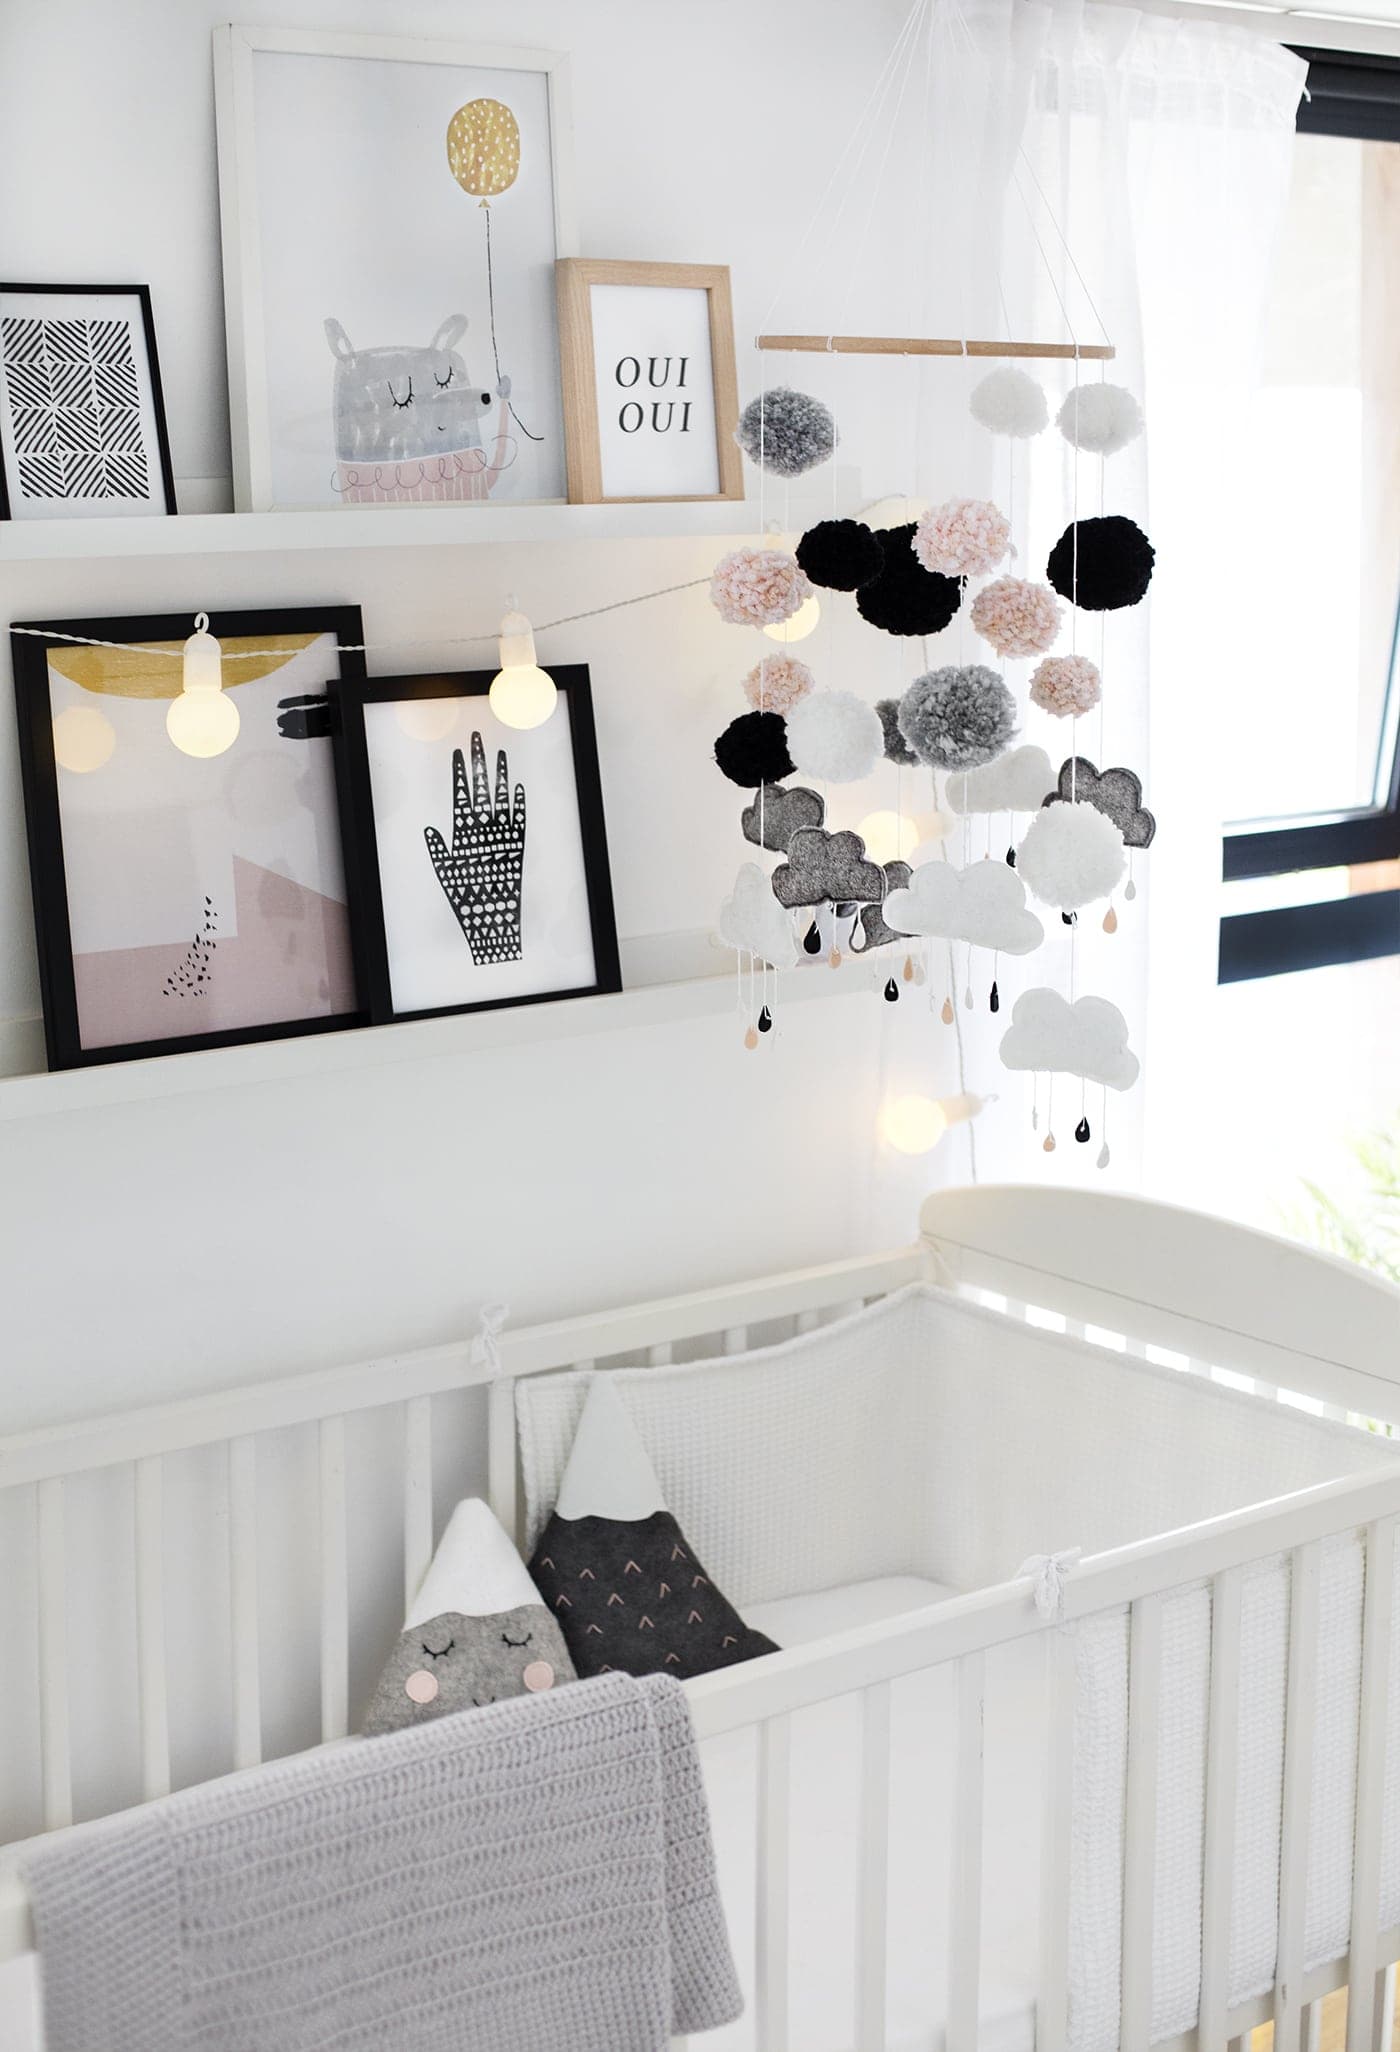
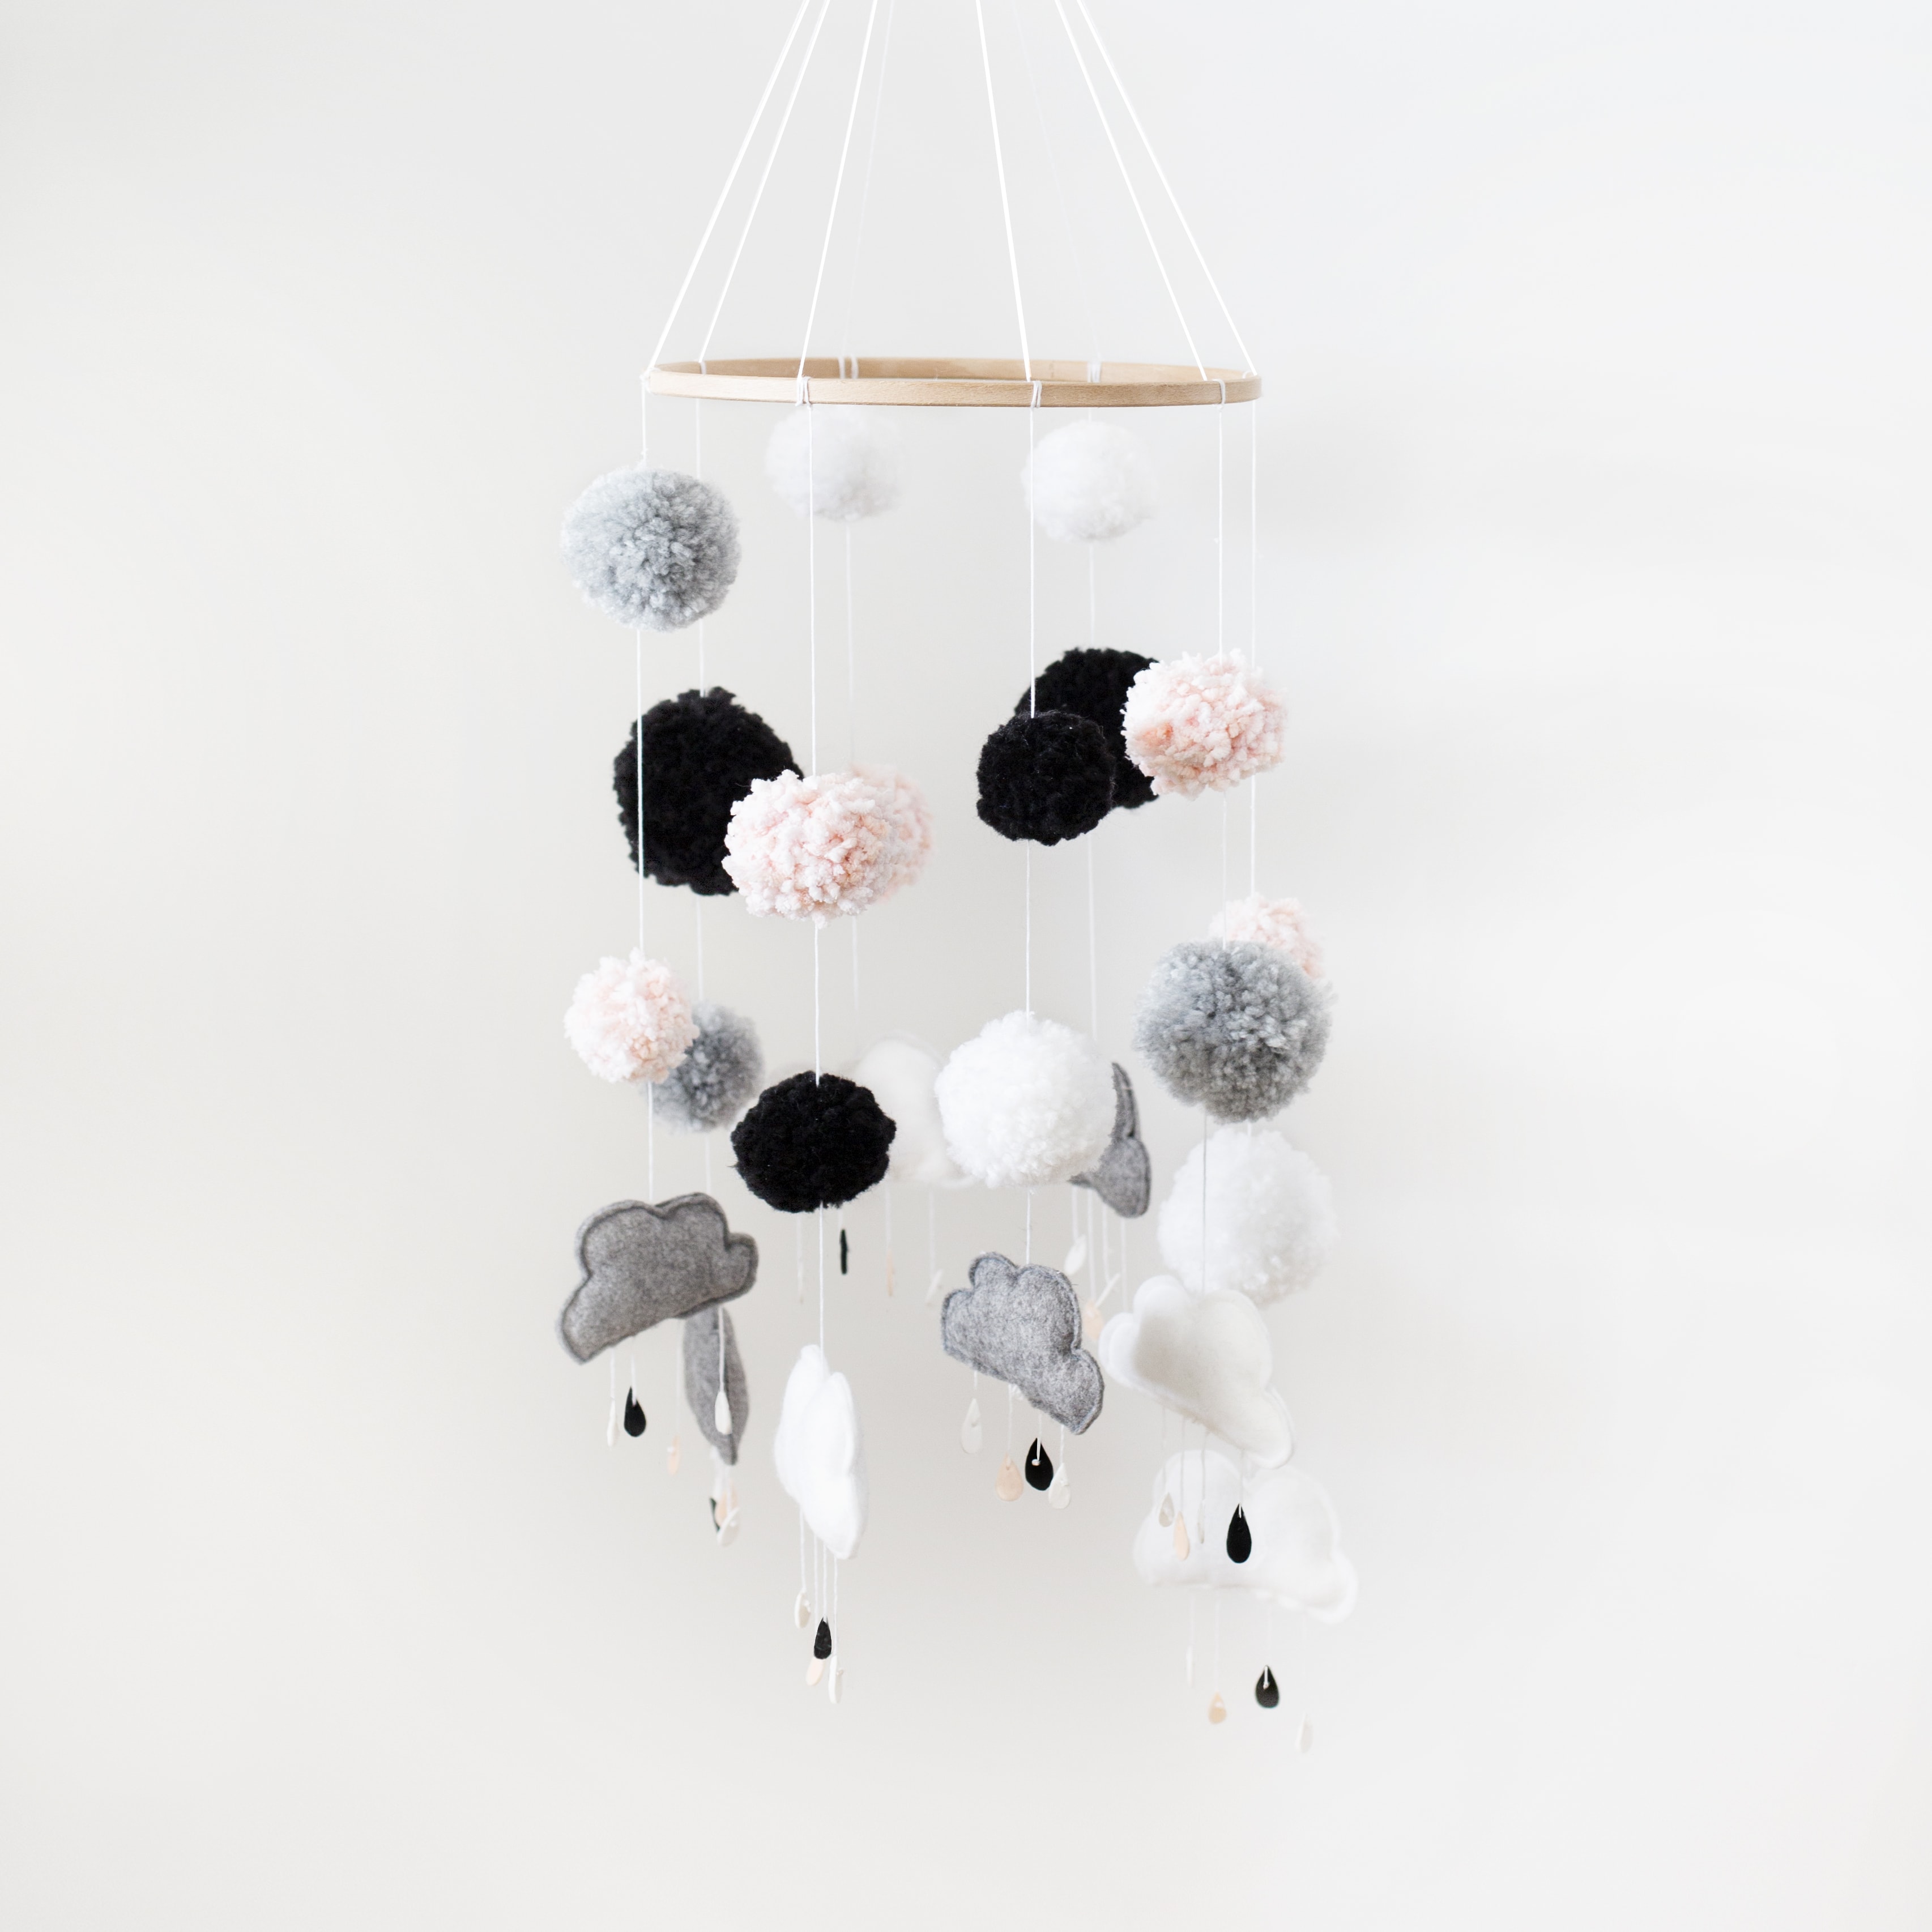 We used a screw-in-eye hook to secure the mobile to the ceiling above the cot but alternatively you could by a cot mobile arm to attach it to the cot itself. I guess it may depend on your room. I’m looking forward to seeing how she likes this little piece of art even though that stage won’t be for a while!
You might also like


Meet The Lovely Drawer

Hi, I’m Teri and welcome to my own creative corner of the internet. I blog about interiors, DIY projects, design inspiration and my general life so stick around have a read and say hi.
In the shop

 Quick ViewSelect options
Personalised Cuddly Bunny
£30.00 – £35.00
 Quick ViewSelect options
Orchard Days
£20.00 – £25.00
Work with Me
The Lovely Drawer is an award winning blog with a loyal audience that has grown over the years. I love working with brands small and large on exciting collaborations that can bring products alive in my own signature aesthetic.