

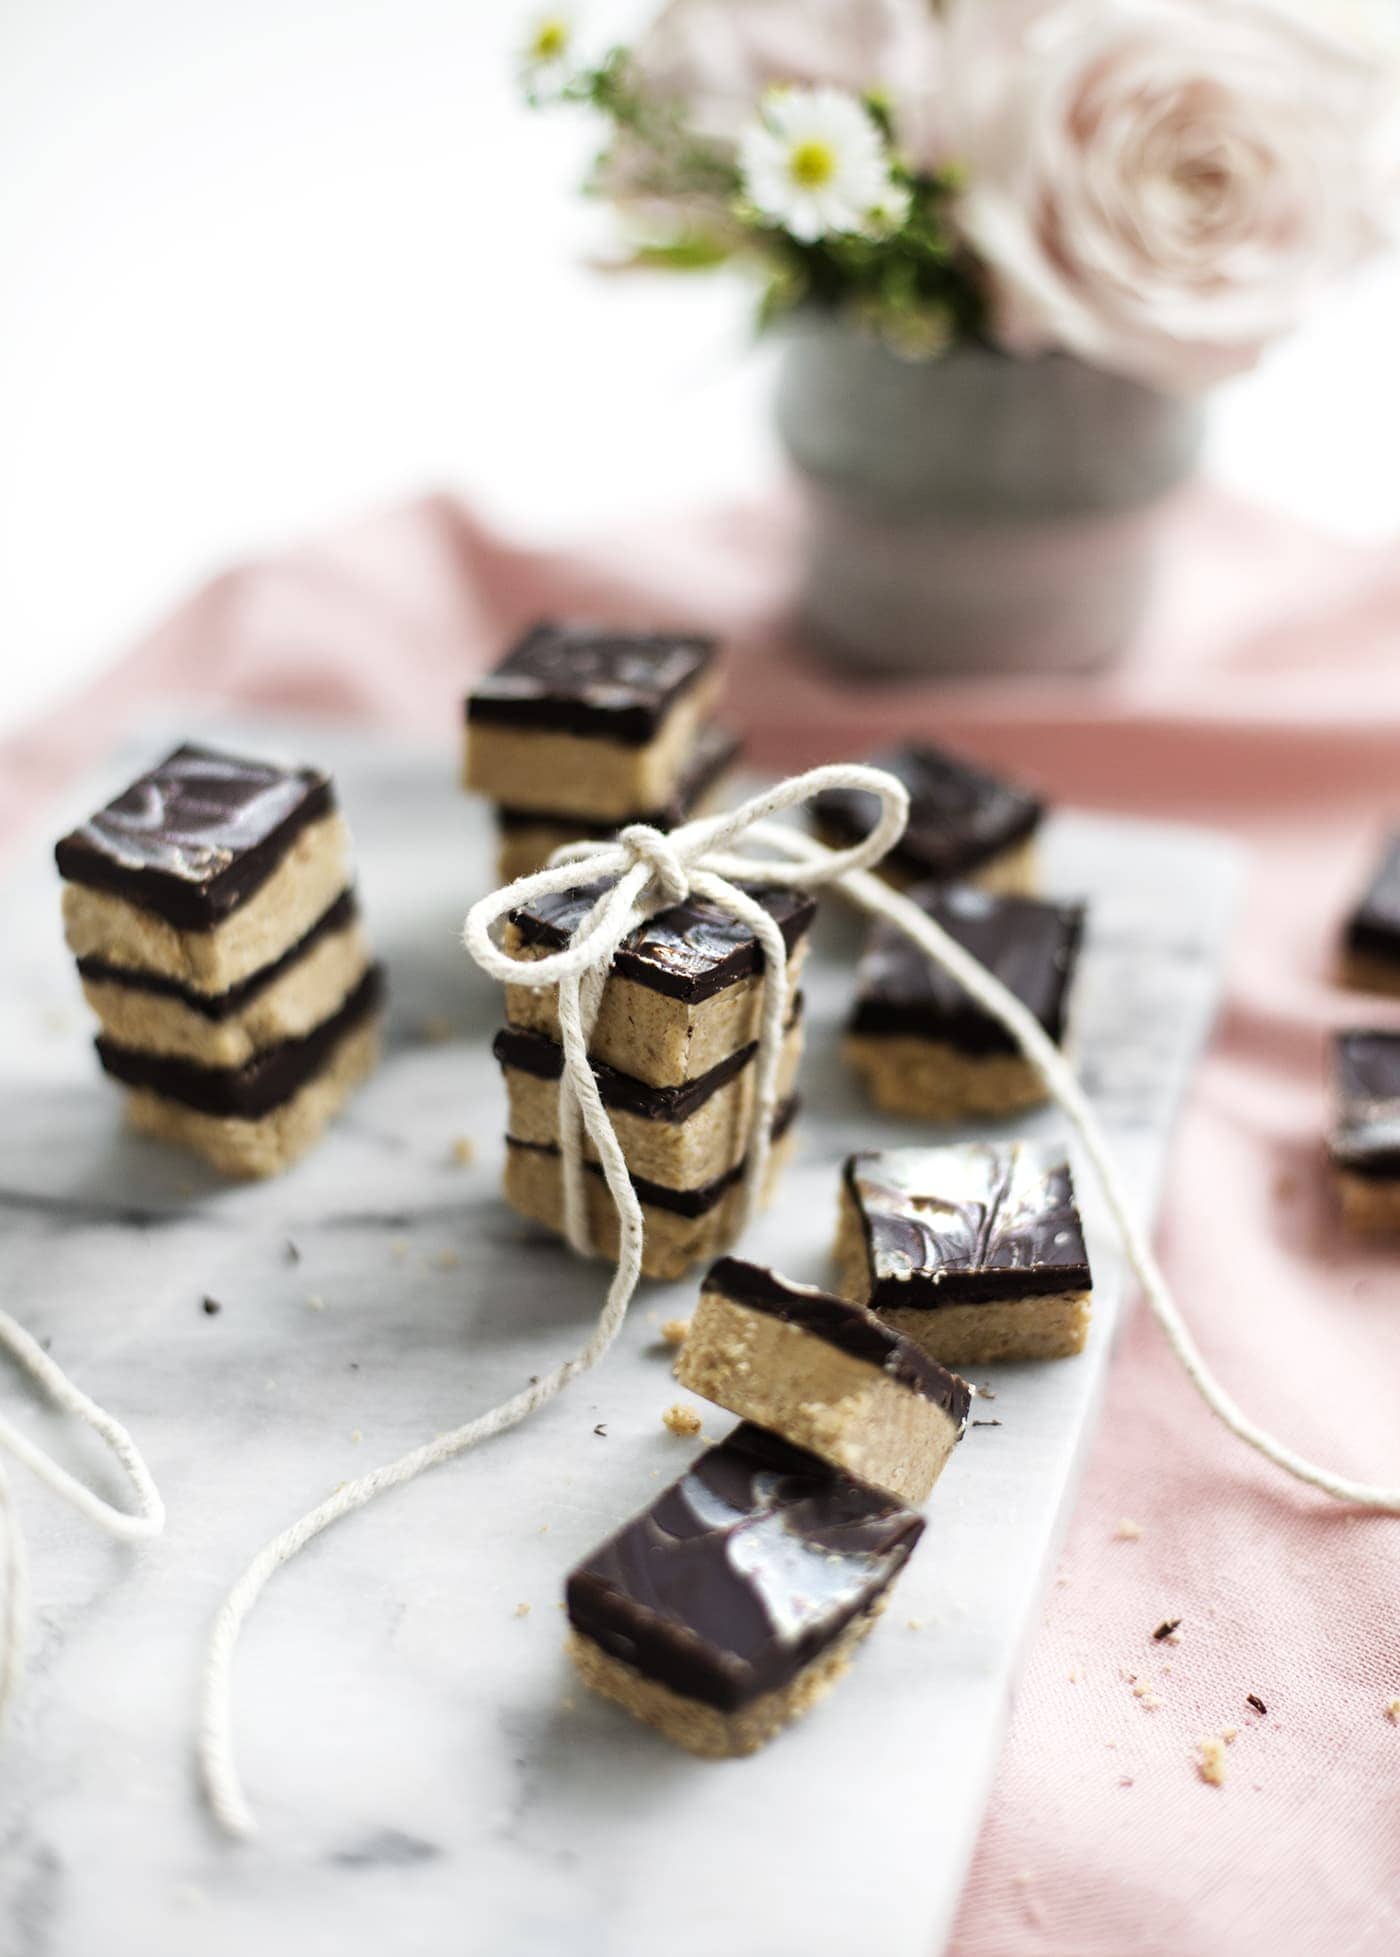
Sweet for my Sweet
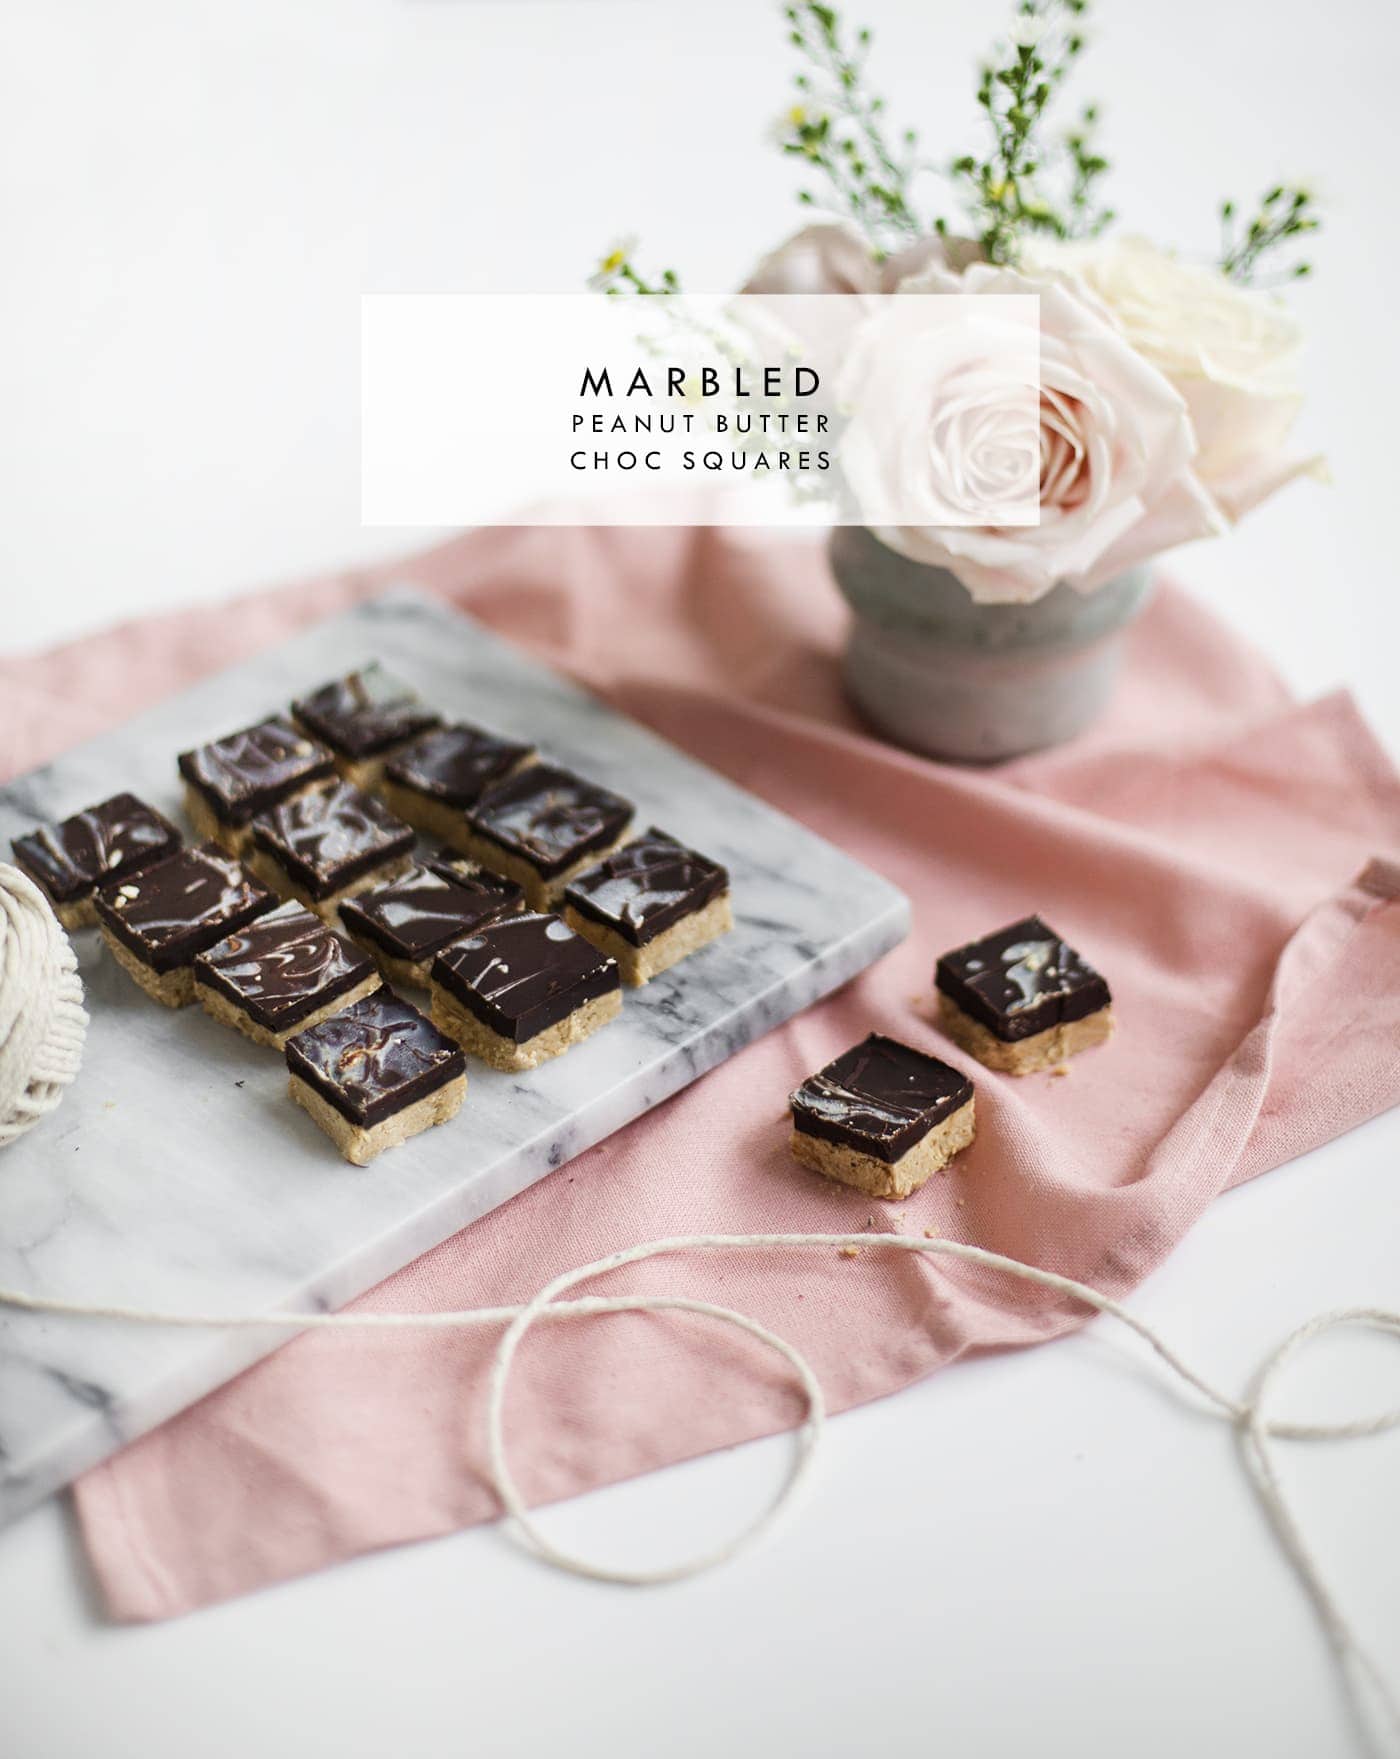
Well what d’ya know, Valentine’s Day is around the corner and I’m not sure how but I thought I’d use it as a good excuse to share one of my favourite recipes with you all. I’m honestly sat here racking my brains, trying to remember how we spent last Valentine’s Day but I really can’t. We often cook a nice meal for each other but I would have been in the dark, nauseous first trimester abyss, so I’m sure a big meal was the last thing on my mind. Anyway this totally doesn’t have to be for Valentine’s Day or even Galentine’s day. I tend to find any excuse to whip up these delicious treats but they do happen to make a nice alternative to shop bought chocolates for feb 14th. Did I mention they take barely any time at all to make?
The recipe is adapted from a classic Nigella number that I would ask my Mum to make for me every single Birthday without fail! I’ve basically adapted it to use good quality dark chocolate to eliminate soy, subbed out the muscovado for coconut sugar to make it marginally less refined and added a marble effect with cocoa butter which essentially tastes like white chocolate, yum!
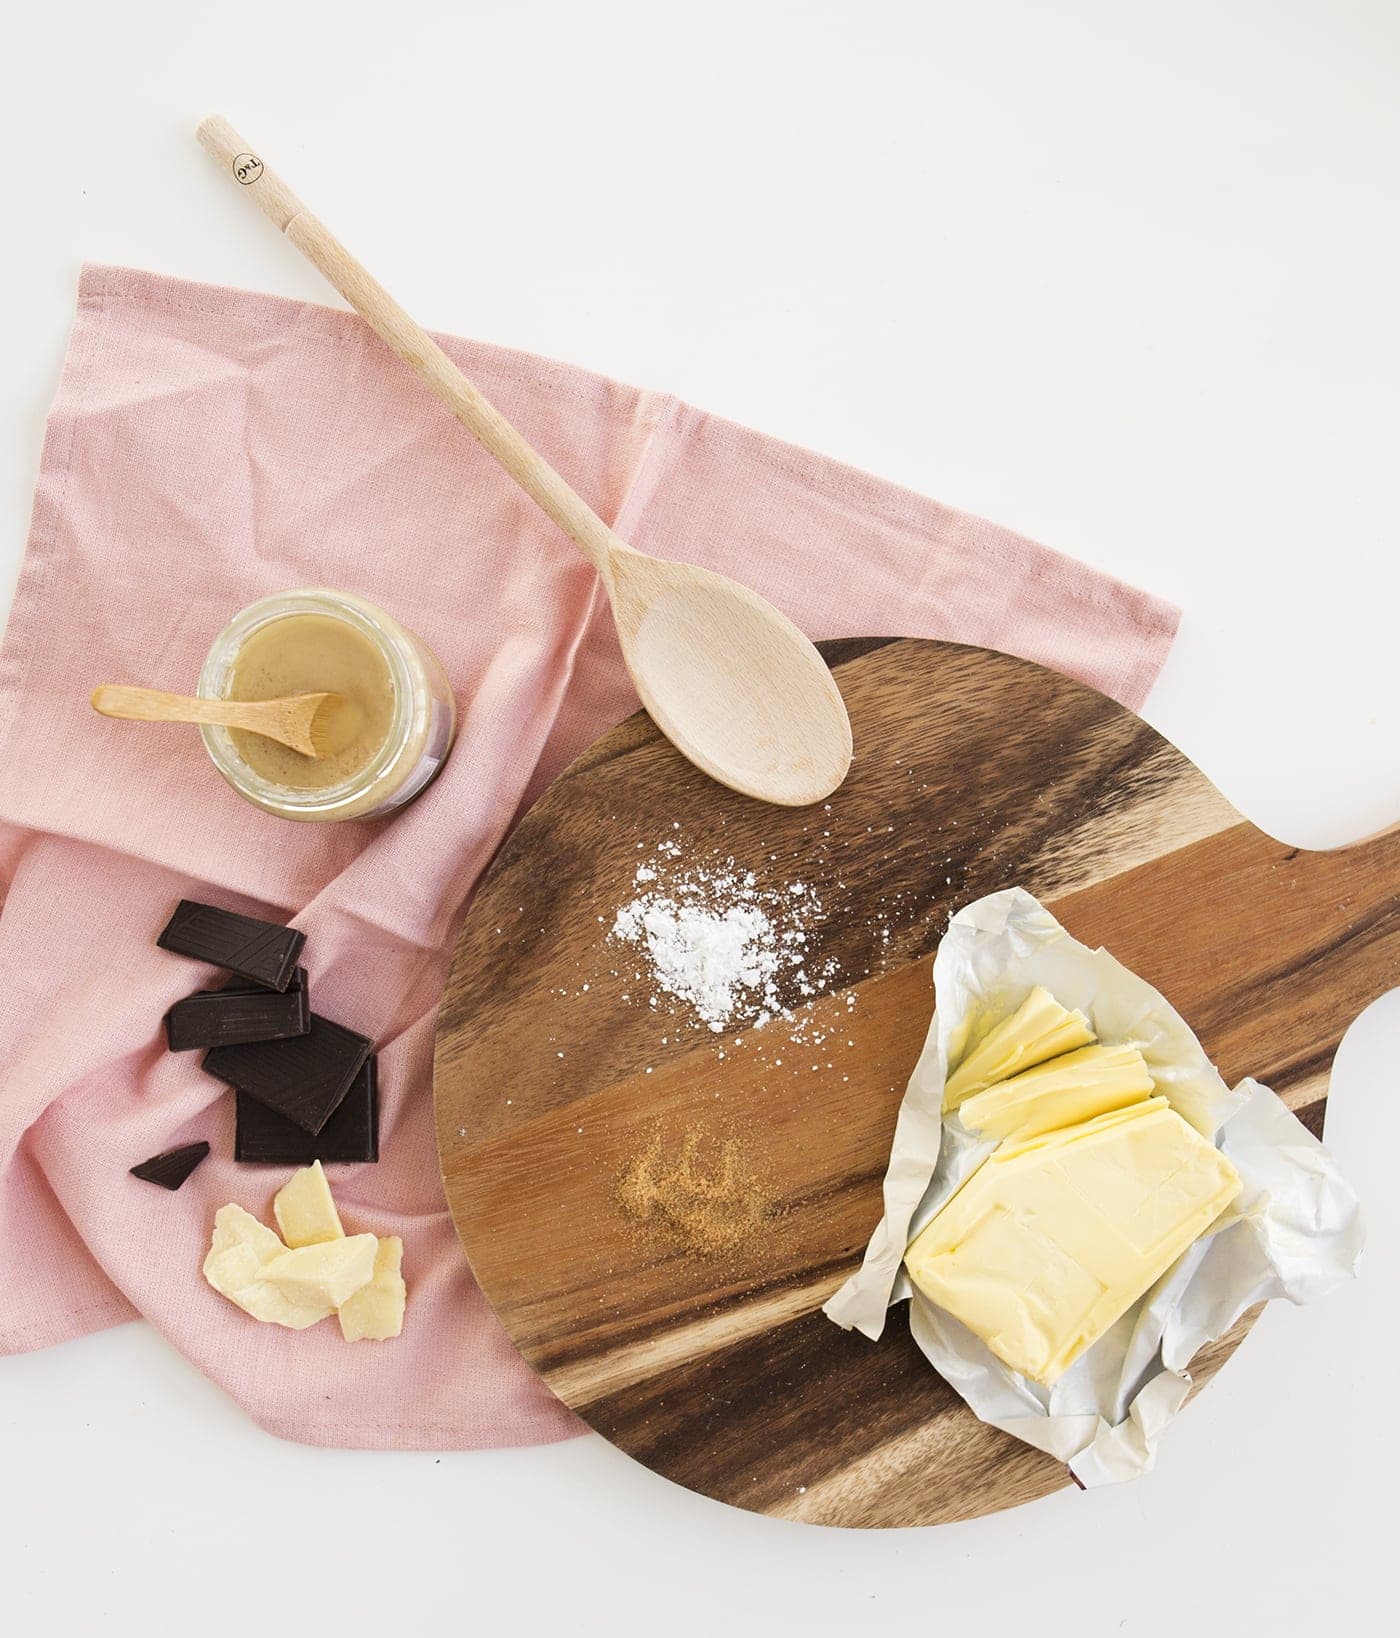
Ingredients
FOR THE BASE
- 50 grams organic coconut sugar
- 200 grams icing sugar
- 50 grams organic unsalted butter
- 200 grams smooth peanut butter
FOR THE TOPPING
- 300g dark chocolate (75% cocoa or more)
- 1 tablespoon organic unsalted butter
- 50g organic cocoa butter
Method
- Pour all base ingredients into a food processor and blitz until it creates a sandy mixture
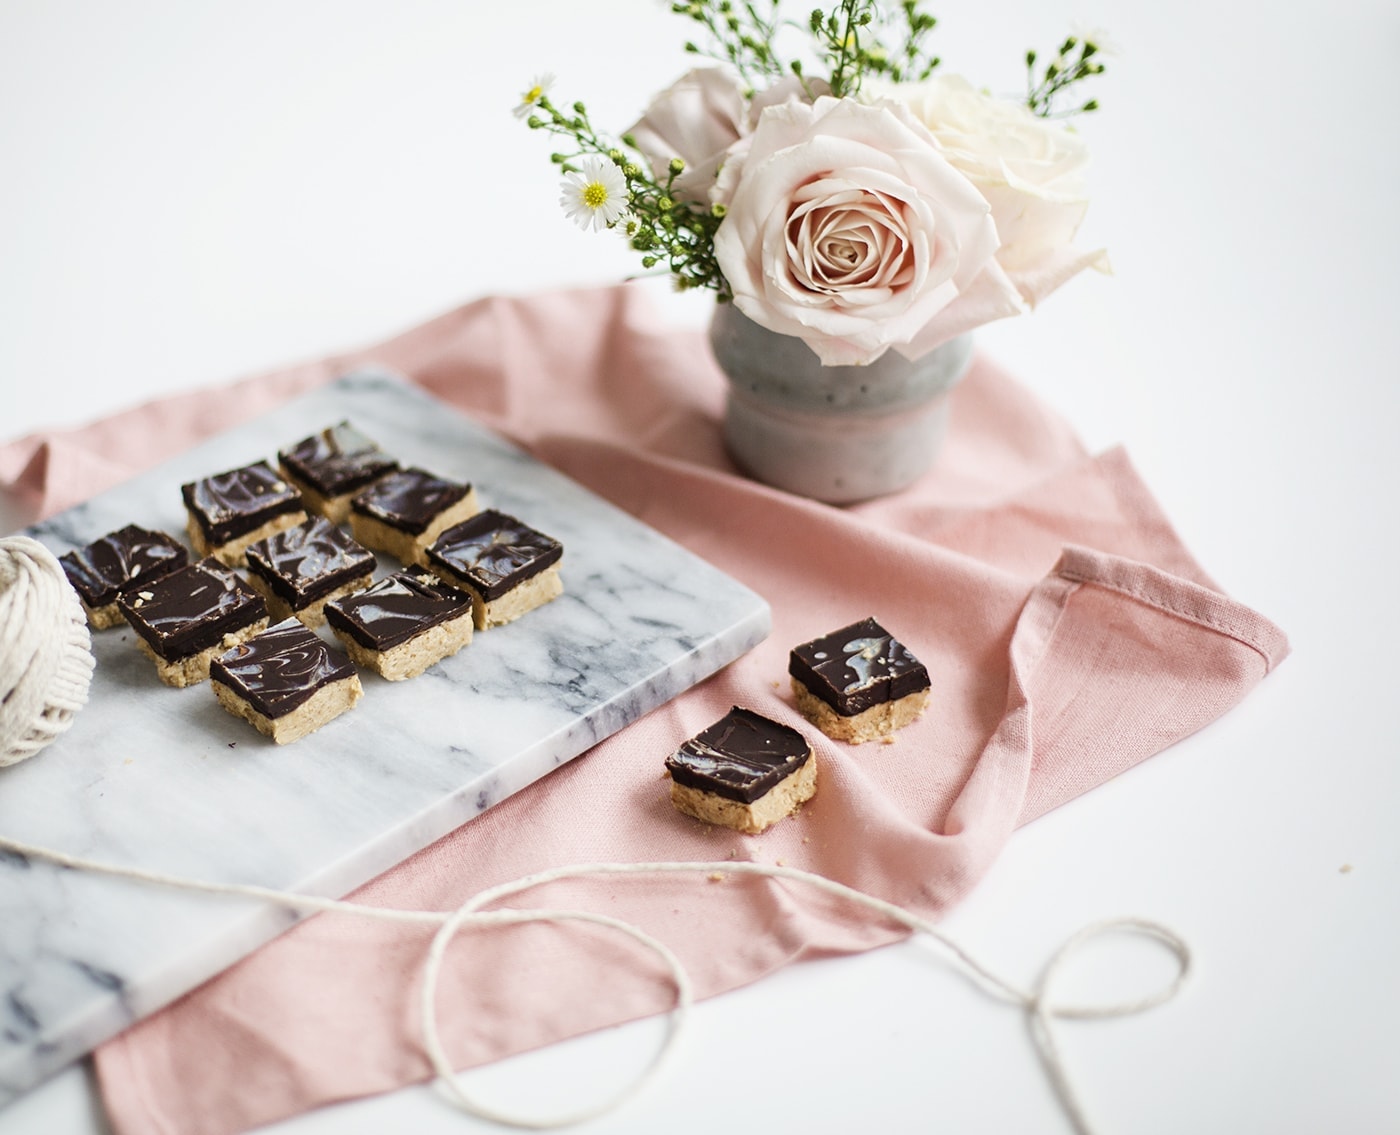
- Spoon the mixture into a lined brownie tin, pressing into the base, trying to make this layer as even as possible.
- Either mircowave the topping ingredients in a glass bowl for about a minute to melt or alternatively use a glass bowl of a saucepan of simmering water.
- Pour and spread the chocolate layer over the base. You can tip the tin to make sure this layer is even. Refrigerate so it starts to firm up slightly.
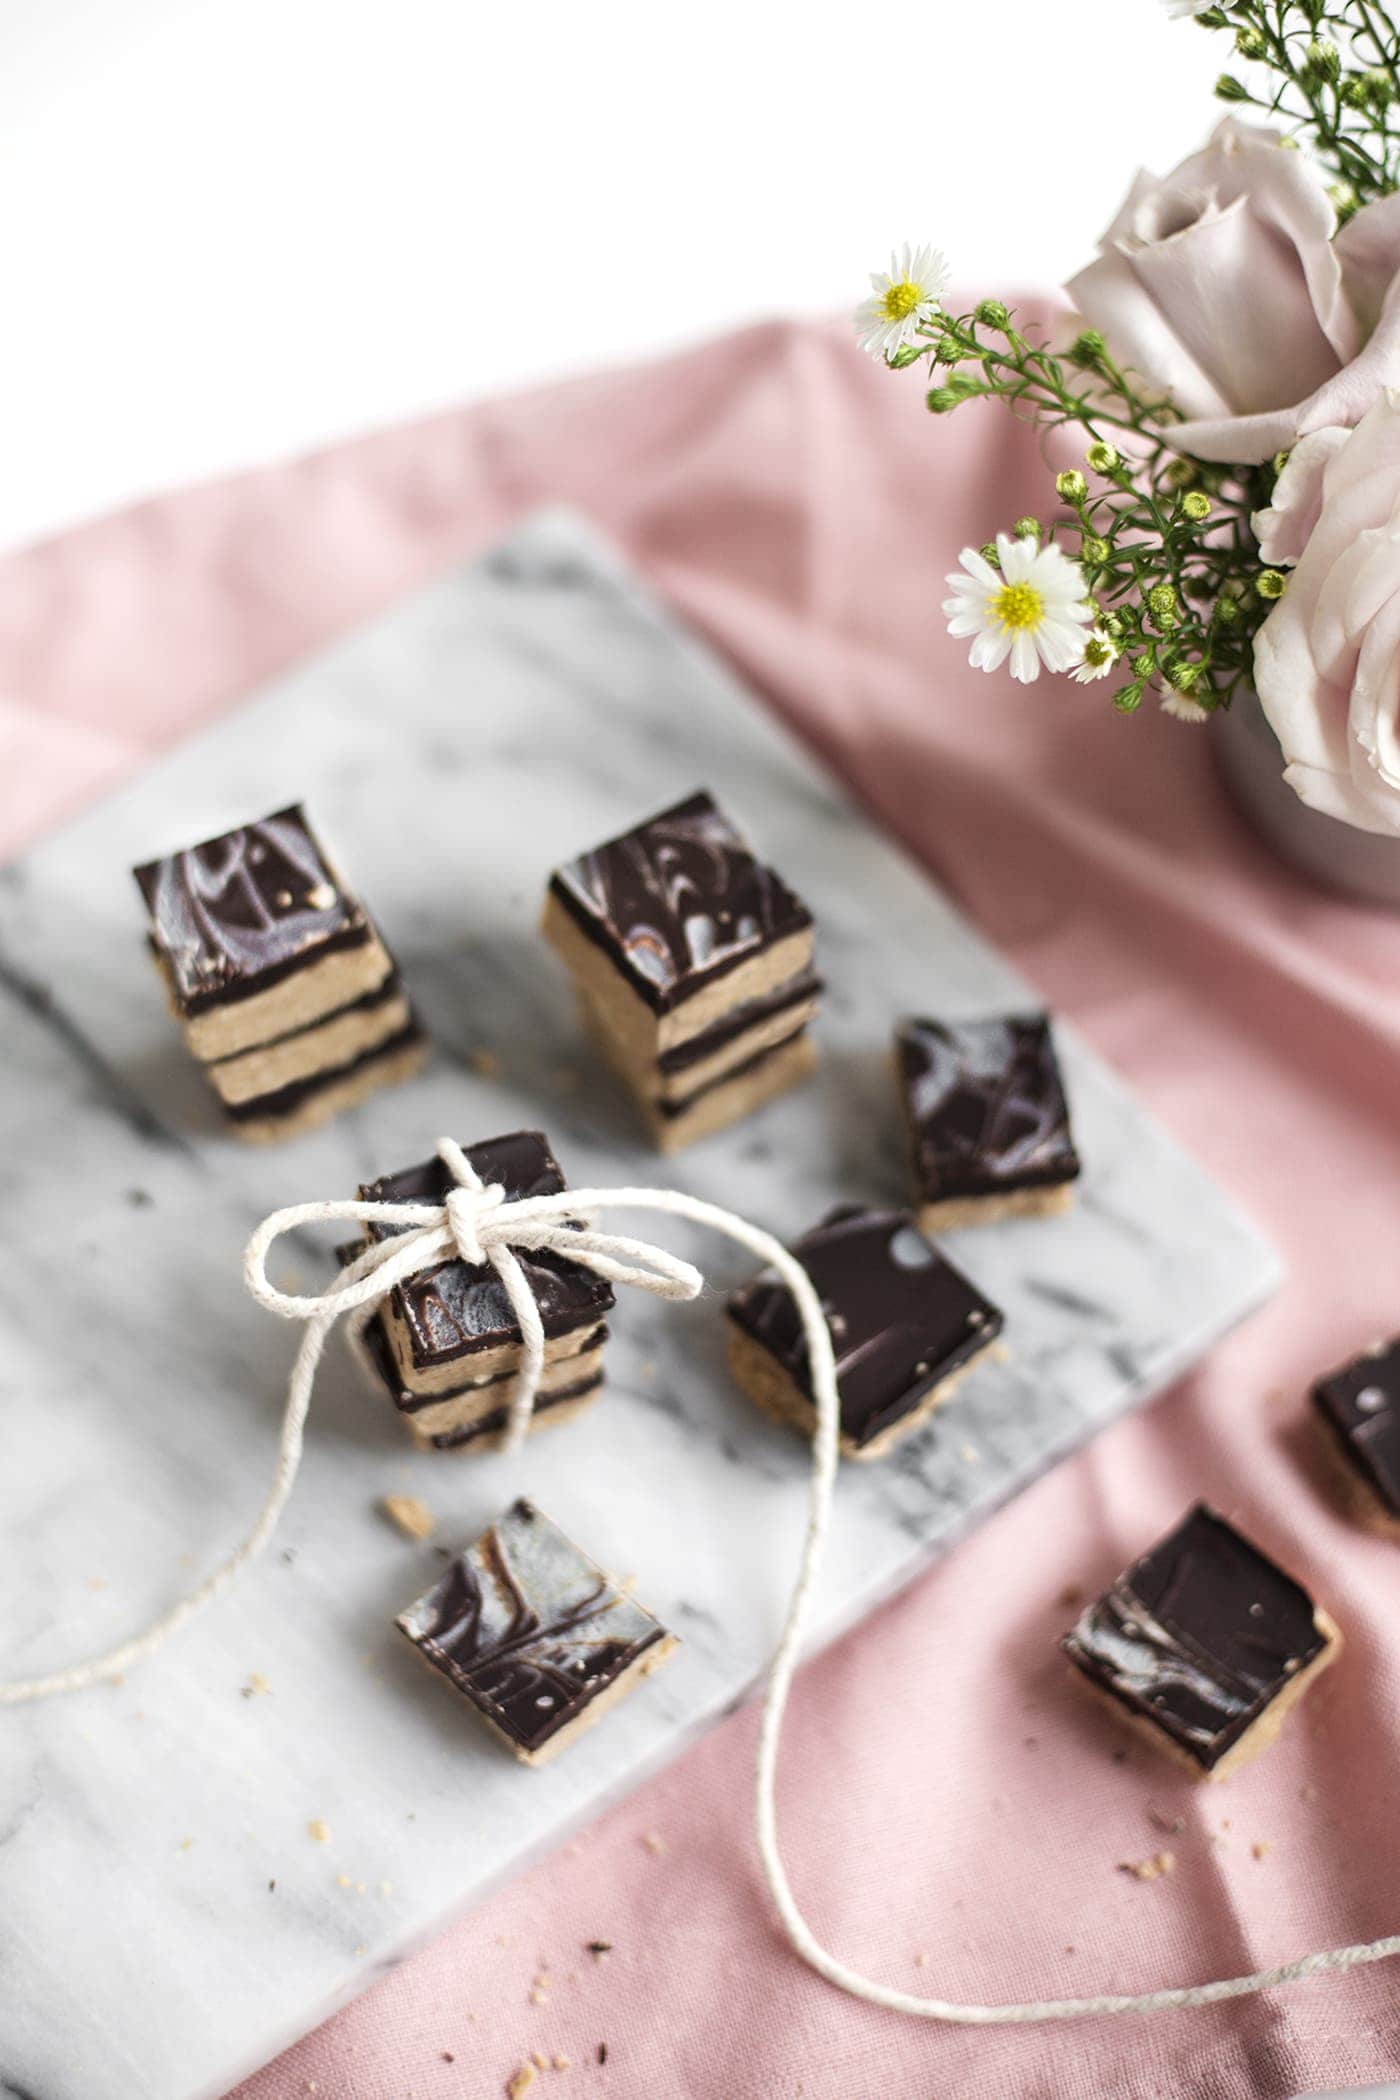
- Meanwhile melt the cocoa butter in the same way. Then take a knife or spoon and drizzle this over the dark chocolate layer. Then take a cocktail stick or knife and gently move the cocoa butter around in a swirled patterns to create a marble effect. Refrigerate until almost firm.
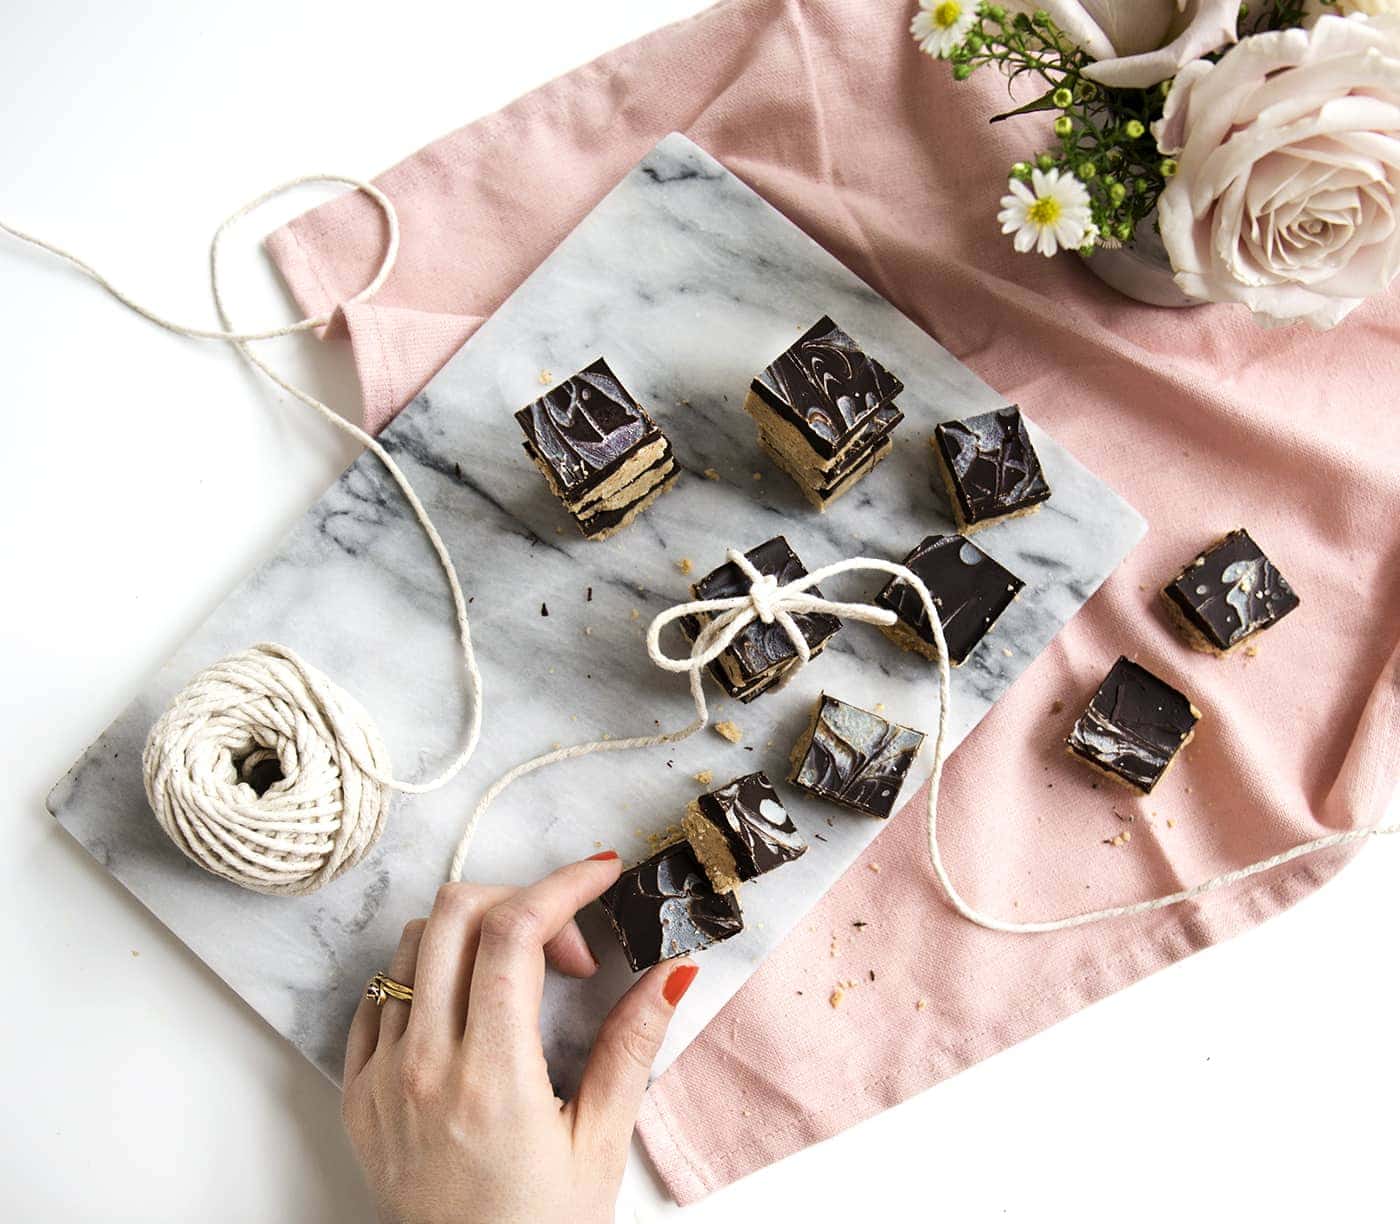
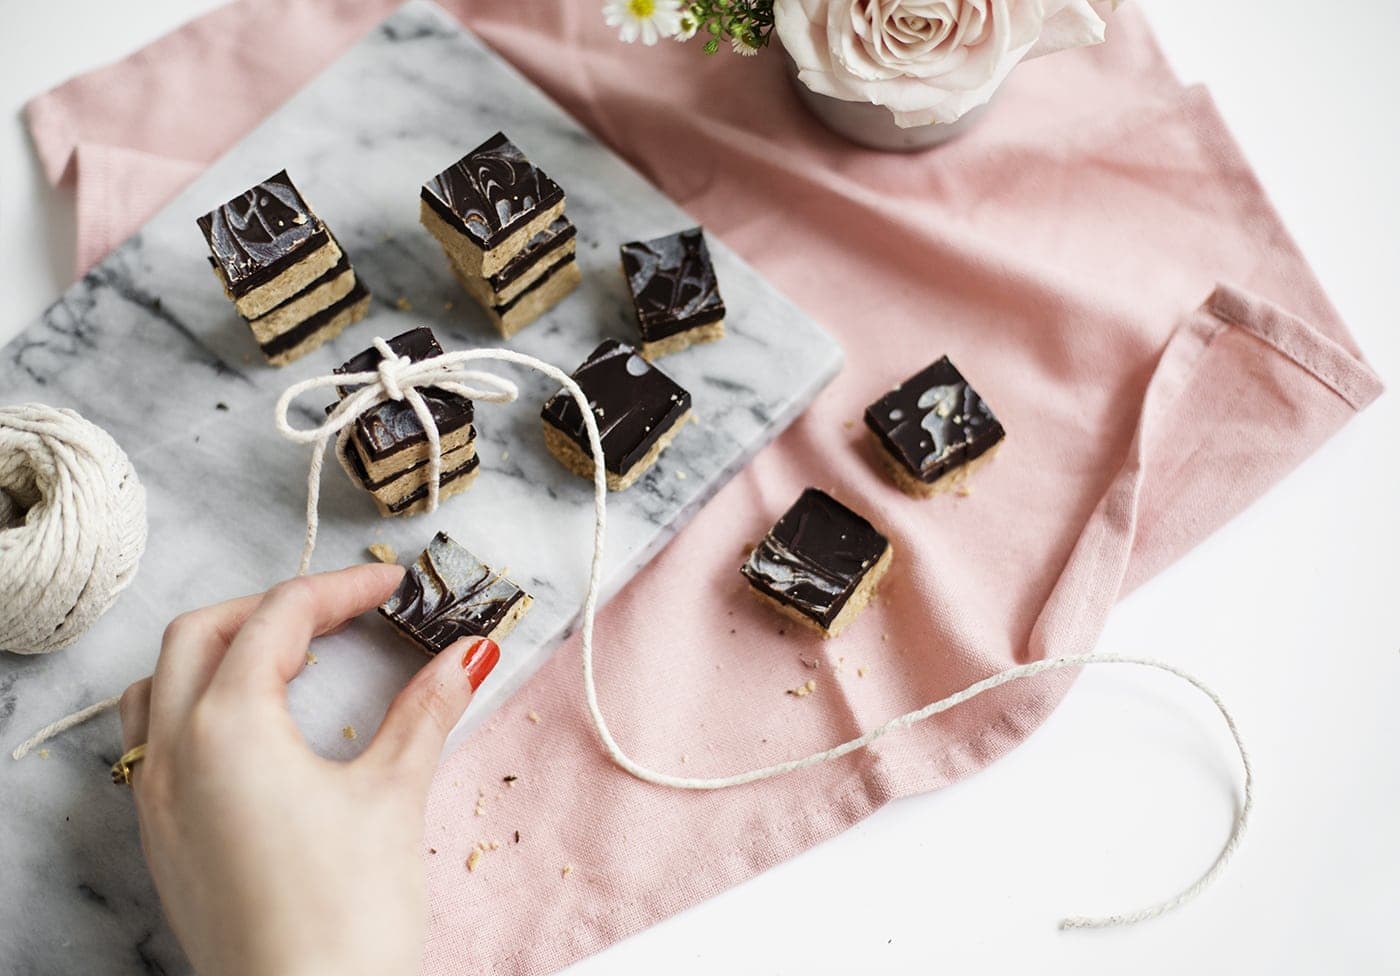
- Take out of the fridge and score with a sharp knife before carefully cutting into squares. Put them back in the fridge until completely firm.
And now enjoy yourself or share the love and give as a gift!
You might also like


Meet The Lovely Drawer

Hi, I’m Teri and welcome to my own creative corner of the internet. I blog about interiors, DIY projects, design inspiration and my general life so stick around have a read and say hi.
In the shop
 Quick ViewSelect options
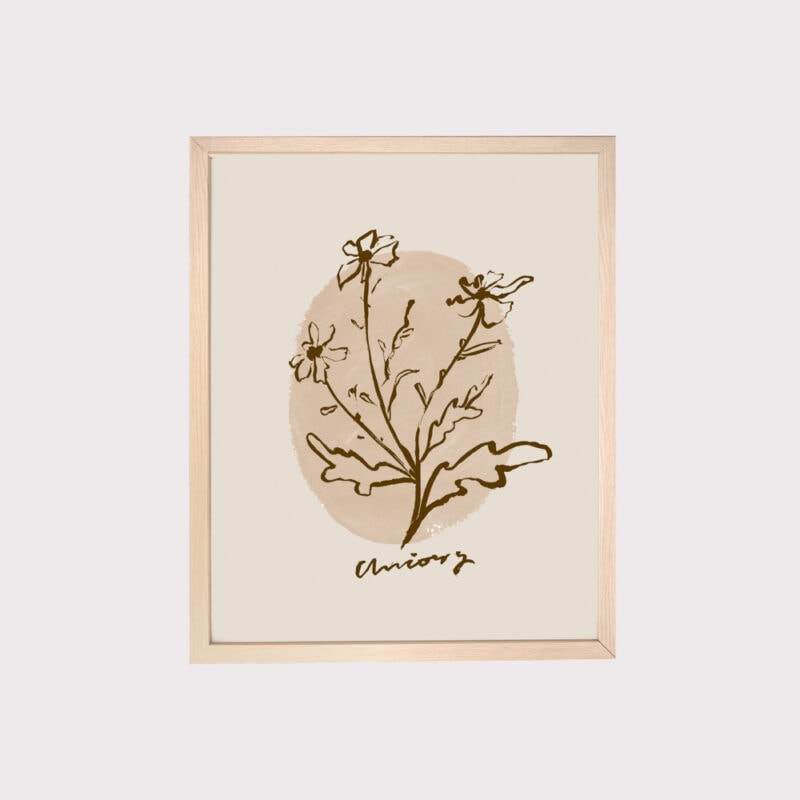
Chicory
£20.00 – £25.00
 Quick ViewSelect options
Orchard Days
£20.00 – £25.00
Work with Me
The Lovely Drawer is an award winning blog with a loyal audience that has grown over the years. I love working with brands small and large on exciting collaborations that can bring products alive in my own signature aesthetic.