


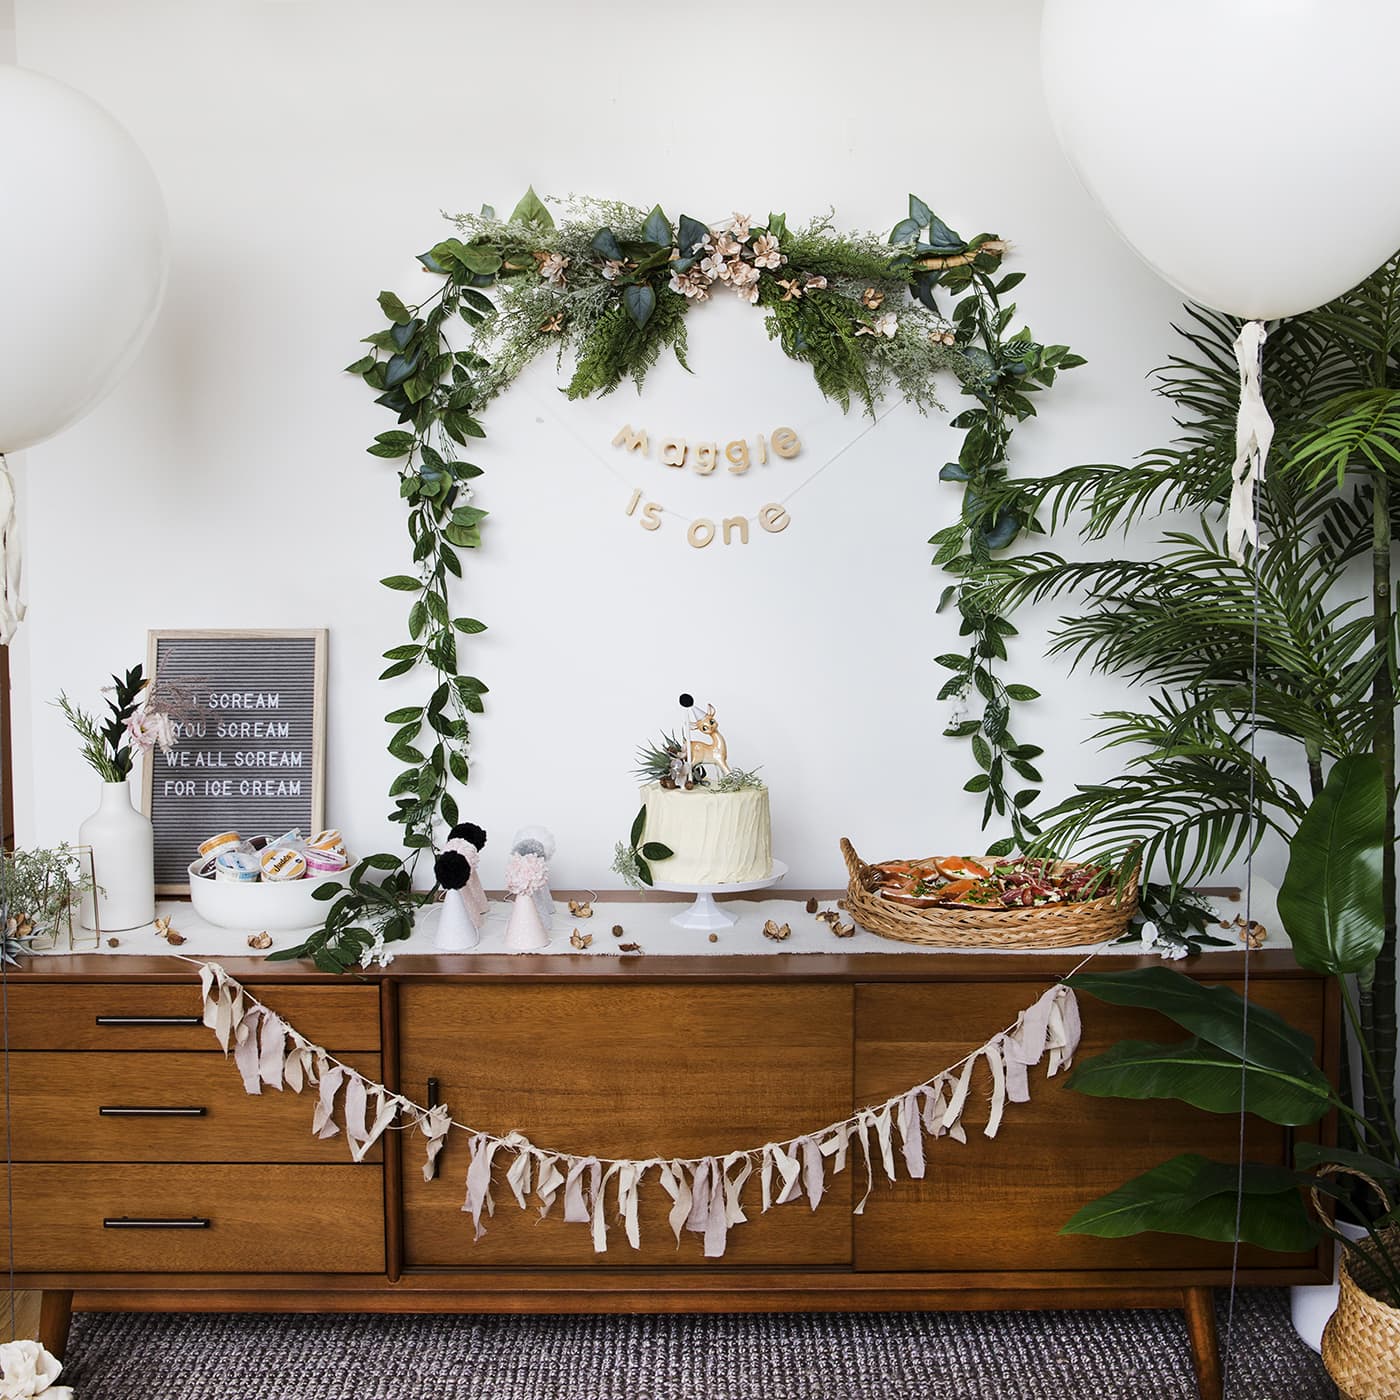
Here’s the follow up post to Maggie’s Birthday party with all the details on how to recreate the look yourself.As I said, I’ve kept them short and snappy because us parents are in short supply of time and don’t have hours on end to ‘get our craft on’. I worked with Hobbycraft who kindly gifted me the supplies for the project to make the decor come to life.
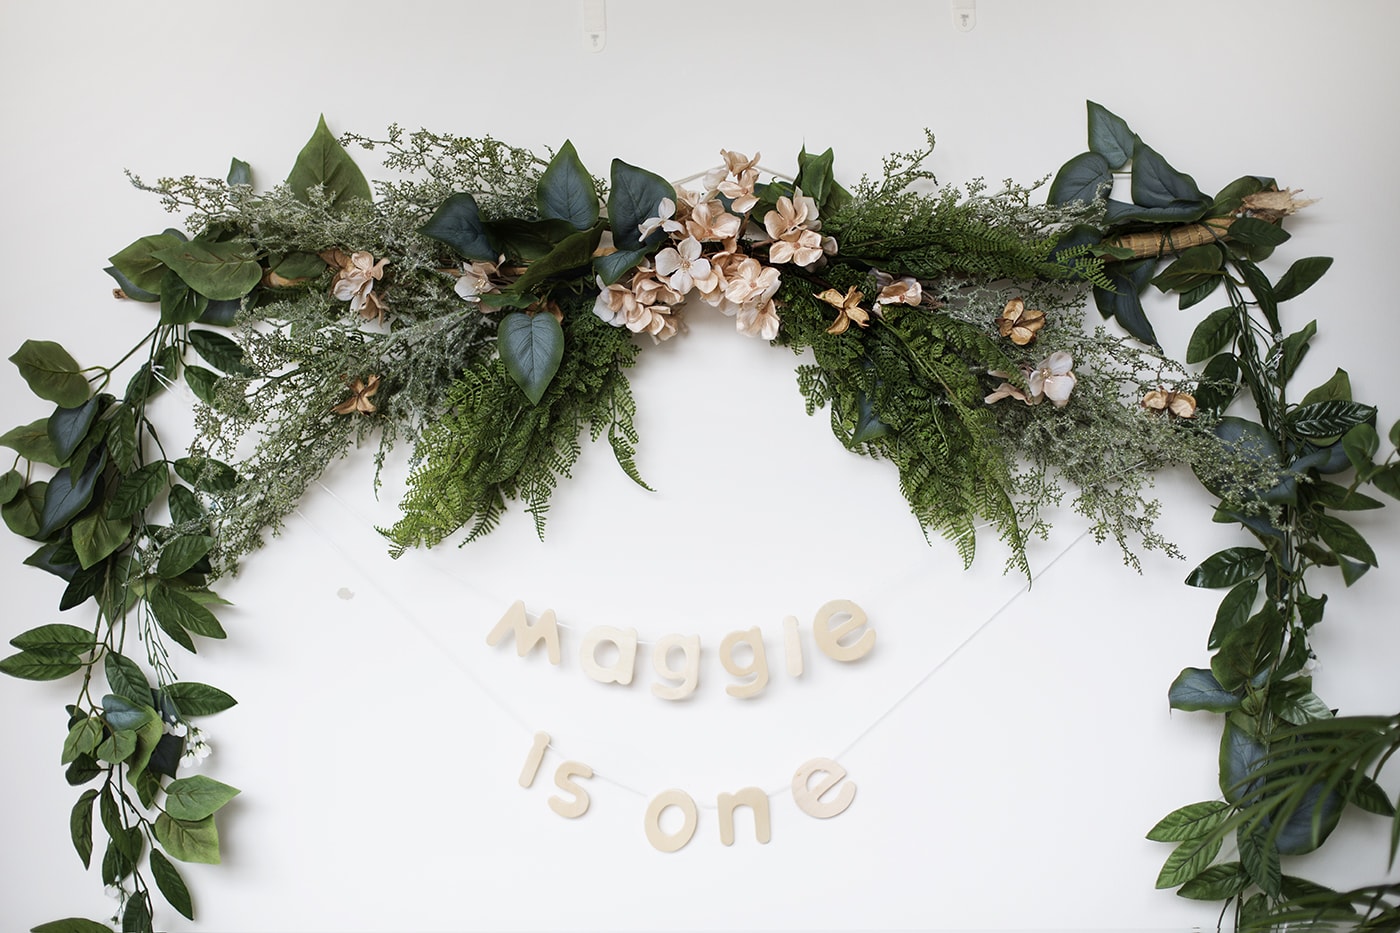
Forest Garland
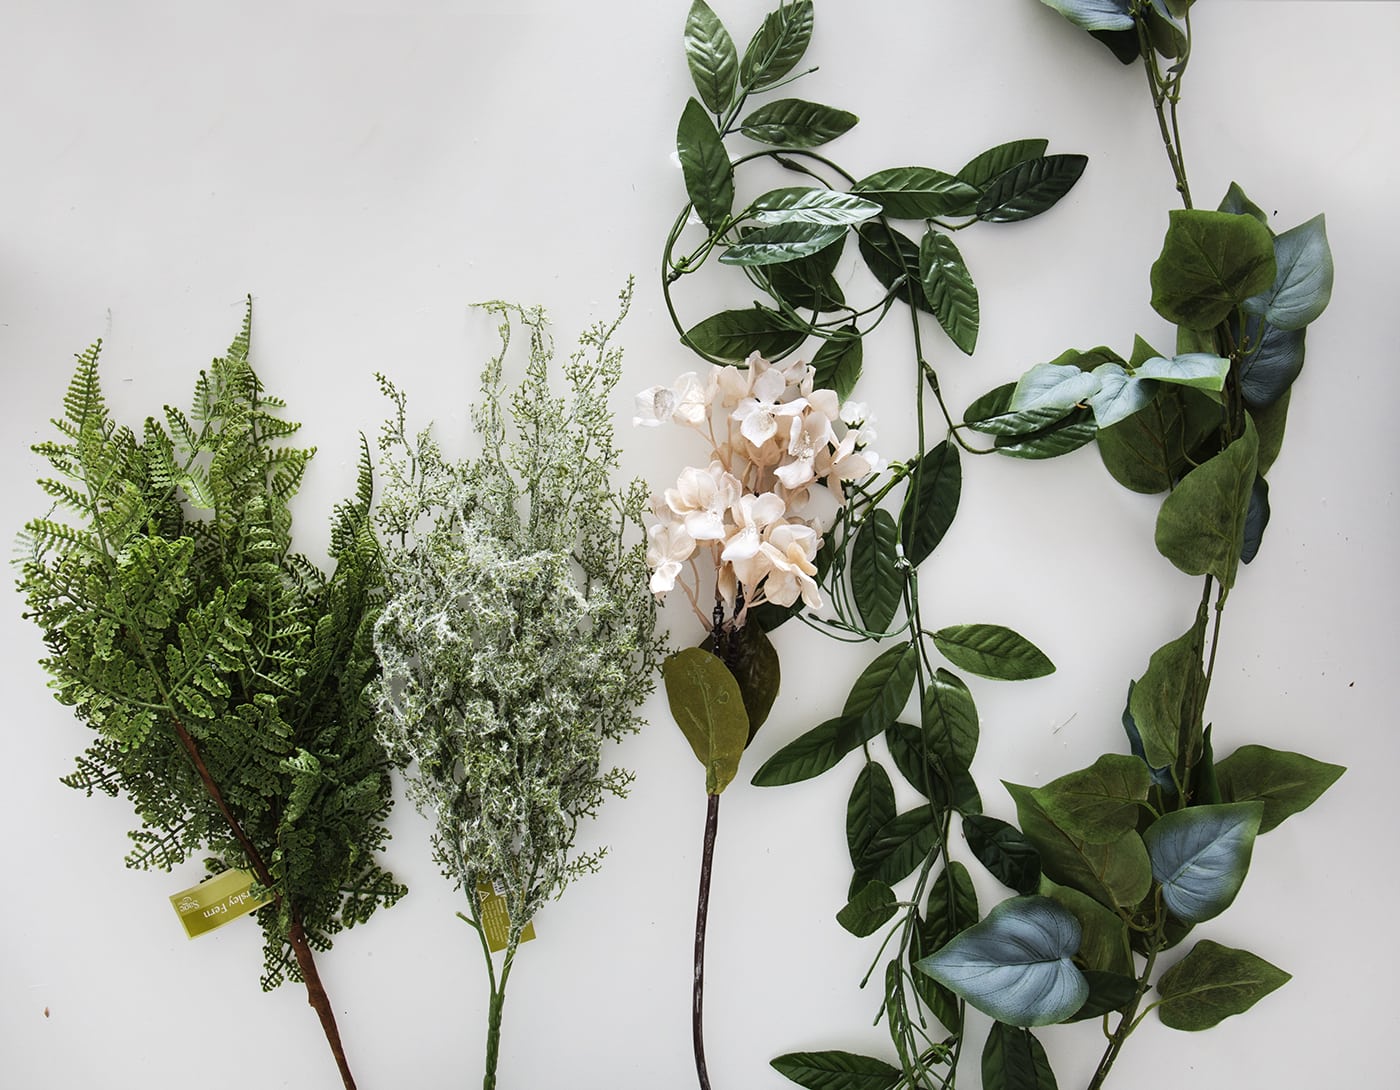
Materials
- asparagus bush x 4
- parsley fern x 2
- champagne hydrangea x 2
- cream wisteria garland x 2 (I pulled off most of the white flowers)
- flocked philo garland
- natural casuarina
- cotton pods
- wire
- foraged branch
- string
- wire cutters
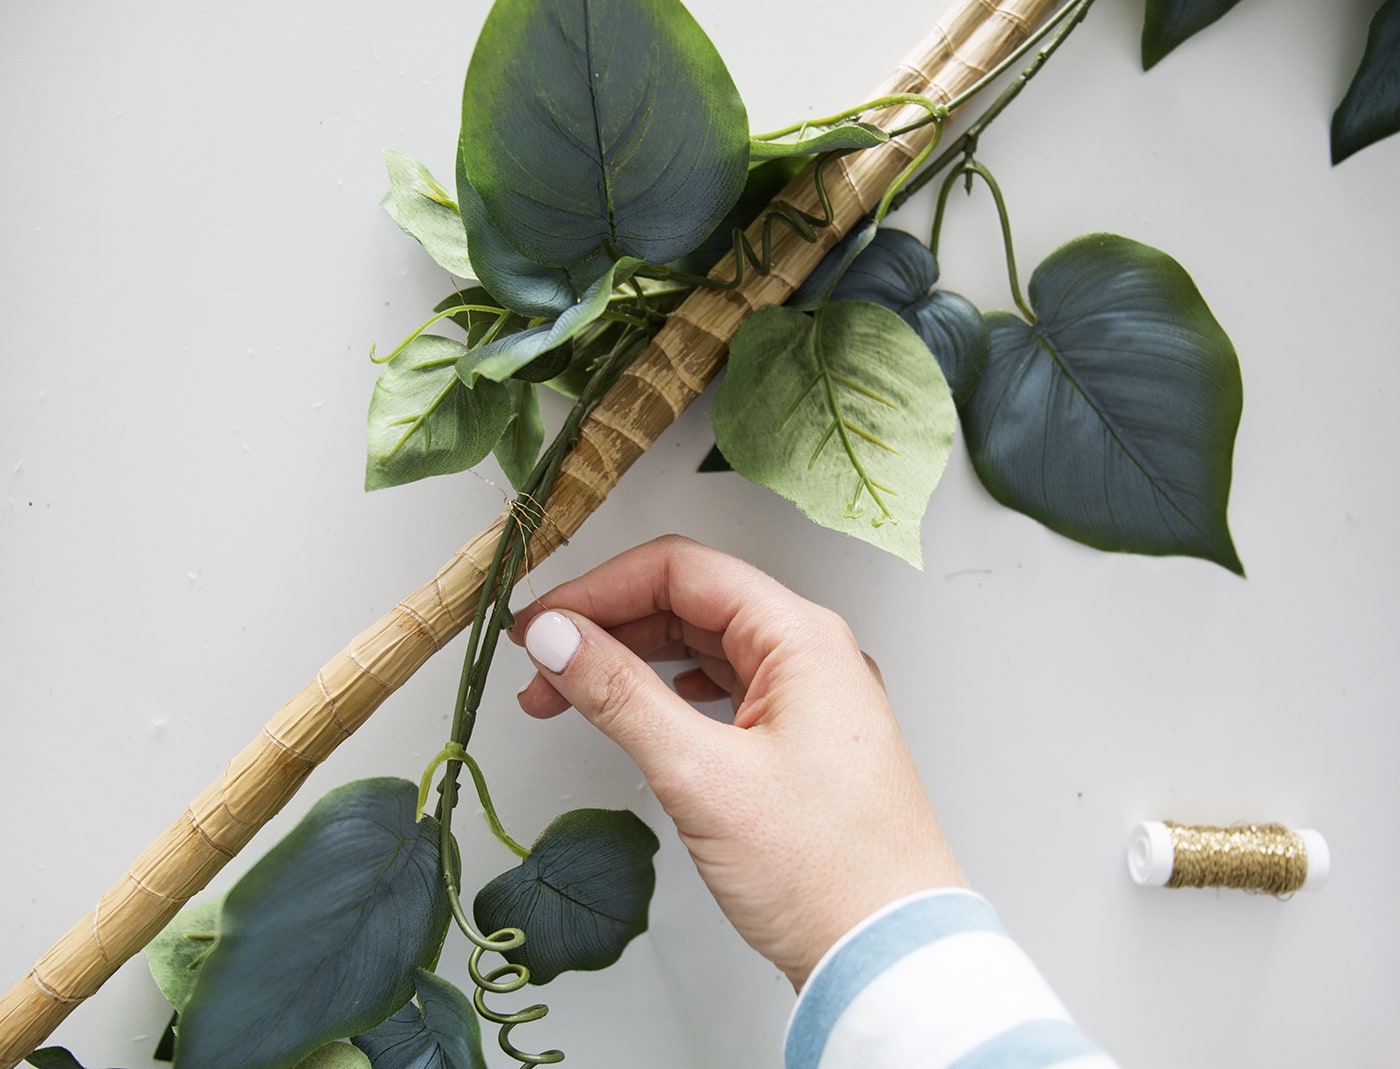
Begin by wrapping the flocked philo garland around the branch so that an even amount drapes down on either side of the branch. Fix in sporadically with wire to keep in place. Add the cream wisteria garlands at either end of the brand so they hand down evenly, wrapping and fixing with the gold wire.
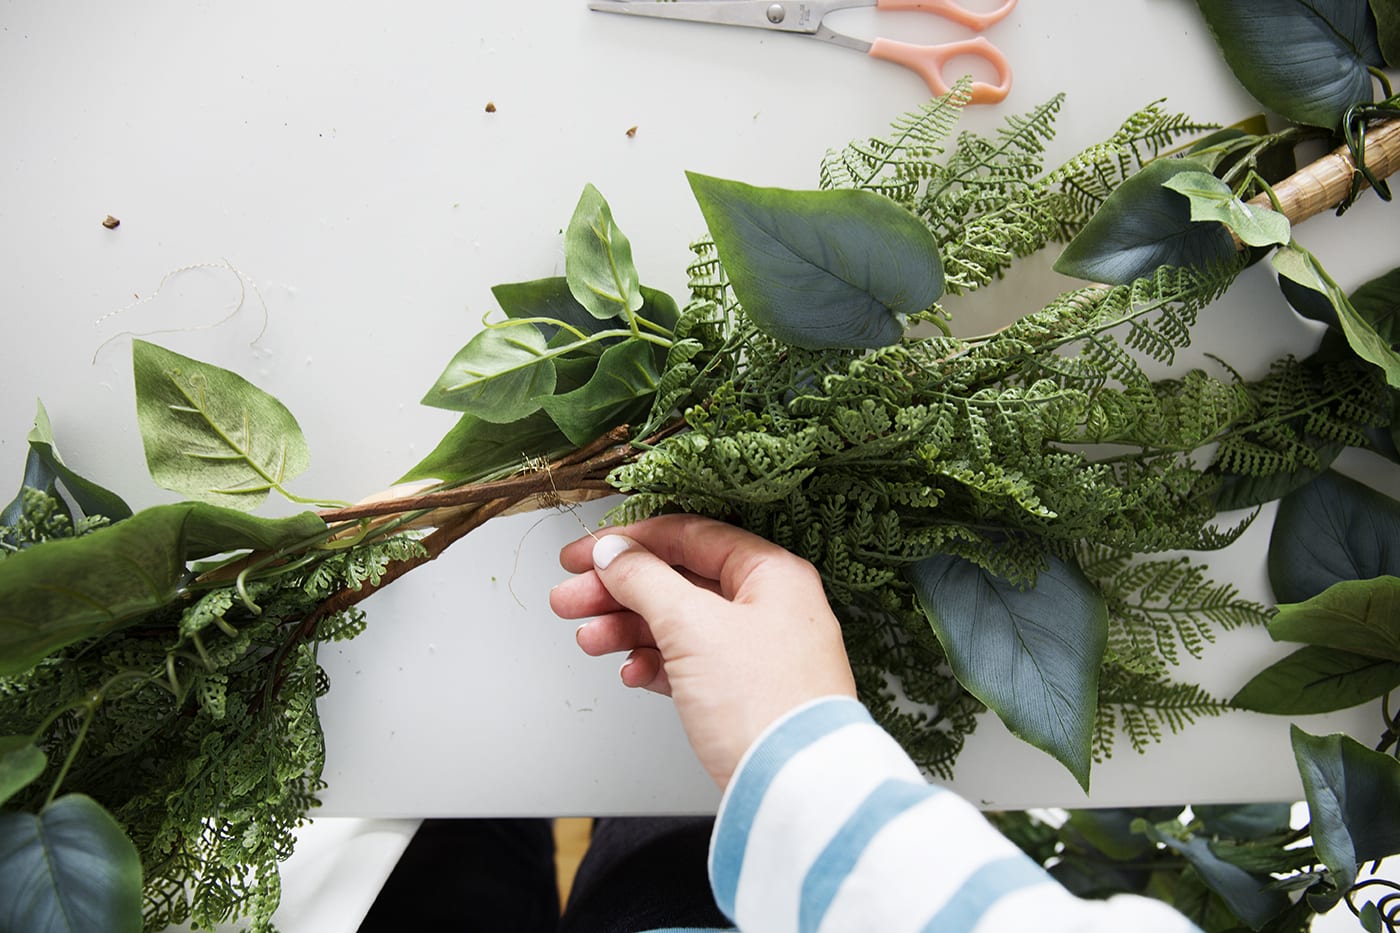
In the middle of the branch cross the parsley ferns over each other and fix with wire. Spread out the leaves to add fullness. Then do the same with the asparagus bushes, attaching evenly on either side in the middle.
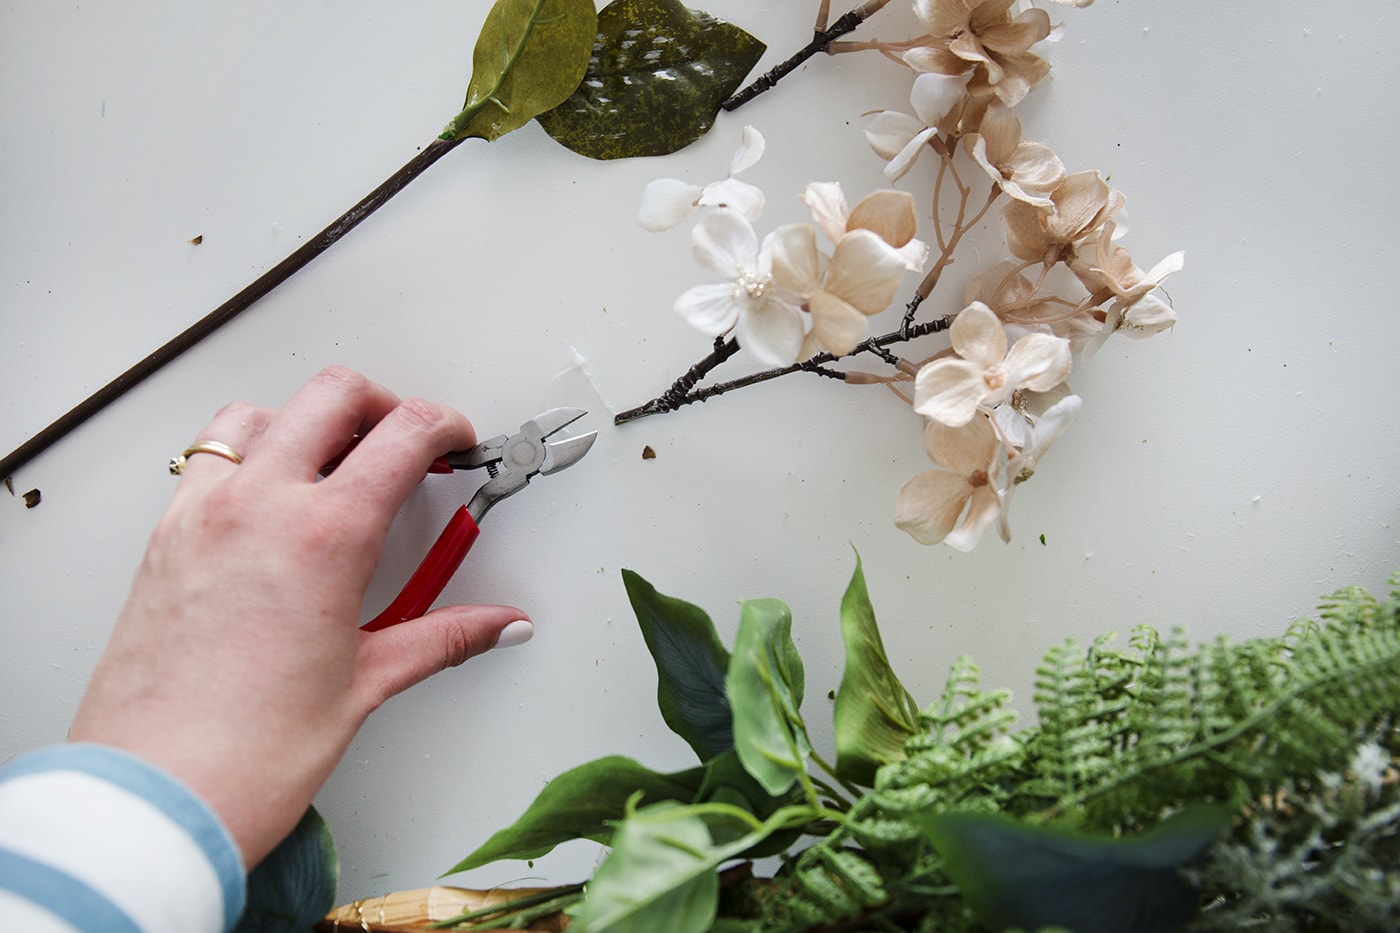
Cut the hydrangea stems with wire cutters so they are cut into shorter sections.
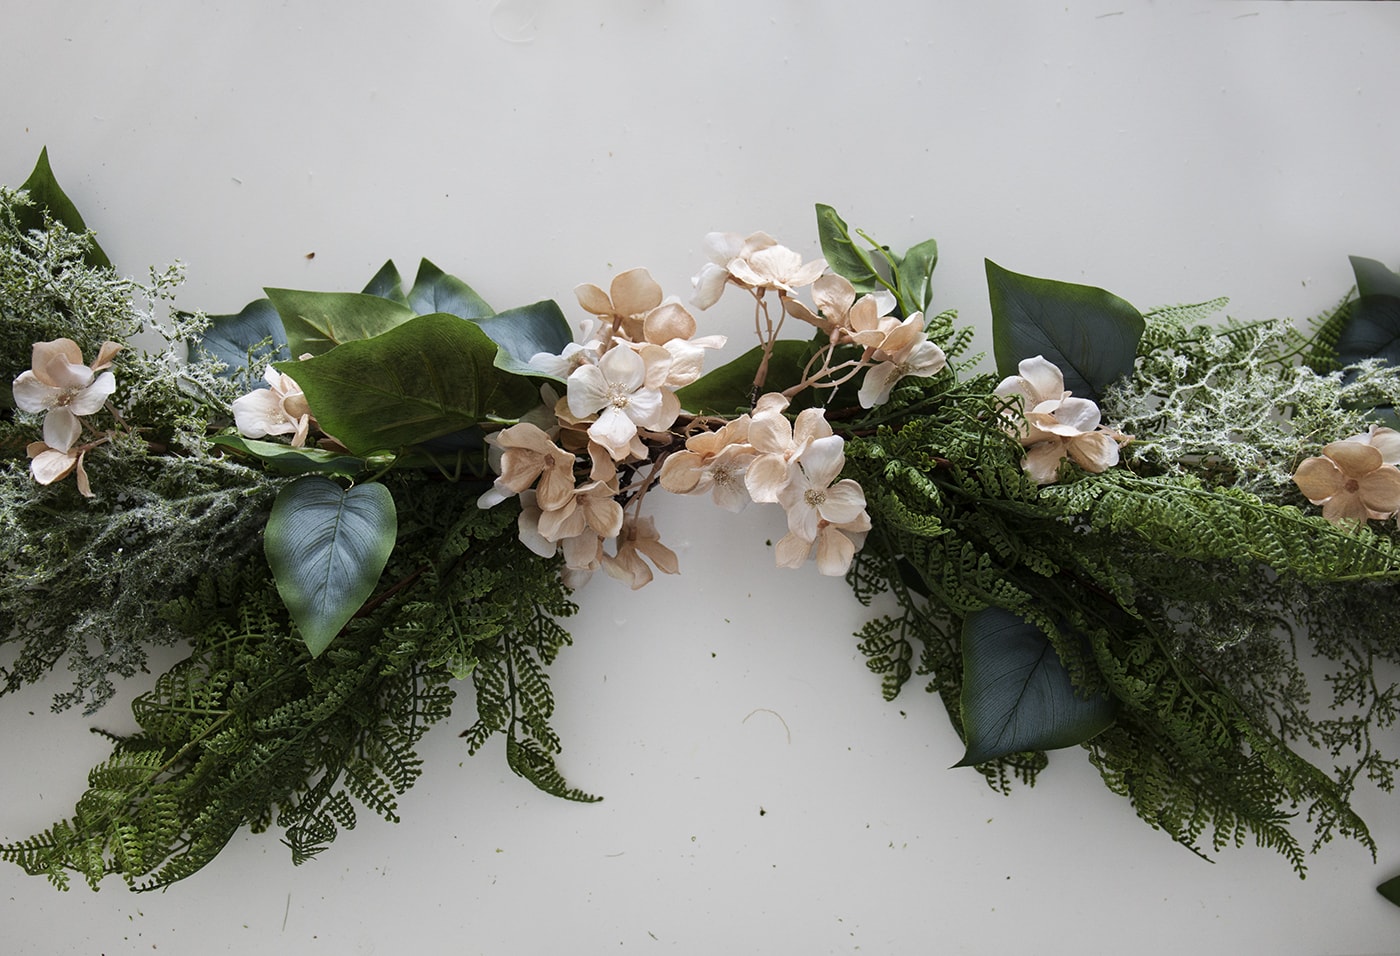
Weave sections of the hydrangea into the middle of the garland, to close the gap and cover the wire. Then add a few hydrangea flower heads as you move out through the garland, fixing with wire.
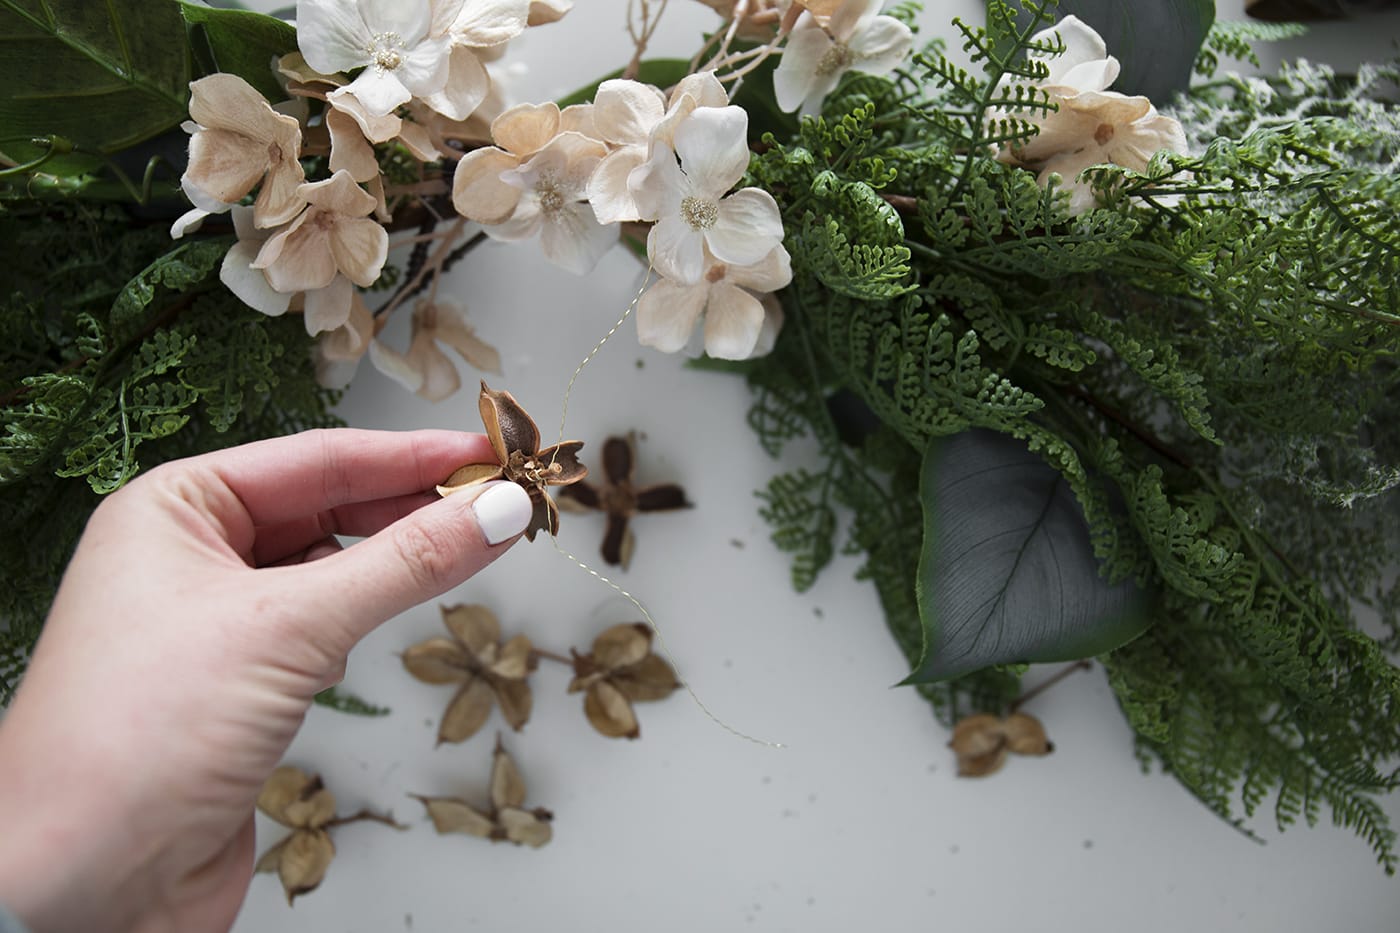
Do the same with the cotton pods by wrapping the wire around the stem and attaching in amongst the foliage. Hang the final decoration by tying a length of string to either end of the branch, keeping it taught and hang on a hook or a nail.
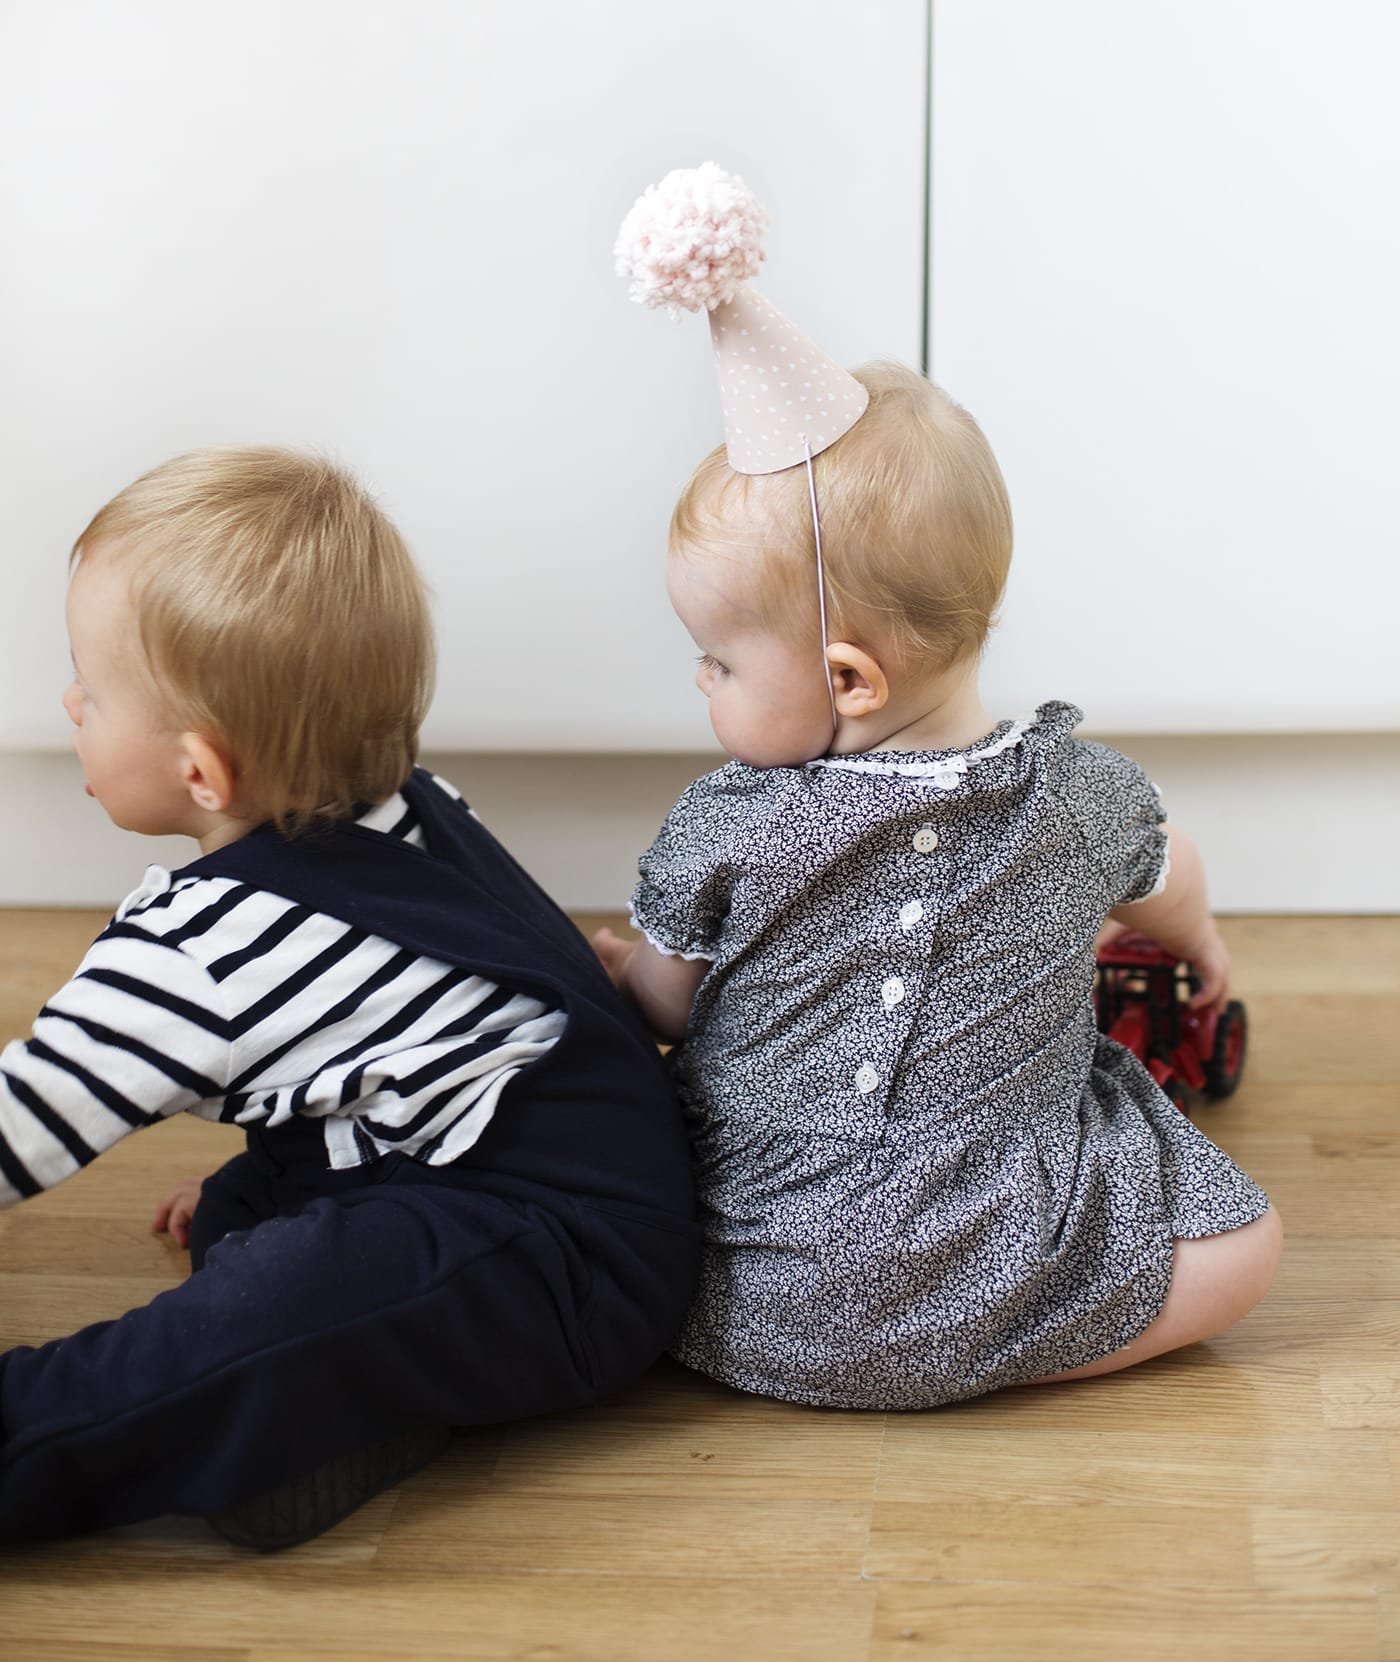
Party Hats
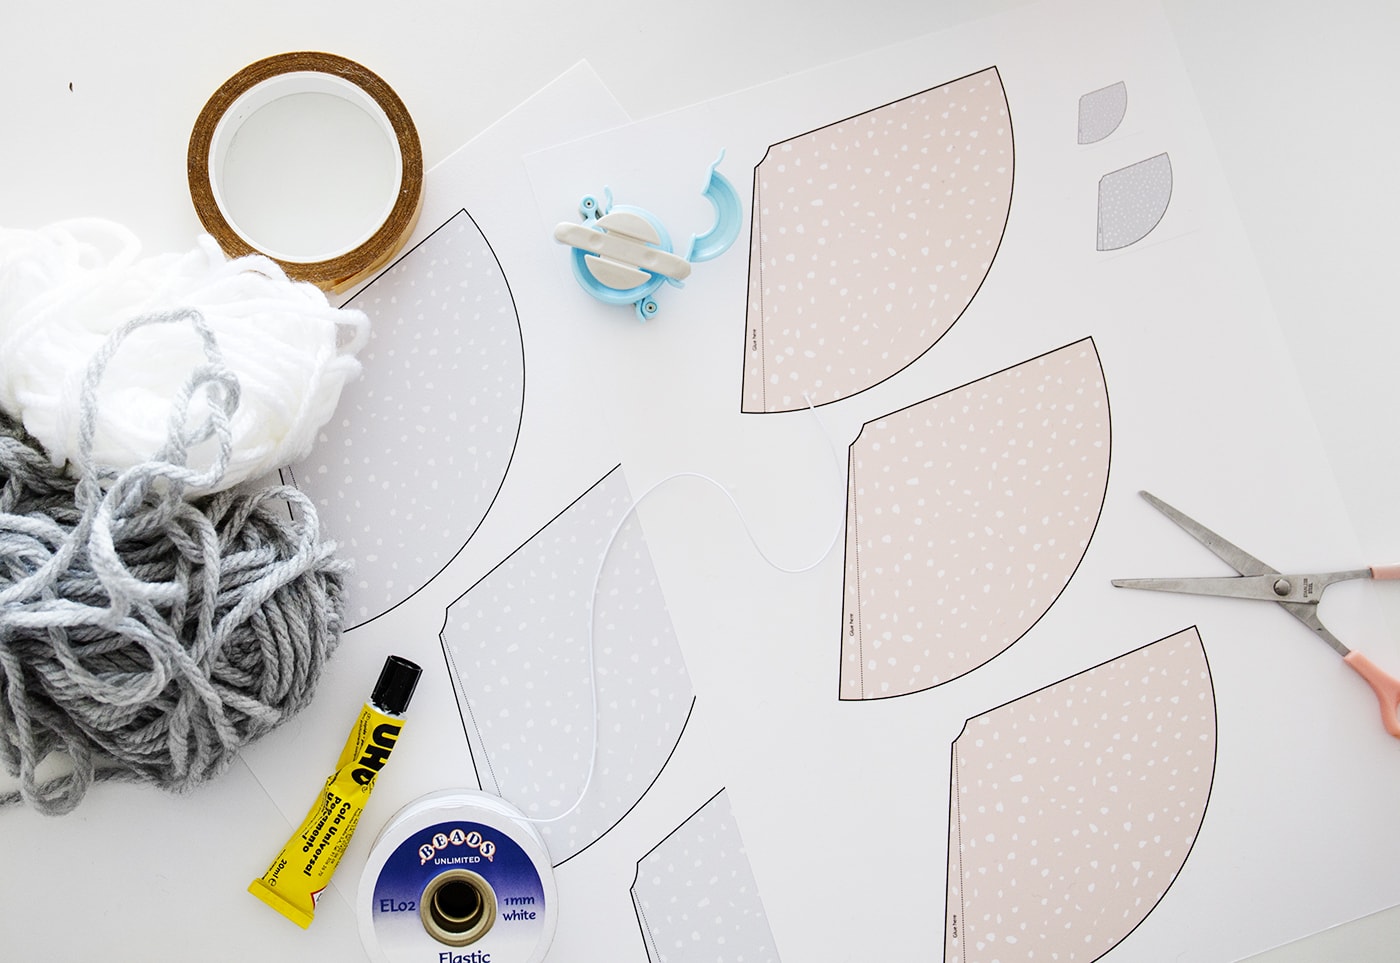
Materials
- free downloadable template
- wool & pom pom maker using this pom pom tutorial
- double sided tape
- all purpose glue
- scissors
- biro / scalpel
- elastic
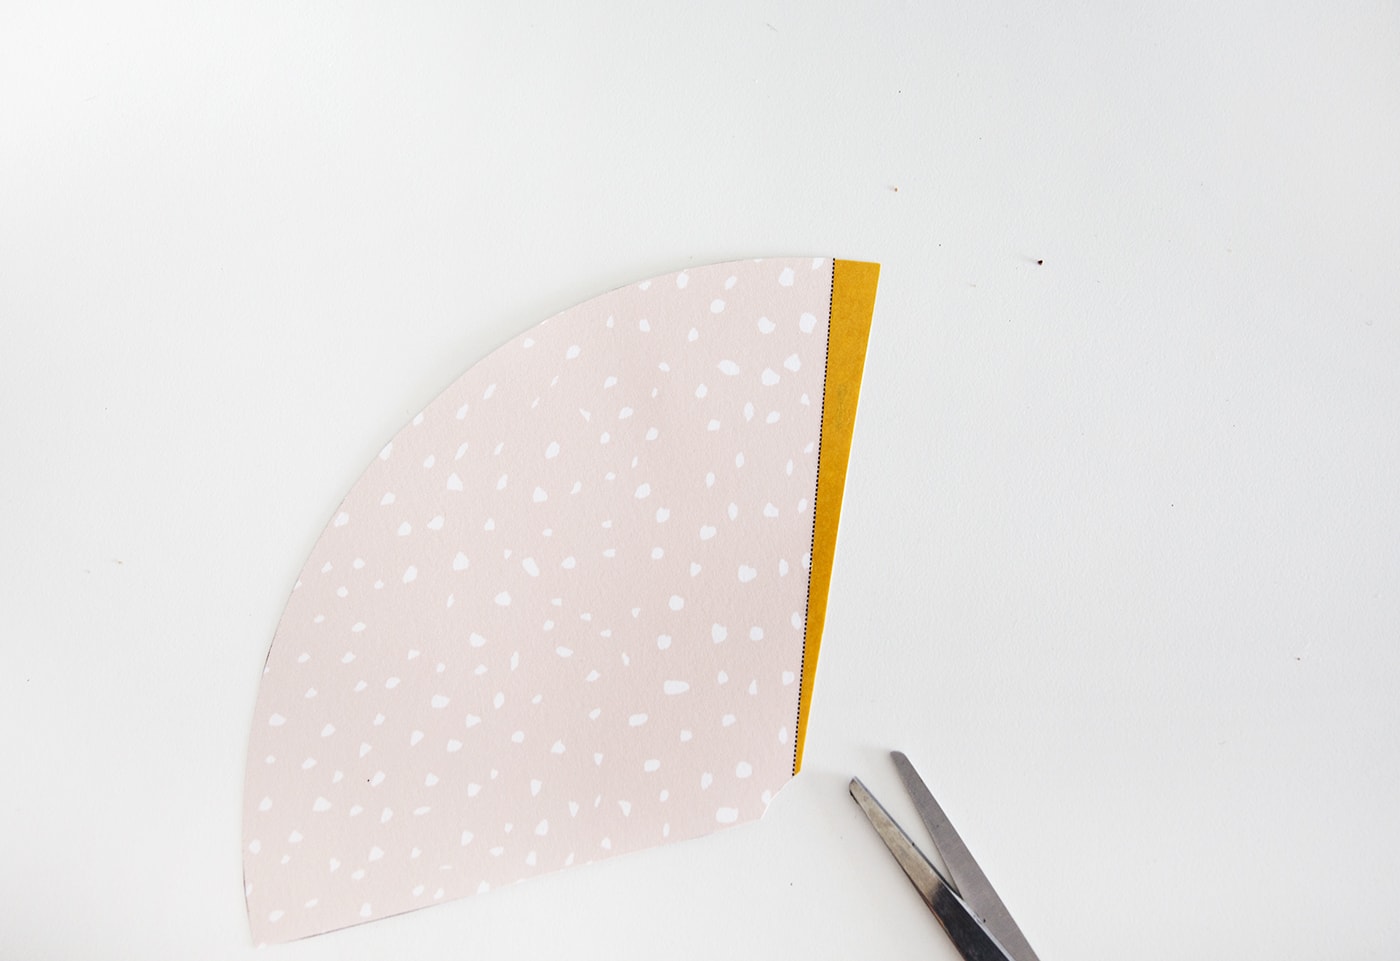
Print the template onto card or thick paper and then stick some double sided tape into the ‘glue here’ section and trim the edge.
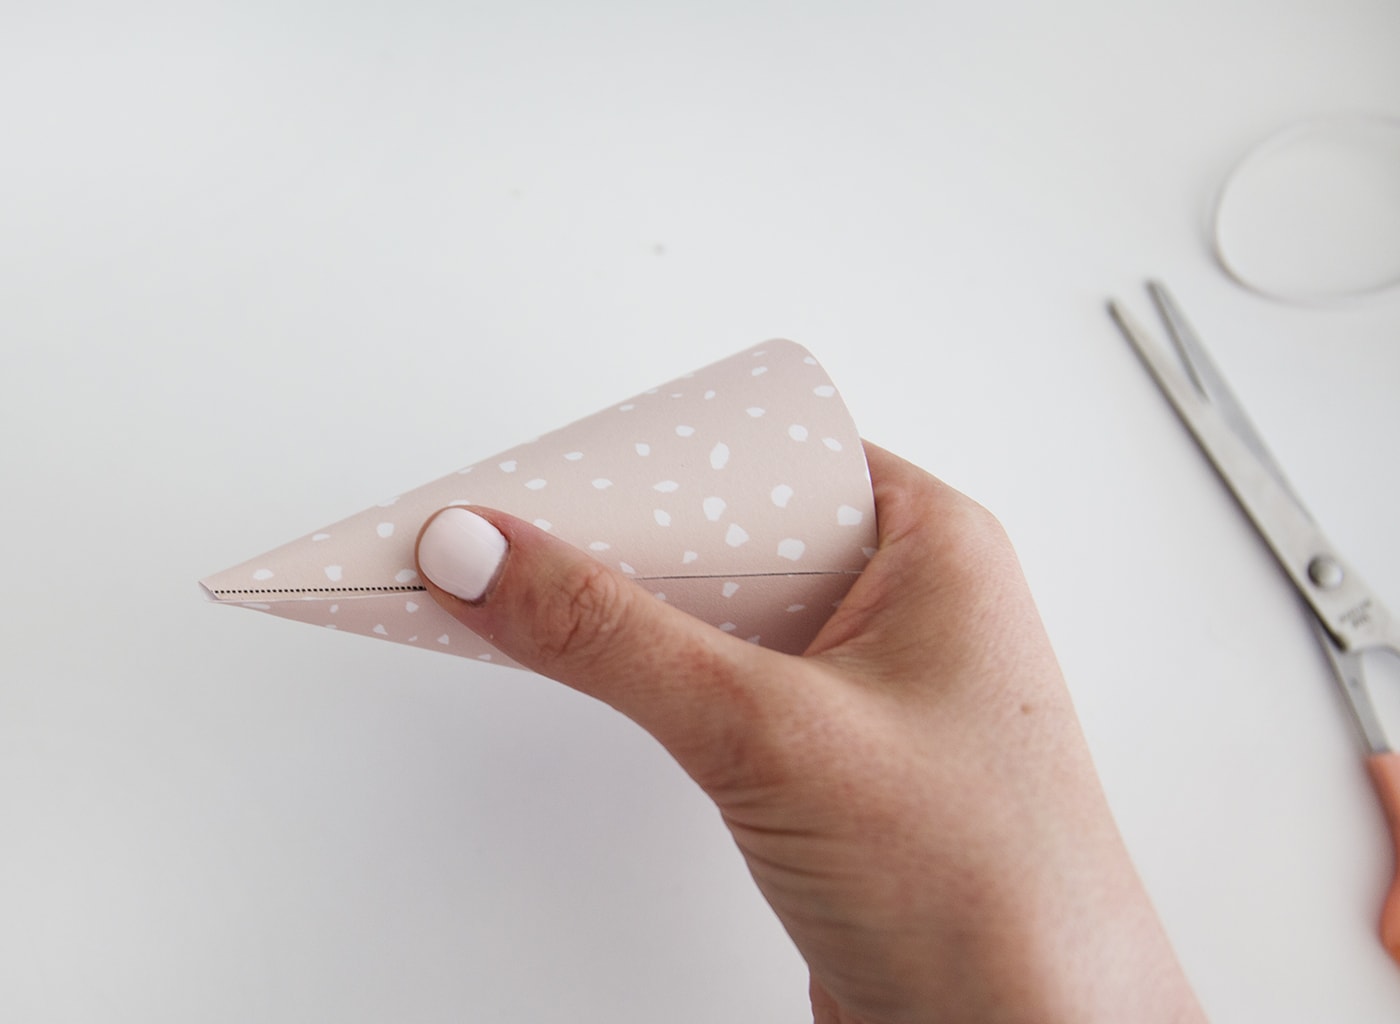
Peel away the top layer of the double sided tape and close the hat cone, pressing to stick. You can also reinforce the seal with some clear tap on top if it’s opening.
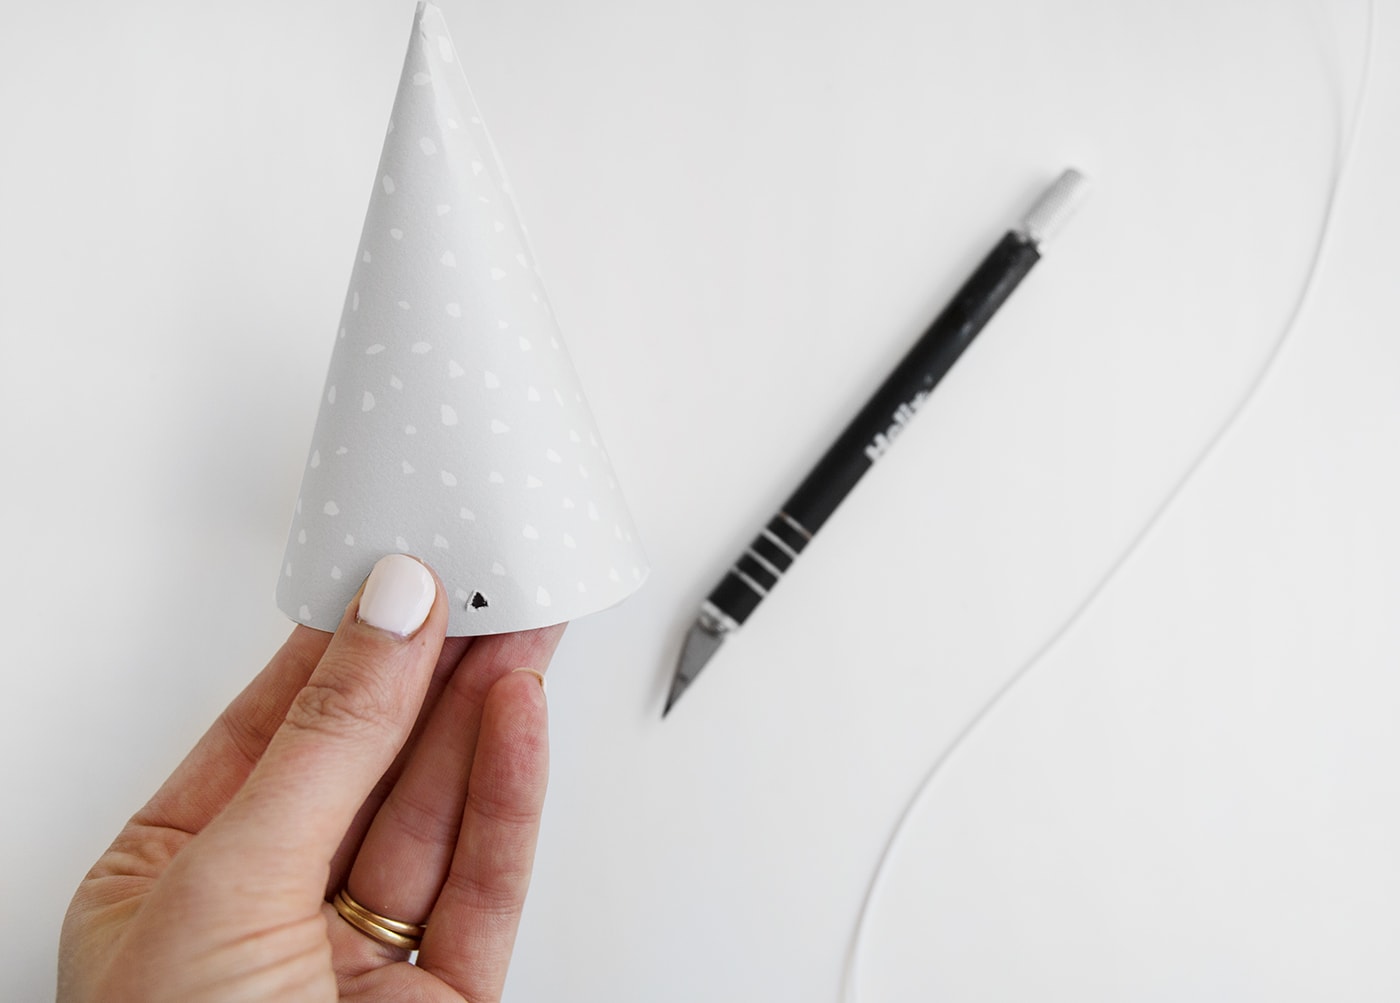
Make a hole on either side of the hat with a biro or scalpel for the elastic to thread through. Make sure the elastic stays in place with a knot on either side on the inside.

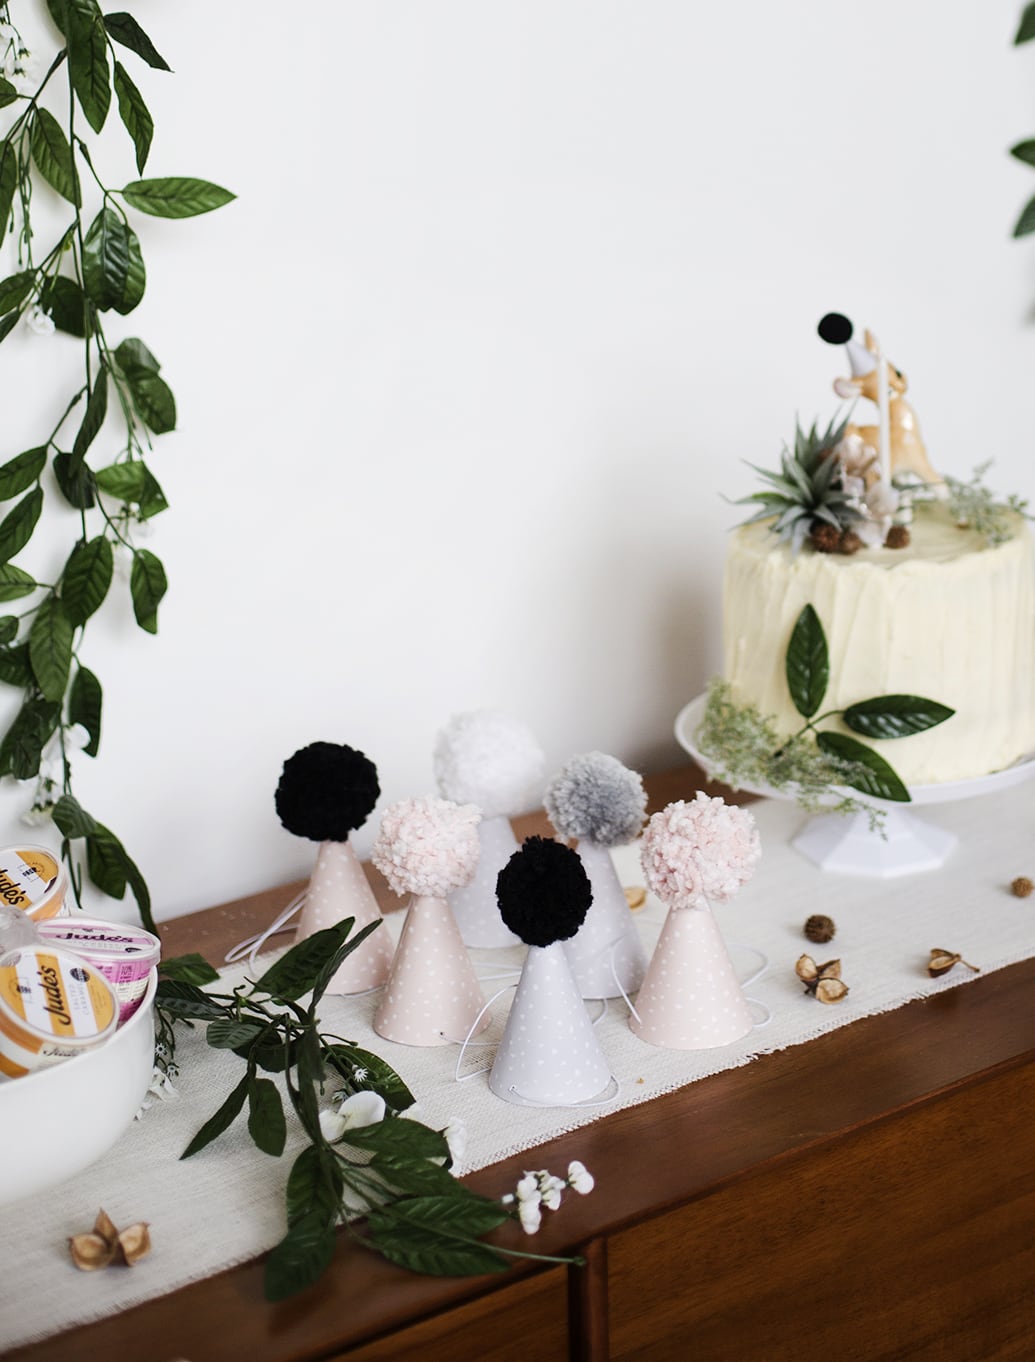
Secure the pom pom to the top of the hat with your all purpose glue, holding down and pulling some of the wool to the sides to secure. There’s even a mini version within the template to use on your cake topper.
Tassel Garland
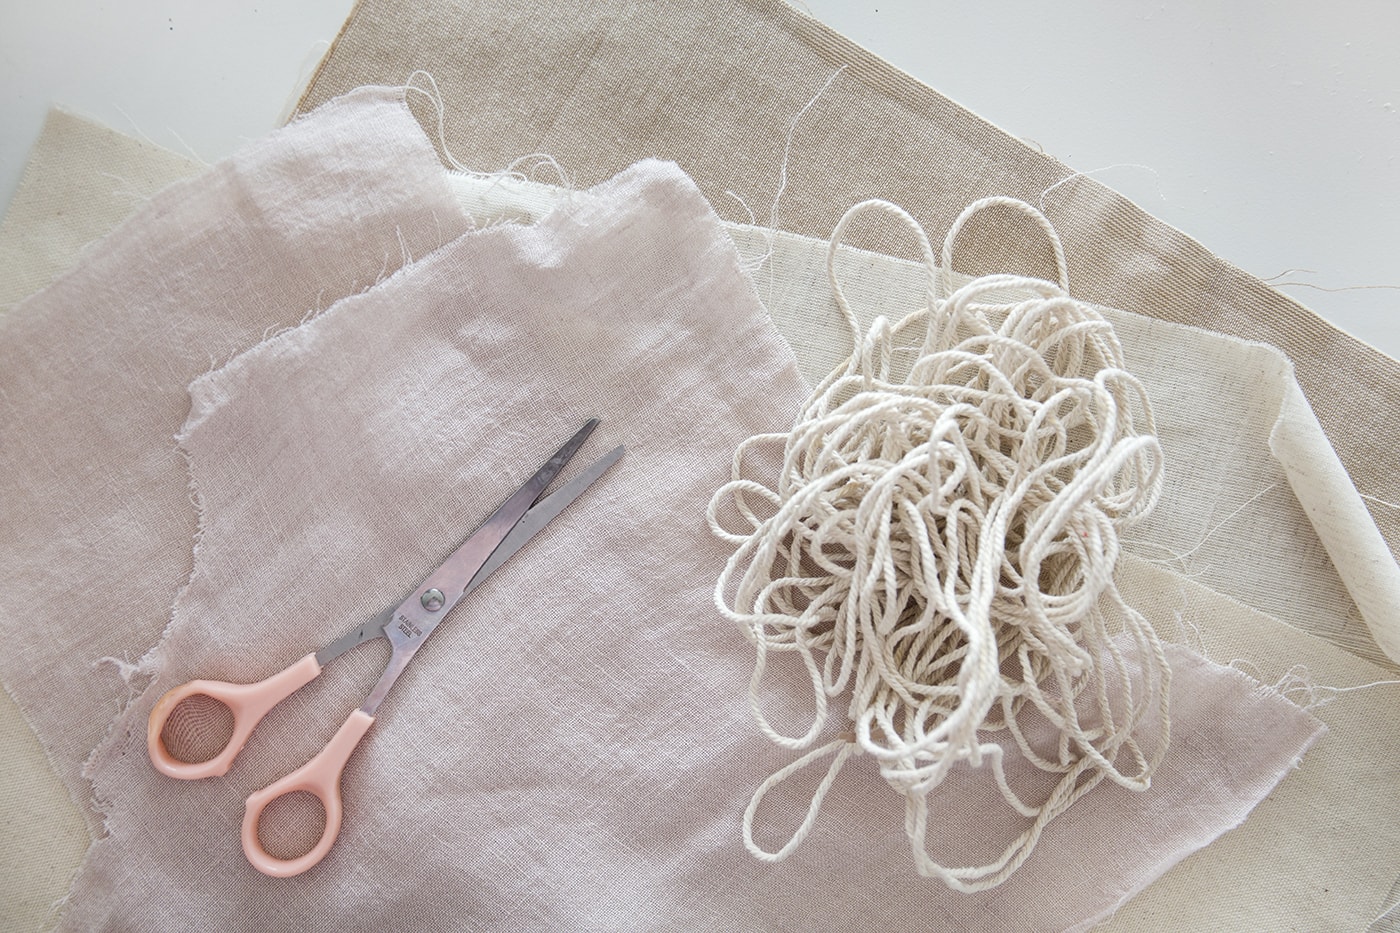
Materials
- string
- scissors
- hessian fabric
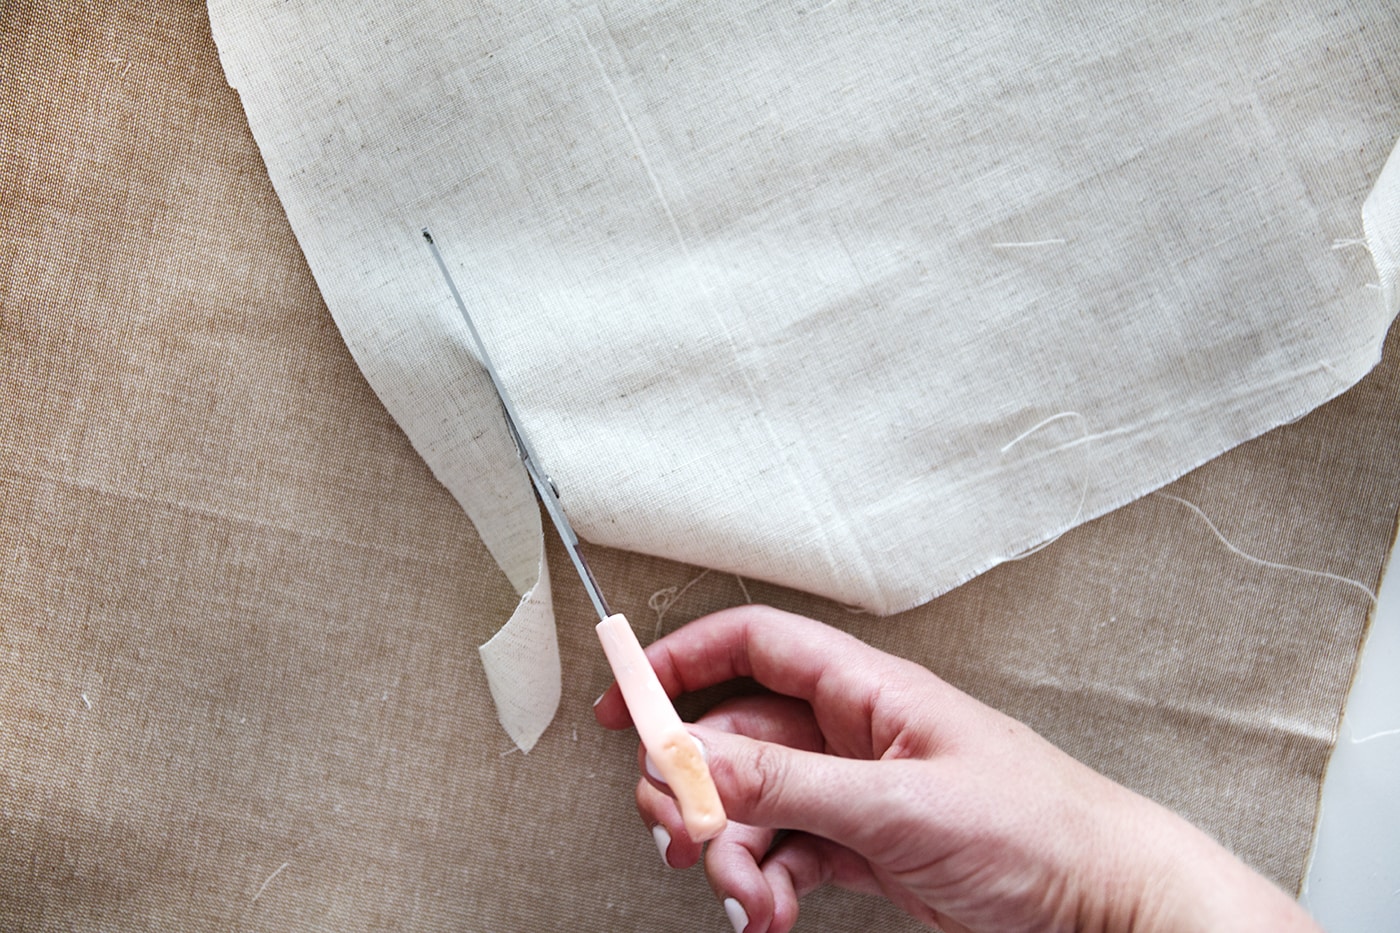
Cut strips of each fabric roughly and inch in width
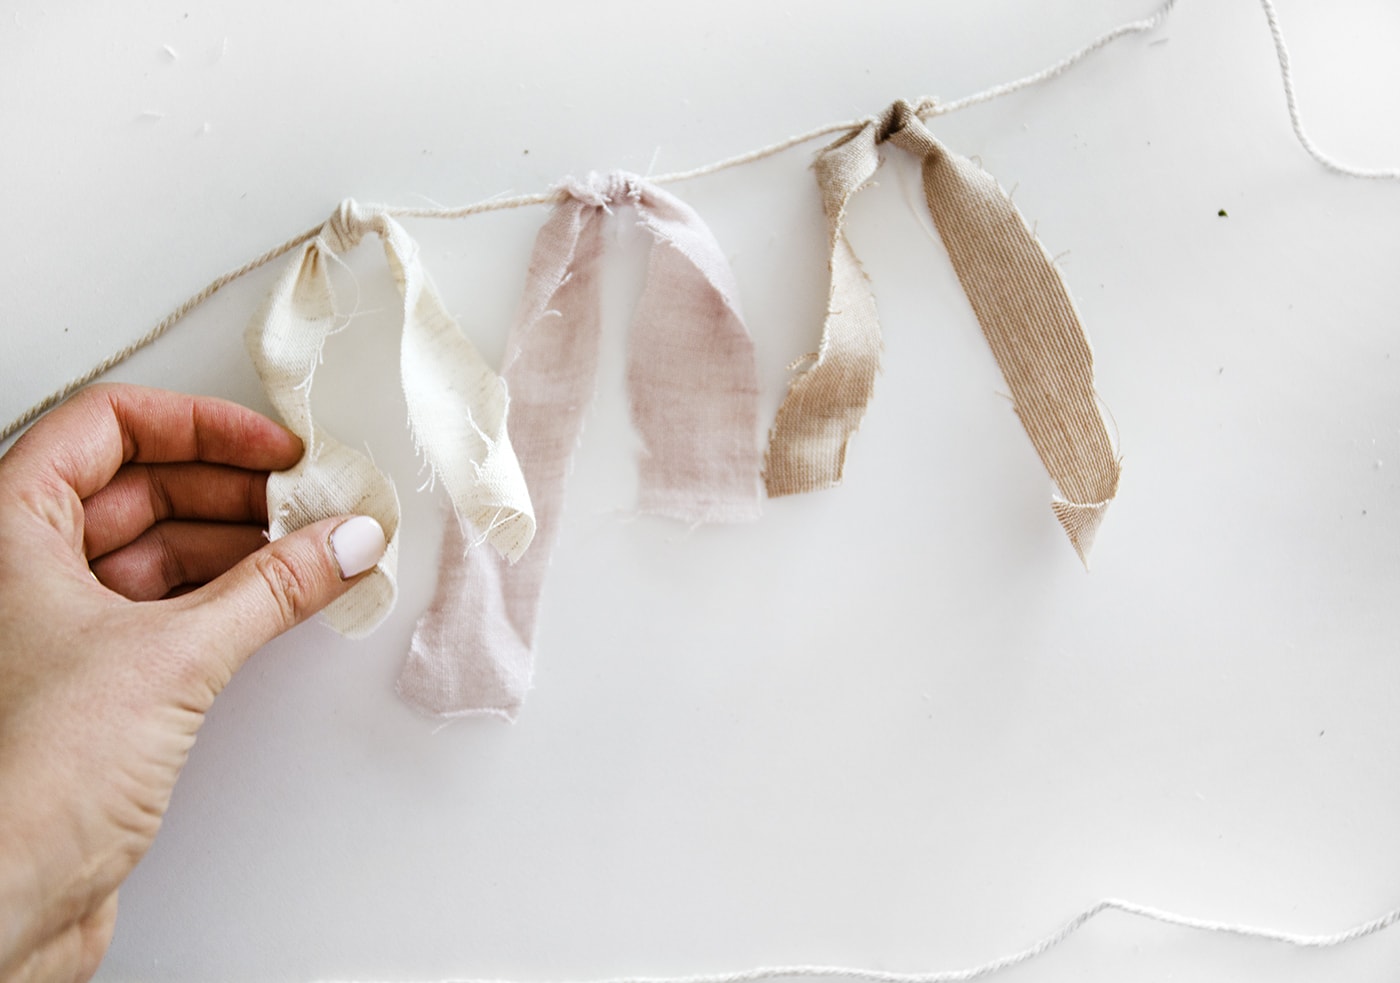
Tie each one onto a length of string with a normal knot. Pull tight and don’t worry about it being too neat as it all adds to the charm. Alternate your fabrics and continue until you have a garland long enough.
Decorative Letter
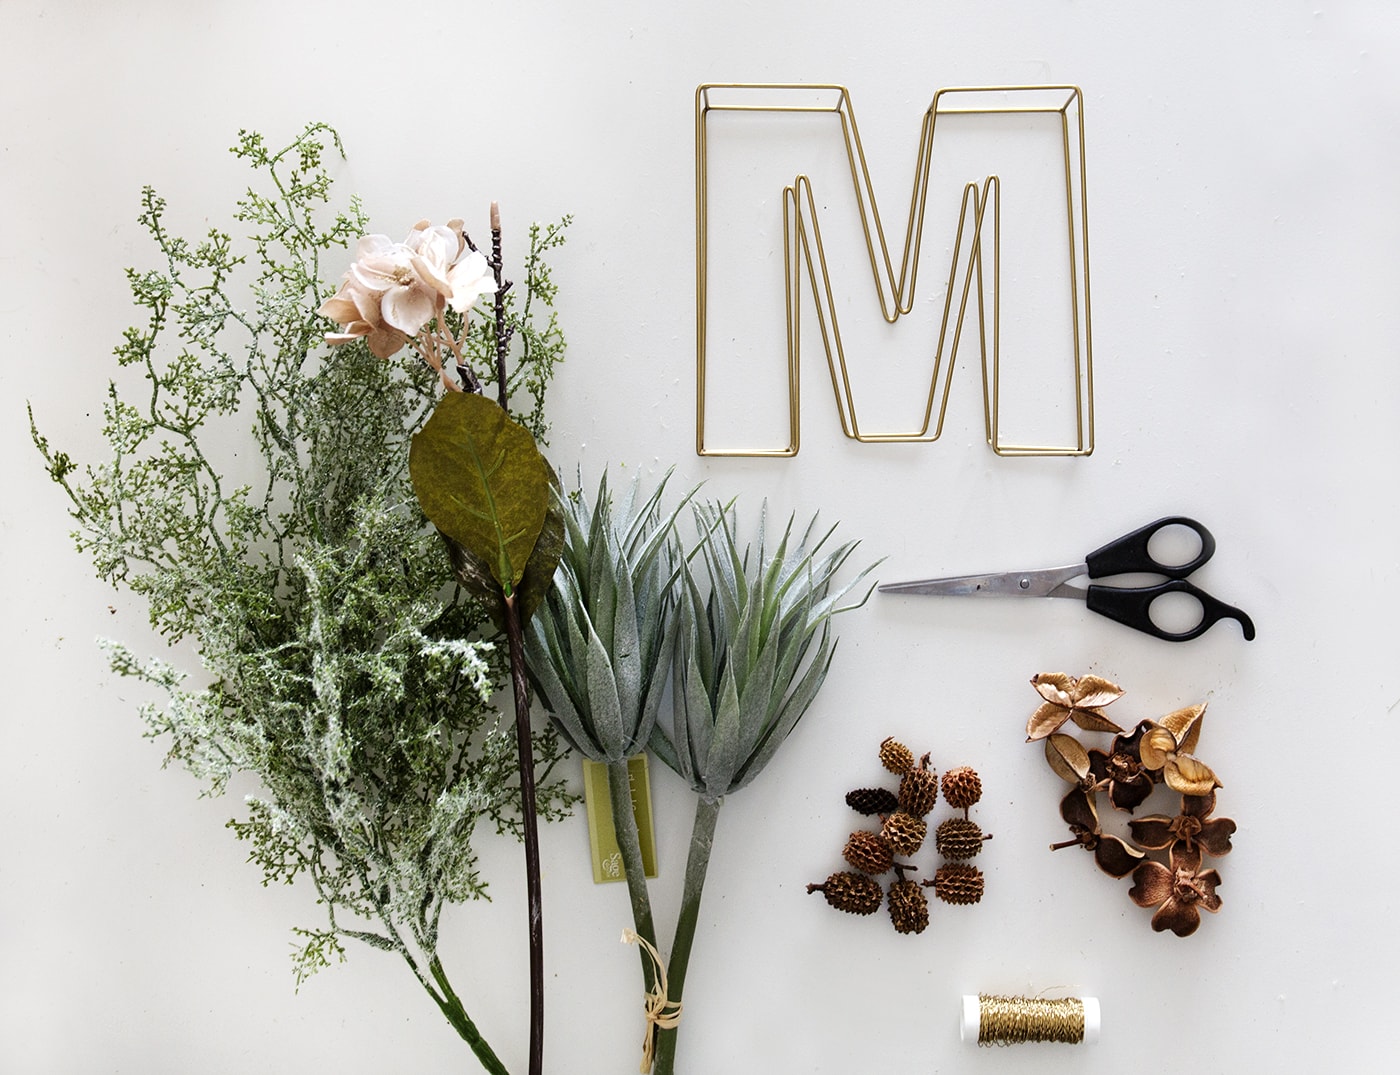
Materials
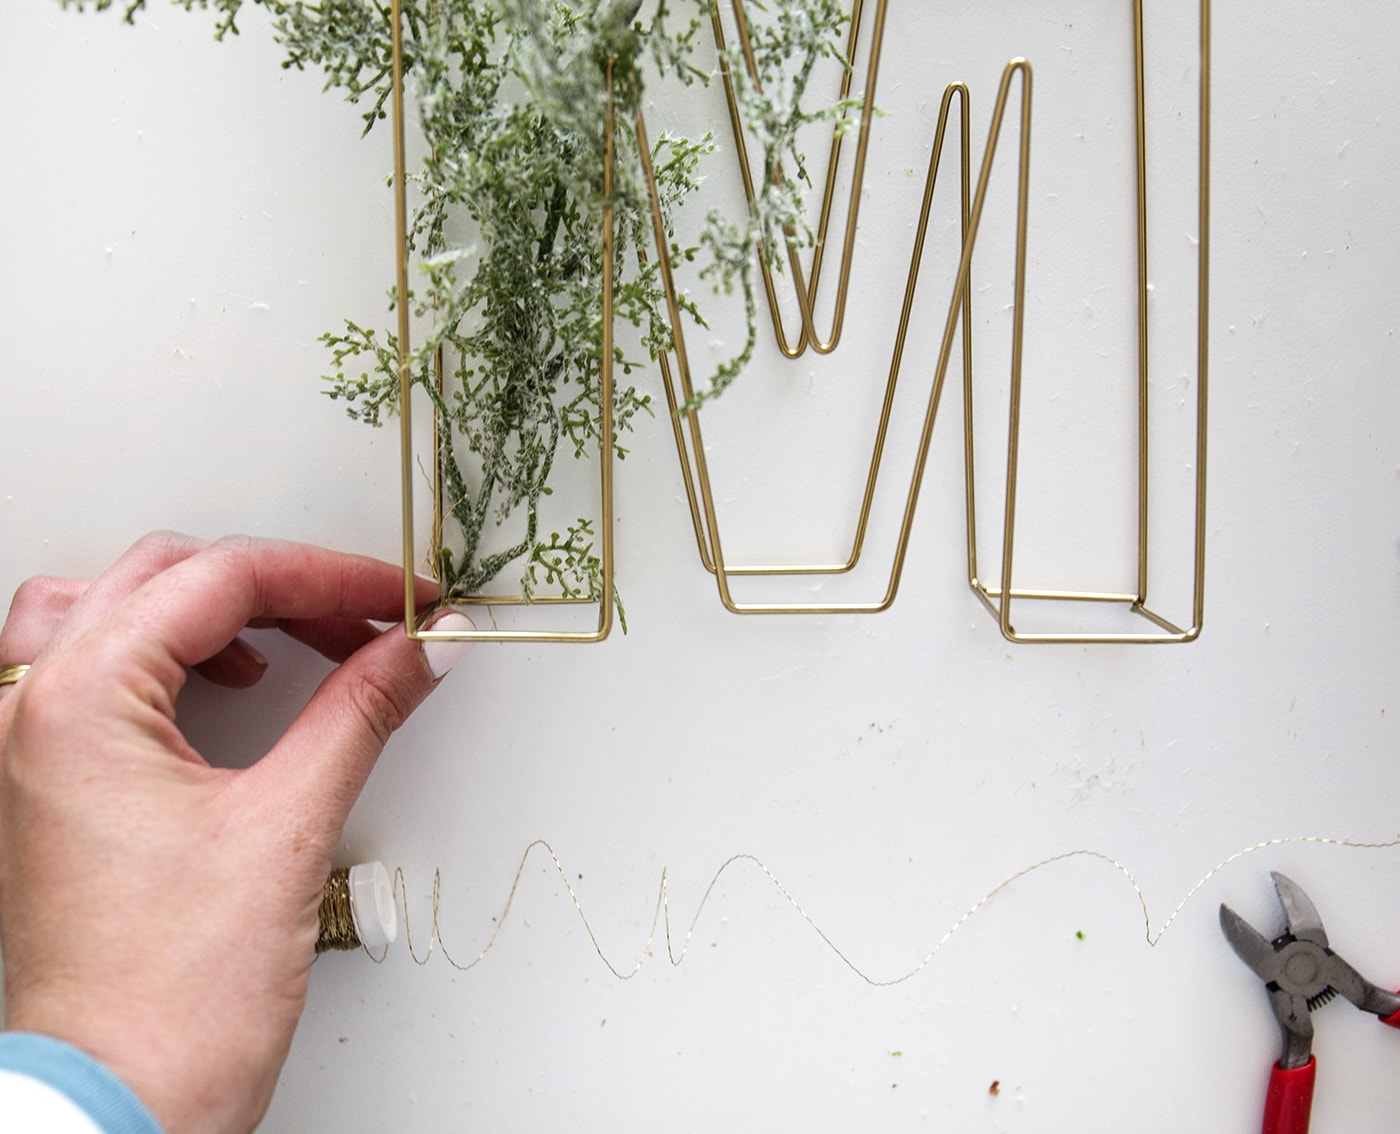
Start by weaving the asparagus fern in and out of the wire on one side. You can roughly fix with some gold wire.
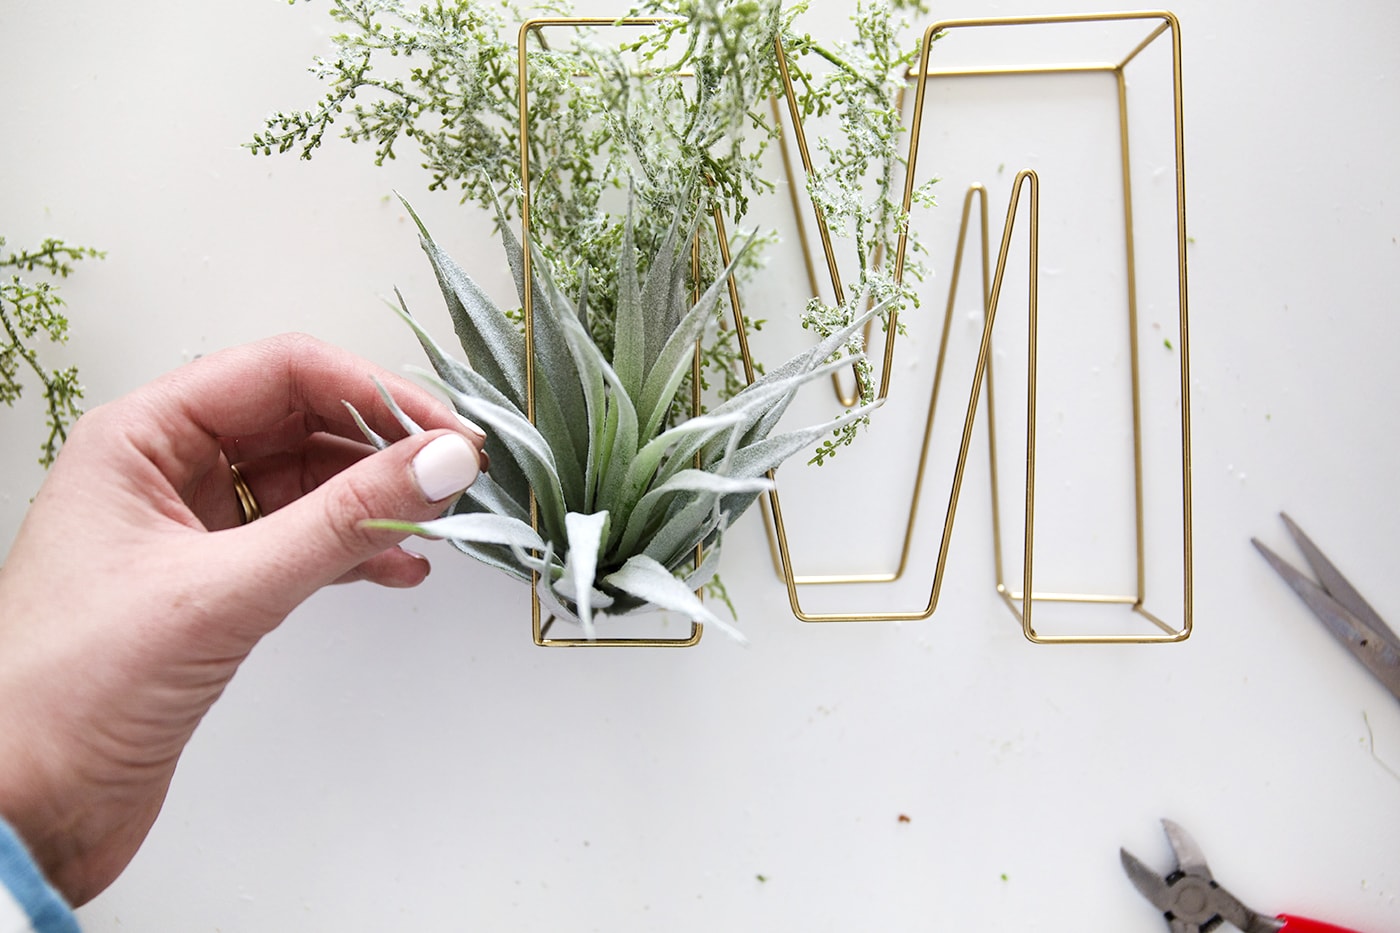
The using the crassula, poke some of the leaves through the wire letter to fix in place in front of the asparagus fern.
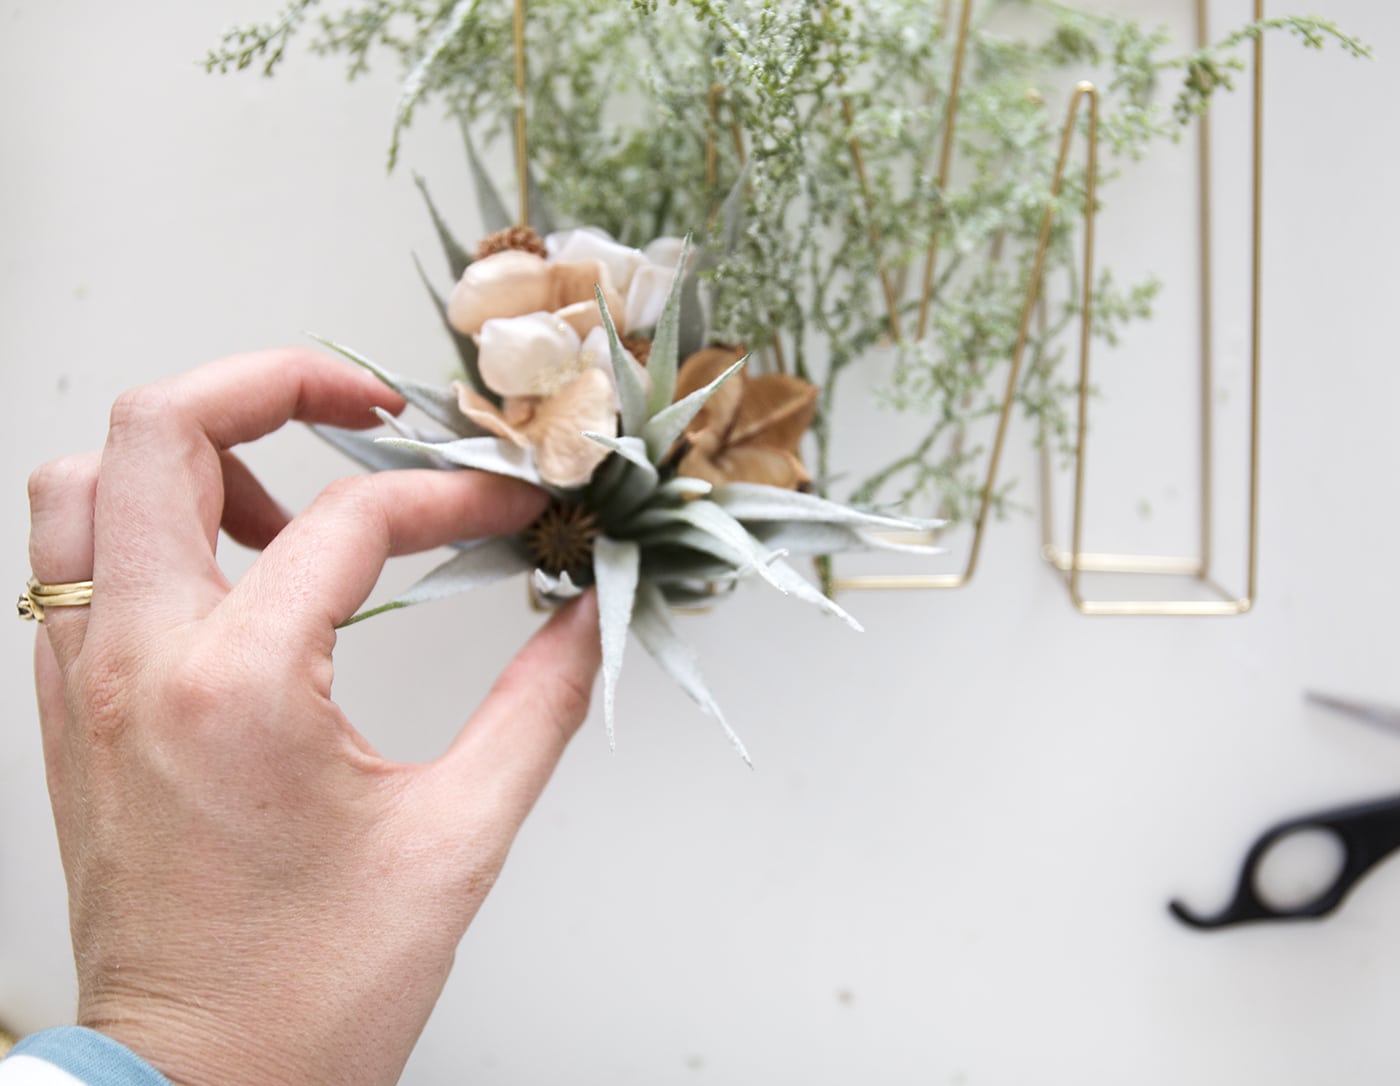
The tuck in a section of the hydrangea for a little colour and poke in a couple of cotton pods and casuarina.
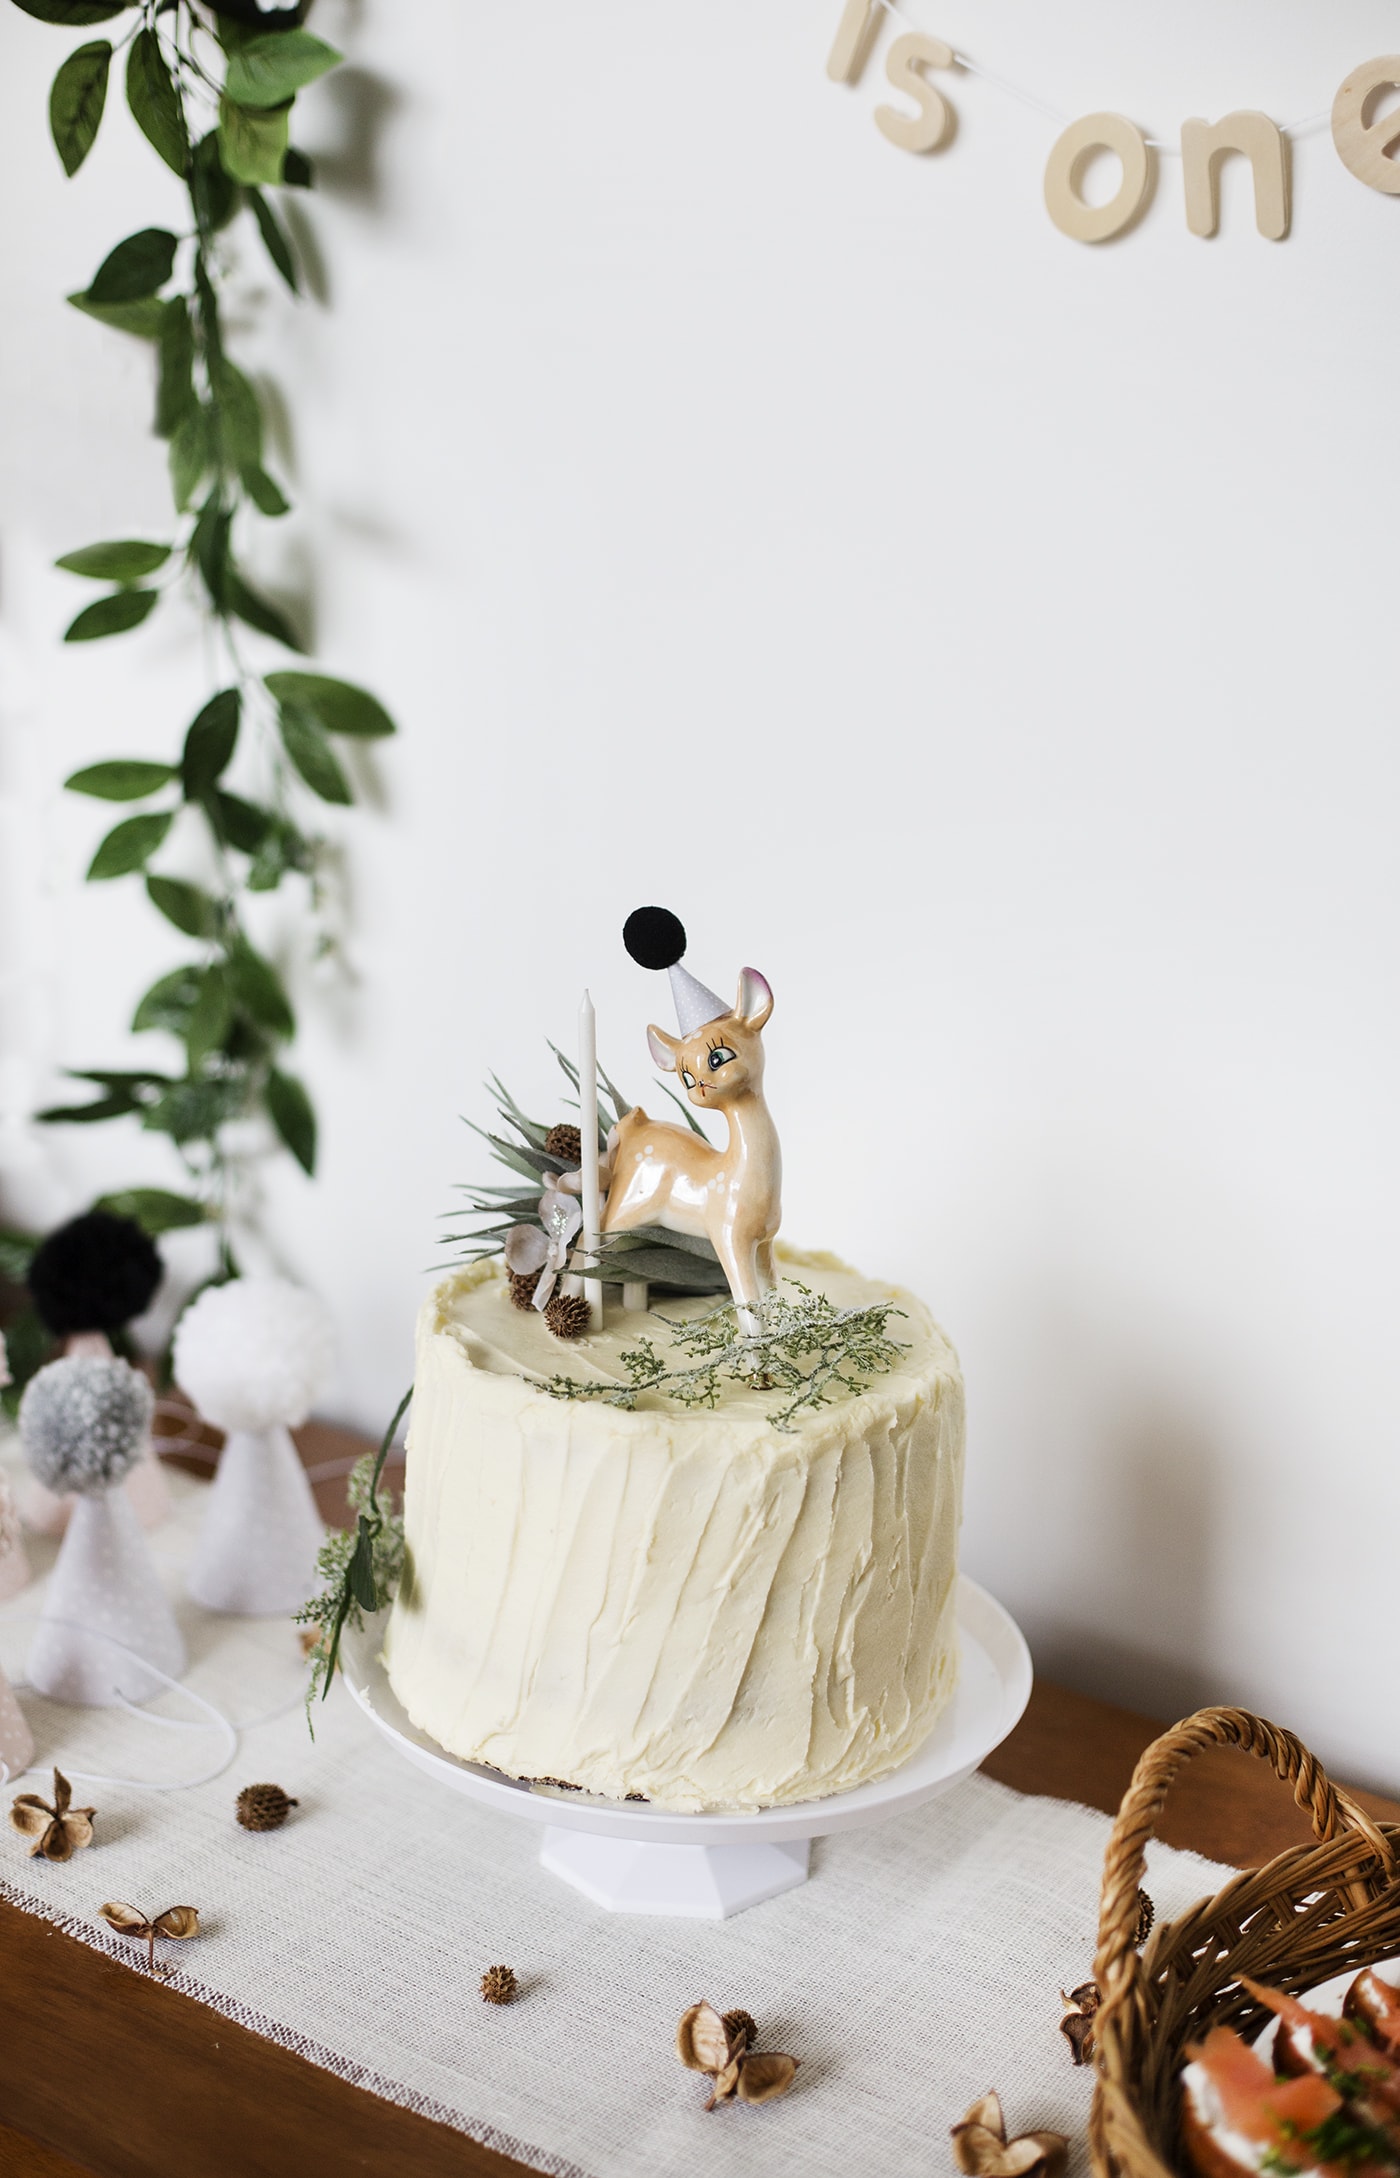
You can add any spare foliage to a plain cake, alongside a second hand, retro animal wearing the miniature party hat from the template. Add a mini pom pom and glue to the animals head. You can use wooden BBQ skewers cut to size and glued to the animals legs to pierce the cake and stay firm on top. Finish the cake with a tall candle or a few.
 This post contains some Hobbycraft affiliate links as I was not paid to write this content. Thanks for supporting the way my little business can make money.
You might also like


Meet The Lovely Drawer

Hi, I’m Teri and welcome to my own creative corner of the internet. I blog about interiors, DIY projects, design inspiration and my general life so stick around have a read and say hi.
In the shop

 Quick ViewSelect options
Personalised Cuddly Bunny
£30.00 – £35.00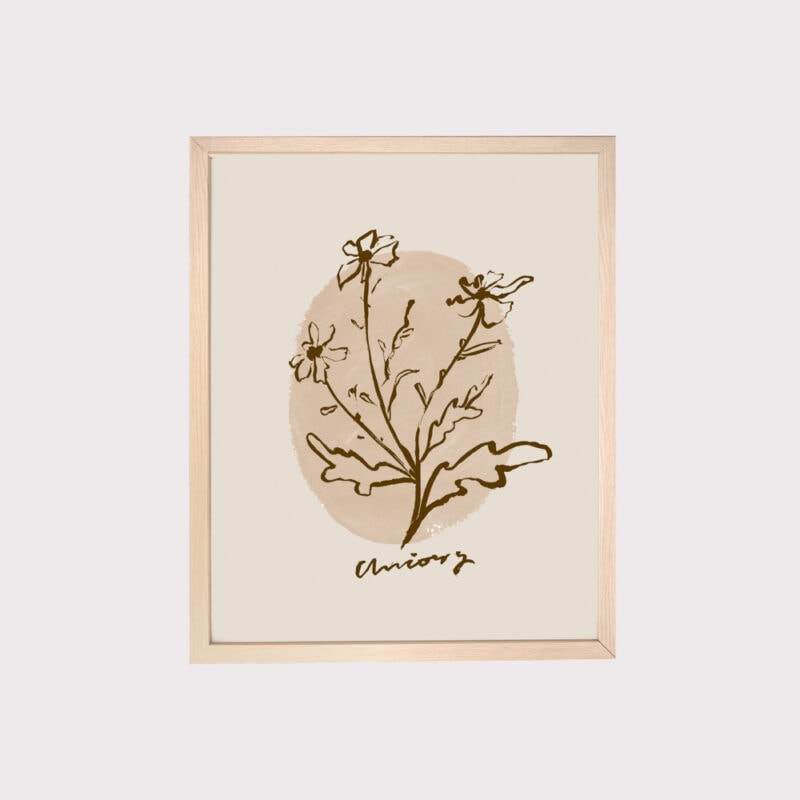
 Quick ViewSelect options
Chicory
£20.00 – £25.00
Work with Me
The Lovely Drawer is an award winning blog with a loyal audience that has grown over the years. I love working with brands small and large on exciting collaborations that can bring products alive in my own signature aesthetic.