Ikea Bedside Table Hack
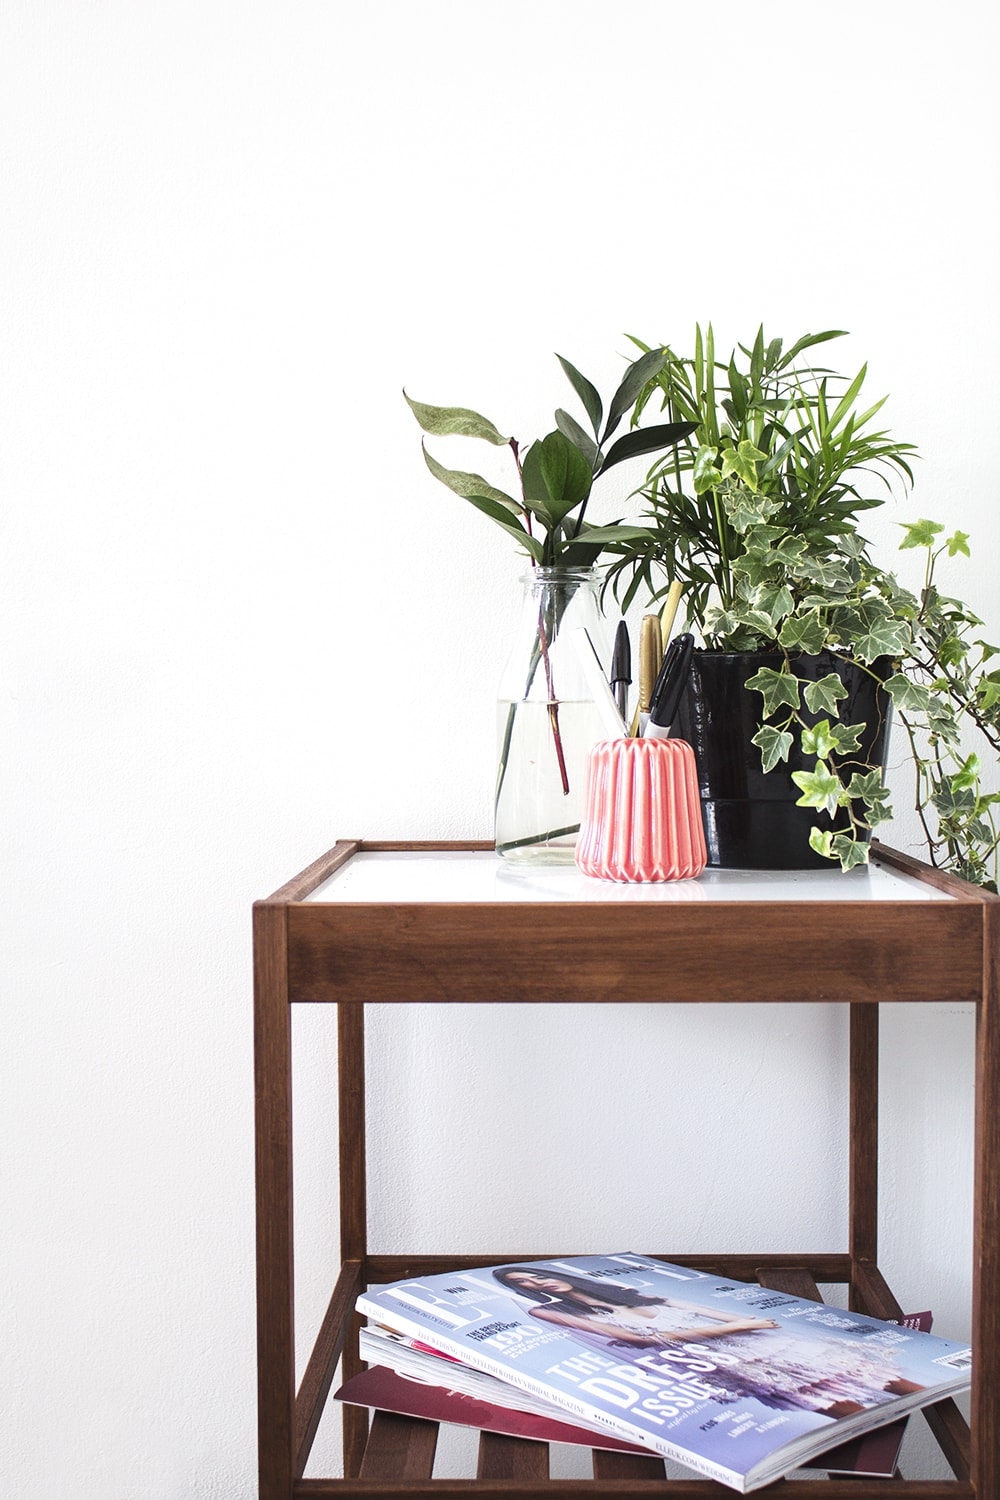
Happy middle of the week! As promised I’m bringing you the Ikea hack I talked about in my bedroom update and all you bargain babes out there are going to love it. I found this Ikea side table going for £9.00 and was immediately captivated. Looking at it in the before it really doesn’t look like anything to write home about but I do love taking something that’s as cheap as chips and making it look a little lovelier.
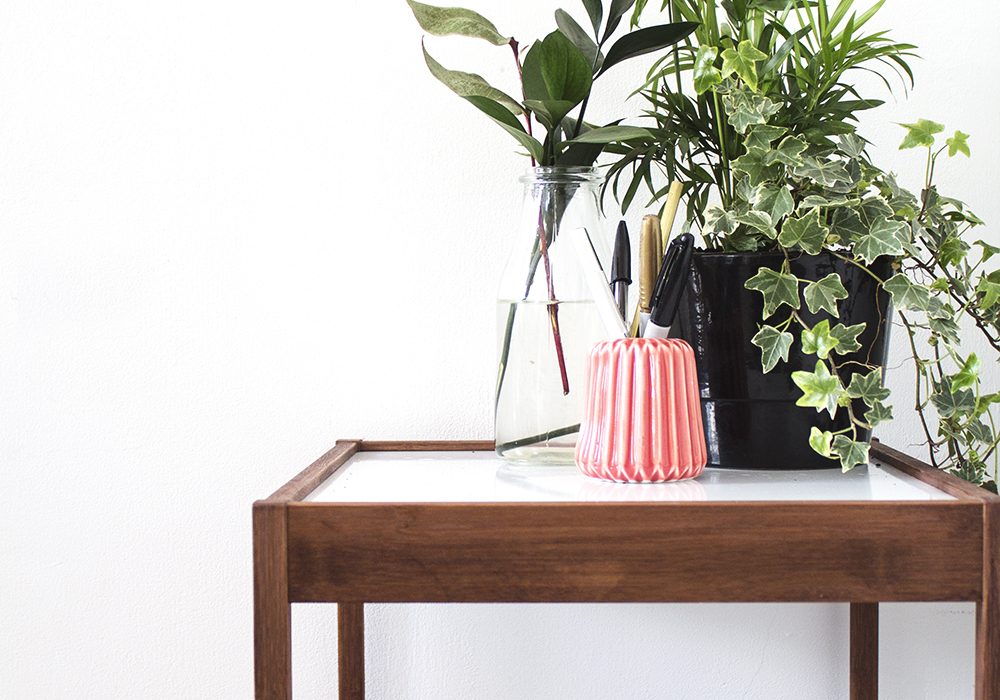
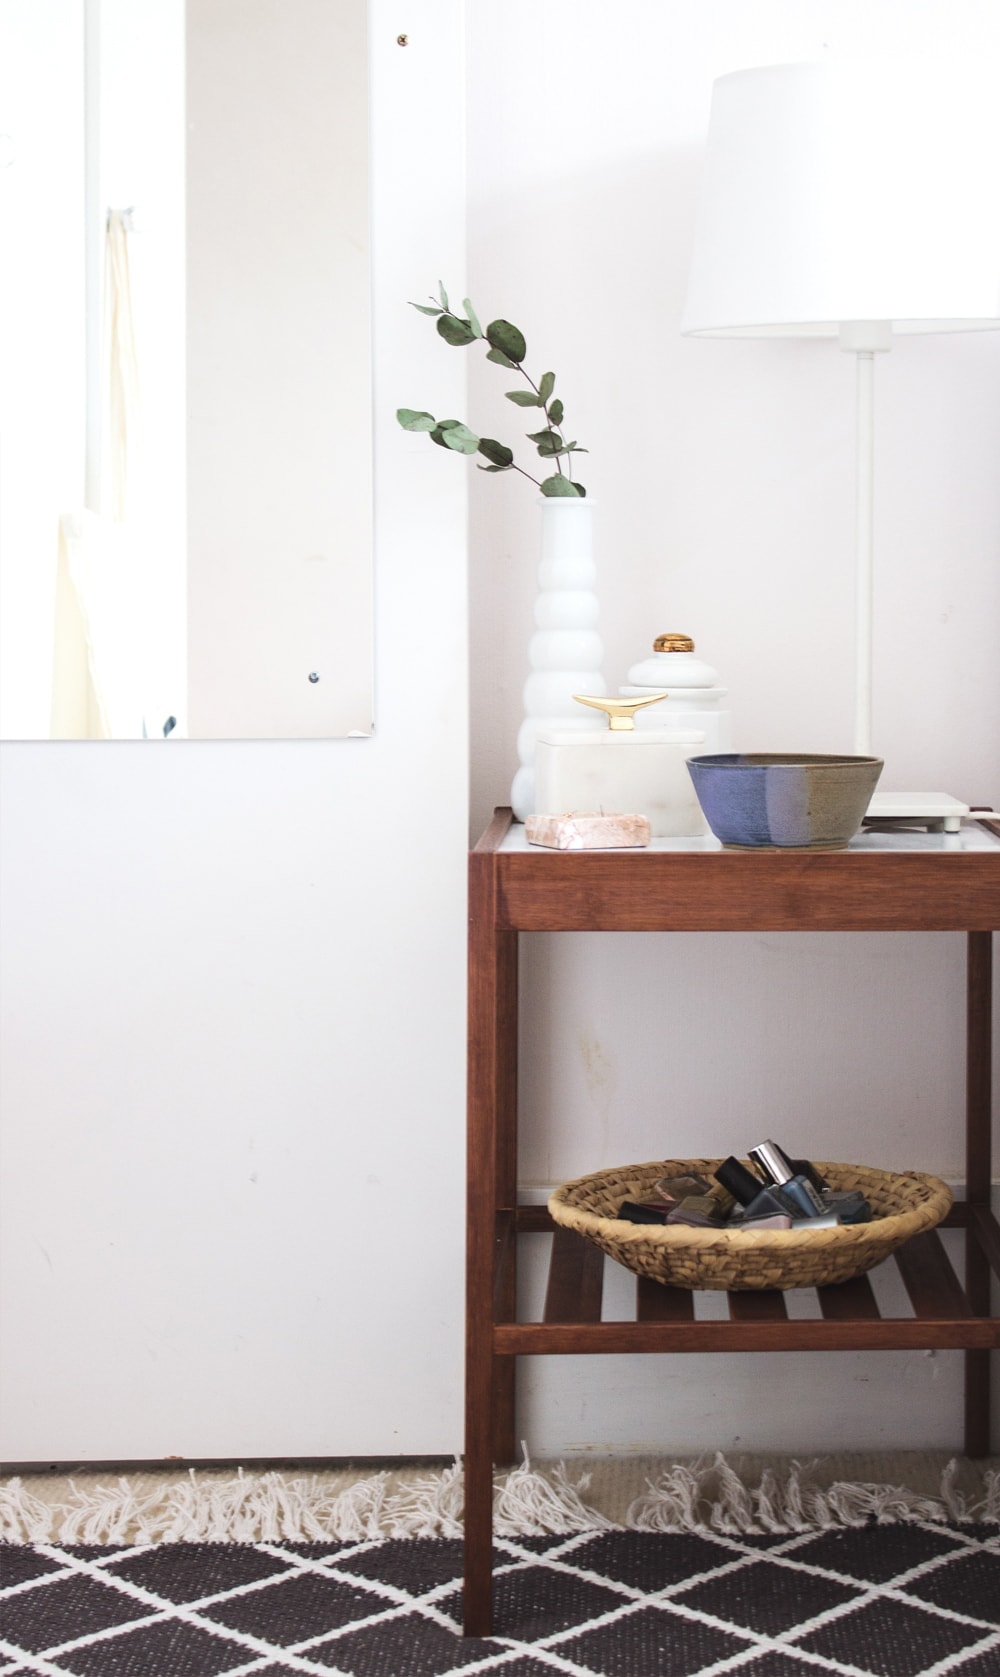
We are using them as bedside tables but you can equally just use as them side tables as pictured above.
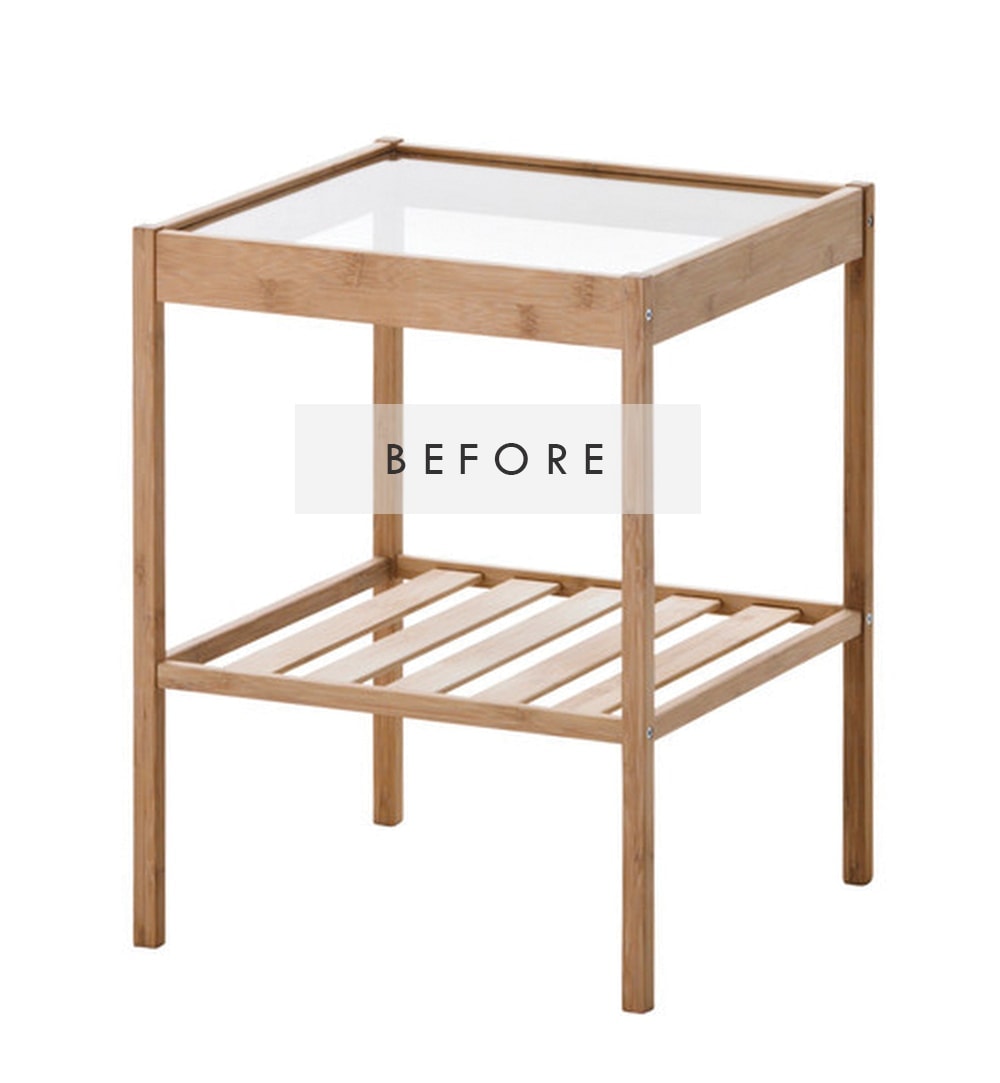
I was a teeny bit worried that when I put these side tables together they’d literally sway from side to side and fall apart when the bedside lamp was placed on top but I was pleasantly surprised. If you tighten the screws properly it’s not at all flimsy although mistaking one for a stool would be a step too far for survival so don’t try that at home.
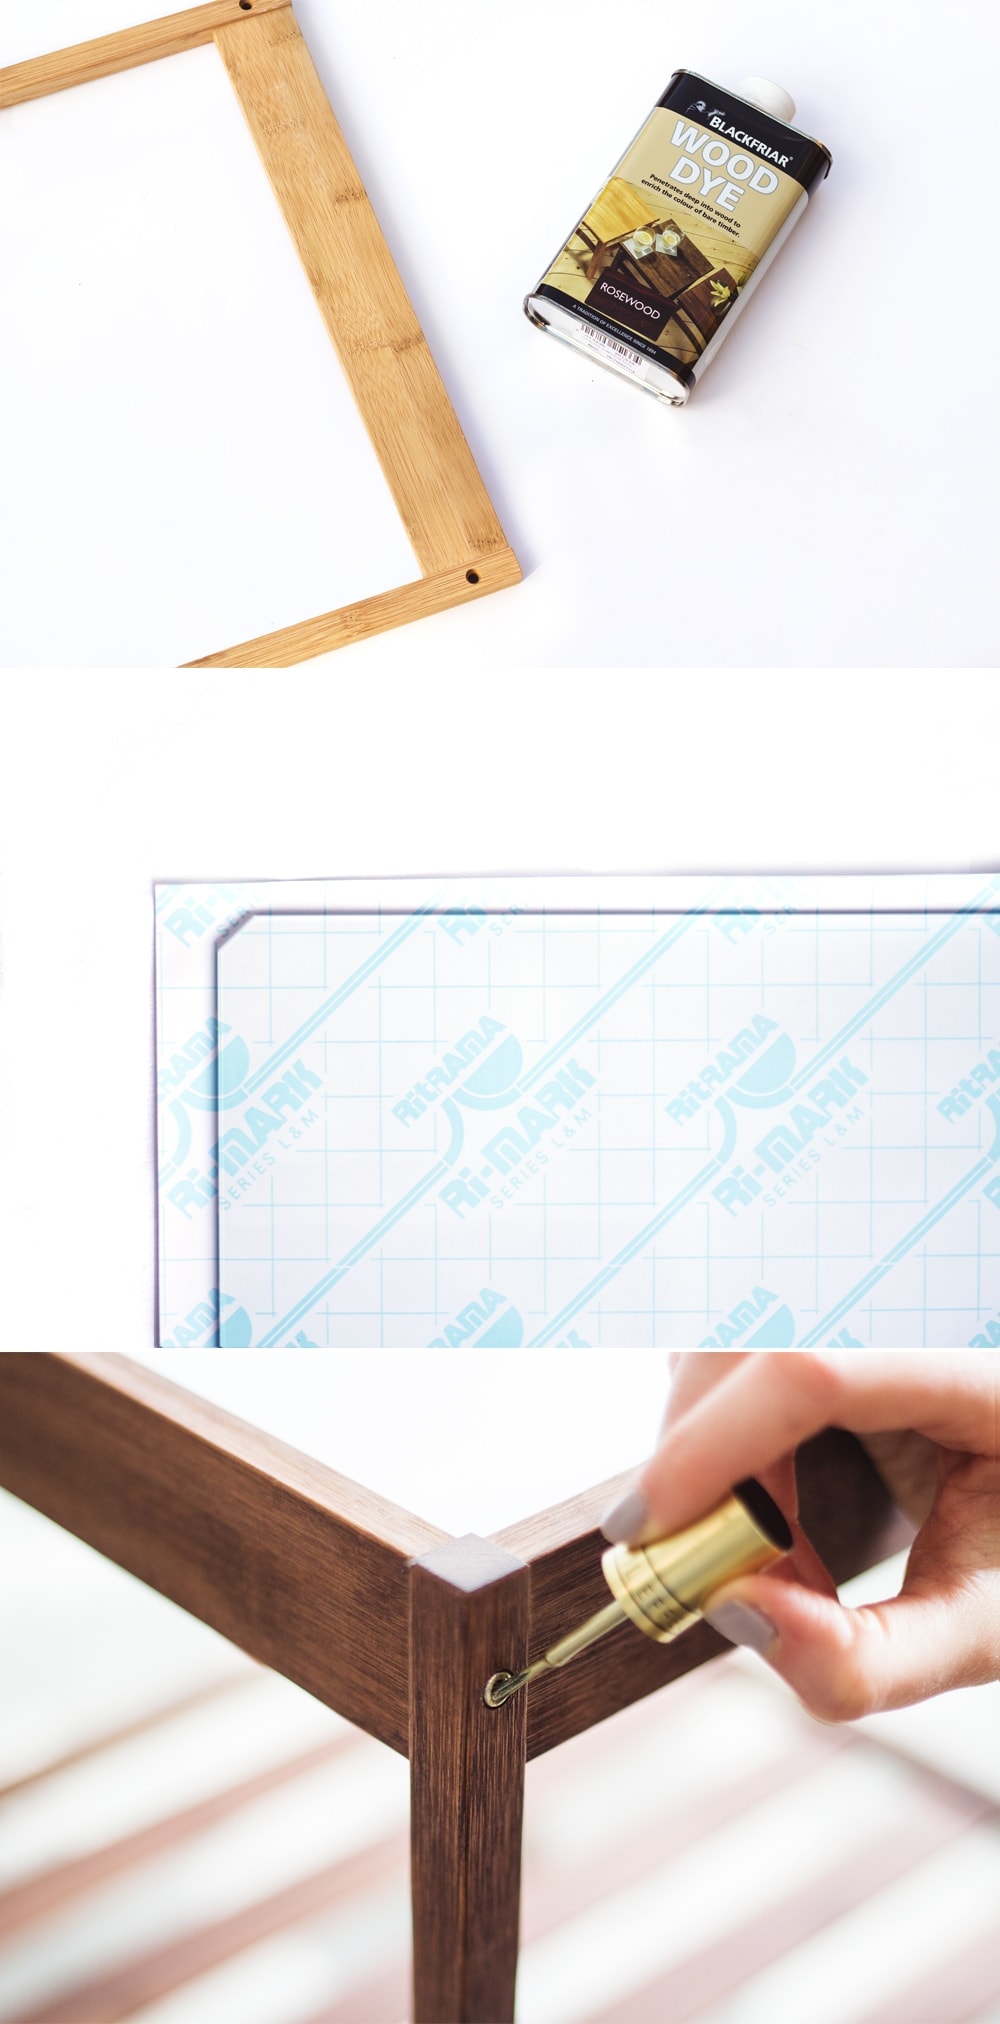
Believe it or not I’d never actually used wood stain before but I love it! Like my love affair with spray paint, I now want to stain everything in our flat! Hmmm….and breath….activate self control. I used Rosewood but you can pick whichever shade suits your room. There’s usually tester squares in the shop so you can see each tone properly before buying.
You’ll need…
- Ikea Nesna bedside table
- Wood stain in colour of your choice
- Cloth
- Gold nail polish
- White adhesive vinyl
- Scalpel
- Cutting mat
To make…
- Cover the floor or go outside so you can stain the wood without staining your whole house. Use your cloth to rub the stain into the wood, making sure you get into all the nooks and crannies. Leave each piece to dry for at least an hour.
- Now take the glass section and place on the wrong side of your vinyl so you can draw around it with an excess of about an inch around the edge.
- Then carefully peel the backing away from one corner to stick to a corner of the glass, leaving the excess inch at the edge. Very slowly peel back a bit more of the backing and smooth instantly with your other hand. It’s really worth taking your time with this step. If you go slow and keep smoothing each time your peel then you won’t get any nasty air bubbles.
- Once it’s all stuck down. You can trim the excess from around the edges.
- Next assemble the side table following the Ikea instructions (it’s so simple even I could do it). Slot the vinyl covered glass in place when you get to that step.
- It’s a bit pinnikity but I didn’t like that the screws were silver so that’s where the nail polish comes in. Carefully paint each screw gold. It dries so quickly that it doesn’t take long to do two coats.
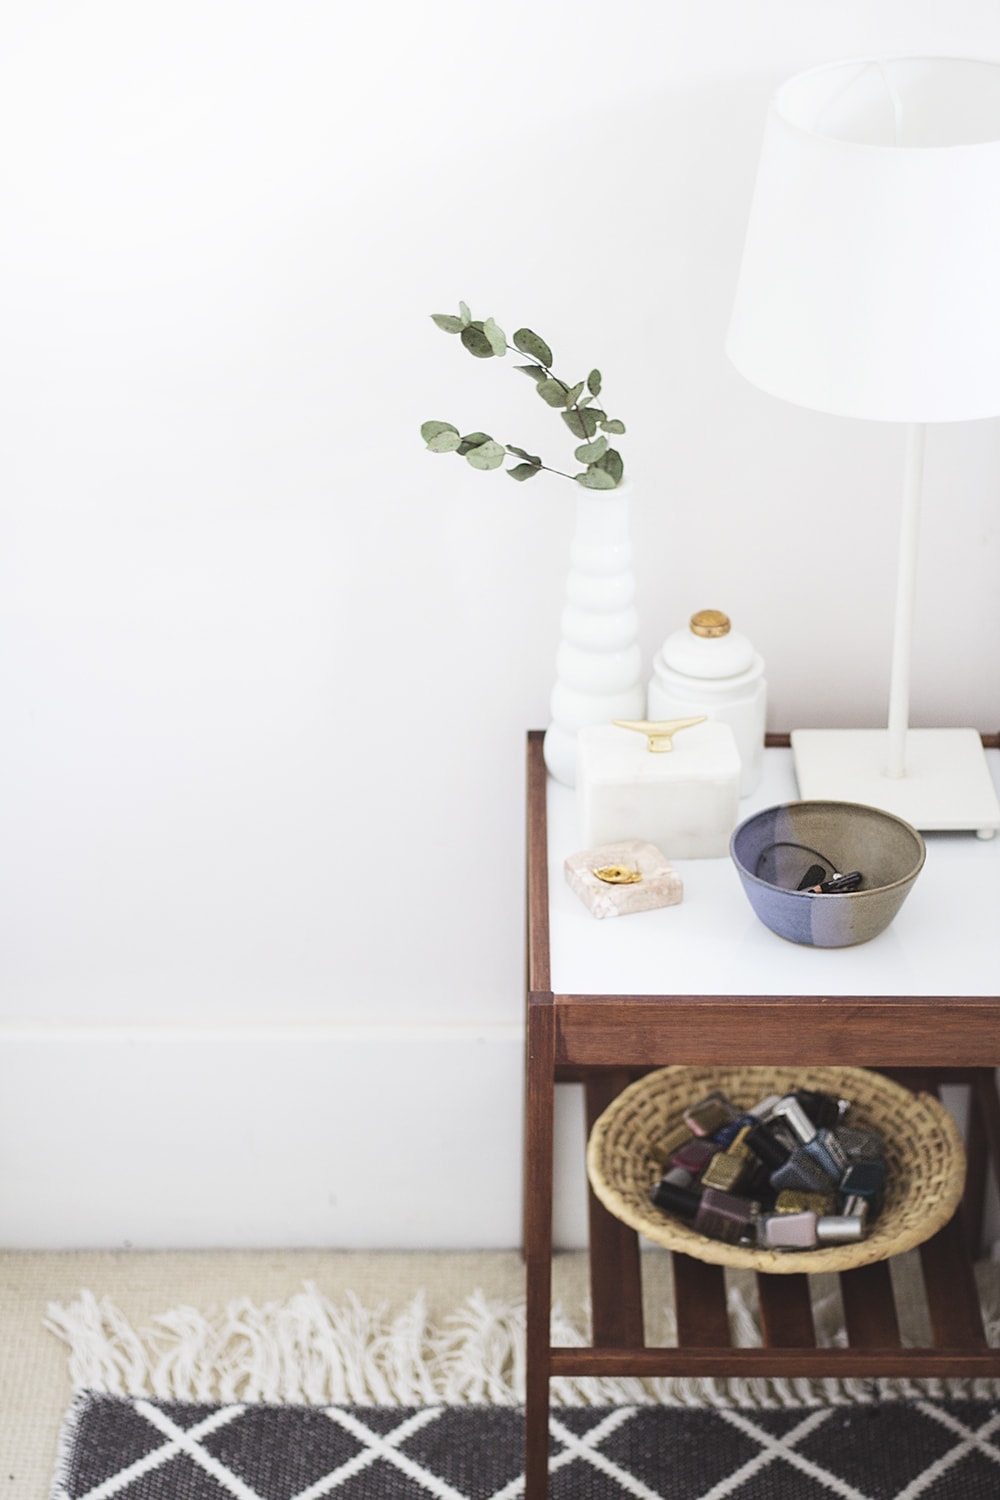
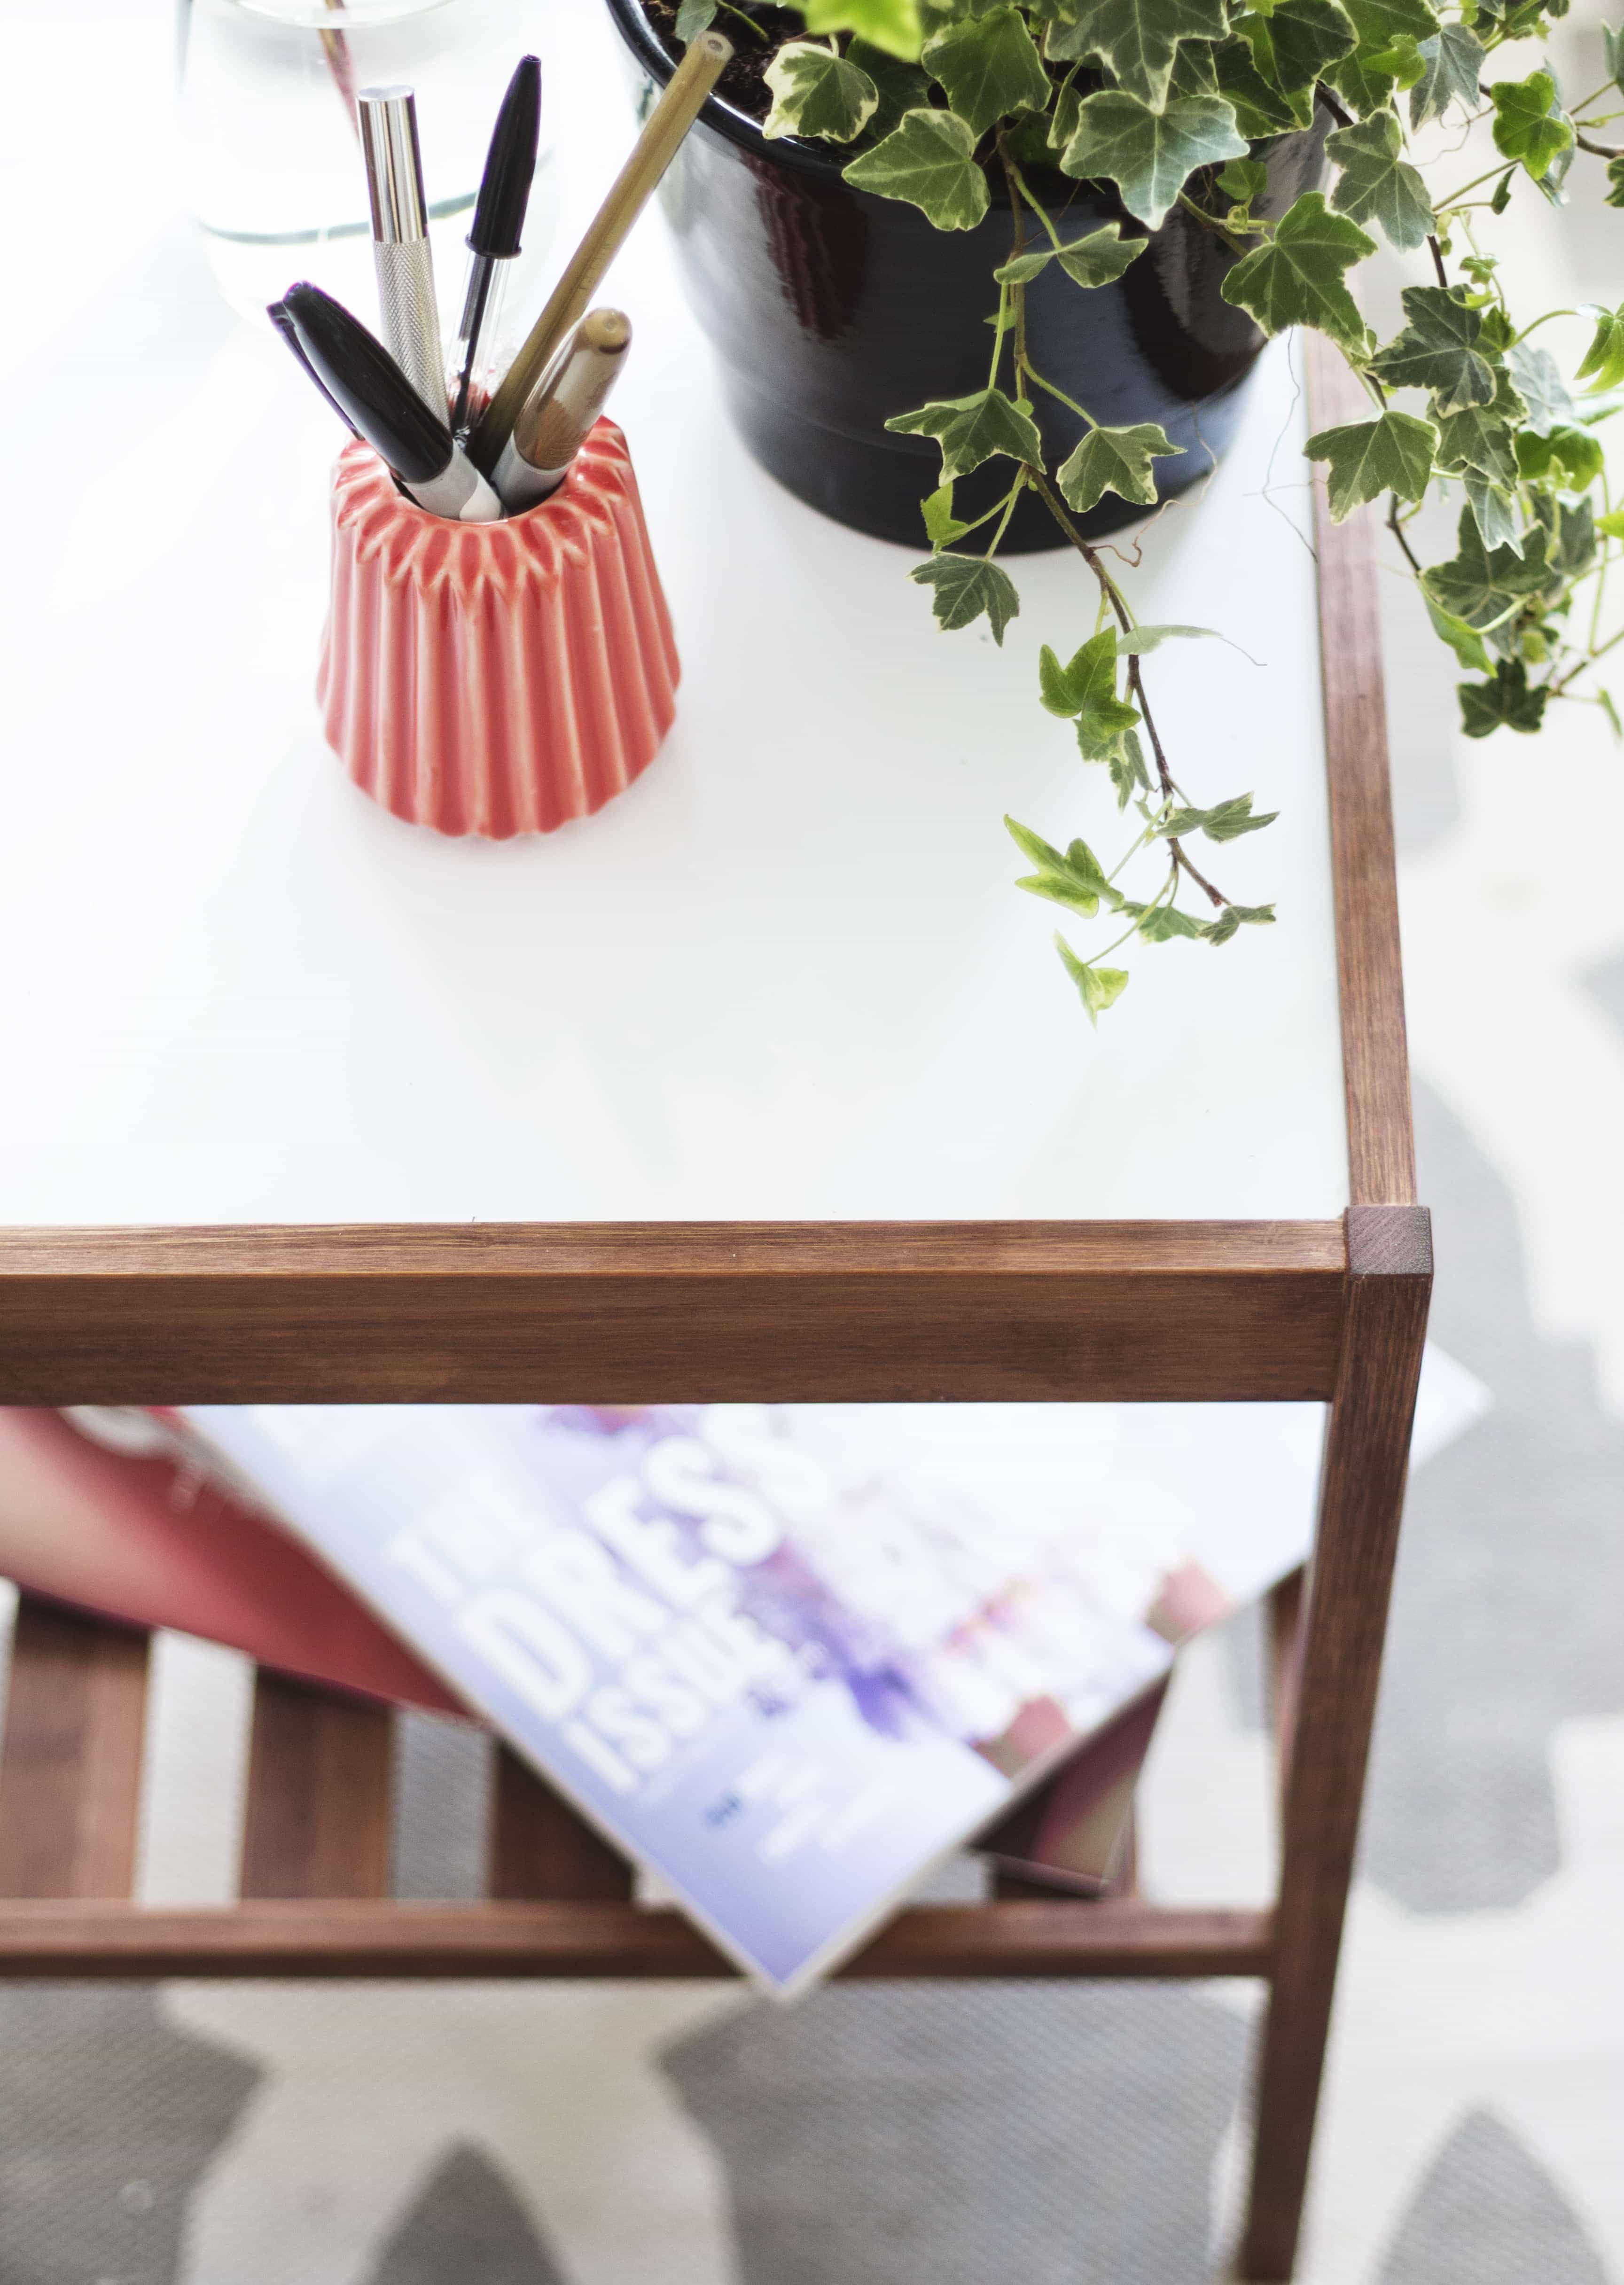
Easy or what? The darker wood makes it look pricier than it is and the white top keeps it modern and fresh. I’m very happy with our new bedside tables and they’re definitely and improvement on our old ones. Hold onto your hats and pick up this bargain for yourself!
You might also like
Meet The Lovely Drawer

Hi, I’m Teri and welcome to my own creative corner of the internet. I blog about interiors, DIY projects, design inspiration and my general life so stick around have a read and say hi.
In the shop
 Quick ViewSelect options
Chicory
£20.00 – £25.00
 Quick ViewSelect options
Personalised Cuddly Bunny
£30.00 – £35.00
Work with Me
The Lovely Drawer is an award winning blog with a loyal audience that has grown over the years. I love working with brands small and large on exciting collaborations that can bring products alive in my own signature aesthetic.
